Garry Dean
New member
- Jun 16, 2009
- 1,796
- 0
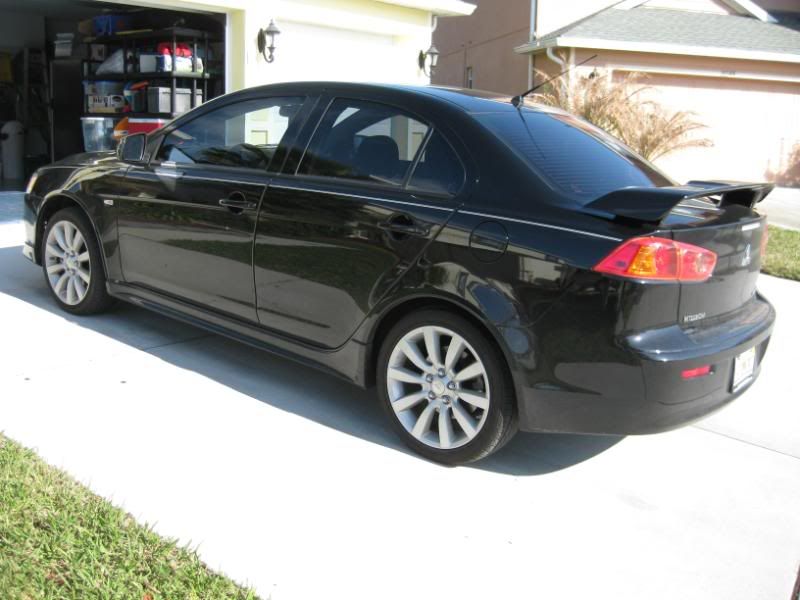
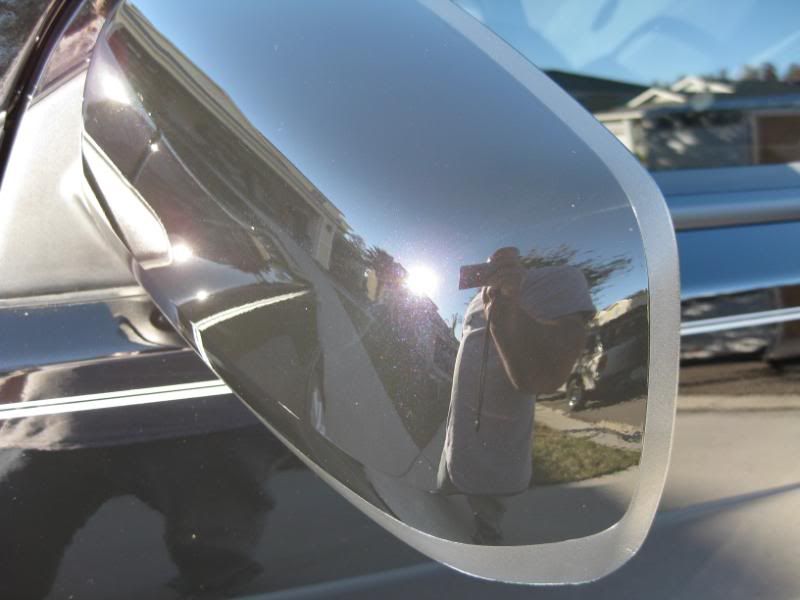
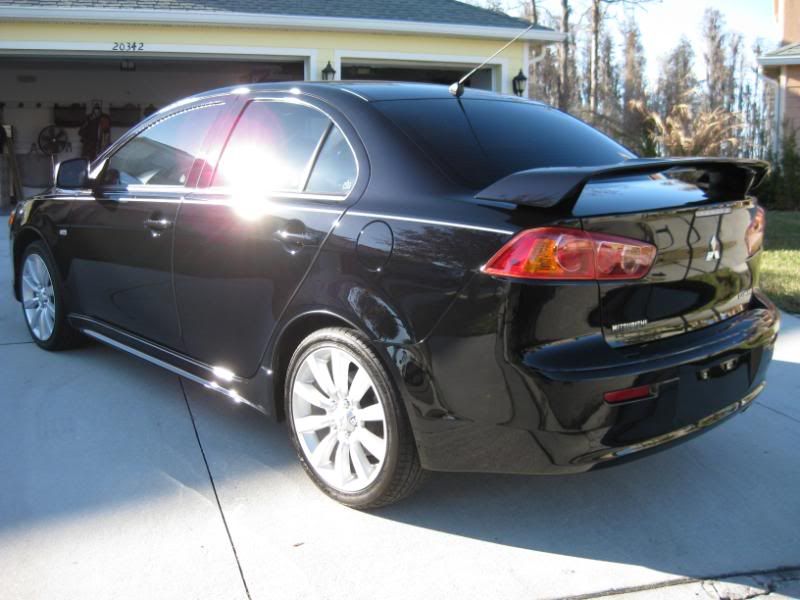
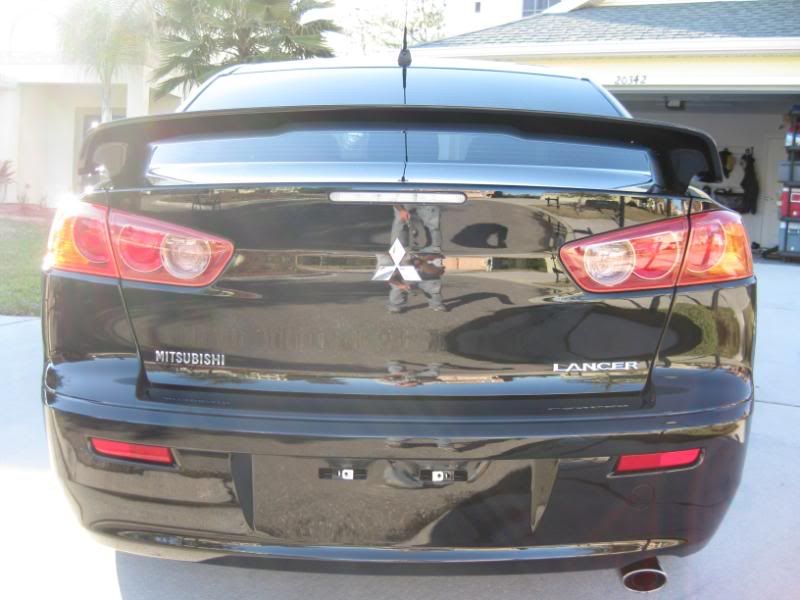
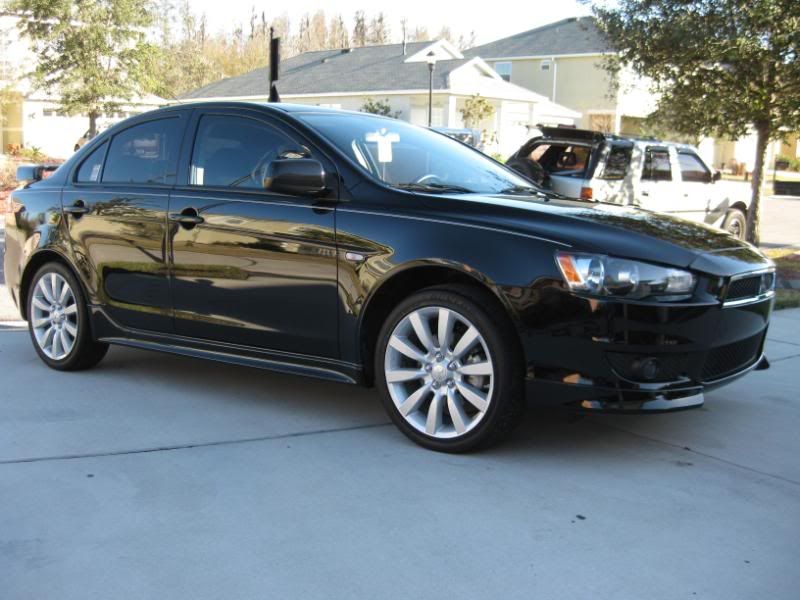
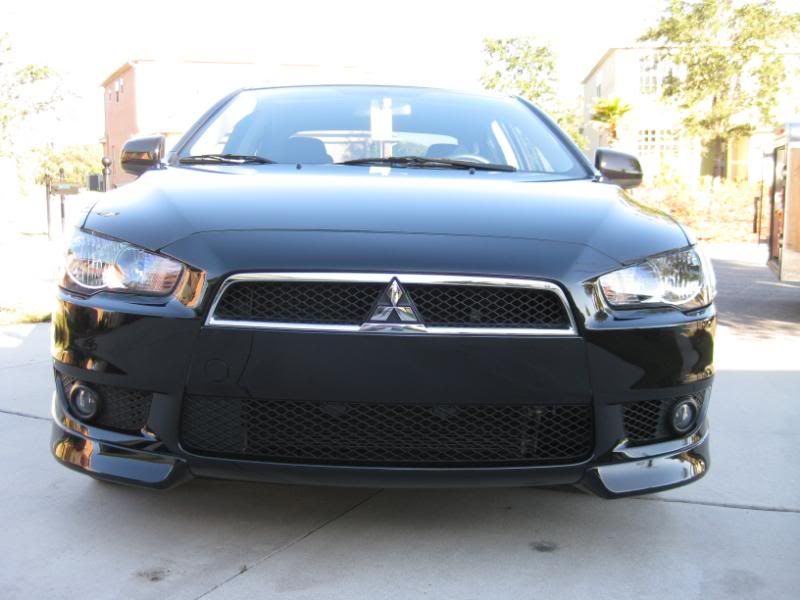
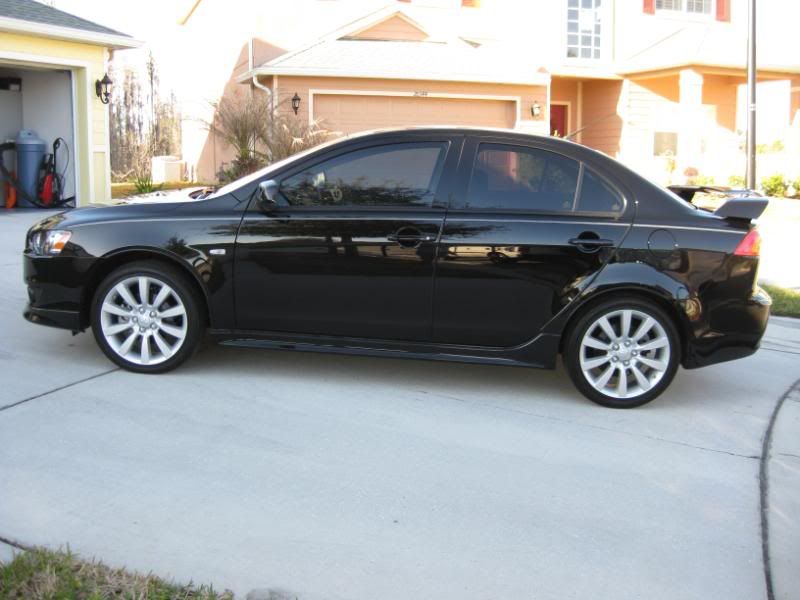
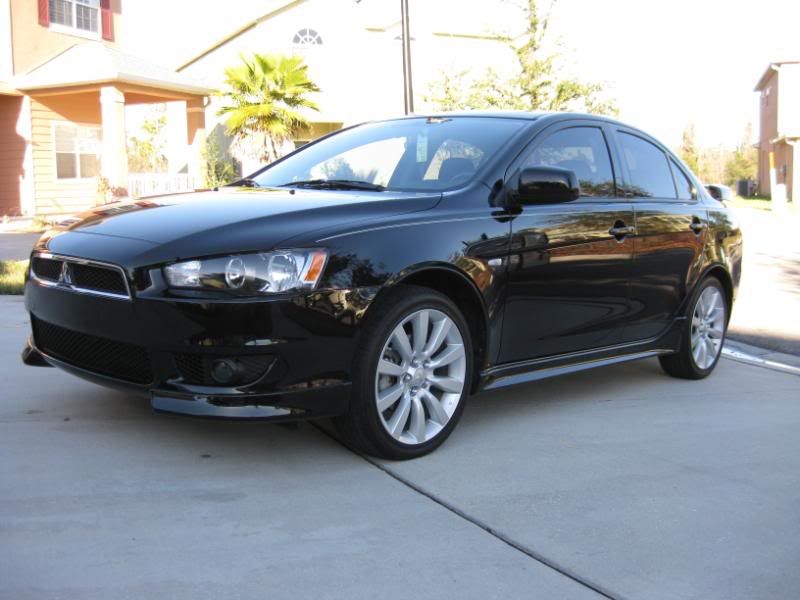
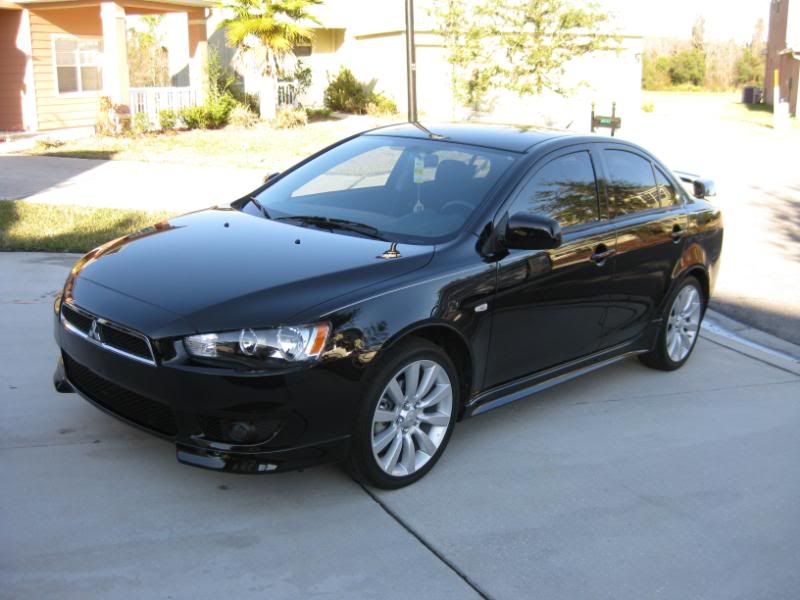
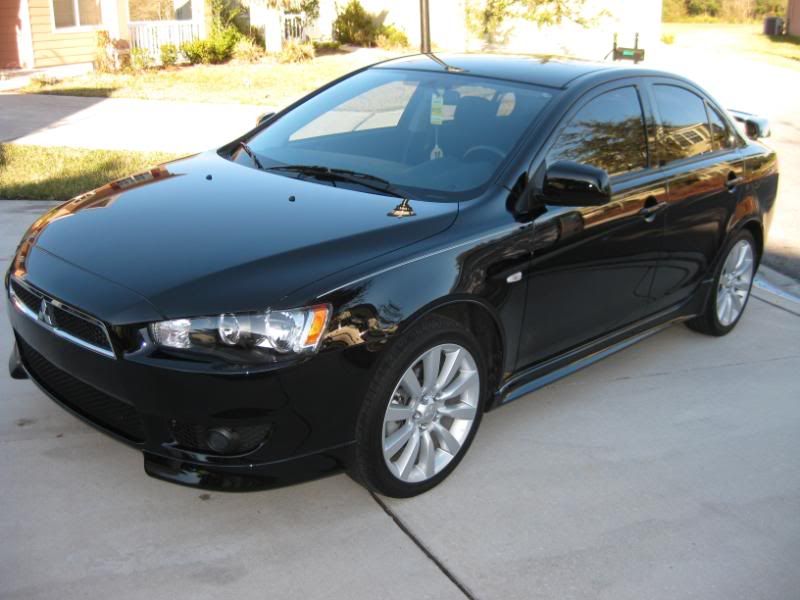
This detail is a Black 09 Mitsubishi Lancer. I did this detail last Thursday. It took me 8 hours to do the full exterior with swirl removal and a basic interior detail. This car is owned by a regular client of mine. His son drives it while he is in college. My client asked me to just do a 1 step swirl removal process to make it look a little better. Sounds easy enough, right? Well, I found this paint to be some of the hardest I have worked on in a while. It took 2 passes (by pass I refer to applying and working the polish until fully broken down and then removed) with PC7424XP, Menzerna PO203, and 5.5” LC orange on every panel to remove the swirls and most minor RIDS (random isolated deep scratches). At times it seemed as I had to literally stand on top of the PC to get good correction. It was clear after the wash that the vehicle had no protection prior to the detail. I got my new Brinkmann “swirlfinder” this week and it works great!
Exterior
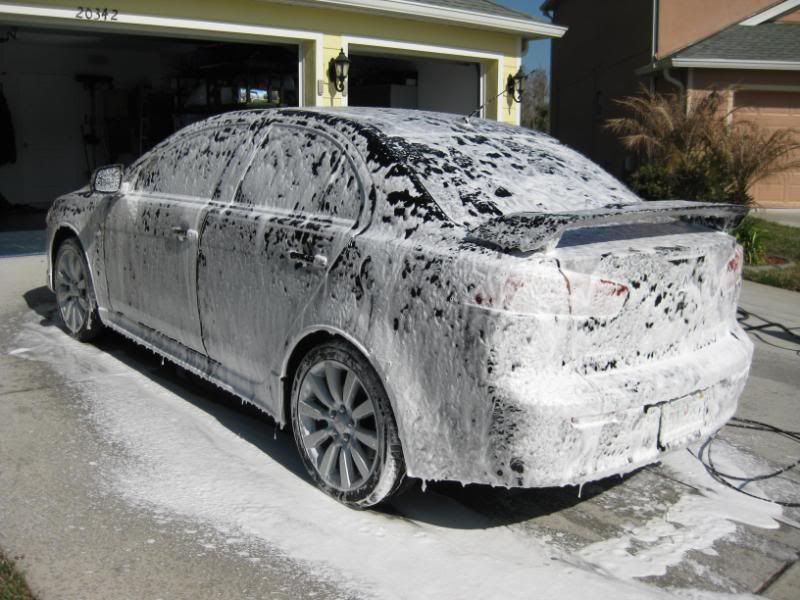
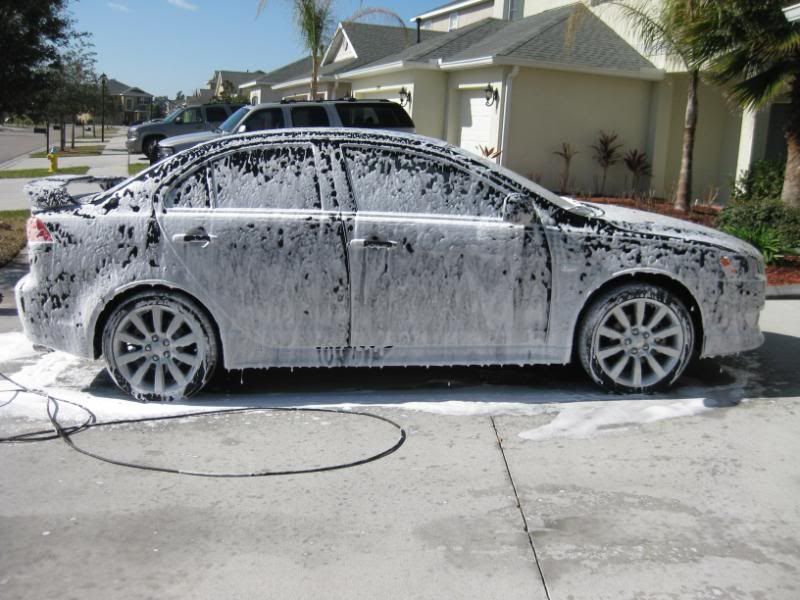
Autogeek foam gun with Meguiarss Hyper Wash let dwell for 5 minutes
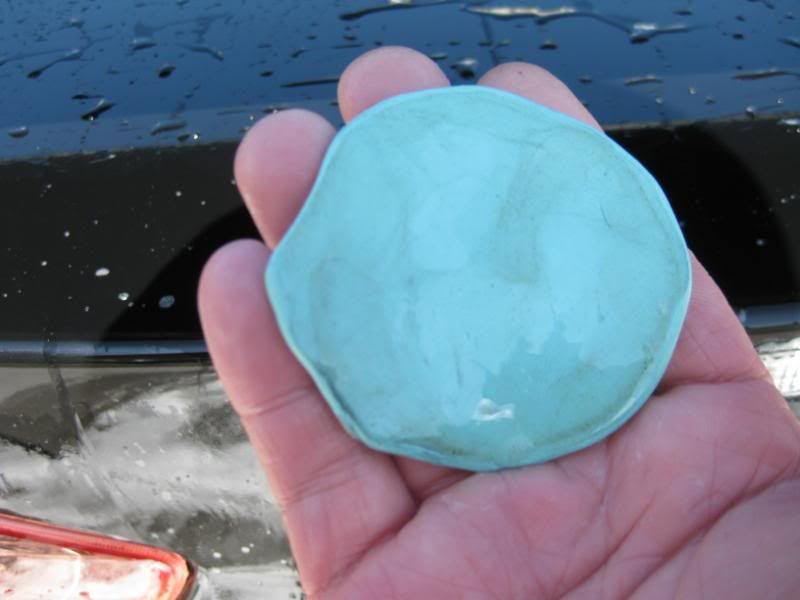
Pinnacle Ultra Poly Clay with diluted ONR as clay lube
Dried with the Absorber
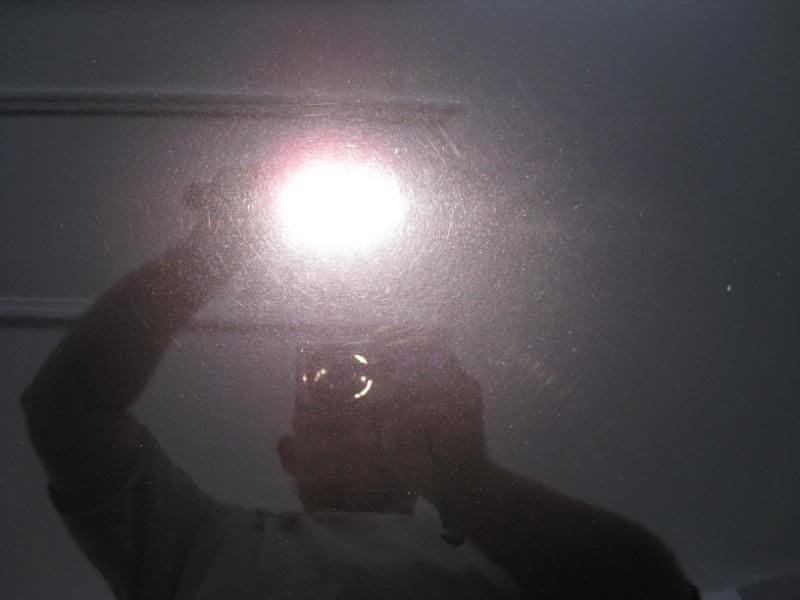
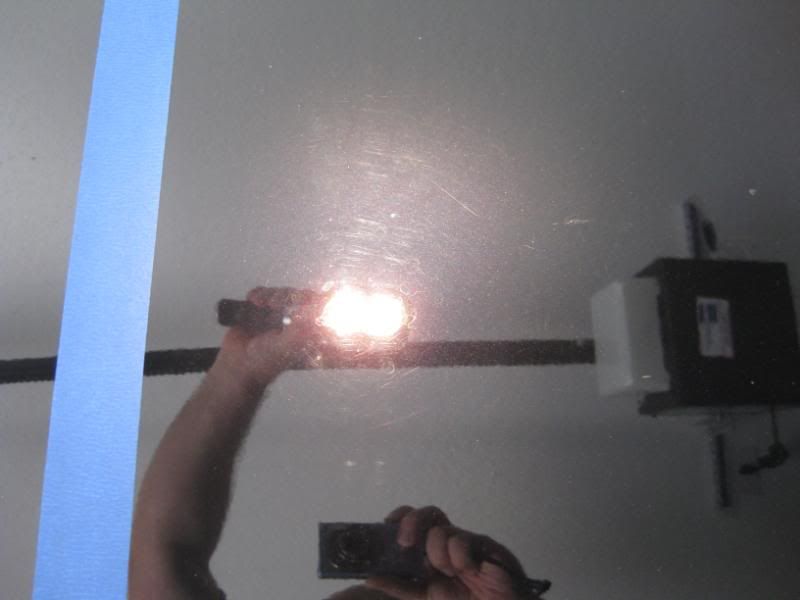
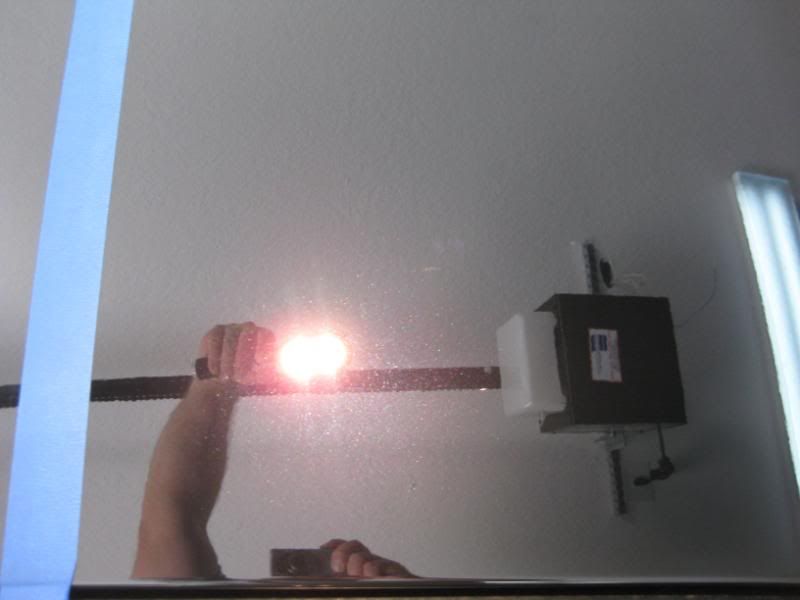
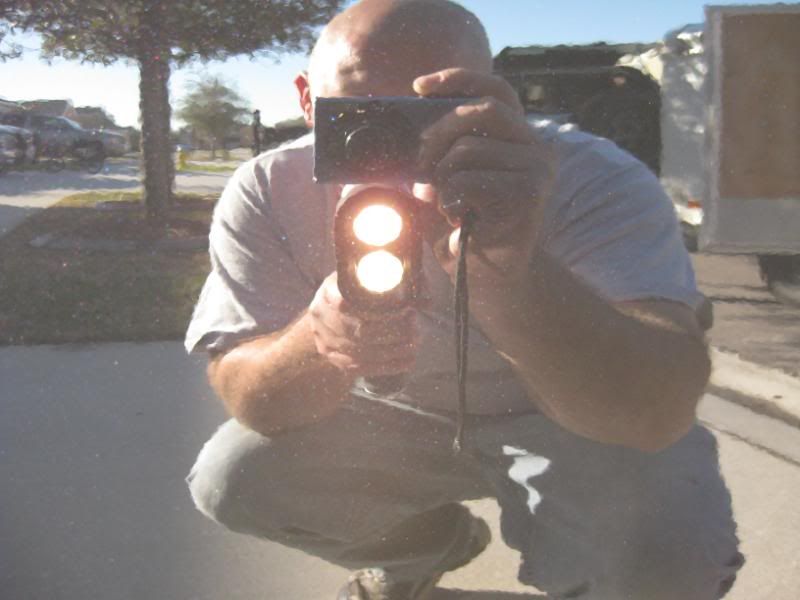
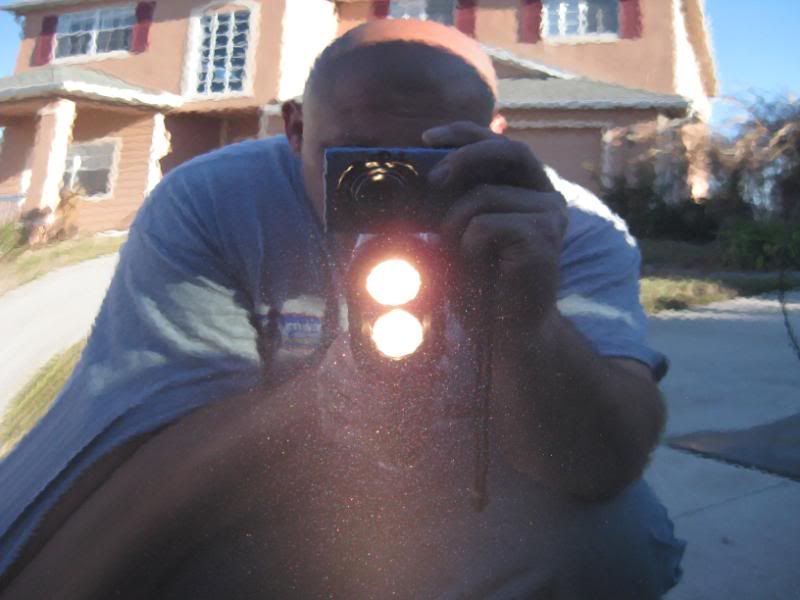
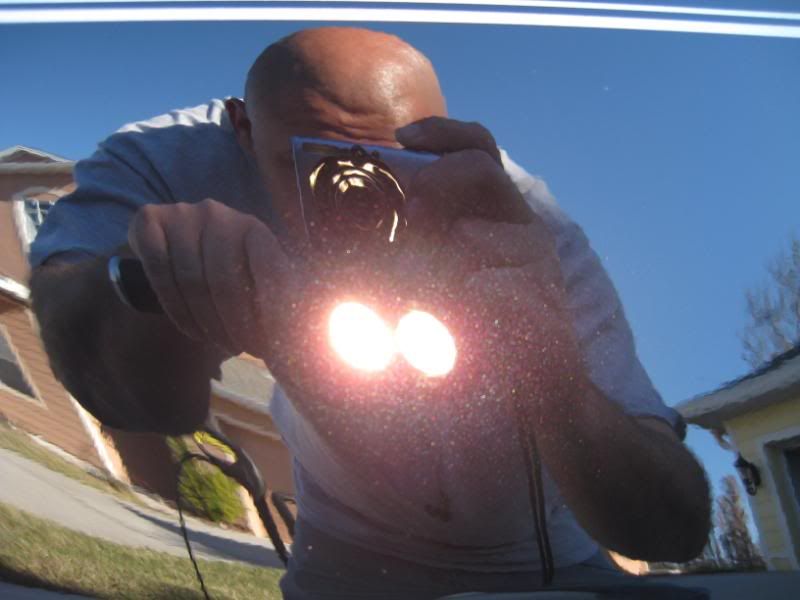
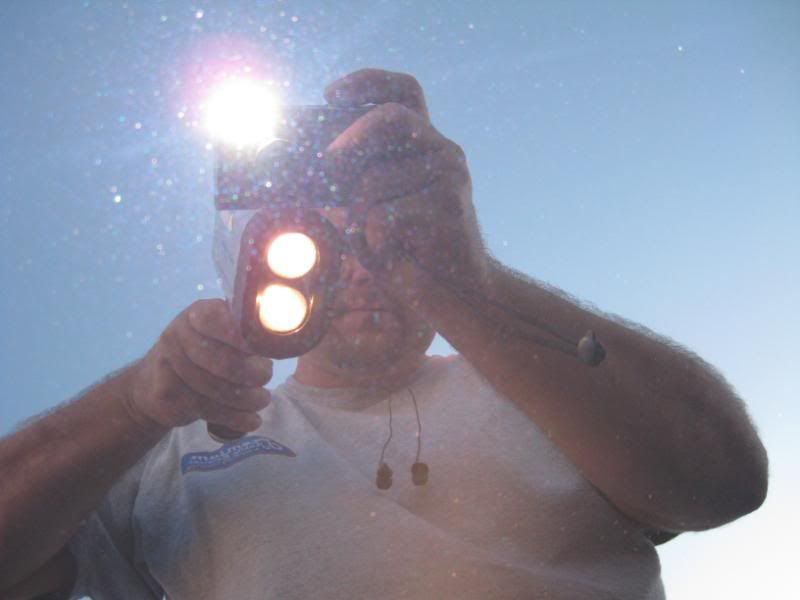
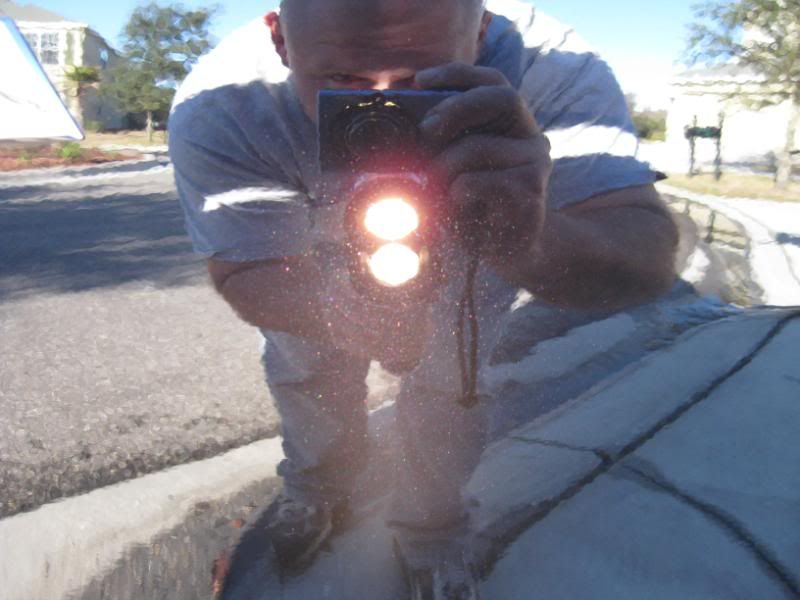
Swirls highlighted with Brinkmann Dual Xenon flashlight
Polished with PC7424XP, Menzerna Power Finish, and LC 5.5” orange CCS pads
Glass cleaned with Meguiars Glass cleaner concentrate
LSP was Wheel Wax Glacier Polish and sealant
Final touch was Meguiars Final Touch spray detailer
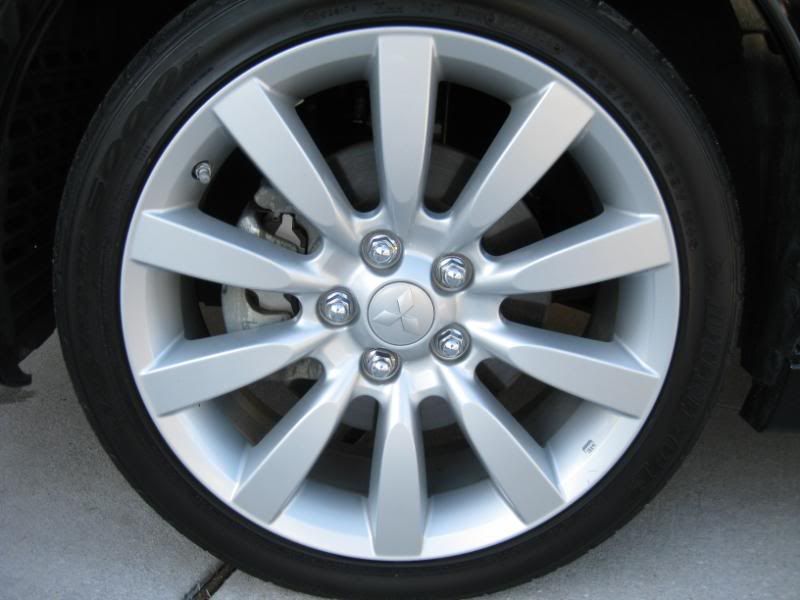
Wheels and tires
Cleaned with various brushes
Purple Power diluted 50/50 on wheels ant tires
Tires dressed with Adams VRT protectant
Interior
Vacuumed with Rigid 5hp portable shop vac
Protected with 303 Aerospace Protectant
Interior windows cleaned with Meguiars Glass Cleaner concentrate
Without further ado.
Before
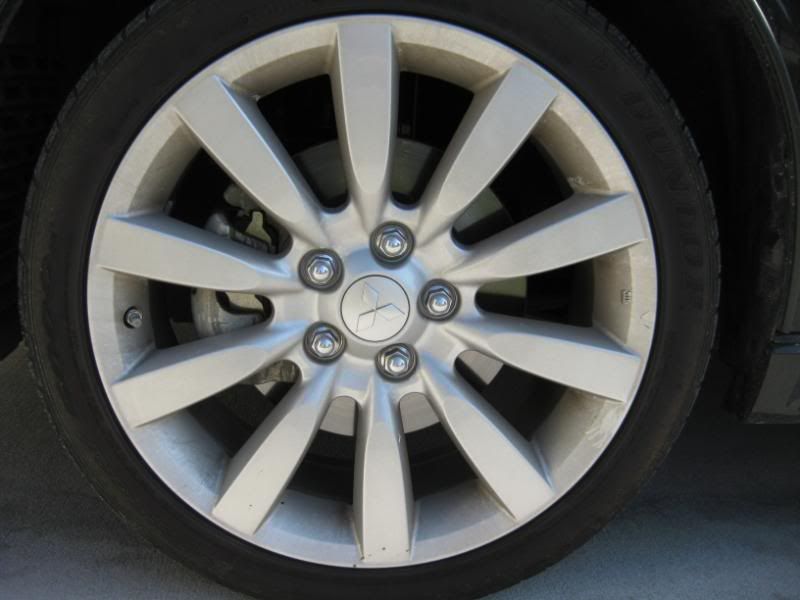
Cleaning the wheels
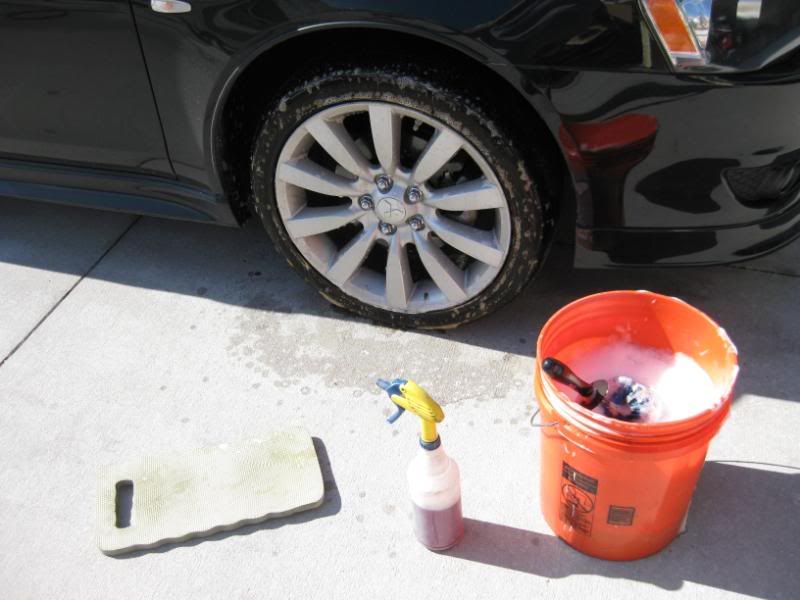
All foamed up
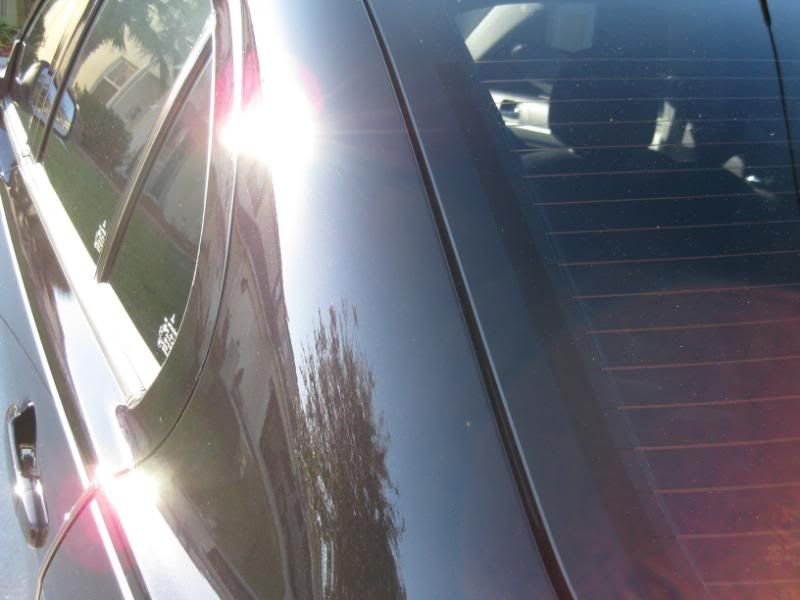
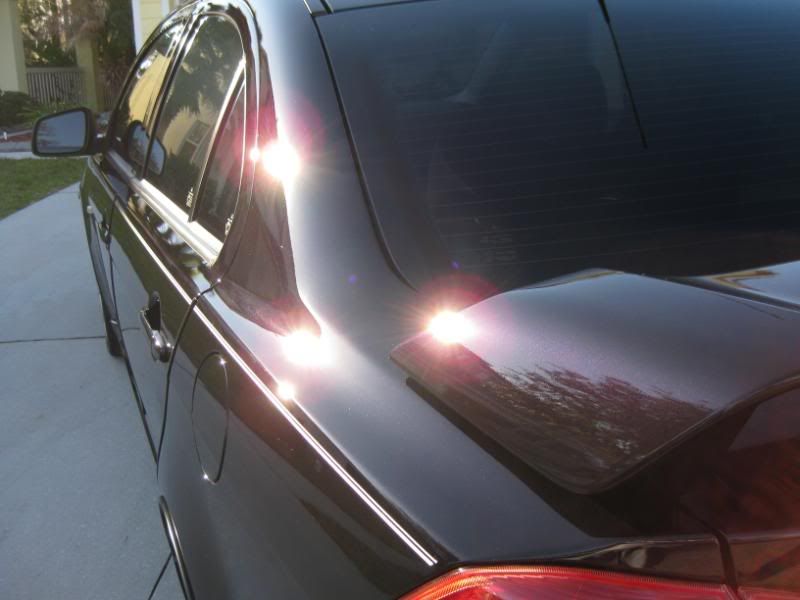
Trunk area after clay bar
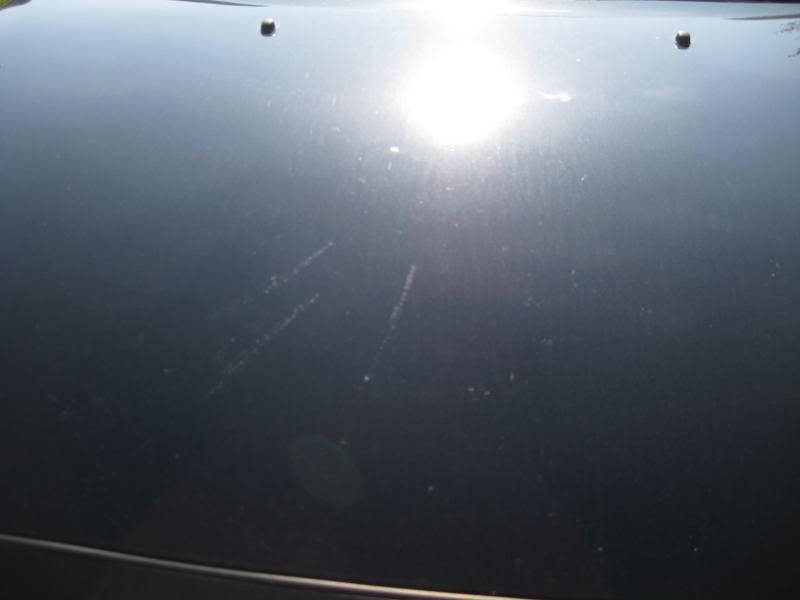
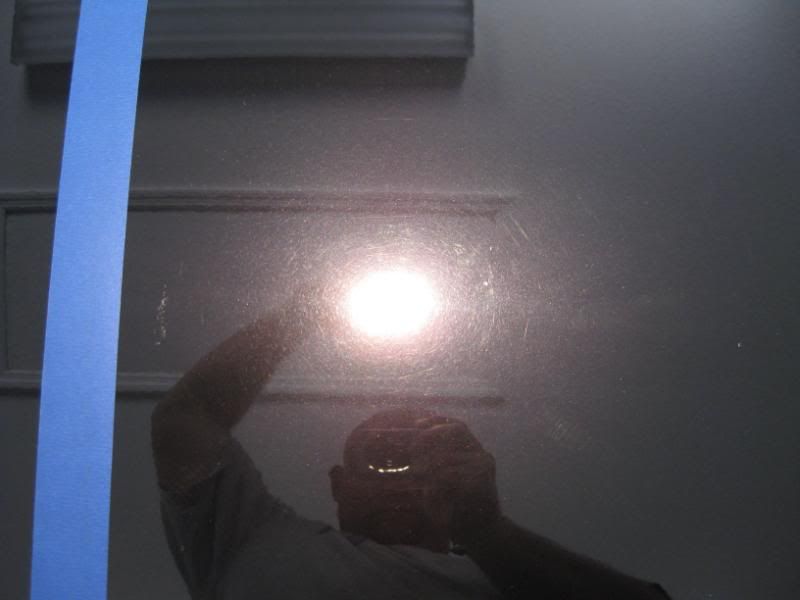
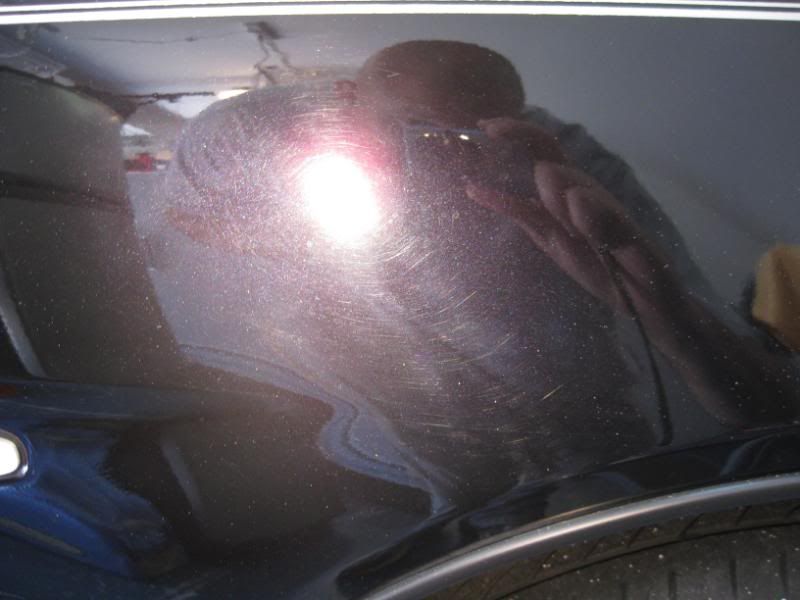
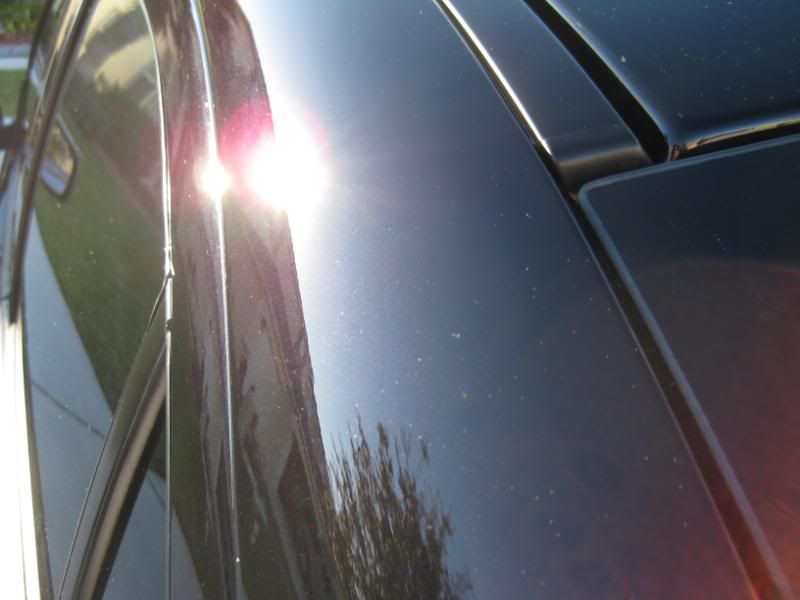
Befores of paint after wash and clay

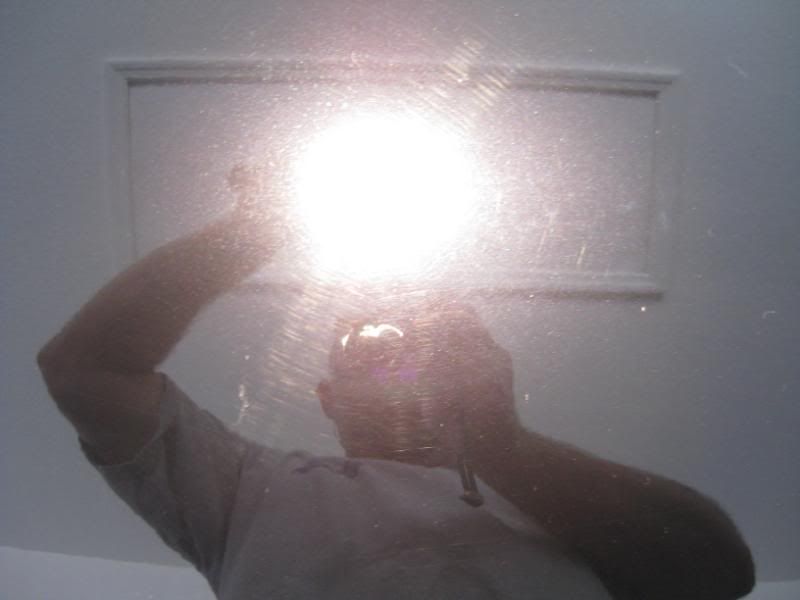

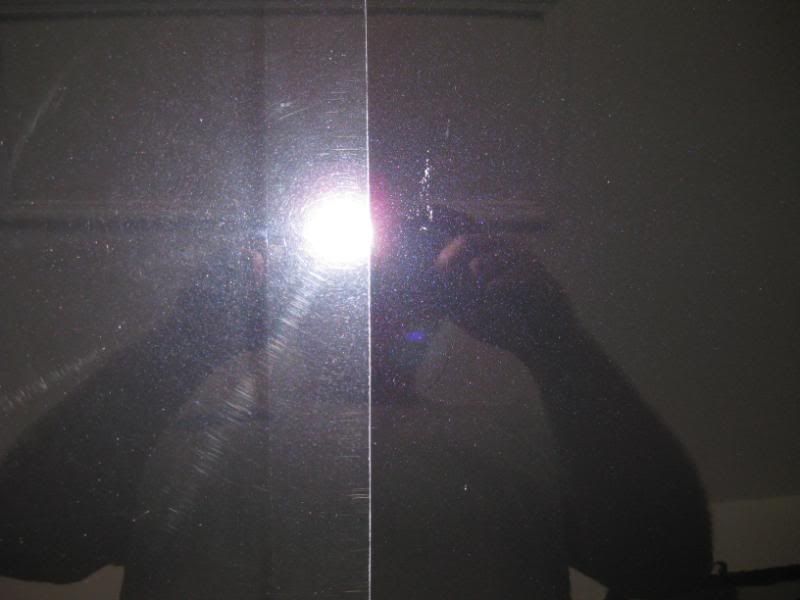
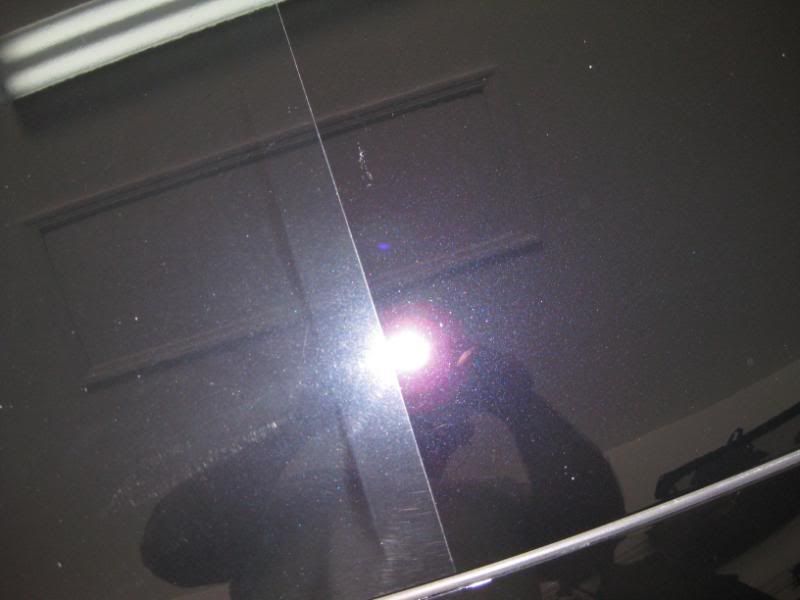
Hood taped off for 50/50 before
50/50 of hood afters
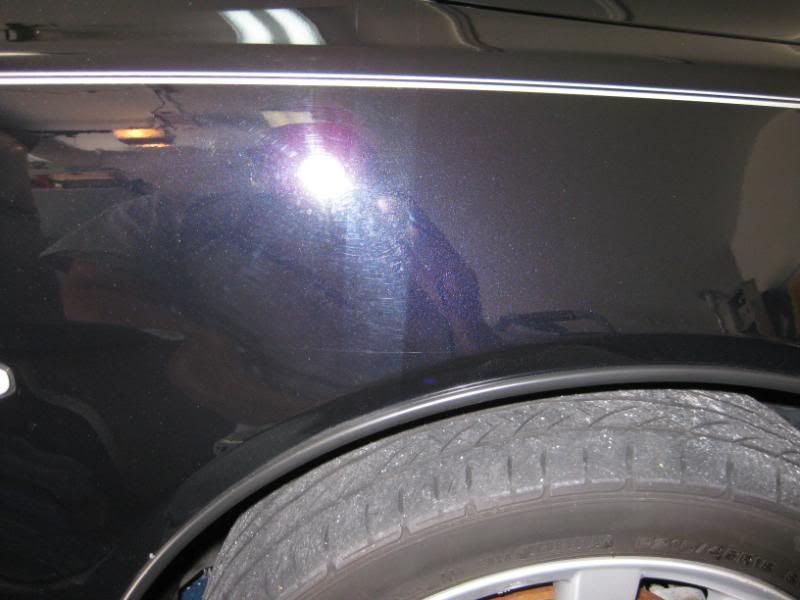
Passenger fender before polishing
50/50 of passenger fender
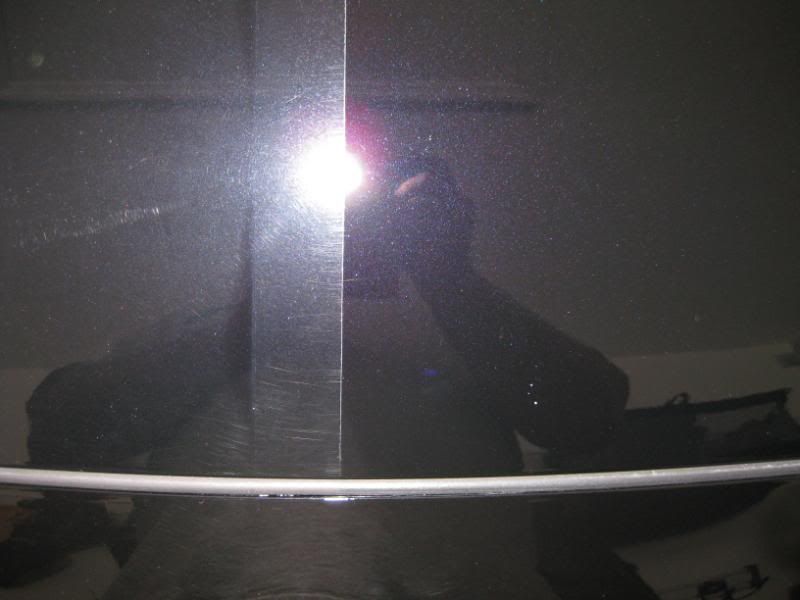
Roof taped off before polishing
After
Roof 50/50

Exterior
Autogeek foam gun with Meguiarss Hyper Wash let dwell for 5 minutes
Pinnacle Ultra Poly Clay with diluted ONR as clay lube
Dried with the Absorber
Swirls highlighted with Brinkmann Dual Xenon flashlight
Polished with PC7424XP, Menzerna Power Finish, and LC 5.5” orange CCS pads
Glass cleaned with Meguiars Glass cleaner concentrate
LSP was Wheel Wax Glacier Polish and sealant
Final touch was Meguiars Final Touch spray detailer
Wheels and tires
Cleaned with various brushes
Purple Power diluted 50/50 on wheels ant tires
Tires dressed with Adams VRT protectant
Interior
Vacuumed with Rigid 5hp portable shop vac
Protected with 303 Aerospace Protectant
Interior windows cleaned with Meguiars Glass Cleaner concentrate
Without further ado.
Before
Cleaning the wheels
All foamed up
Trunk area after clay bar
Befores of paint after wash and clay
Hood taped off for 50/50 before
50/50 of hood afters
Passenger fender before polishing
50/50 of passenger fender
Roof taped off before polishing
After
Roof 50/50

 rops:
rops: