2004 Dodge Ram 2500 (Complete Correction)

DARK HORSE

New member
Joined
Sep 14, 2009
Messages
2,537
Reaction score
0
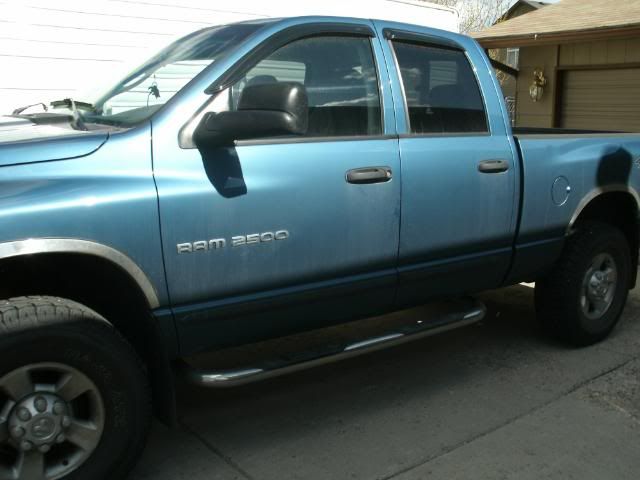
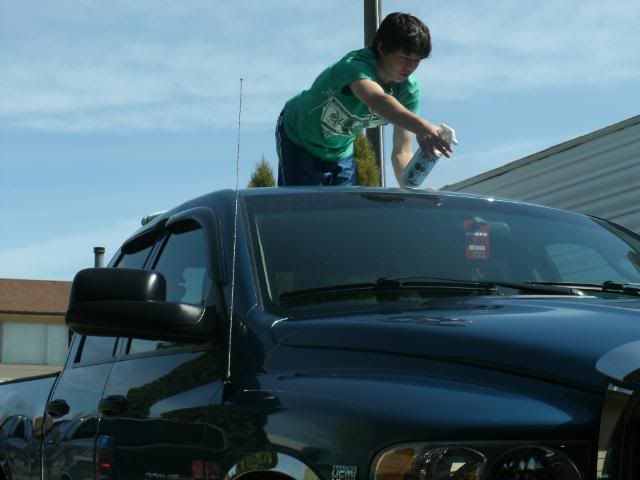
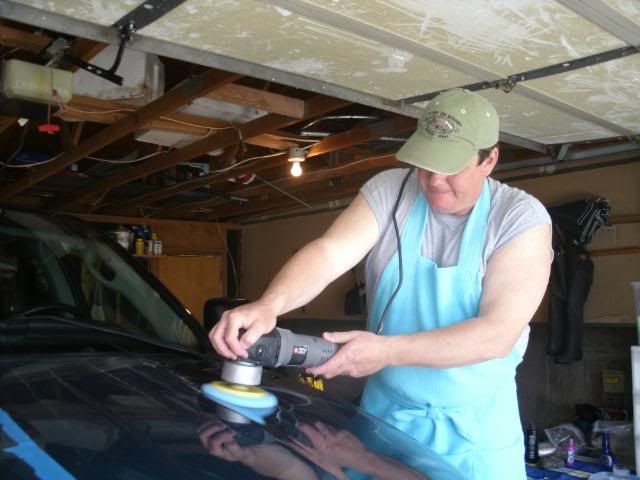
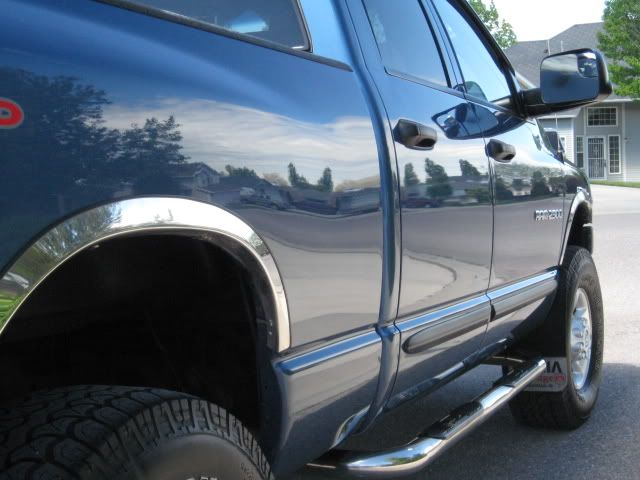
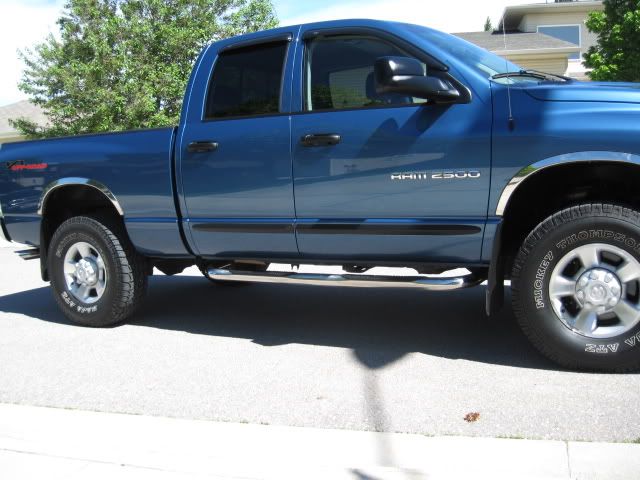
Okay, I hate to admit it, but this is another one of my trucks. (It is actually my wife’s winter driver). This 2004 Dodge Ram 2500 (w/ 37K on the clock) has been very much neglected recently. It is outside 24/7 (never seen the inside of a garage) and has never been polished. It is a truck that is treated like a truck. At times it is used as a work truck (hauling supplies, debris going to the dump, and we also use it to pull our 27ft. camp trailer). It is also used as a hunting, fishing, and true going off road truck. It has been through sage brush numerous times, and across many lava fields. It is long over due for a full paint correction, complete interior/exterior, engine bay, wheel well and undercarriage detail. My youngest son Andrew volunteered to help with the detail (as he always does), so here we go:

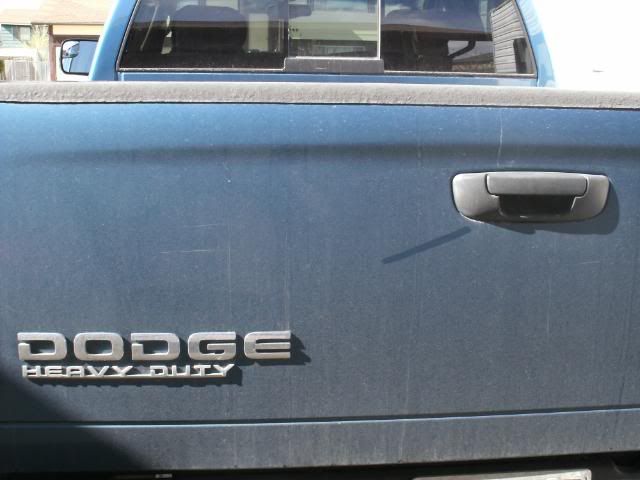
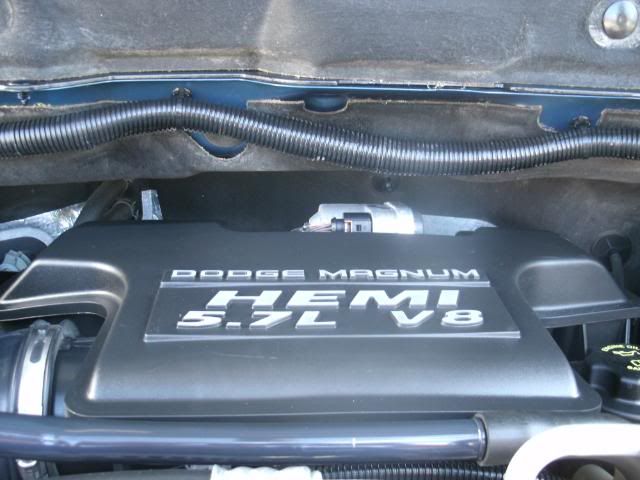
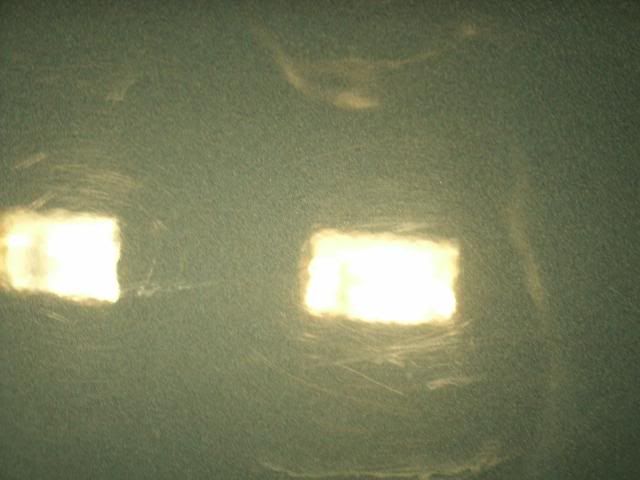
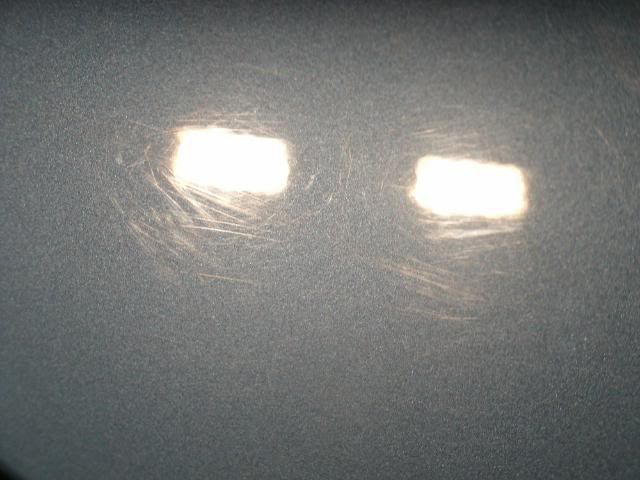
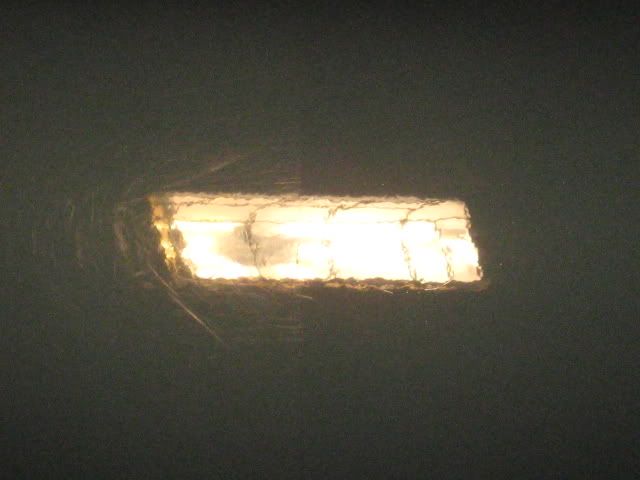
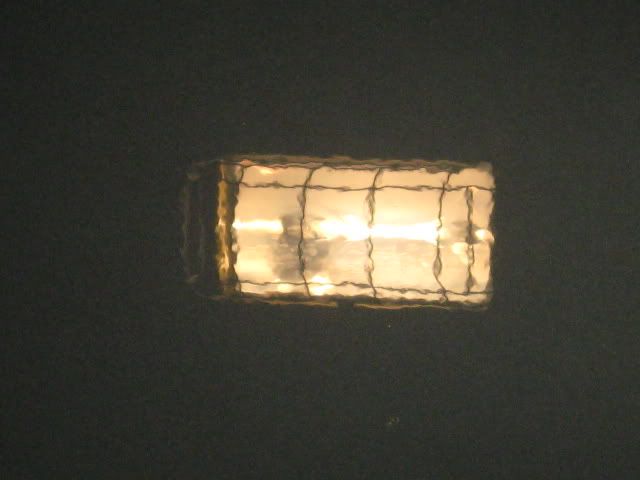
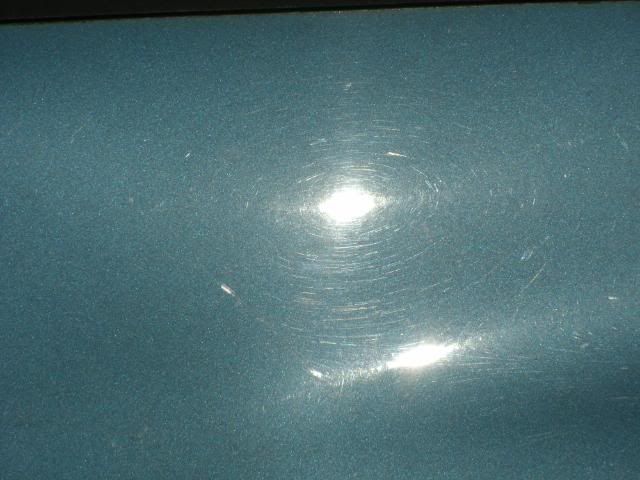
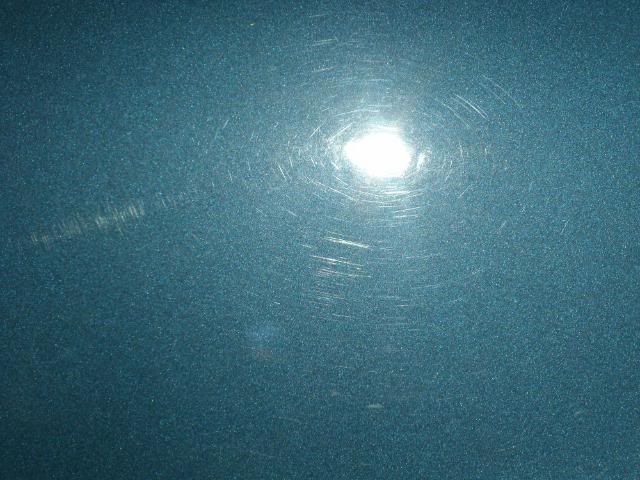
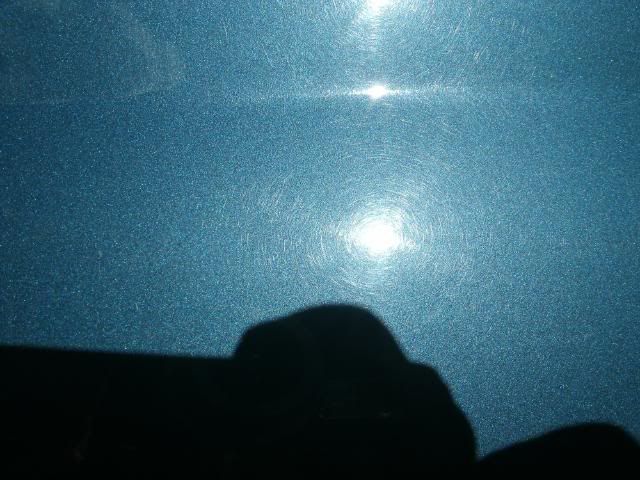
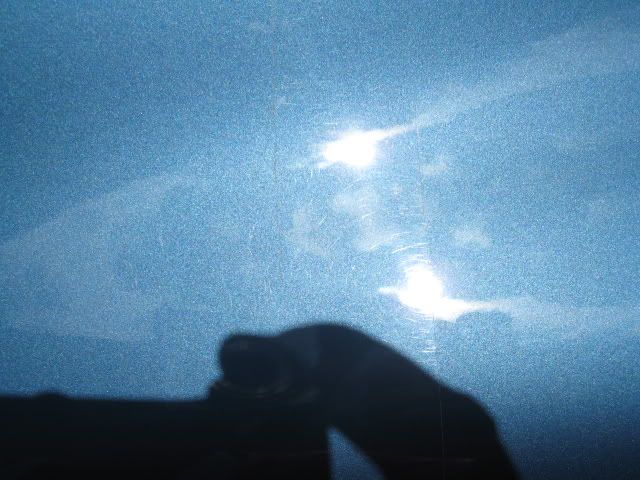
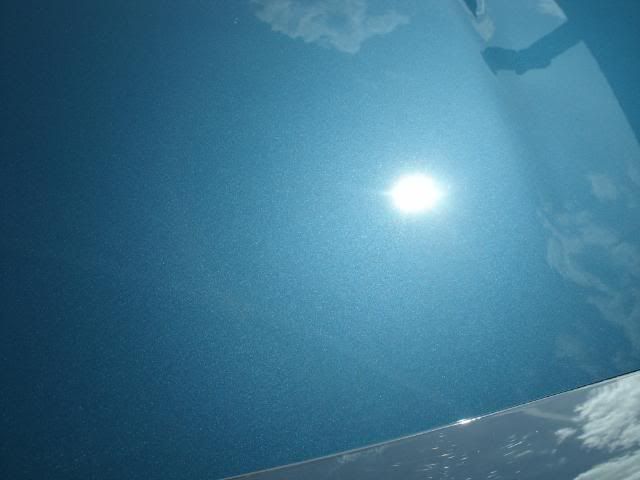
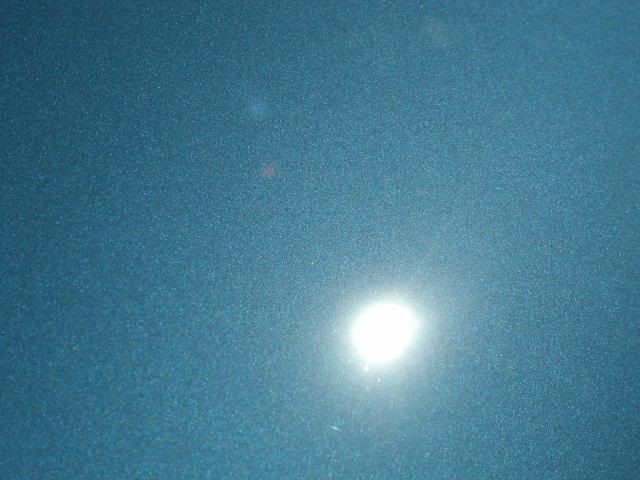
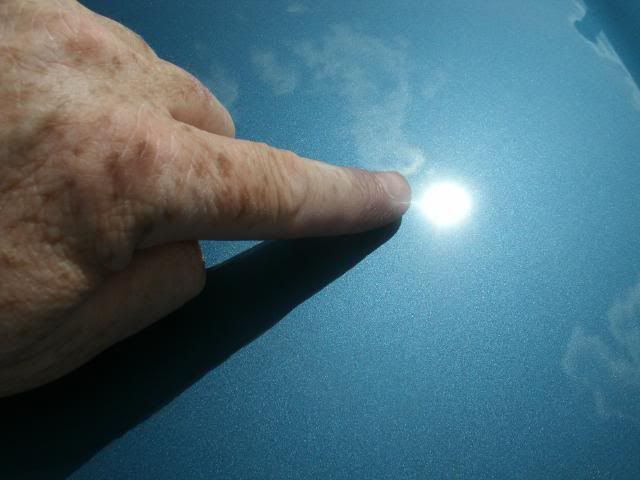
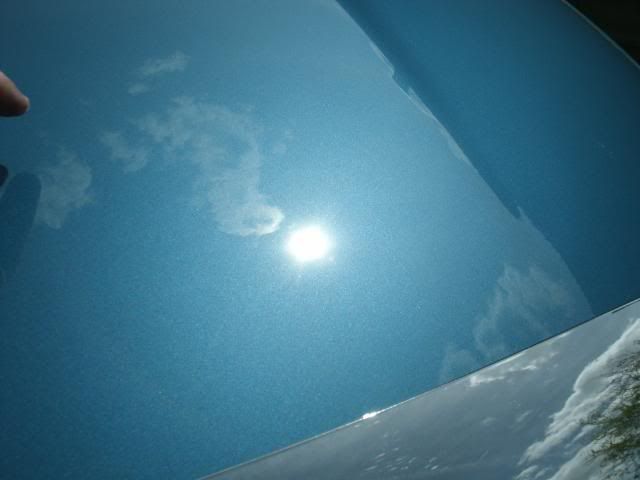
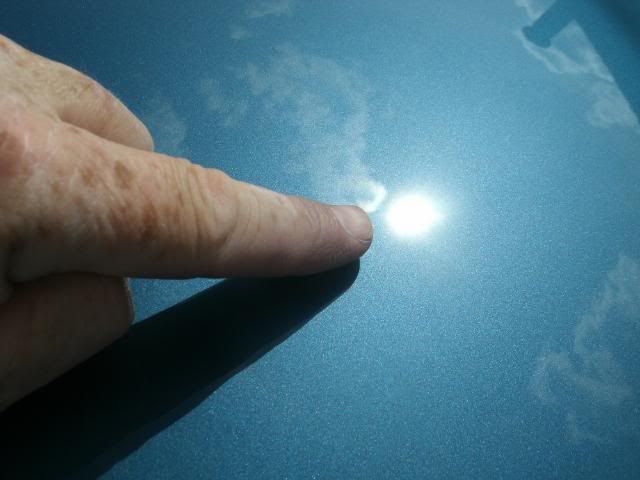
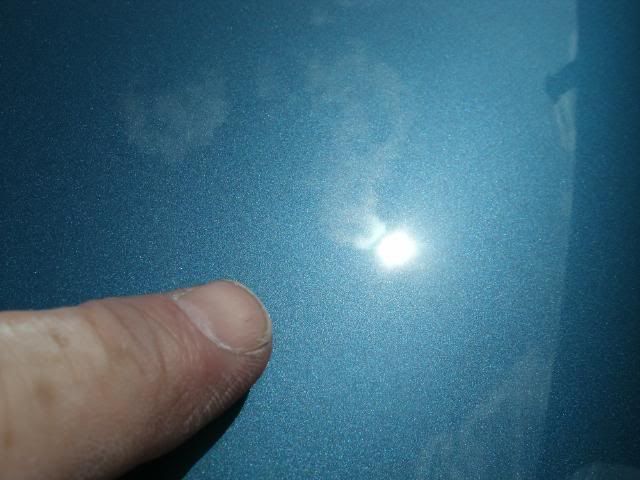
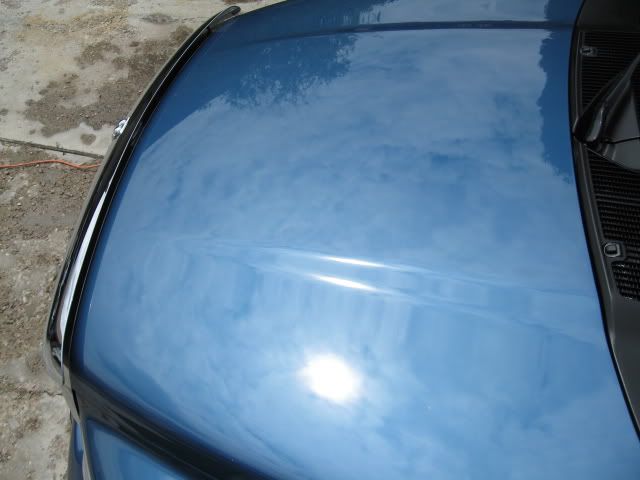
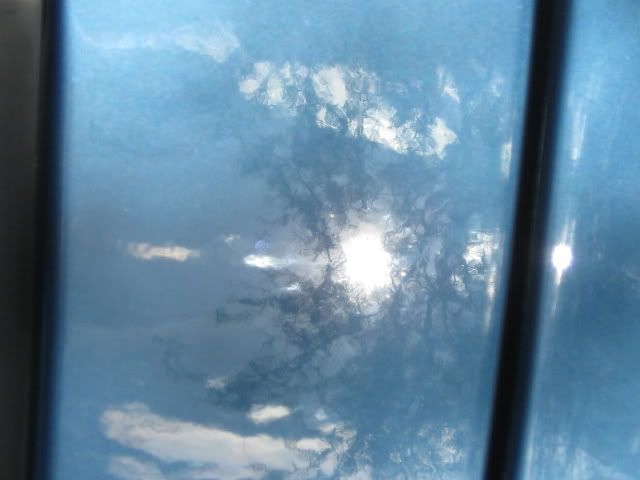
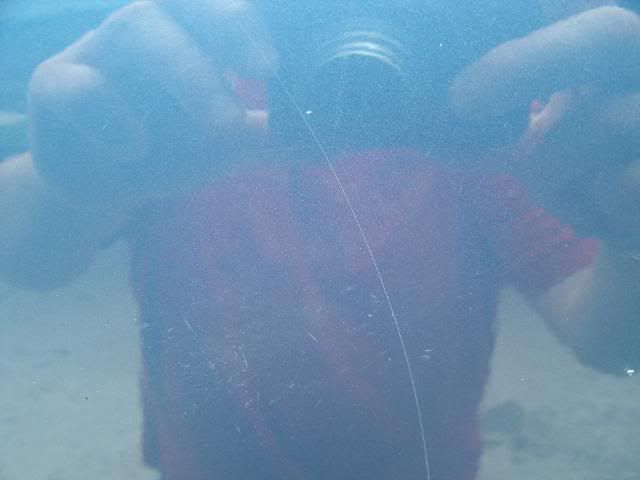
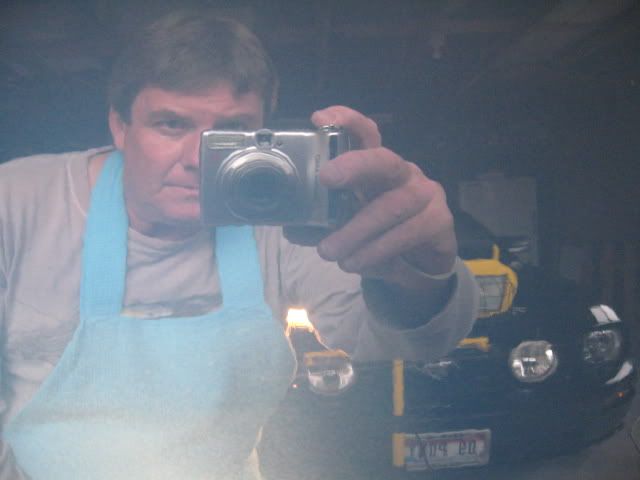
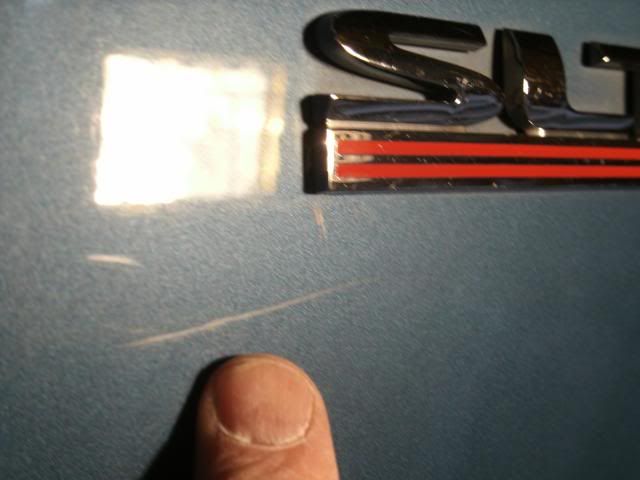
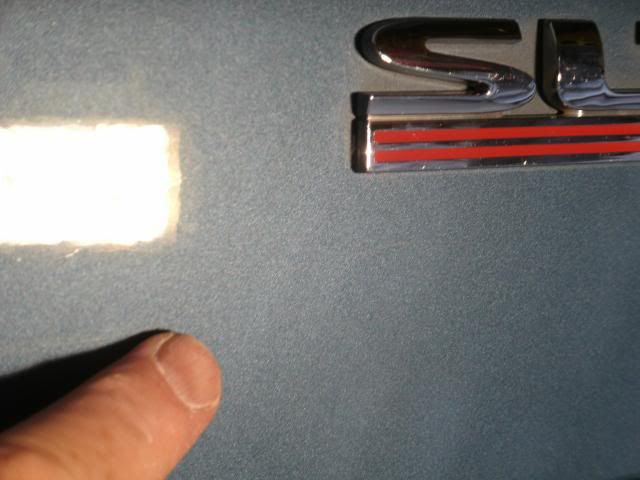
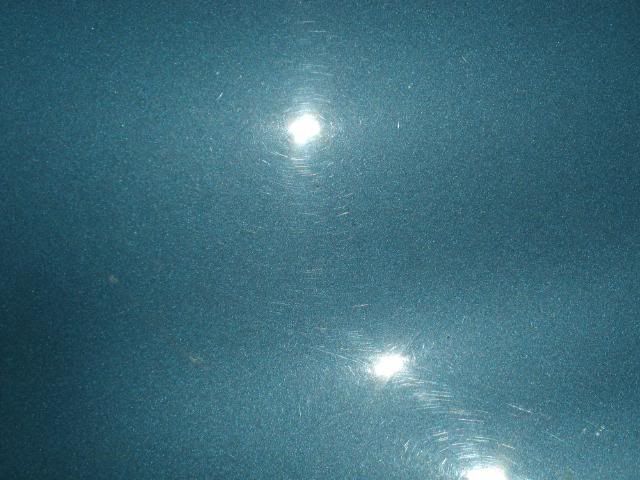
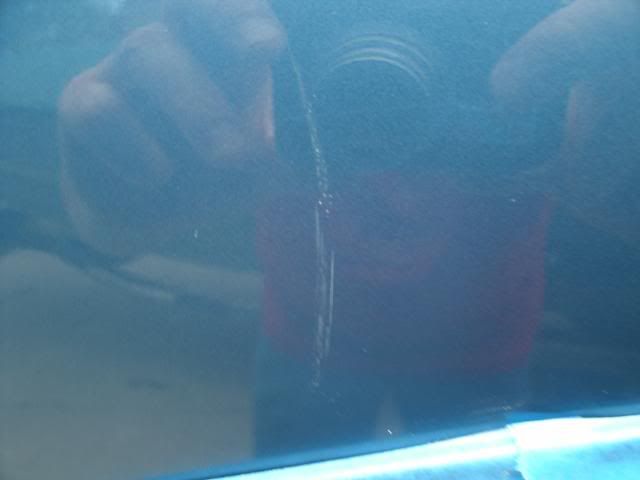
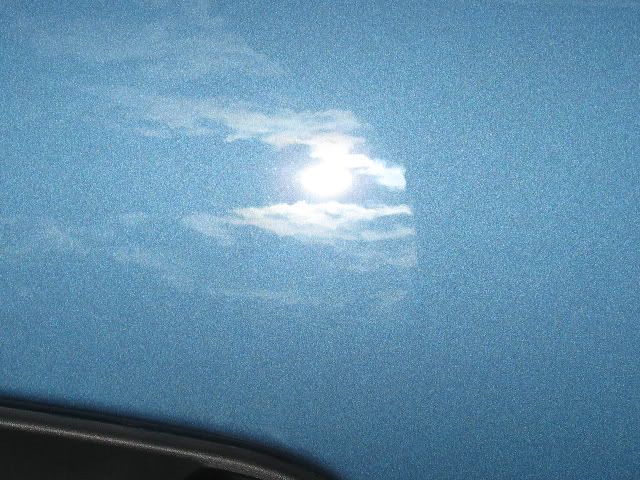
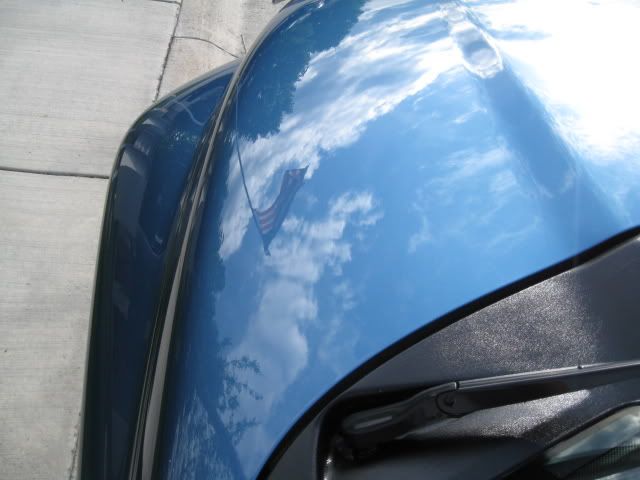
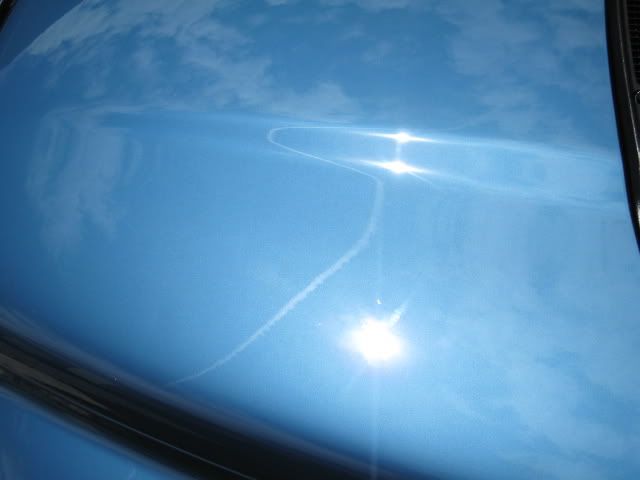
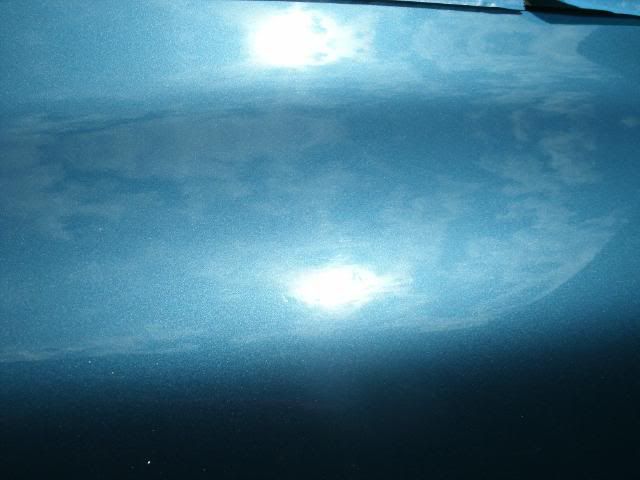
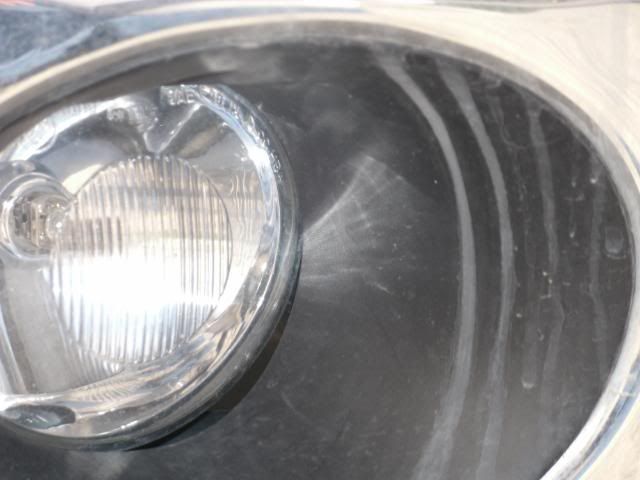
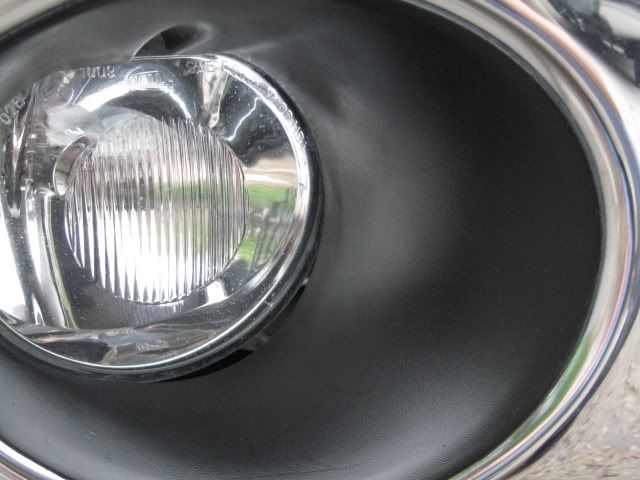
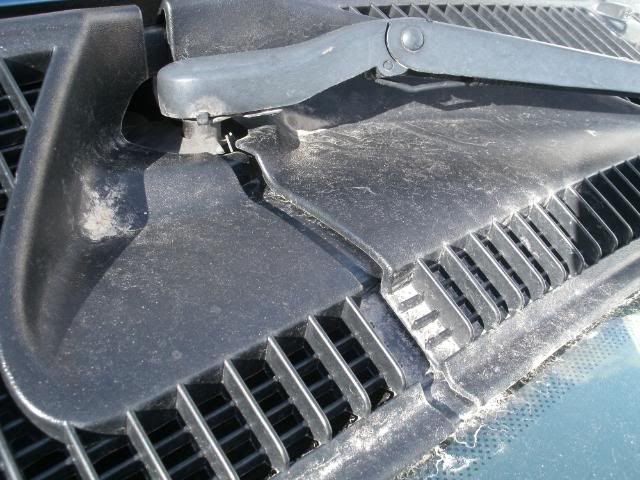
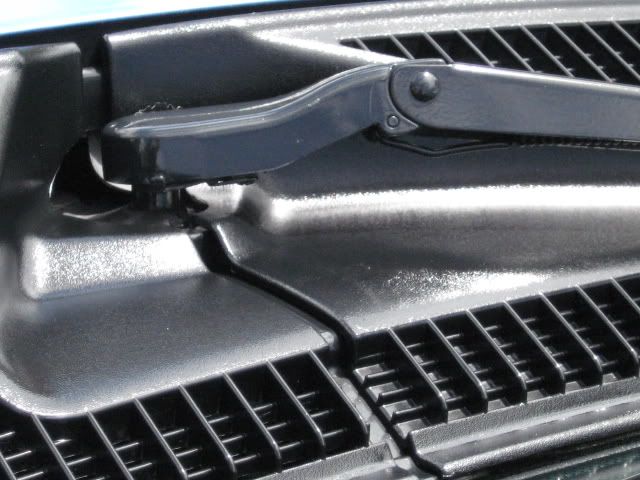
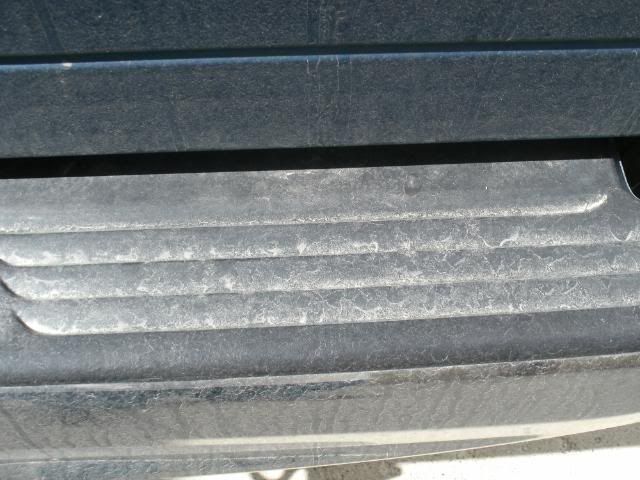
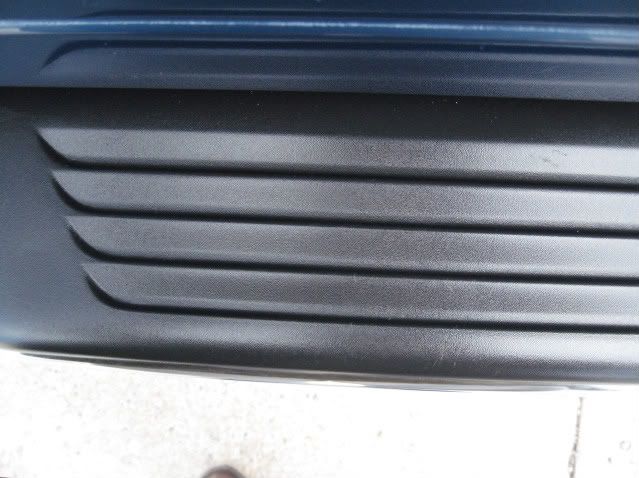
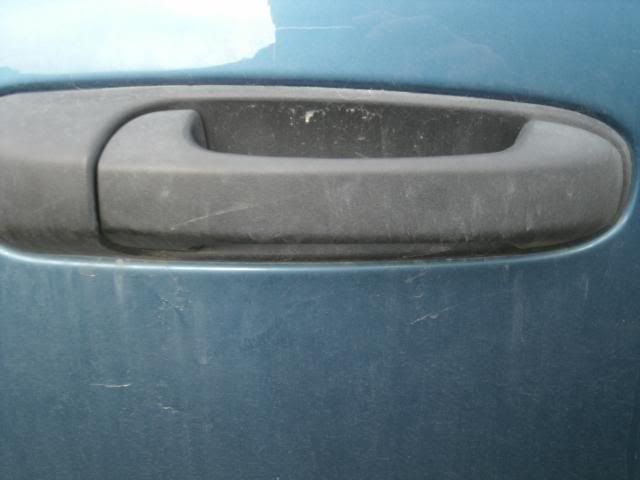
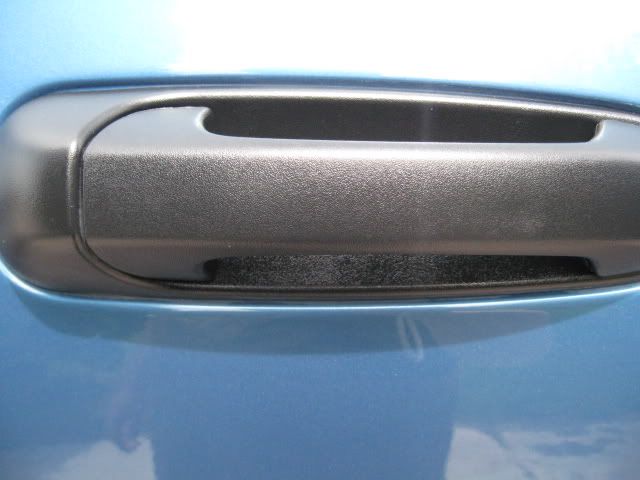
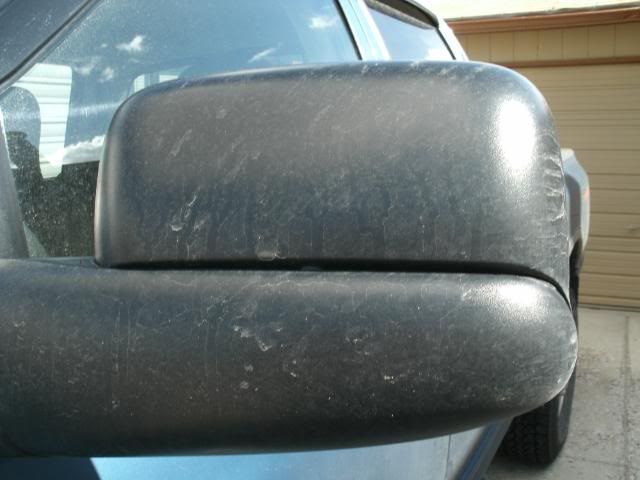
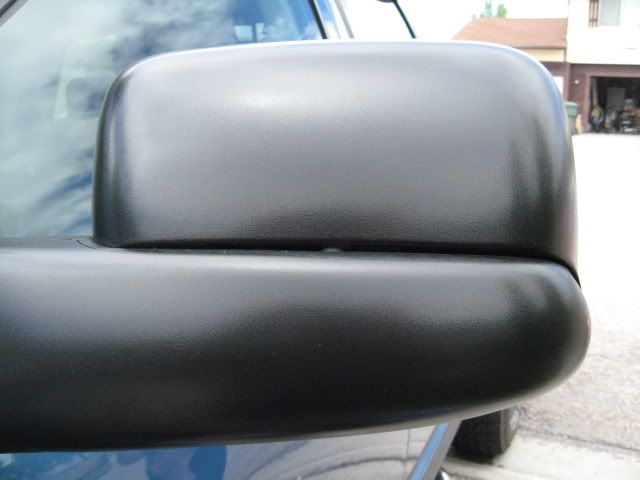
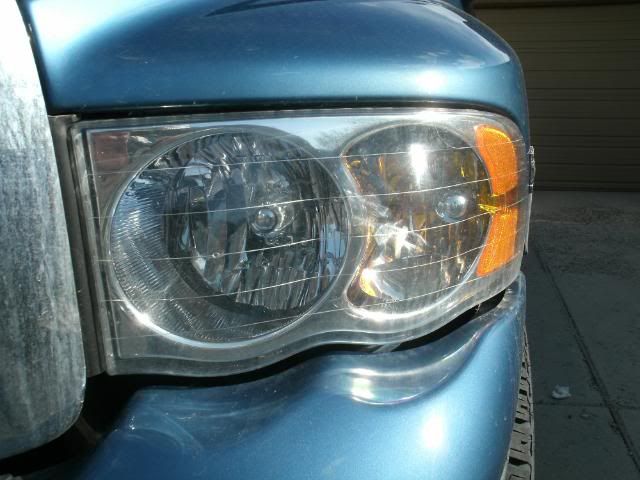
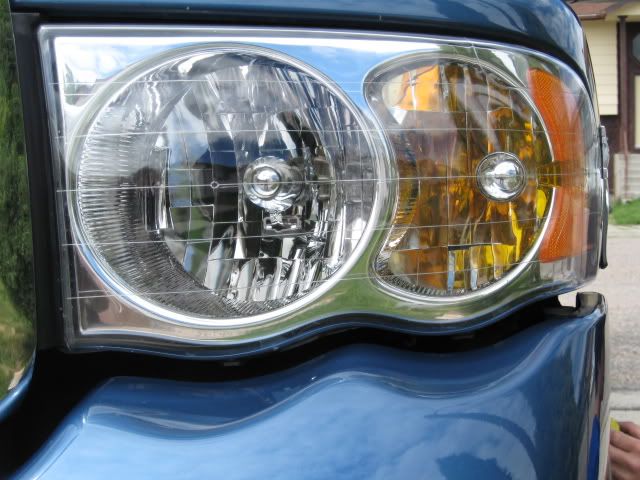
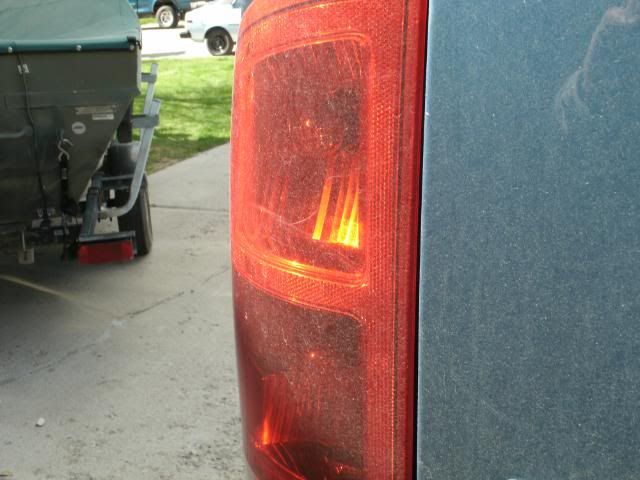
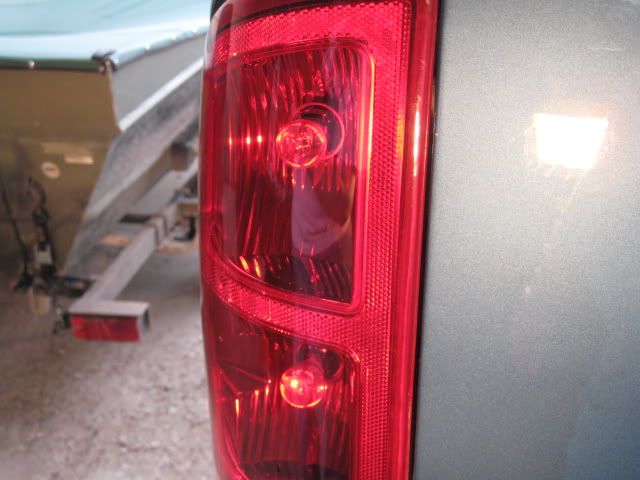
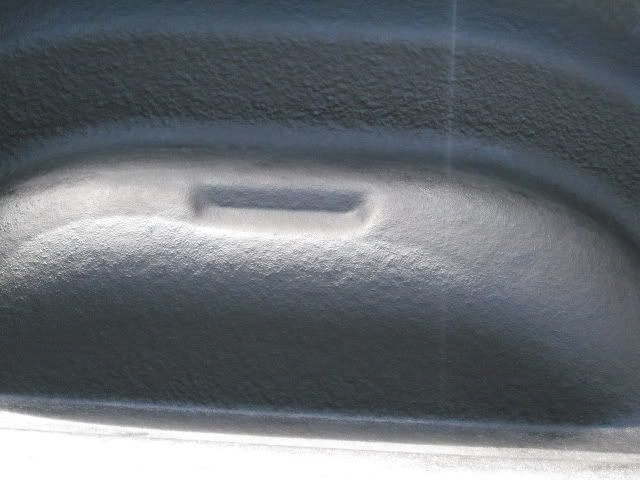
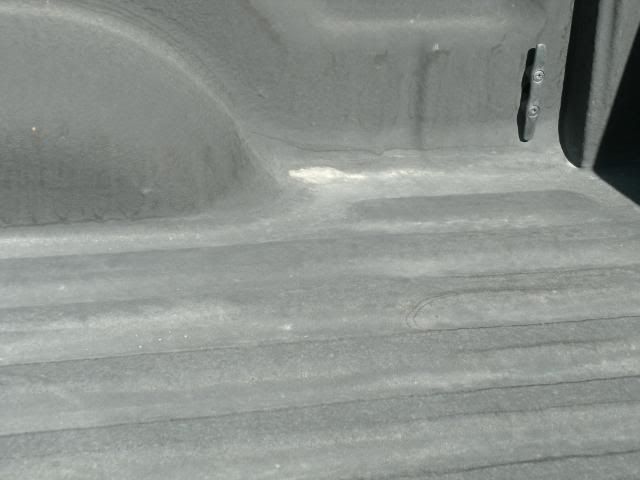
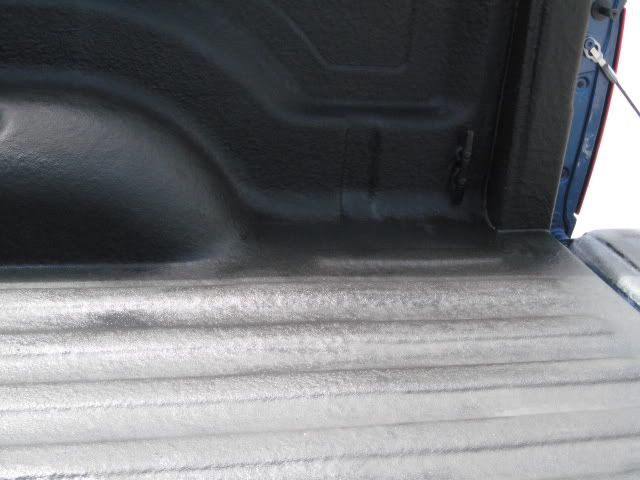
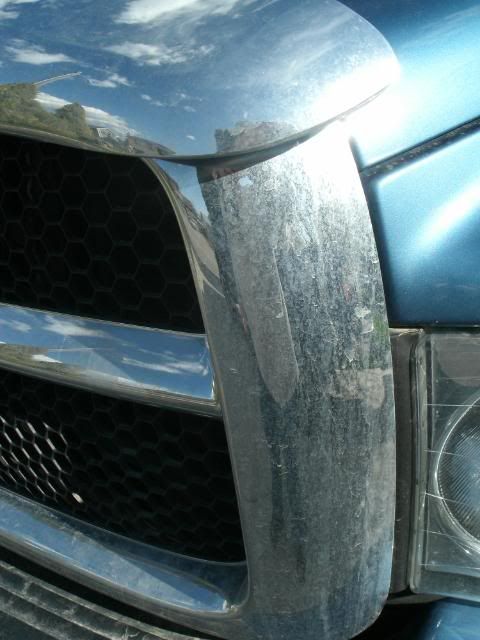
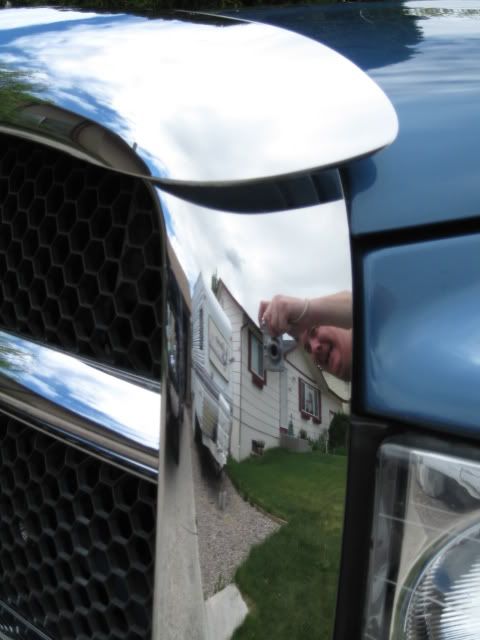
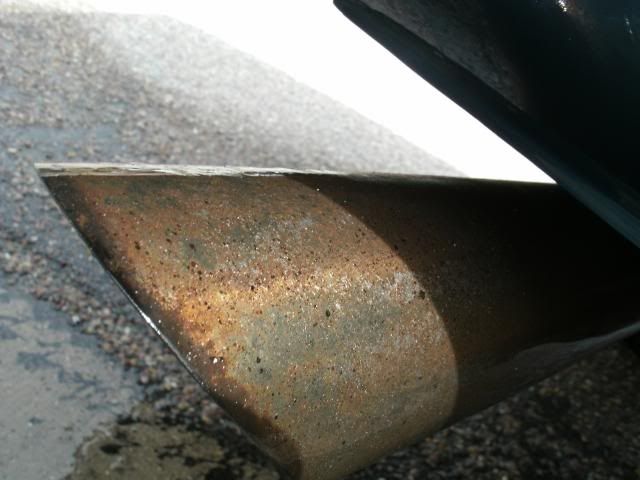
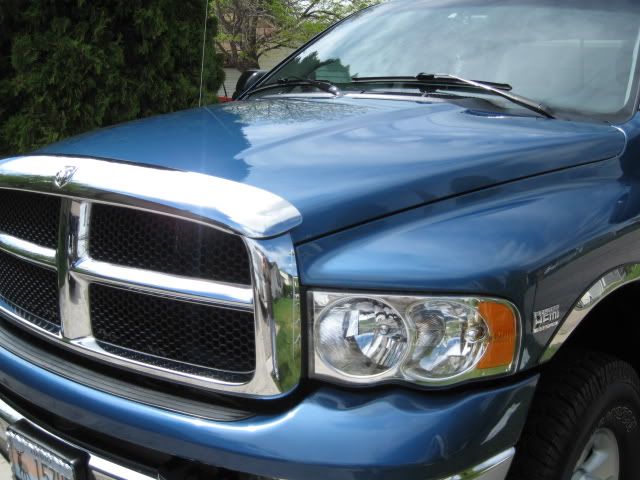
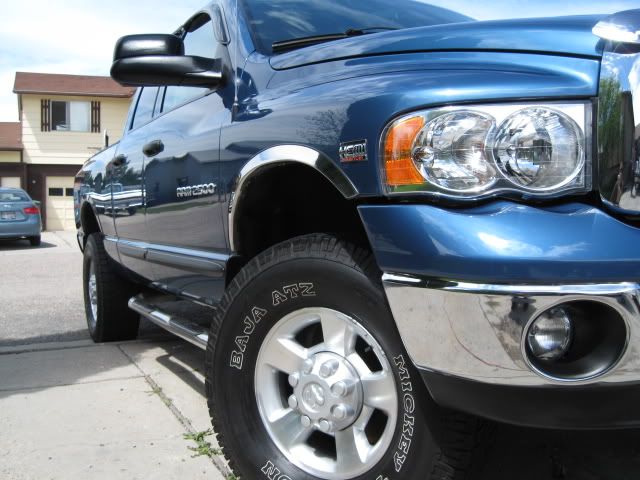
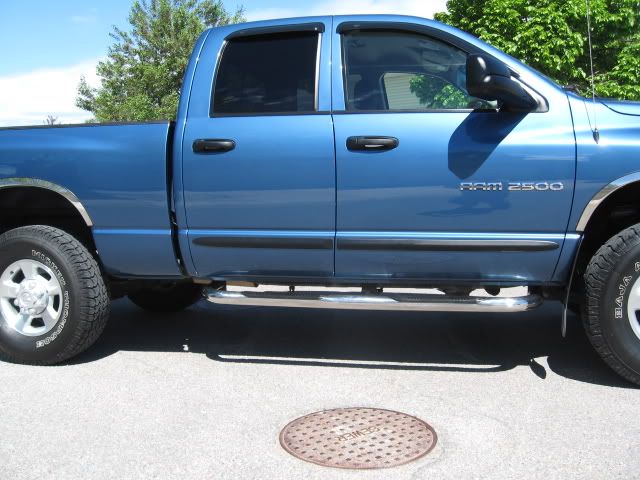
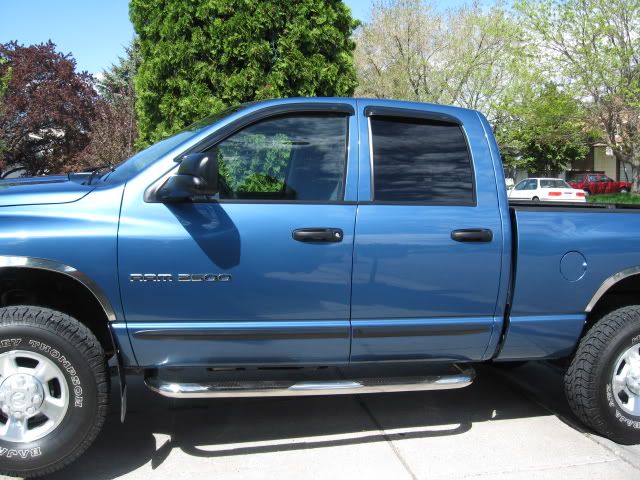
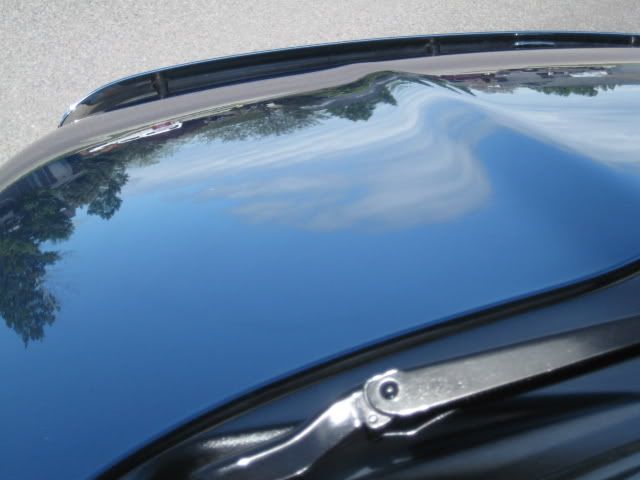
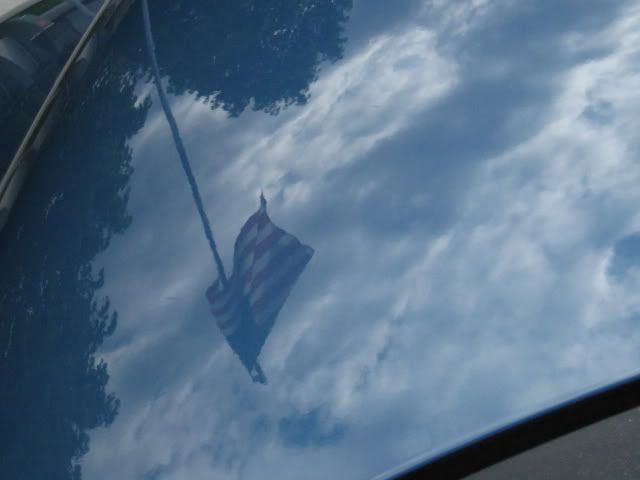
Here are a few pictures of what we were up against (prior to starting):

008.jpg

230.jpg


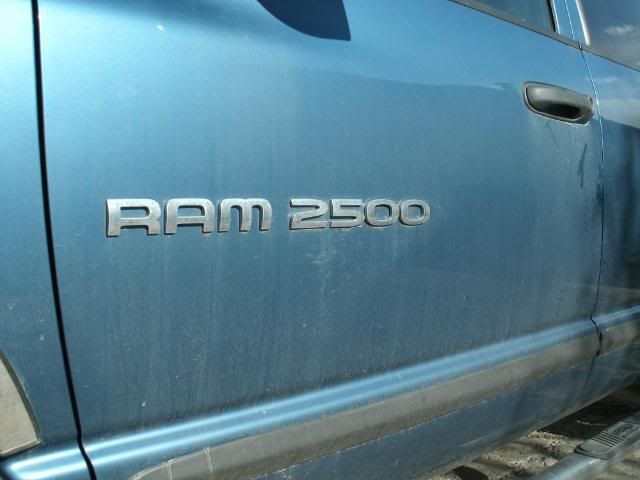
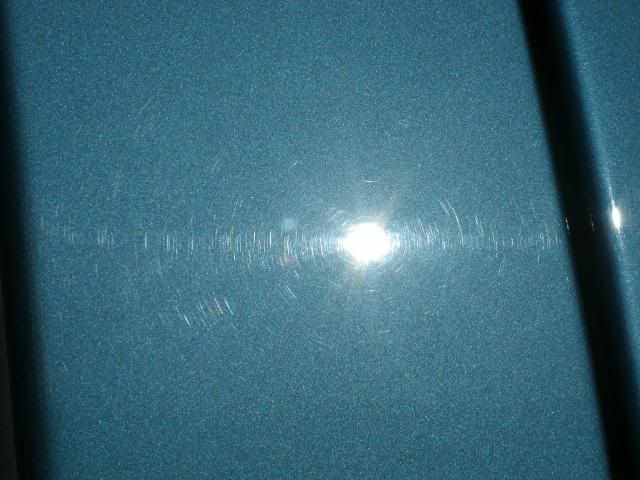
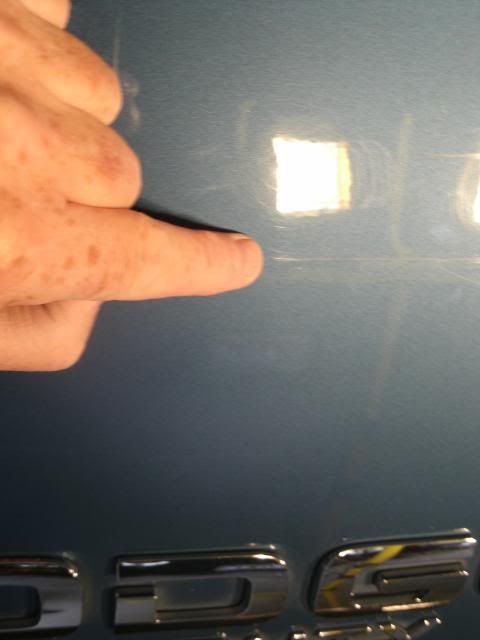
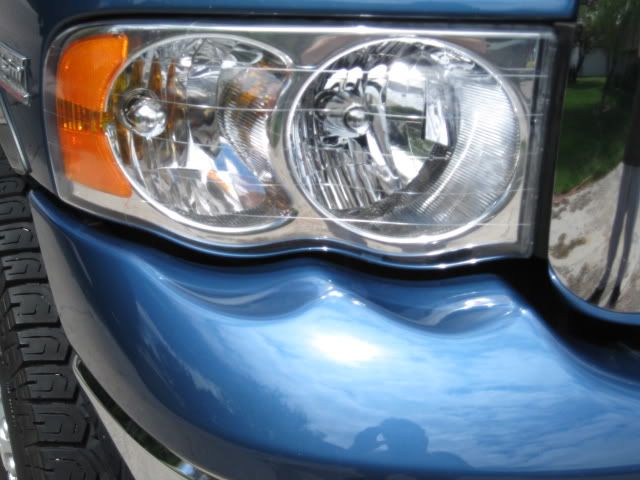
Notice the horizontal scratches just above the D and G (those will be dealt w/ later)…
087.jpg


Okay, so here we go…

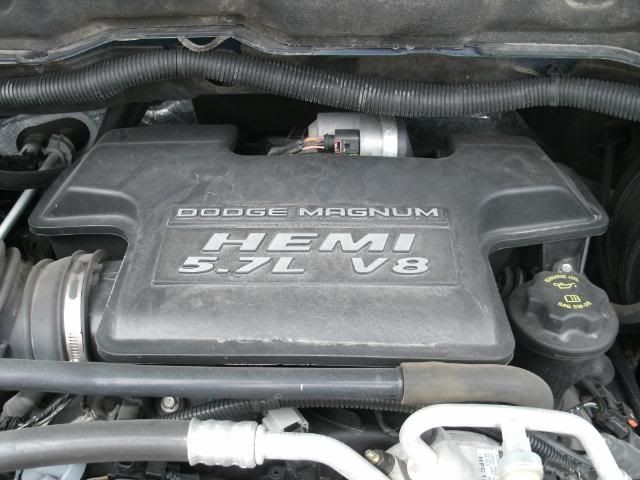
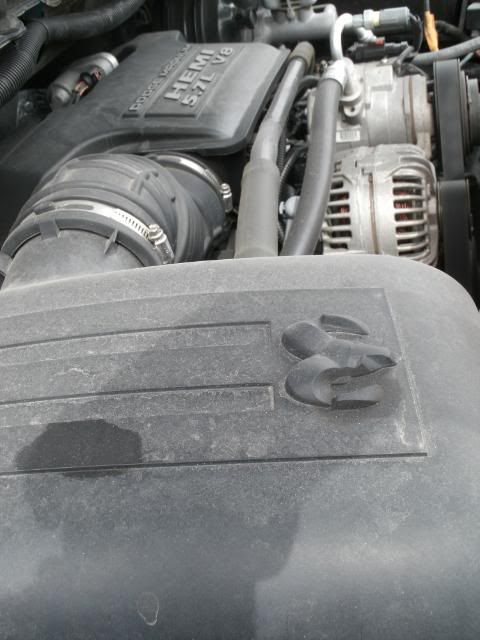
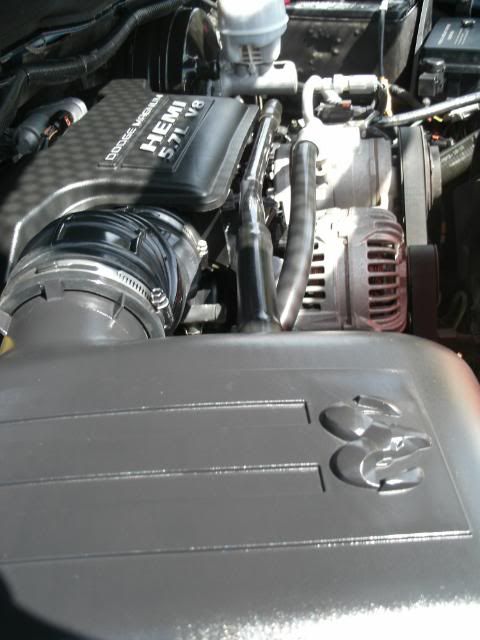
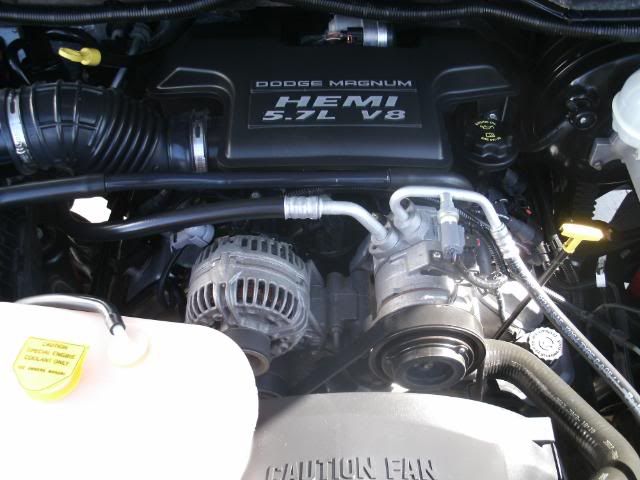
Engine Bay: Covered the alternator with a large plastic bag and duct tape. Cleaned the engine bay with ARO (Amazing Roll Off) and various scrub brushes. Started truck and let it run for about ten minutes; dressed all rubber, plastic, and vinyl with 303 AP. (Here are a couple of shots):

148.jpg

005.jpg

159.jpg

024.jpg

0052.jpg


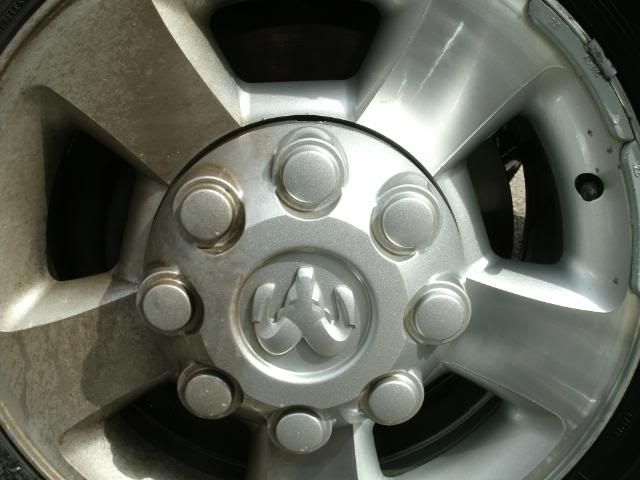
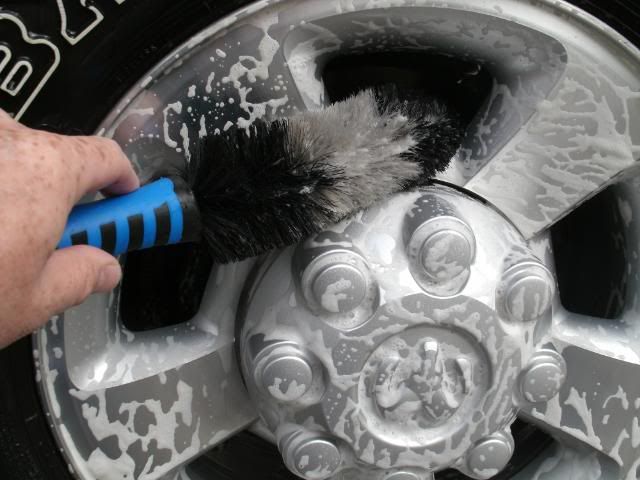
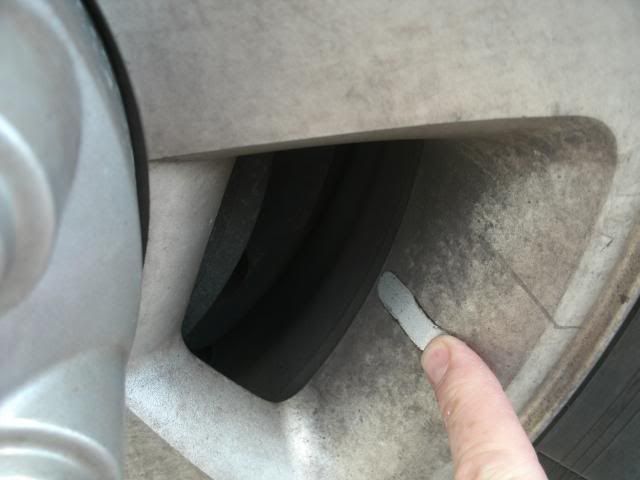
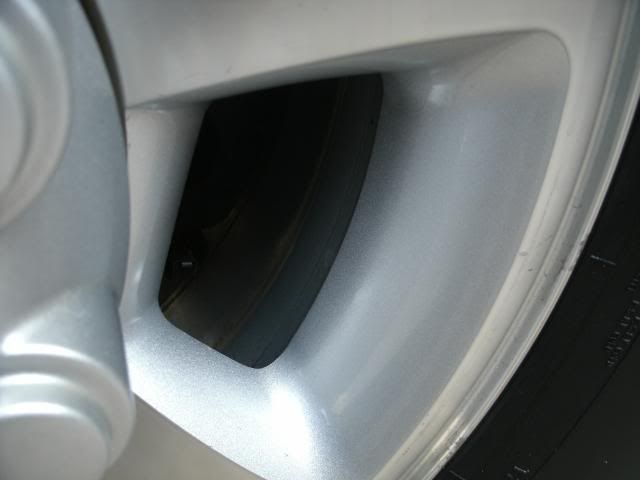
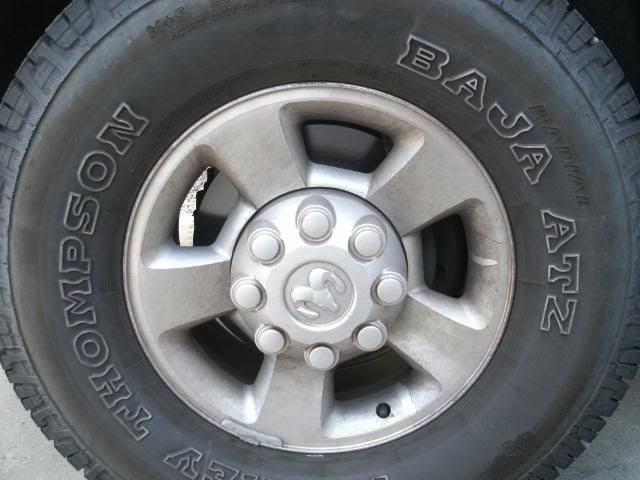
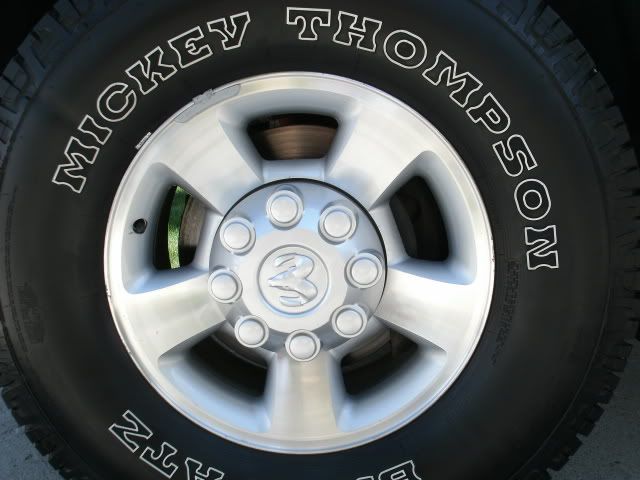
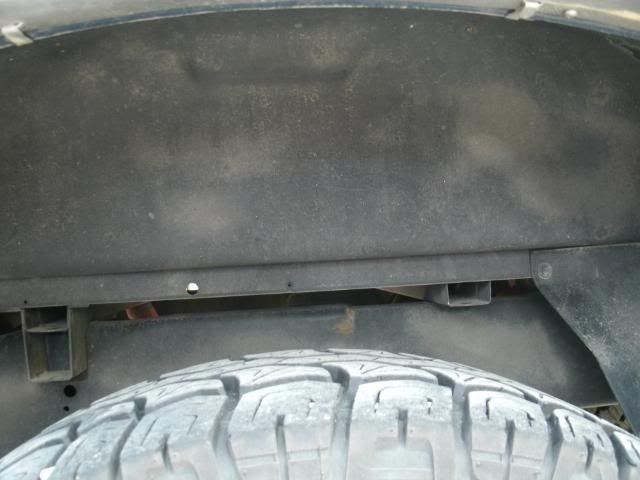
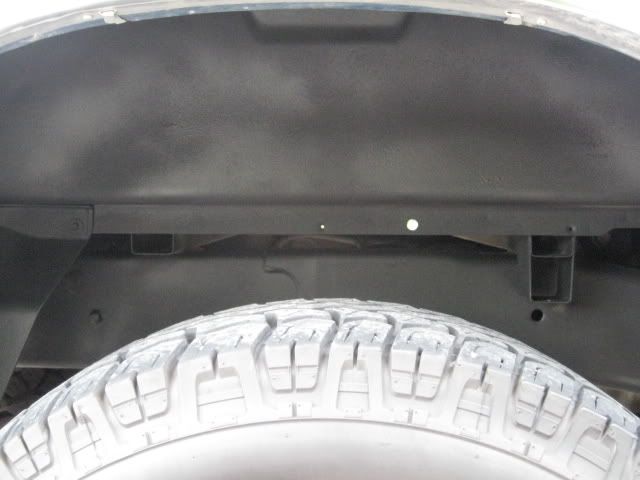
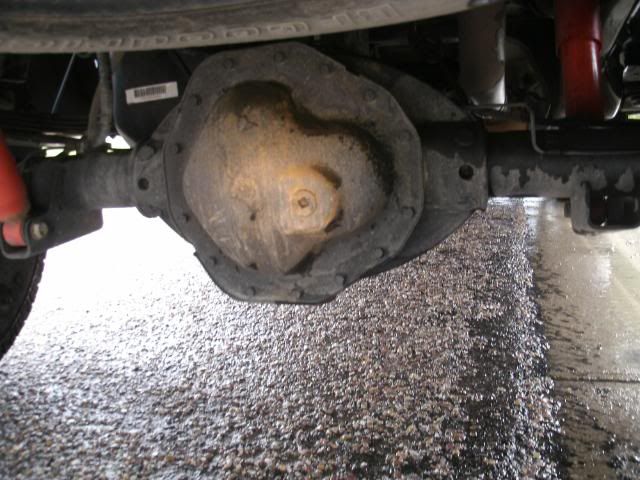
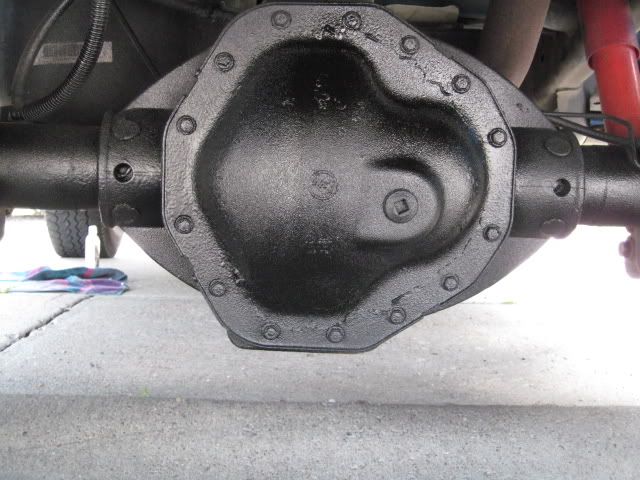
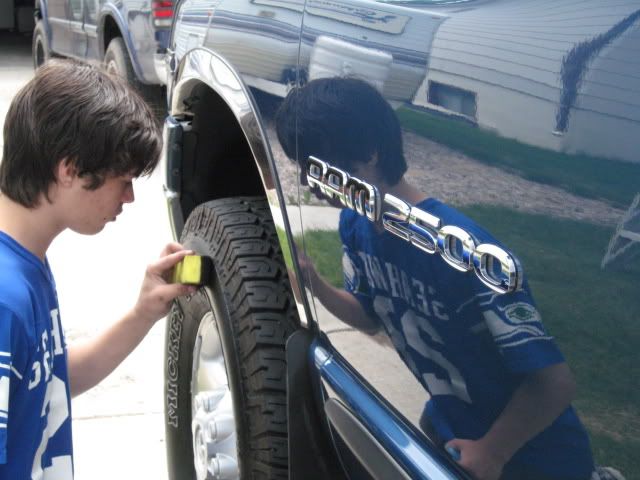
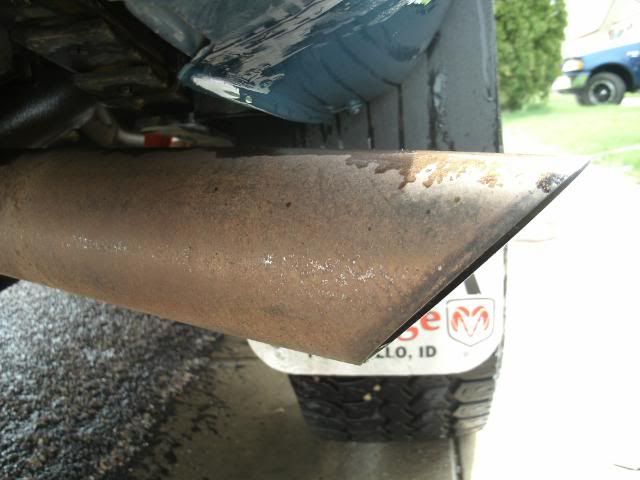
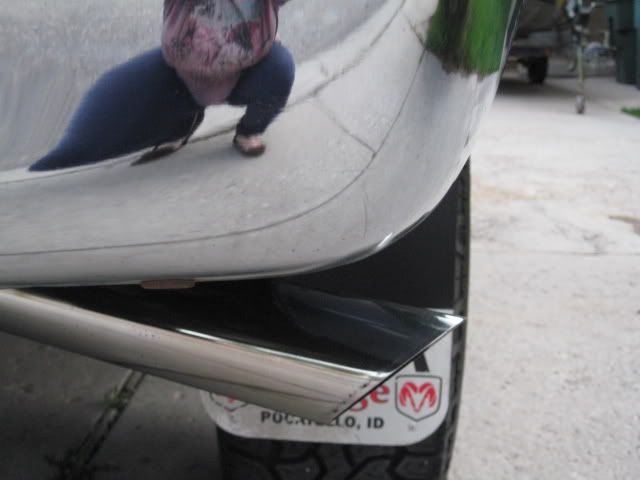
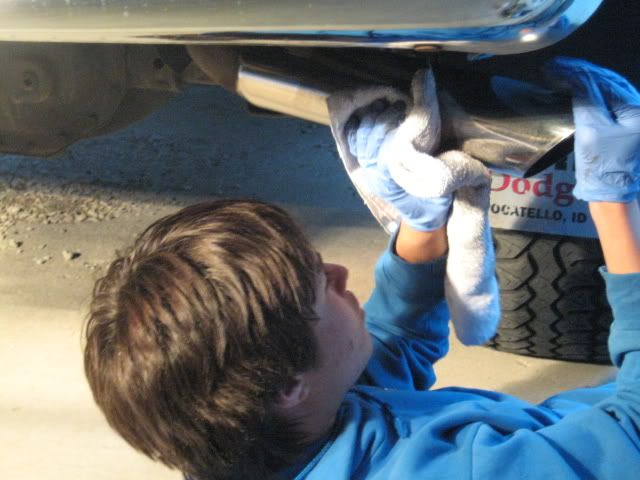
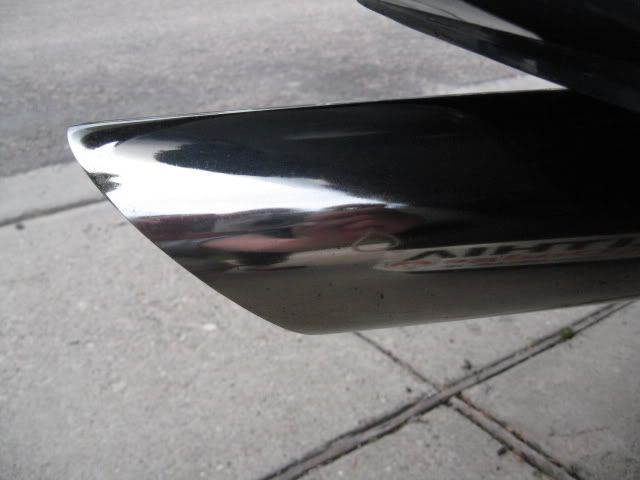
Tires, wheels, wells, and Undercarriage: Tires and wheels were cleaned with Amazing Roll Off (ARO). Tires were dressed with Optimum Opti-tire bond. Wheels were sealed with 2 coats of Poor Boys World Wheel Sealant. Wheel wells and Undercarriage were also cleaned with ARO and sprayed with 2 coats of spray on rubberized undercoating. (A few pics.):


127.jpg

132.jpg

019-1.jpg

008-1.jpg

022.jpg

044.jpg

100.jpg

IMG_0453.jpg
144.jpg

IMG_0385.jpg


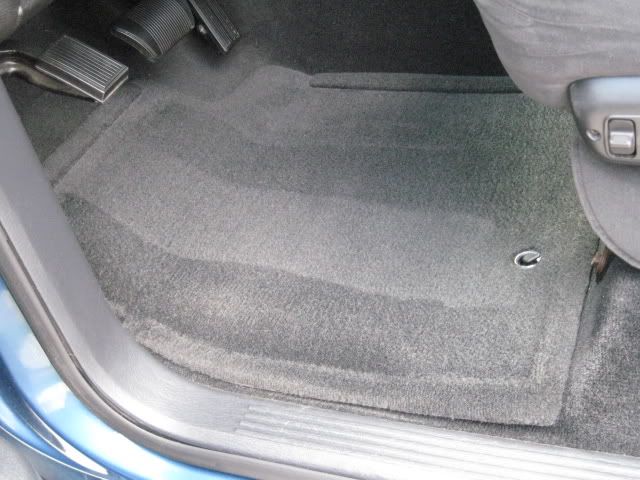
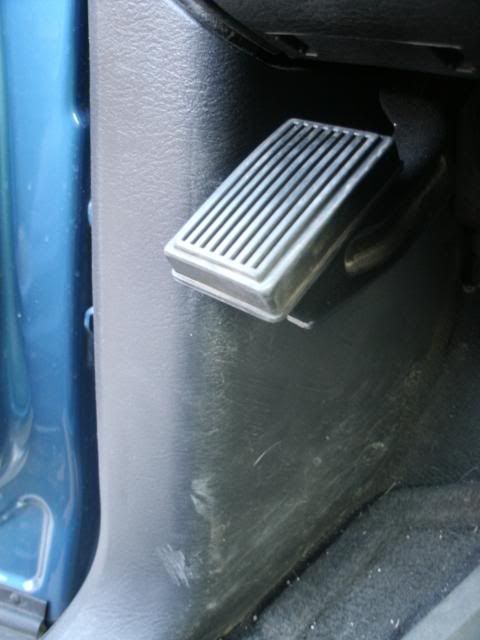
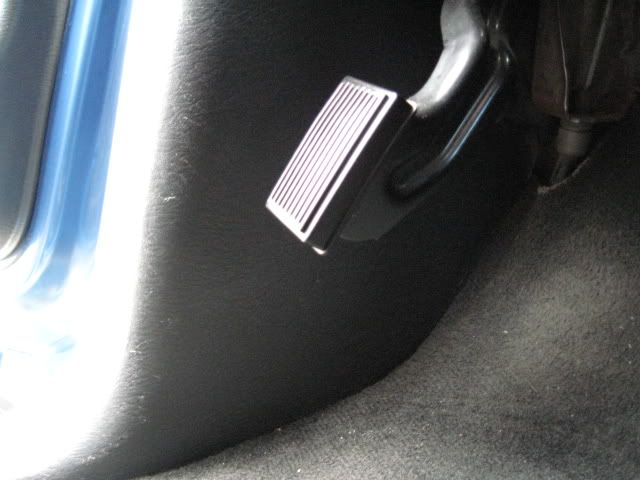
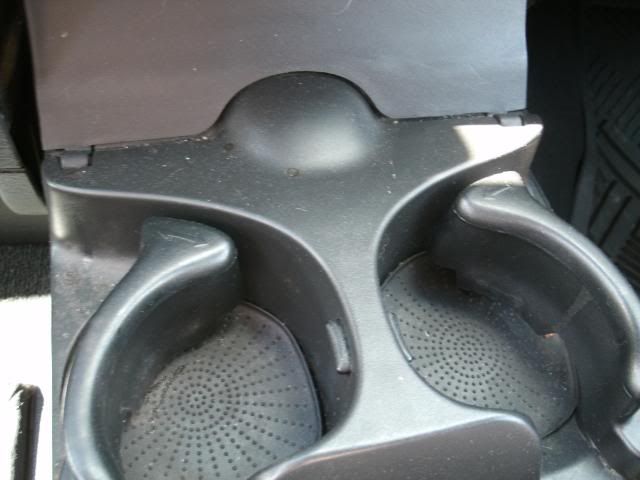
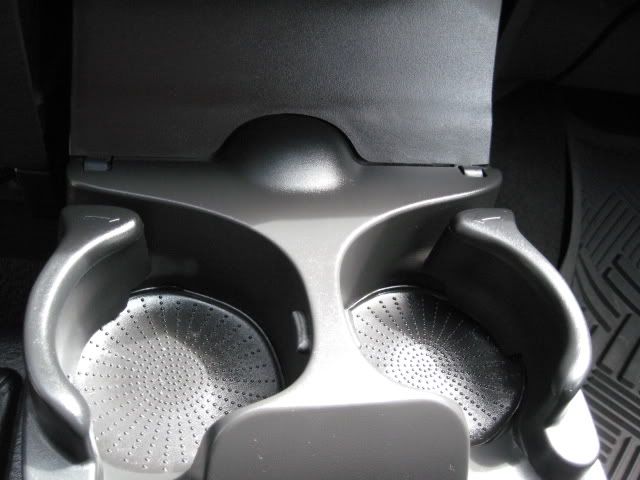
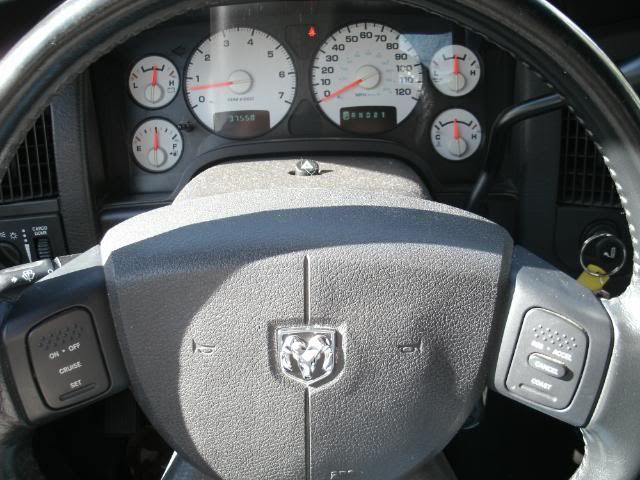
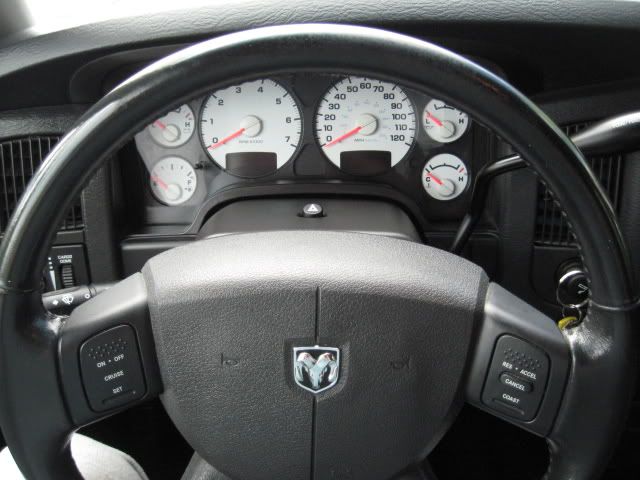
Interior: Door jams, Carpet, upholstery, and floor mats were all cleaned with APC+. (Door jams polished and protected w/ Klasse AIO. Carpet and upholstery protected w/ 303 fabric guard). Dash board, door panels, and trim were all cleaned with DP total interior cleaner and protected with 303 AP. Instrument panel, overhead display and stereo face were cleaned and protected with Plexus.
(Here are a few of shots):

287.jpg

IMG_0417.jpg

269.jpg

IMG_0268.jpg

262.jpg

IMG_0420.jpg

264.jpg

IMG_0266.jpg


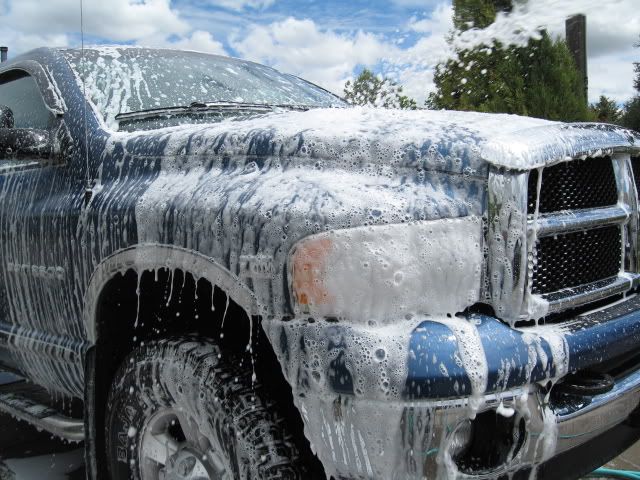
First Wash: Presoak was done with Foam Gun and 3oz.of DP Extreme Foam Shampoo. Truck was then washed using 2 buckets w/grit guards, Meguiar's Gold Class Shampoo, and an old GS-50 Sheepskin wash mitt. Rinsed and dried w/FK-425 and PakShak WW mf’s.

IMG_0272.jpg


Clay: Clayed with DP universal detailing clay, using ONR mixed a 1:32 with distilled water for clay lube.

059.jpg
 
Paint Correction: (We chose the following):
Step 1 = m105 and several cyan hydrotech pads (91% IPA wipe down).
Step 2 = m205 and several tangerine hydrotech pads (91% IPA wipe down).
Step 3 = Menz. 85rd and several Gray CCS pads
(We used PakShak microfiber “Ultra edgeless white towels” for polish removal and PakShak ultra plush towels for IPA wipe downs).

(Here are some shots before, during, and after the polishing stages):
089.jpg
1232.jpg

102.jpg

IMG_0012.jpg

IMG_0142.jpg

IMG_0085.jpg

IMG_0083.jpg

183.jpg

187.jpg

130.jpg

055.jpg


50/50

069.jpg


After

124.jpg

126.jpg

140.jpg

142.jpg

143.jpg

145.jpg

IMG_0184.jpg

IMG_0319.jpg
 
Some Before and Afters:

059-1.jpg

IMG_0189.jpg

0122.jpg

IMG_0033.jpg

071.jpg

IMG_0047.jpg

0872.jpg

111.jpg

181.jpg

0472.jpg

025.jpg

IMG_0172.jpg


Second wash: After completing the correction stages we washed again. This time we washed the truck using 2 buckets w/grit guards, Pinnacle Bodywork Shampoo, and a GS-50 Sheepskin wash mitt. Rinsed the truck with CR spotless, including engine compartment, and wheels. Blew out crevices with B&D leaf blower, blotted some areas with FK-425 and PakShak WW MFs.

LSP = We chose Wolfgang Deep Gloss Paint sealant for the LSP. (Removed sealant and buffed with PakShak Ultra Plush MF’s). Here are a few shots after removing the sealant…

IMG_0331.jpg

IMG_0460.jpg

IMG_0448.jpg

IMG_0536.jpg

IMG_0366.jpg

0372.jpg

038.jpg

124.jpg
 
Exterior Trim, Plastic, and Glass: All exterior trim was first treated with Poorboys World Trim Restorer and allowed to cure for 48 hours, then further protected with 303 protectant. Plastic head light and tail light lenses were polished with Maguire’s Plastix and protected with Klasse HGSG. All glass was polished with Stoners Invisible Glass and protected with Klasse HGSG.
(Here are a few of shots):

123.jpg

IMG_0279.jpg
329.jpg

IMG_0371.jpg
072.jpg

IMG_0431.jpg
0732.jpg

IMG_0433.jpg
012.jpg

IMG_0292.jpg

335.jpg

IMG_0314.jpg
084.jpg

IMG_0054.jpg


Bed Liner, Chrome, and Exhaust tips: Bed liner was cleaned with Meggs APC+ and dressed with Black Again. All chrome was polished with Optimum metal polish on a 4” orange LC pad. Nerf bars and Exhaust tips were polished with Optimum Metal Polish and #0000 steel wool.

170.jpg

IMG_0386.jpg

175.jpg

IMG_0388.jpg

330.jpg

IMG_0284.jpg

142-1.jpg

IMG_0502.jpg

IMG_0078.jpg

140-1.jpg

IMG_0507.jpg
 
Here are a few more shots of the final project:

IMG_0374.jpg

IMG_0459.jpg

IMG_0425.jpg

IMG_0407.jpg

IMG_0548.jpg

IMG_0517.jpg

IMG_0532.jpg

IMG_0544.jpg

IMG_0535.jpg

IMG_0470.jpg


Thanks for looking…
 
Dam Tad, now that is a complete detail in the true sense of the word "detail". Most of the details are just wash and waxes. Awesome turn around buddy, and way to show everyone that you do not need a flex, a pos Griots or the Megs da. Great turn around buddy, you have come a long way in a short amount of time.
 
Great work as always Tad! :props:

I am curious as to what camera you use? When I do a full Finish Kare paint decontamination and m105/205/85rd in a couple weeks I want a camera that I can actually capture swirls with such as yours. My iPhone just doesn't cut it.
 
Tad, "Complete" is right! I don't think its possible to do better or more complete work then what you accomplish. On top of that you take the time to document all of it. Really incredible!!!
I like the US Flag pic:)

How long did the ex. tips take?
I see you put your son to work on the hard job! :laughing: Just kidding of course

I soooo love the attention to detail :dblthumb2:
You and your son should both be extremely proud of the amazing work you do!
 
Now THAT is work beyond compare! Even with that amount of real estate to work with you missed nothing......even the pumpkin on the rear axle! :applause:

The lad also deserves his due for hard work and even volunteering. He restored my faith in today's youth, good work on raising that boy Papa.

Beyond superb in every aspect........and done with a PC:urtheman:
 
Last edited:
Excellent work. I like the blue.

I did not know you could restore chrome pipes in that condition.

Do you find that 303 over PB's extends the durability?
 
Excellent job and write up Tad. Those tips came out awesome. Lava fields?? Your son is becoming quite a detailer.
 
Wow that's an amazing difference! The truck looks new now! Mind if I ask how long it took you to complete the whole detail?
 
I love it. Looks like a new truck now. How many hours did you and your son put into the truck? I know that is a lot of hard work right there. Good bonding time with the boy too.
 
Ok nice try guys you took pics of your old truck then went out bought a new truck and took after shots of it.....:D:D:D.

Seriously though what a great turn around it really does look like a new truck great job. Its really great seeing a father and son work on something like this together. more kids need to put down the ipods and such and get out there and get there hands dirty. great example.:dblthumb2: my favorite pic was your son on his back polishing that tailpipe he was into it. again nice job guys :dblthumb2:
 
Dam Tad, now that is a complete detail in the true sense of the word "detail". Most of the details are just wash and waxes. Awesome turn around buddy, and way to show everyone that you do not need a flex, a pos Griots or the Megs da. Great turn around buddy, you have come a long way in a short amount of time.

Thank you Dana, appreciate the compliments. I know what ya mean about the Flex/GG/PC/Meggs war. Everytime I hear one brewing up I think "WOW hear we go again" blah, blah, blah"...

Nice job, looks like brand new!
Thank you, however I don't think it looked this good when it was brand new...lol

WOW!!! That looks GREAT!!! :dblthumb2:
Thank you Birdhunter!

Great work as always Tad! :props:

I am curious as to what camera you use? When I do a full Finish Kare paint decontamination and m105/205/85rd in a couple weeks I want a camera that I can actually capture swirls with such as yours. My iPhone just doesn't cut it.
Thank you my friend, I have a cheap digital I use. I'ts an older Cannon Powershot. Believe me I had a hard time capturing defects and even sun shinning on this one (most pics just wanted to bleed out), because of the light colored paint I think.

Man what a turn around! Great looking truck!

Kris
Thank you!

Tad, "Complete" is right! I don't think its possible to do better or more complete work then what you accomplish. On top of that you take the time to document all of it. Really incredible!!!
I like the US Flag pic:)

How long did the ex. tips take?
I see you put your son to work on the hard job! :laughing: Just kidding of course

I soooo love the attention to detail :dblthumb2:
You and your son should both be extremely proud of the amazing work you do!
Corey, you are way to kind! I really do enjoy documenting and sharing my details with my forum brothers. Ya I noticed the flag reflecting off the paint and thought WOW what great :idea: for a pic. Ya no kidding it's a lot easier for Andrew to get down there on the ground and work that metal than it is for his old dad...lol. He is getting very good at polishing them up to a mirror finish. I think he had 2-3 hours into polishing the exhaust tip and both nerf bars. Thank you again for your very kind words buddy!

Now THAT is work beyond compare! Even with that amount of real estate to work with you missed nothing......even the pumpkin on the rear axle! :applause:

The lad also deserves his due for hard work and even volunteering. He restored my faith in today's youth, good work on raising that boy Papa.

Beyond superb in every aspect........and done with a PC:urtheman:
Thank you for the kind words. You are right, there is definitely a lot of real estate to polish on this truck. Yes Andrew is a fine young man, and I am very fortunate that he genuinely loves to detail and loves working with dad to accomplish things. He doesn't have his drivers license yet, but he does have a car we fixed up for him in preperation for when he does get his license. He details that old car just about every week. Thanks again for the compliments.

What a great write up and very good work!!
Thank you for the compliment!

Excellent work. I like the blue.

I did not know you could restore chrome pipes in that condition.

Do you find that 303 over PB's extends the durability?

Thanks AL...You know, I was afraid you'd catch that; (after what I said last week about the WG Vinyl and Rubber Protectant vs. PB's Trim Restorer). After thinking about it more, I really think that 303 offers the best protection, (and as bad as this trim was) I thought it couldn't hurt to use the PB's first, let it cure for a couple of days and then apply 303 in hopes of achieving the best looks and the best protection. Thanks for pointing that out though...J/K...lol

Excellent job and write up Tad. Those tips came out awesome. Lava fields?? Your son is becoming quite a detailer.
Thanks Ron, means a lot comming from someone that I have such respect for. Your son has taught my son and myself well:props: Ya lava fields, we have a lot of lava fields here in SE Idaho. I live about an hour or so from Craters of the Moon National Monument... We do a lot of activites out on the "desert"/"lava fields"...

Wow that's an amazing difference! The truck looks new now! Mind if I ask how long it took you to complete the whole detail?
Thanks for the compliments... Hard to say for sure how long it took, as we were only able to work on it a few hours here and there, but I would guess somewhere close to 30 total hours...
 
I've said it once, and I'll say it again, you have some SERIOUS skills! :props: VERY impressive work, Tad!!!
 
Back
Top