Totoland Mach
New member
- Mar 3, 2006
- 1,142
- 0
Okay Auto Geeker's: I decided to chronicle a start-to-finish job on a BMW 745 Li.... I'll update the thread as I complete a task. I thought I'd go ahead with Sanding-Compounding-Glazing the hood as a start. Typically, I sand hood and trunk if there are imperfections (scratches and stone chips) and this one was no different. The sides and roof will get compounded later, so here we go:
I had a great teacher with the shop owner: He's been a BMW dealer and worked on cars most of his adult life. He's taught me a bunch about "reconditioning" a car as opposed to the driveway detailing I've been used to. We try to bring a late model Bimmer back to "as new" condition both exterior and interior. I spend a lot more hours doing these steps, but the results are always consistent: excellent and ready for sale.
Here's the tools I started with: Snap-On orbital air sander, and 3M 3000 Grit Trizact pads. I use a cheap deail spray as a lube for the 3000 grit.

Next: I got a shot of the Shop owner showing me how much to sand on a finish (I was not taking it down enough previously).

Here's a pic of the hood showing the effects of sanding. I removed more material where there were scratches, as you'll see in another pic.

Here's where you can see different levels of sanding. The center of the hood had some decent scratches and the 3000 leveled the paint. Looks kinda scary at this point!

Another hood shot highlighting the front portion that was sanded.

The area near the headlights had several rock chips (as most road cars do). The sanding saved me tons of time because I would have to try to fill these in with touch-up paint.

Compounding (used Optimum and 3M because we have a lot of both). Compounding is slow and steady! DeWalt Rotary on 1200 and keep working an area until any sanding haziness disappears. Compounding is really the foundation for the rest of the car's finish look. Glaze and wax are really going to show and protect what you've done in the compounding step.

Now you can start to see what compounding can accomplish

Glazing: I kept the rotary at 1200 and worked a small area at a time until the glaze had the desired appearance.

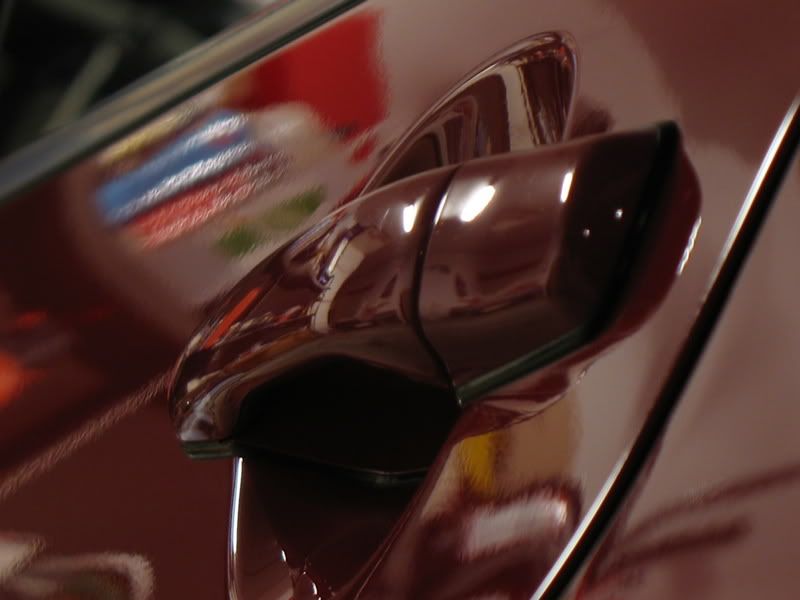
Done! Compounded and Glazed. I'll sand/compound/glaze the trunk lid and compound/glaze the rest of the body panels in the next few nights.

The hood finished flawless! After the rest of the car is complete, I'll put a coat of wax on it, then power wash the body to remove product from body seams and other areas.

I hope this gives others an idea of where to take sanding and compounding. I'm very fortunate to be in a shop environment as this work would be a "bear" in any other situation.
I'll post more as I come to a specific area (including the interior).
Toto
I had a great teacher with the shop owner: He's been a BMW dealer and worked on cars most of his adult life. He's taught me a bunch about "reconditioning" a car as opposed to the driveway detailing I've been used to. We try to bring a late model Bimmer back to "as new" condition both exterior and interior. I spend a lot more hours doing these steps, but the results are always consistent: excellent and ready for sale.
Here's the tools I started with: Snap-On orbital air sander, and 3M 3000 Grit Trizact pads. I use a cheap deail spray as a lube for the 3000 grit.
Next: I got a shot of the Shop owner showing me how much to sand on a finish (I was not taking it down enough previously).
Here's a pic of the hood showing the effects of sanding. I removed more material where there were scratches, as you'll see in another pic.
Here's where you can see different levels of sanding. The center of the hood had some decent scratches and the 3000 leveled the paint. Looks kinda scary at this point!
Another hood shot highlighting the front portion that was sanded.
The area near the headlights had several rock chips (as most road cars do). The sanding saved me tons of time because I would have to try to fill these in with touch-up paint.
Compounding (used Optimum and 3M because we have a lot of both). Compounding is slow and steady! DeWalt Rotary on 1200 and keep working an area until any sanding haziness disappears. Compounding is really the foundation for the rest of the car's finish look. Glaze and wax are really going to show and protect what you've done in the compounding step.
Now you can start to see what compounding can accomplish
Glazing: I kept the rotary at 1200 and worked a small area at a time until the glaze had the desired appearance.
Done! Compounded and Glazed. I'll sand/compound/glaze the trunk lid and compound/glaze the rest of the body panels in the next few nights.
The hood finished flawless! After the rest of the car is complete, I'll put a coat of wax on it, then power wash the body to remove product from body seams and other areas.
I hope this gives others an idea of where to take sanding and compounding. I'm very fortunate to be in a shop environment as this work would be a "bear" in any other situation.
I'll post more as I come to a specific area (including the interior).
Toto
 . they call em "the pros"