I was definitely getting some decent correction, but simply not quite as good as I thought I'd achieve. Some minor swirls and RIDS (I believe) remained. I was noticing while working the M105 that it was drying up SUPER quickly on me.
What a mixed bag of answers, some of them just plain ridiculous.
Too use M105 successfully with a DA you should first study up on the KBM method. Much has been written about the method so a google search will provide plenty of hits. However to summarize
1. Prime the pad with M105 correctly
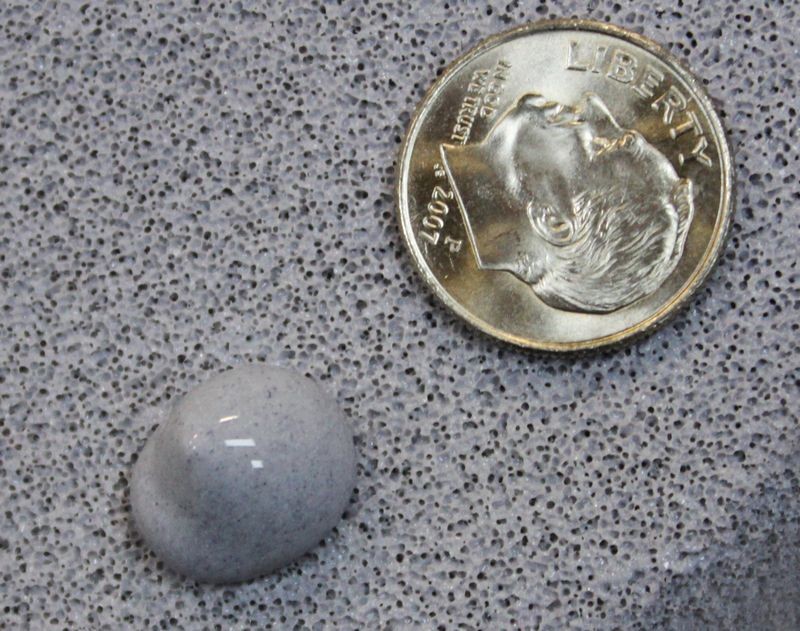
2. After priming, add approximately 3 to 4 pea sized drops to the pad for each subsequent section.
3. Work a small area (no more than 16” x 16”, preferably smaller)
4. Correct size pad for the particular DA being used. Smaller for less powerful DAs.
5. Use heavy pressure at the correct DA speed.
6. Slow arm speed.
7. Work clean.
8. Make sure plenty of orange pads are available. At least 4 pads for a medium size defect riddled vehicle.
Work Clean
In order of importance, I would rate point number 7 as one of the most important. M105 is designed solely to cut paint quickly. It does that brilliantly and quickly on just about any hard or soft paint. It is designed to remove defects, whether they be swirls, RIDS or whatever. There is no point in trying to do anything else with it, such as finesse the paint.
Cutting paint is a dirty process and produces plenty of rubbish, exhausted product plus removed clear coat. The pad will simply not cut correctly, if it is contaminated. It is therefore imperative that whenever new product is added to the pad, that the pad is first cleaned with a correctly designed pad brush (3M). In other words whenever you put the polisher down after completing a sectional pass, the pad should be cleaned to remove all the spent material. This step should apply when using any polish, but especially when using a compound such as M105 which produces so much spent material. As you are new to polishing, I suggest that you get in the habit of cleaning the pad whenever you down your polisher,
each and every time. If you learn that way, it becomes an ingrained natural habit.
As an aside, there are many threads here about a pad brush ruining a pad. In all instances, I would have to conclude, if that is happening, it is because of user error. A pad brush is designed to clean foam pads, so obviously if the pad is being damaged by the brush then the user must be using it incorrectly. The brush only needs to be lightly applied to the pad and then drawn across the pad to be effective. Obviously your DA should be on either speed 1 or 2 (depending on the DA) for pad cleaning purposes.
I suspect because many people don’t work clean, that those who have damaged a pad have left it far too late before attempting to clean the pad and therefore when they do attempt to clean the pad, they dig the brush into the pad trying to clean it and so damage the pad. If such a pad is so gummed up with spent product, then it should have been changed out for a new pad well before that point.
Two final points, tooth brushes are for cleaning your teeth, not foam pads. I personally think trying to clean a pad with an MF is a total waste of time when compared to the correct use of an inexpensive properly designed pad brush.
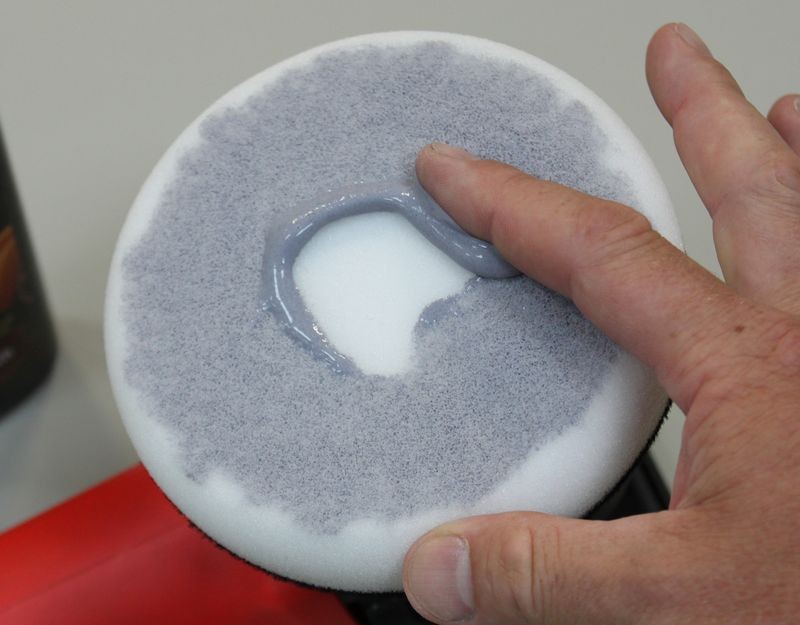
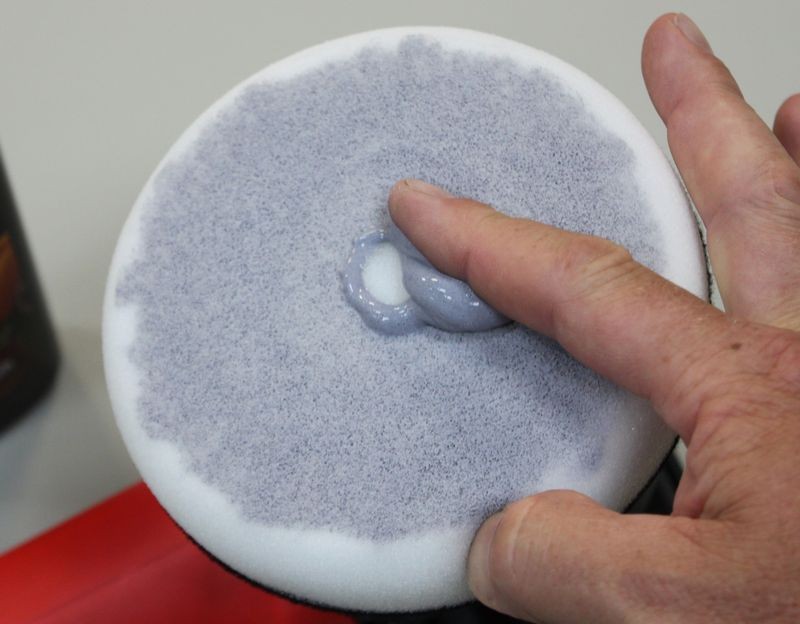
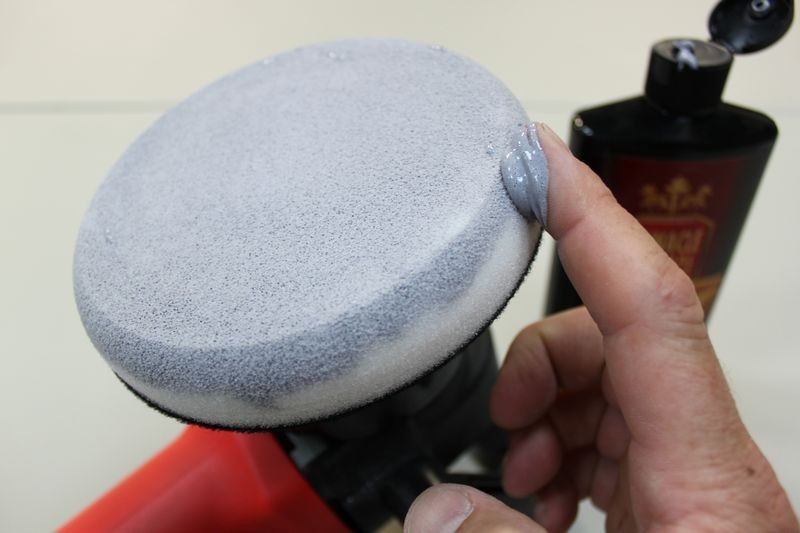
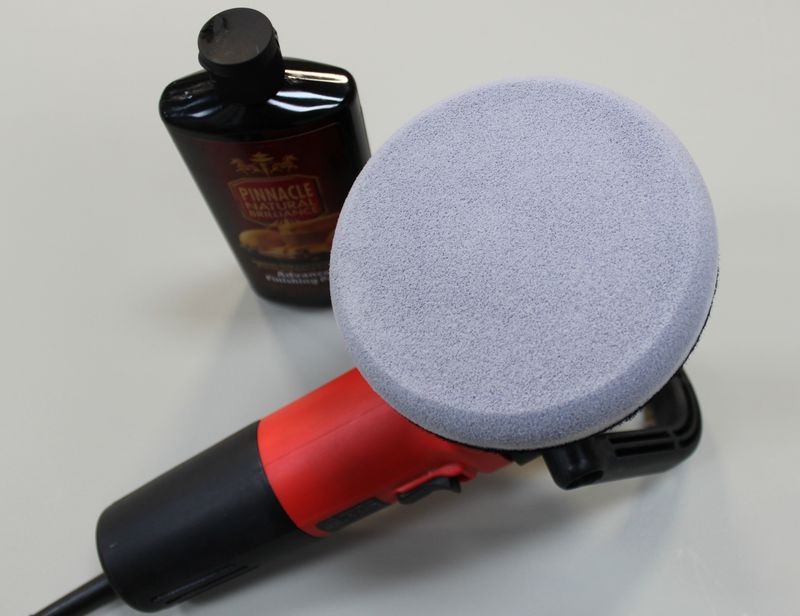
Priming the pad
Mike’s photo of priming that white pad is just about spot on for priming an orange pad with M105. I would however probably use slightly less M105 than Mike has used of that gray product in his photo. The important point to be made about priming is to work the M105 into the pad with your hands so that the pad is completely primed and then wait 5 minutes before using it. If done correctly when you come back in 5 minutes it will look as though you haven’t primed it as most of the M105 will now have been absorbed into the pad. However the pad will now be damp to touch. During that wait, if you don’t wear gloves, it is probably a good idea to wash your hands as M105 can dry your skin after prolong use.
The reason for priming the pad (according to Kevin Brown) is to make sure that the whole of the pad will be cutting when you apply it to the surface. Remember that Kevin Brown developed this technique when most detailers thought that a DA and M105 were not suitable for removing deep swirls and other defects. This was also before the introduction of more powerful DAs that we can see today. For instance your Porter Cable (I’ve never used one) is rated at about 540 watts, the ones I now use are up to just under 900 watts. KB was also using the rotary only version of M105 at that time.
Work a small area
The smaller the area you work the more effective the cutting power. The size you choose should be dependent on the size of pad you are using. The smaller the pad, the smaller the area to be worked.
A comfortable area is easily laid out just by placing your pad down (after adding 3 or 4 drops of M105) and then picking it up and placing it to the side of where you originally placed it, then repeating twice more below the two original spots with a little space in between. You should now have 4 blobs of M105 laid out on the panel which should represent an area between 13” x 13” and 16” x 16” depending on the size of your pads. That is your ideal work area for a sectional pass. Once you starting working be aware of the area. When watching new guys pick up a polisher, they all, almost invariably grow the work area as they polish out a section. Of course that defeats the purpose of keeping the work area small.
Use heavy pressure at the correct DA speed.
Now that you have your work area laid out spread the M105 around that area with the machine off until you have a relatively even coverage of the M105 over the area. Adjust your speed to 5 or 6. Speed 6 for the less powerful DAs and 5 or 6 for the more powerful units. Now start polishing using heavy pressure and a slow arm speed. Your arm speed really can’t go be too slow with a DA. The pressure should be firm to heavy but not so much that you prevent the pad from spinning. There is absolutely no need to start the polisher at a slower speed and then work up to maximum speed – that is a complete waste of time and effort. If you evenly spread the M105 before starting the polisher, you won’t experience any product sling.
Two things you should expect. One the M105 will appear to flash (some call it drying out) and two you may generate some dust as you polish. You can ignore both, just keep polishing, the flashing effect will diminish as you use up the product and the dust will probably just get worse, but it is perfectly safe to polish through it. The third thing you should see is a near perfect surface free of defects. When you finish a section (after about 6-8 passes) hold the polisher on the surface until it stops and then lift off. If you notice excess liquid product on the panel, you have probably used too much product, so try cutting back to smaller peas size drops for the next section.
You may think that the flashing means that you are polishing dry. Just remember, you can’t polish dry if you are using a correctly primed pad.
What do you do next?? You’ve just put the polisher down, so before you do anything more
CLEAN THE PAD.
After you’ve spent 5-10 seconds cleaning the pad you now need to wipe down the surface you have just compounded to inspect your work. Many just wipe away with a clean MF, but I recommend a different technique. Before you start compounding partially fill a bucket with water and drop in a clean MF. To wipe down take the MF from the bucket and squeeze it until it is almost free of water. You want it wet, not just damp. Now gently wash away the M105 residue turning the MF as required. Now rinse in the bucket and then wring dry and wipe down again so the surface is practically dry. Optionally use another dry MF to finally wipe the surface. I normally don’t take that step until I’m convinced that the section or a couple of sections are complete. This step alone will save you plenty on MF towels (the number used during a correction), which you will then find are far easier to clean. Secondly there is no chance of marring the paint during the wipe off. Lots of benefits all round using the wash rather than wipe technique.
Used correctly M105 cuts through defects very quickly (hard or soft paint), one or two sectional passes is usually all that is required. I don’t believe there is any other compound on the market that is effective as M105 over such a wide selection of paints.
How many passes?
This question was asked just a couple of days ago. When I read that thread I was astounded by some of the answers. One mentioned a specific number of passes; another mentioned a specific number of passes to be then followed up by lightening up over the last few passes. To me it appears as if though those guys are compounding as though they are programmed robots or put another way compounding by numbers.
What is M105 other than a compound? It cuts paint brilliantly period. It doesn’t attempt to be anything other than what it is, so why try to make it do what it is not designed to do.
The answer to the number of passes question should be obvious.
As many passes as it takes to remove the defects. You are the guy doing the compounding; therefore it should be your call to decide how much clear coat you want to remove. Deep swirls and similar defects are no match for M105, but the removal of RIDS has to be judged on a case by case basis. You can certainly diminish them, but is it worth it to totally remove them. If you are going to attempt to remove then you need to change your attack with a DA. Switch to a 3” or 4” pad. Just as in reducing your work area, reducing the size of your pad (opposite to a rotary) increases the aggressiveness of the cut.
Dusting and short work time.
If you’ve got this far reading this, I’d also like to add some comments and raise some questions about dusting. Just about every post here about M105 raises great concern about the fact that M105 creates dust. I’d have to agree that on certain paints that can be true to varying degrees depending on how clean you work. However I have to wonder about all the concern here about a little dust. During the course of any major paint correction, a vehicle is going to be washed multiple times before the final LSP stage. Since the dust will disappear at one of those washings why all the concern about it? Personally, I always wash after the compounding stage, not so much to remove the dust, but to thoroughly inspect my work before starting on the intermediate and final polishing stages.
It seems to me that this concern about dusting has led other manufacturers to try and produce a non dusting formula to the detriment of their products as none of them cut as well as M105. Even Meguiars seem to be guilty of the same thing with their D300. It doesn’t dust all that much, but then it also doesn’t cut as well as M105.
The same thing appears to happening with work times with all these new products promising “longer work times”.
M105 does have a short work time; I presume it was deliberately designed that way. It makes sense to me that it would be designed that way. Why would one need a long work time? The very definition of a long work time defeats the purpose of what a compound should do. Personally I want a compound to cut as quickly as possible. Once the defect is gone, I’m done compounding.
What to do if it doesn’t work as expected
Assuming you have ticked all the boxes above, there are only a small number of possibilities why M105 would fail to remove defects.
1. The pad you are using is too large for the power of your machine. Change pad sizes. For instance if using a 6.5” pad, change down to a 5.5” pad.
2. The pad you are using is not aggressive enough. Assuming you are using an LC Orange pad, consider LC’s Yellow pad or swap to something like a Surbuf R Series pad. You could also consider the LC Hydro Tech Cyan pad which has more cut than their orange. Please note that LC describes their orange pad as a light cutting pad, not a compounding pad. If you do swap to the yellow or the Surbuf, after successfully removing the defects you will most likely will then have to return to the orange pad to remove the hazing that either the Yellow pad or the Surbuf will most likely produce. If you do already have a more powerful DA you could also try the LC Purple Wool Foamed pad.
Another pad I find that has that extra cut that is sometimes required is the Festool orange. It is also a little like the Cyan pad in that it is also rather delicate in construction.
3. Your DA is too underpowered for the job, consider purchasing or borrowing one of the more powerful DAs.
4. You have that rare type of paint that M105 just doesn’t play well with. Most unlikely in my opinion, as I’ve only ever come across one example.


")
 rops:
rops: