Navigation
Install the app
How to install the app on iOS
Follow along with the video below to see how to install our site as a web app on your home screen.
Note: This feature may not be available in some browsers.
More options
Style variation
You are using an out of date browser. It may not display this or other websites correctly.
You should upgrade or use an alternative browser.
You should upgrade or use an alternative browser.
Pad Priming
- Thread starter Z06LOVER
- Start date
zmcgovern45
New member
- Sep 5, 2012
- 3,443
- 0
I have never used CCS or CCG pads, but I believe you should prime every pad.
The purpose of priming the pad is to ensure the surface of the pad is lubricated and you are not dry buffing your paint. I do not see why this would differ based on the different types of foam, as the concept is still the same.
The purpose of priming the pad is to ensure the surface of the pad is lubricated and you are not dry buffing your paint. I do not see why this would differ based on the different types of foam, as the concept is still the same.
spiralout462
New member
- Dec 14, 2012
- 1,771
- 0
^I agree! I would prime every pad......all foam and fiber of every shape and size.
BobbyG
New member
- Dec 29, 2009
- 13,211
- 0
:welcome: To Autogeek Online!  rops:
rops:
Pad Priming
You may have misunderstood Mike. Pad priming on dual action polishers is very important to ensure uniform correction.
Here's some great information by Mike Phillips that will help you.
rops:Pad Priming
You may have misunderstood Mike. Pad priming on dual action polishers is very important to ensure uniform correction.
Here's some great information by Mike Phillips that will help you.
- Thread starter
- #5
when watching his DVD's Principles Of Machine Polishing & Wolfgang Concours Series
I noticed this
1-(flat pad )He would use his finger to smear swirl removel product on the whole pad
2-(ccs pad )He would only use an X pattern on a CCS open cell pad
just checking to be sure
I noticed this
1-(flat pad )He would use his finger to smear swirl removel product on the whole pad
2-(ccs pad )He would only use an X pattern on a CCS open cell pad
just checking to be sure
Mike Phillips
Active member
- Dec 5, 2022
- 51,004
- 7
Could it be the videos are a couple of years old. I know when I started they used the X but now they recommend priming all pads.
Bingo! Give the man a prize.
Also, I show priming ANY pad that's used on any type of DA Polisher except the Rupes polishers.
With rotary buffers I teach the 10 @ 10 Technique.
The 10 @ 10 technique for picking up a bead of product with a rotary buffer

One thing I'm known for and that's recommending to others to always be open to new ideas, new tools, new products and new techniques.
I also make it a habit to lead by example, that means "I'm always open to new ideas, new tools, new products and new techniques.
When I worked for Meguiar's, "Meguiar's", a leader in this industry, taught using the X-pattern, so as an Instructor for the Meguiar's you STAY ON MESSAGE. So that's what I taught.
Years later, Kevin Brown started showing people the benefits to priming pads and because I agree and think this technique is a good "Best Practice" and I'm "open to new techniques", I adopted this and have been sharing it for years now as a good best practice. I also don't steal other people's work but instead always give due credit where credit is due although I don't always see others doing this.
To this point I have Kevin credit for his technique in my how to book on page 61 of the first edition of my how-to book and on page 77 on the new edition of my how-to book.
Here's my article on priming pads... all my articles can be found here by the way, there's hundreds, so you have to do a little reading...
Articles by Mike Phillips
Here you go...
How to prime a foam pad when using a DA Polisher
Here are 3 ways to apply product to your pad.
1. Priming the pad then adding product to work with
Priming a clean, dry pad is considered the best approach for using a DA Polisher because it ensures that 100% of the working surface of the pad is wet with product and working at maximum efficiency when you turn the polisher on. I originally learned of this technique from my friend Kevin Brown.
Priming the pad also ensures that you don't have any dry portion of the pad working over the paint un-lubricated. This really isn't a risk because since you're just starting out you're going to be removing defects a lot more serious than would be caused by any portion of the pad that is dry and spinning against the paint.
Plus, after just a few passes, the product you apply to specific areas of the face of the pad will migrate over the entire face of the pad and it will do this rather quickly when you're on the higher speed settings.
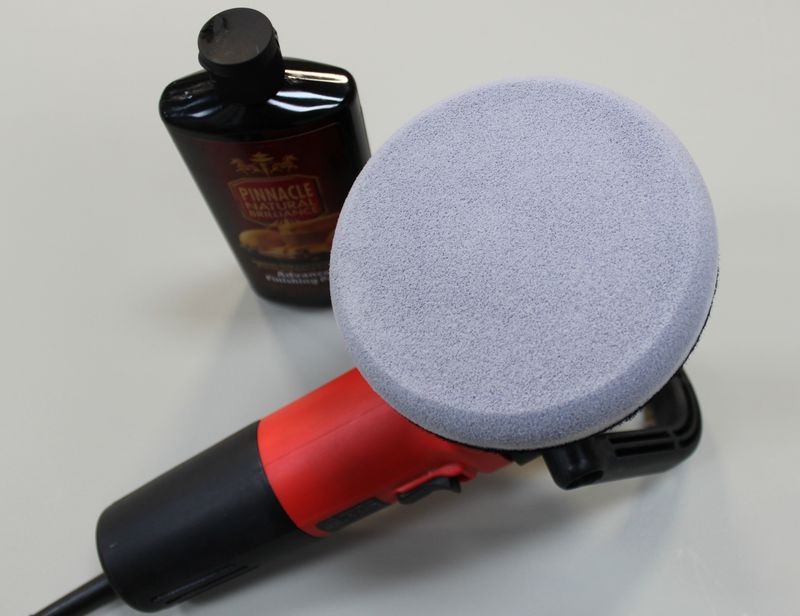
Priming the Pad - For clean, dry pads
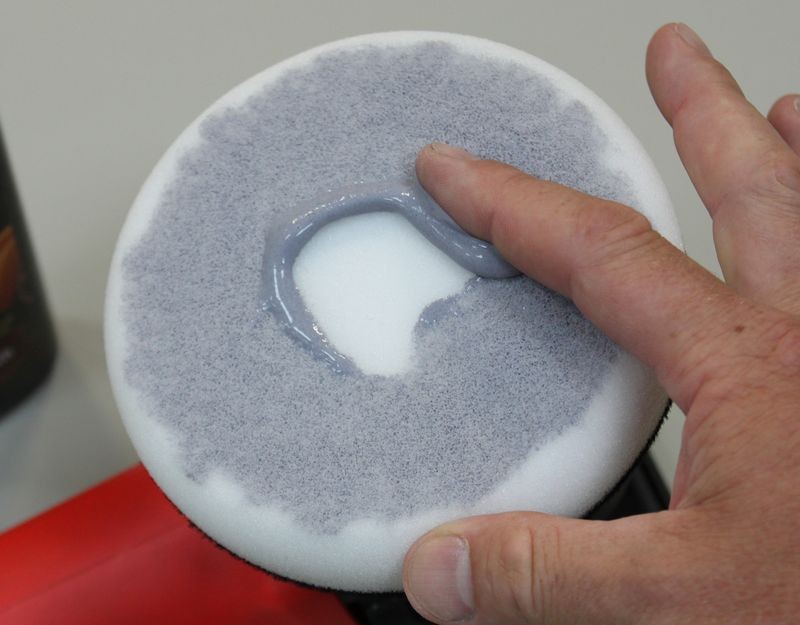
Start with a clean, dry pad and add some fresh product to be spread out to the face of the pad. Using your finger, spread the product out over the pad and then using your finger work it into the pores of the pad. Don't saturate the pad, just use enough product to make sure that 100% of the working face of the pad has product coverage.


Work the product around the face of the pad and into the pores
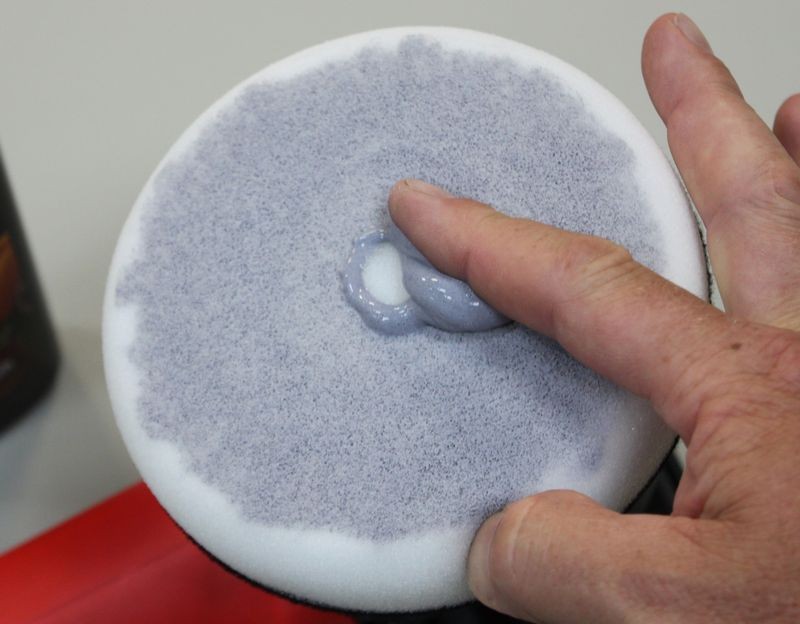
Any extra, take and apply to the outer edge until 100% of the working face of the pad is primed with product.

As an option you can also prime the outer edge. This helps if you're buffing around convex curves or around panels that the edge of your buffing pad may come into contact with, like spoilers, side mirror housings, curved panels etc.

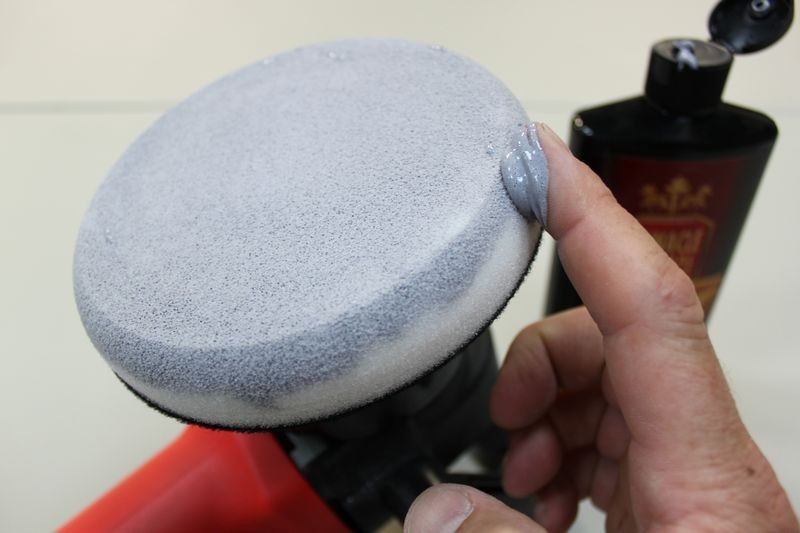
Primed and ready to add "Working Product" to.
Adding "Working Product" to the primed pad
Some people will recommend 3 to 4 pea size drops of product as the proper amount of product to use and this can be correct for concentrated products or working small sections and if you follow this advice make sure you are not under-lubricating the surface being worked.
Pea size drops of product

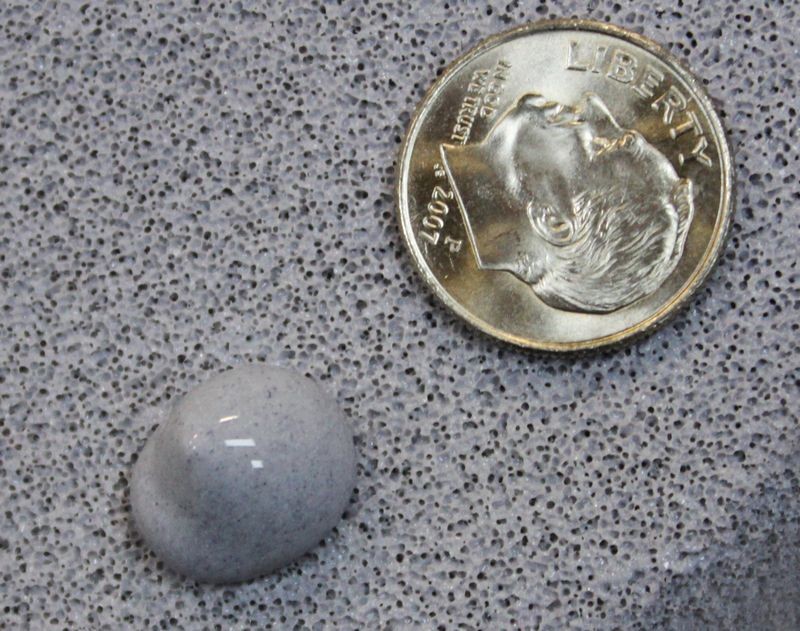
For some products and paint conditions, you may want more product on the surface working for you. Here's an example of dime size drops of product.
Dime size drops of product


RhetoricMixes
New member
- Dec 13, 2011
- 1,020
- 0
Priming should always be done to ensure no dry buffing occurs. Try out Optimum Hyper Polish since its spray it primes the pad easily within a few sprays. If your using a regular polish or compound just spray a few spritz's of detail spray on the pad then add a few dime size drops to your pad.
Jomax
New member
- Jan 23, 2012
- 1,422
- 0
Mike, Why not prime for a rupes polisher?
X2
Sent from my iPhone using AG Online
davey g-force
New member
- Aug 18, 2009
- 1,225
- 0
^^ x 3
Something to do with the larger orbit?
Something to do with the larger orbit?
BlackHawk
New member
- Feb 8, 2013
- 677
- 0
i dont see a point in saturating a pad like that in product. Ive tried it and its very waistful, and just not for me. I like to use QD or pad conditioner on a pad, then add the 3 drops of watever im using. Its more cost effective and it gets very good results.
Mike Phillips
Active member
- Dec 5, 2022
- 51,004
- 7
Mike, Why not prime for a rupes polisher?
Product tends to fly out my guess is due to the long orbit stroke.
Give it a try if you like, I find just placing a few nickel size dollops of product on the face of the pad and getting busy works and gets the job done.
")
ihaveacamaro
New member
- Jun 16, 2012
- 3,048
- 0
Product tends to fly out my guess is due to the long orbit stroke.
Give it a try if you like, I find just placing a few nickel size dollops of product on the face of the pad and getting busy works and gets the job done.
Interesting with what pads and polishes?
I just did m205 yesterday on a 5.5" lc flat pad on the Rupes 21 with no sling.
HOWEVER, I did a few weeks ago a primed GREEN rupes pad with the green polish and that stuff flew everywhere.
That did not happen when I used the yellow or the white however even though it was properly primed.
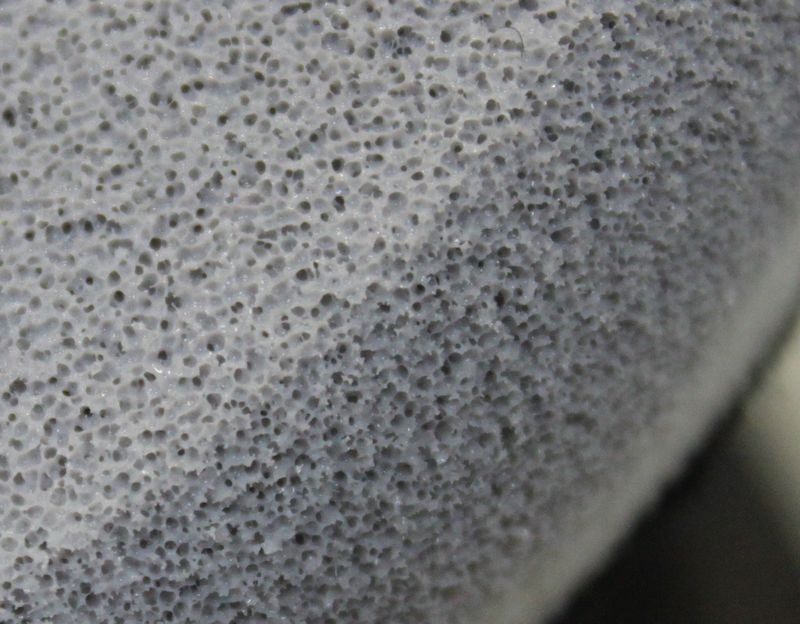
Because several polishes and primed pads have worked with no splatter on the Rupes 21, I imagine that the splatter is NOT due to the orbit. My best guess is that as the opening of the pores on the face of the pad get larger and larger, the splatter increases.
Anyways, these are just my guesses
Jomax
New member
- Jan 23, 2012
- 1,422
- 0
Product tends to fly out my guess is due to the long orbit stroke.
Give it a try if you like, I find just placing a few nickel size dollops of product on the face of the pad and getting busy works and gets the job done.
Sounds good, after you prime the pad with the nickel size dollops, how much product is needed after? Four pea sized dots?
Sent from my iPhone using AG Online
Mike Phillips
Active member
- Dec 5, 2022
- 51,004
- 7
My best guess is that as the opening of the pores on the face of the pad get larger and larger, the splatter increases.
My guess too... that is the larger cell size of the blue pad makes it easier for excess product to sling out. Not a "problem" but a "characteristic". There's a difference.
Sounds good, after you prime the pad with the nickel size dollops, how much product is needed after? Four pea sized dots?
I've never been a fan or user of the "pea" sized drops. In most cases I think people using peas sized drops are under using product or working very small section.
I use nickle sized drops or dollops or whatever you want to call them. I don't think the word "drop" is actually a very good word to describe the volume of product being placed on the pad.
I like how Jason Rose primes pads... places some product on the face of the pad then places the pad against the paint and then turns the polisher on and lets the machine "prime" the pad.
:laughing:
silverfox
New member
- Oct 5, 2010
- 2,813
- 0
Priming the pad is one thing... Using too much product is another. Nothing will prevent you from correcting paint correctly more than gumming your pad up with too much product.
In my opinion having a little bit less than you think you need ends up being just about right.
When I started machine polishing it took me months before I figured I was using too much polish.
Once the pad is primed no matter which method you use, any additional product should be applied very frugally. You should have little to almost nothing left to buff off after each panel.
Mike Phillips
Active member
- Dec 5, 2022
- 51,004
- 7
Priming the pad is one thing... Using too much product is another. Nothing will prevent you from correcting paint correctly more than gumming your pad up with too much product.
Not only will using too much product gum up your pad but it will also lead to hyper lubricating the surface, this means you have so much product on the surface that instead of the abrasives biting into the paint they glide over the paint.
Ideally, you want to use the ample amount as I wrote in this article here,
How to prime a foam pad when using a DA Polisher
Ample
You want an AMPLE amount of product when first starting out because you pad is dry and some of the product is going to seep into the pad leaving less on the surface to LUBRICATE and ABRADE the paint
Cut down on the amount of product AFTER pad is broken-in...
After your pad is broken in with product, clean your pad after each section pass and when you apply fresh product you can cut down on the amount of product you actually apply to the face of your pad.
Too Little Product
Under-using product reduces lubricity and will make it more difficult for your pad to rotate efficiently.
Too Much Product
Using too much product will hyper-lubricate or over-lubricate the pad and will interfere with the abrasives ability to abrade the paint.
Keep in mind that you want enough product on the surface so you have,
- Abrasives working for you.
- A lubricating film between the paint and the pad.
And here's another definition of ample..
How much product do I use with my DA Polisher?
Use an "ample" amount of product
When I say use an ample amount of product this means don’t use too much product and don’t use to little product.
From The Free Dictionary.com
am·ple
adjective
1. Of large or great size, amount, extent, or capacity: an ample living room.
2.
a. Large in degree, kind, or quantity: an ample reward.
b. More than enough: ample evidence.
3. Fully sufficient to meet a need or purpose: had ample food for the party.
Out of the above definitions, I'm using the 3rd definition.
Using too much product
If you use too much you can hyper-lubricate the surface and this will make it more difficult for the abrasives to abrade the surface as they’ll tend to want to glide or slip over the surface instead of bite into the surface.
Using too little product
If you use too little product there won’t be enough lubrication to enable the buffing pad to rotate and thus engage the abrasives against the surface so they can bite into and remove small particles of paint.
You want an AMPLE amount of product when first starting out because you pad is dry and some of the product is going to seep into the pad leaving less on the surface to LUBRICATE and ABRADE the paint.
Most people figure out the perfect amount for the pad, tool and paint defects they're trying to remove in their shop environment after buffing out a panel or two...