DeadlySheds
New member
- Mar 27, 2012
- 111
- 0
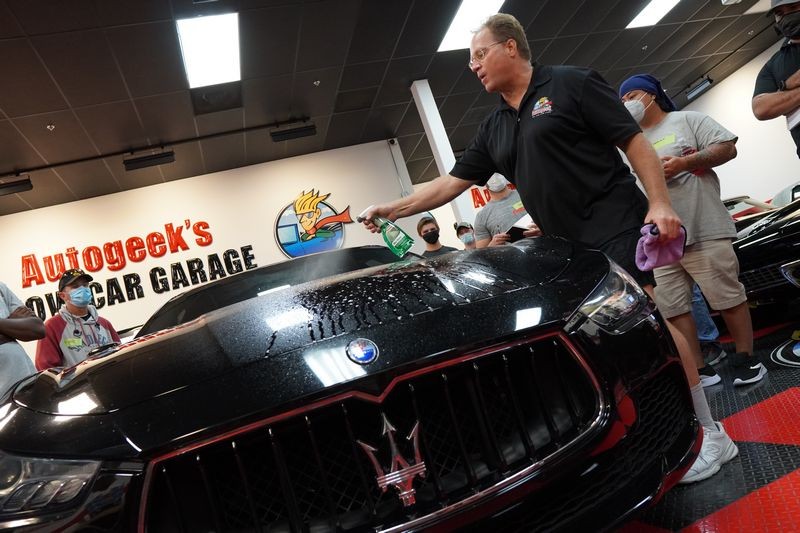
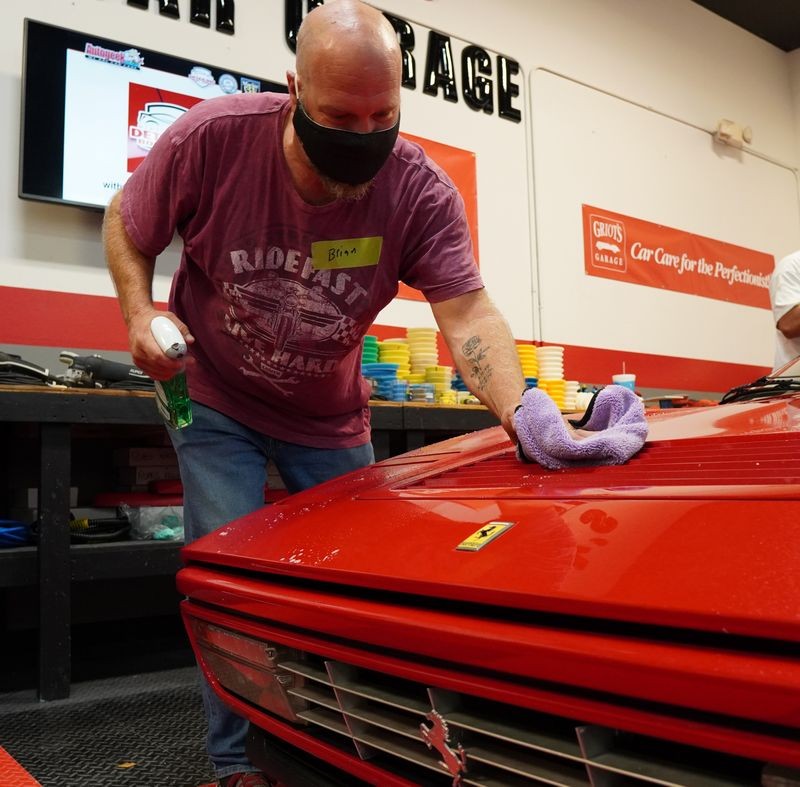
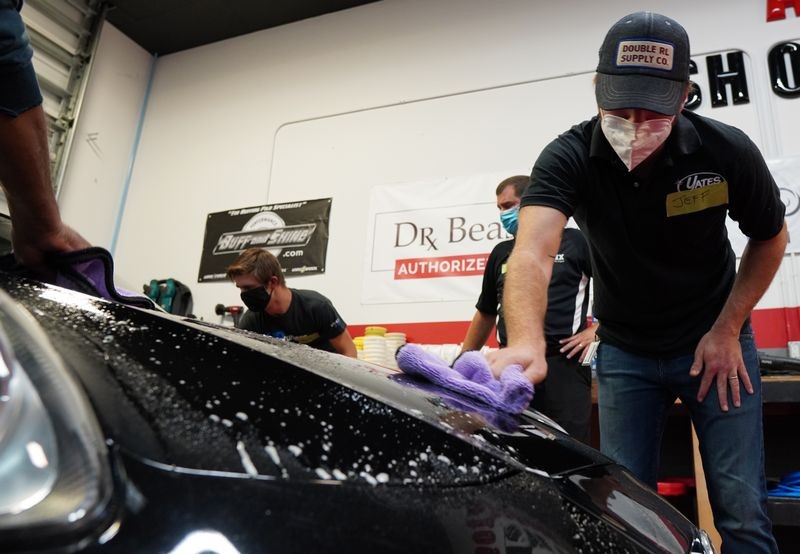
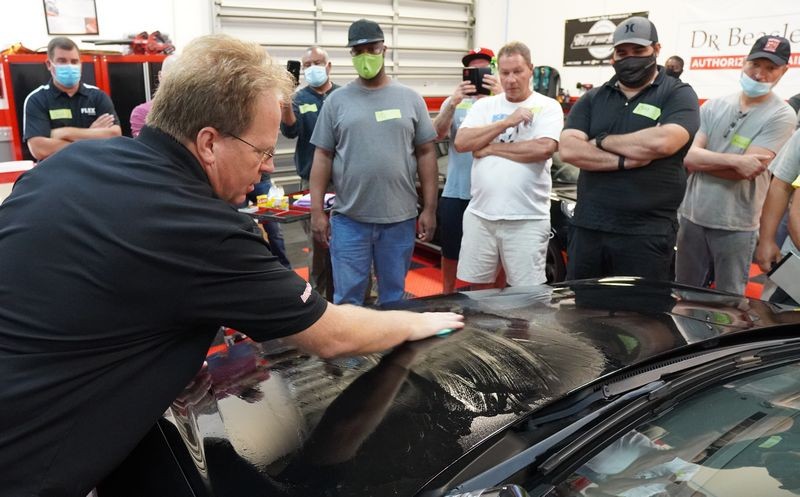
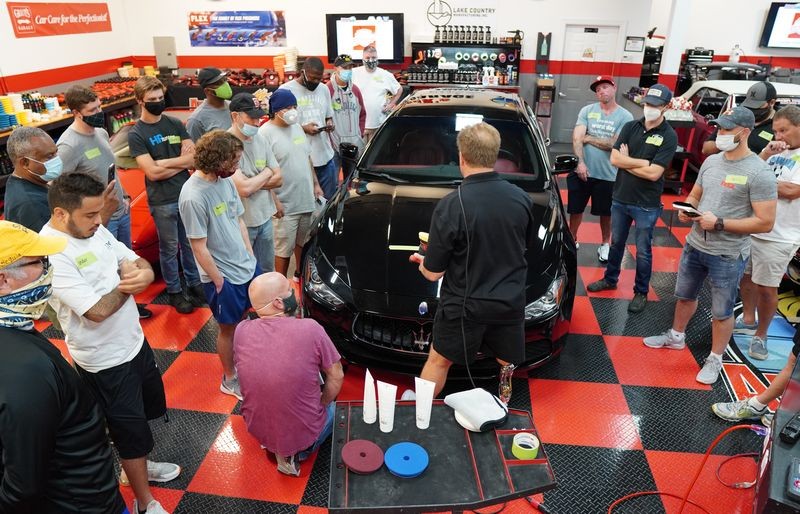
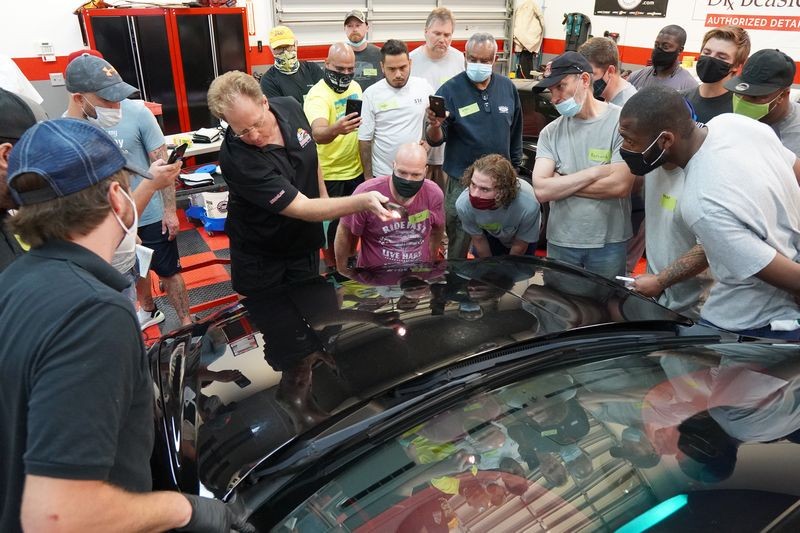
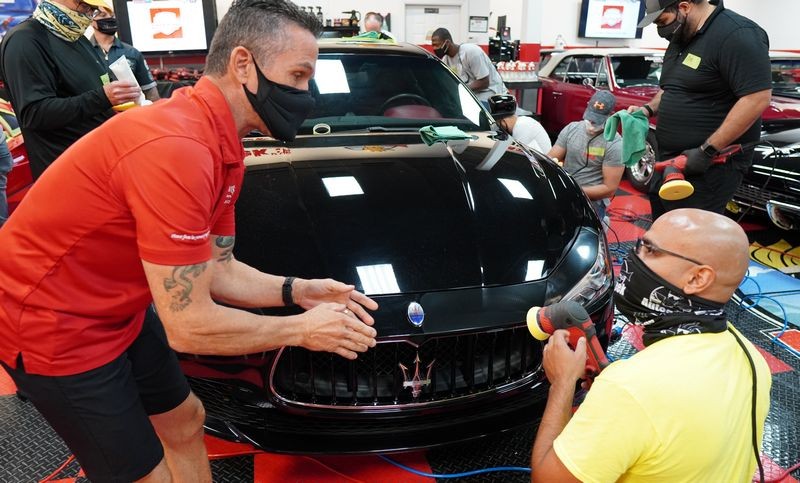
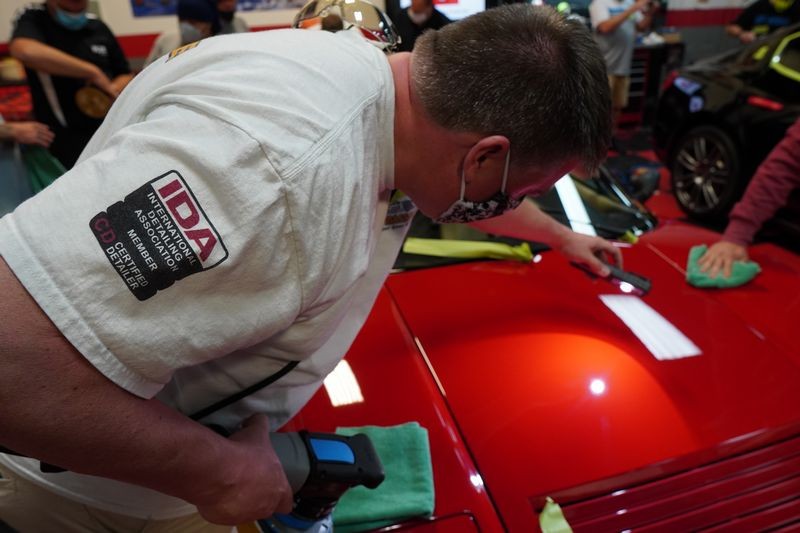
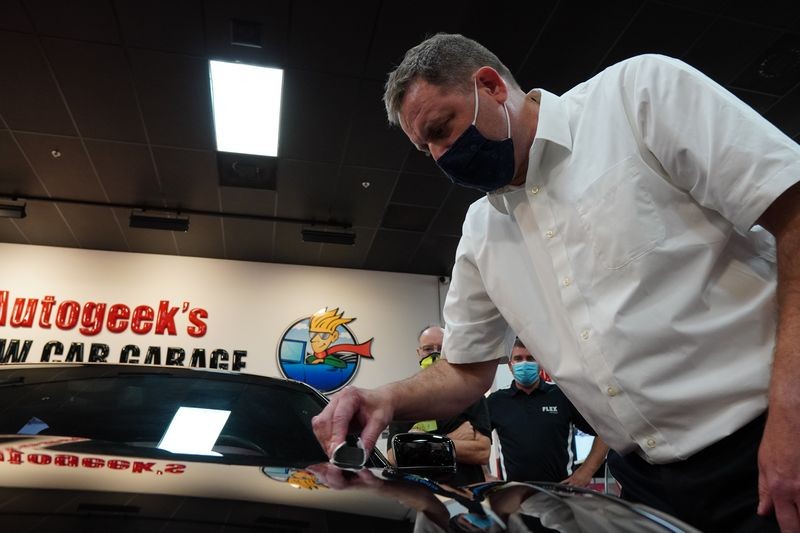
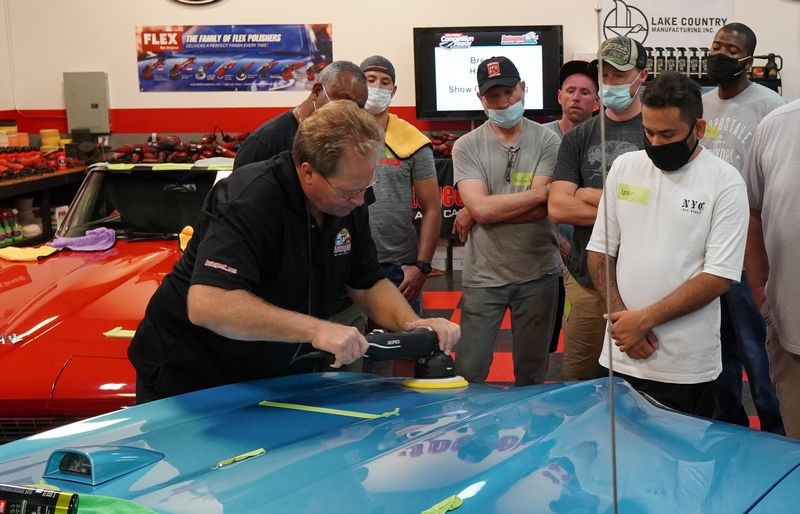
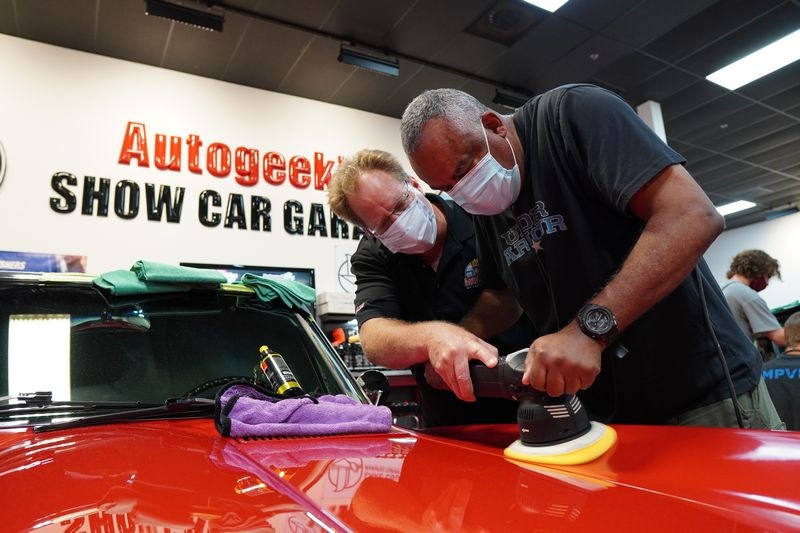
The transformation is nothing short of incredible!I showed the class how to buff the hell out of that truck and it came out just as expected - Freaking Amazing!
I call detailing this category of vehicle,
Beater Detailing
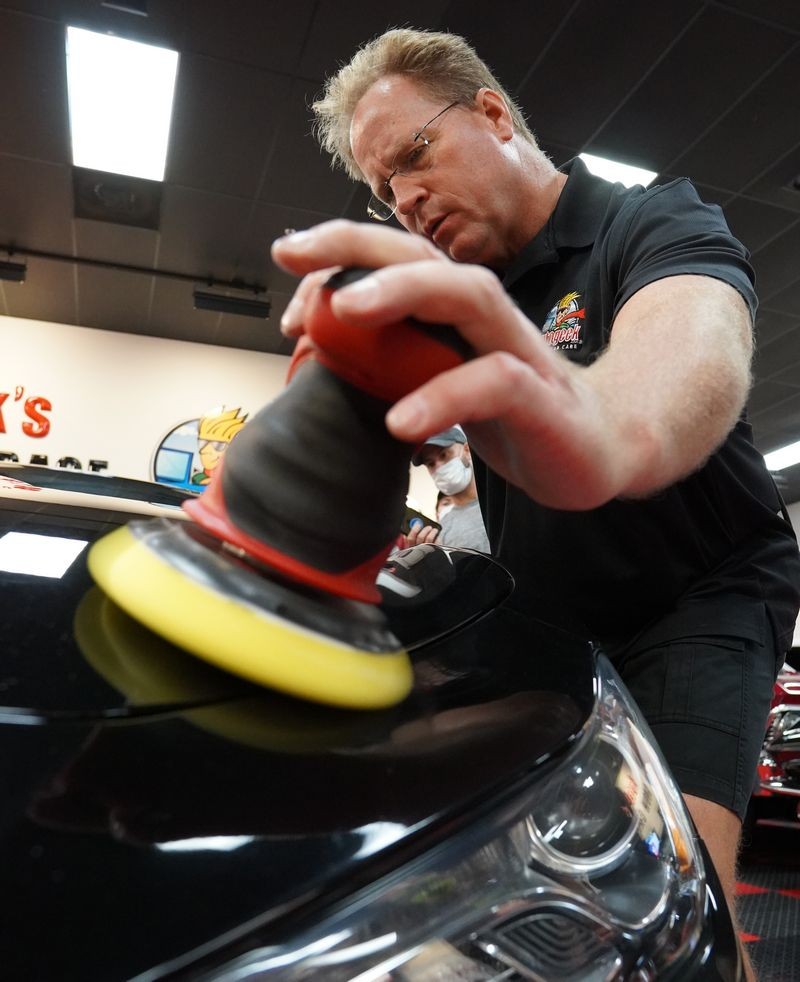
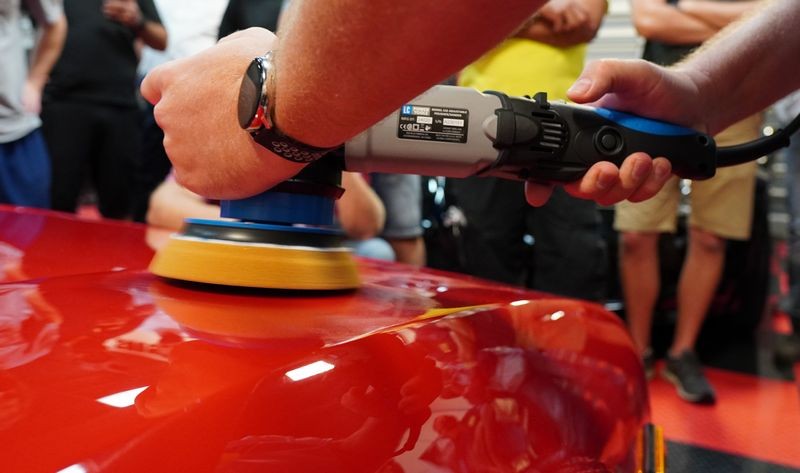
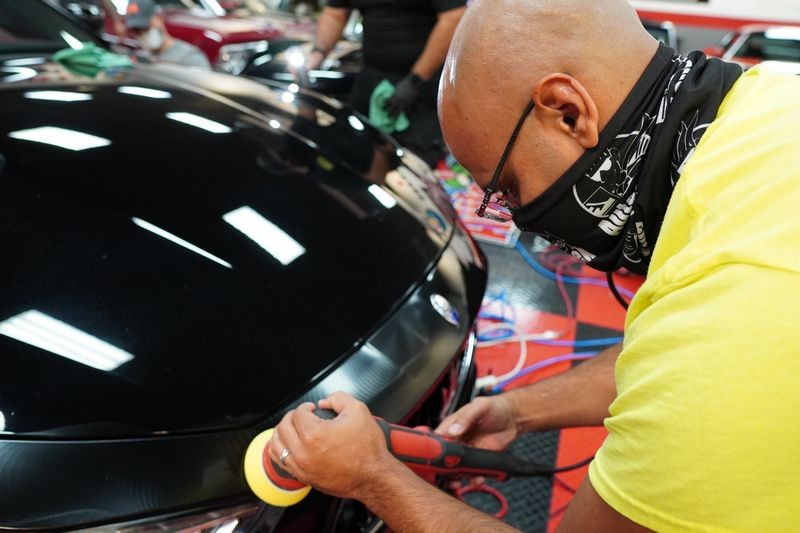
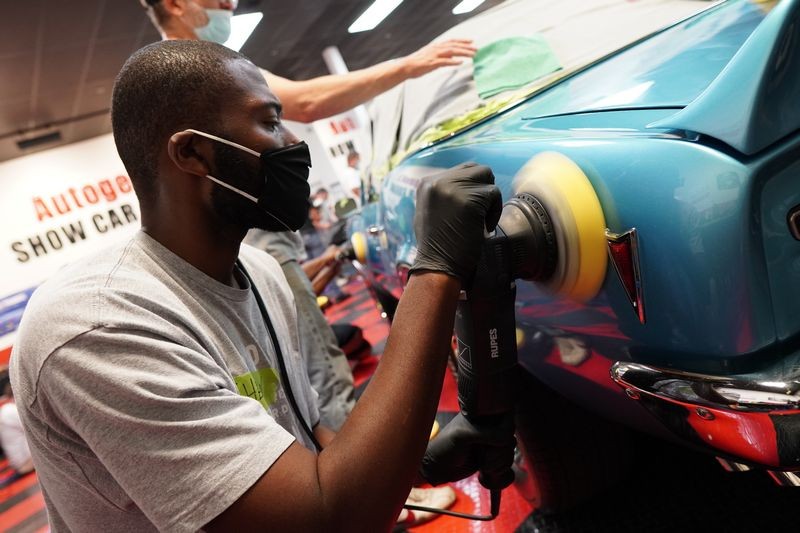
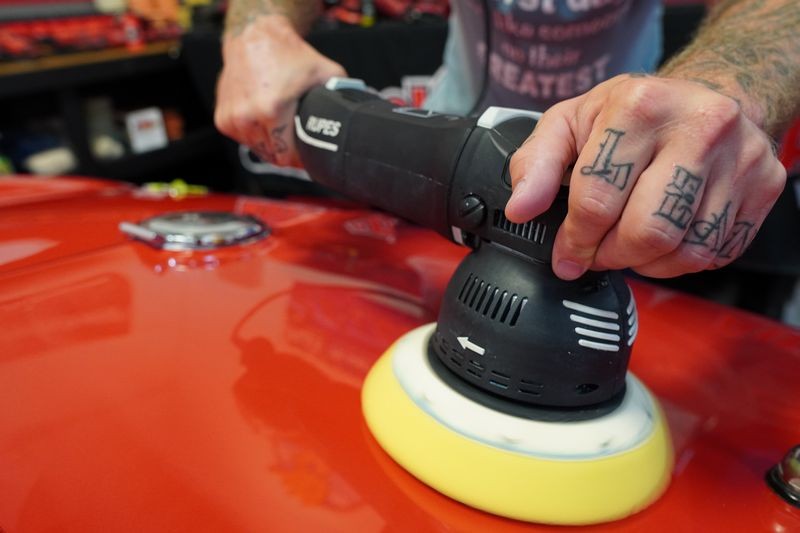
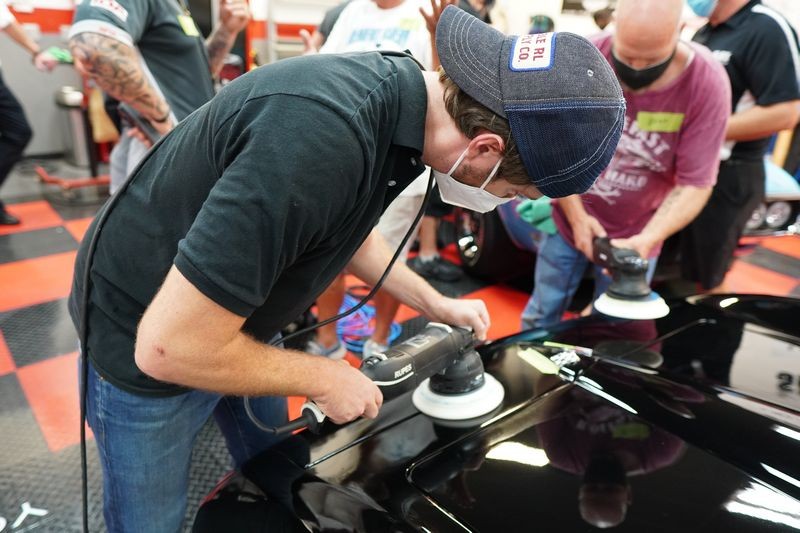
This truck was BEAT. The class used rotary polishers and just laid into her. Around any paint that was lifting - of course you work carefully. Besides that - we pushed HARD on the polishers and carved off years of oxidized paint. The end results are nothing short of incredible.
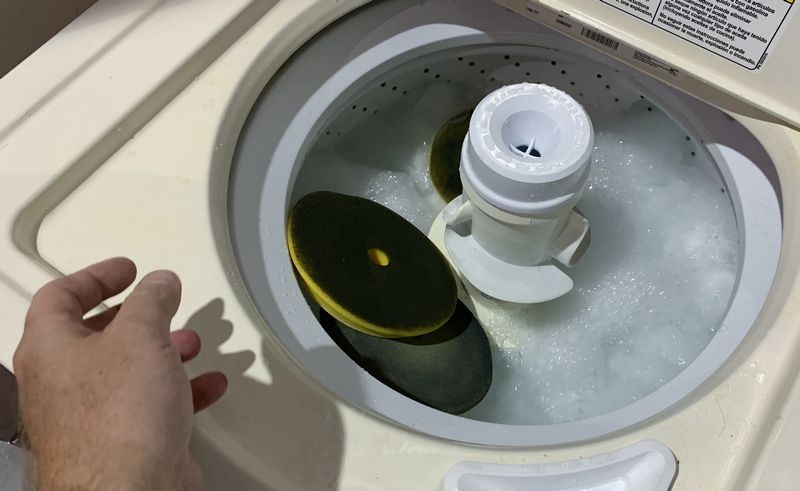
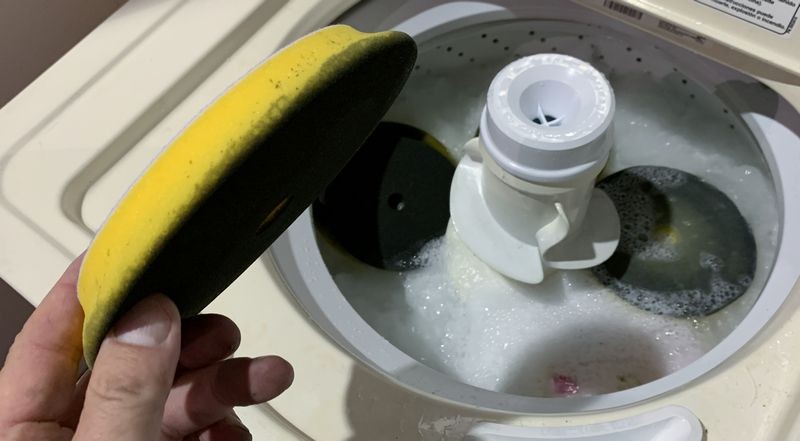
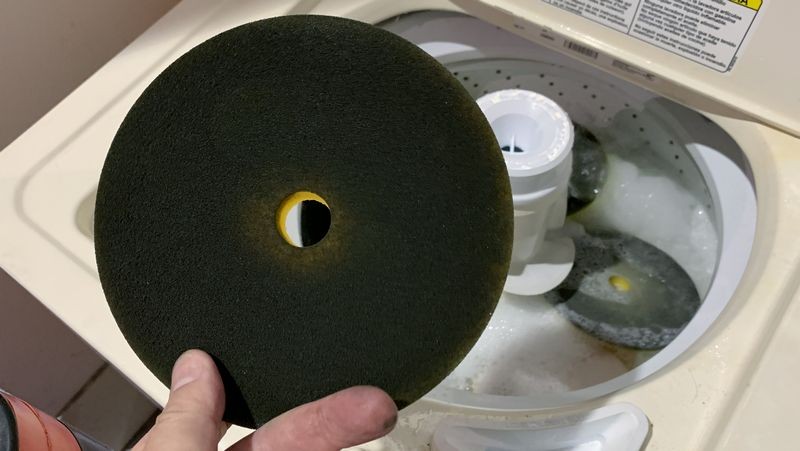
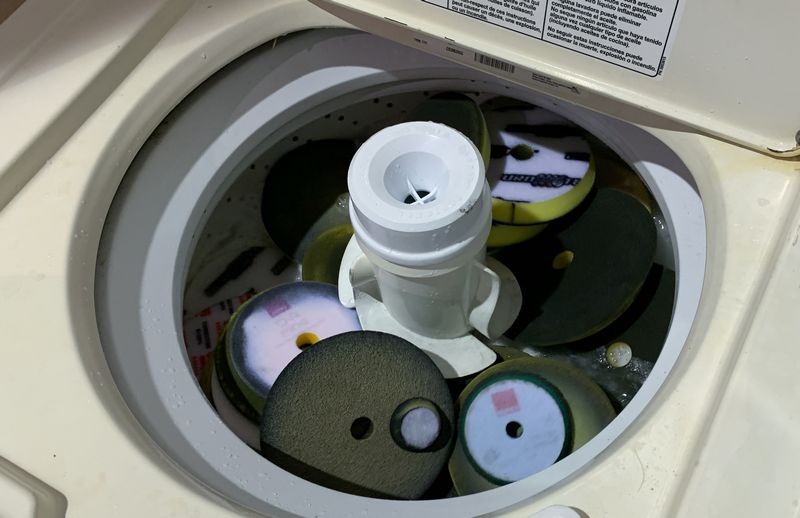
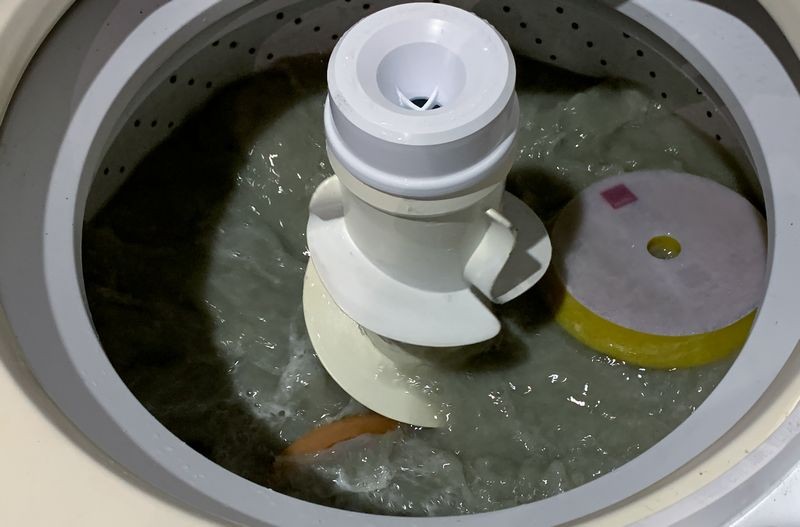
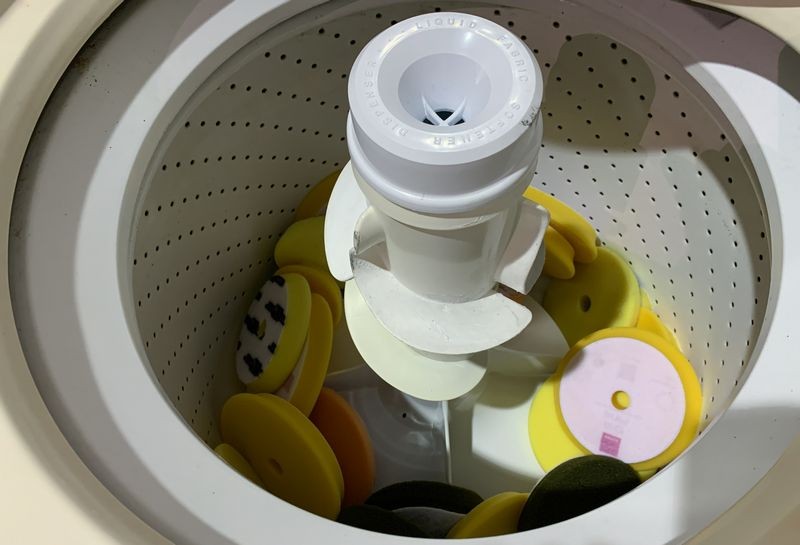
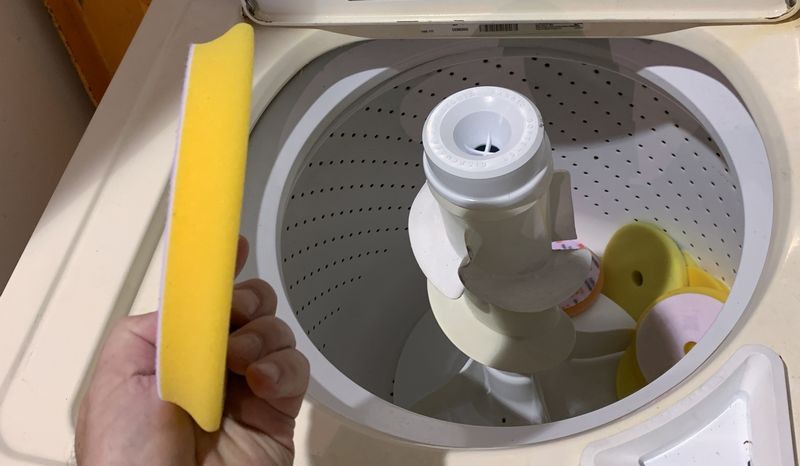
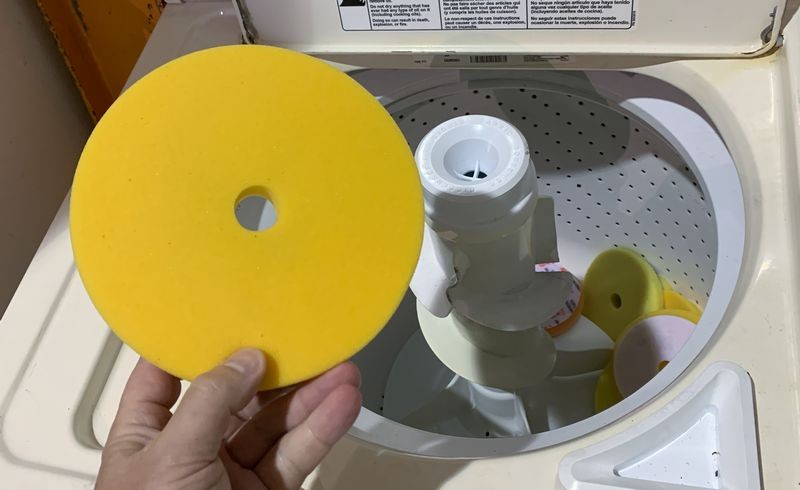
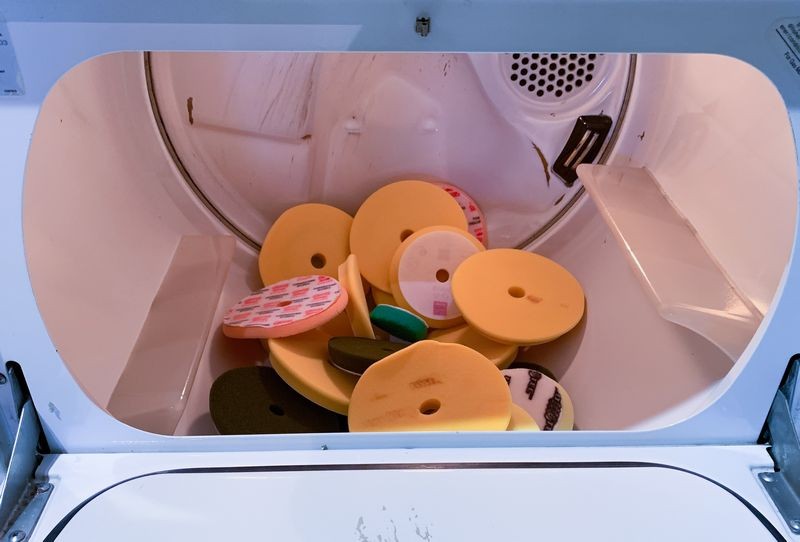
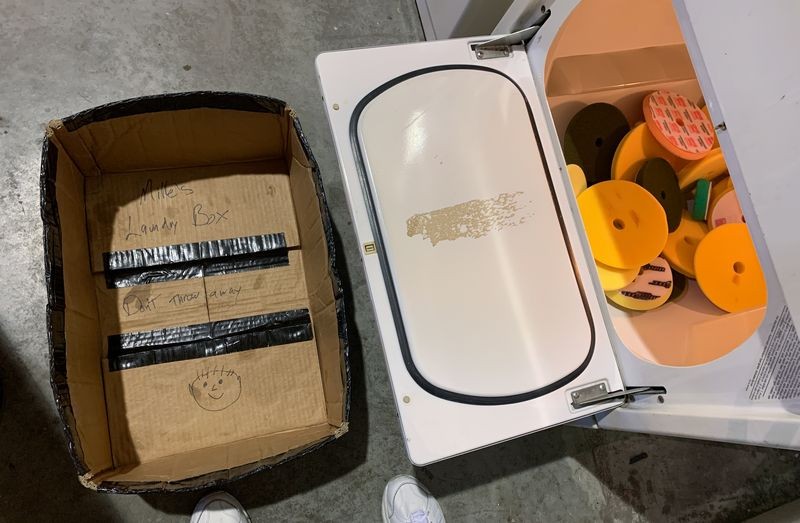
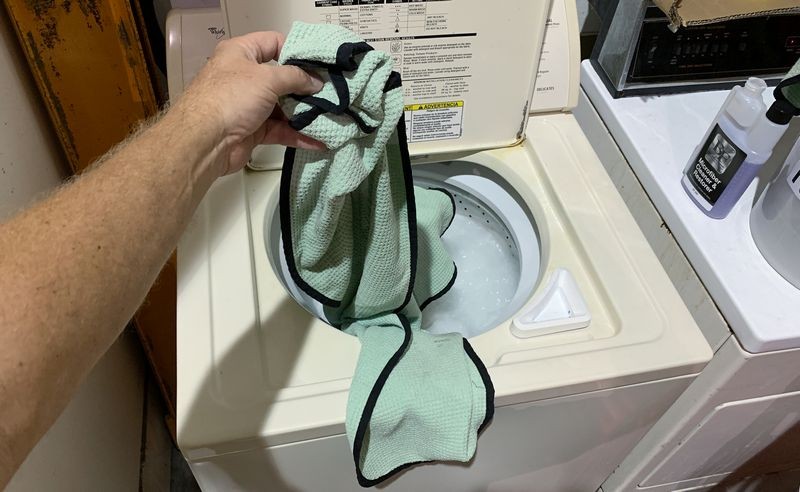
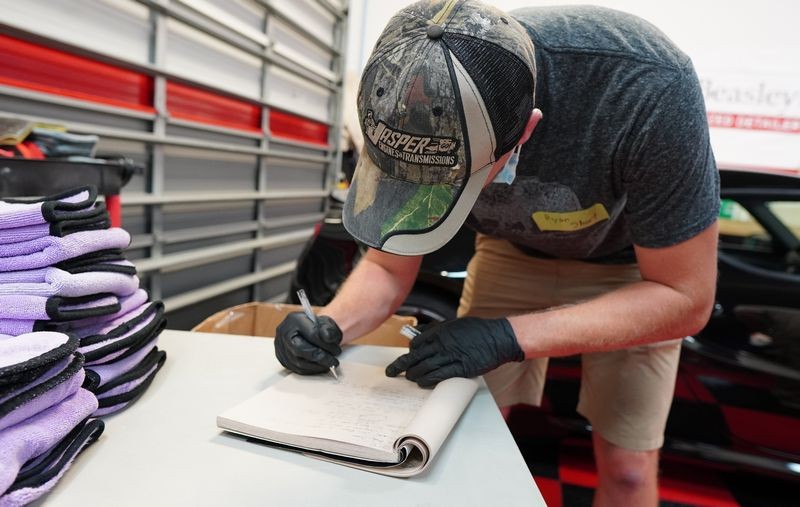
As noted above - I'm doing laundry and filling out paper work, lots of paper work. Tomorrow I'm shooting a few videos and our LIVE Detailing Class. Friday, I have some cars to detail.
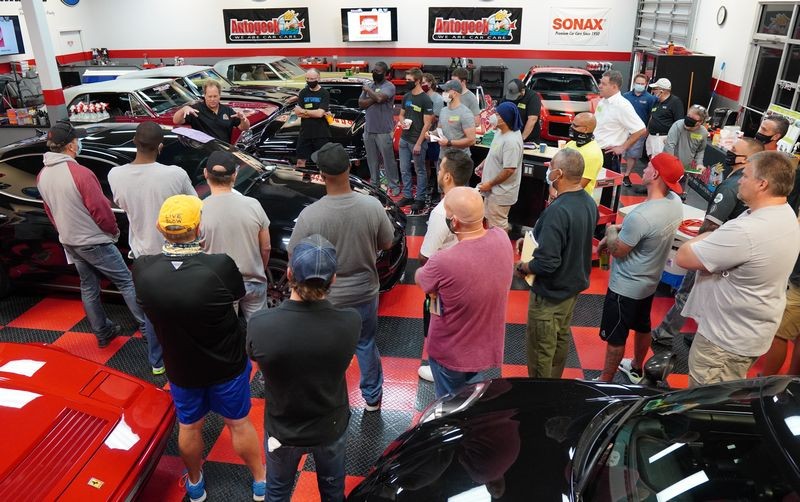
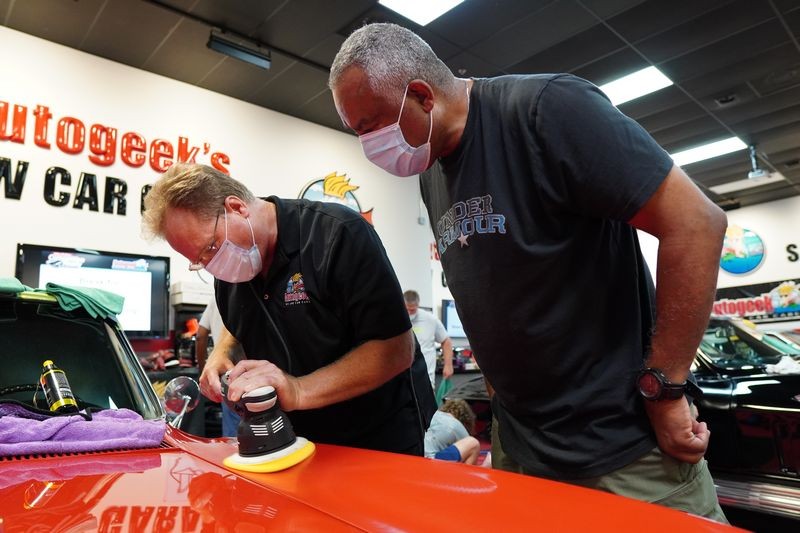
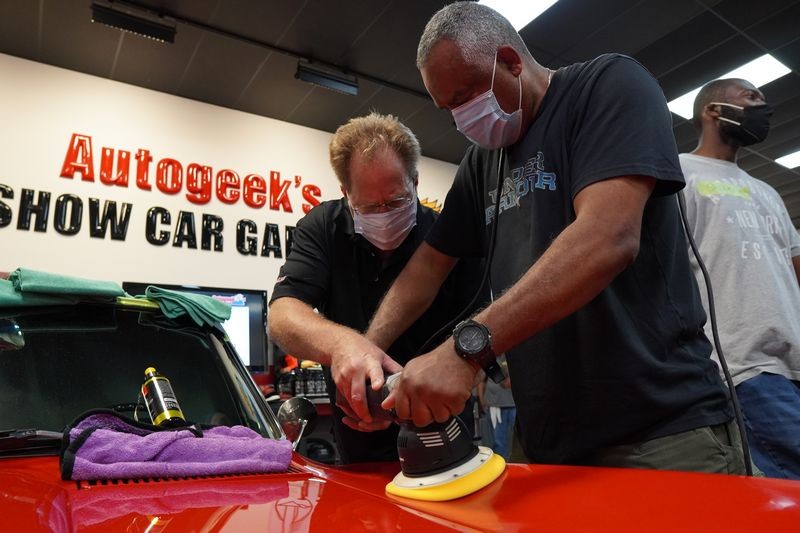
BUT sometime next week I should be able to get to the pictures showing the people in this class buffing out all the cars including the 1951 Chevy.
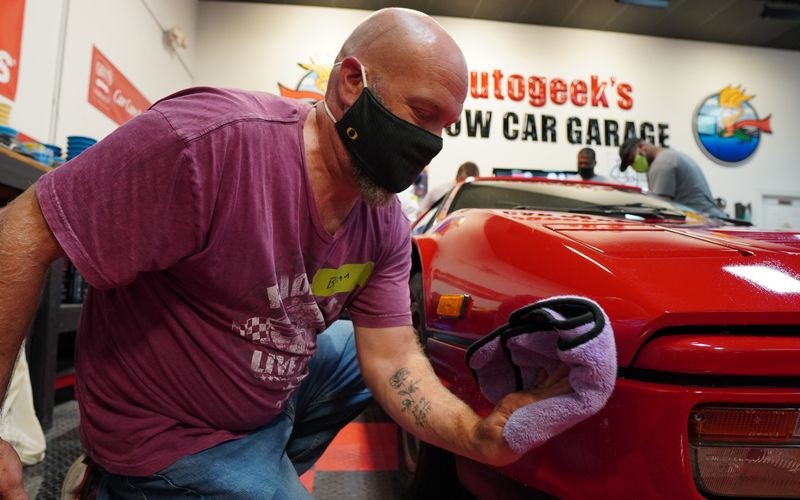
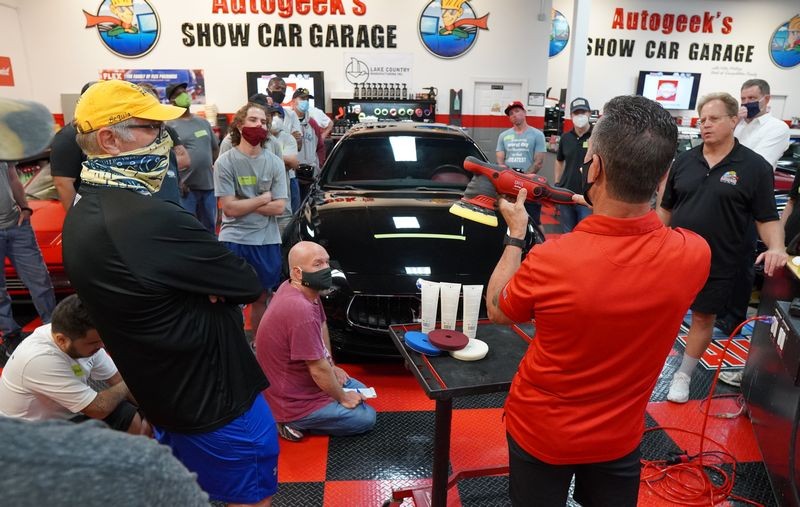
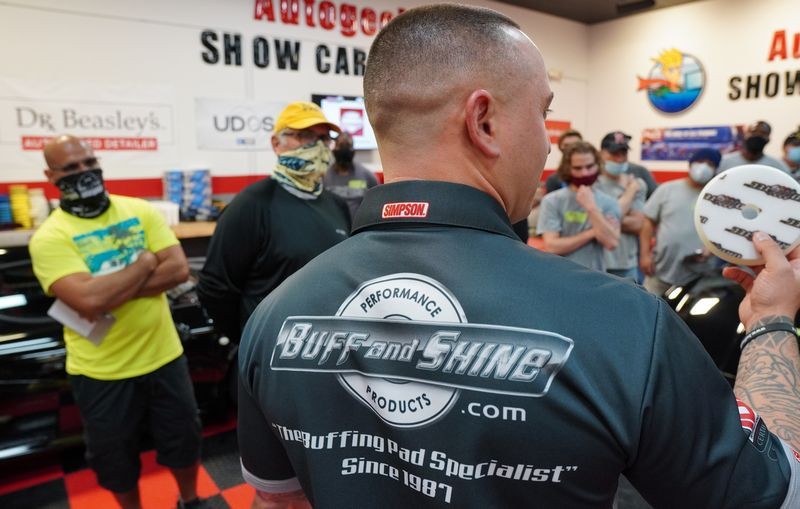
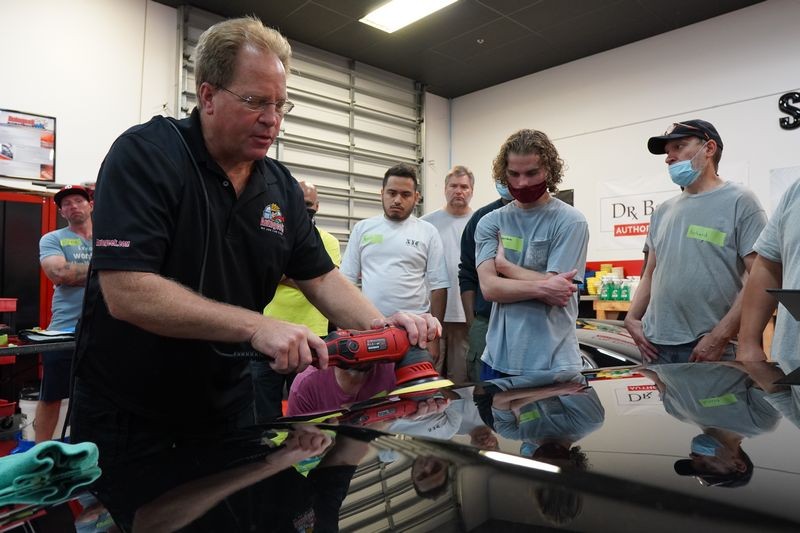
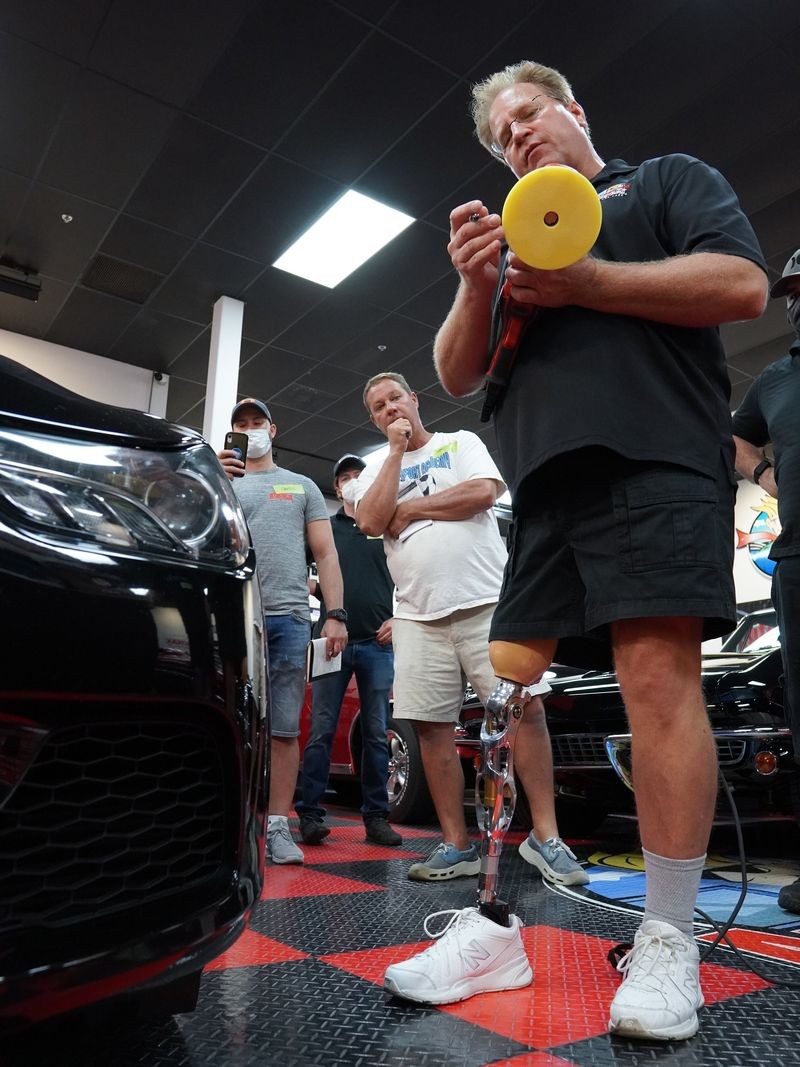
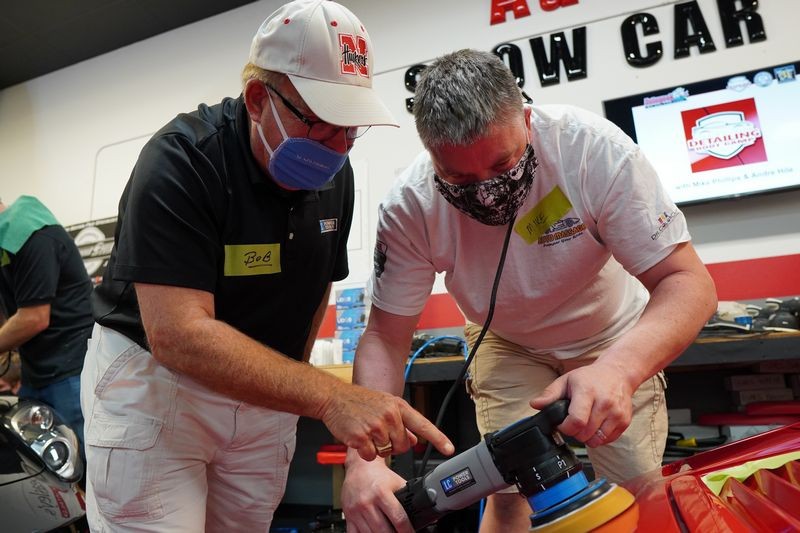
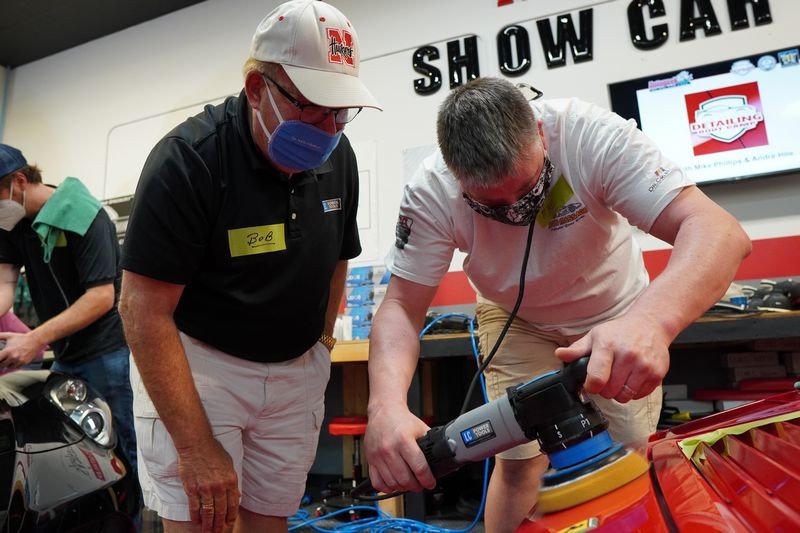
Like Jeff shown here CHOPPING on the rusty chrome grill using the UDOS in rotary mode....

")
In a spot like on the door where there was what looked to be a blistering rust spot, would you tape that off and not buff it at all, or would you just lightly go around it and hope none of the blistering peels off in a chunk?
Sent from my VOG-L04 using Tapatalk