Worked with my friend of 20+ years to get some Paint Protection Film (PPF) installed on my wife's Mazda as Soul Red is notorious for chipping. Doesn't help that Mazda paints are so dang thin.
Areas Completed:
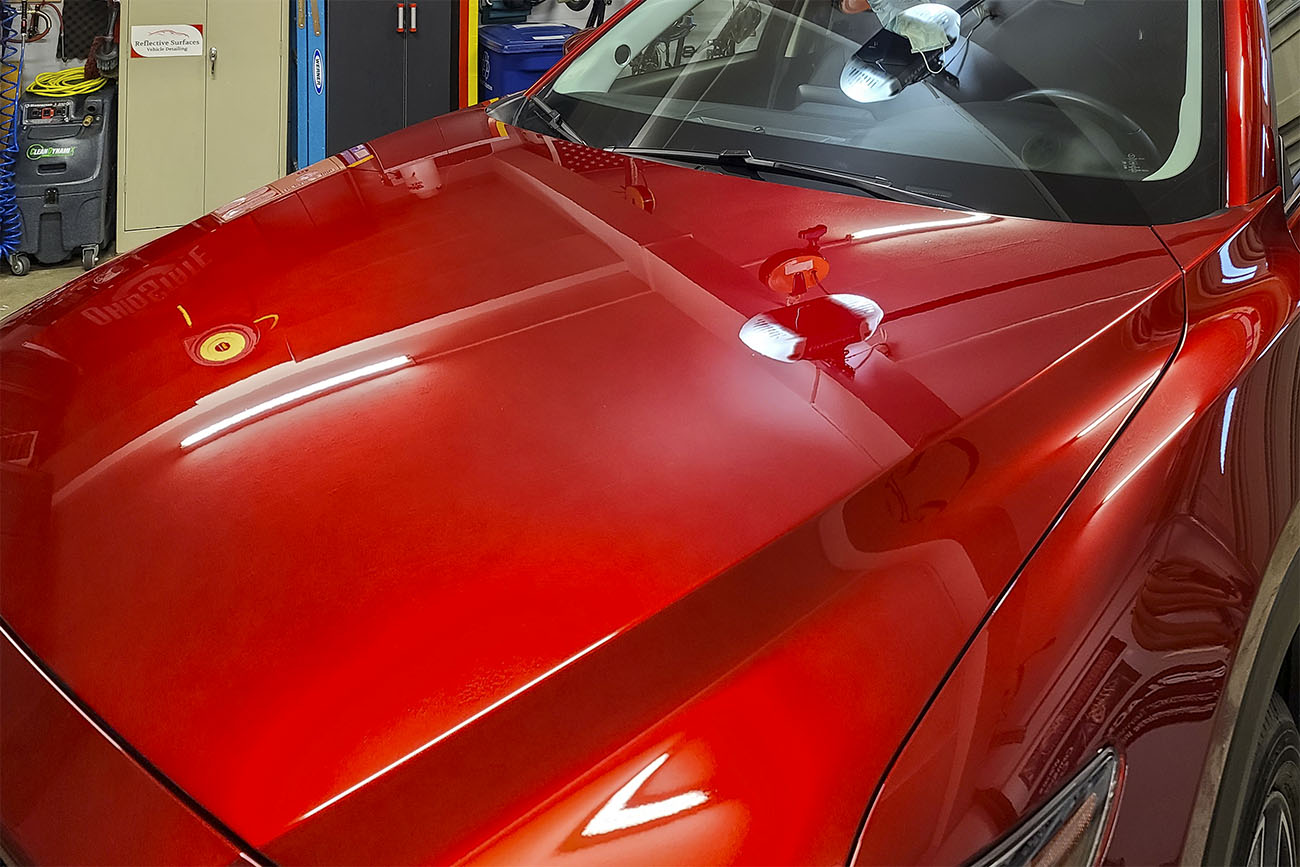
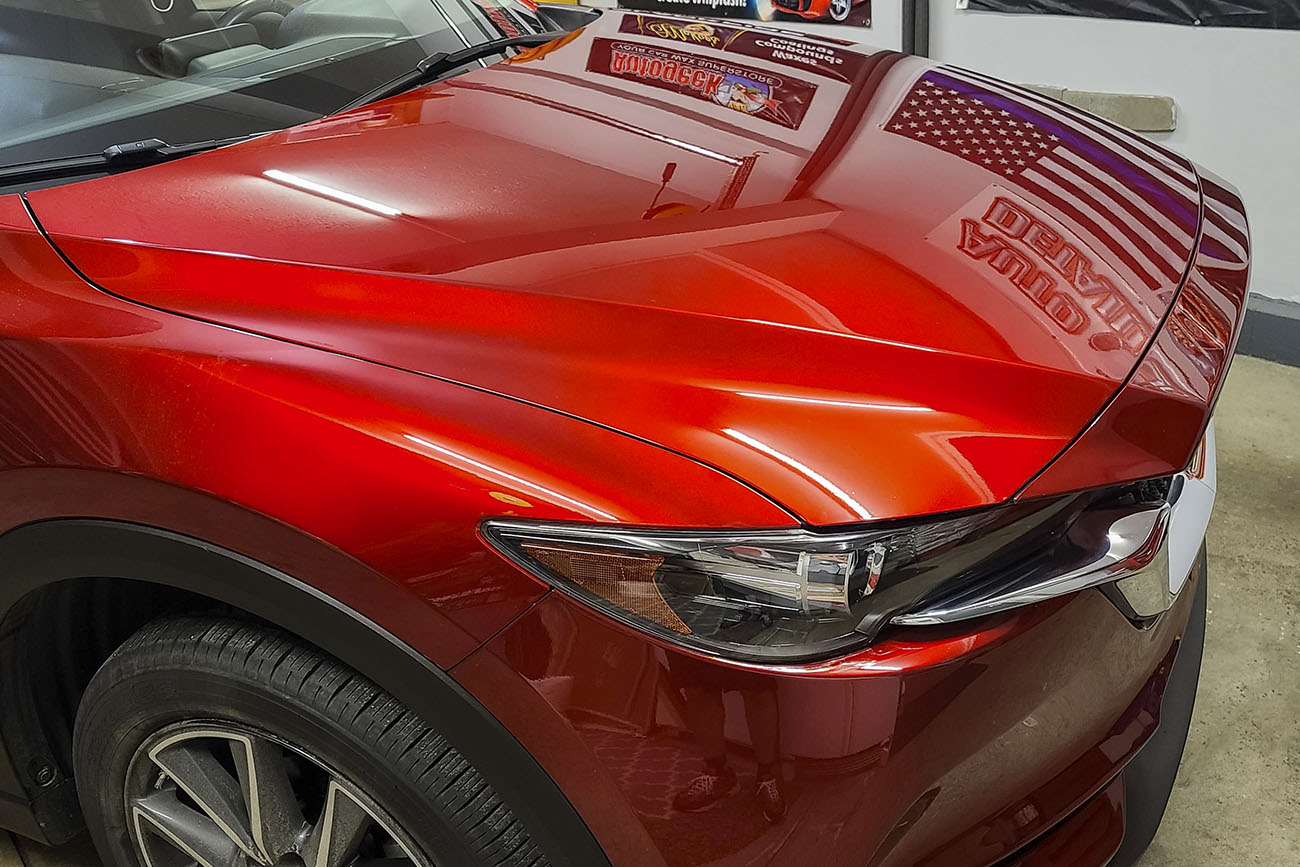
- Full Hood
- Leading 1/2 of front fenders
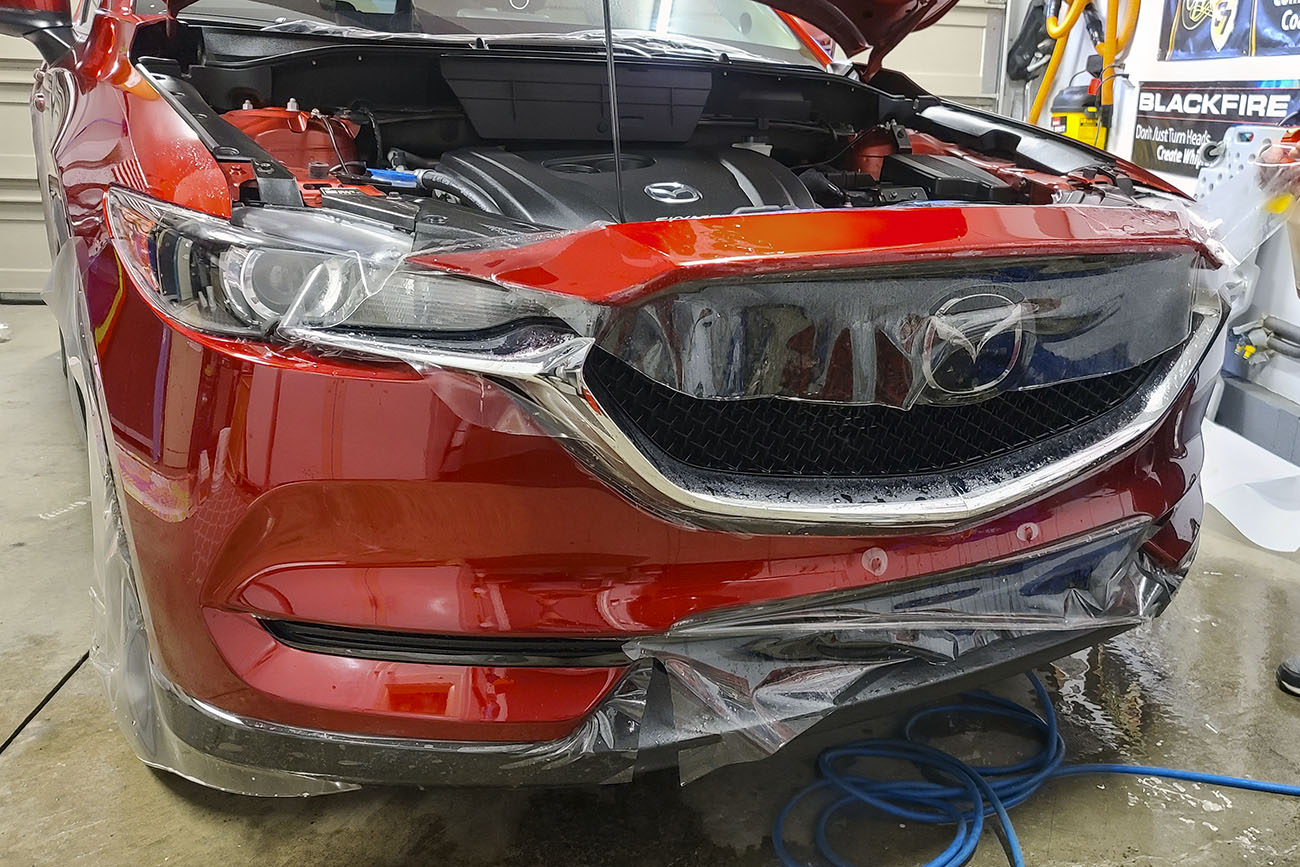
- Entire front nose of the vehicle
- Headlights
- A-Pillars
- Side Mirrors
- and finally, the leading portion of the roof in front of the sunroof
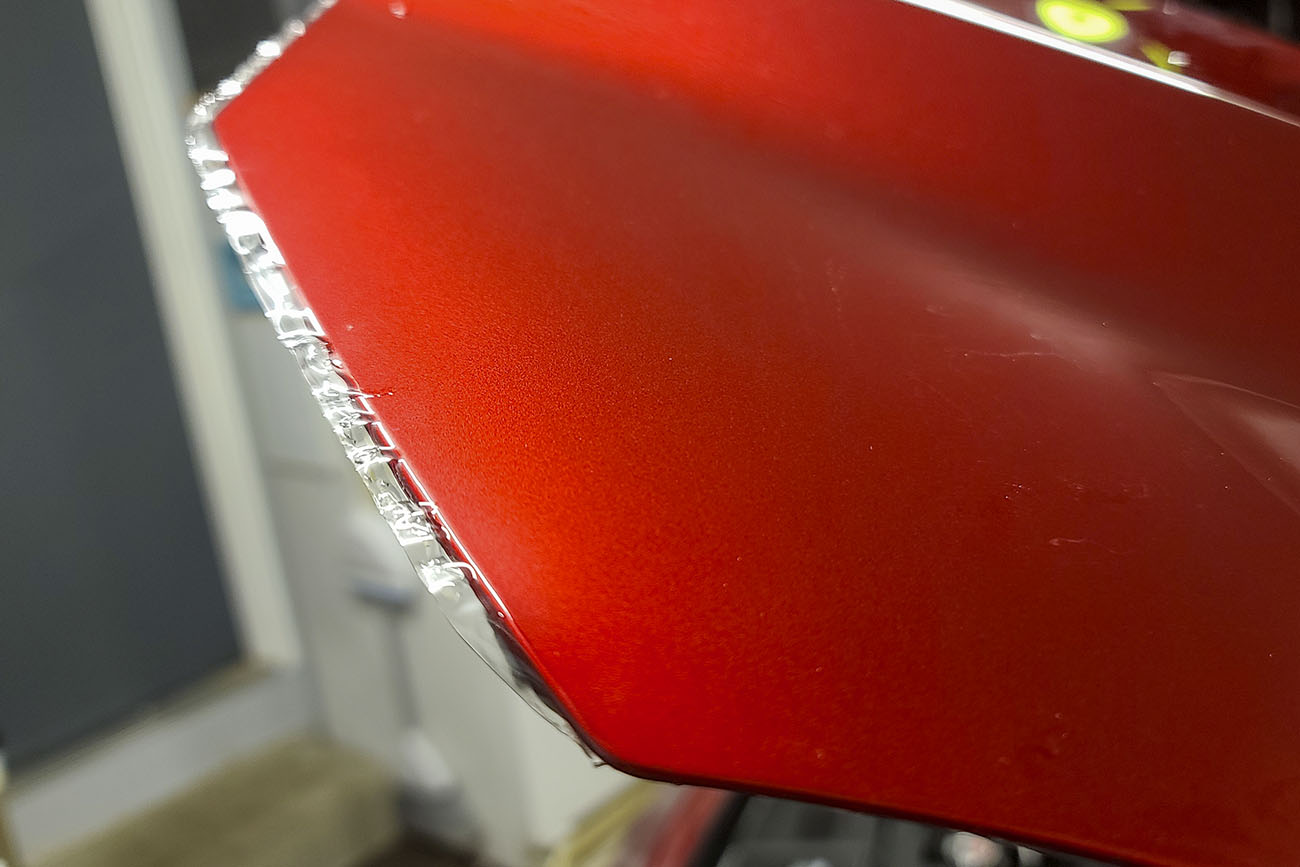
My friend has been doing this a long time and I've watch him go from really good at the craft to simply outstanding. His own proprietary formulation of adhesive activator is so crystal clear the film is almost magically invisible. As shown he also doesn't use any pre-cut templates but instead custom cuts and hides every edge and rolls it over so as to protect the leading edge and truly make it invisible to even a keen-eye.
The Premium Shield Elite is now also a self-healing film and the gloss level of it's clear coat is improved even over the revision that was on my previous Audi S4 just a few years back. The gloss rivals and blends in perfectly with the polish and ceramic coating I have on the rest of the car.
NOTE: The completed pics here are not even re-ceramic coated yet either. This is just after completion with a basic wipe off, not even a detail spray applied.