Marc08EX
New member
- May 10, 2008
- 4,108
- 0
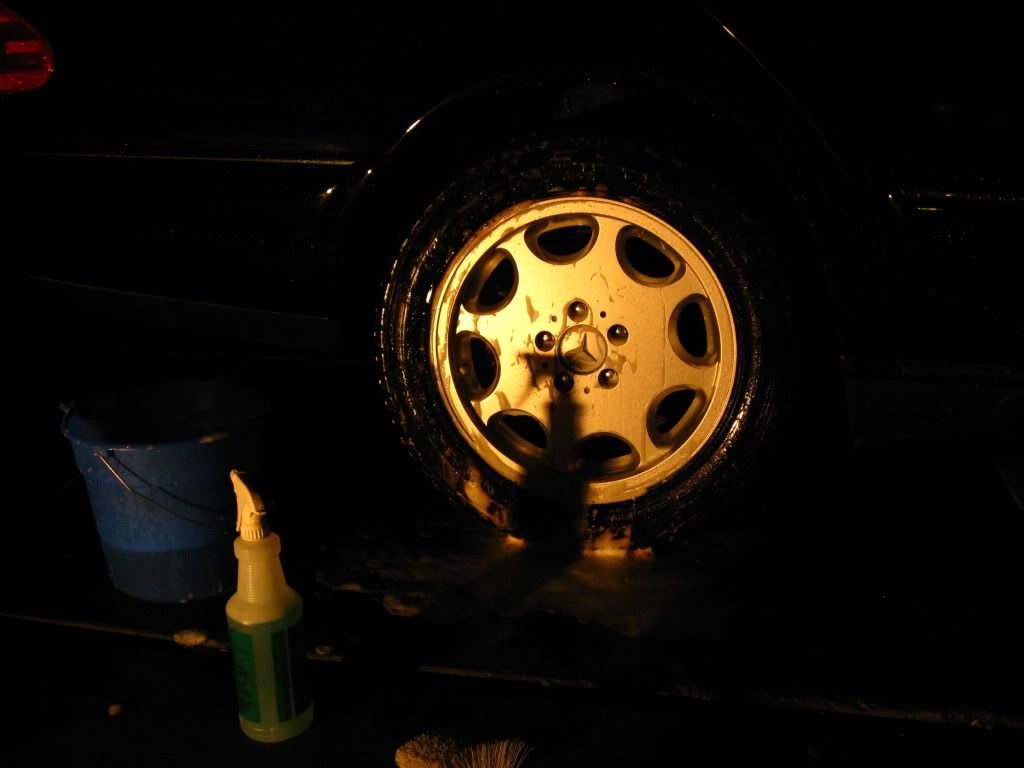
Wheels/Tires:
Meguiar's Deep Crystal on wheels
Meguiar's APC on tires/wheel wells
Meguiar's Cleaner Wax on wheels
Meguiar's Hyper Dressing on tires
Wash:
Gilmour Foam Gun with Meguiar's Gold Class/APC
Chemical Guys Citrus Wash and Gloss via 2BM
Meguiar's Microfiber Wash Mitt
Clay:
Meguiar's OTC Clay
Meguiar's Last Touch
Paint Correction:
Flex 3401 VRG
Meguiar's G100
Menzerna Super Intensive Polish / LC Orange Pad
Menzerna Nano Polish (106FF) / LC Grey Pad
Craftsman 500W Halogen Lights
LSP:
Menzerna Powerlock / Meguiar's Foam Applicator Pad
Misc:
Meguiar's NXT Metal Polish on the emblems
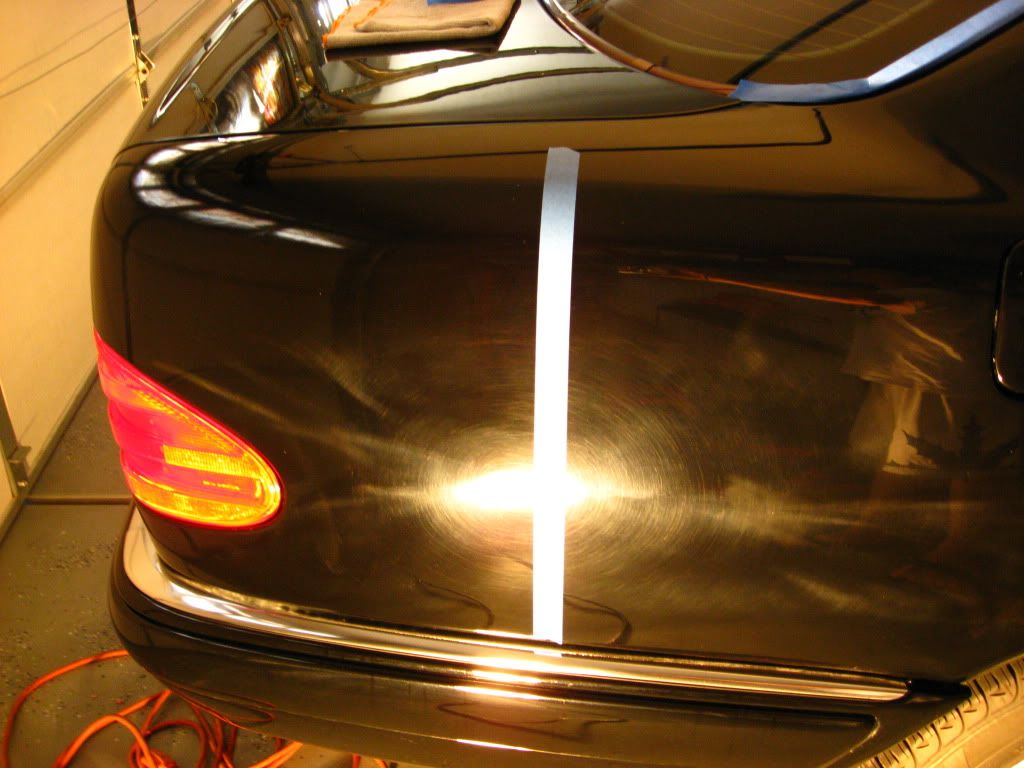
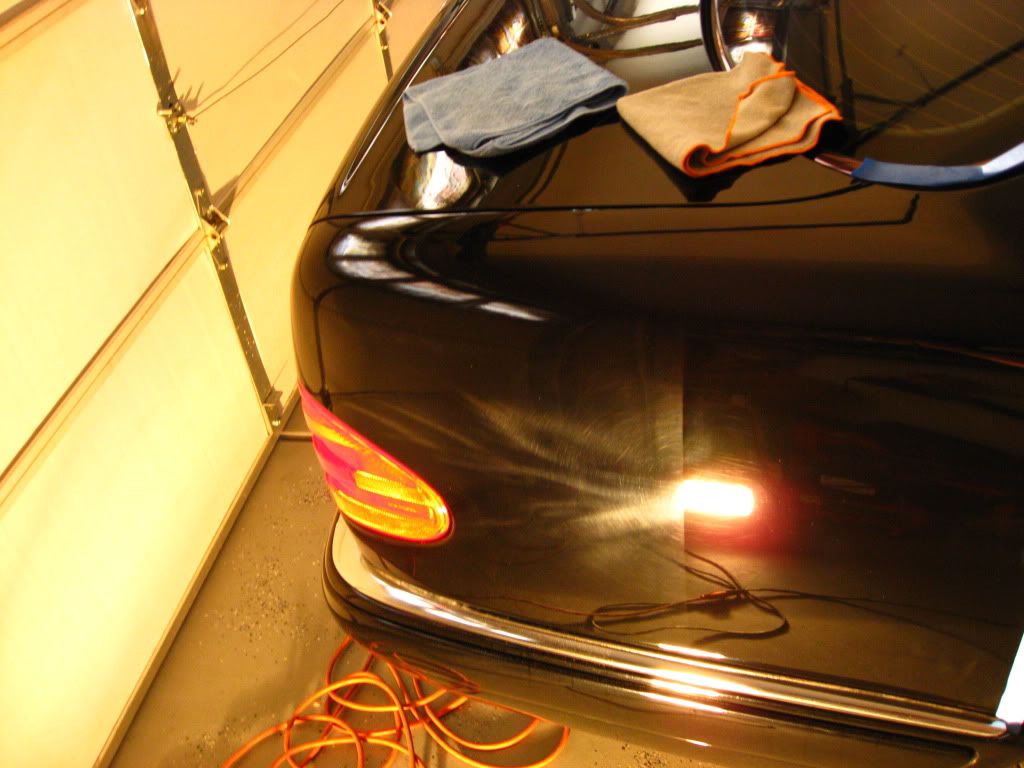
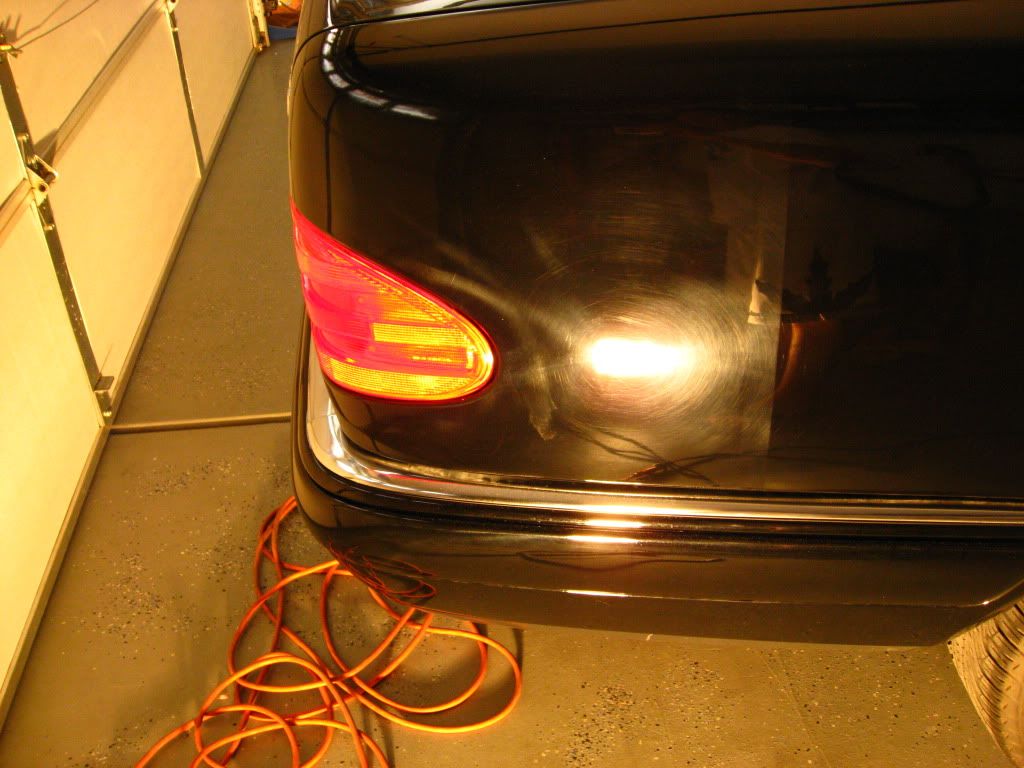
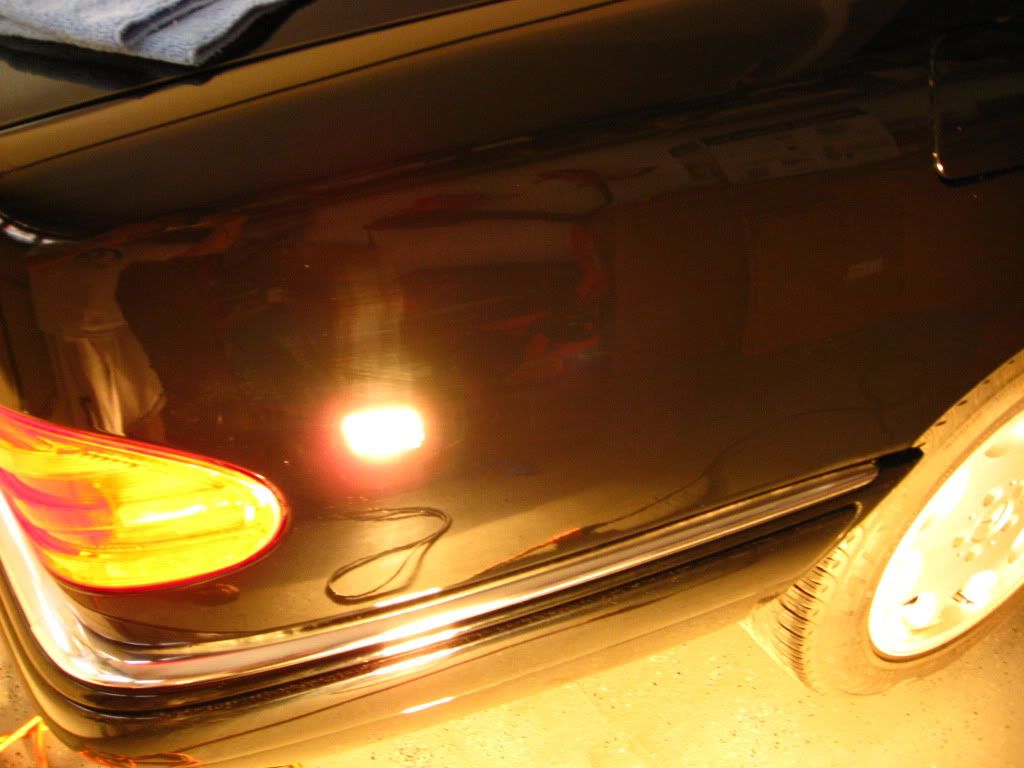
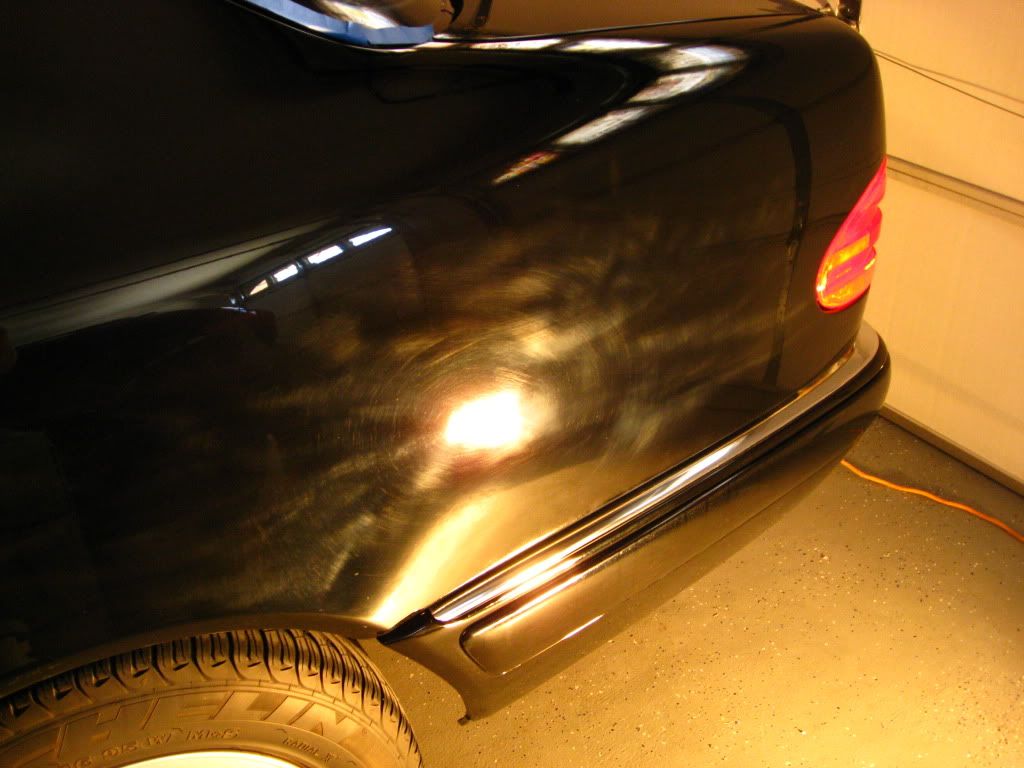
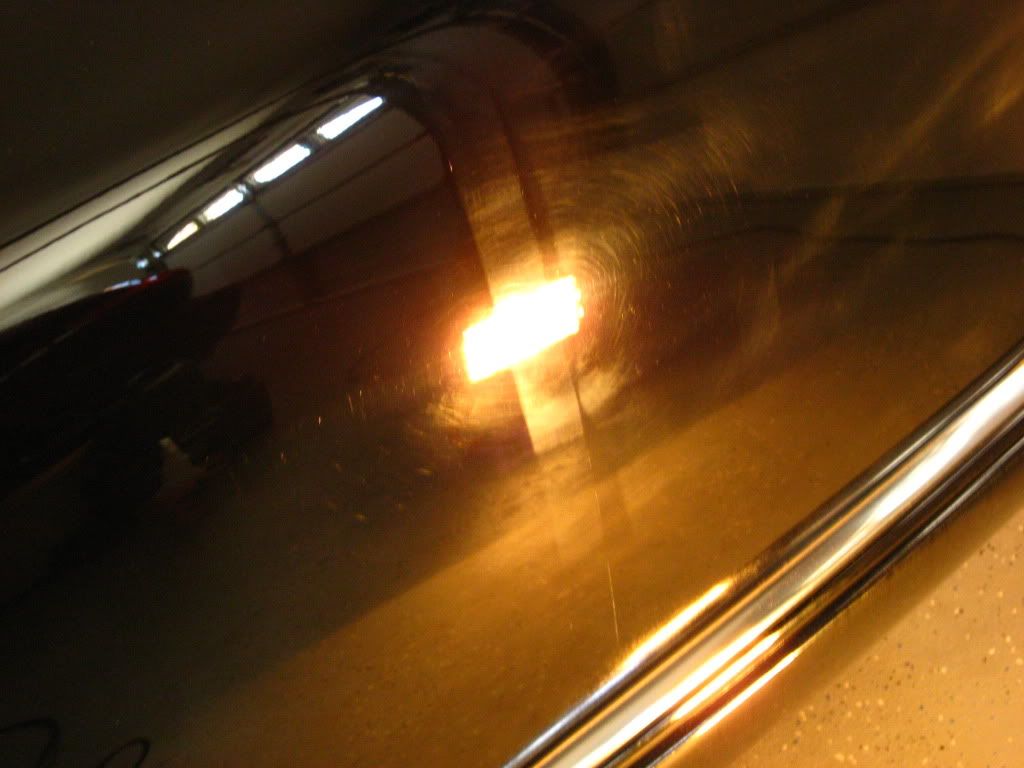
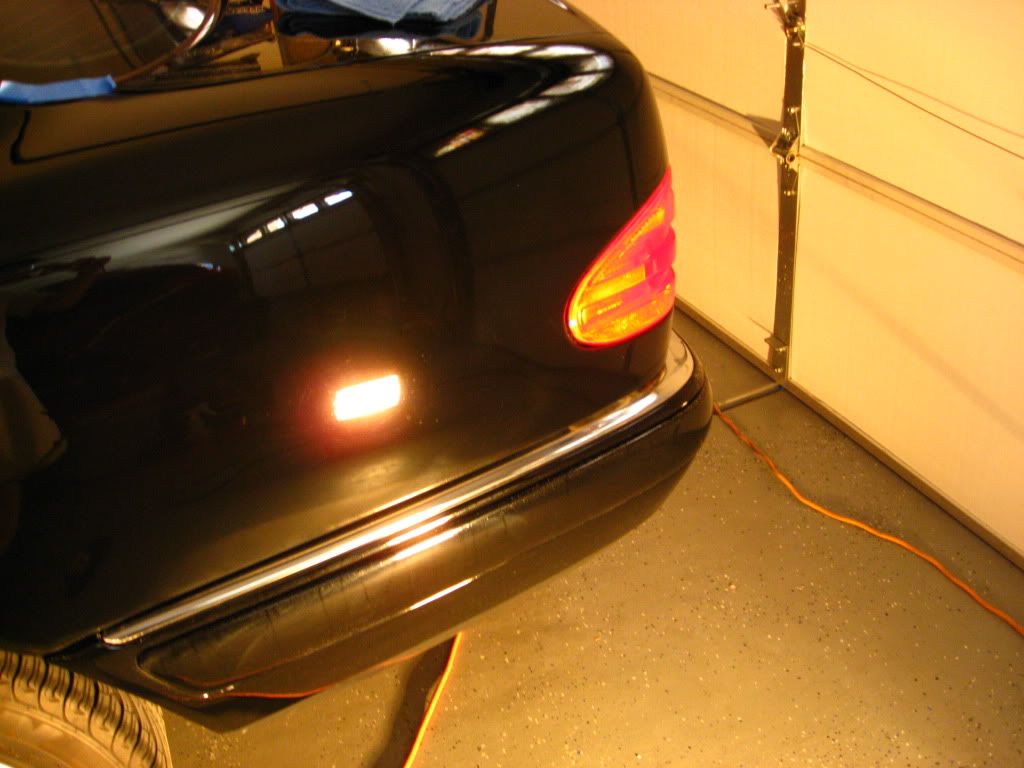
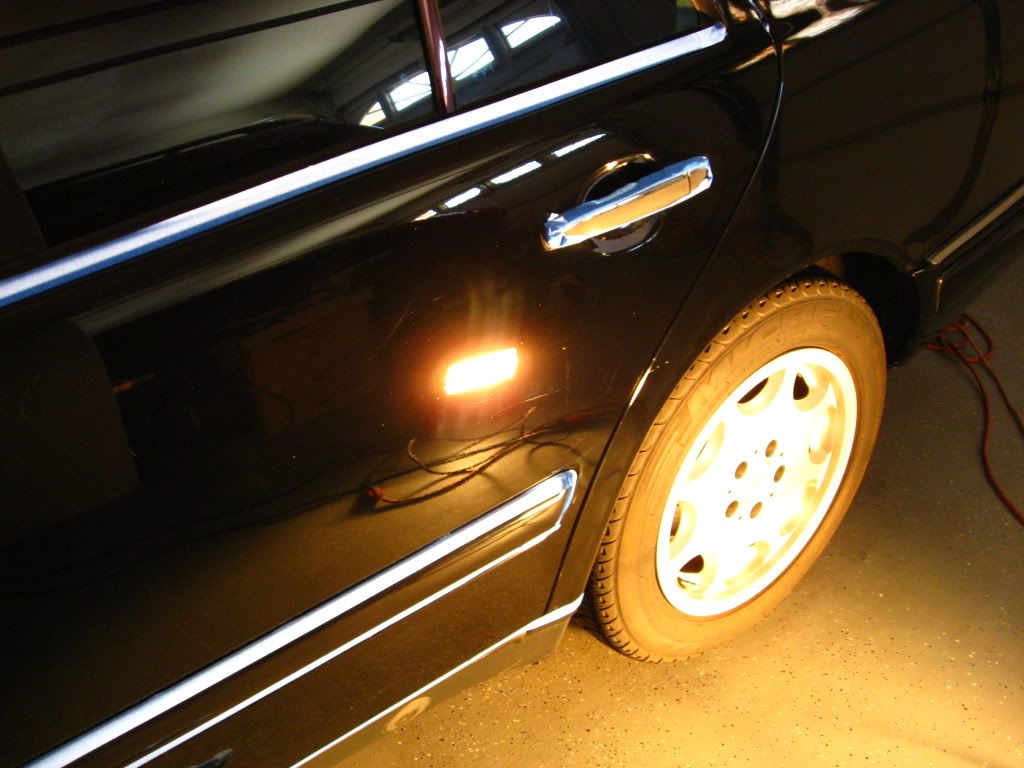
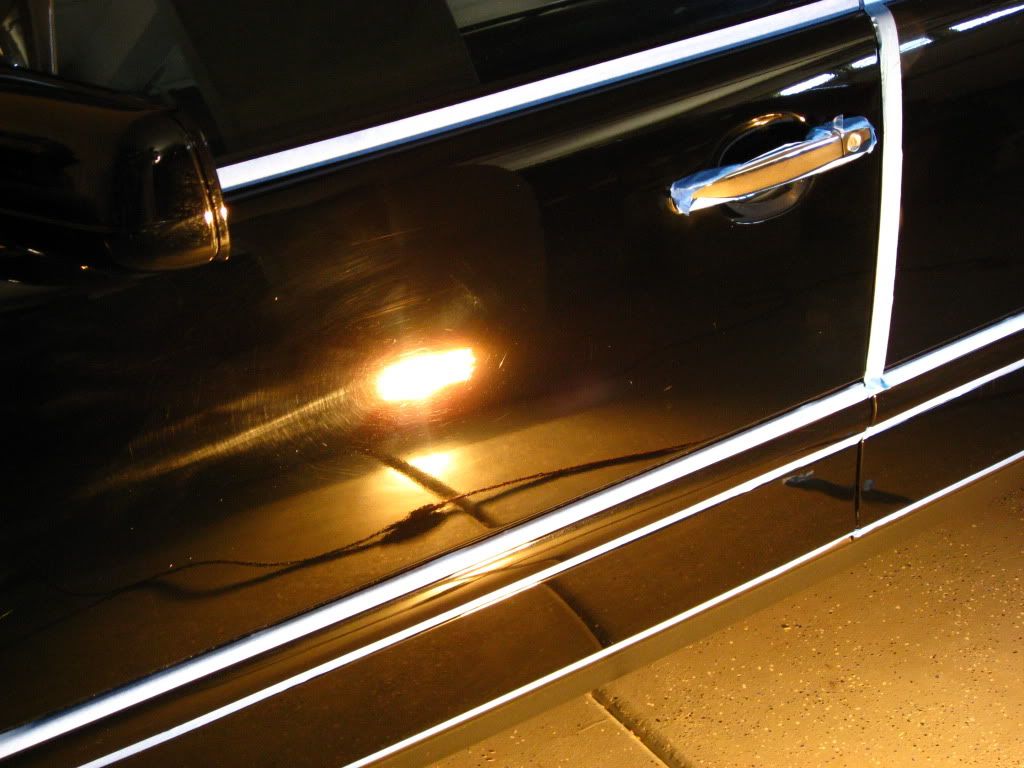
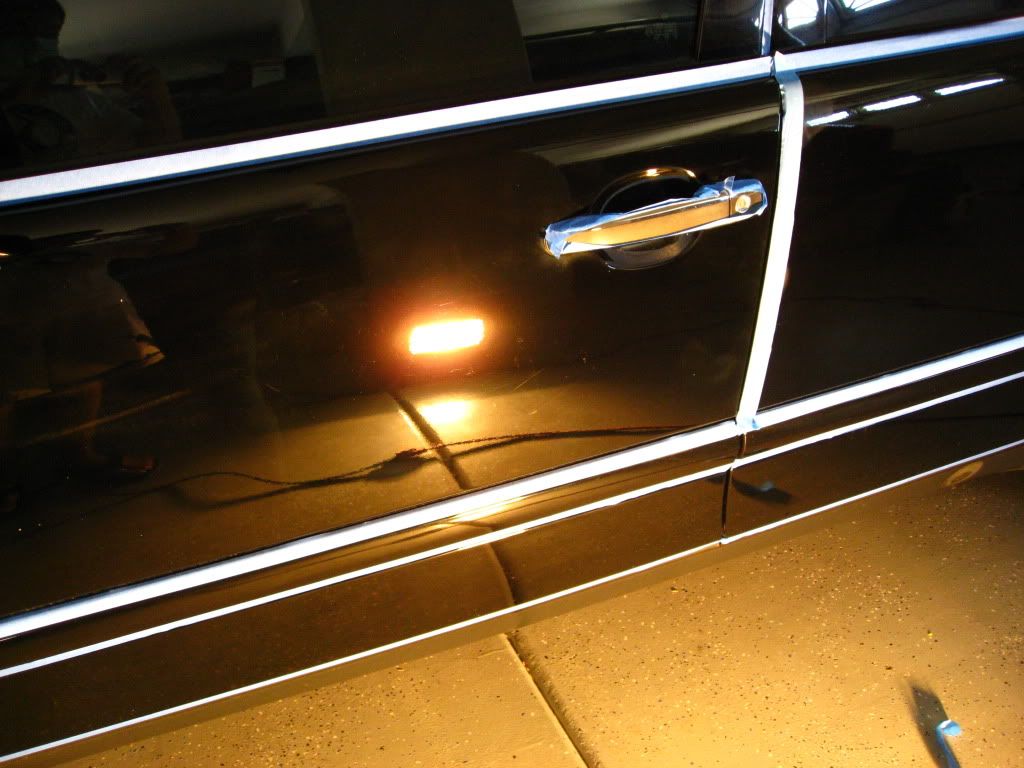
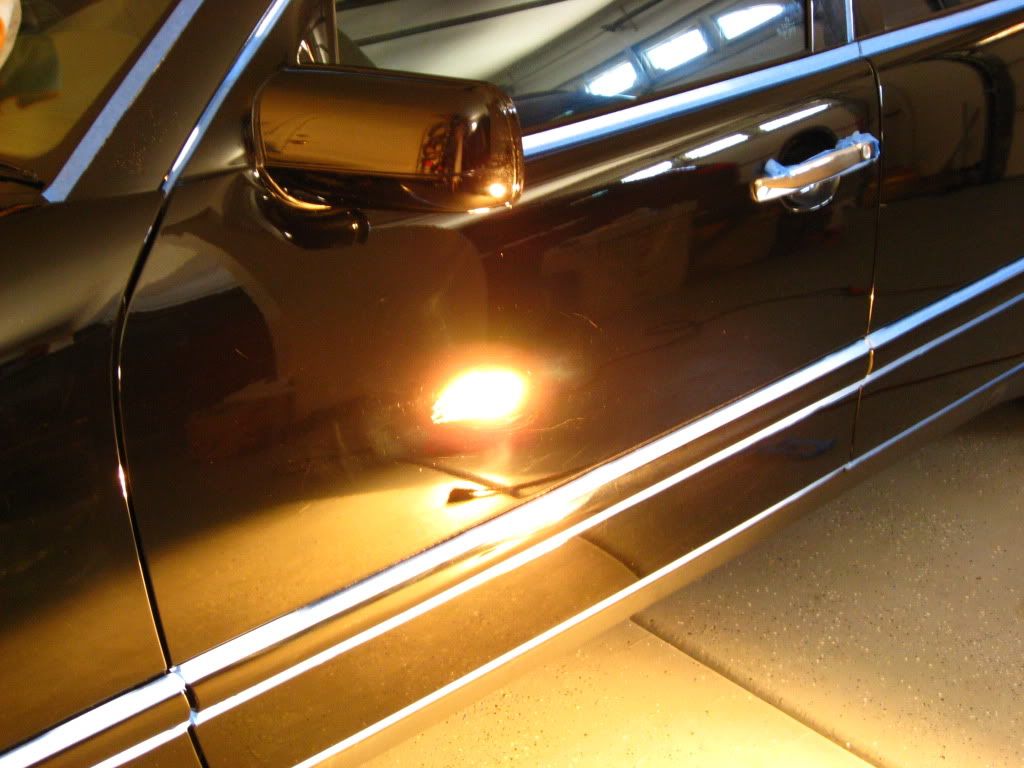
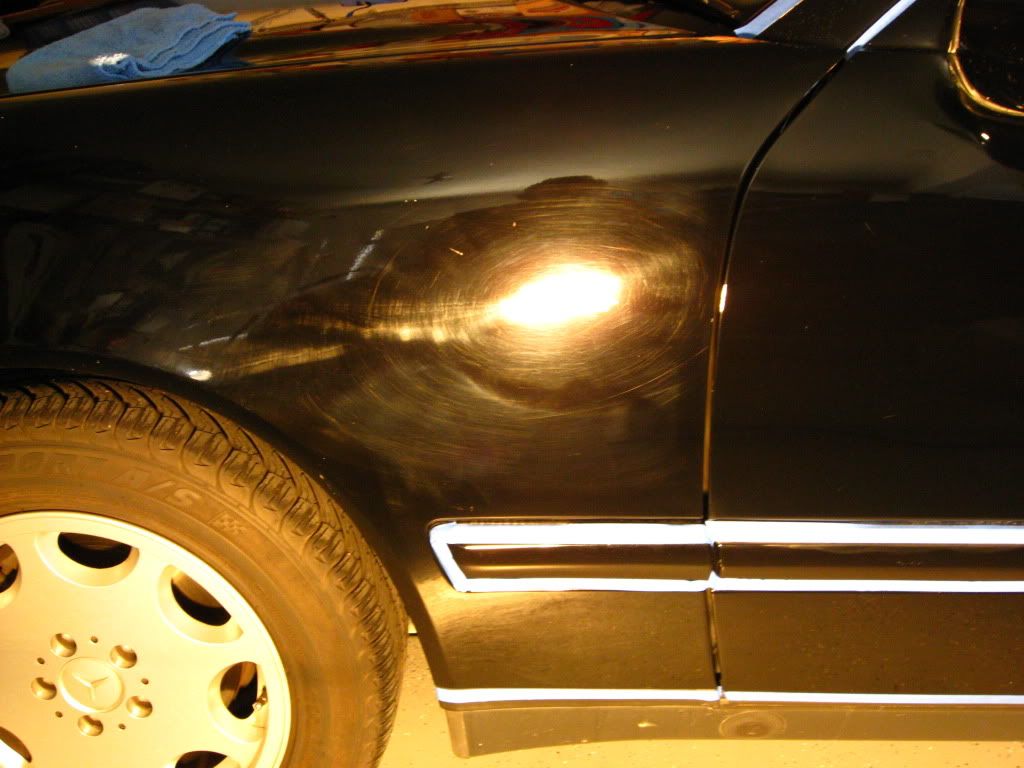
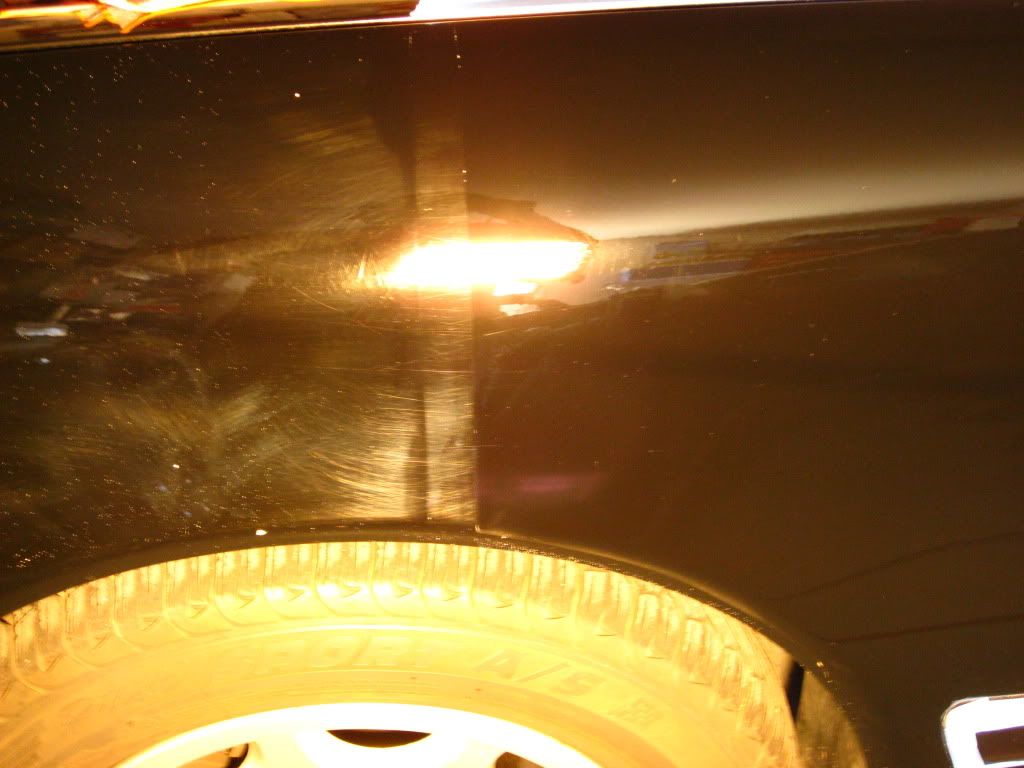
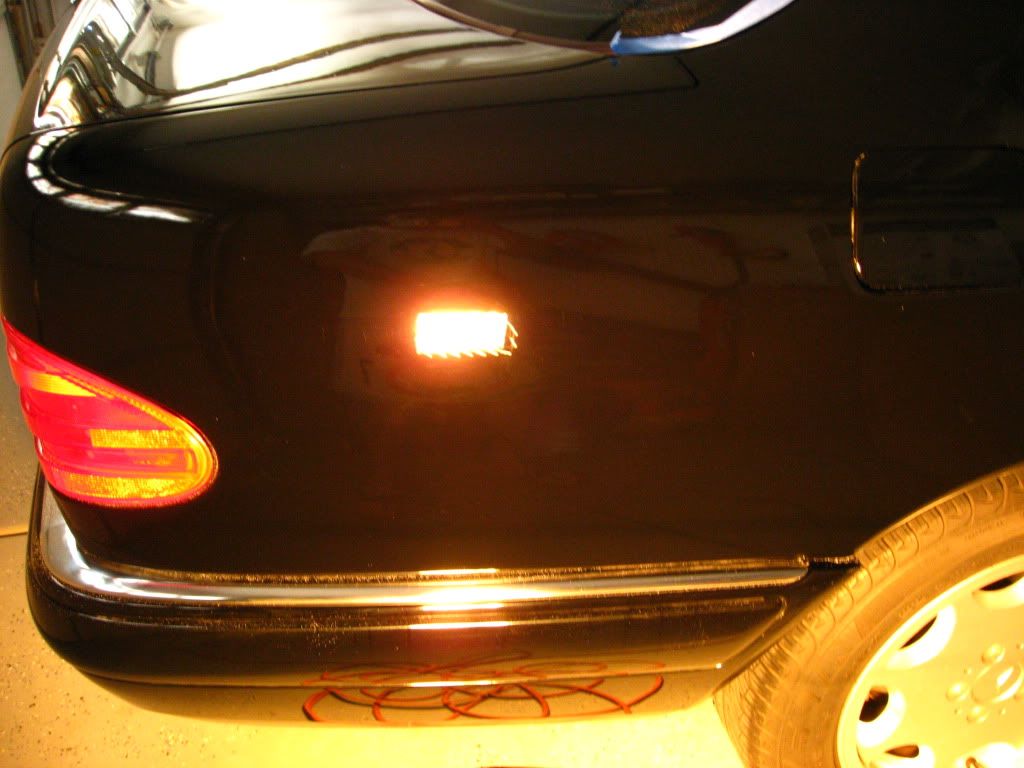
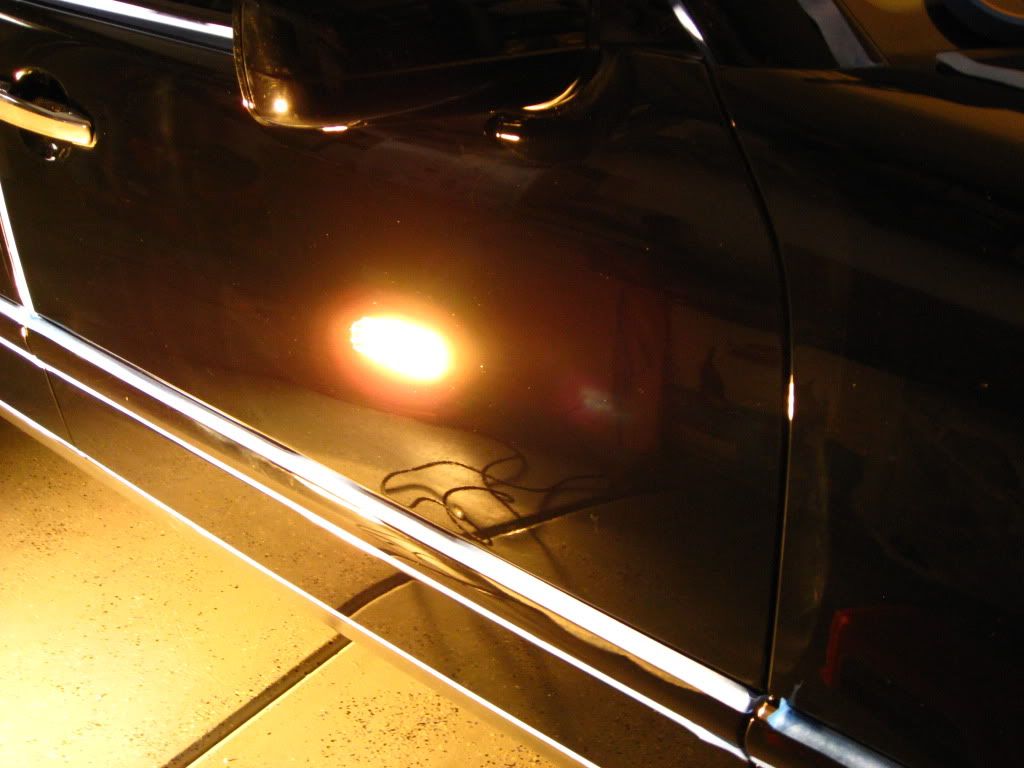
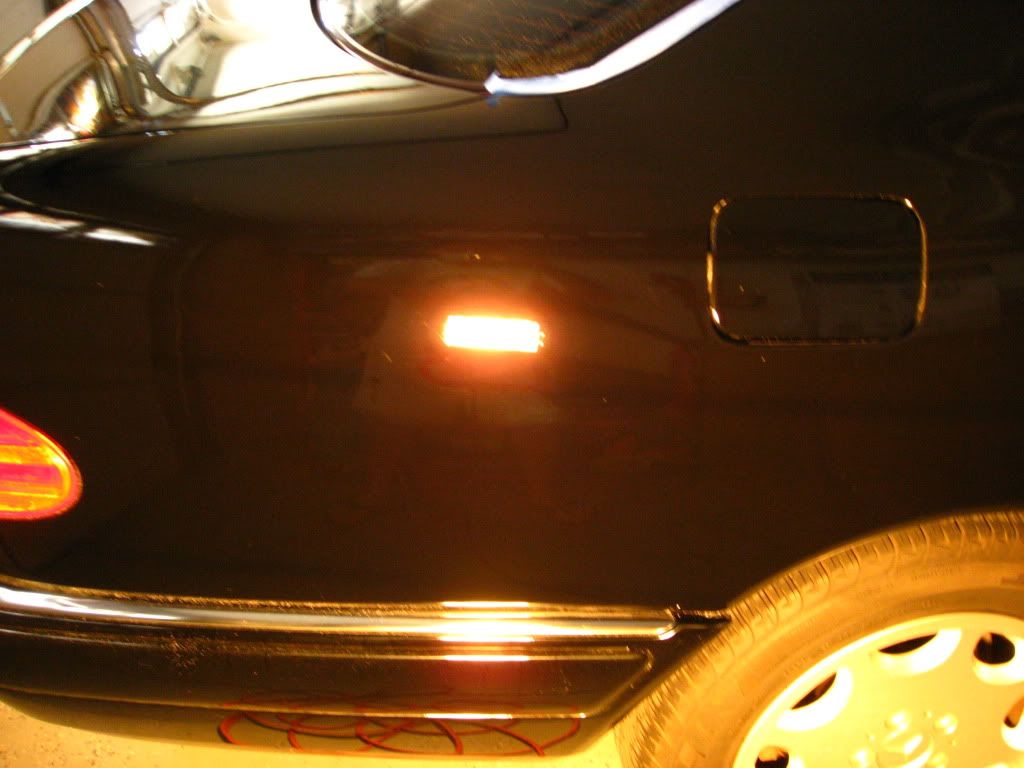
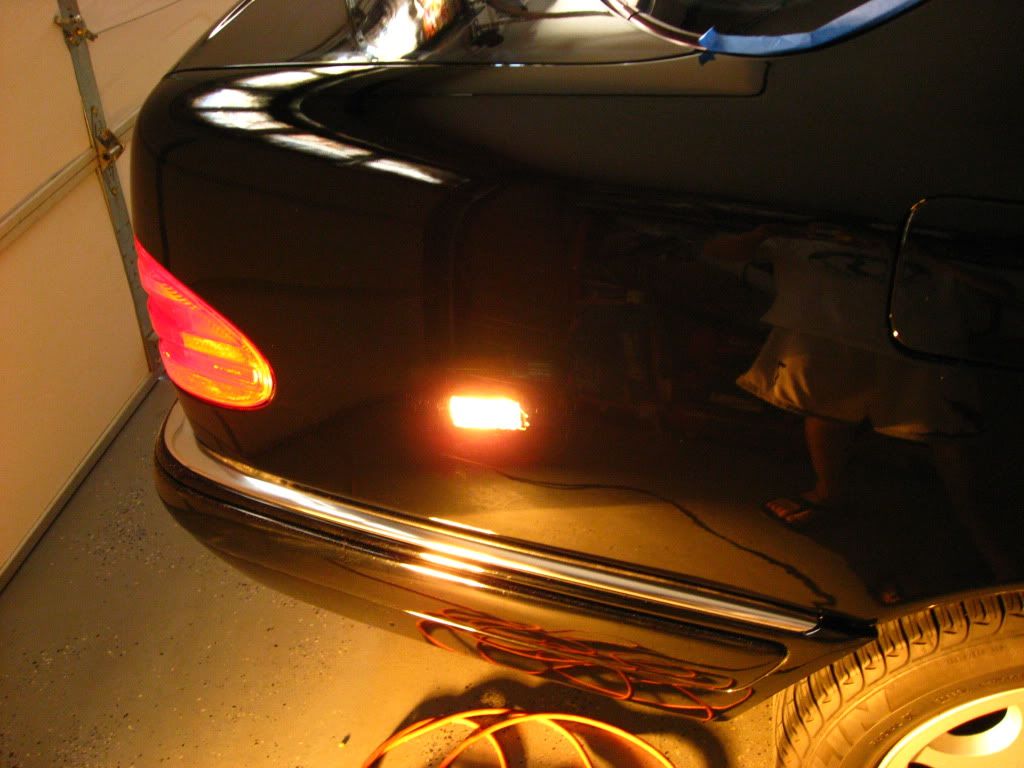
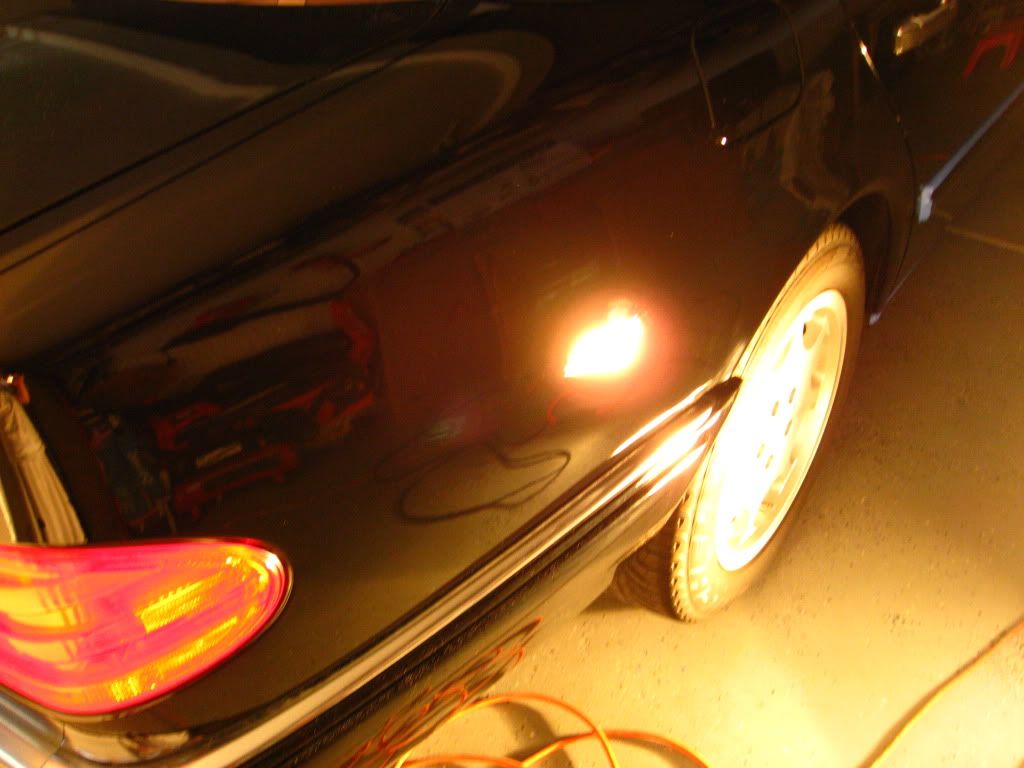
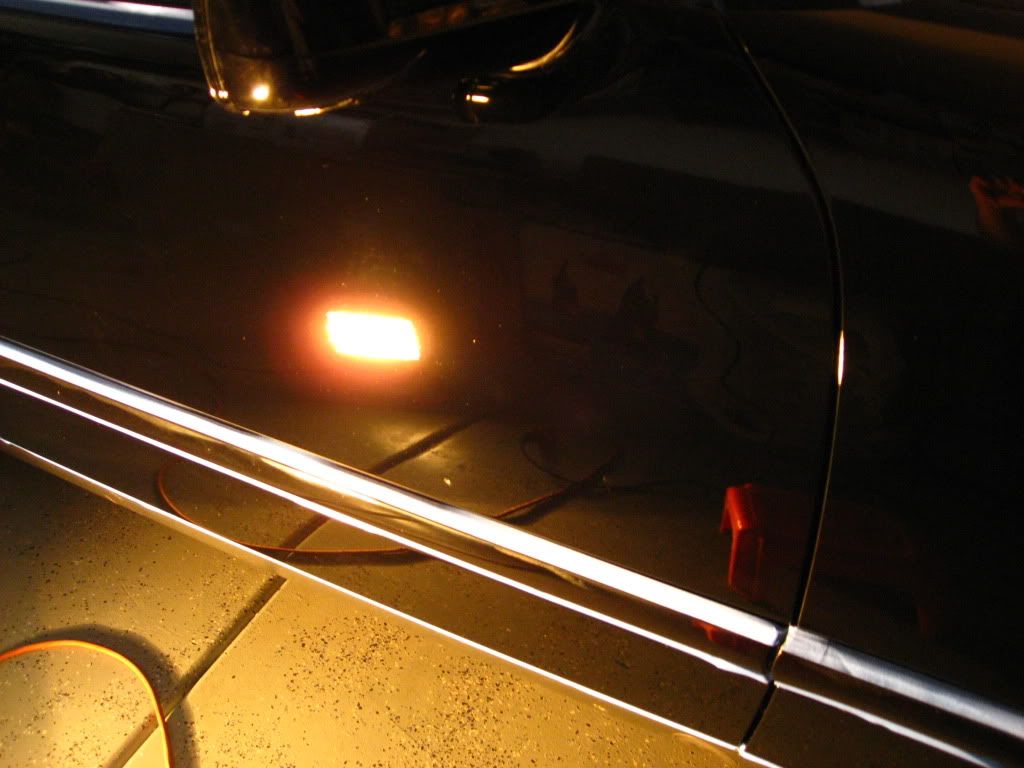
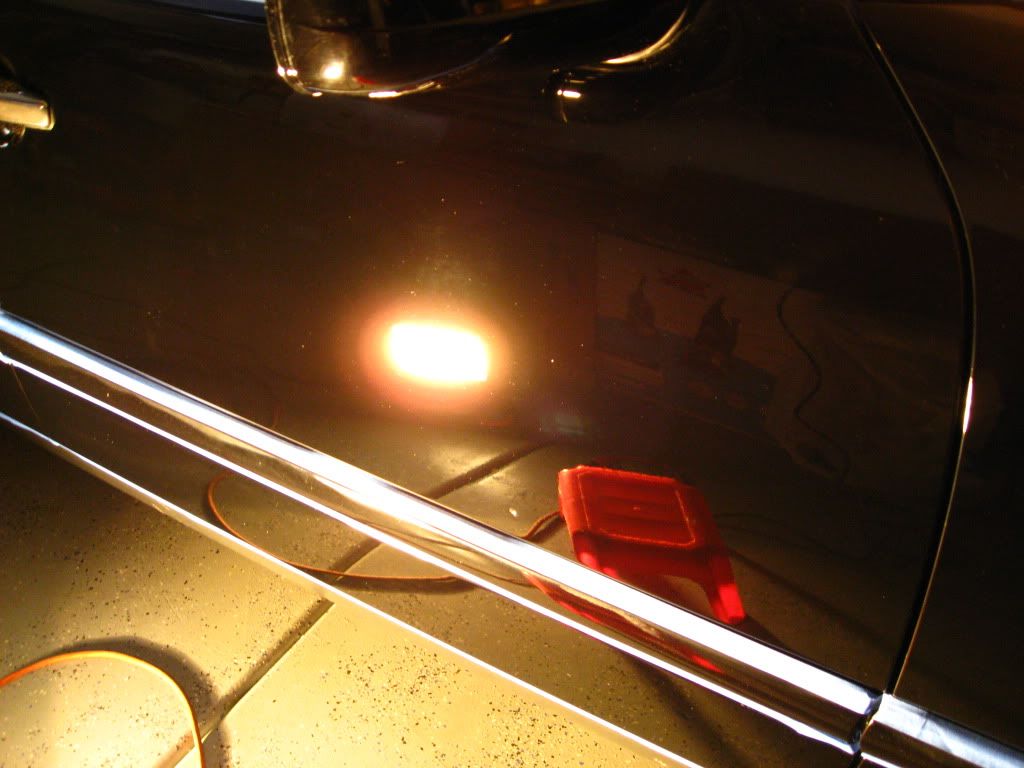
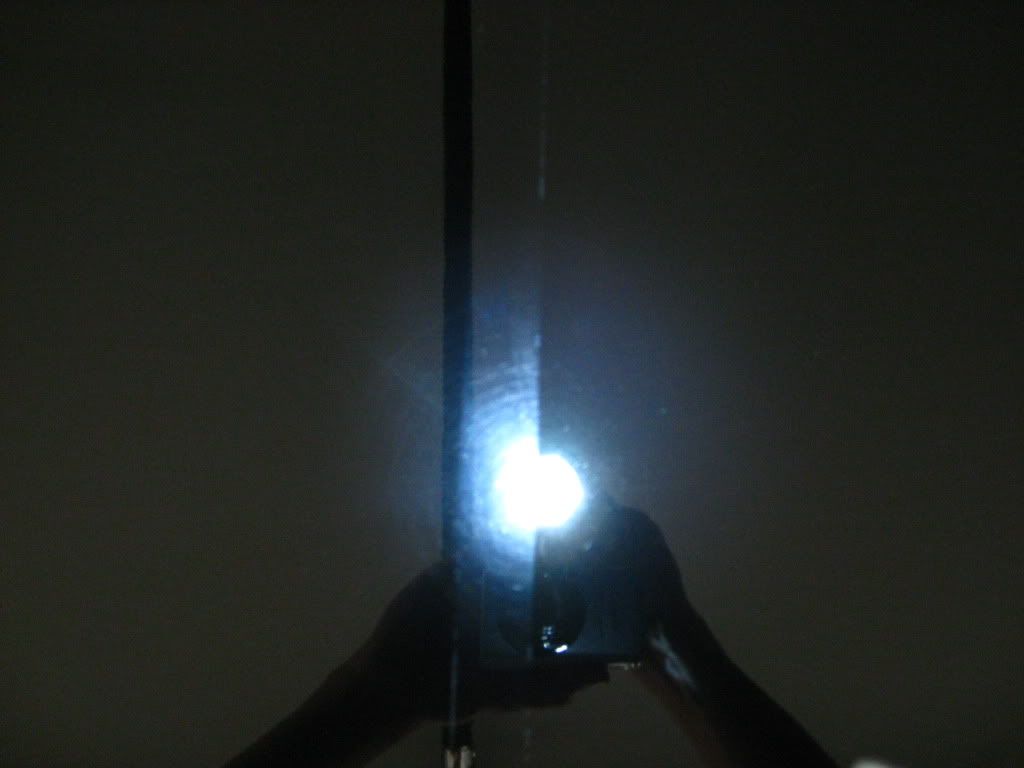
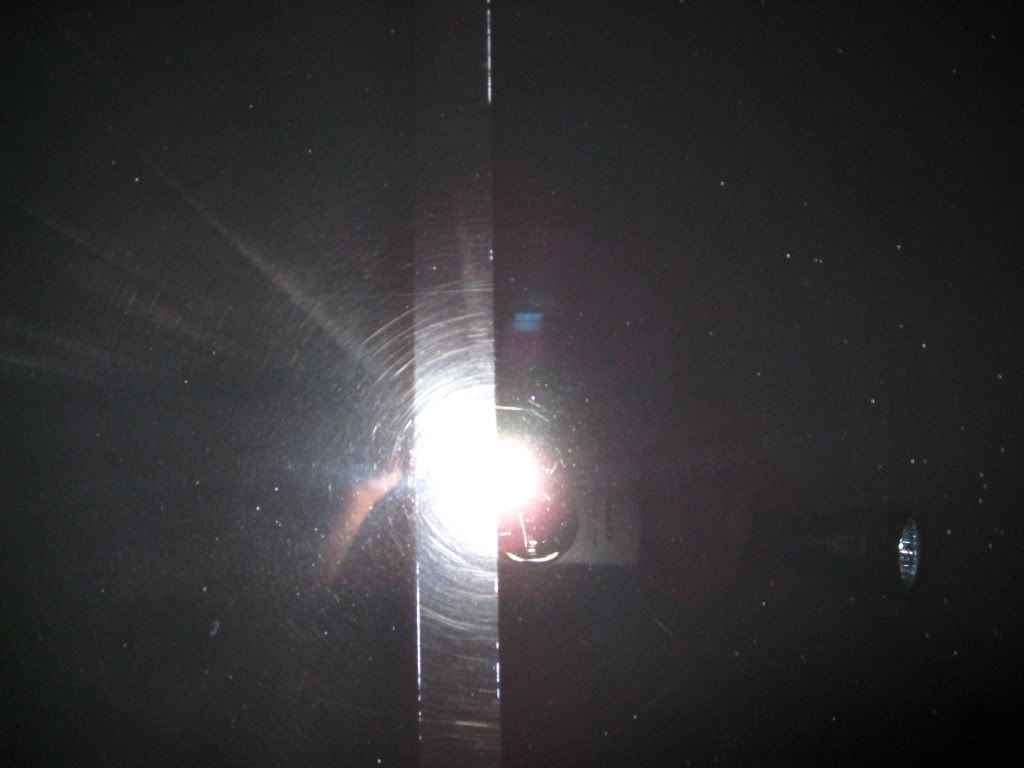
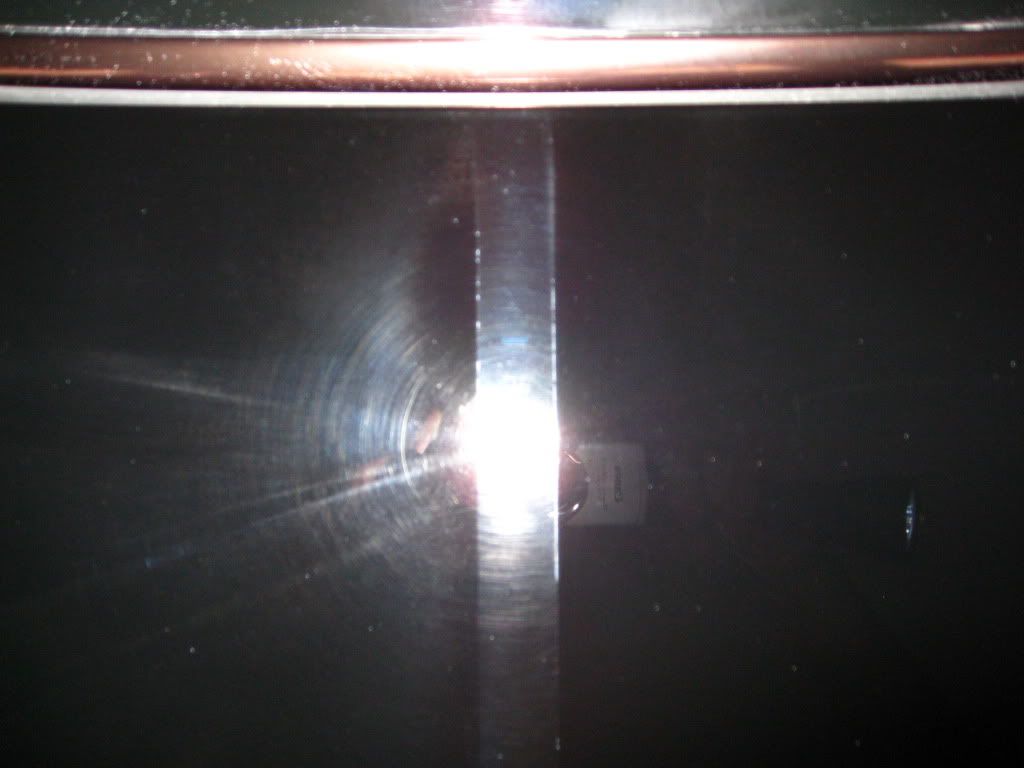
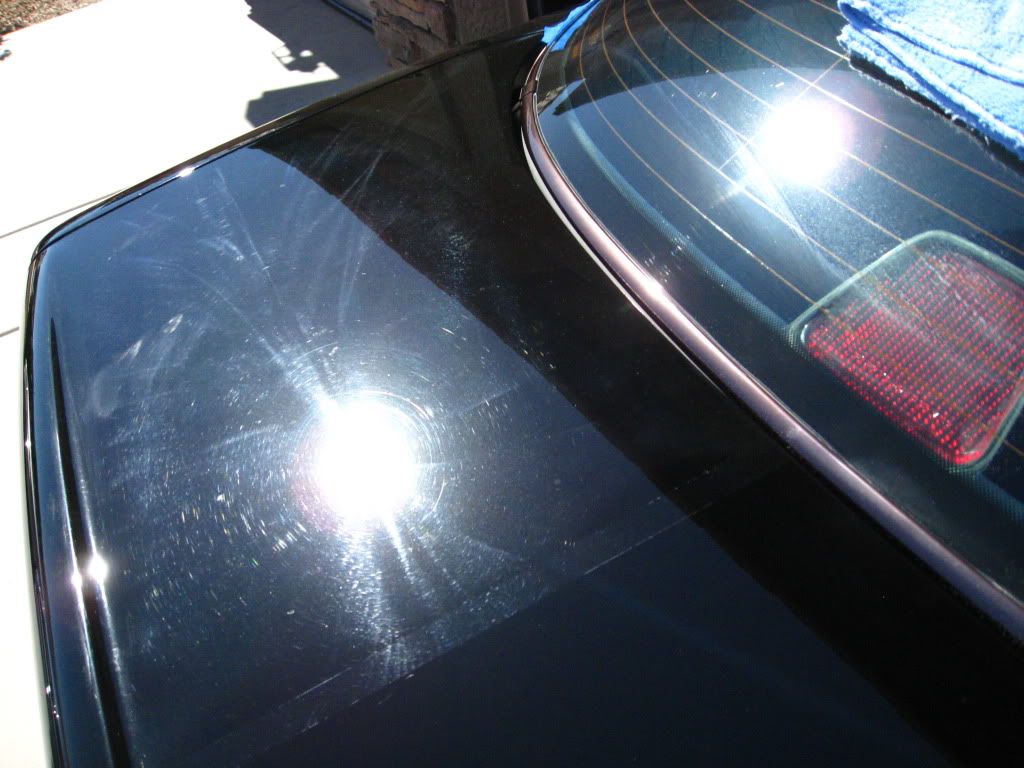
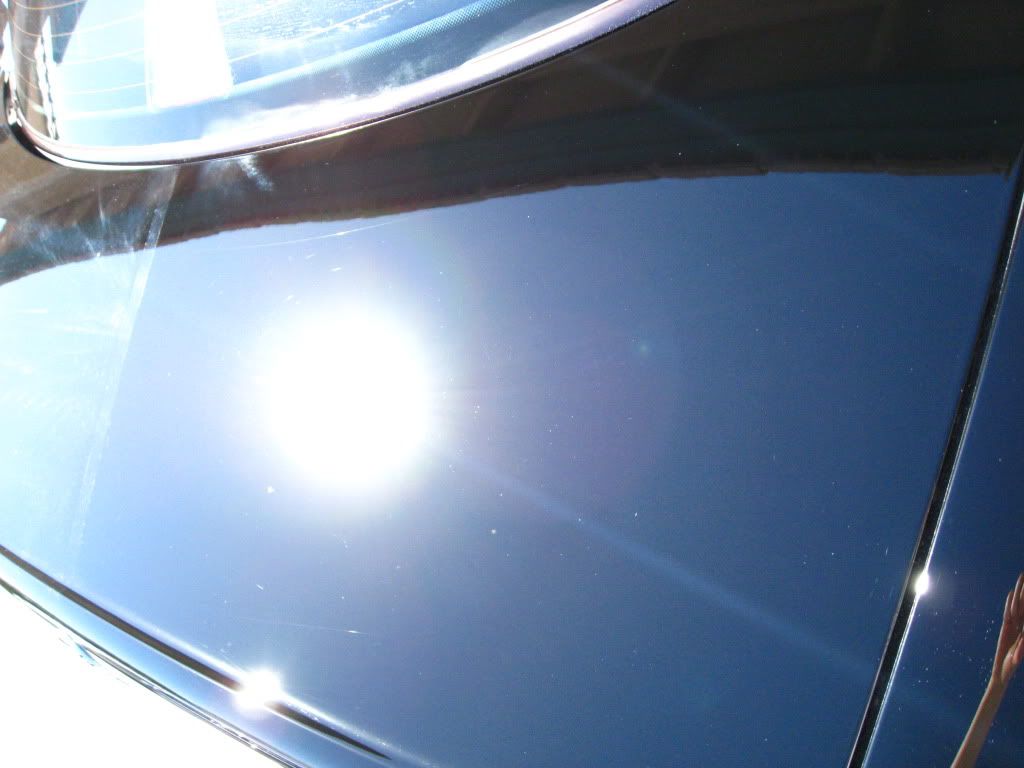
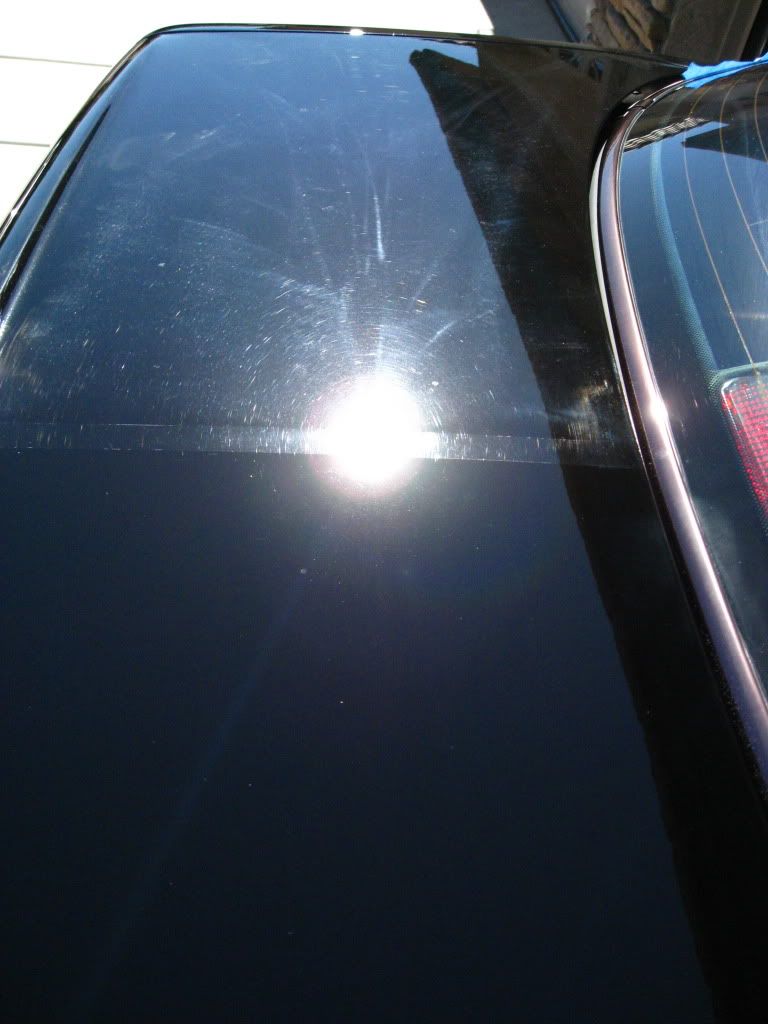
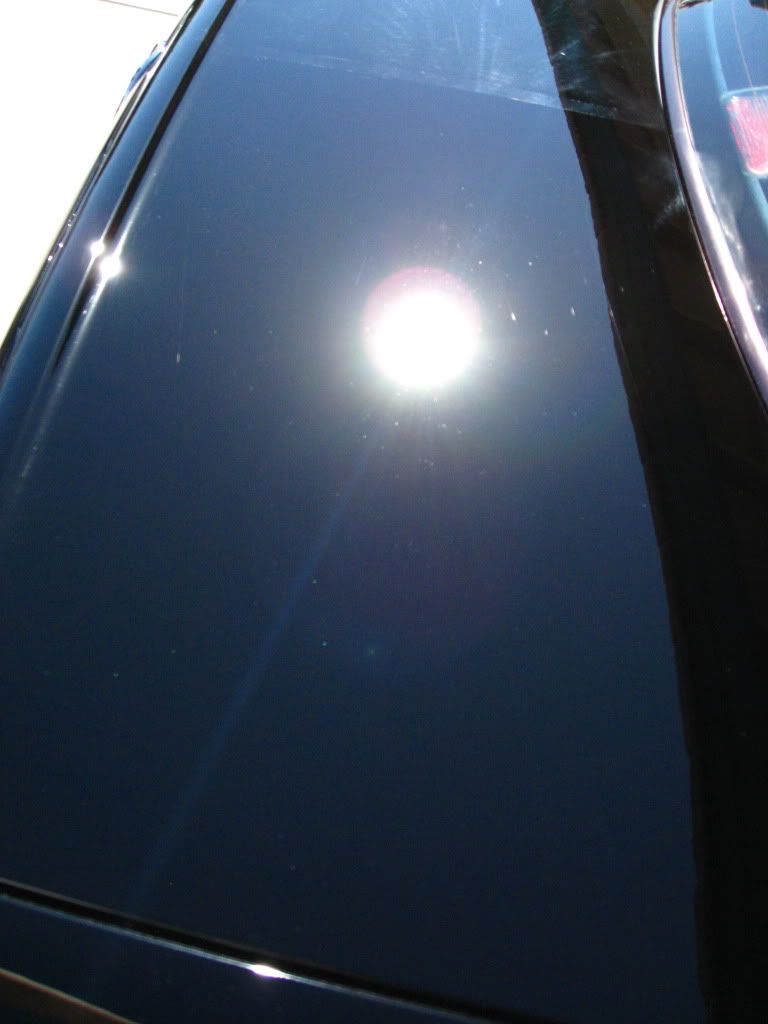
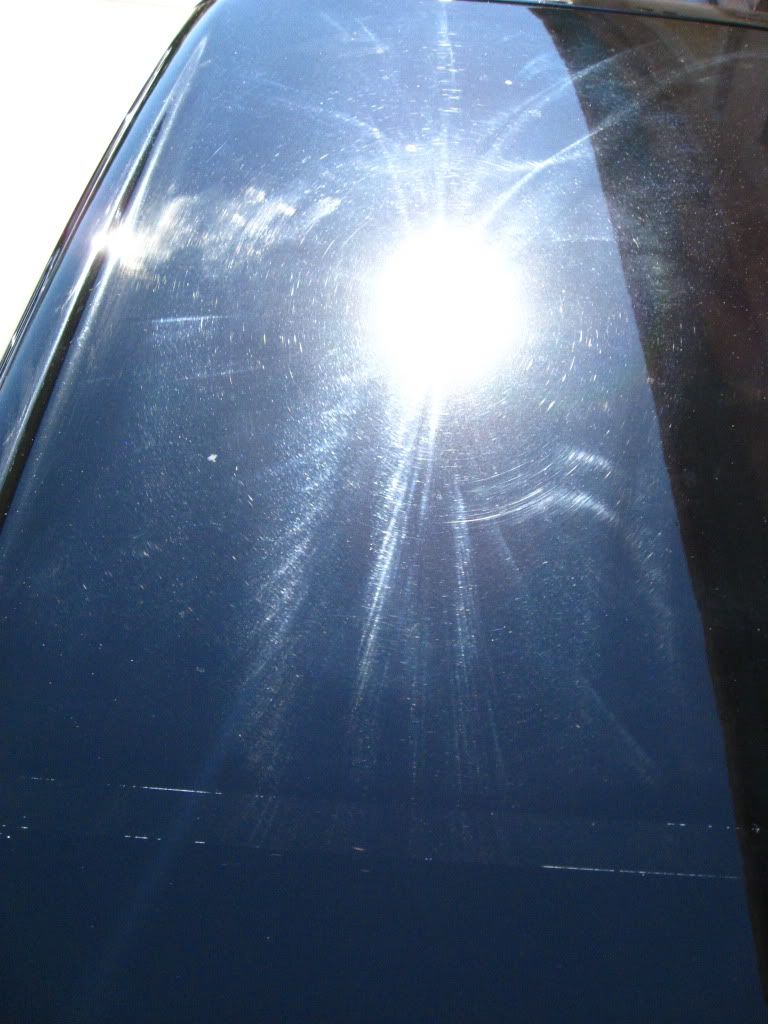
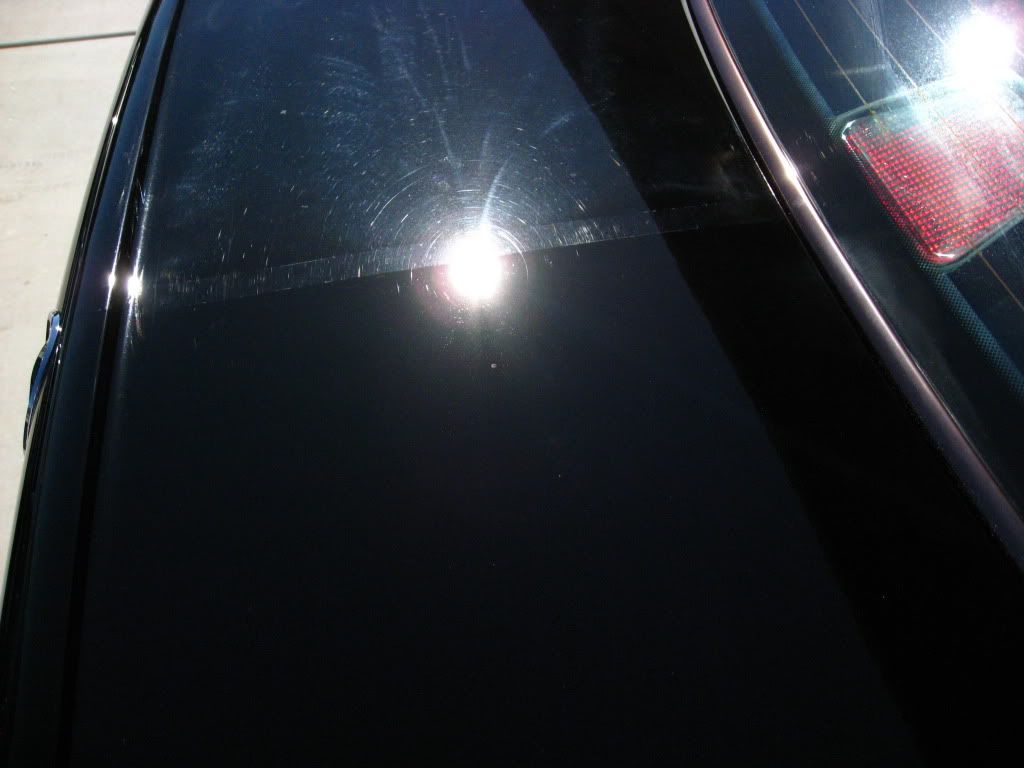
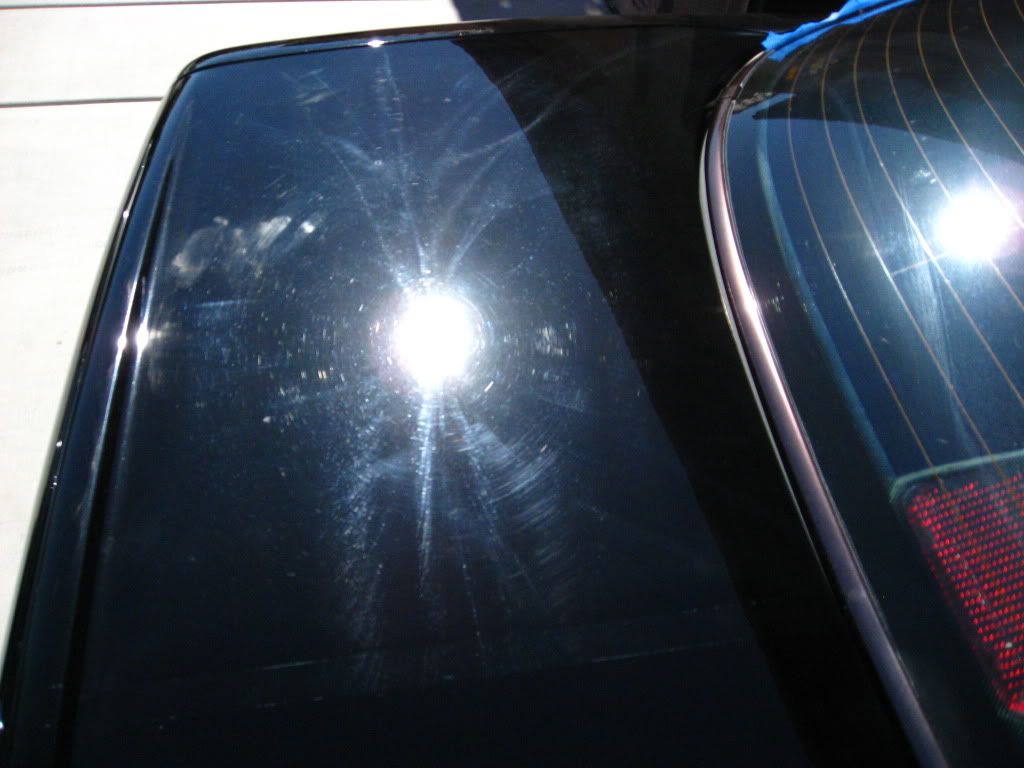
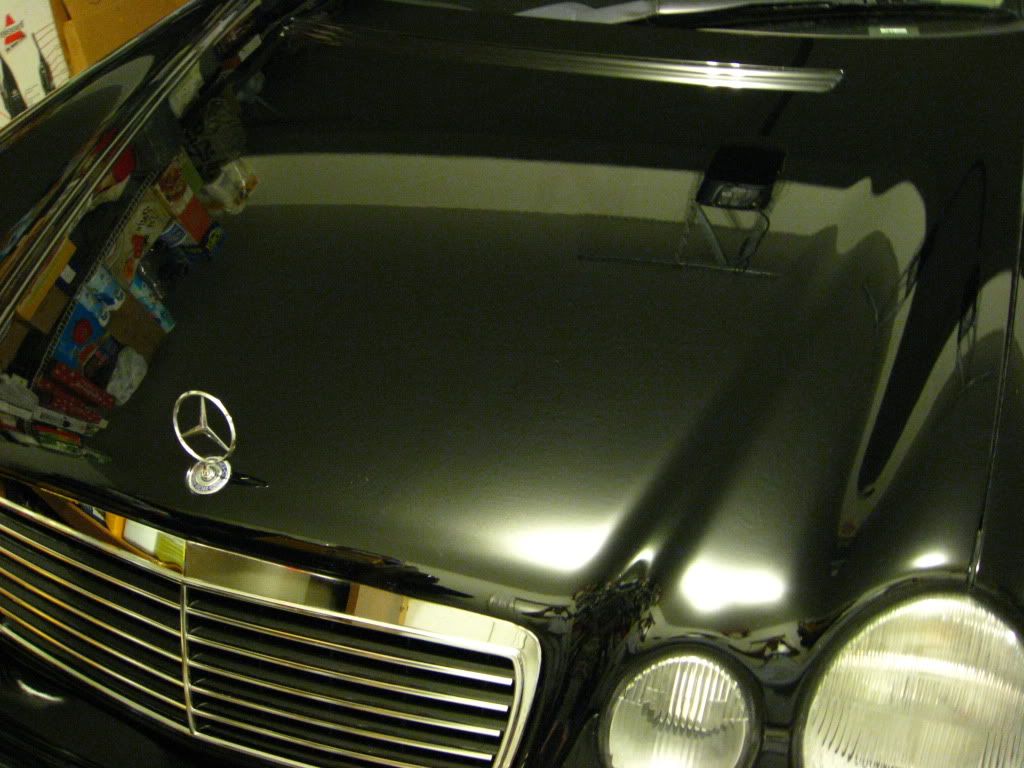
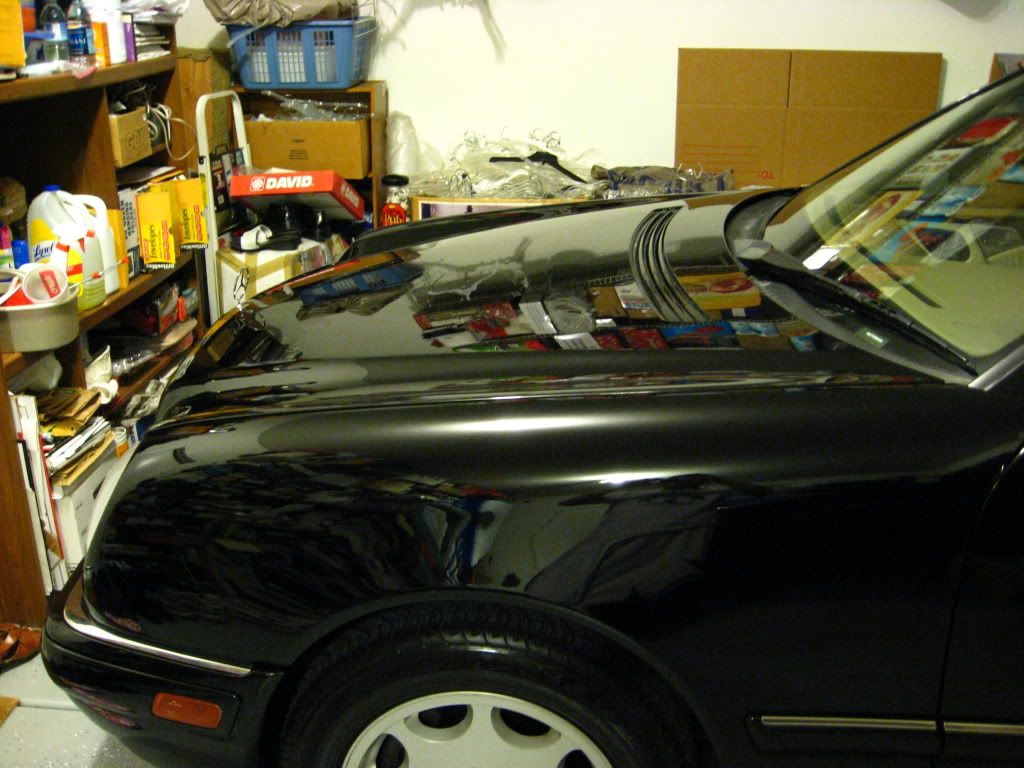
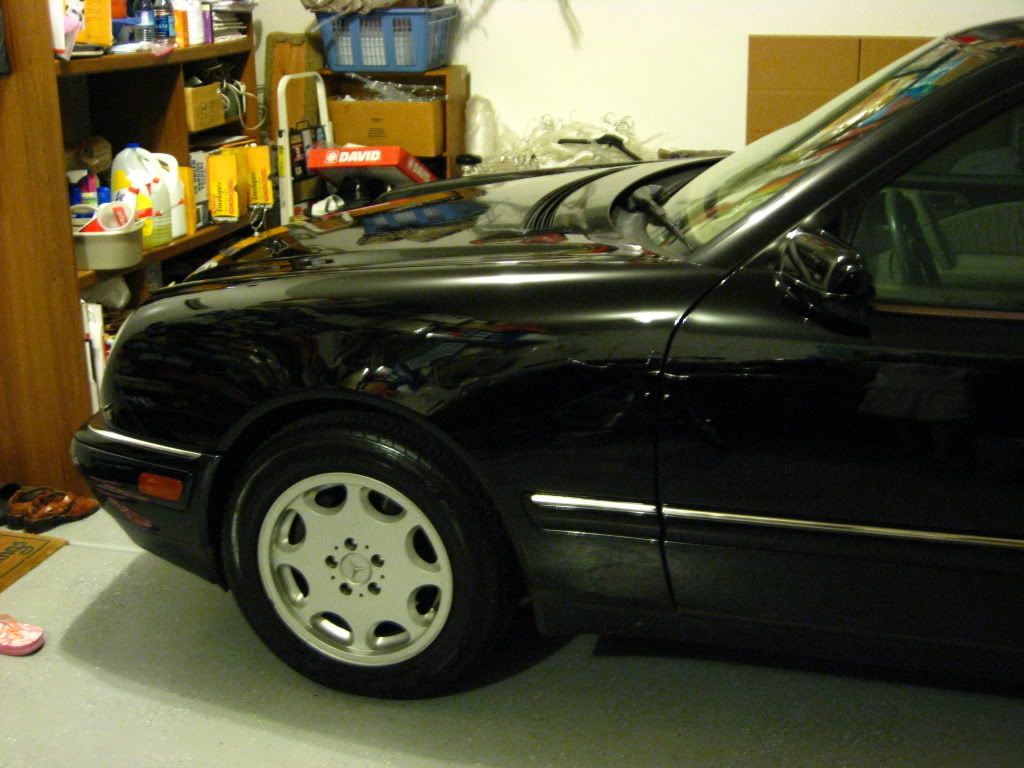
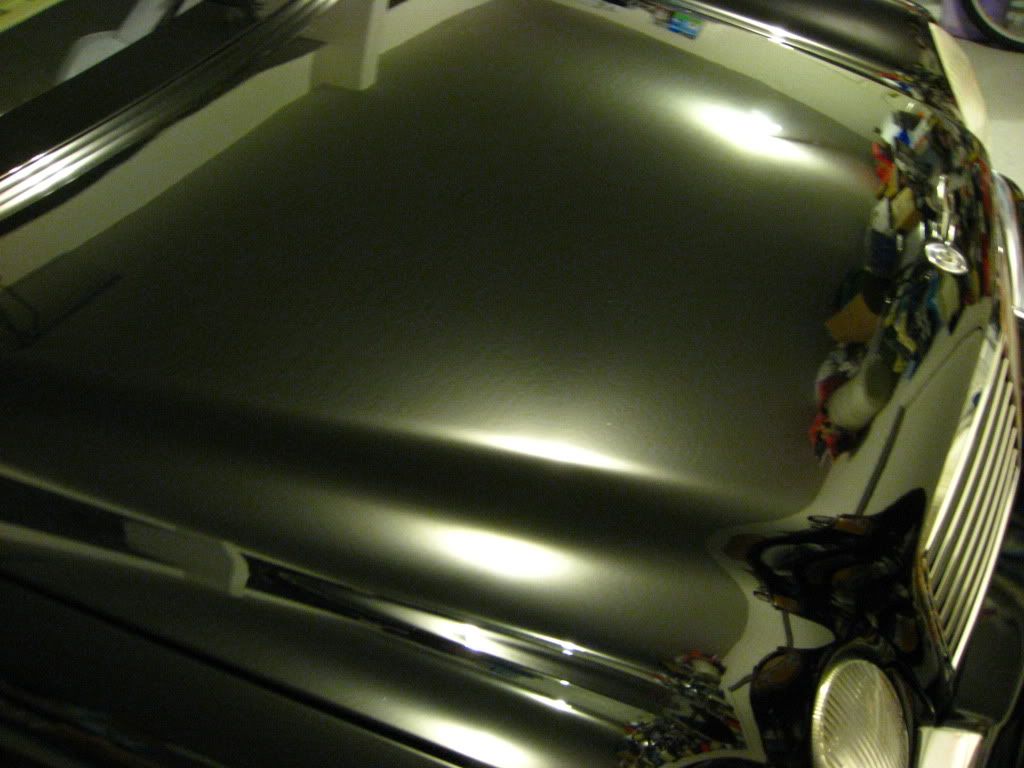
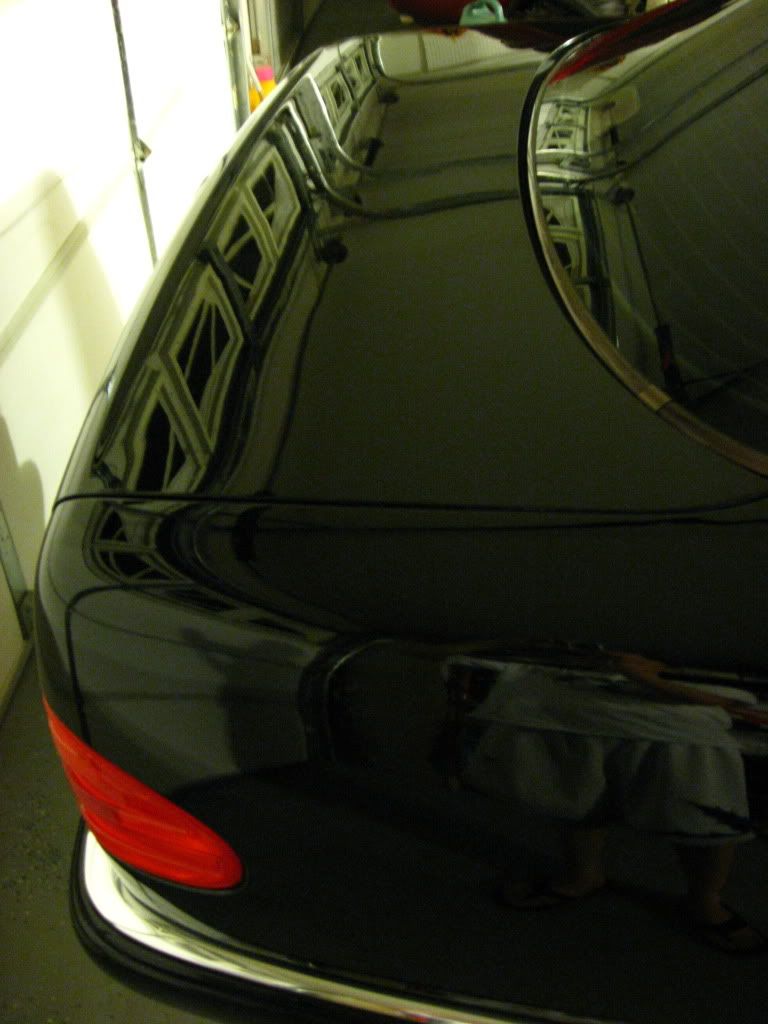
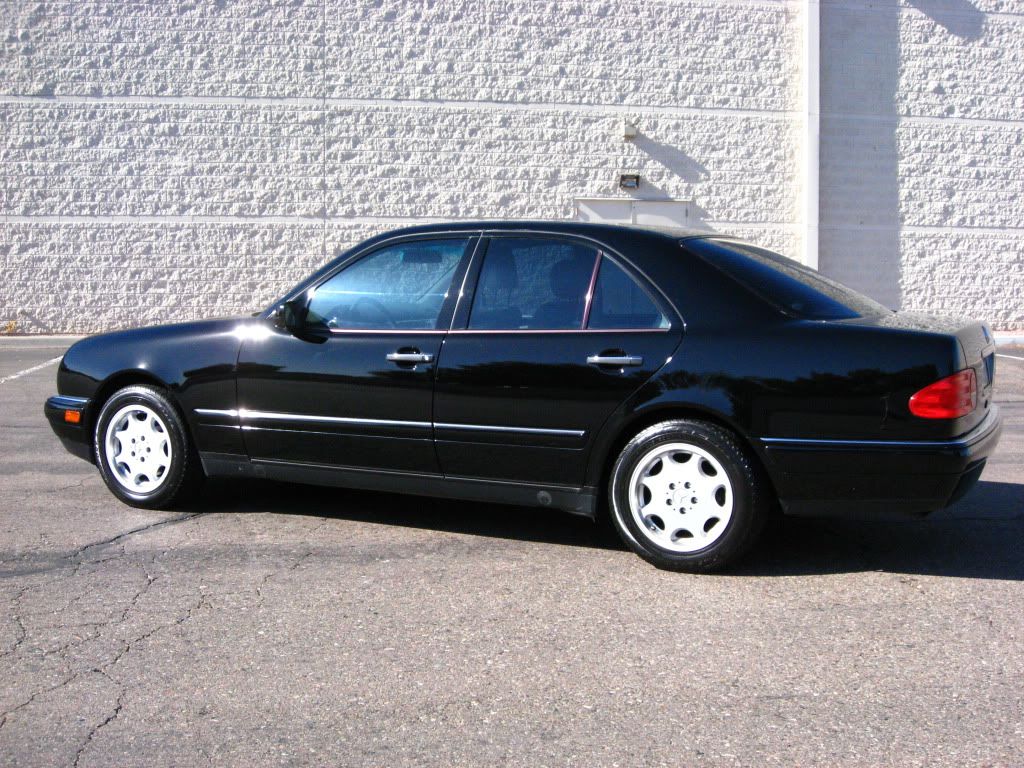
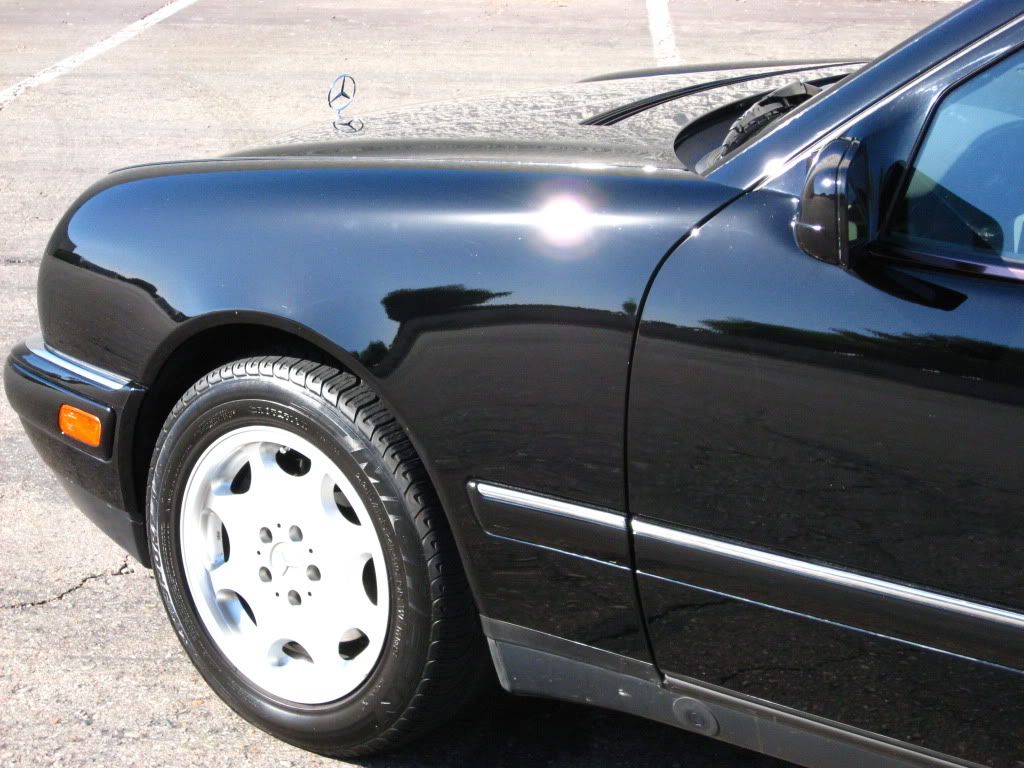
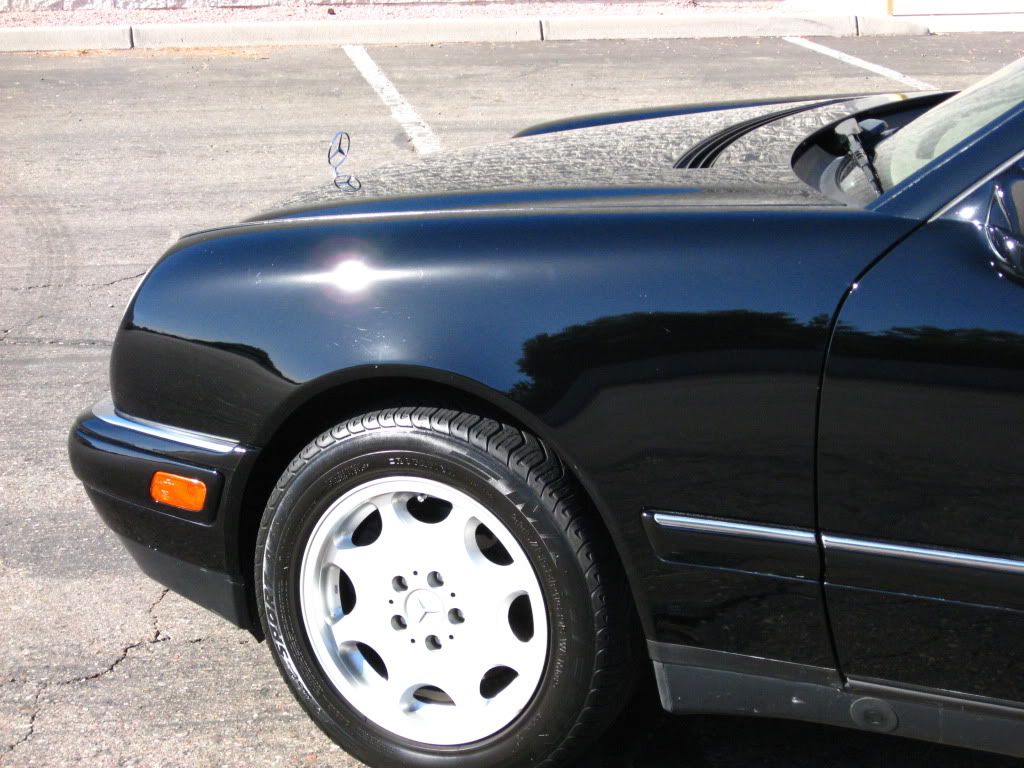
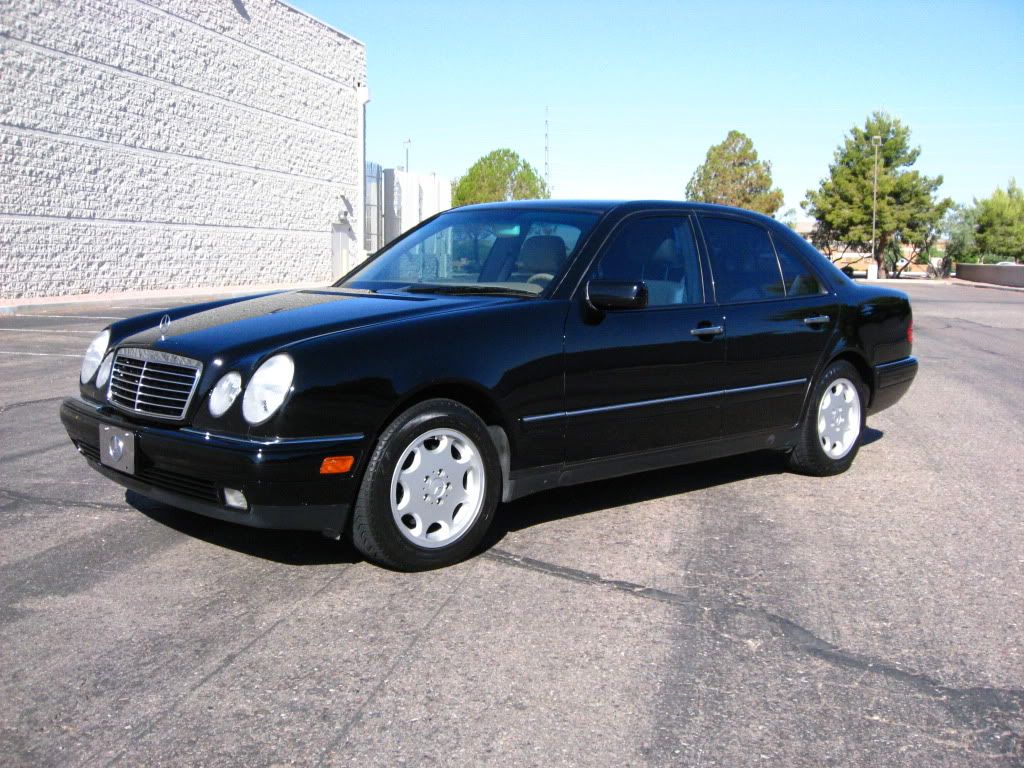
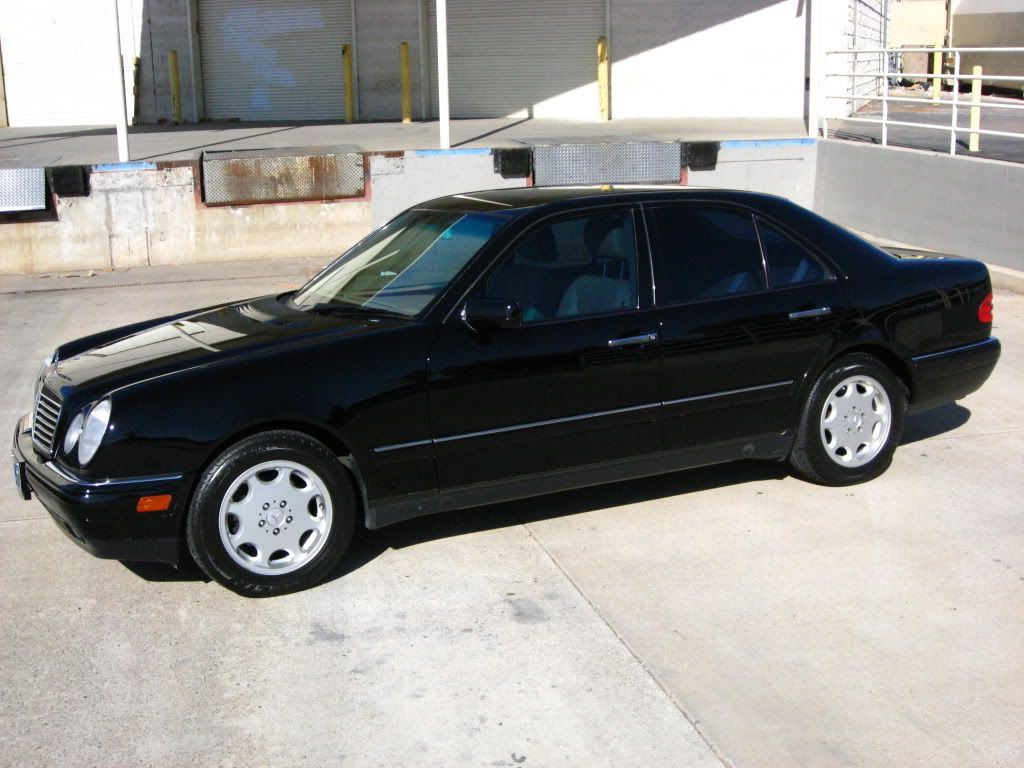
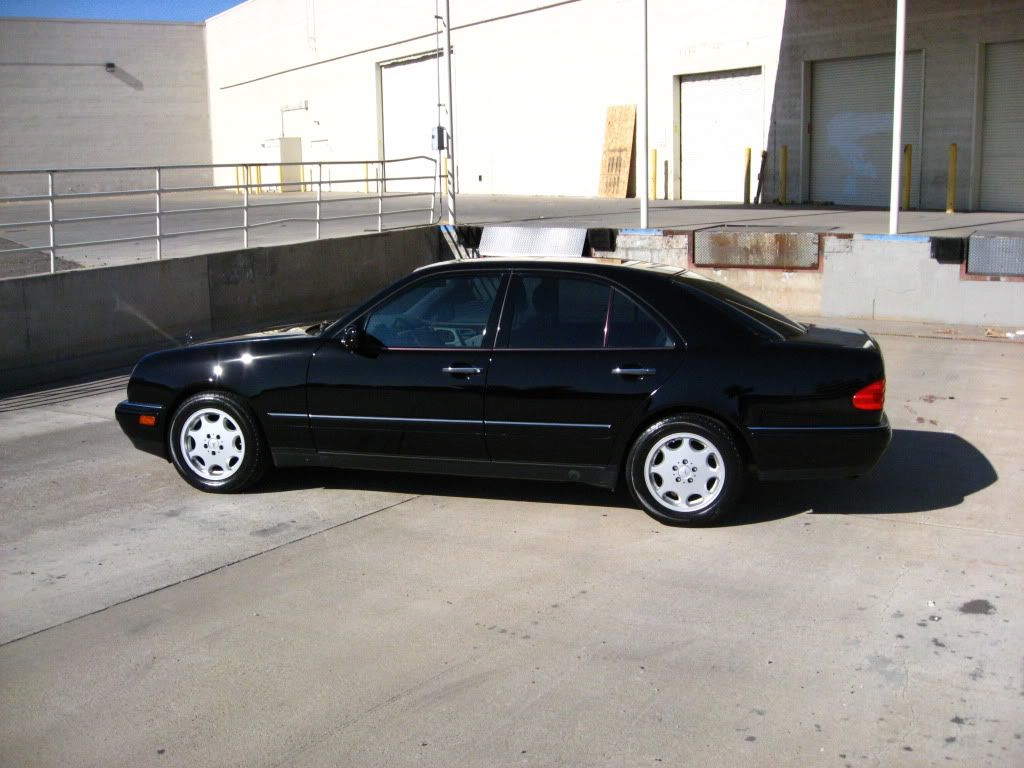
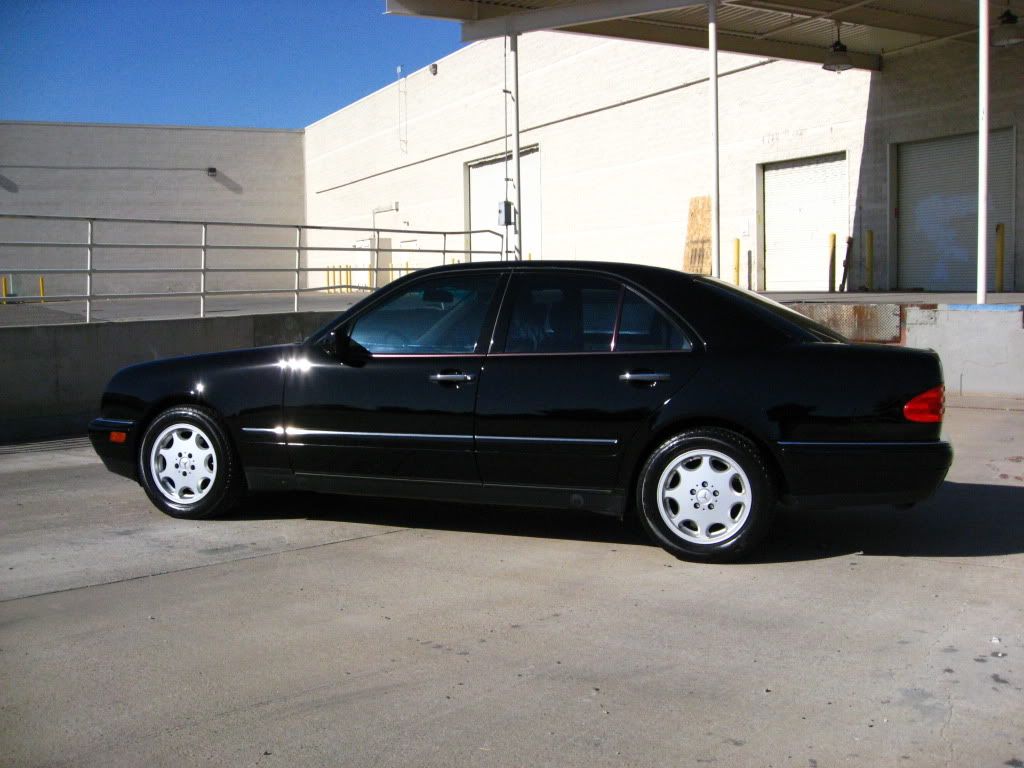
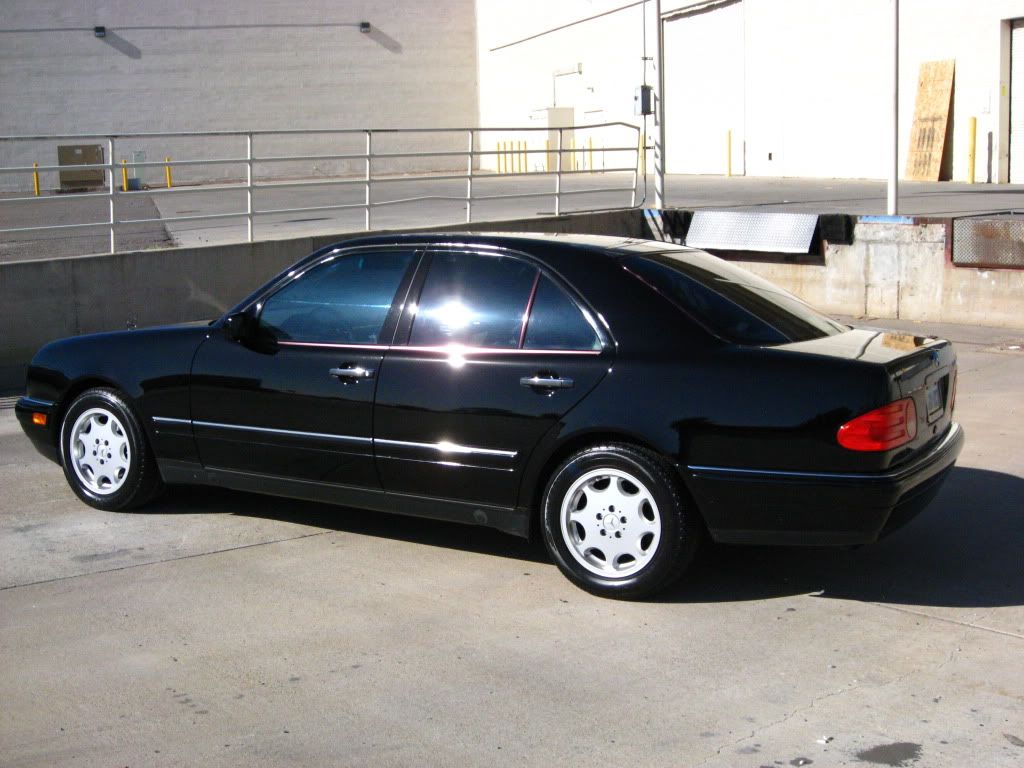
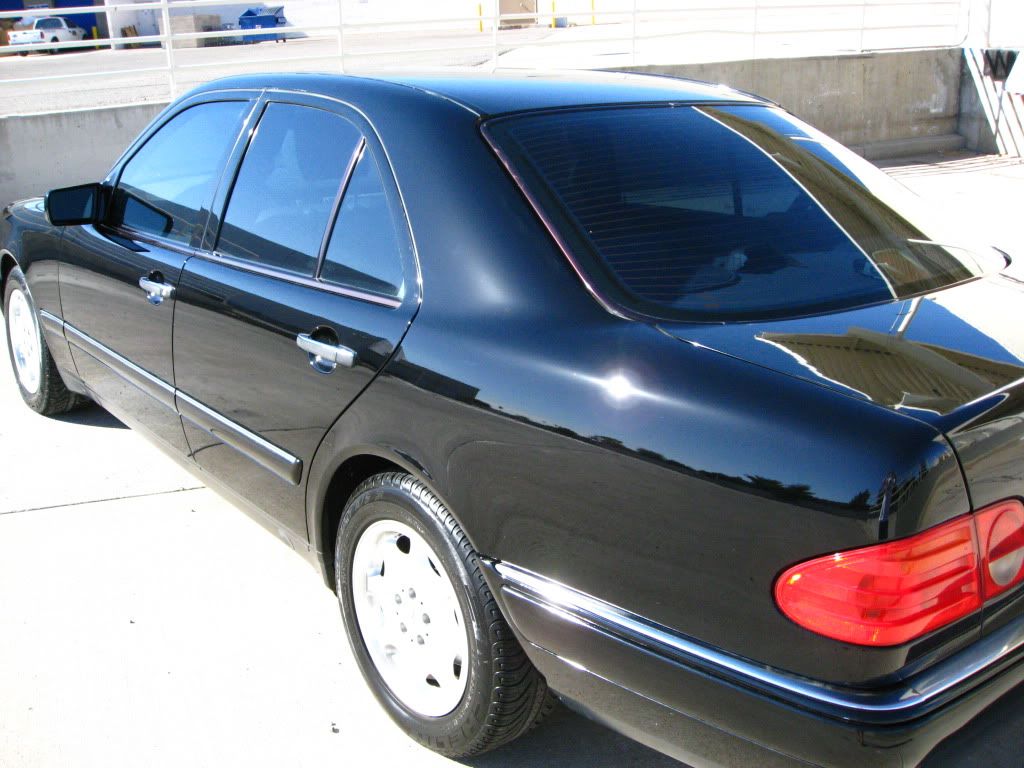
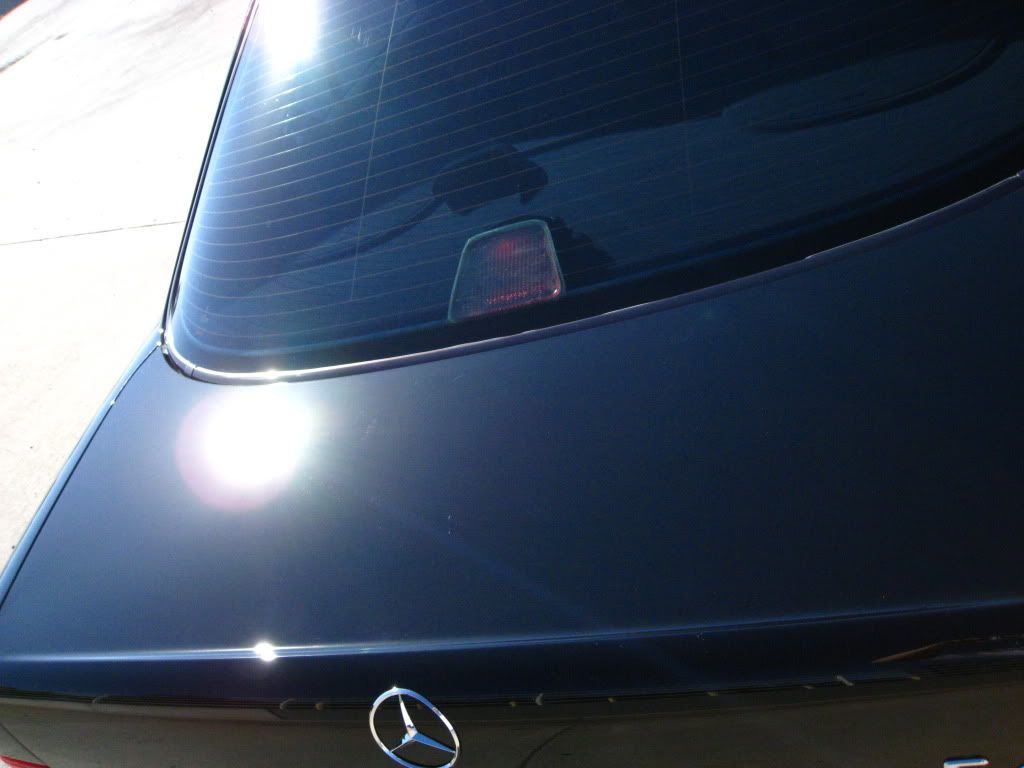
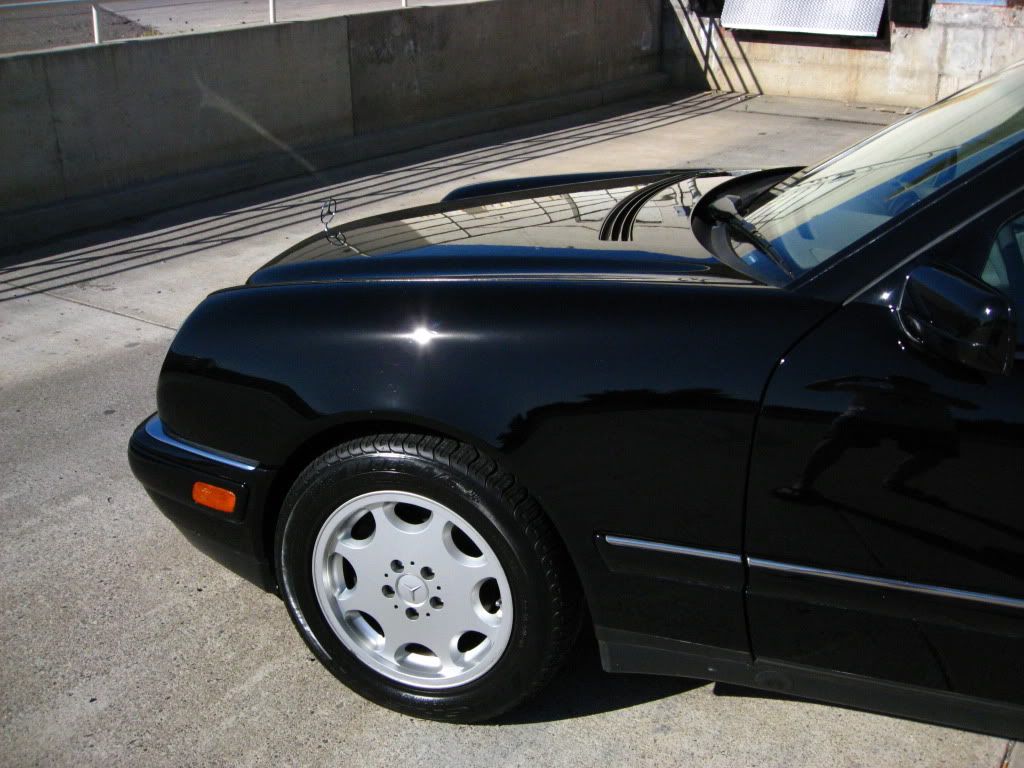
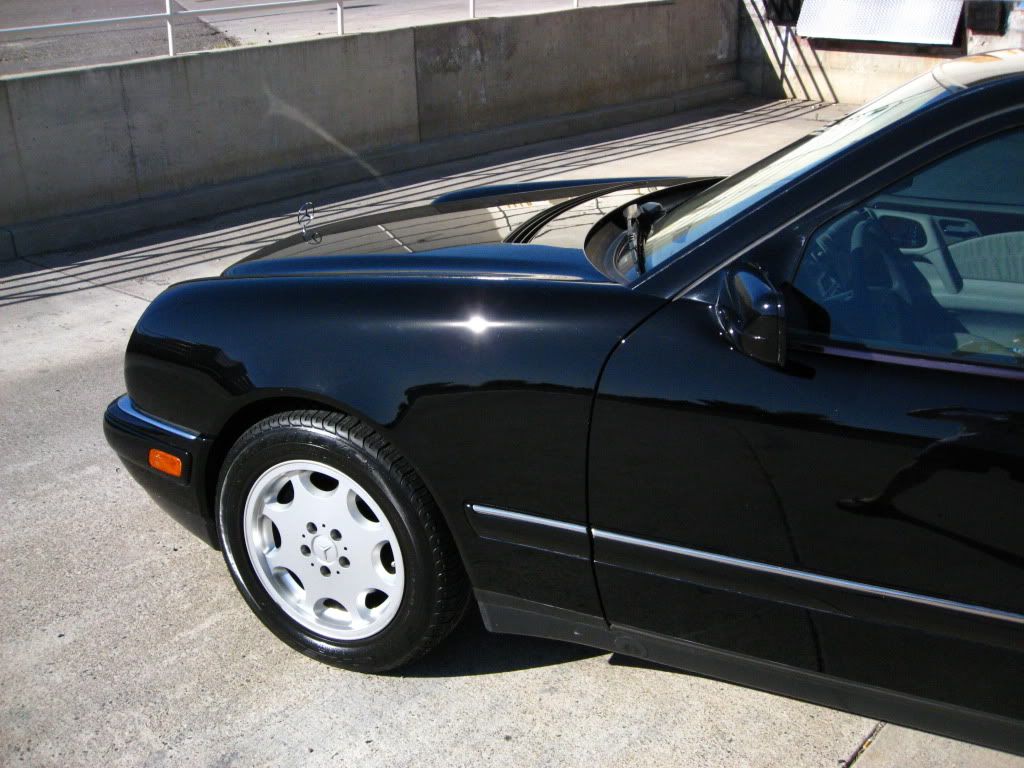
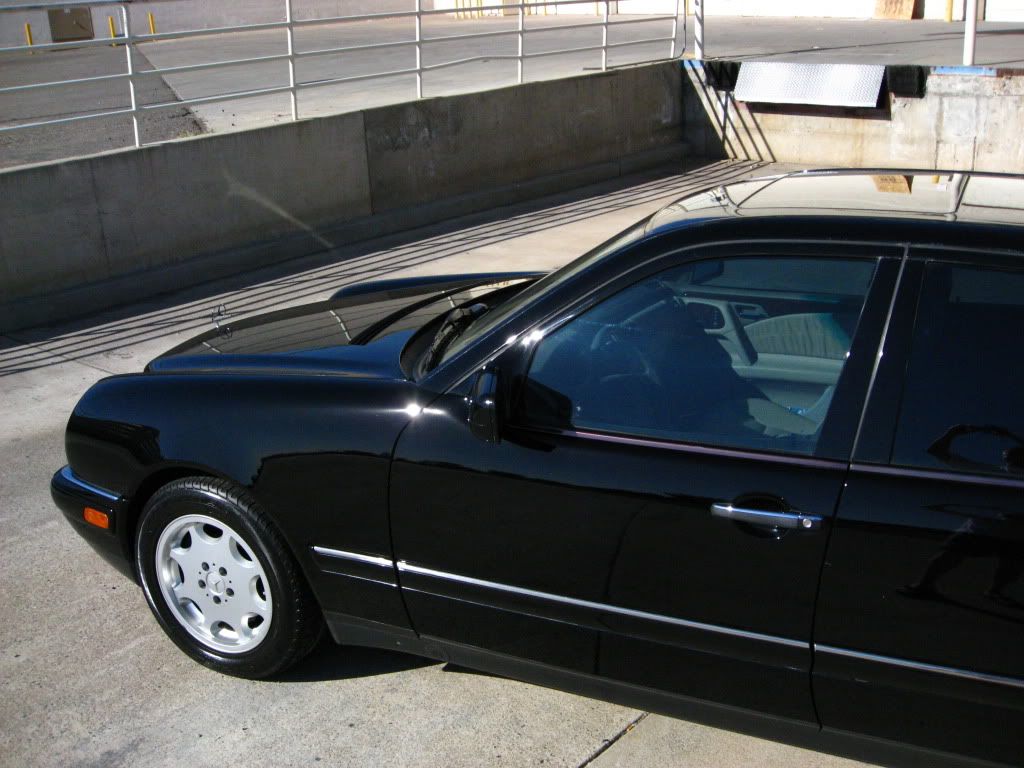
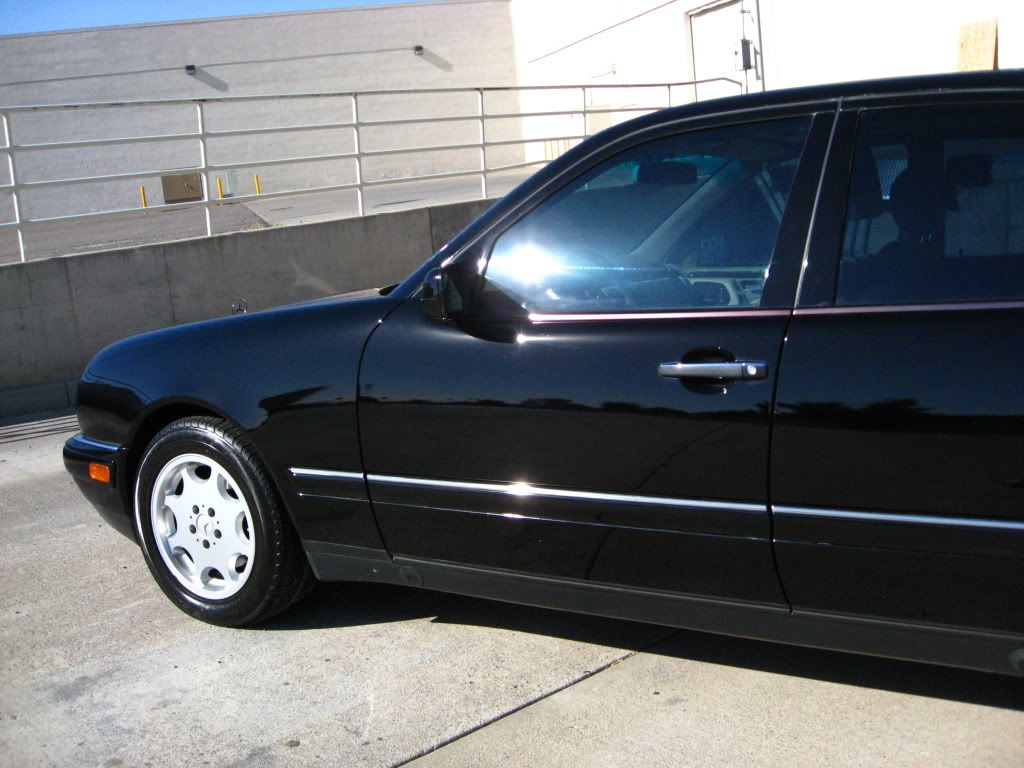
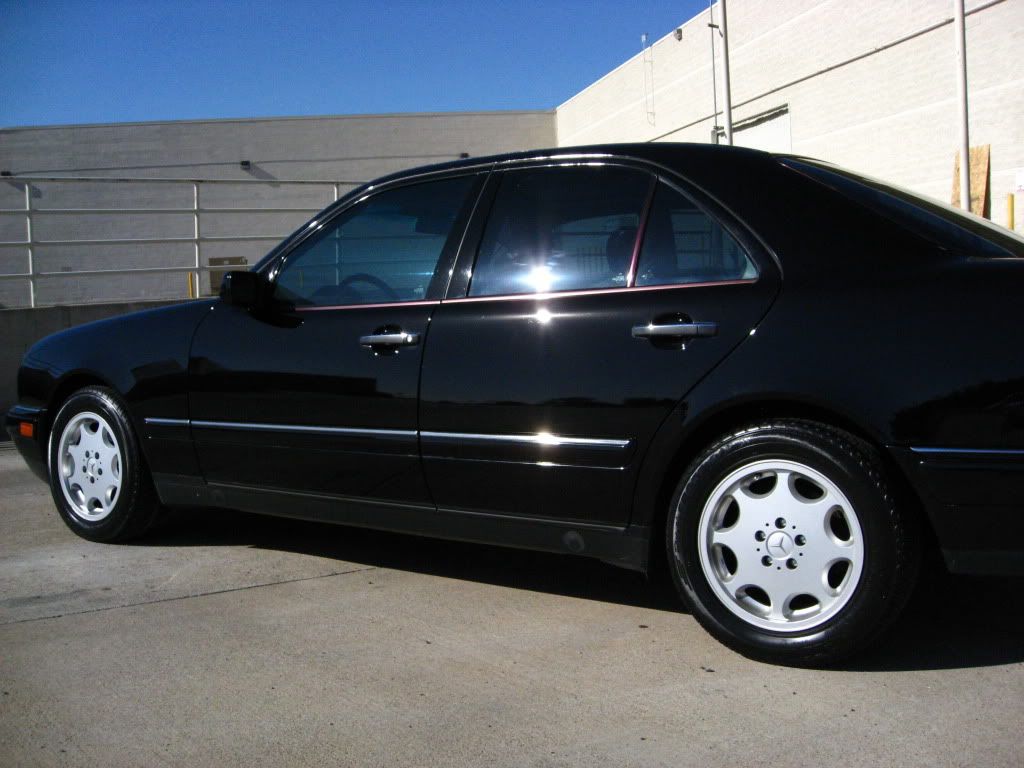
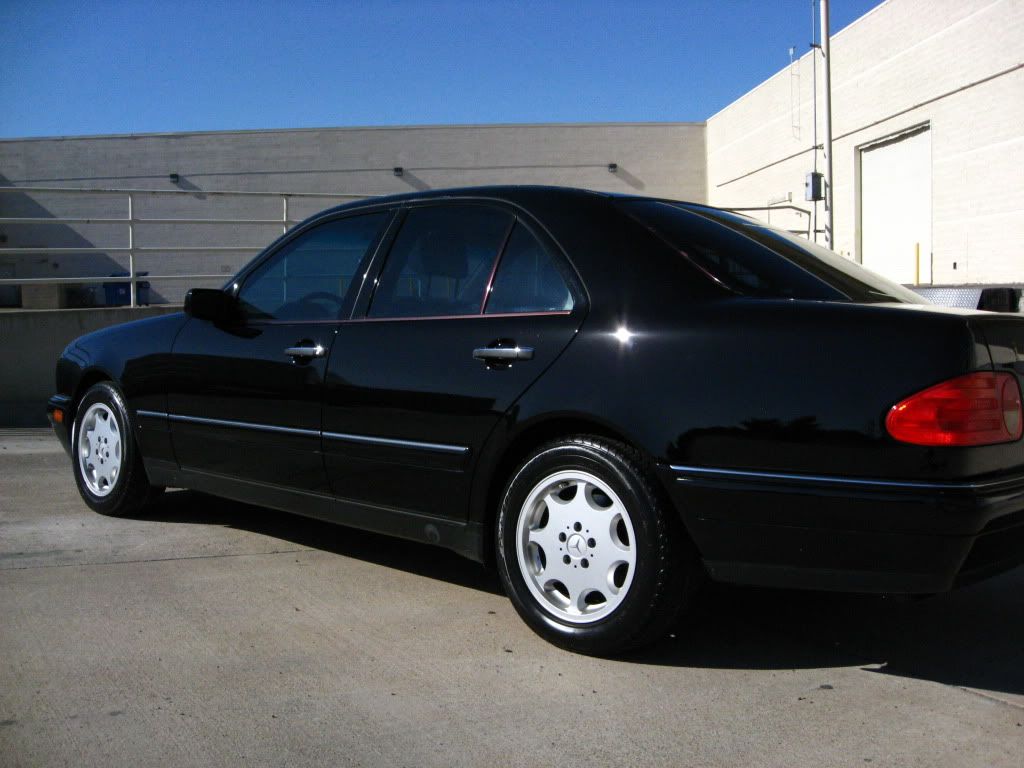
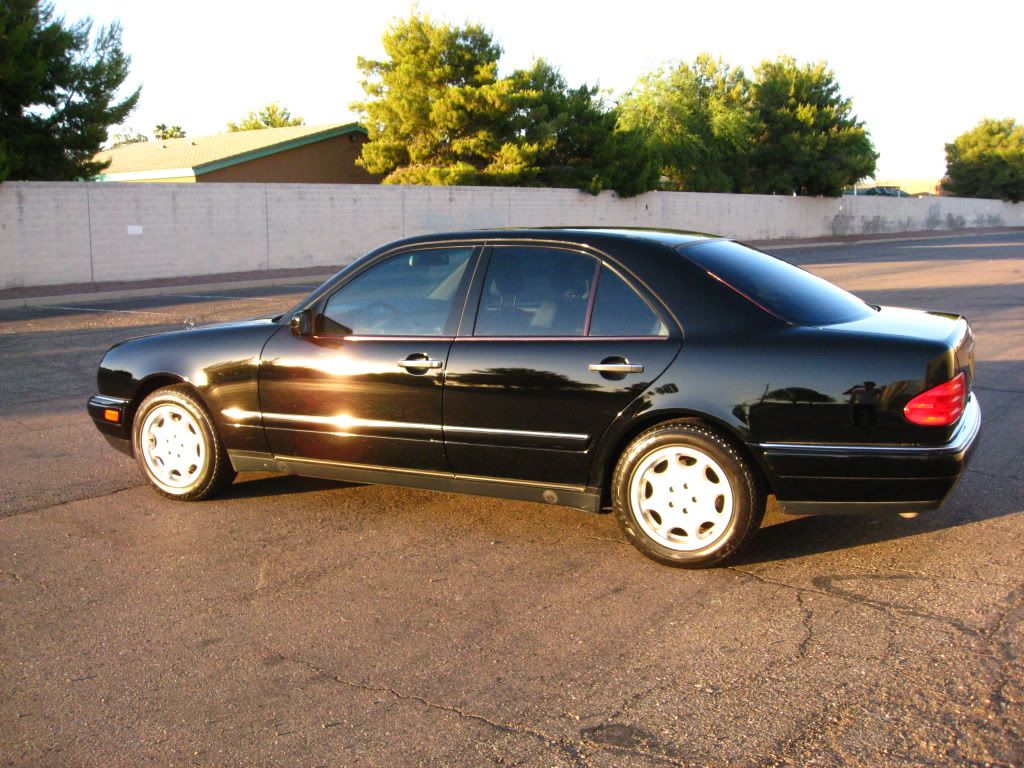
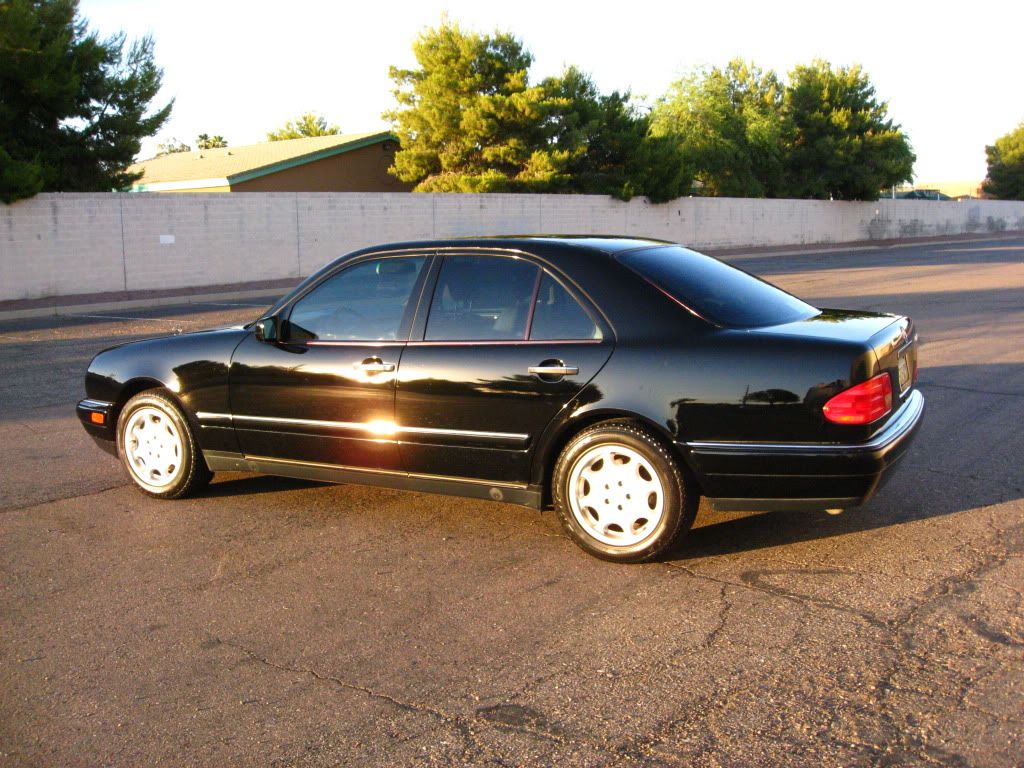
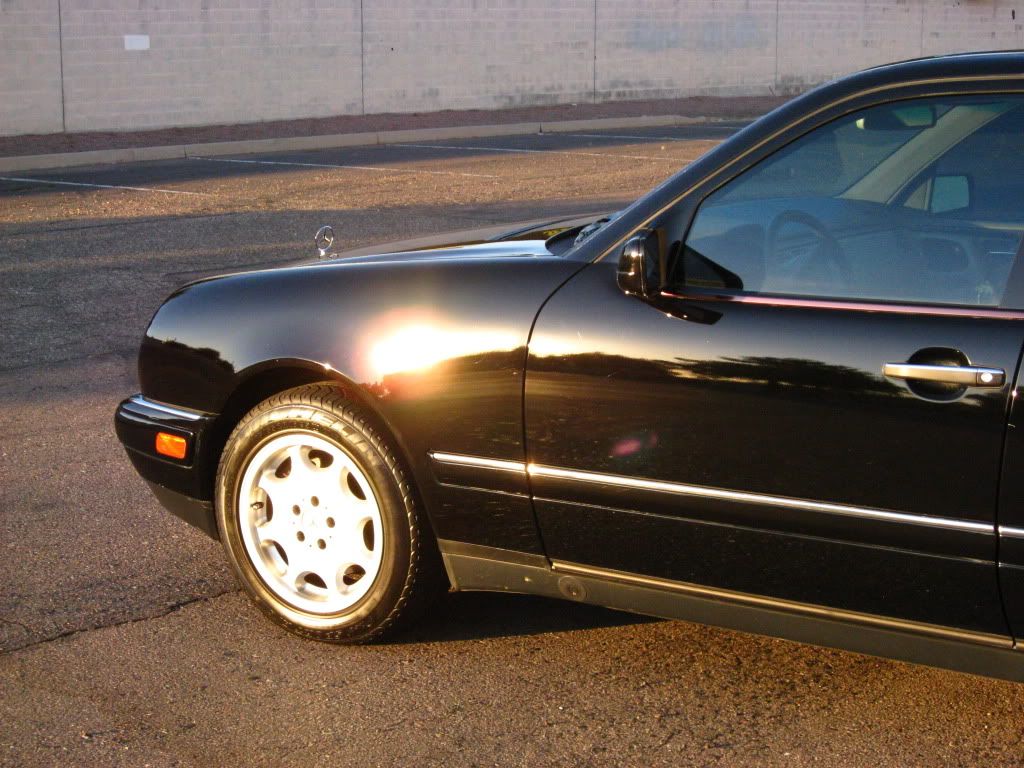
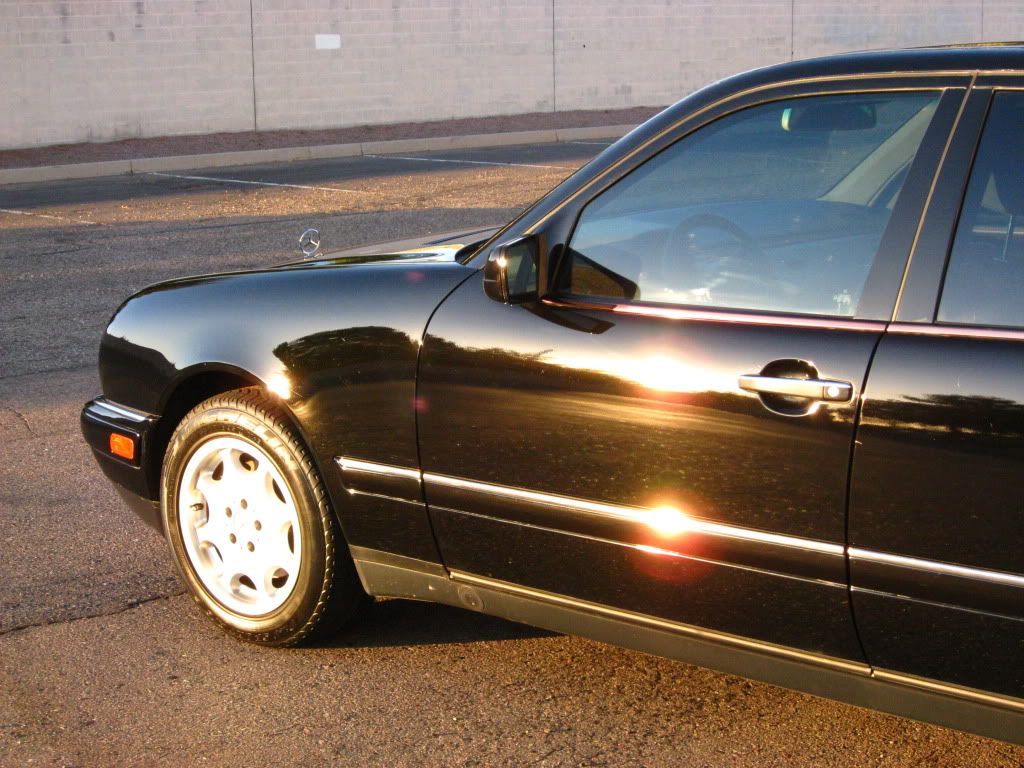
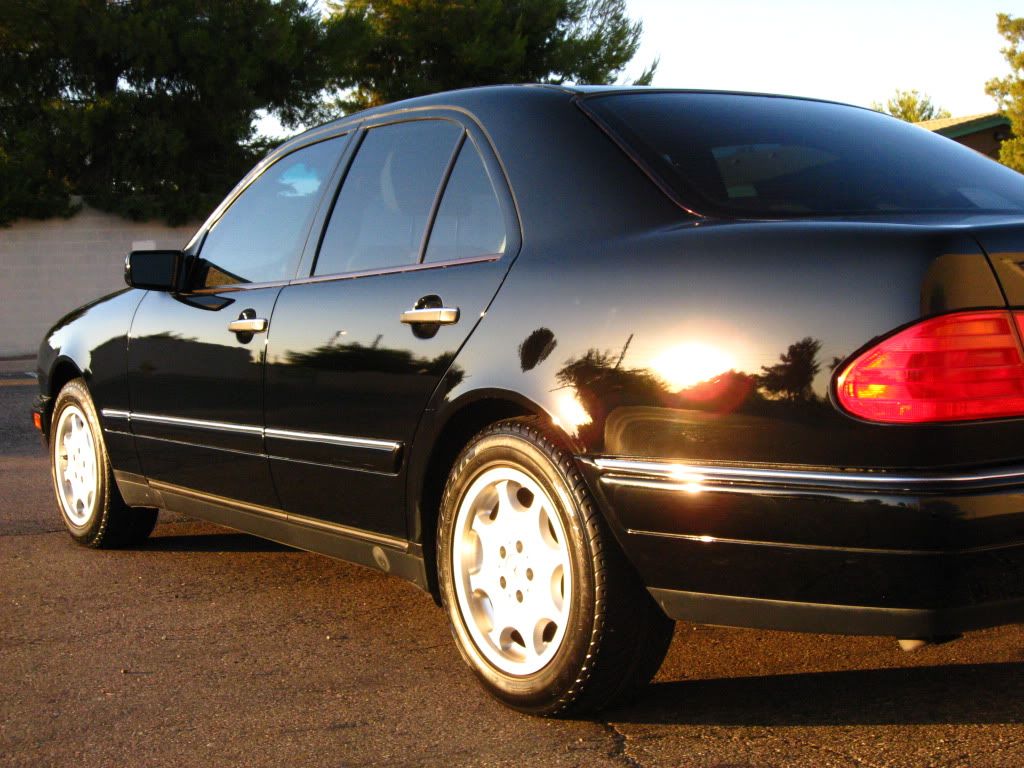
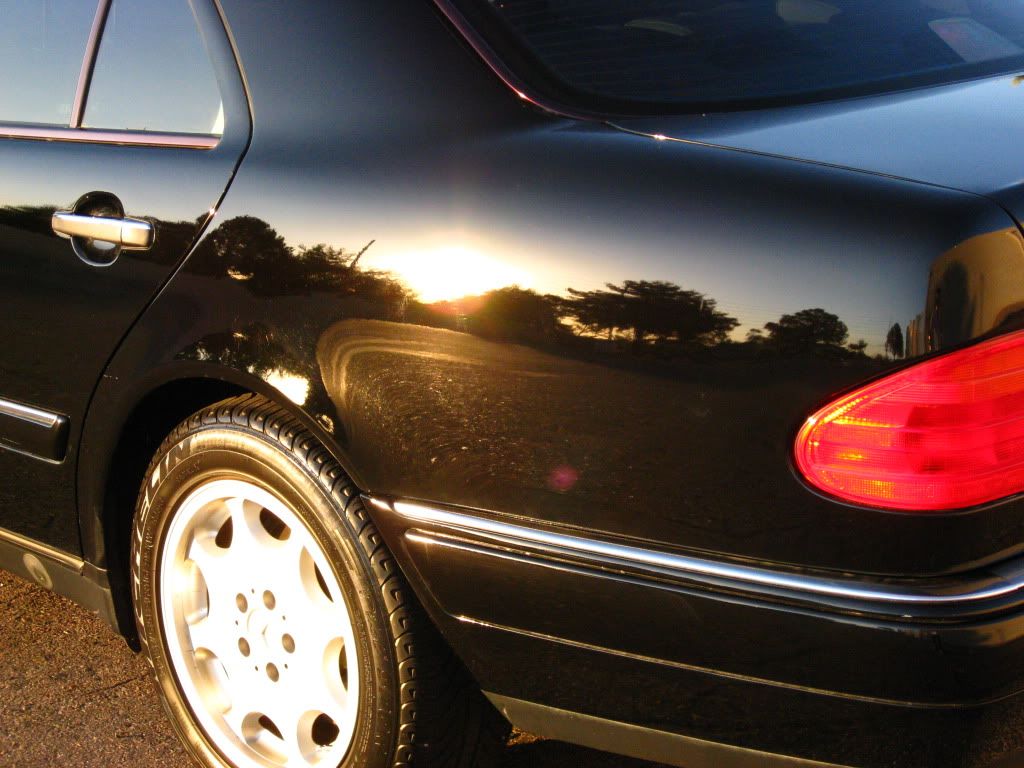
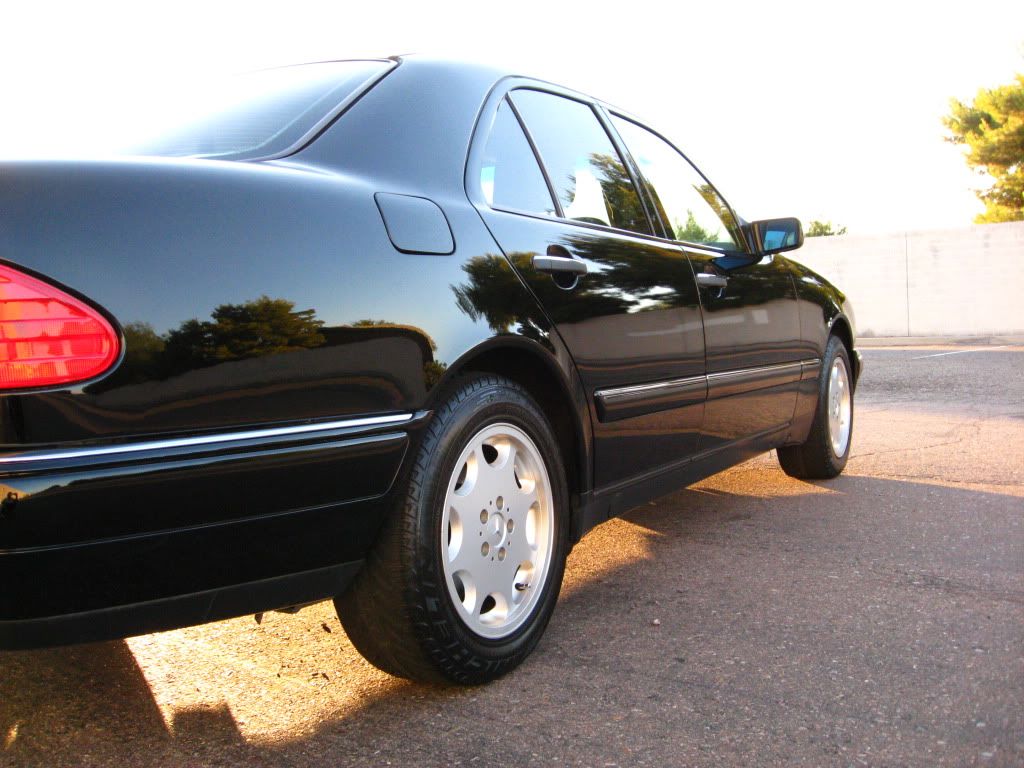
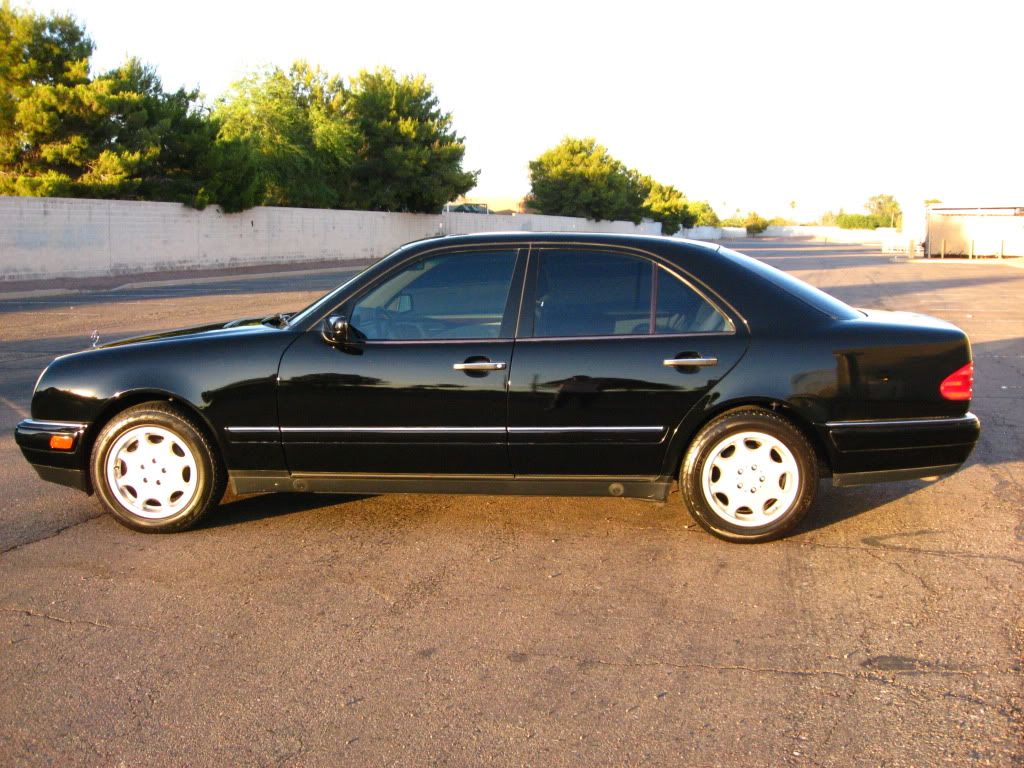
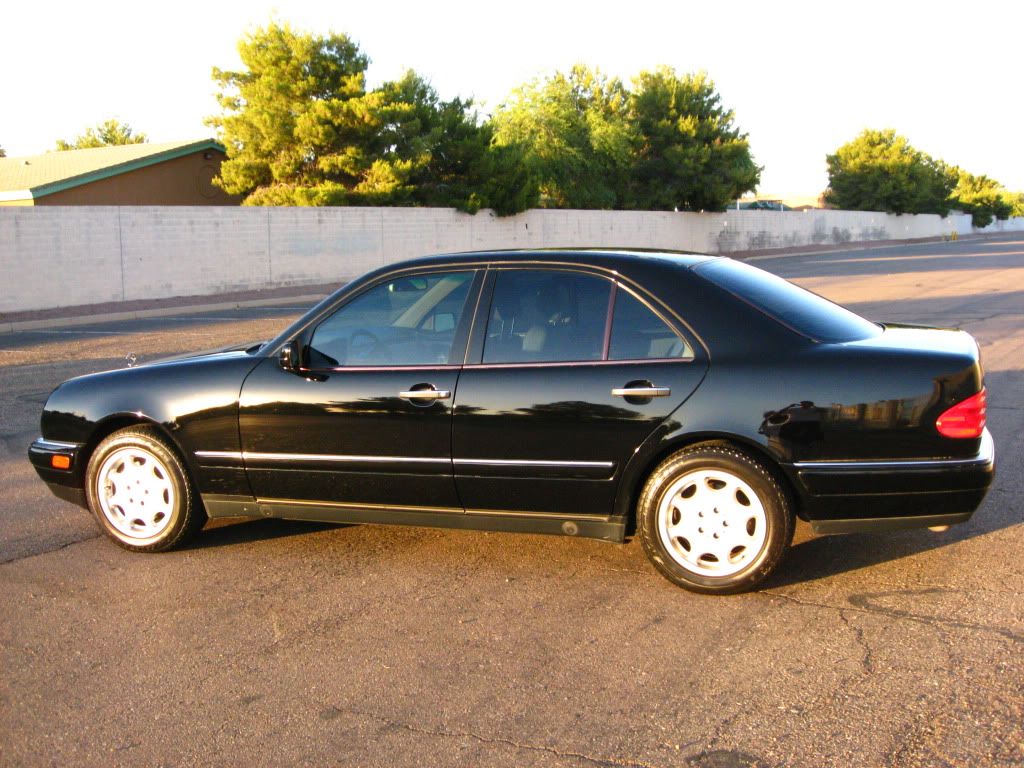
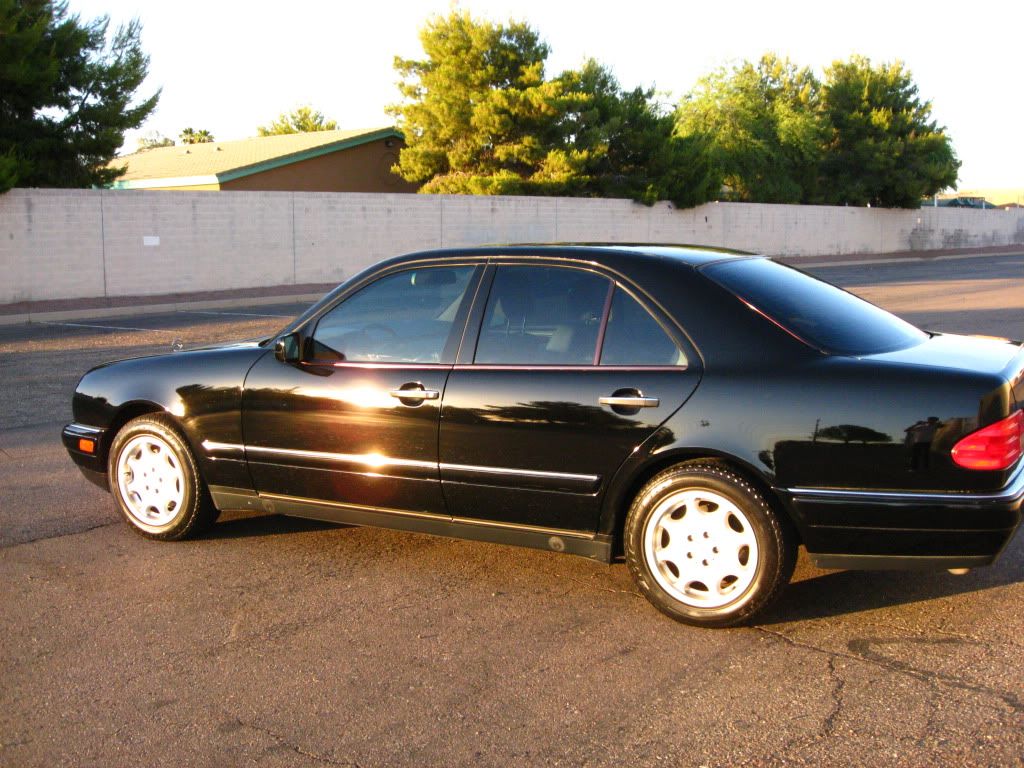
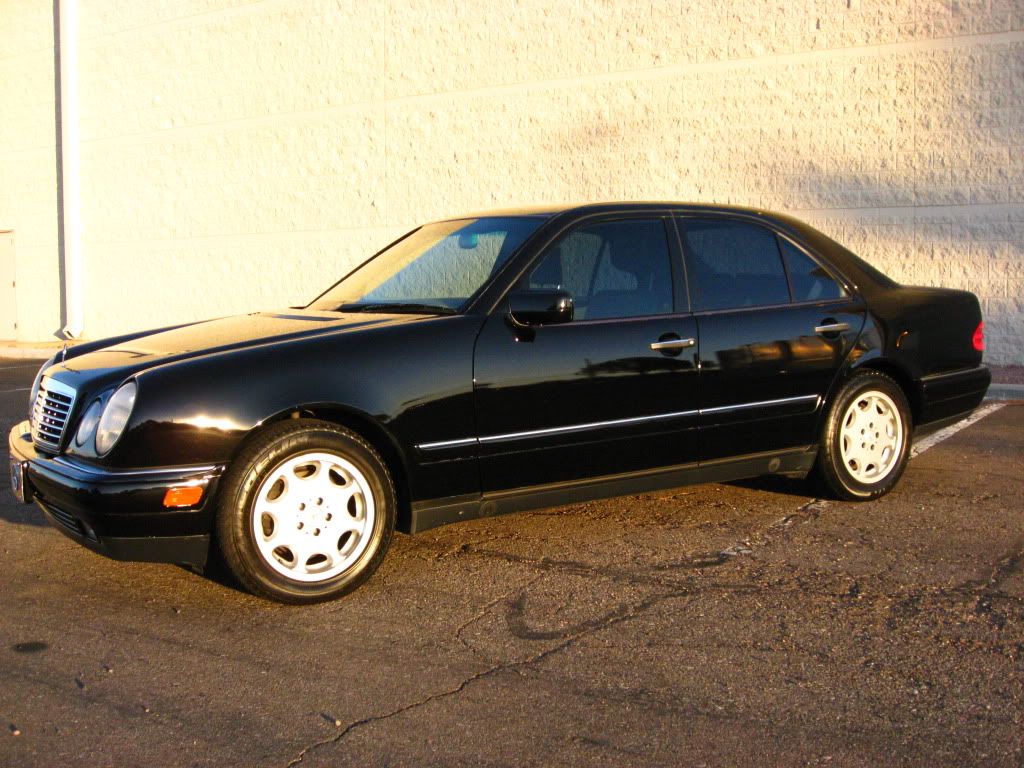
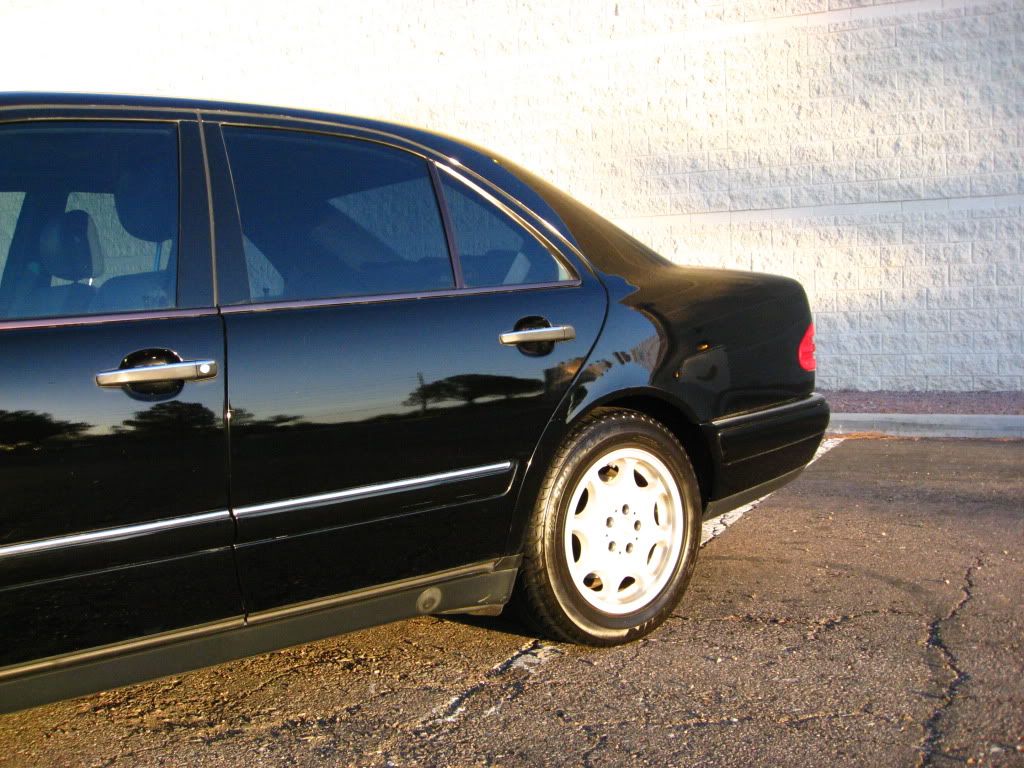
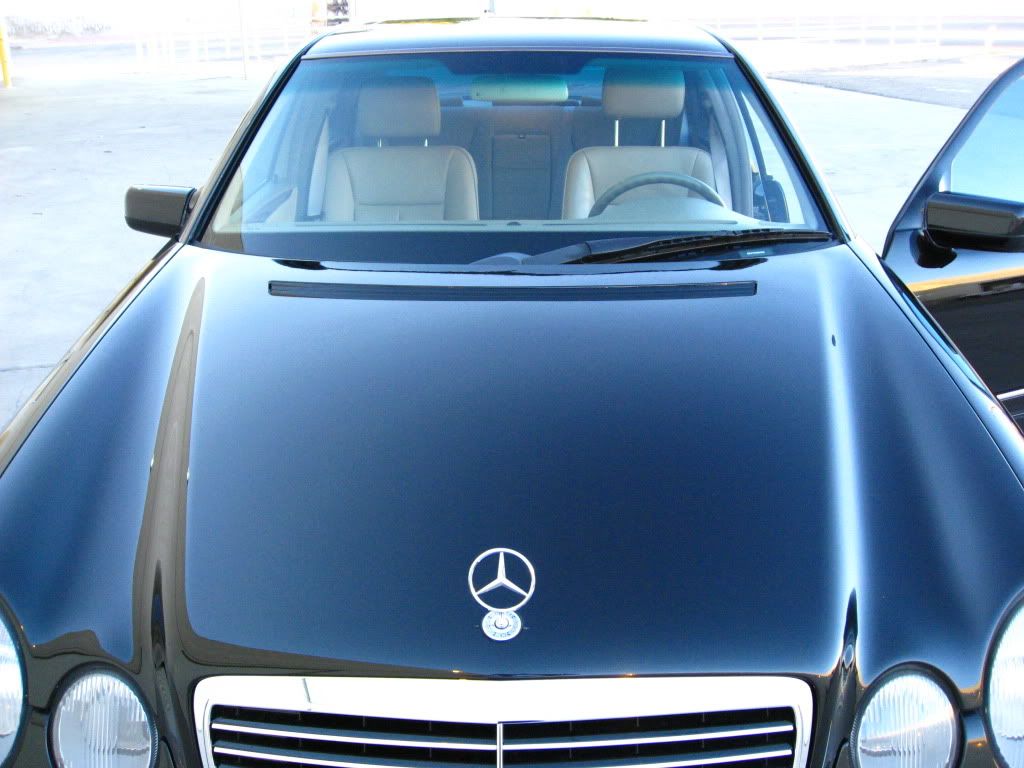
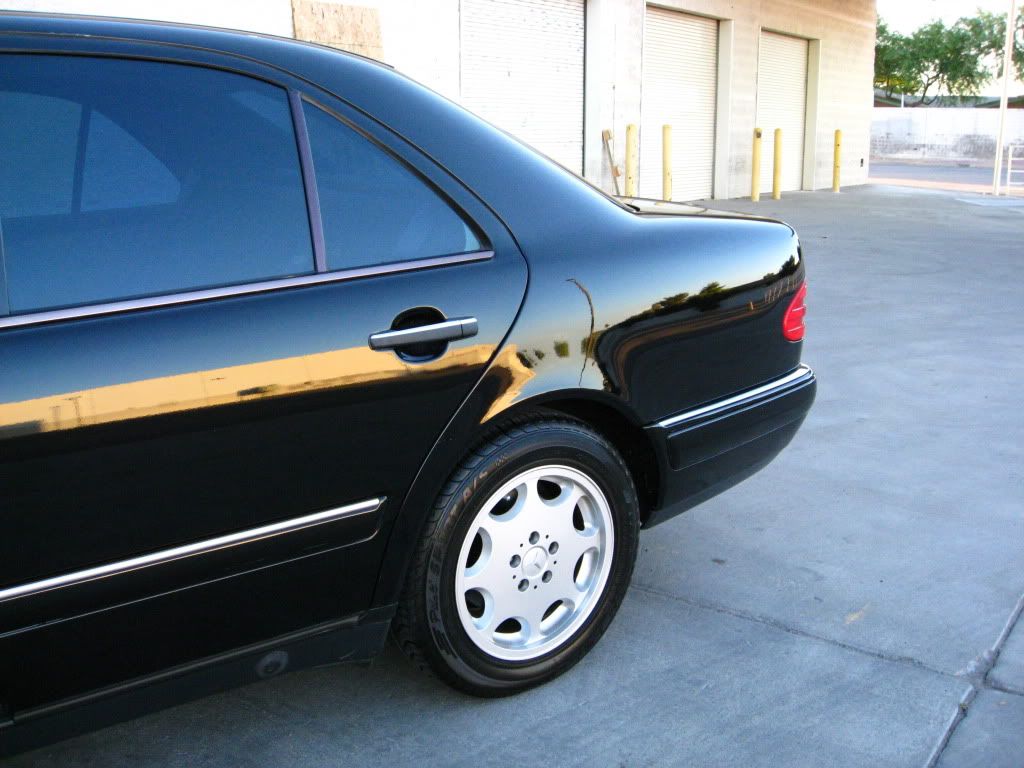
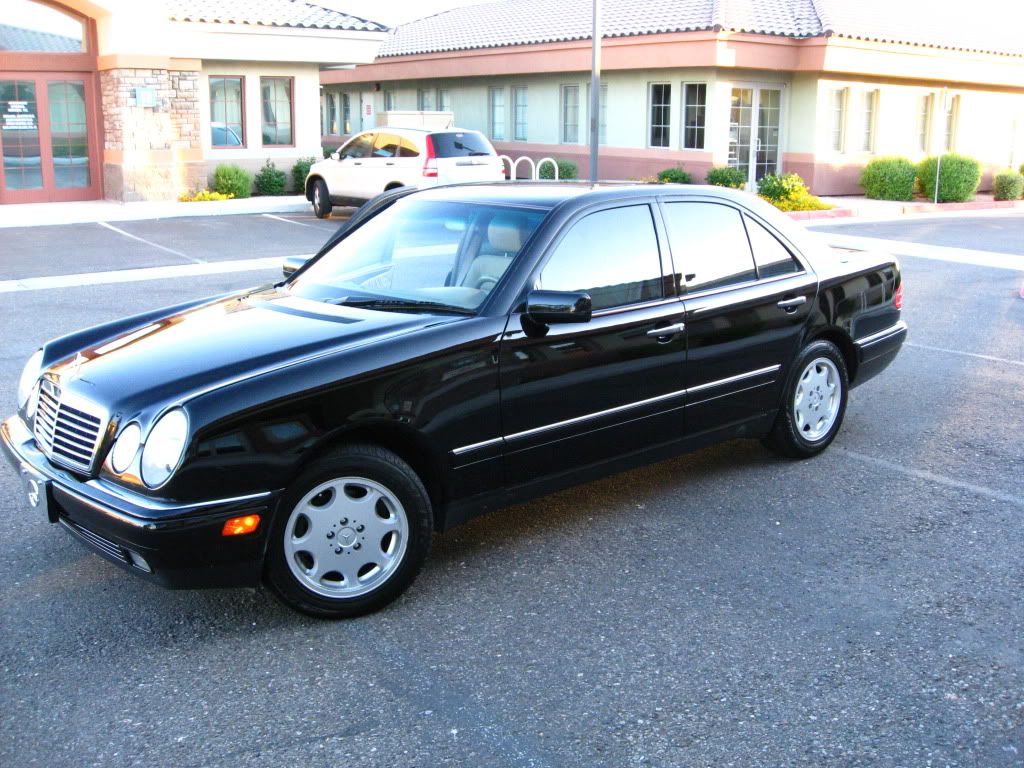
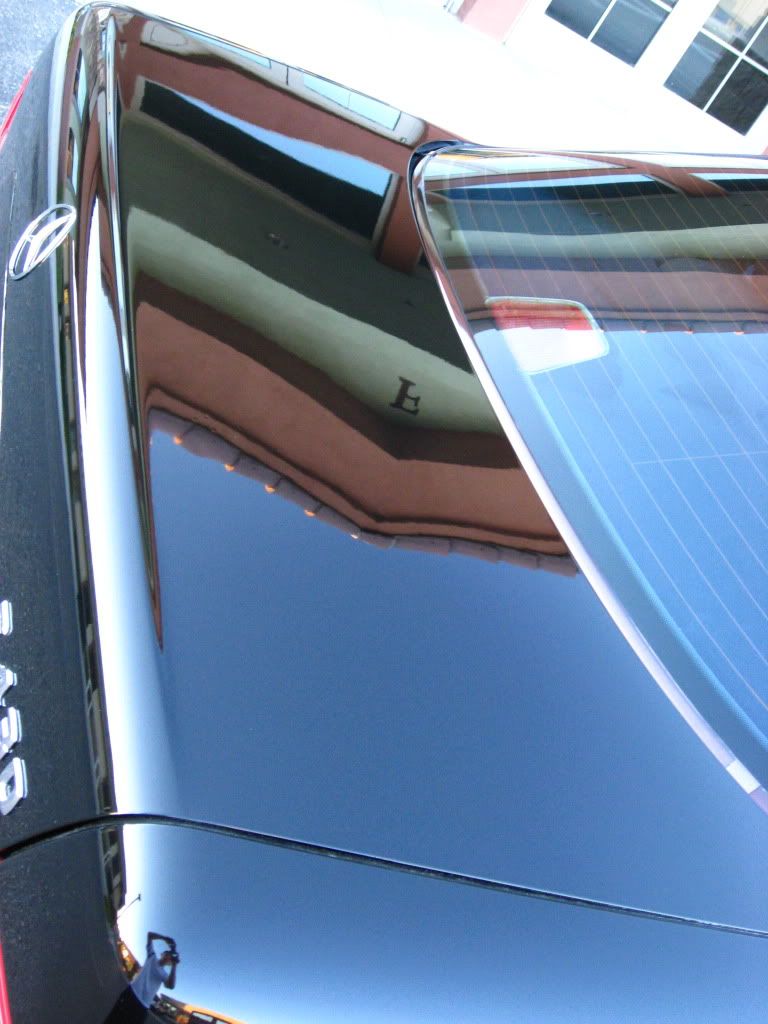
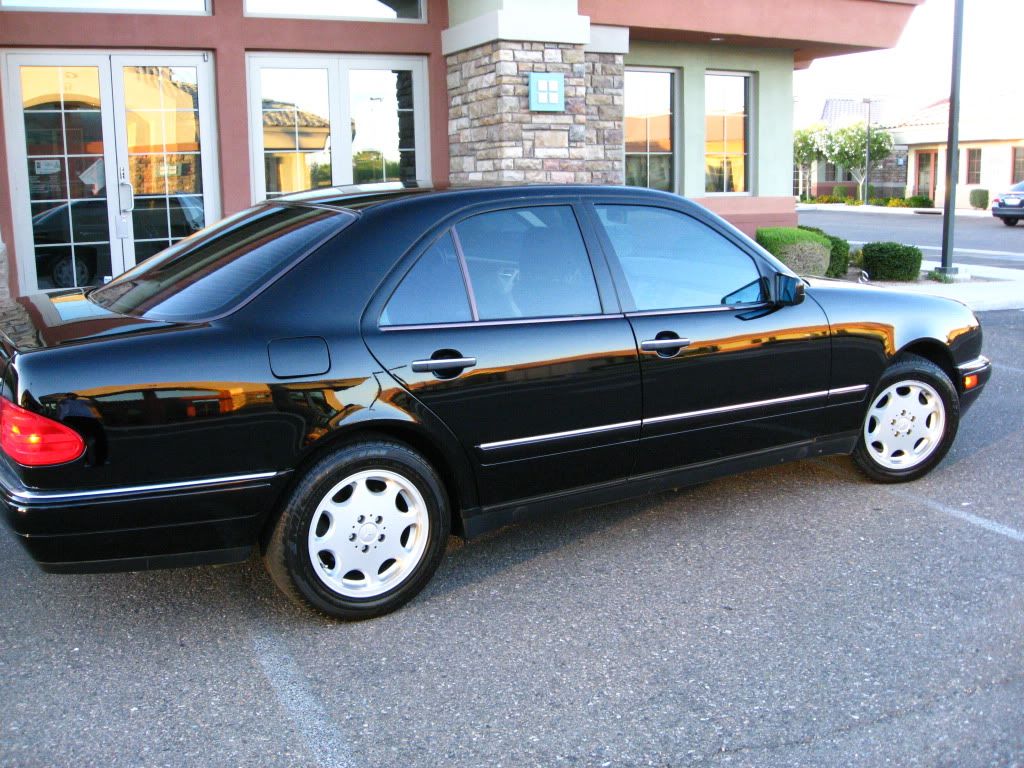
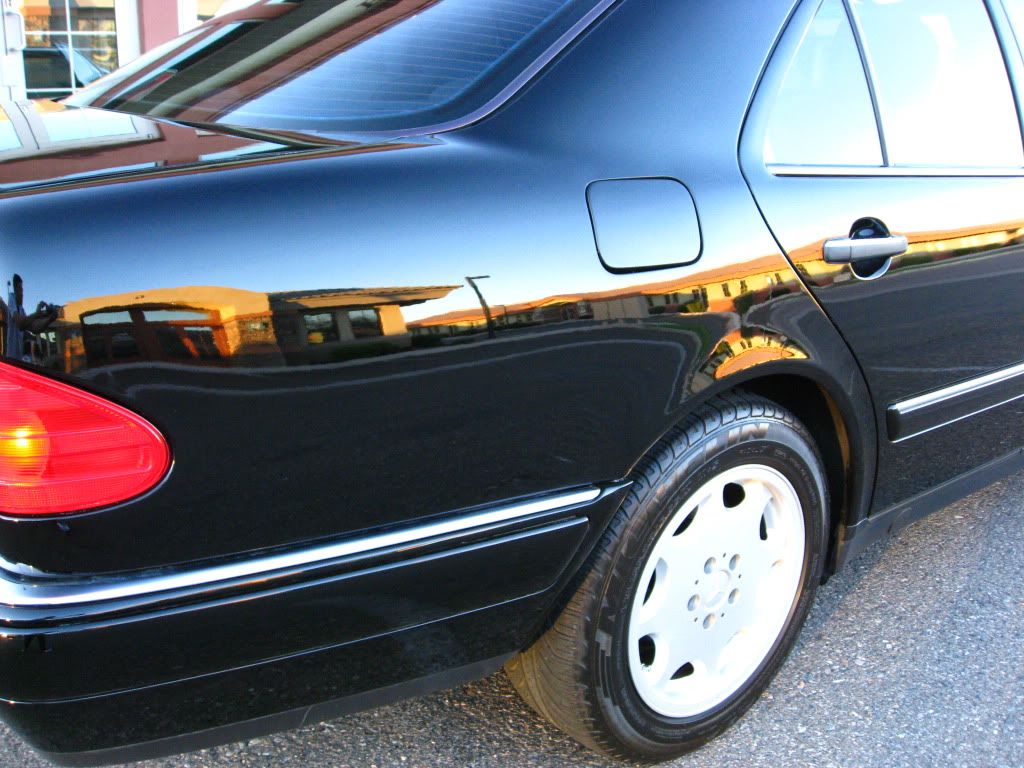
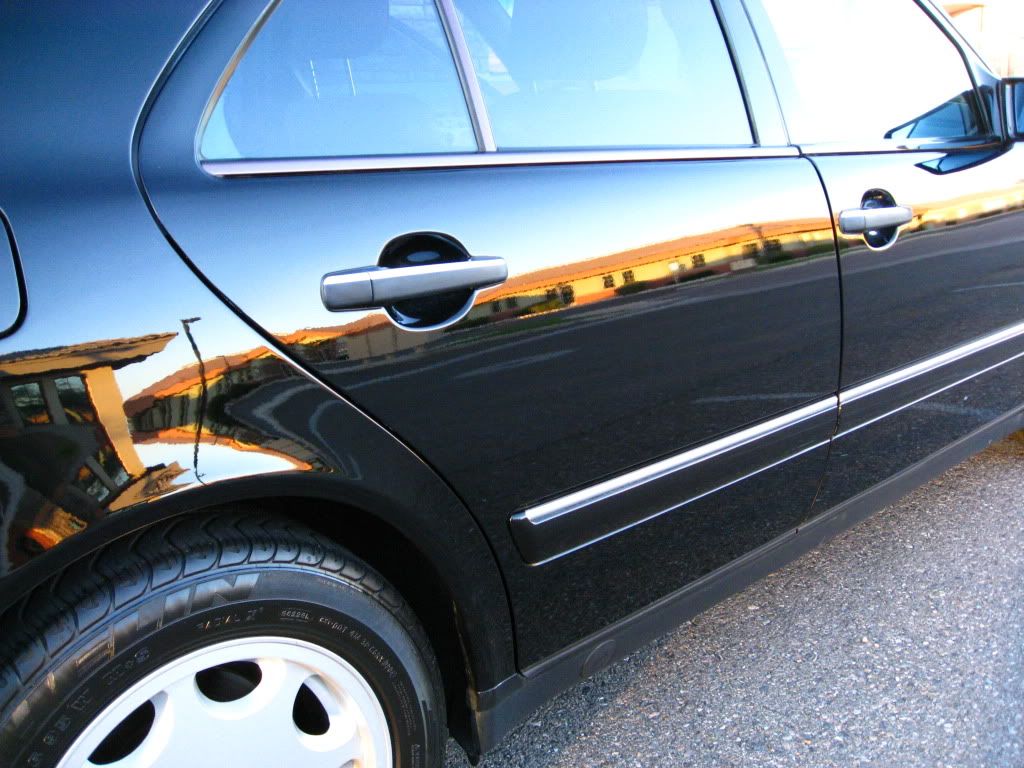
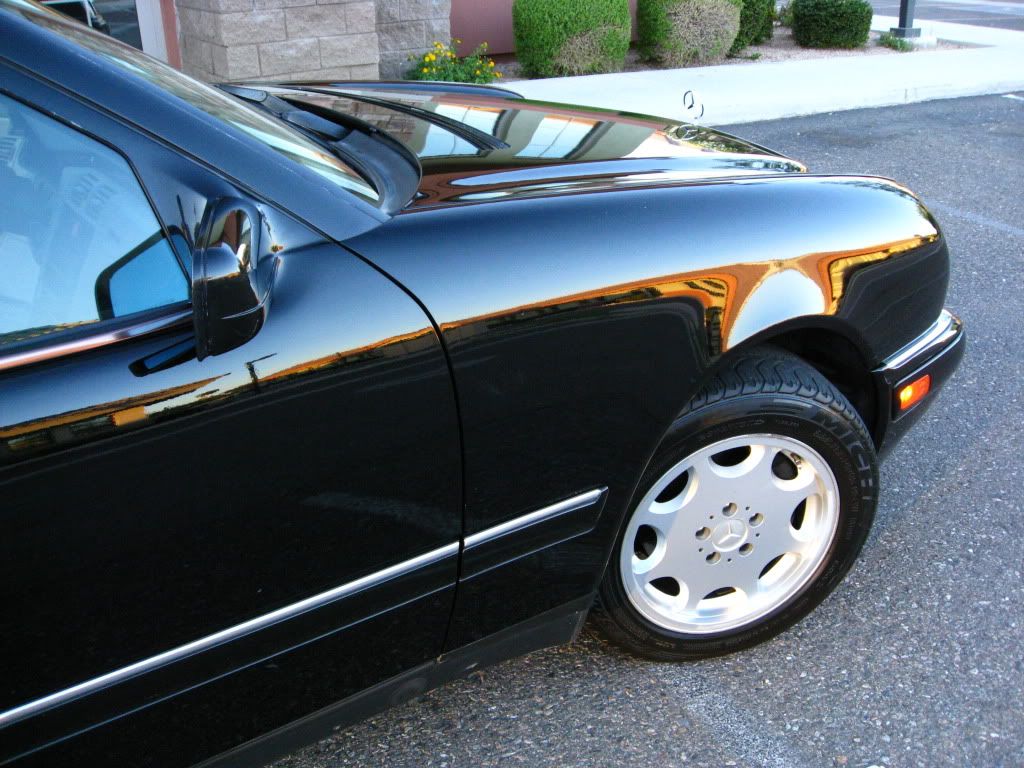
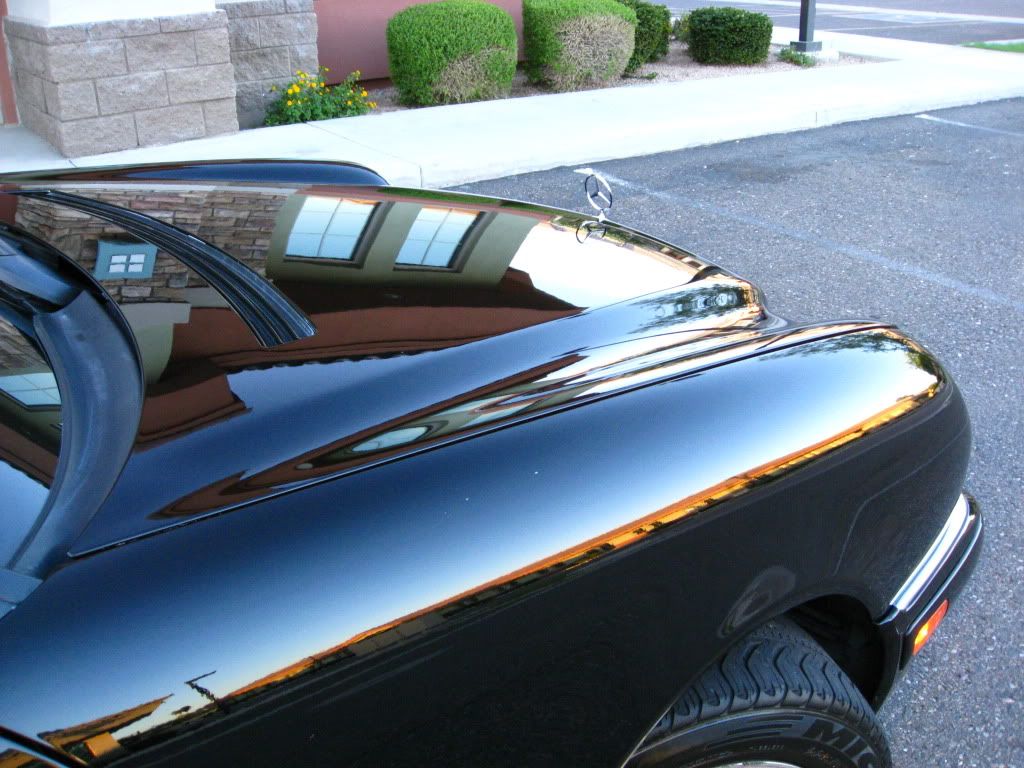
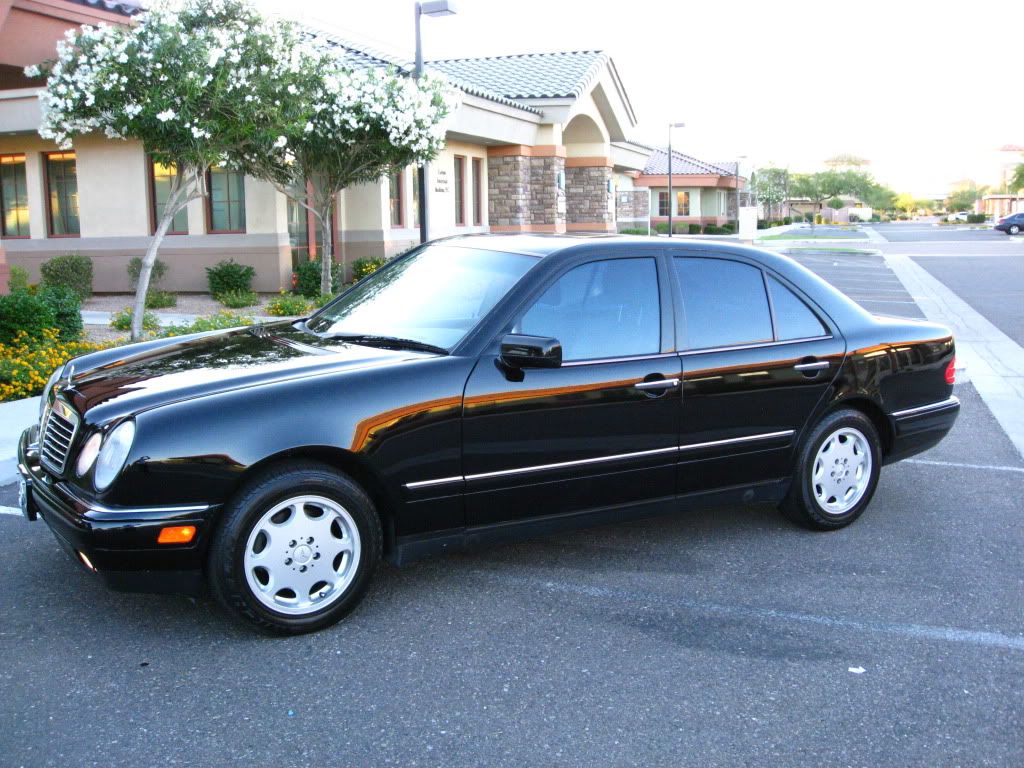
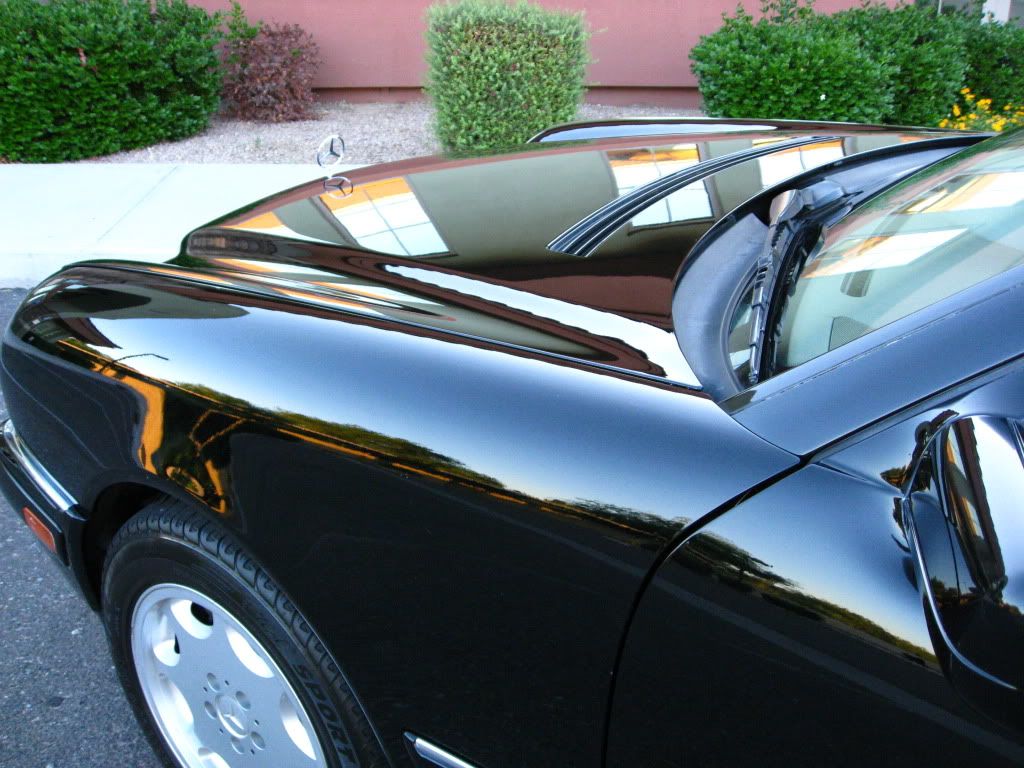
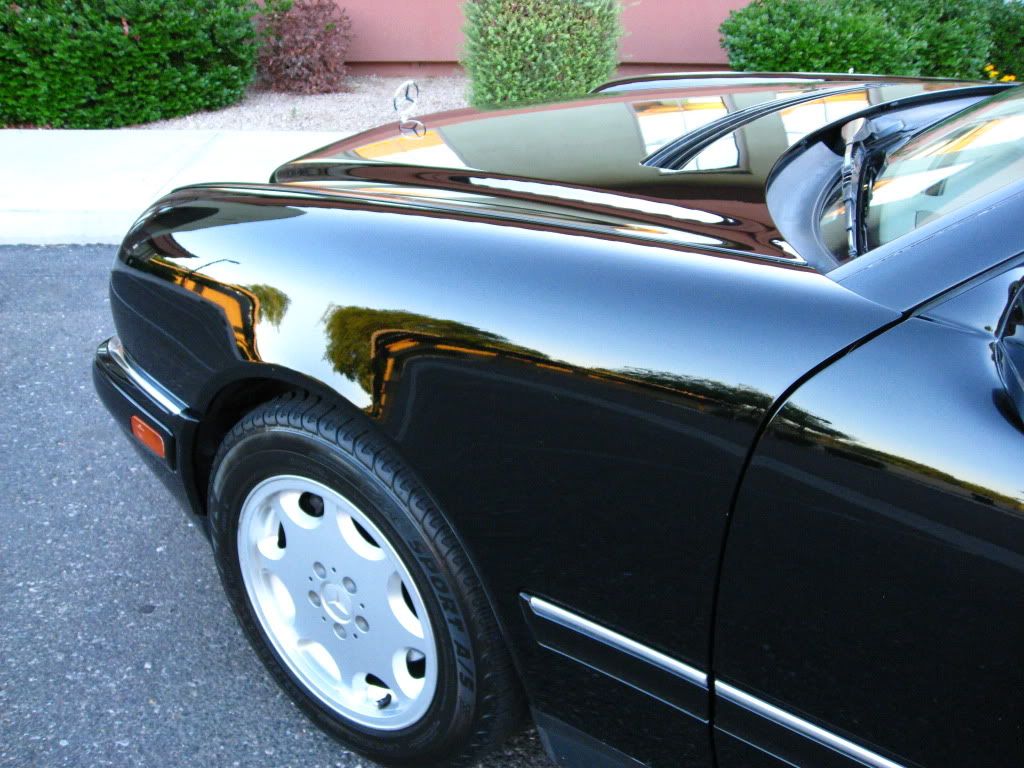
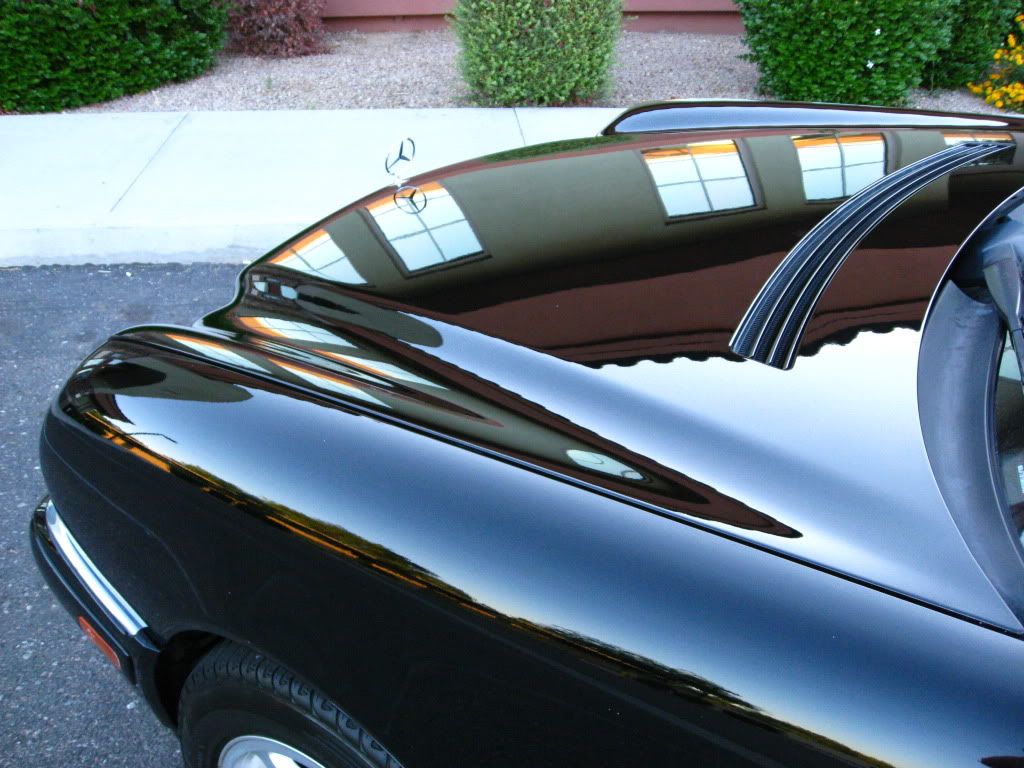
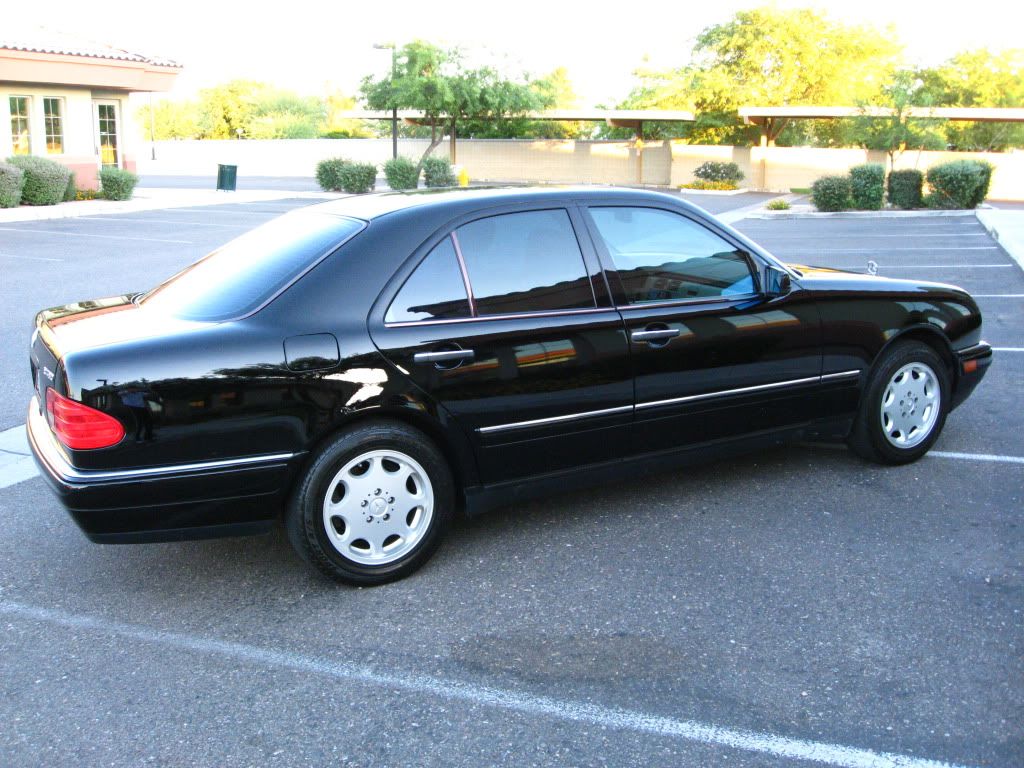
I have always detailed light colored cars. The darkest color I've detailed is our red minivan but I wasn't enthusiastic about polishing its paint because of the fact that it's a van. So when I got a chance to detail this BLACK E430, I was really excited. In addition, it's a Mercedes Benz so that got me more excited. The paint was just a mess. The rear bumper had some paintwork done to it but guess what they did??? They tried "buffing" the whole car only to leave buffer trails all over the place. Here are the before pictures:
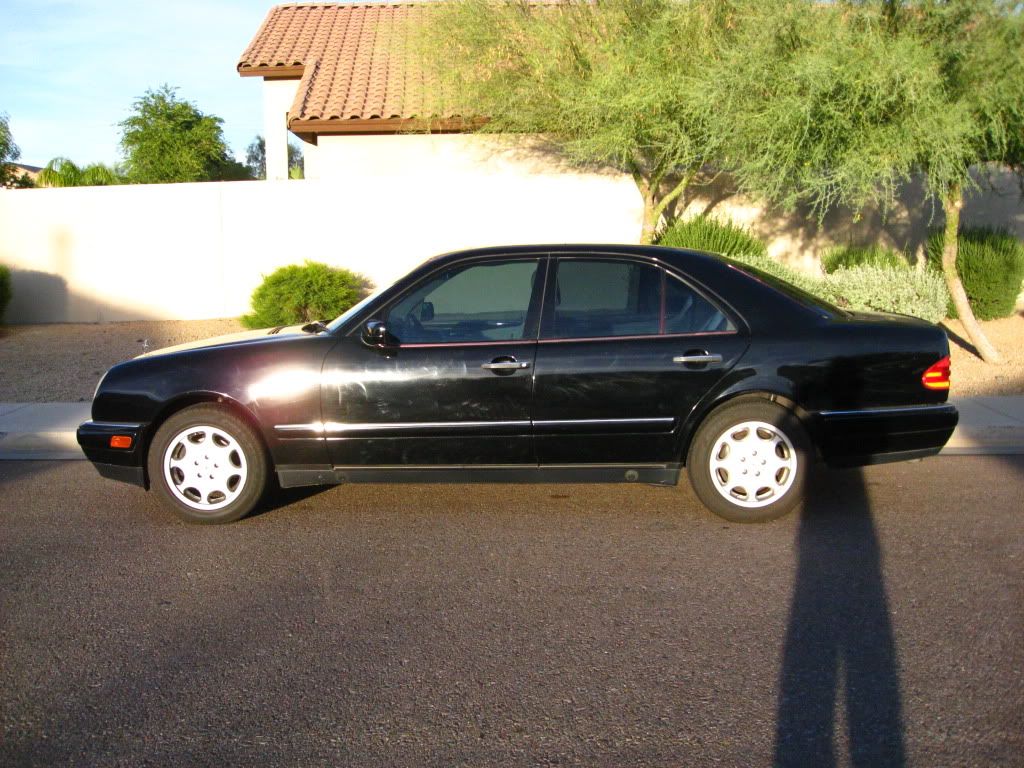
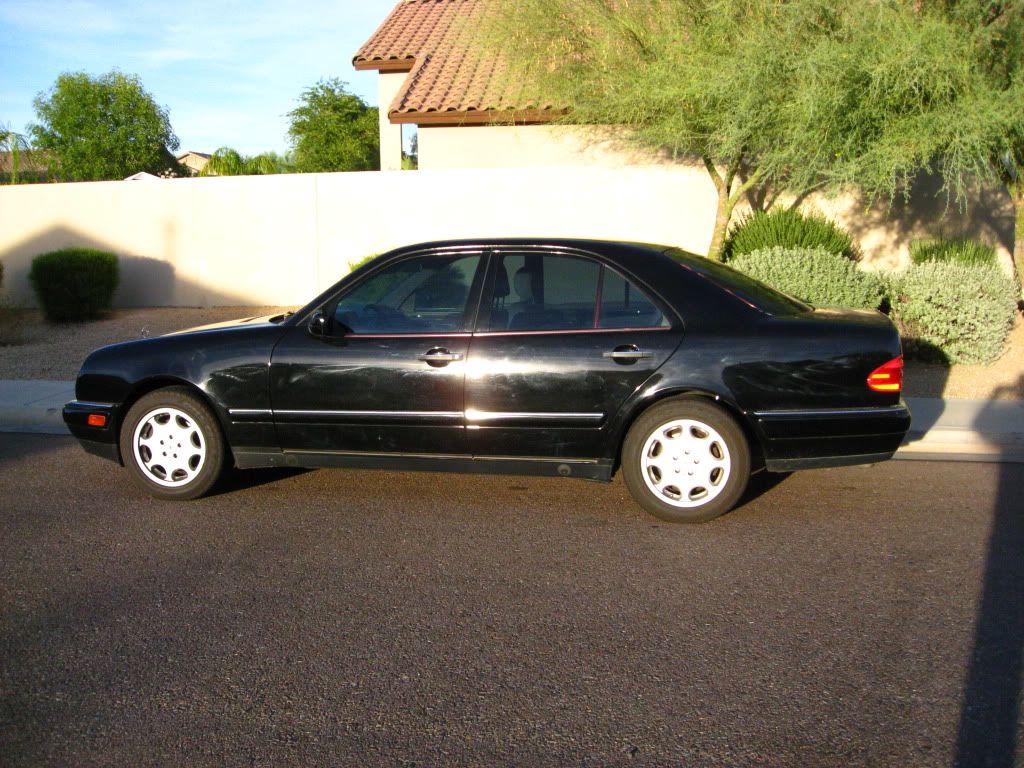
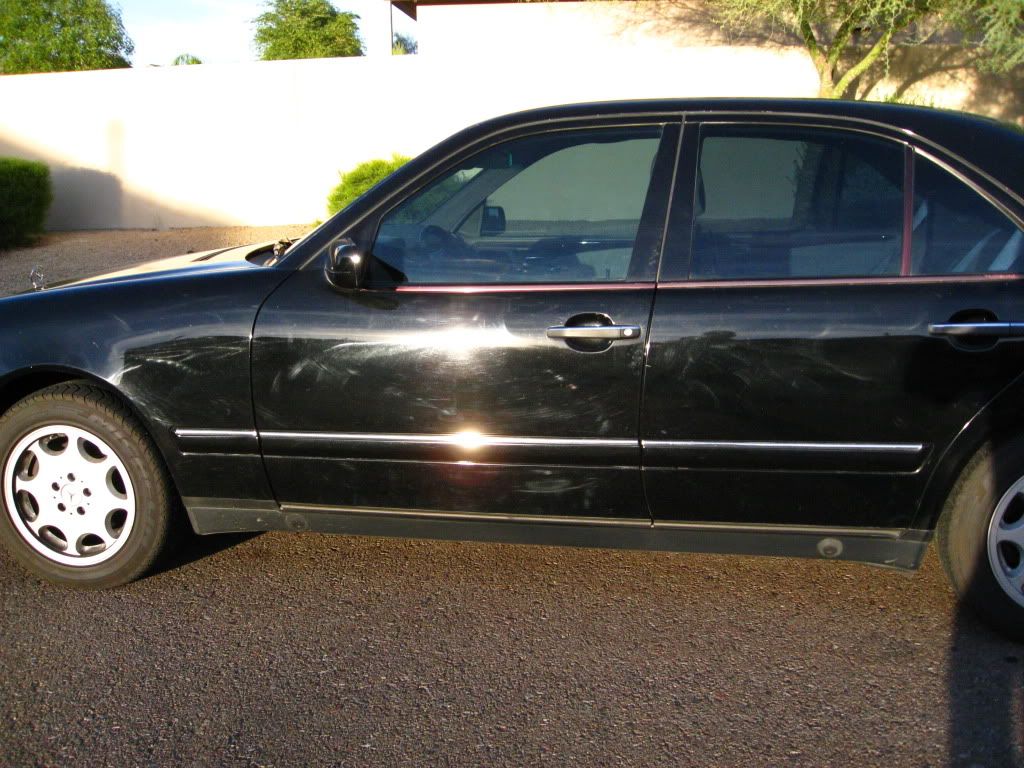

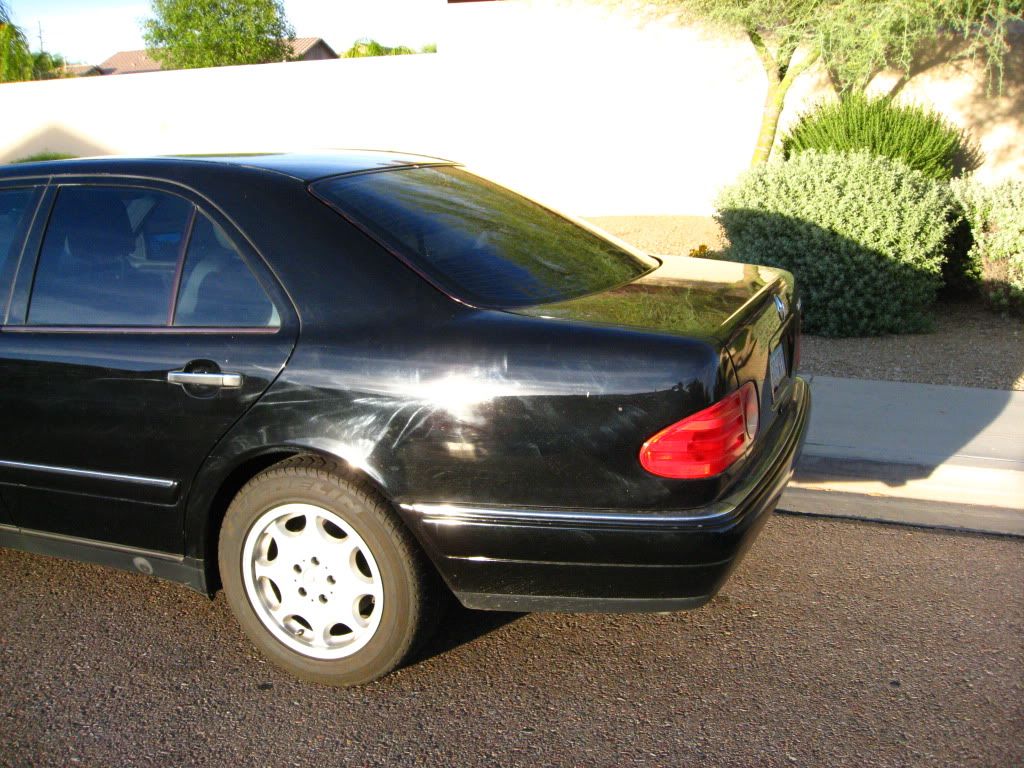
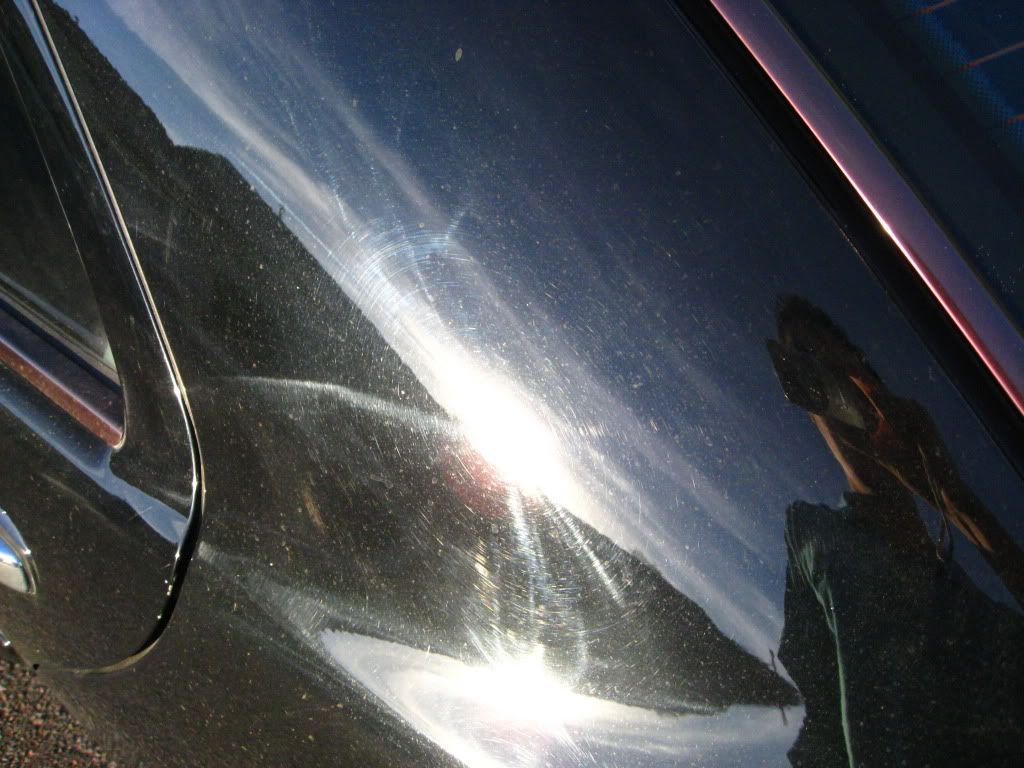
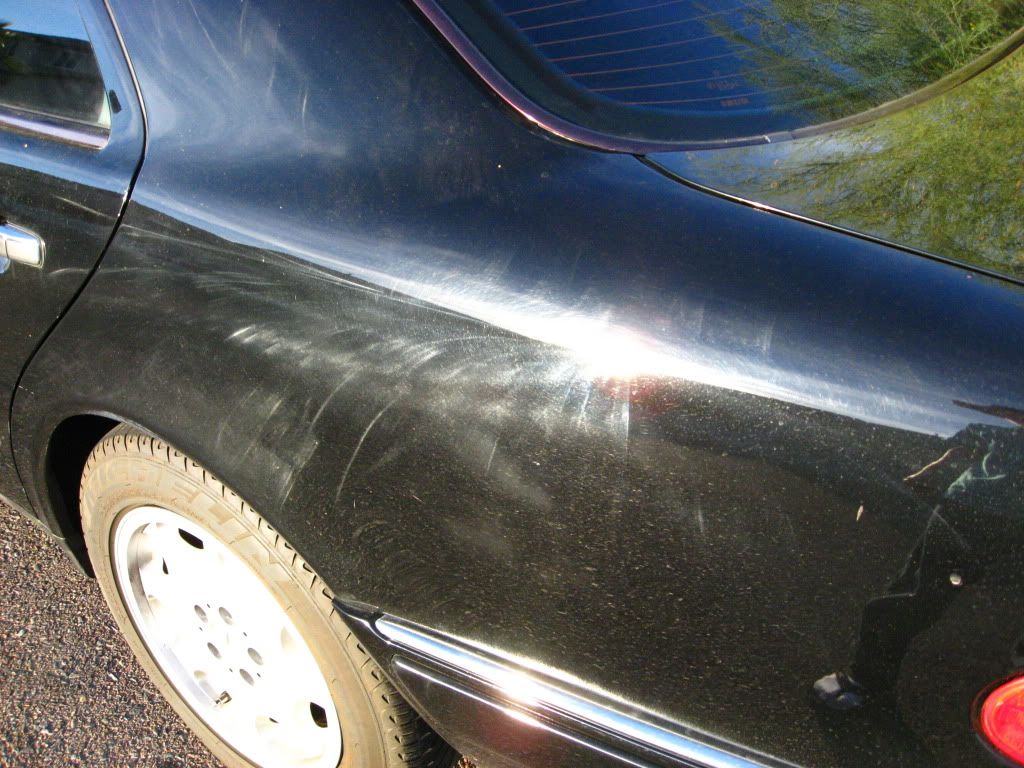
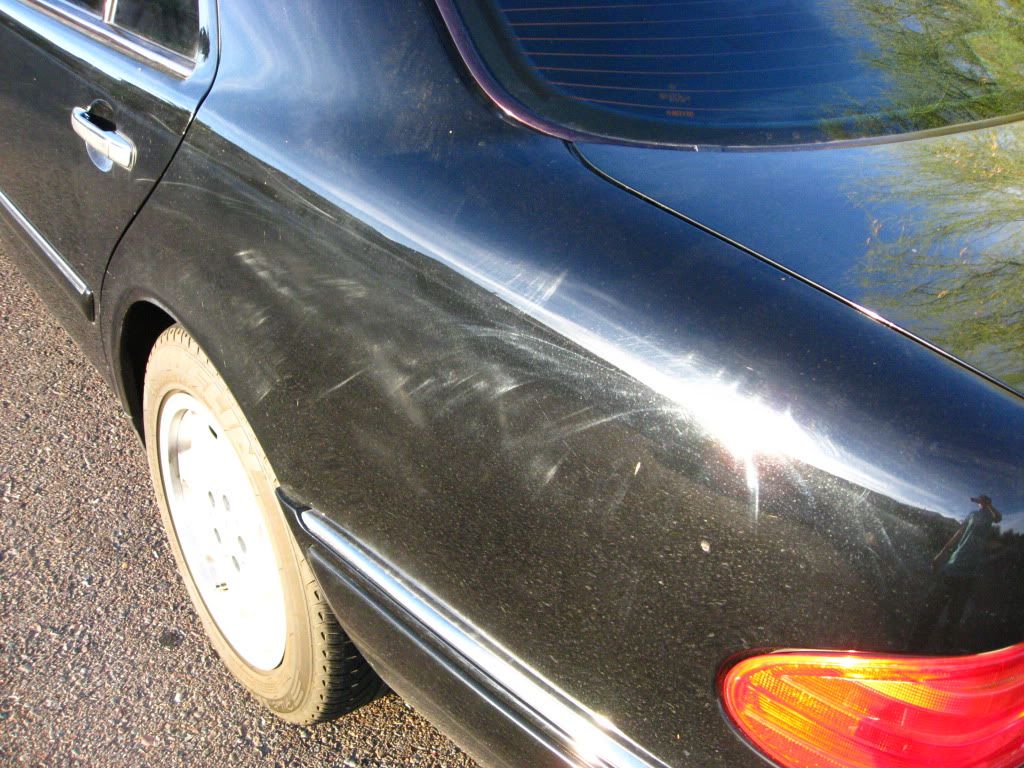

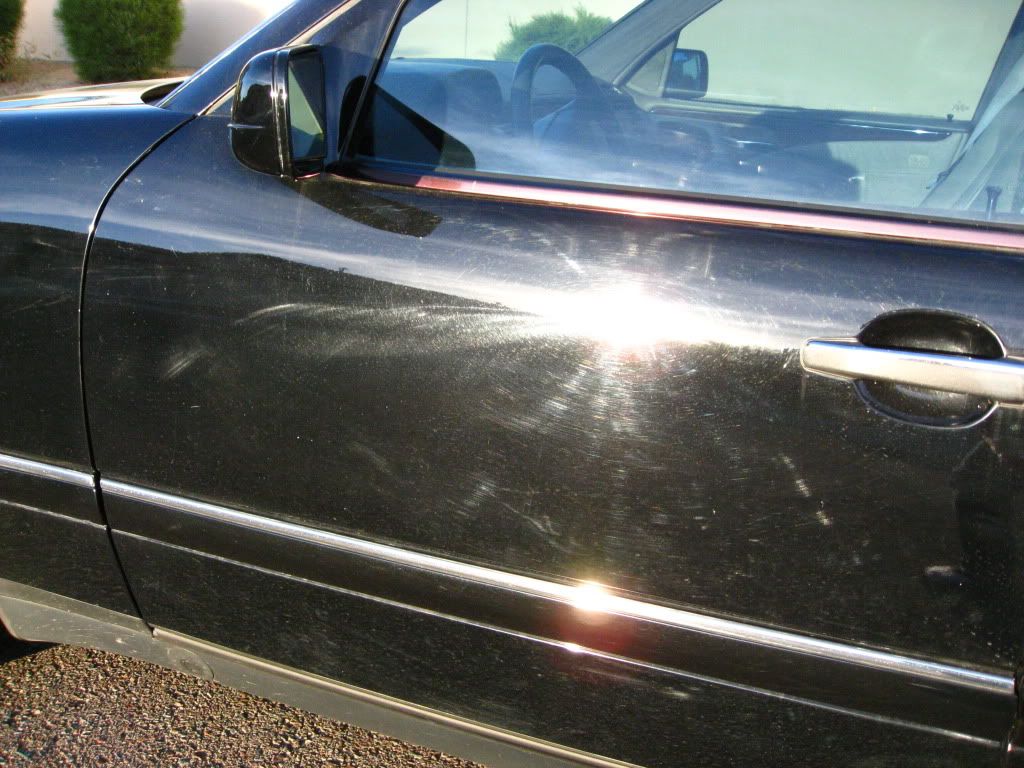
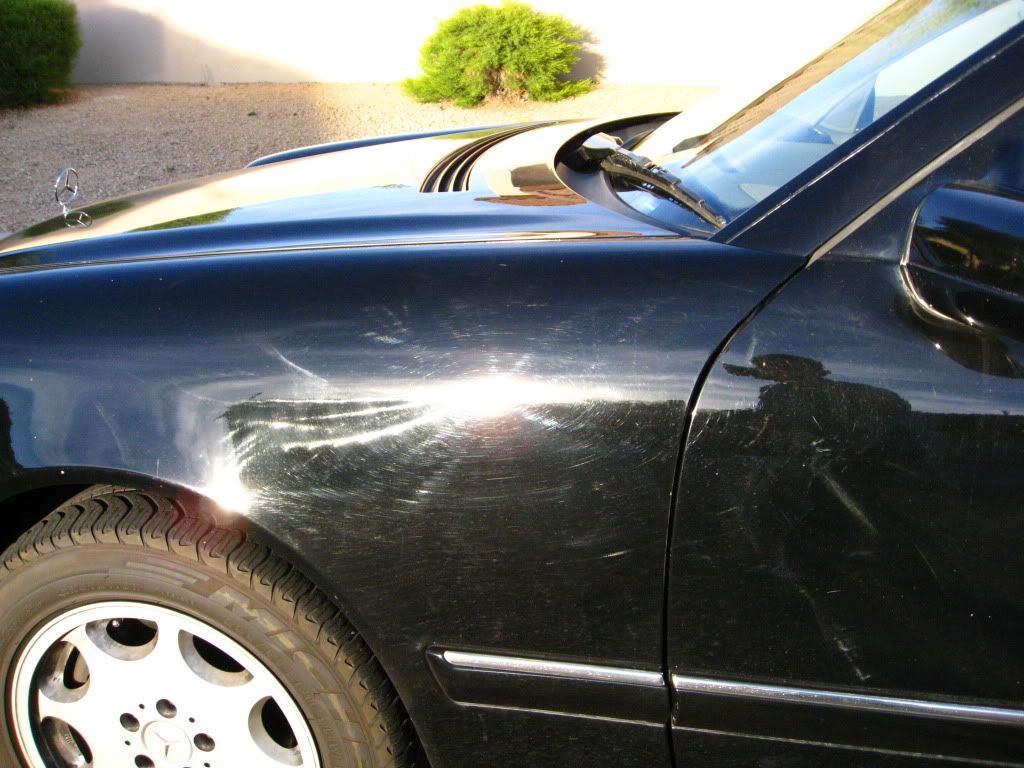
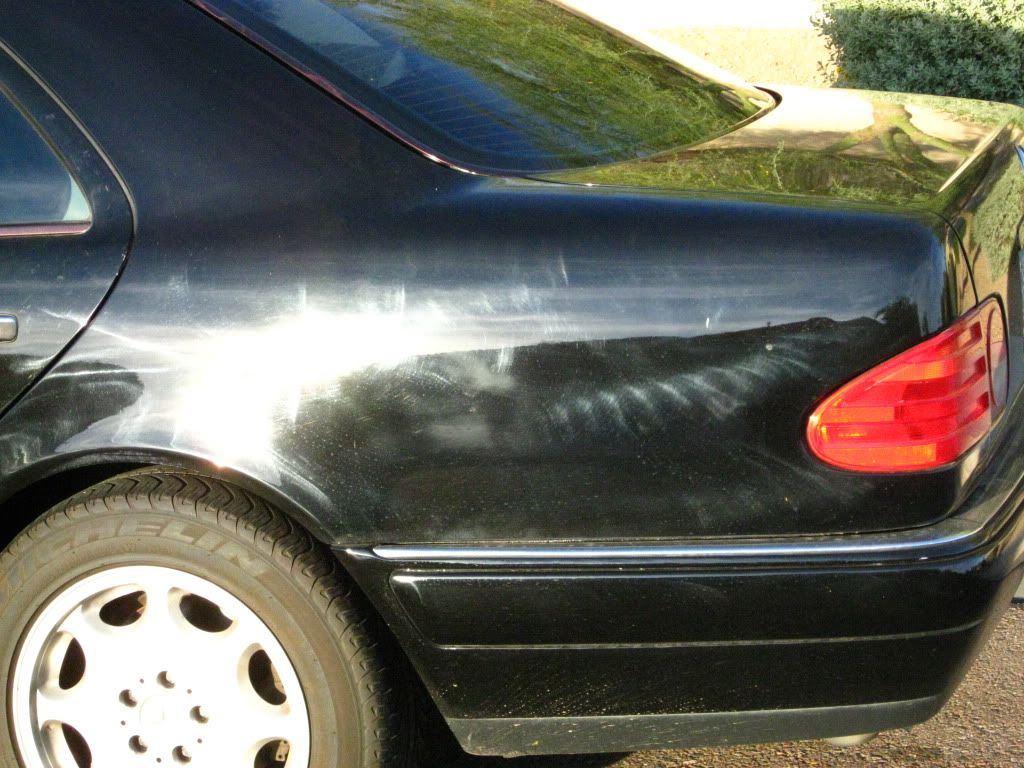
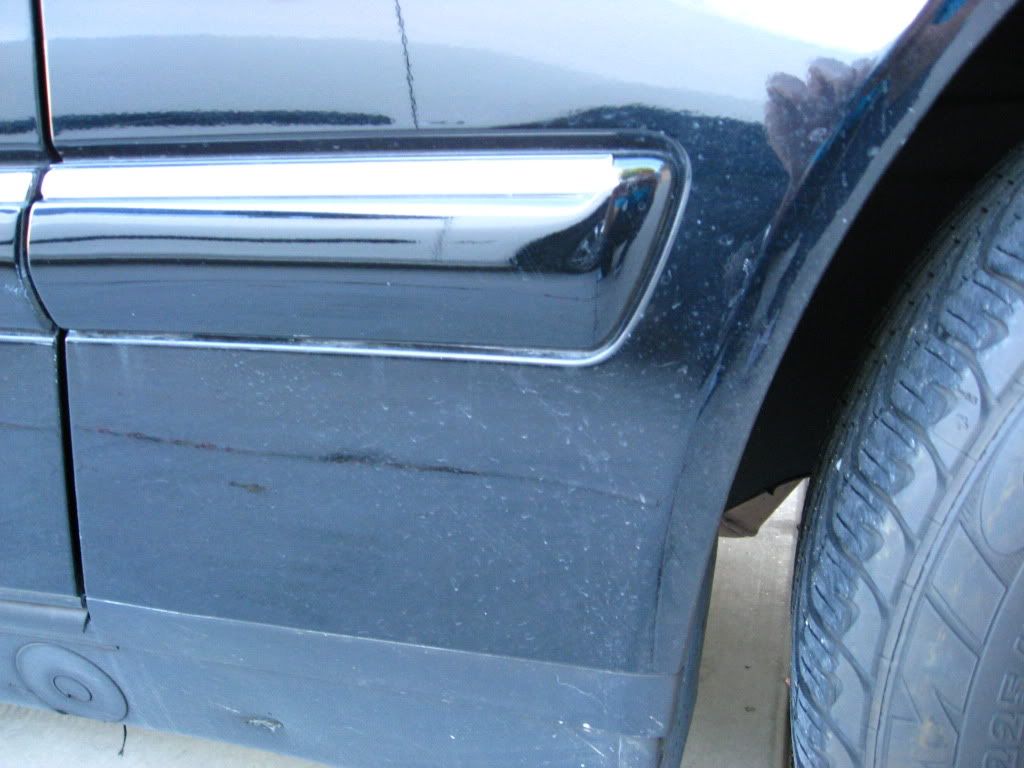

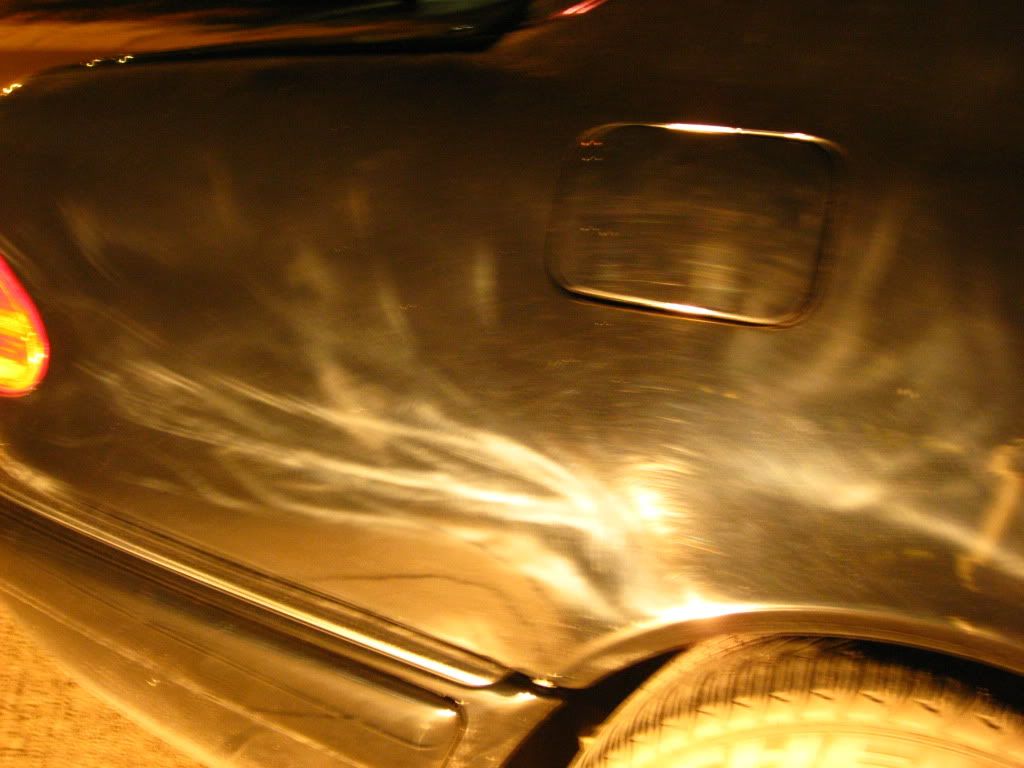
You guys can see how bad the paint looks right?? The reflection is pretty much blurred and it wasn't as clear as it should be.
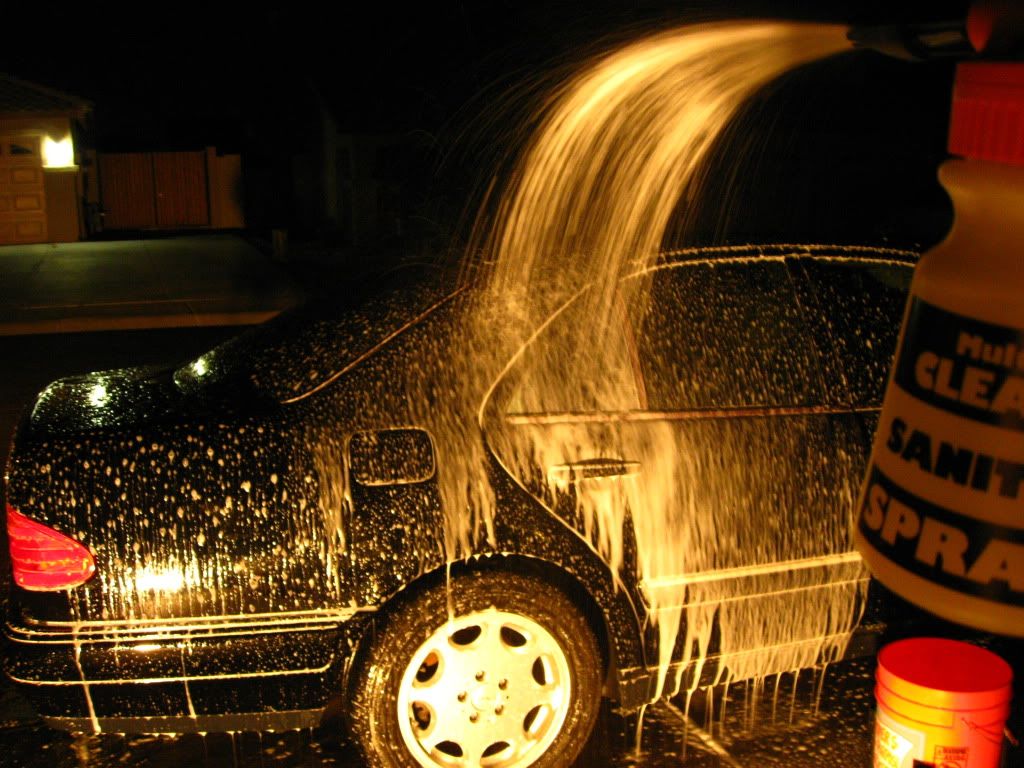
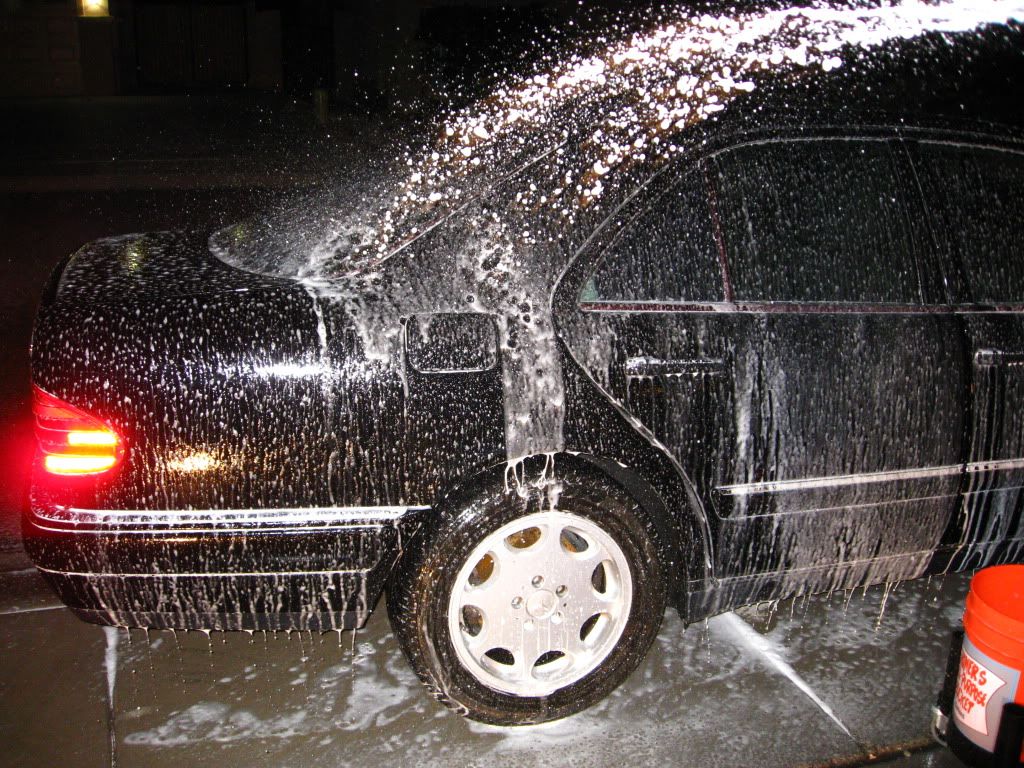
Here are some wash pictures:
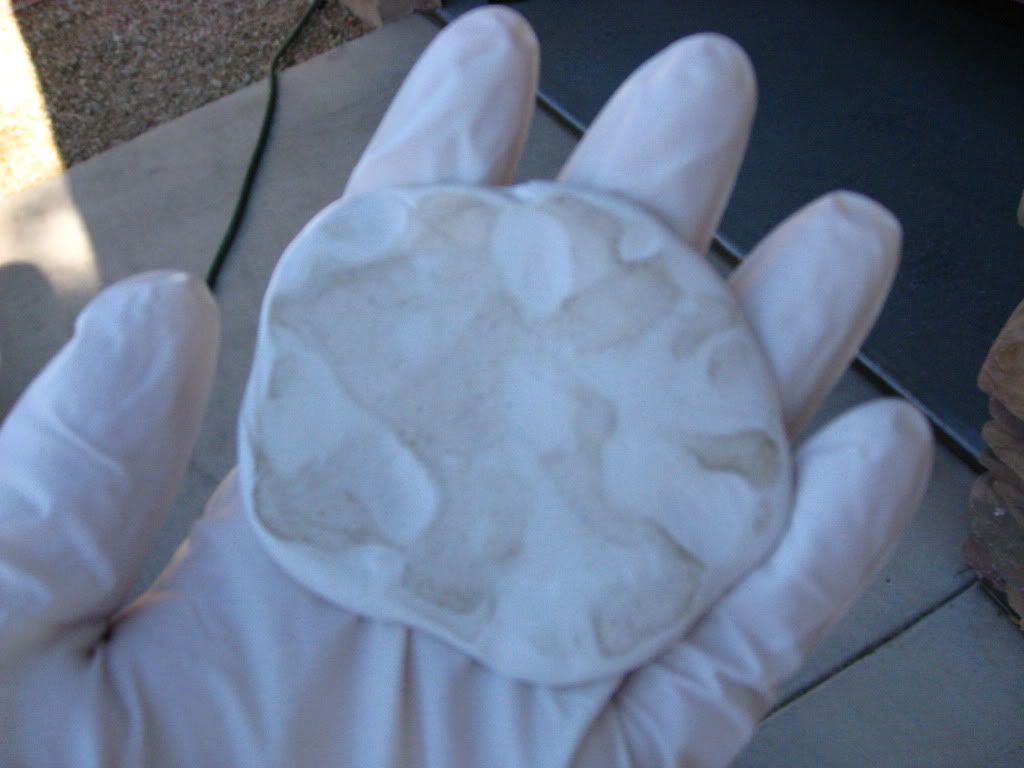
Clay after 1/2 of the trunk:
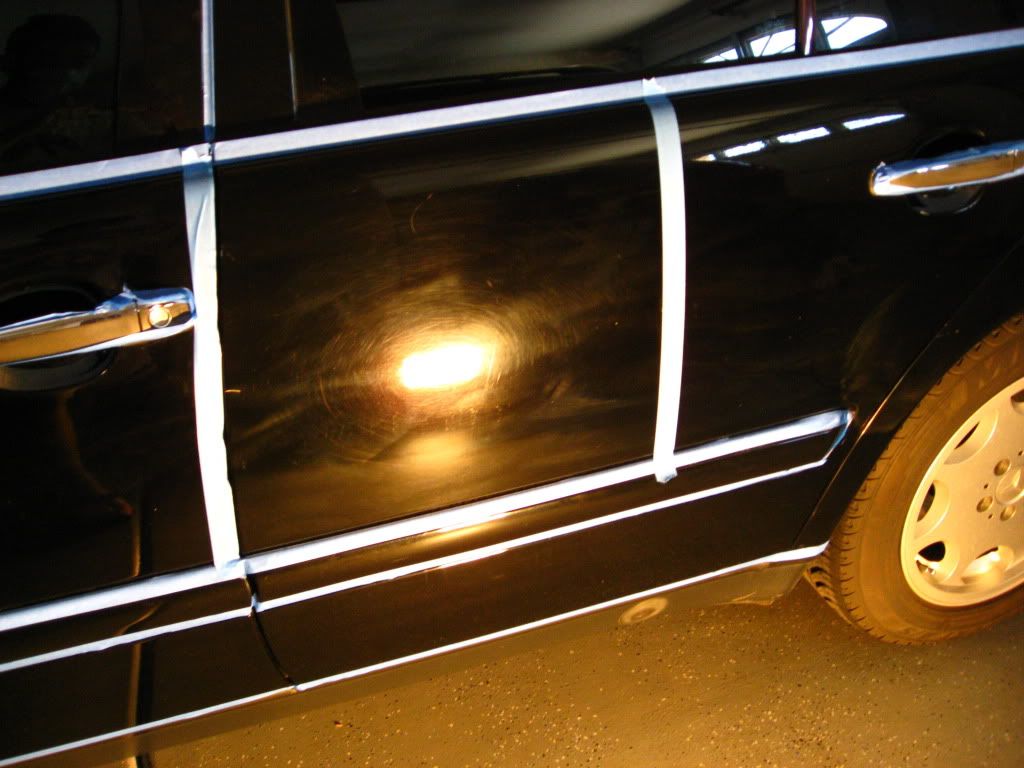
All taped up and ready to go:

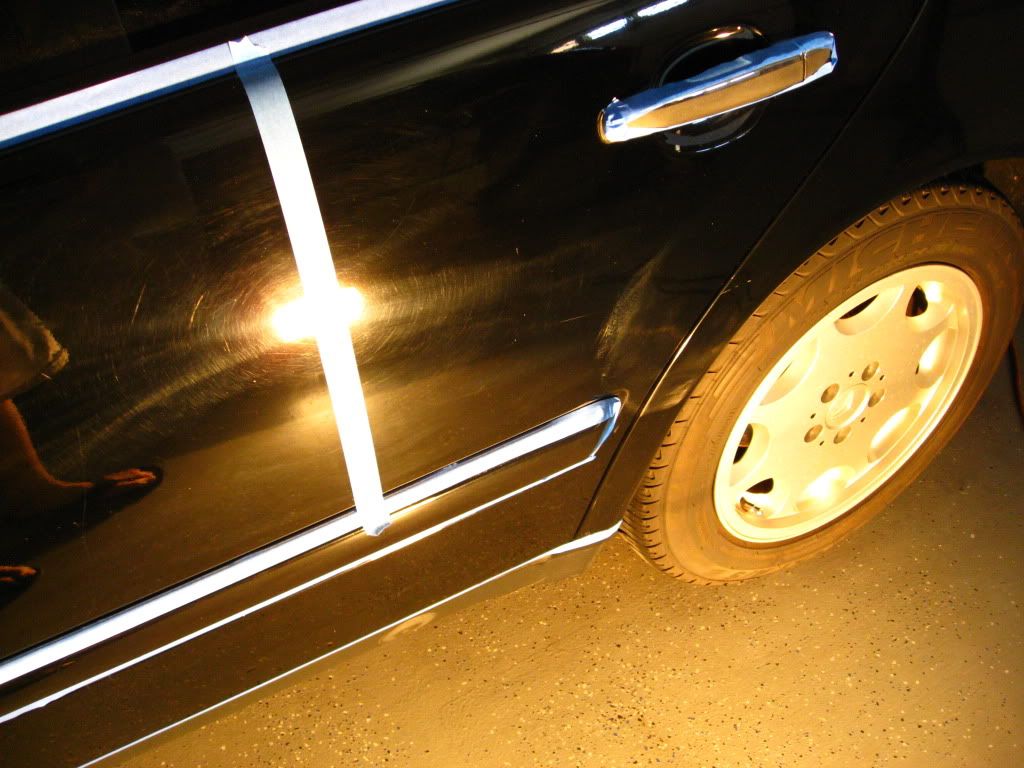
I always try to use the least aggressive product first to get the job done. With this in mind, I tried using the Menz 106FF first with a LC white pad. Here are some pictures of my test panel:
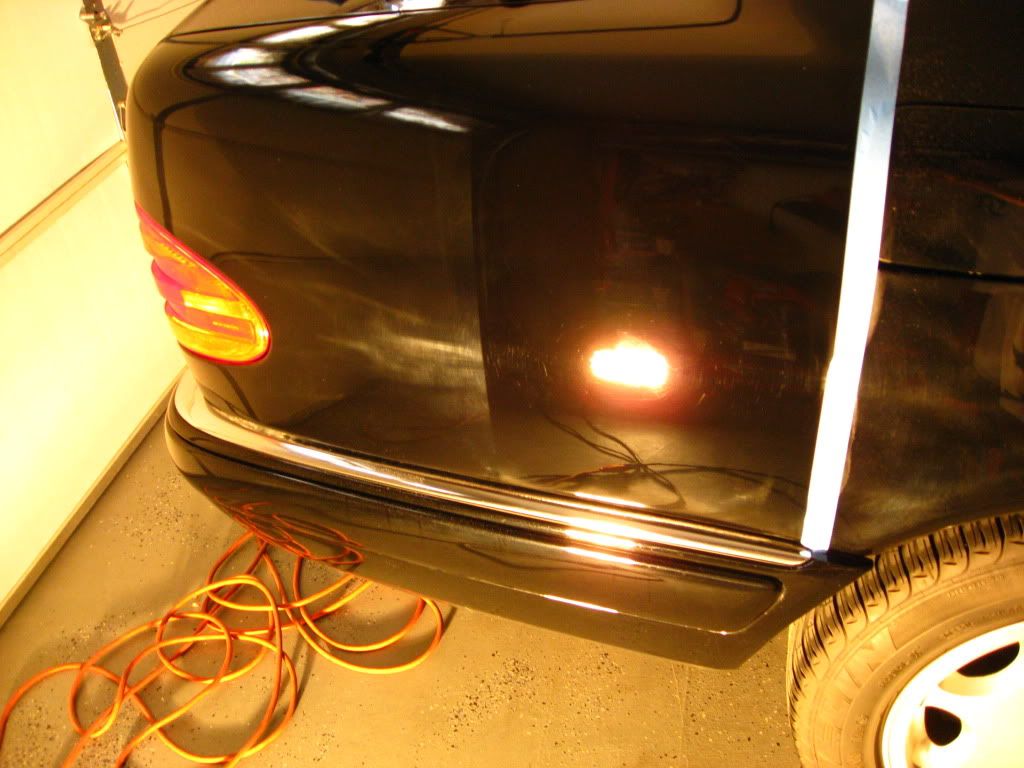
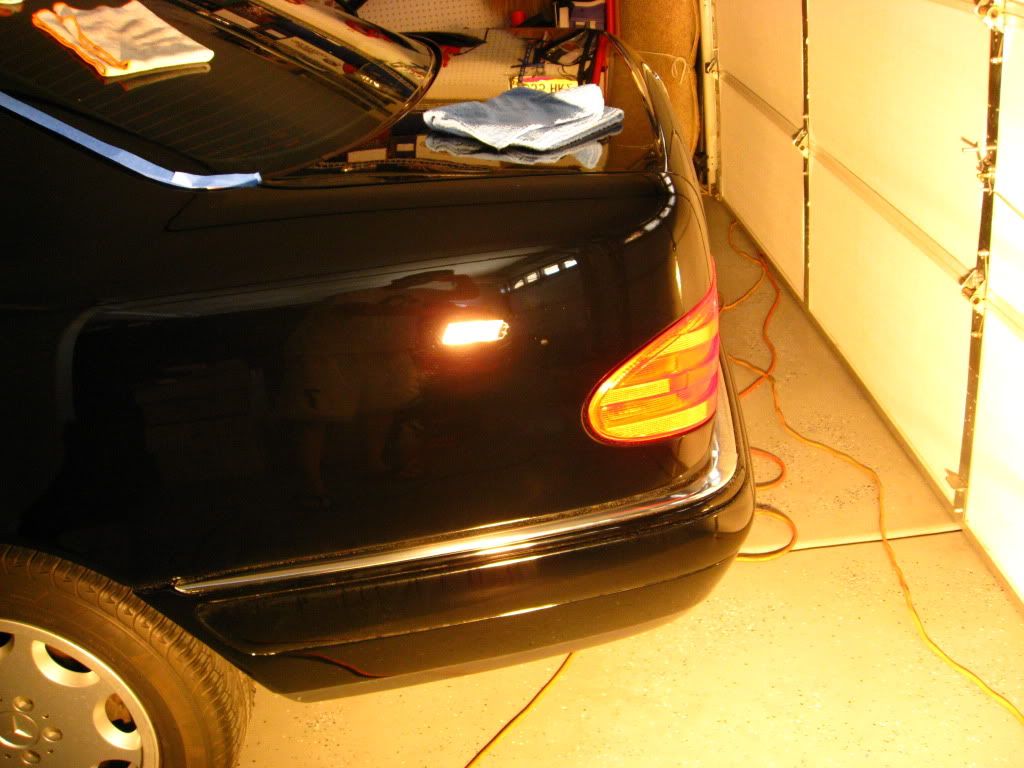
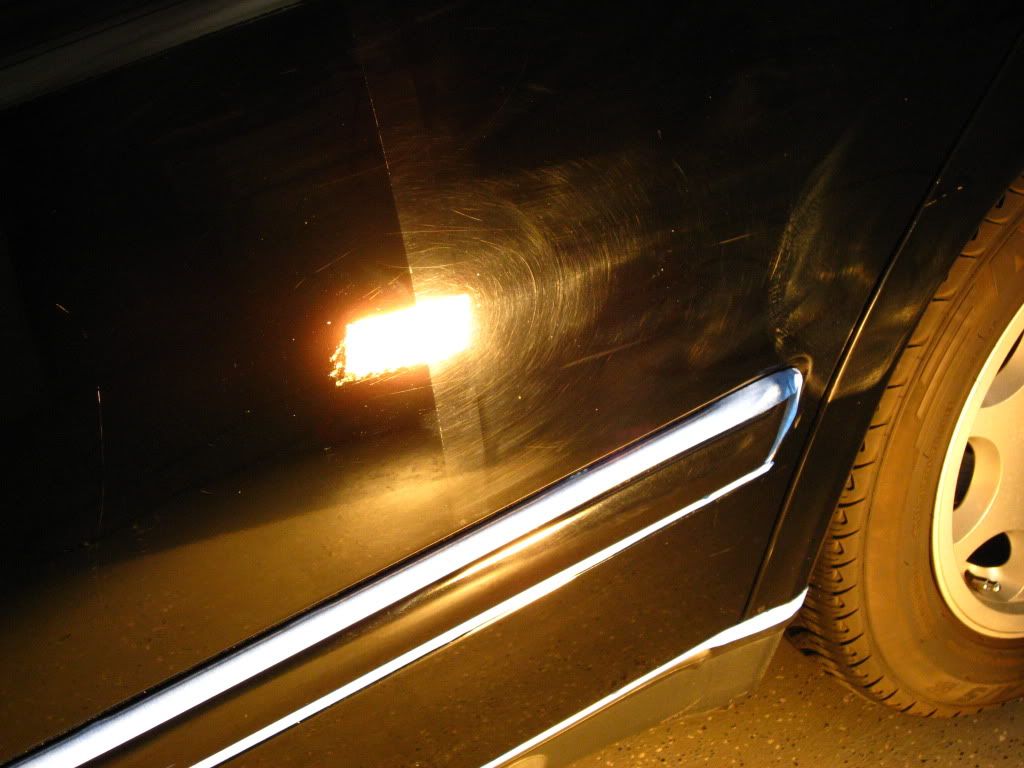
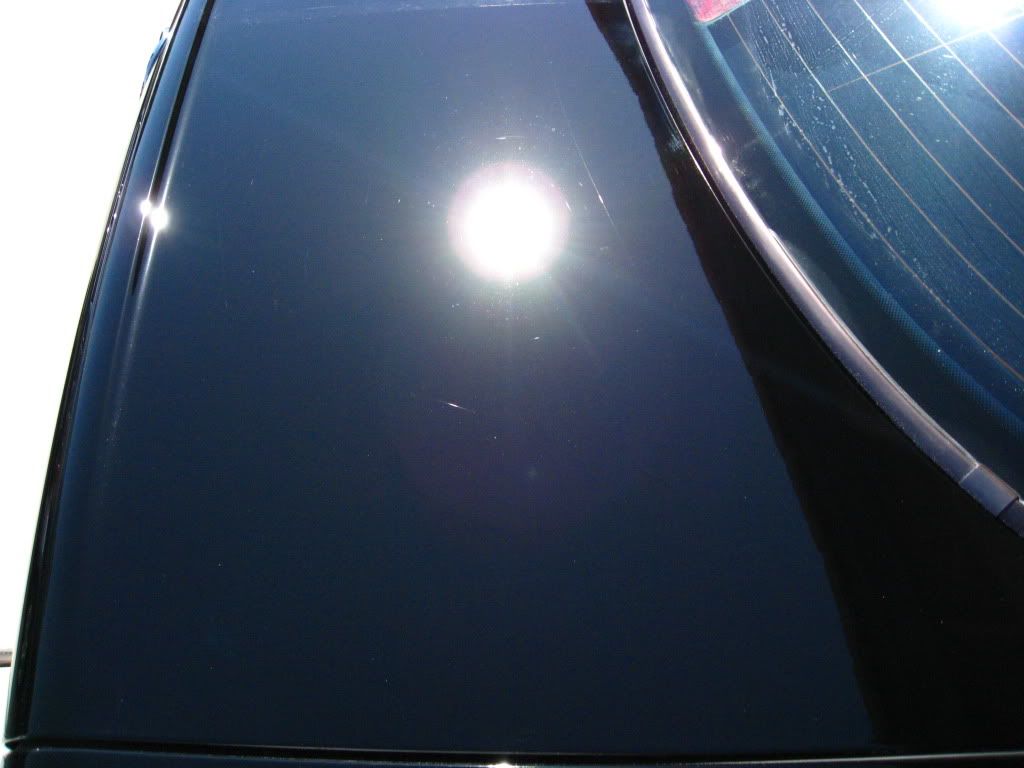
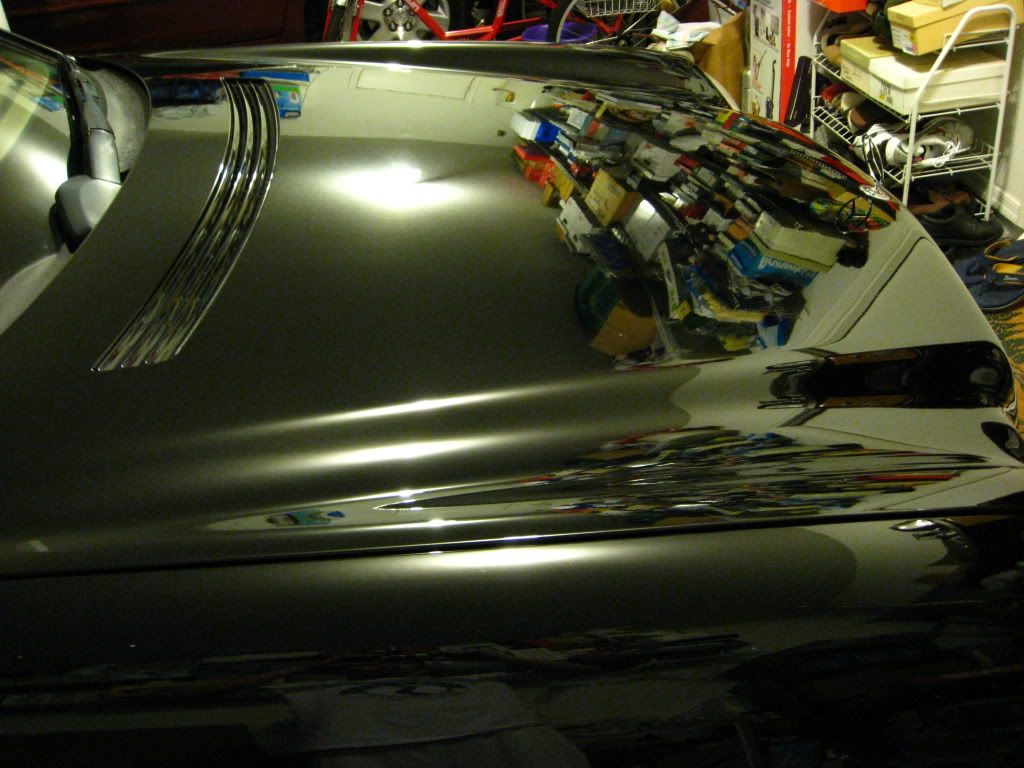
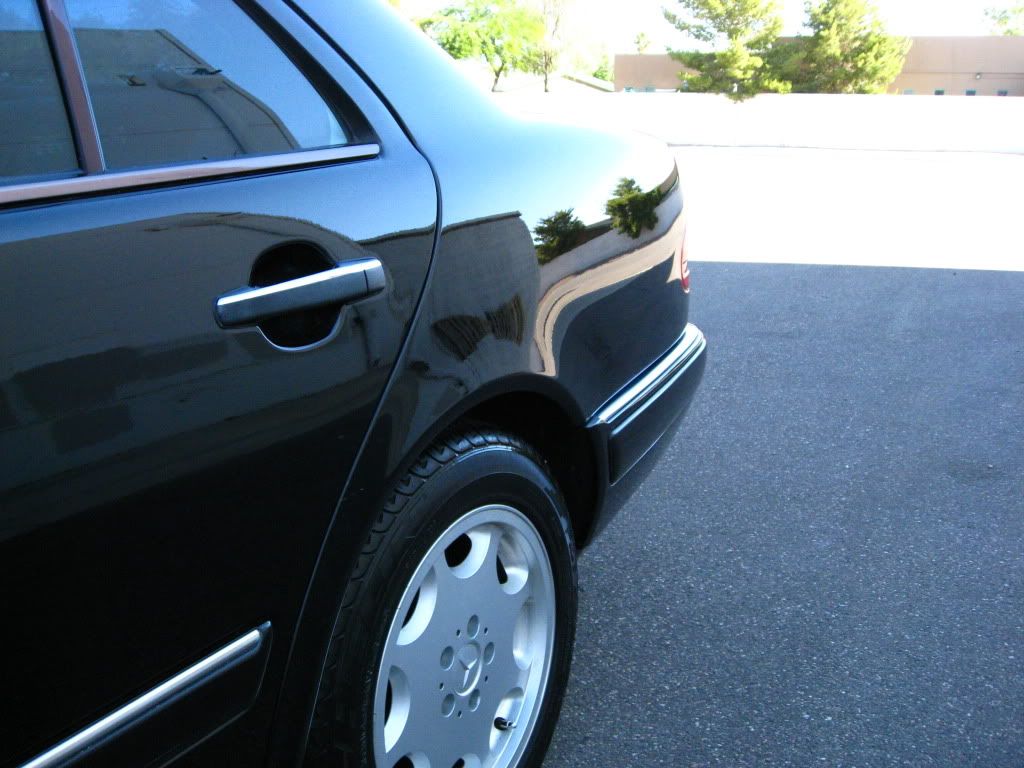
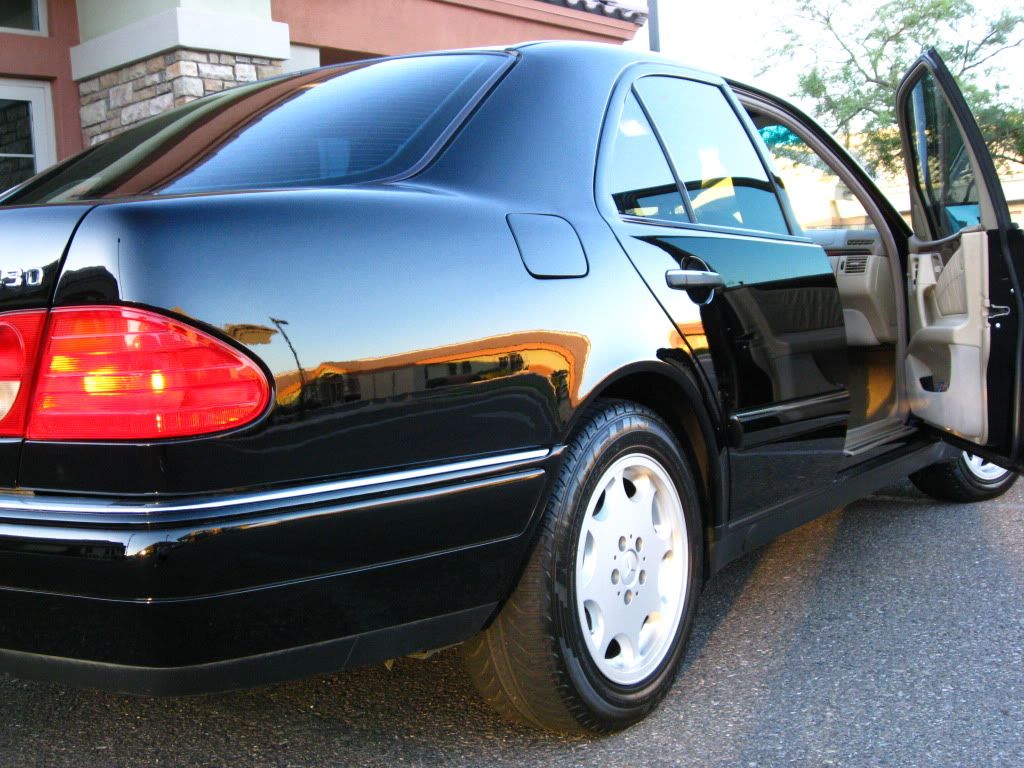
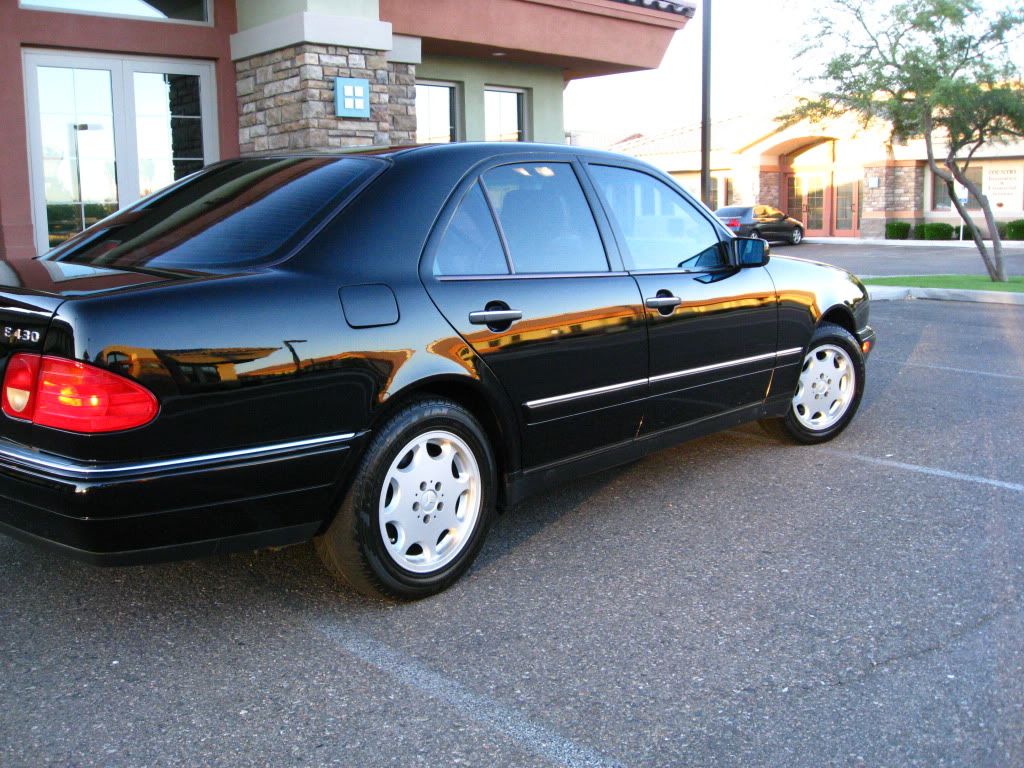
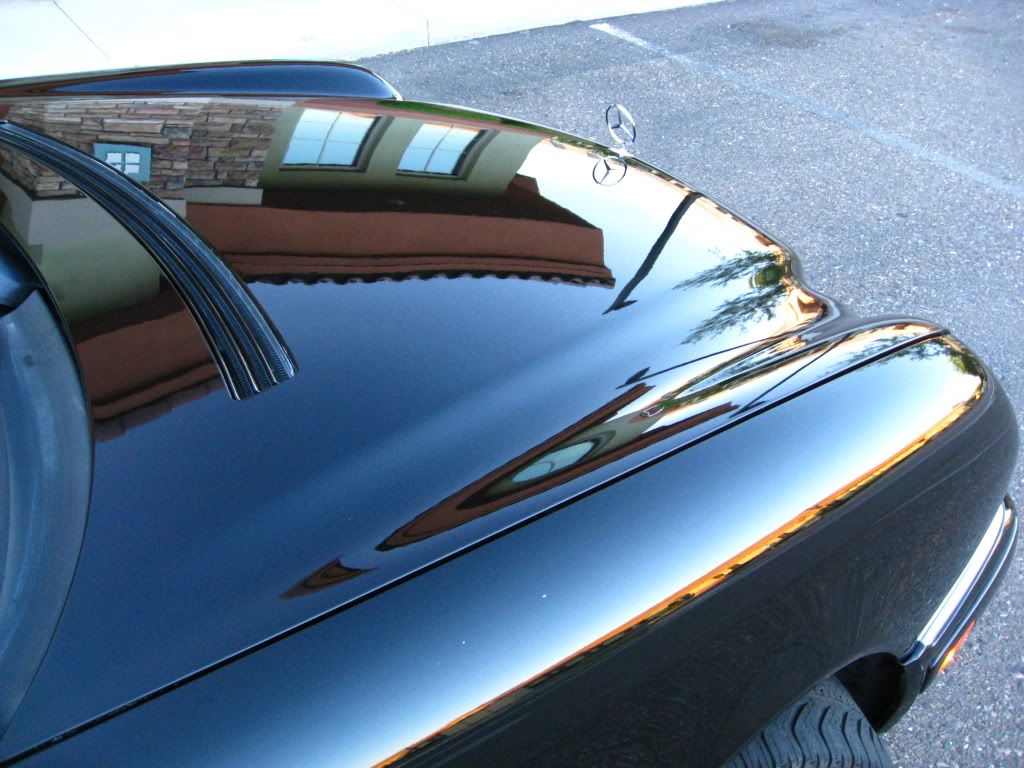
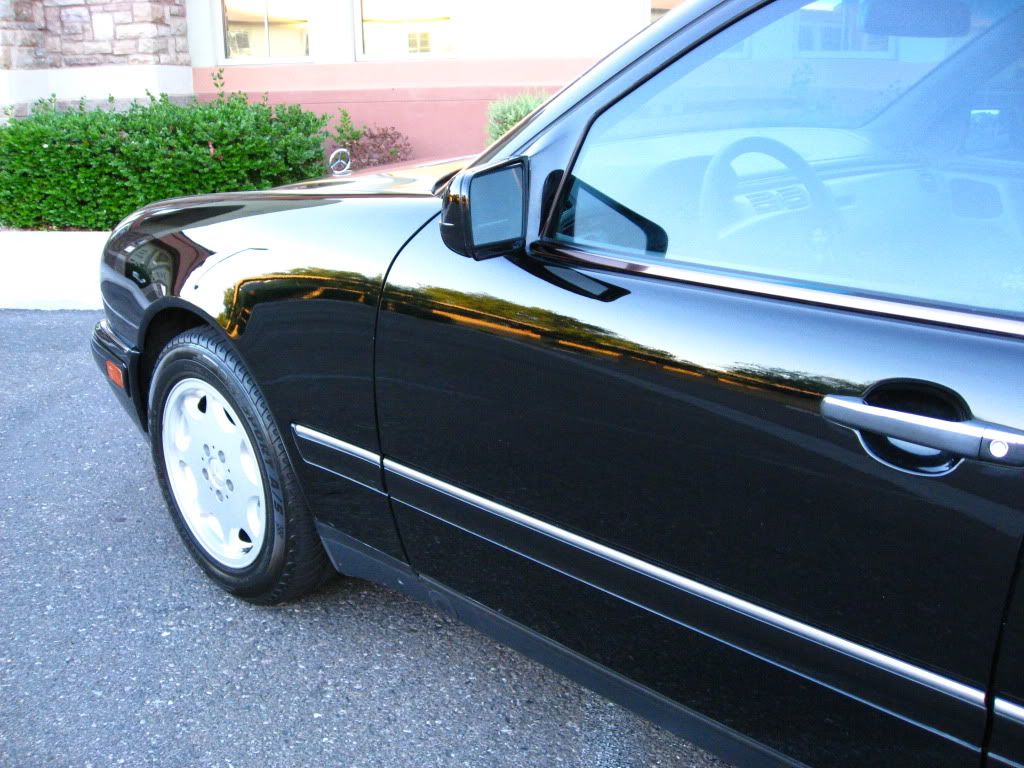
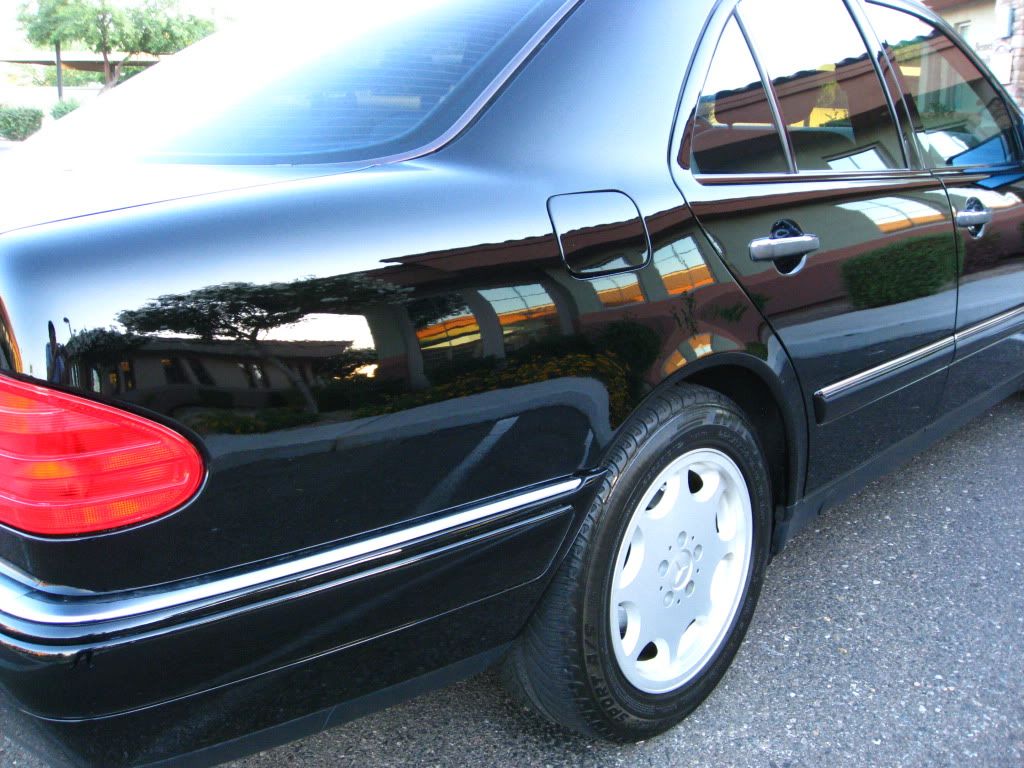
As you can see, it still left behind some minor swirl marks. After seeing this, I was unsatisfied with the outcome so I decided to step it up to Menz SIP via LC orange pad. Here are some pictures throughout this step:
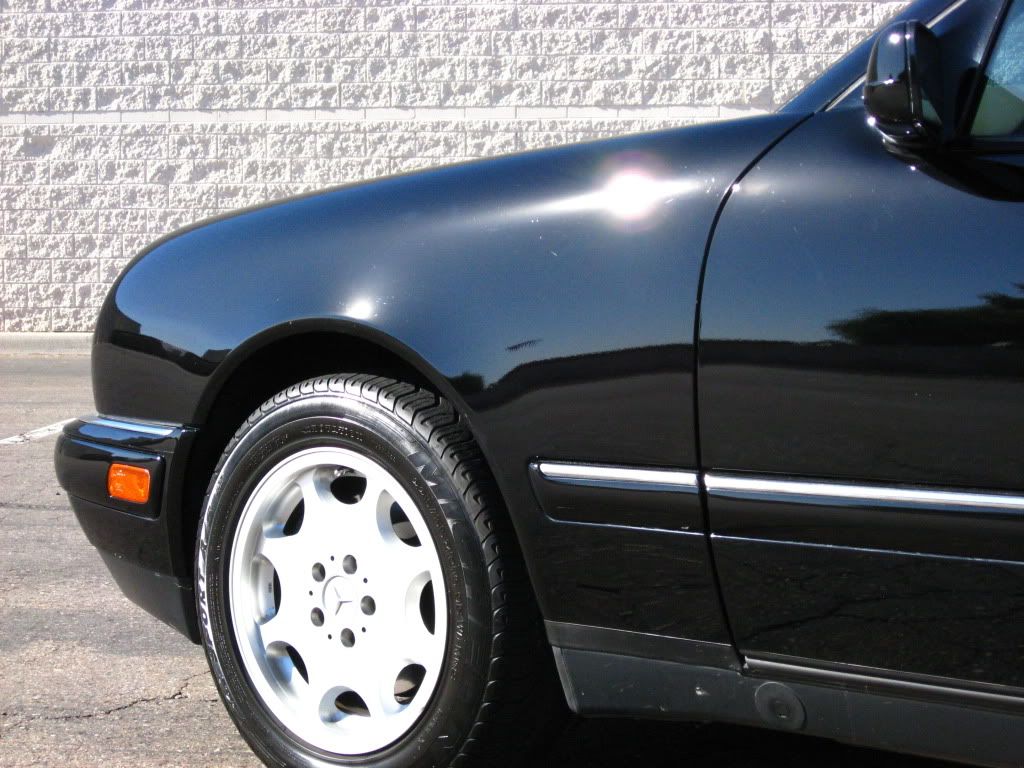
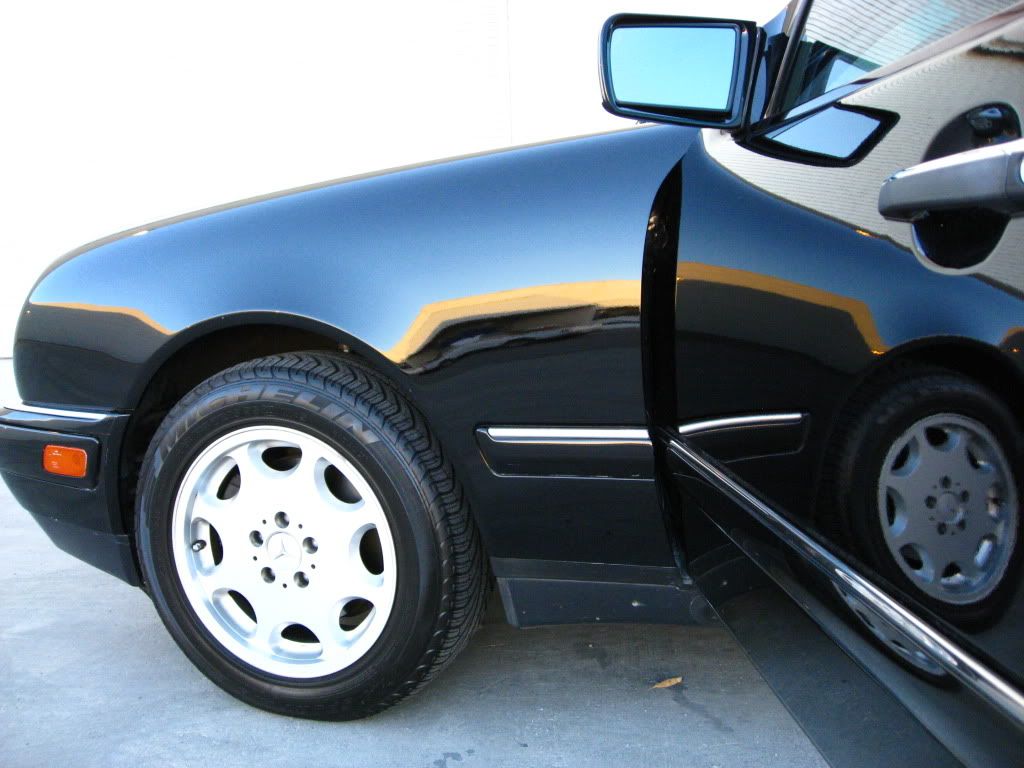
Driver side rear quarter panel:

Meguiar's Deep Crystal on wheels
Meguiar's APC on tires/wheel wells
Meguiar's Cleaner Wax on wheels
Meguiar's Hyper Dressing on tires
Wash:
Gilmour Foam Gun with Meguiar's Gold Class/APC
Chemical Guys Citrus Wash and Gloss via 2BM
Meguiar's Microfiber Wash Mitt
Clay:
Meguiar's OTC Clay
Meguiar's Last Touch
Paint Correction:
Flex 3401 VRG
Meguiar's G100
Menzerna Super Intensive Polish / LC Orange Pad
Menzerna Nano Polish (106FF) / LC Grey Pad
Craftsman 500W Halogen Lights
LSP:
Menzerna Powerlock / Meguiar's Foam Applicator Pad
Misc:
Meguiar's NXT Metal Polish on the emblems
I have always detailed light colored cars. The darkest color I've detailed is our red minivan but I wasn't enthusiastic about polishing its paint because of the fact that it's a van. So when I got a chance to detail this BLACK E430, I was really excited. In addition, it's a Mercedes Benz so that got me more excited. The paint was just a mess. The rear bumper had some paintwork done to it but guess what they did??? They tried "buffing" the whole car only to leave buffer trails all over the place. Here are the before pictures:
You guys can see how bad the paint looks right?? The reflection is pretty much blurred and it wasn't as clear as it should be.
Here are some wash pictures:
Clay after 1/2 of the trunk:
All taped up and ready to go:
I always try to use the least aggressive product first to get the job done. With this in mind, I tried using the Menz 106FF first with a LC white pad. Here are some pictures of my test panel:
As you can see, it still left behind some minor swirl marks. After seeing this, I was unsatisfied with the outcome so I decided to step it up to Menz SIP via LC orange pad. Here are some pictures throughout this step:
Driver side rear quarter panel:


")