SpeedFreak Detailed: $200,000 custom black 1957 Corvette - full correction

SpeedFreak81

New member
Joined
Jul 14, 2011
Messages
213
Reaction score
0
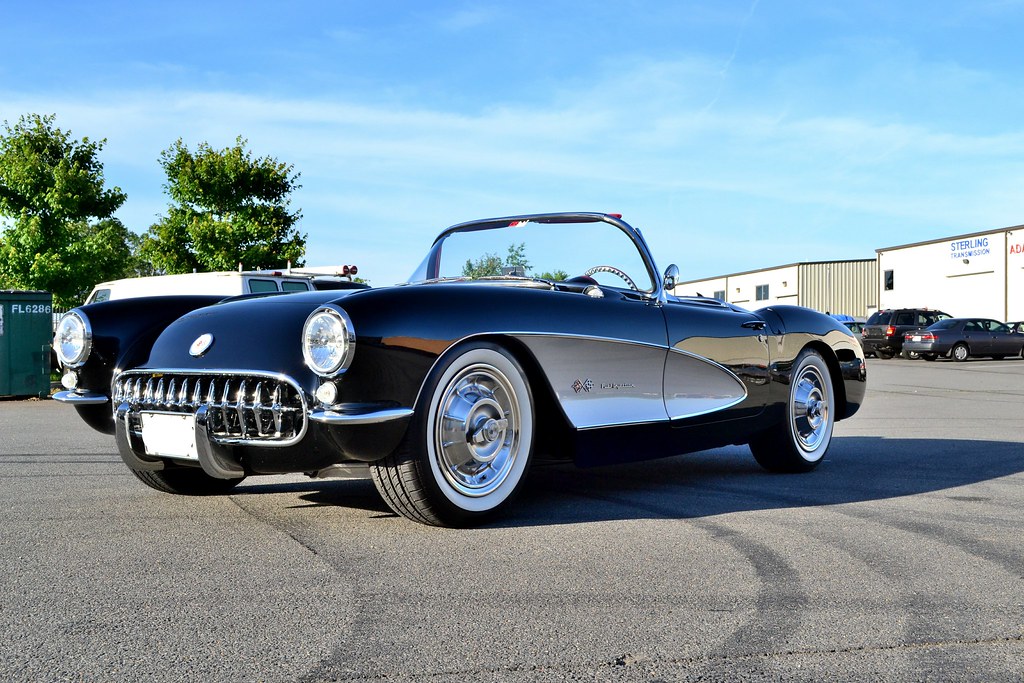
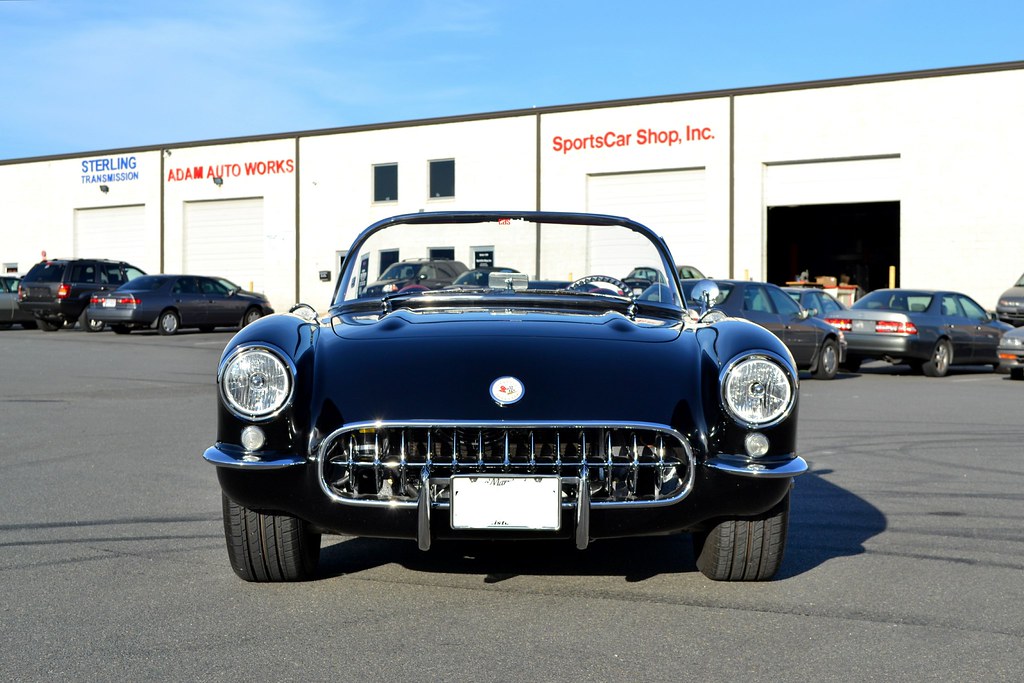
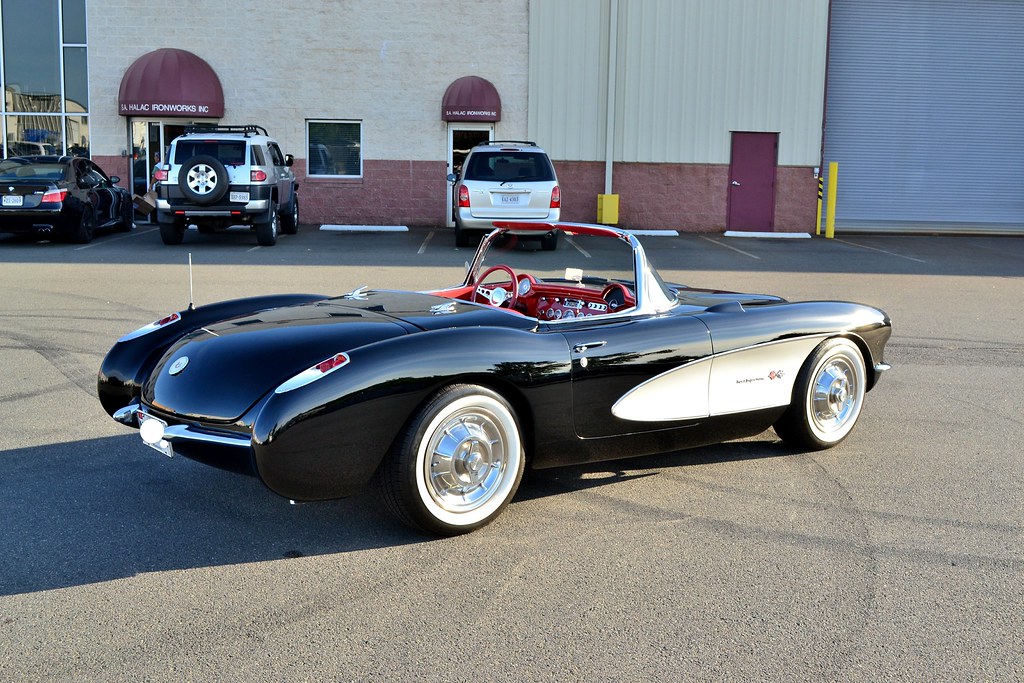
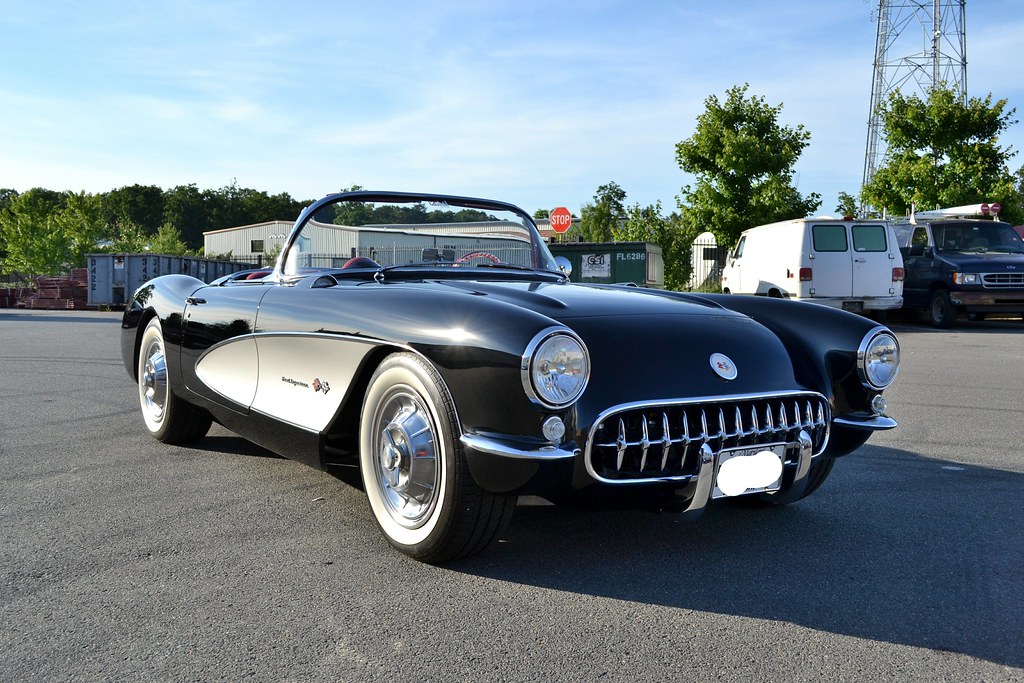
This is a very special car. Built about 10 years ago, with a cost north of $200,000 is this custom one off 1957 Corvette. Complete with an Art Morrison chassis, carbon fiber body, and a fuel injected Chevrolet LS2 Corvette engine. This beauty has traveled just 1800 miles since being completed. Though it hasn't seen much road duty, the single stage paint was in less than desirable condition due to being wiped down with a California duster on a frequent basis. The owner of this car is a hot rod freak, and this is one of about 15 custom cars in his stable. I was contacted with the goal of bringing the paint back as close to perfect as possible. No problem! Total time spent was roughly 25 hours. Hope you all enjoy this one as much as I did!


Products used


  • M105 on LC PFW pad via FLEX 3401
  • Pinnacle Advanced finishing polish on LC CCS white pad via FLEX 3401
  • Menzerna SF4500 on LC CCS grey pad via FLEX 3401
  • Optimum metal polish
  • Adam's Super VRT tire dressing
  • Meguiar's #7 show car glaze
  • Pinnacle Souveran paste wax
  • Sonax Glass cleaner
  • 1Z Cockpit Premium


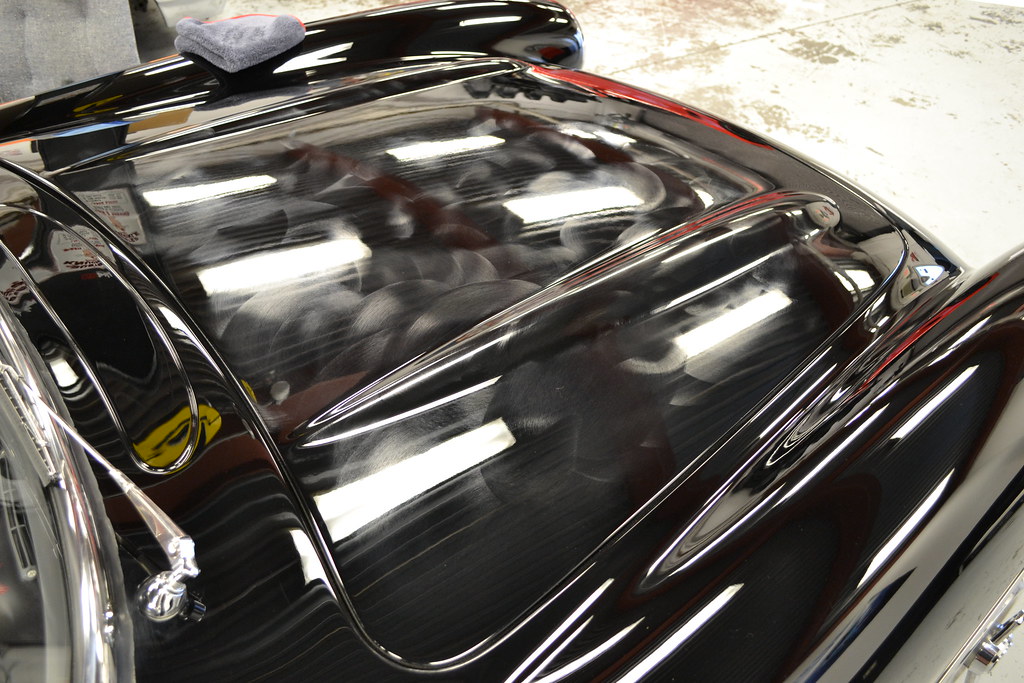
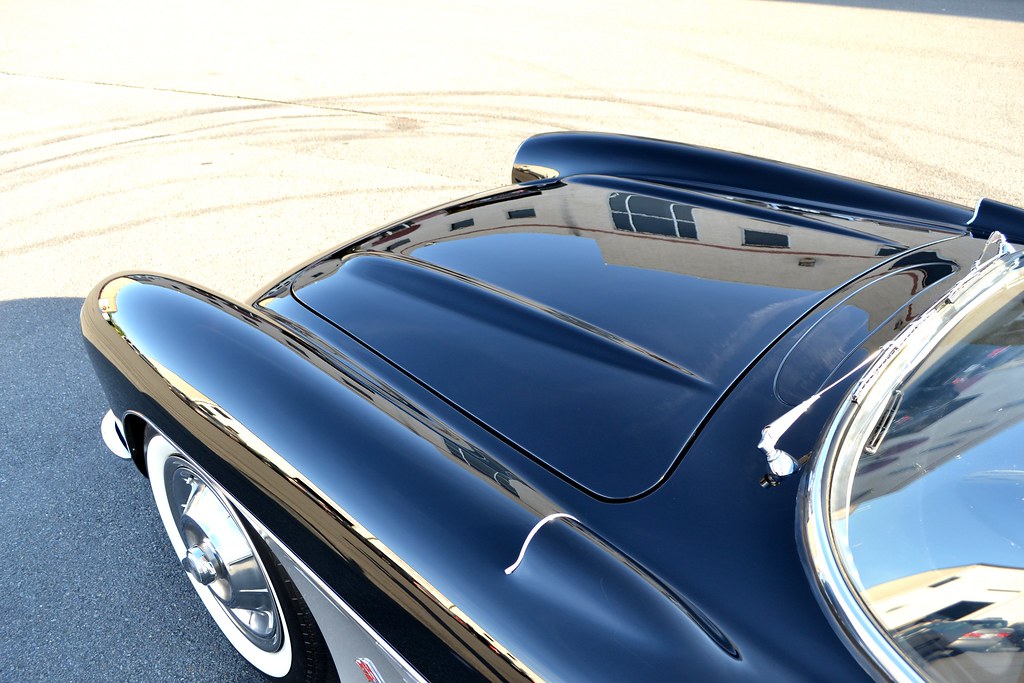
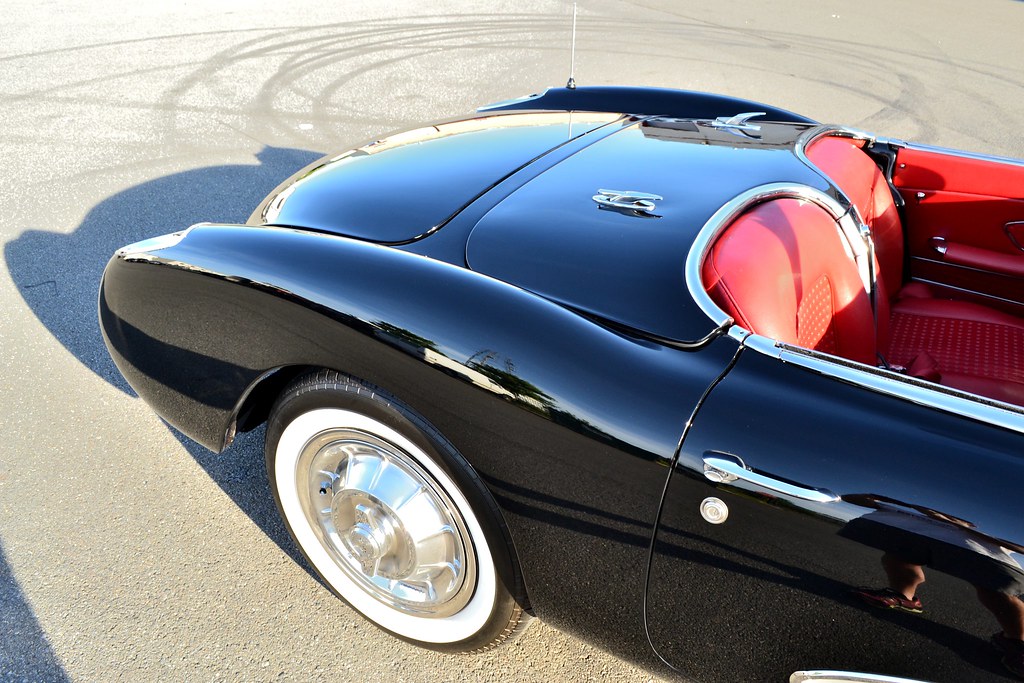
Various trunk & hood shots showing the swirls and RIDS present from the California duster. This tool is now in the trash.


DSC_0458 by SpeedFreak81, on Flickr


DSC_0456 by SpeedFreak81, on Flickr


DSC_0460 by SpeedFreak81, on Flickr


DSC_0461 by SpeedFreak81, on Flickr


Some 50/50 shots of the trunk after compound


DSC_0451 by SpeedFreak81, on Flickr


DSC_0452 by SpeedFreak81, on Flickr


DSC_0450 by SpeedFreak81, on Flickr


DSC_0442 by SpeedFreak81, on Flickr


Next up was the hood.


DSC_0464 by SpeedFreak81, on Flickr


DSC_0463 by SpeedFreak81, on Flickr


DSC_0468 by SpeedFreak81, on Flickr


DSC_0469 by SpeedFreak81, on Flickr


DSC_0466 by SpeedFreak81, on Flickr


DSC_0472 by SpeedFreak81, on Flickr


DSC_0470 by SpeedFreak81, on Flickr


DSC_0478 by SpeedFreak81, on Flickr


DSC_0479 by SpeedFreak81, on Flickr


DSC_0482 by SpeedFreak81, on Flickr


After the hood I started working my way back on the passenger side. 50/50s passenger fender


DSC_0476 by SpeedFreak81, on Flickr


DSC_0473 by SpeedFreak81, on Flickr


DSC_0477 by SpeedFreak81, on Flickr


DSC_0475 by SpeedFreak81, on Flickr


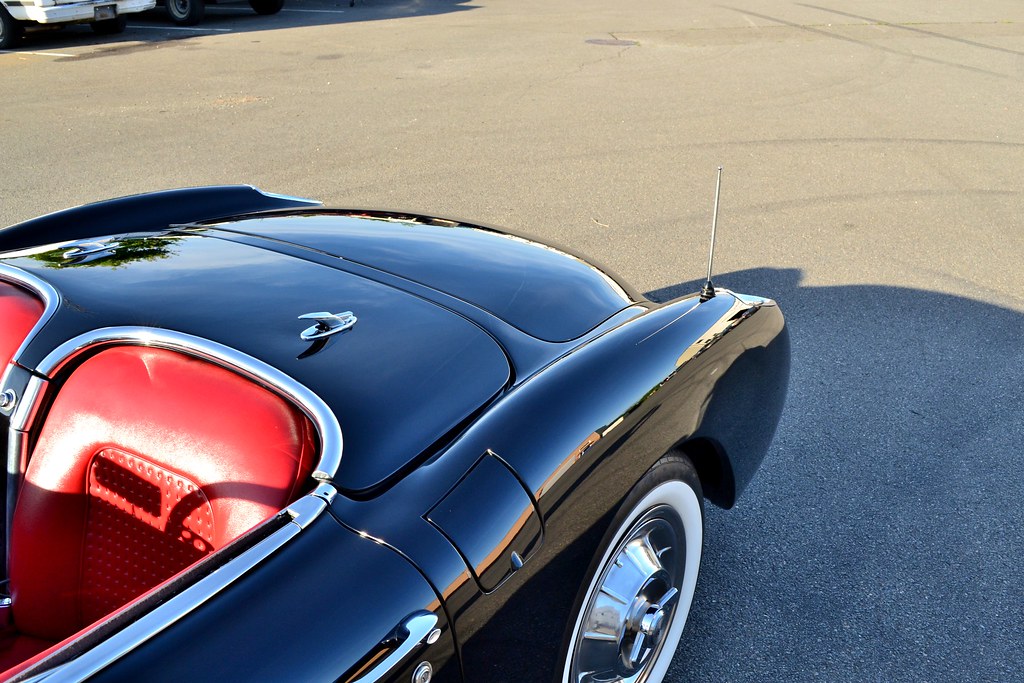
passenger side quarter panel before & after compound


DSC_0485 by SpeedFreak81, on Flickr


DSC_0483 by SpeedFreak81, on Flickr


Couple of deep RIDS here, as you can see, additional passes were needed after this picture was taken


DSC_0498 by SpeedFreak81, on Flickr


Random shot a buddy took while refining the surface with SF4500/grey pad


DSC_0512 by SpeedFreak81, on Flickr
 
At this point the correction was done. Whoever painted the car took great care sanding, to ensure a perfectly flat & level finish. The results after polishing were nothing short of looking into a mirror! These photos are PRE glaze and wax, that's straight polish baby!


DSC_0453 by SpeedFreak81, on Flickr


DSC_0454 by SpeedFreak81, on Flickr


DSC_0494 by SpeedFreak81, on Flickr


DSC_0492 by SpeedFreak81, on Flickr


DSC_0486 by SpeedFreak81, on Flickr


DSC_0501 by SpeedFreak81, on Flickr


DSC_0506 by SpeedFreak81, on Flickr


DSC_0508 by SpeedFreak81, on Flickr


DSC_0509 by SpeedFreak81, on Flickr


DSC_0511 by SpeedFreak81, on Flickr


Pinnacle Souveran paste wax setting up on the hood


DSC_0514 by SpeedFreak81, on Flickr


Now on to the AFTERS. The sun was setting and I didn't have the best light, but I did what I could


DSC_0611 by SpeedFreak81, on Flickr


DSC_0612 by SpeedFreak81, on Flickr


DSC_0587 by SpeedFreak81, on Flickr


DSC_0586 by SpeedFreak81, on Flickr


DSC_0589 by SpeedFreak81, on Flickr


DSC_0588 by SpeedFreak81, on Flickr


DSC_0600 by SpeedFreak81, on Flickr


DSC_0602 by SpeedFreak81, on Flickr


DSC_0604 by SpeedFreak81, on Flickr


DSC_0614 by SpeedFreak81, on Flickr


DSC_0613 by SpeedFreak81, on Flickr


DSC_0592 by SpeedFreak81, on Flickr


DSC_0593 by SpeedFreak81, on Flickr


DSC_0594 by SpeedFreak81, on Flickr


DSC_0591 by SpeedFreak81, on Flickr


Thanks for looking!

-Brian
 
Man you did an amazing job with that car! You were right about the paint though, it looks like the painter treated this car with lots of care! The reflection is just killer!!!
 
You did a great job restoring the paint. This is just an example of an amazing paint job also. Who ever painted the car my hat goes off to you. Im guessing the whole car was wet sanded to remove orange peel at some point.
 
You did a great job restoring the paint. This is just an example of an amazing paint job also. Who ever painted the car my hat goes off to you. Im guessing the whole car was wet sanded to remove orange peel at some point.

Agreed, I would assume the sanding was done during/after the paint was shot.
 
Nice job! I agree with the others this is one stellar paint job!
 
absolutely stunning!

I just got my Flex about 30-minutes ago. The UPS man was jealous. I can't wait to try it out, my first machine. I have been doing lots of reading on the site and hope to do a test spot soon. :dblthumb2:
 
That's a nice looking vehicle and great work by you.

While you hear many claims of scratching due to the Cali Duster, this is one of the only times I've seen anyone photo-document it, where the scratch pattern matches the claims. Plus, the very low driving miles helps make the case as well.

Your photos nicely captured the isolated, couple-inch-long (and longer) parallel scratches, which is what you'd expect if a few pieces of grit remained in the duster and were being dragged with the sweeping motions of the duster. Since the same duster is re-used over and over, those captured pieces of grit can come back to haunt the paint again and again. Great job on capturing that as well. This one was one of the best for showing that:

9006635031_1b35155dc5_b.jpg


and on this one, you can even tell from the arc in the long scratches that the person using the duster was standing on the left side of the hood and reaching over to the far half of the hood to sweep the duster:

9007824072_8d7ec69361_b.jpg
 
OK I guess thats why you are trusted to such a fine automobile. Looks absolutely amazing. The reflections are soooooo sharp! Really nice work!
 
From the slightly less classy SISTER to the more classy ONE..........."YOU LOOK MABALESS".
 
I am wondering to myself why they did this car in a single stage paint job since it was painted recently. Why not go with a multistage and spray a few more layers of clear to sand down to perfection.

I guess you cant really argue with the results though. Do you mind sharing the PT readings you took? Just interested in how thick it is.
IME, when dealing with older cars, owners always want the blackest black. Single stage black is usually darker(blacker) then BC/CC. I see a lot of SS jobs on custom and older cars it seems. Oxidizing is not the biggest concern when a car sits inside and is never driven in bad conditions. Great job on this beauty.
 
IME, when dealing with older cars, owners always want the blackest black. Single stage black is usually darker(blacker) then BC/CC. I see a lot of SS jobs on custom and older cars it seems. Oxidizing is not the biggest concern when a car sits inside and is never driven in bad conditions. Great job on this beauty.

What he said. ;) Thanks for the comments gents! Much appreciated and glad you all enjoyed the pics.:props:

Brian
 
I am wondering to myself why they did this car in a single stage paint job since it was painted recently. Why not go with a multistage and spray a few more layers of clear to sand down to perfection.

I guess you cant really argue with the results though. Do you mind sharing the PT readings you took? Just interested in how thick it is.

I could be wrong about this, but once being a vintage corvette owner myself (1967 White Convertible), I can understand the high importance of having the correct paint type and color on the vehicle.

Many may argue this point, with the current sophistication of the state of the art paint systems available today, but I still would argue that point about any of those new finishes, versus laquer done correctly.

Laquer of course could be clear coated, with tons more clear on top, take candy apple paint for example. Or of course any metallic, metalflake, or glass flake back then in the day.

On straight black though, I agree, any clear on top truly detracts IMO.
 
1959 CORVETTE

This car pictured in this thread reminds me of a car I once drooled over at a McCormick Place Chevy Vette Fest many years ago, and I believe this is the particular very car that I speak of, a 1959.

We (myself, and two good friends, Randy Voland now deceased from bone cancer, who was the man I bought my cherry Lemans Blue 1968 SS396 Camaro from, and "Butch", John Konz of Howards Grove with his 96 point Black 1968 SS396 Chevelle, which was at that same Fest)

We watched in horror, because the owner of this Vette locked his Car Keys in the trunk, and then watched an amateur locksmith literally ruin the trunk with a screwdriver! You could hear the cracking of trunk's fiberglass 20 feet away, as he twisted, and pryed that lock.

That day, I believe that man already had the top flight award besides others and was going for the coveted Triple Crown.
 
Back
Top