PrismDetailing
New member
- Feb 25, 2014
- 190
- 0
Recently i was contact via a forum (and recommendation) to carry out a detail on this Audi TT RS. The owner loves his car, and explain some problem he has had in the past after claying (inflicting marring and struggling to remove). Onto the detail itself:
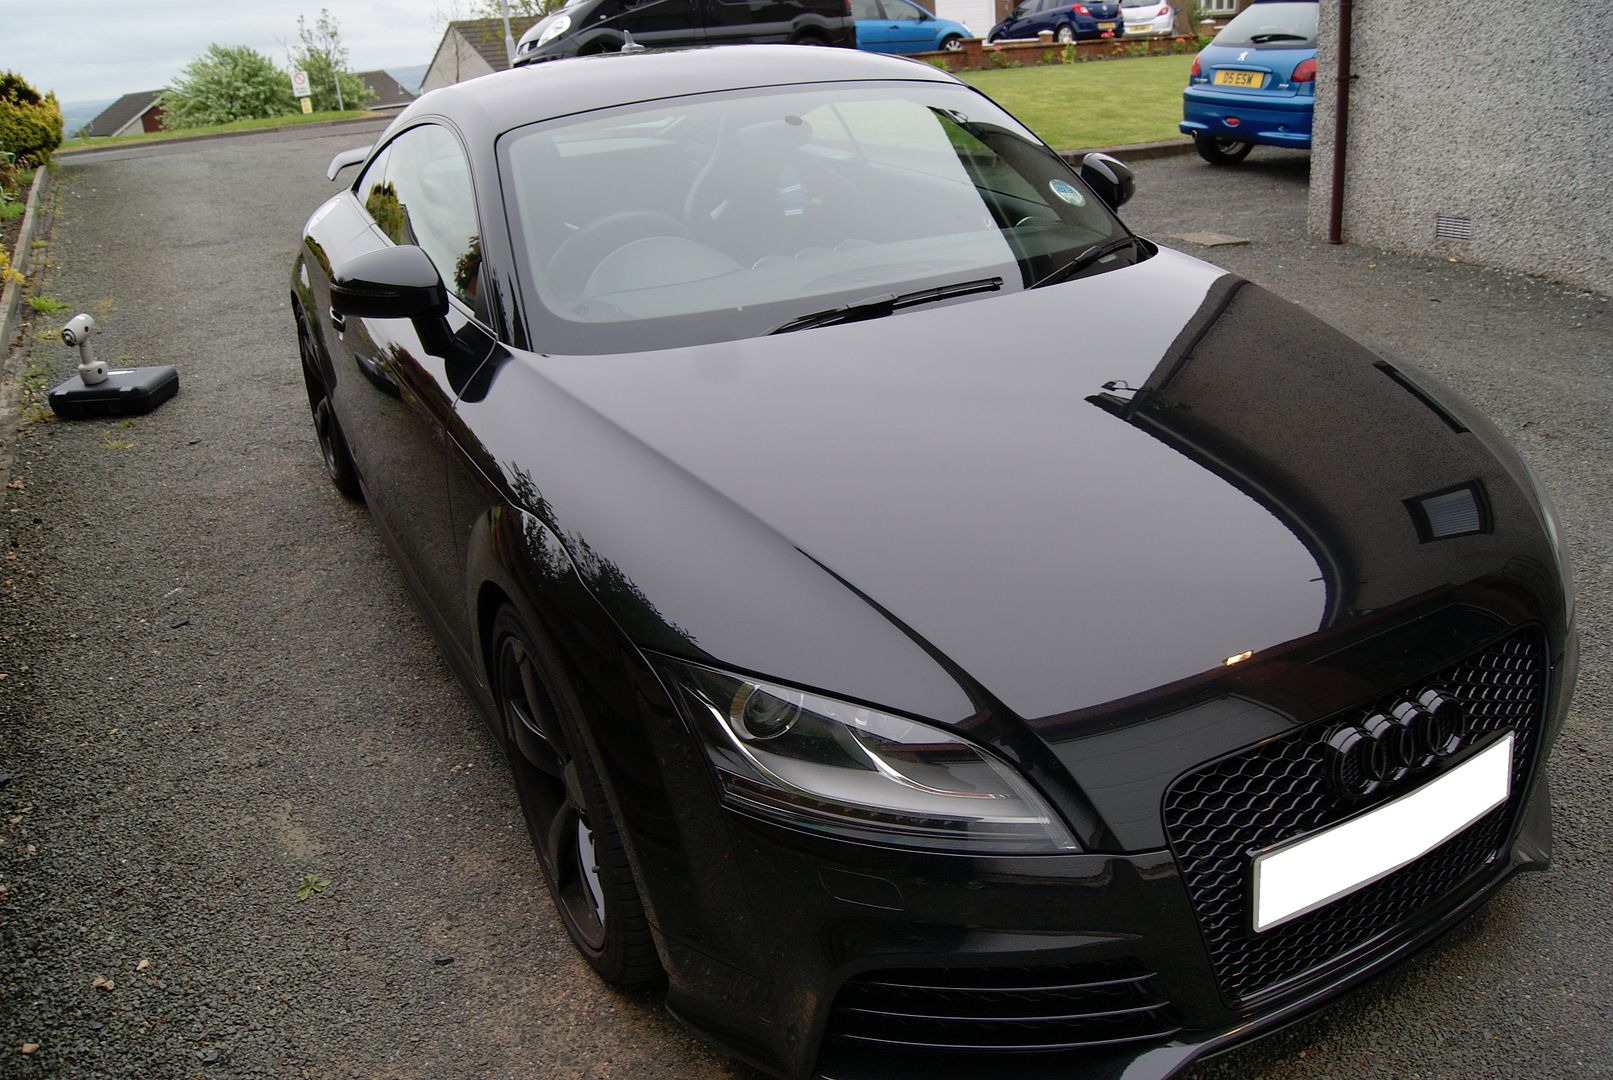
How the car looked when i arrived:

As the car was not really dirty I opted to use Chemical Guys EcoSmart waterless wash:
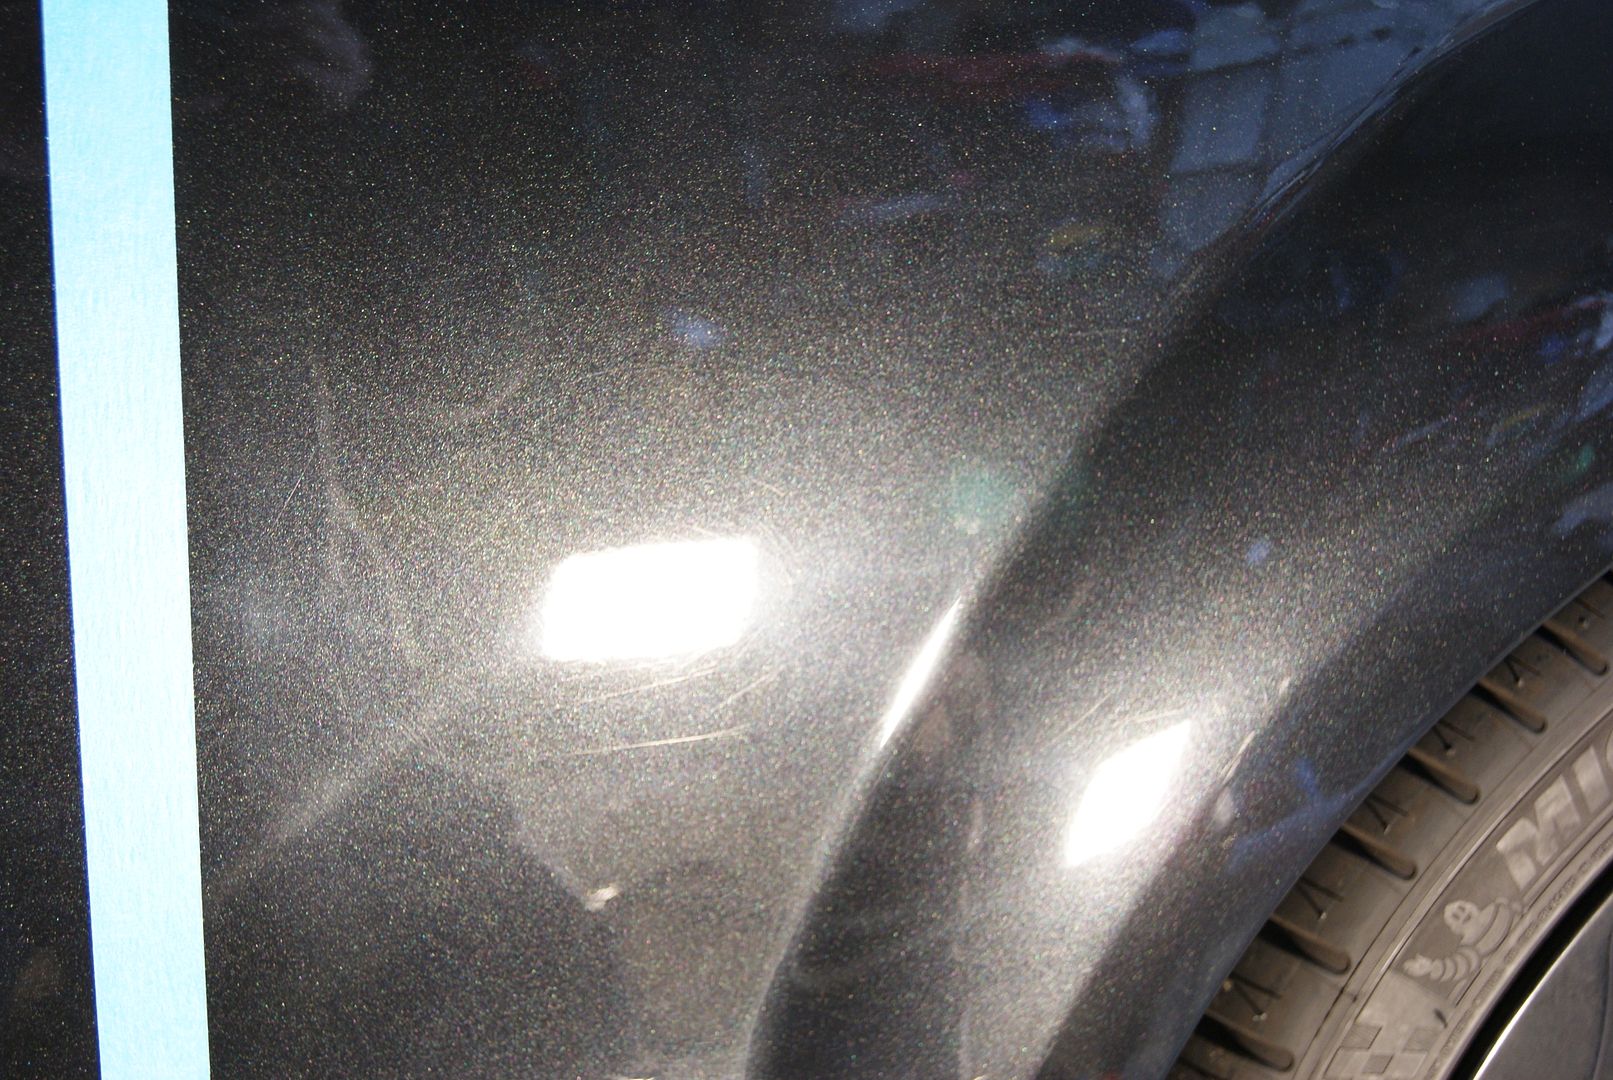
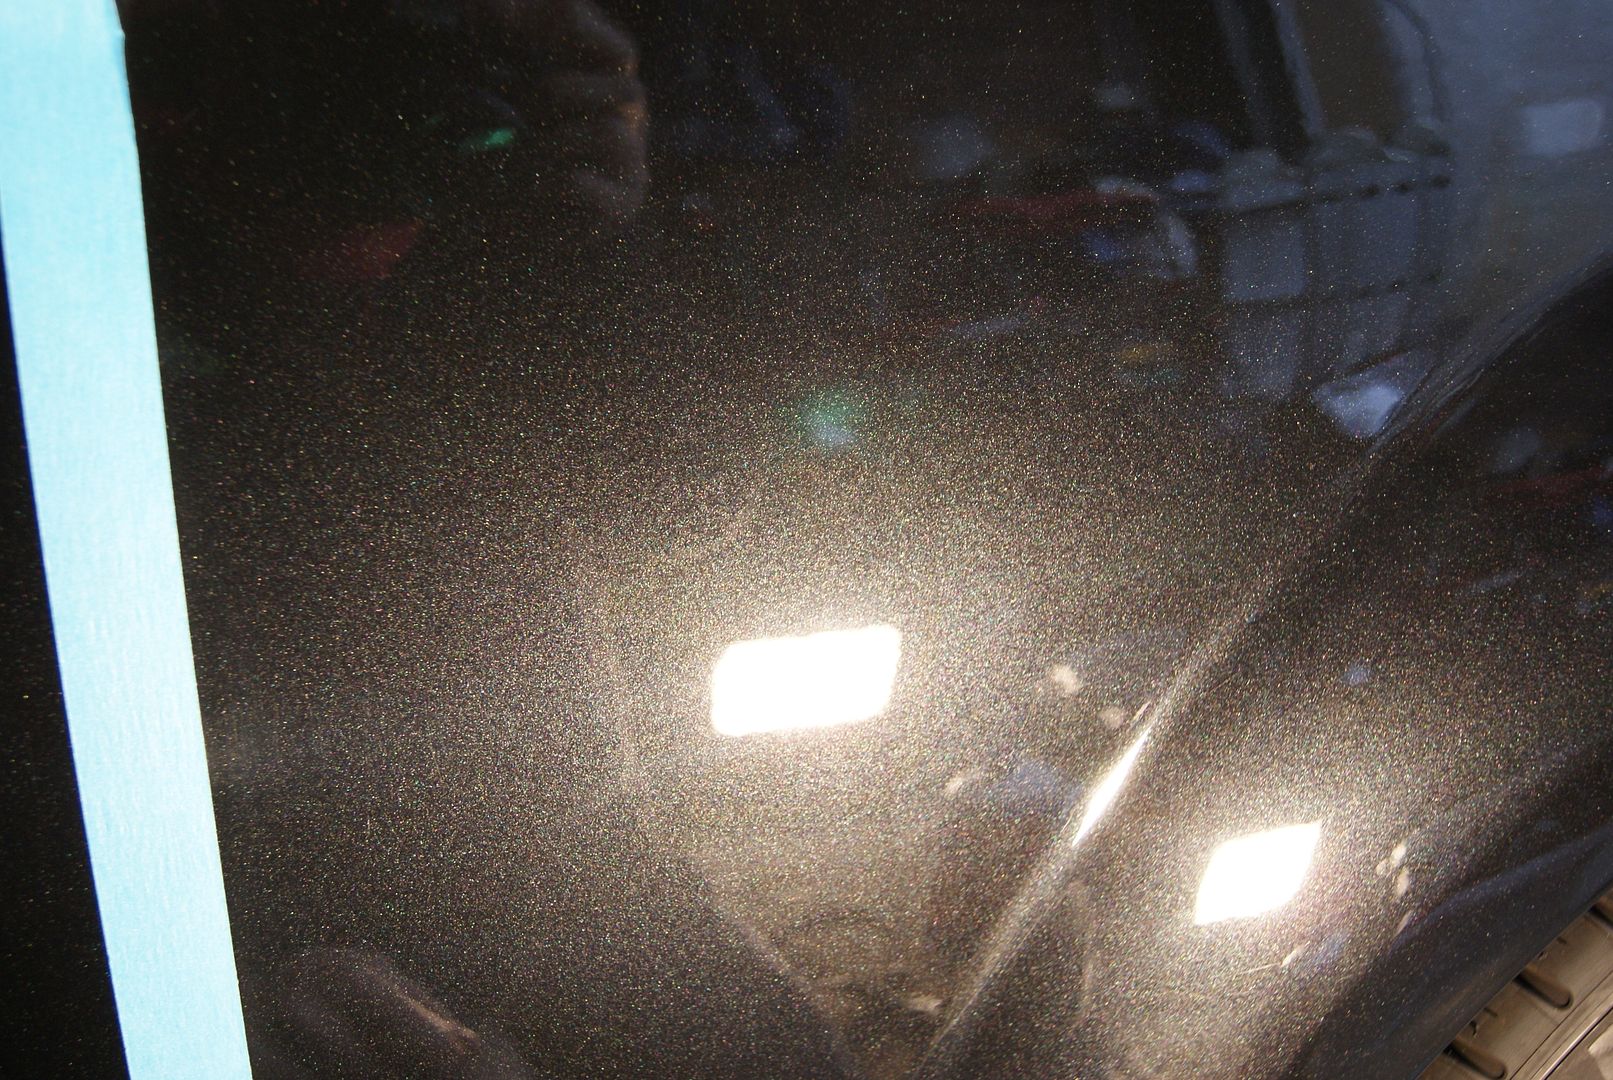
Panel before:
Applying the CG EcoSmart:

allowing it to work then wipe in one direction with a deep pile MF:

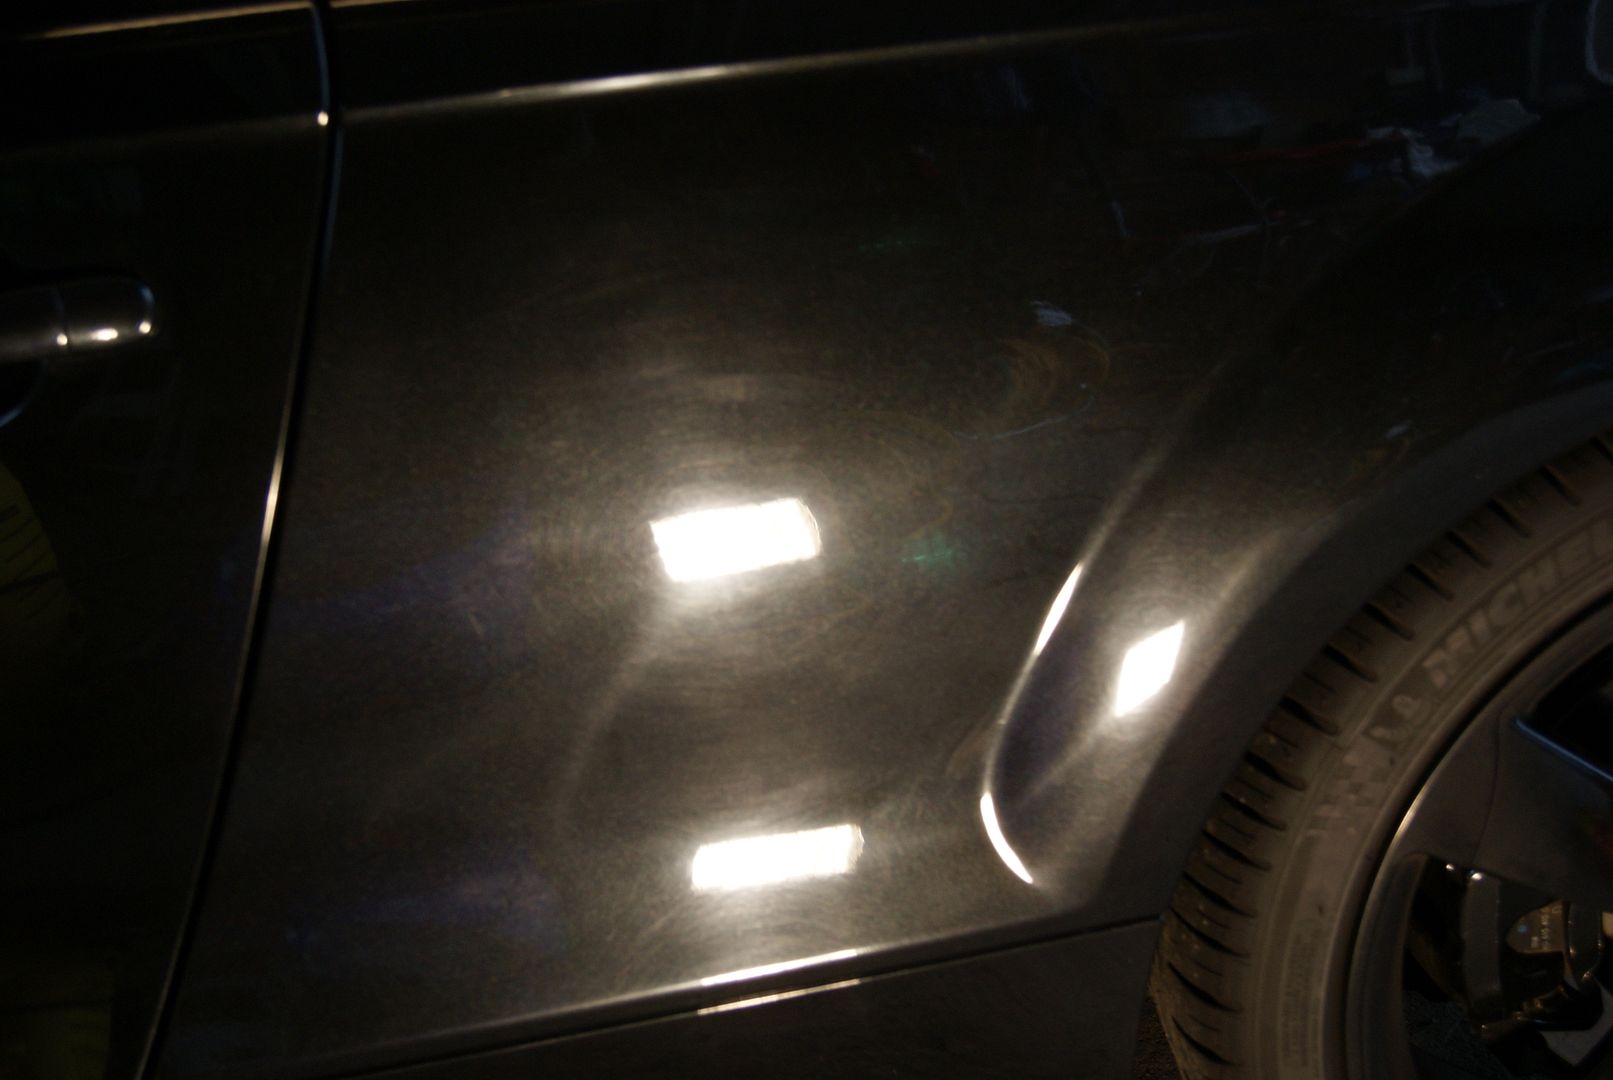
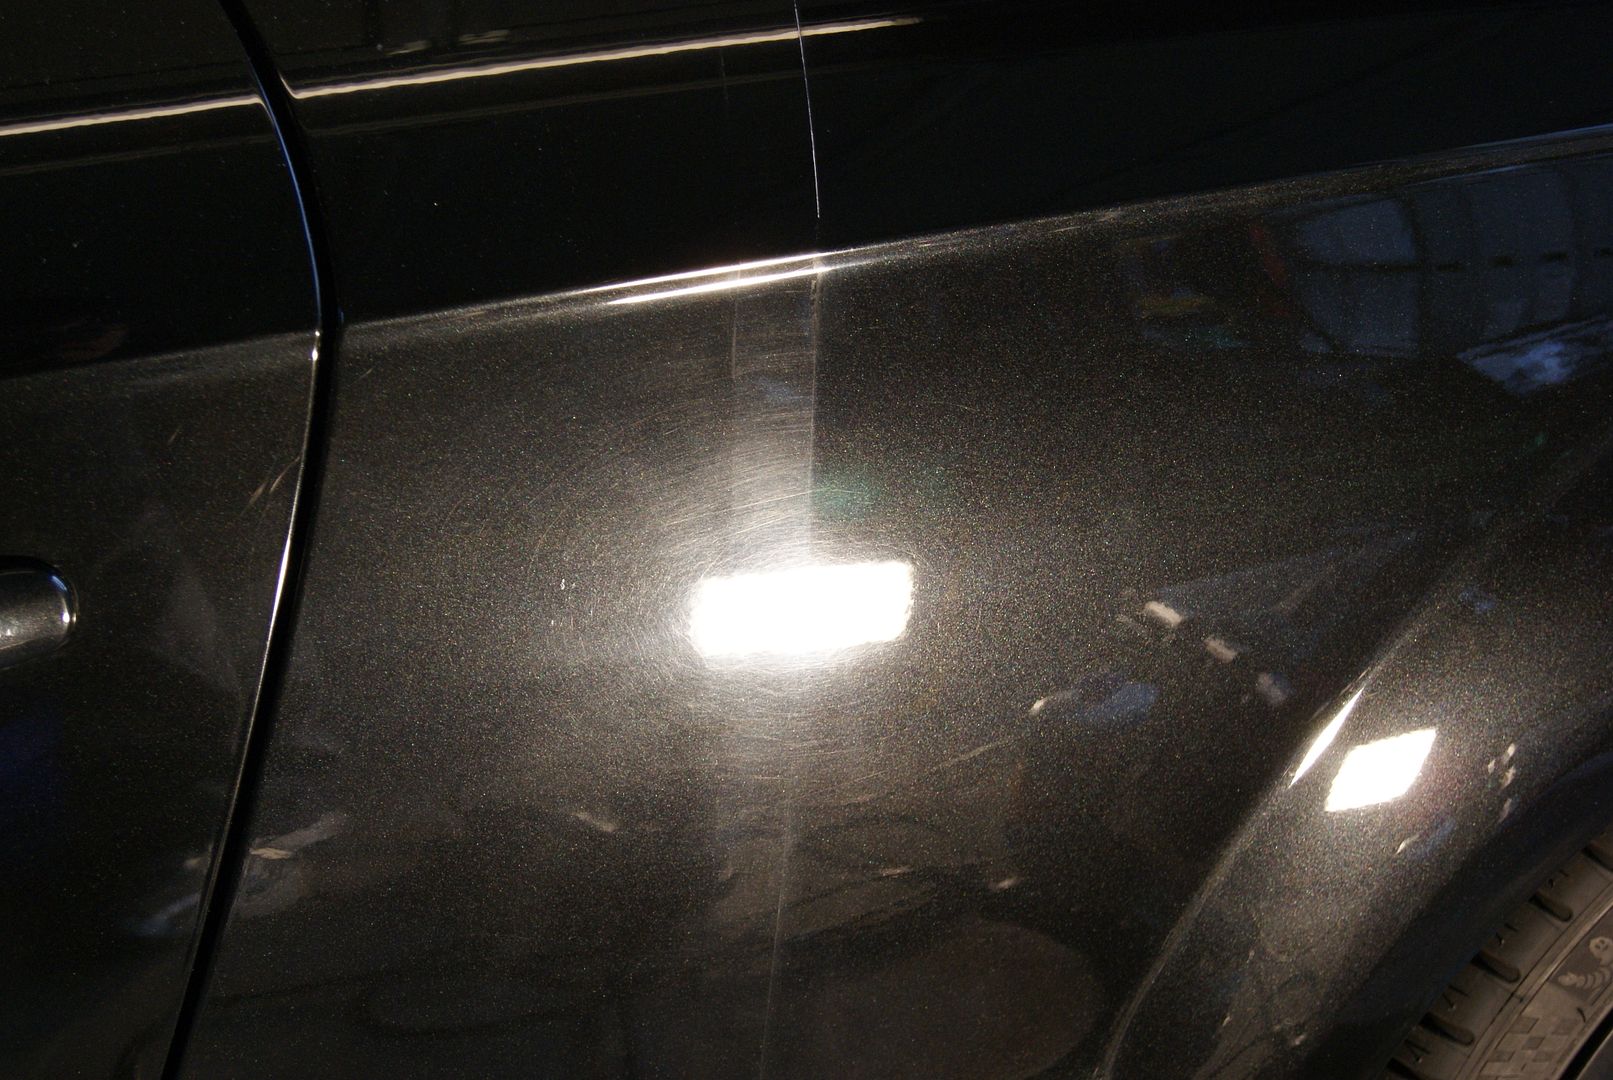
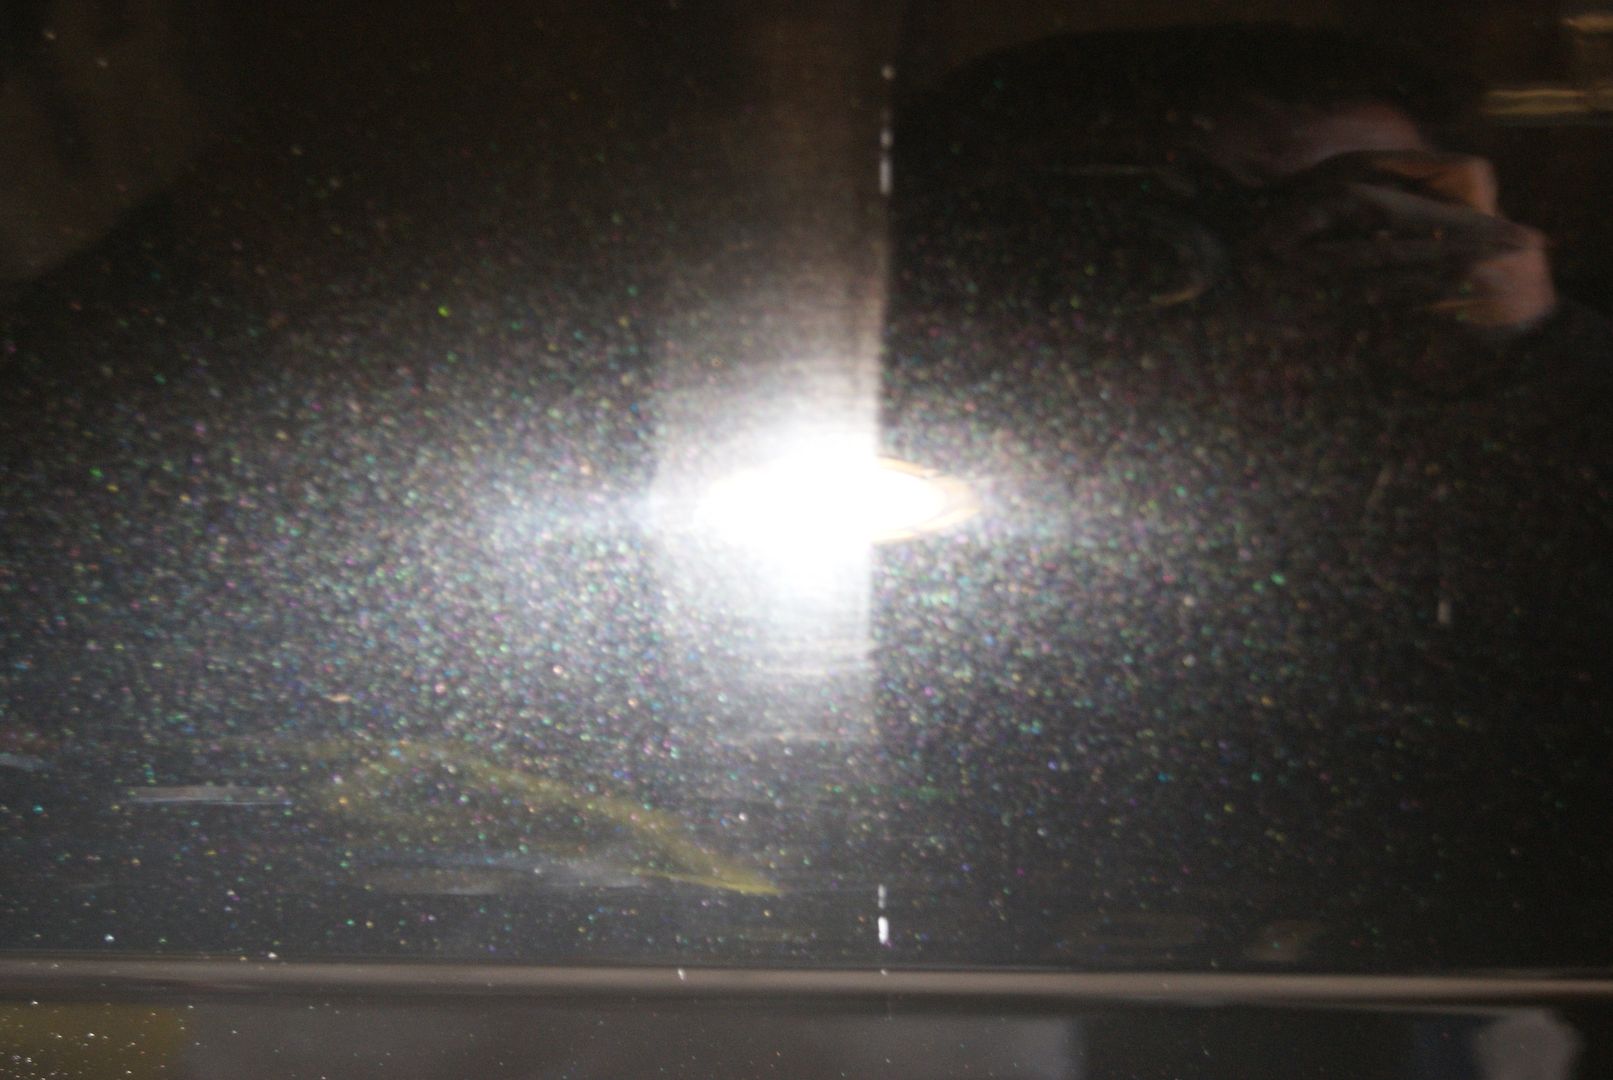
At this time i decided to take a quick pic of the swirls:
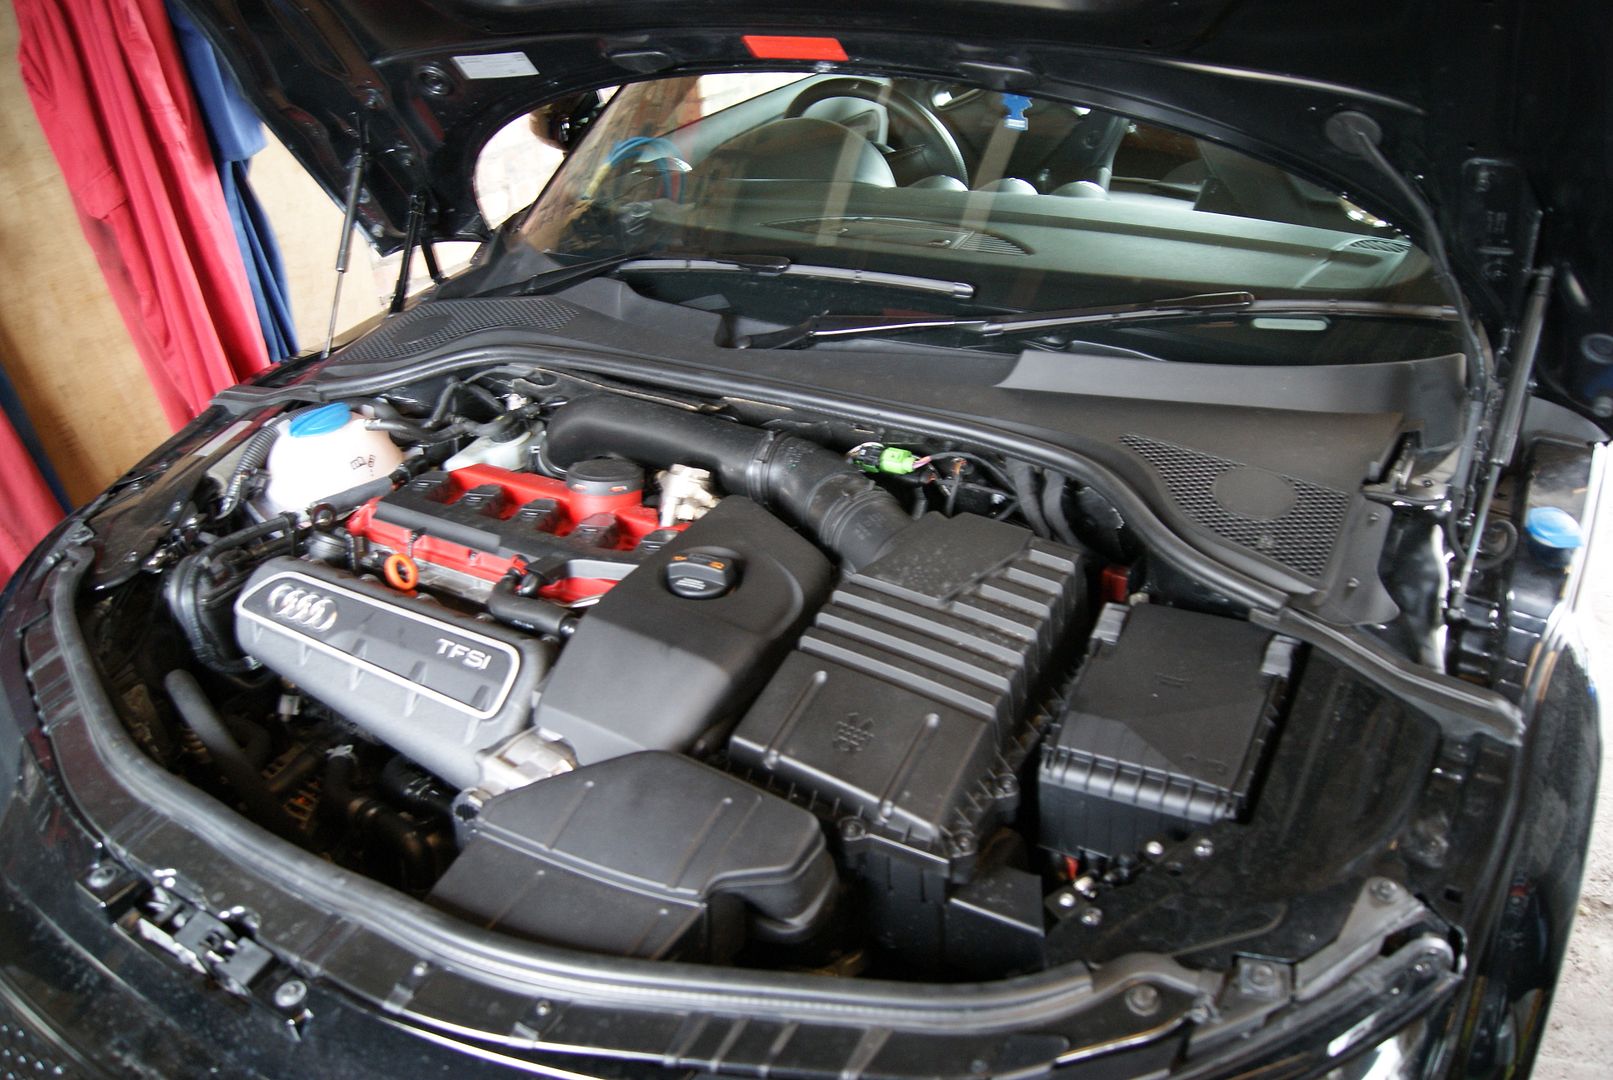
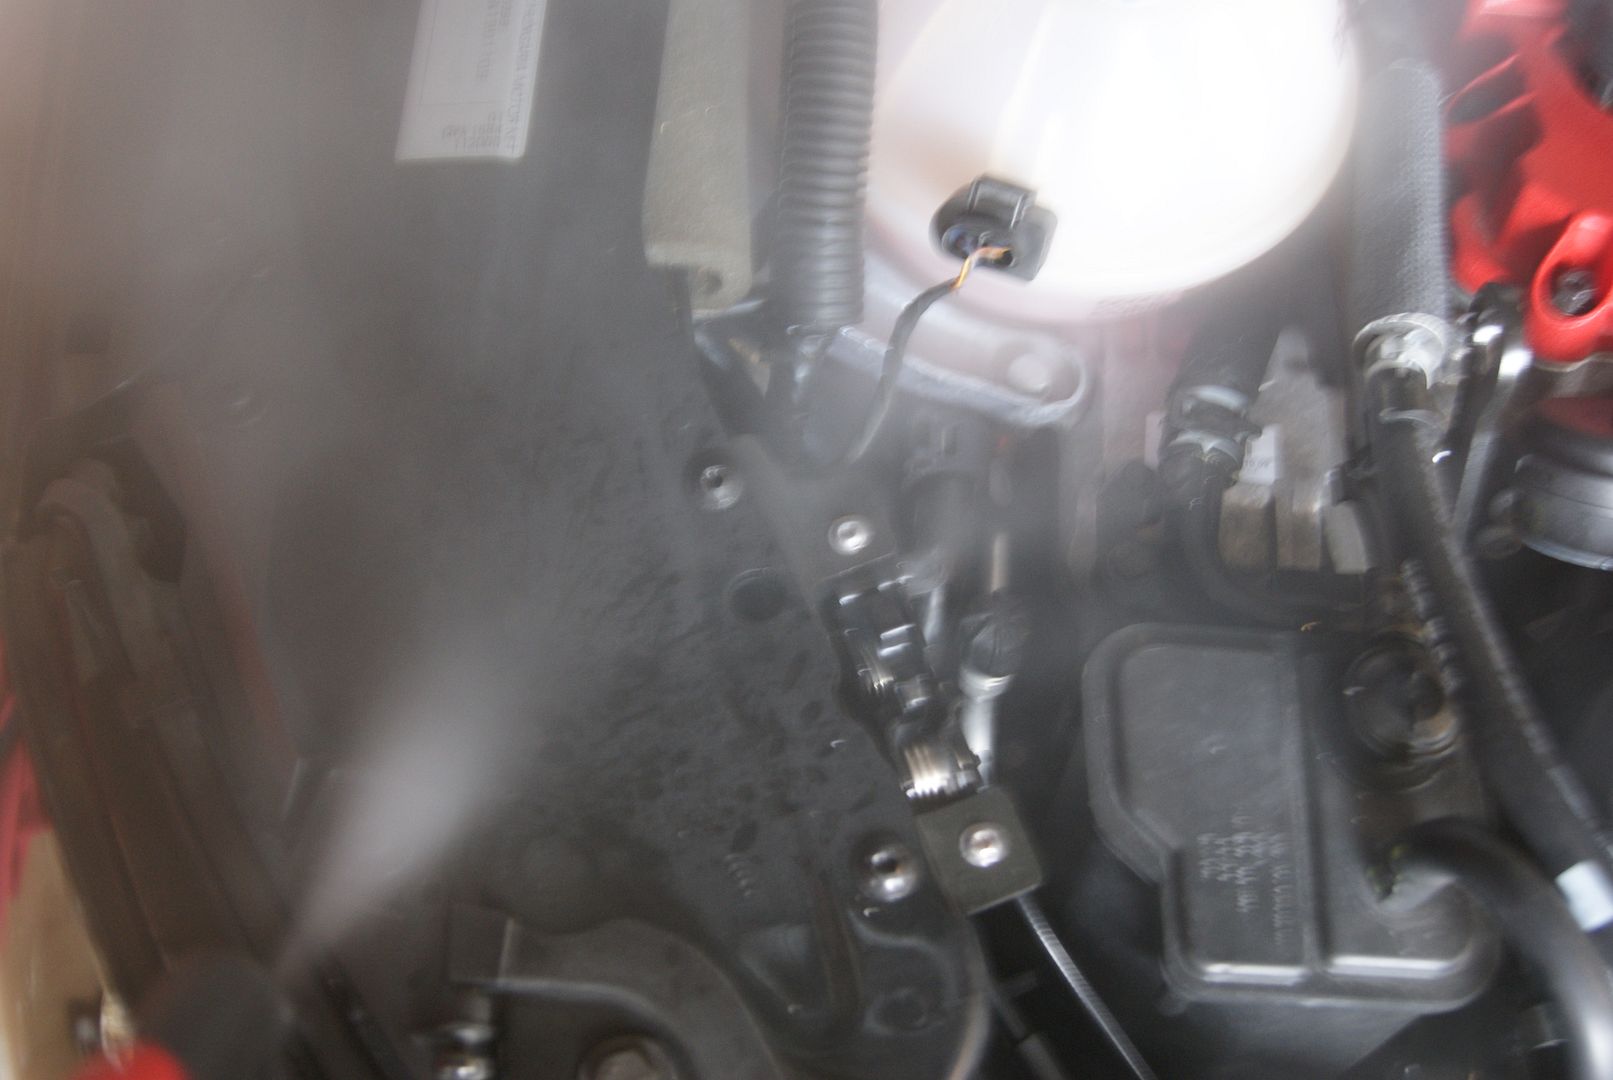
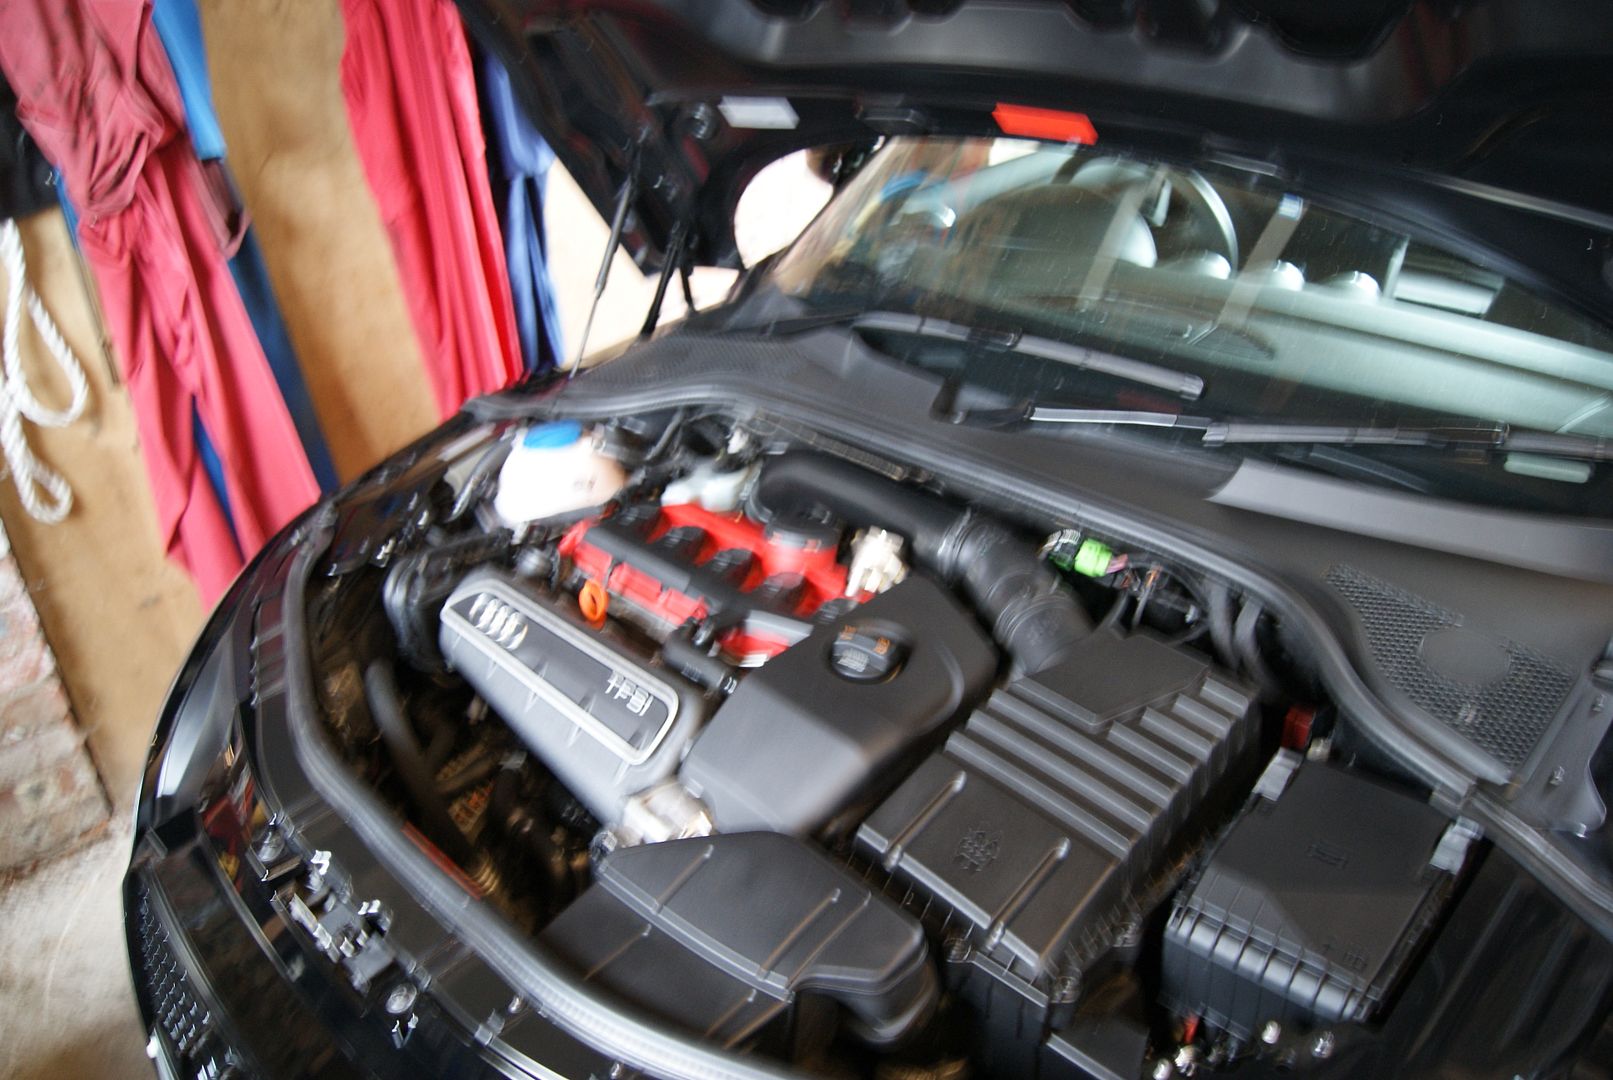
As the weather was very cold and looked as if it was going to rain, I decided to move into the garage to continue....at this stage i decided to steam clean the engine bay:
Before:
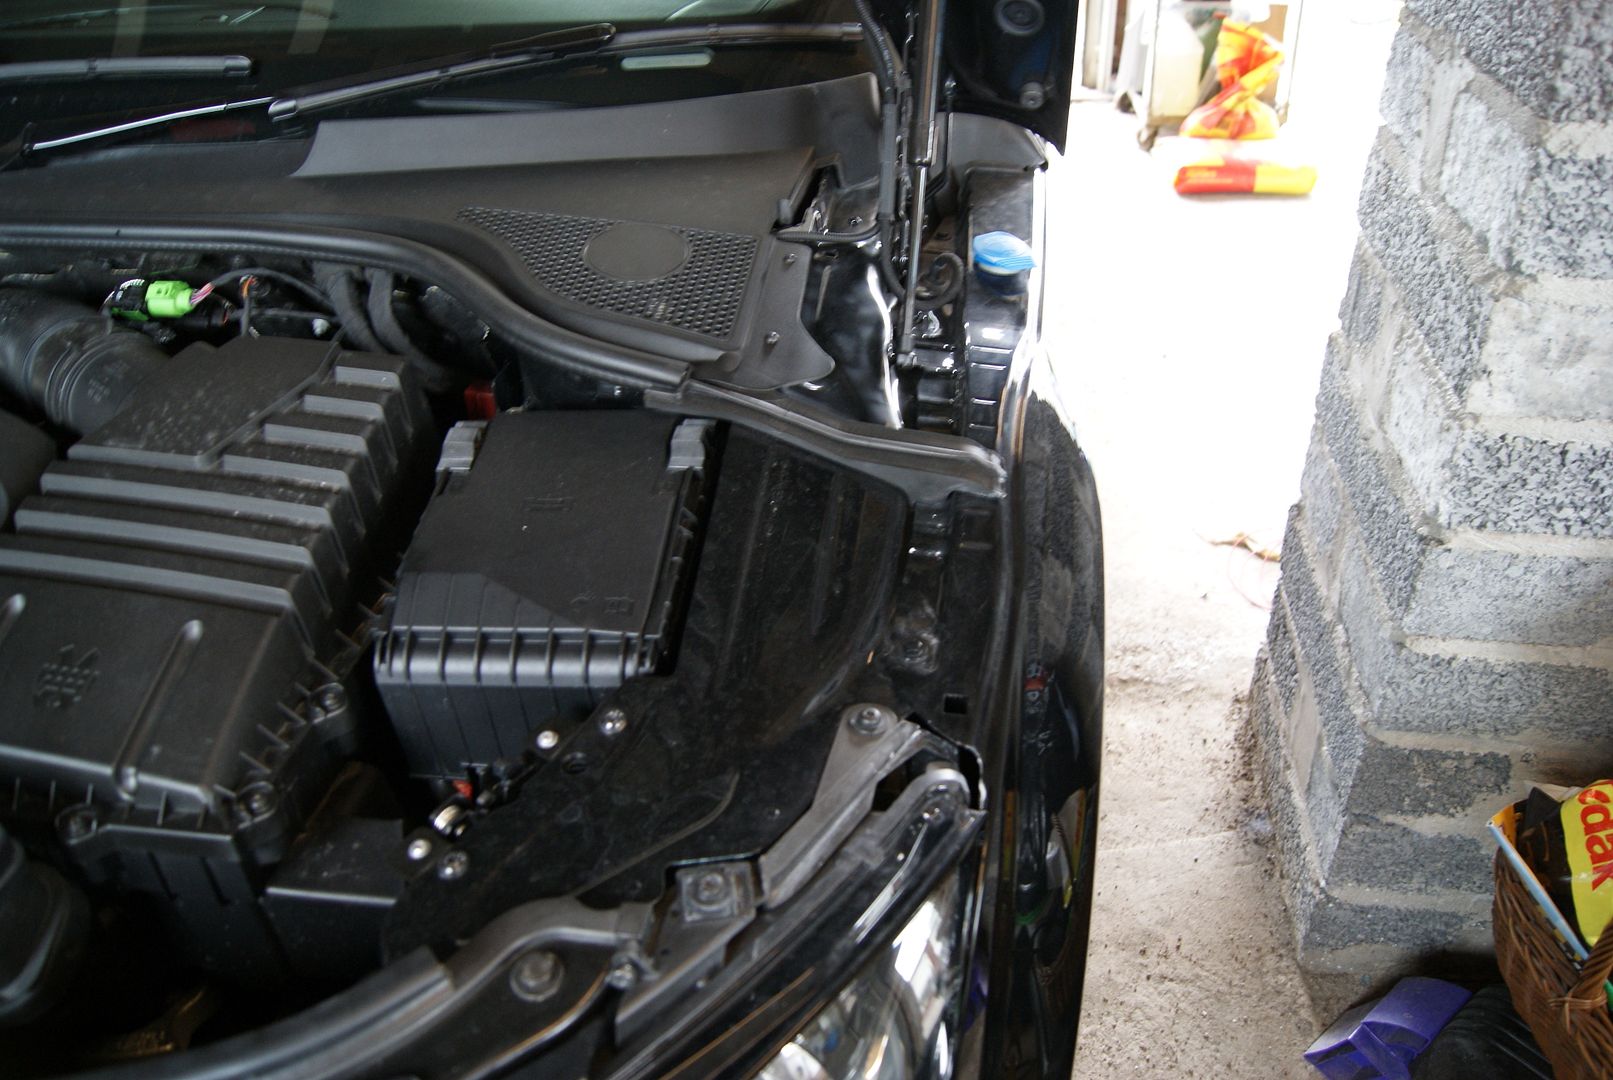
During (not many pics):
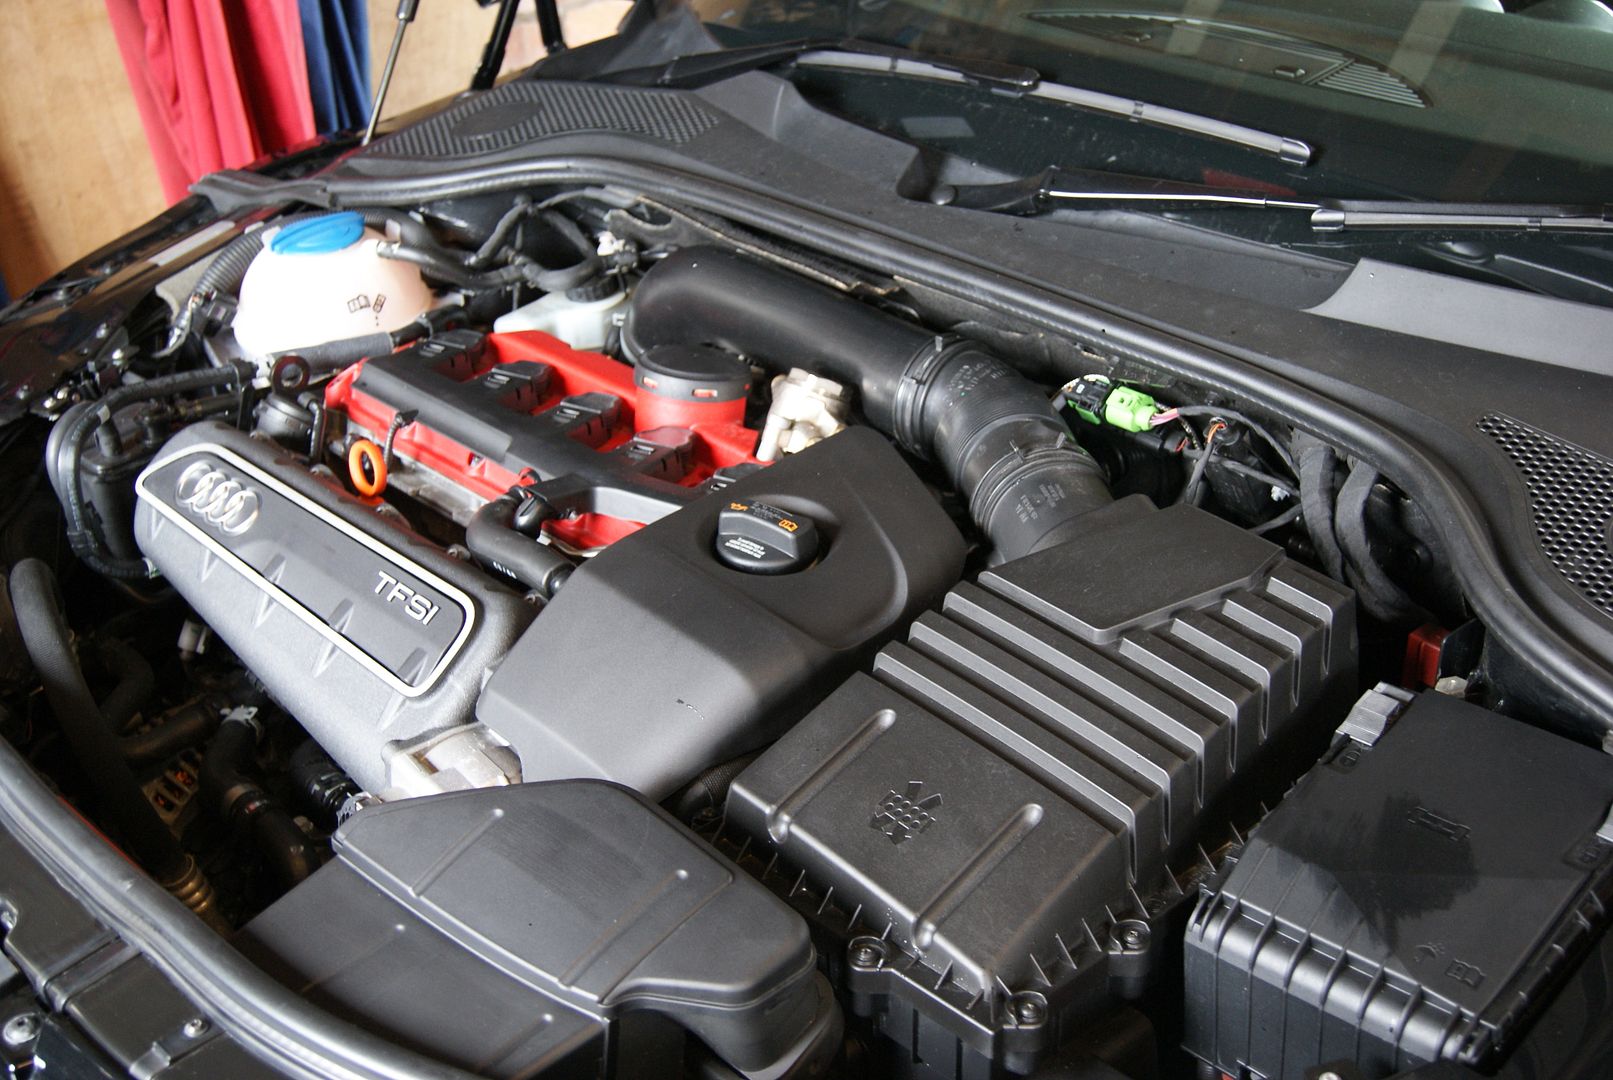
After:
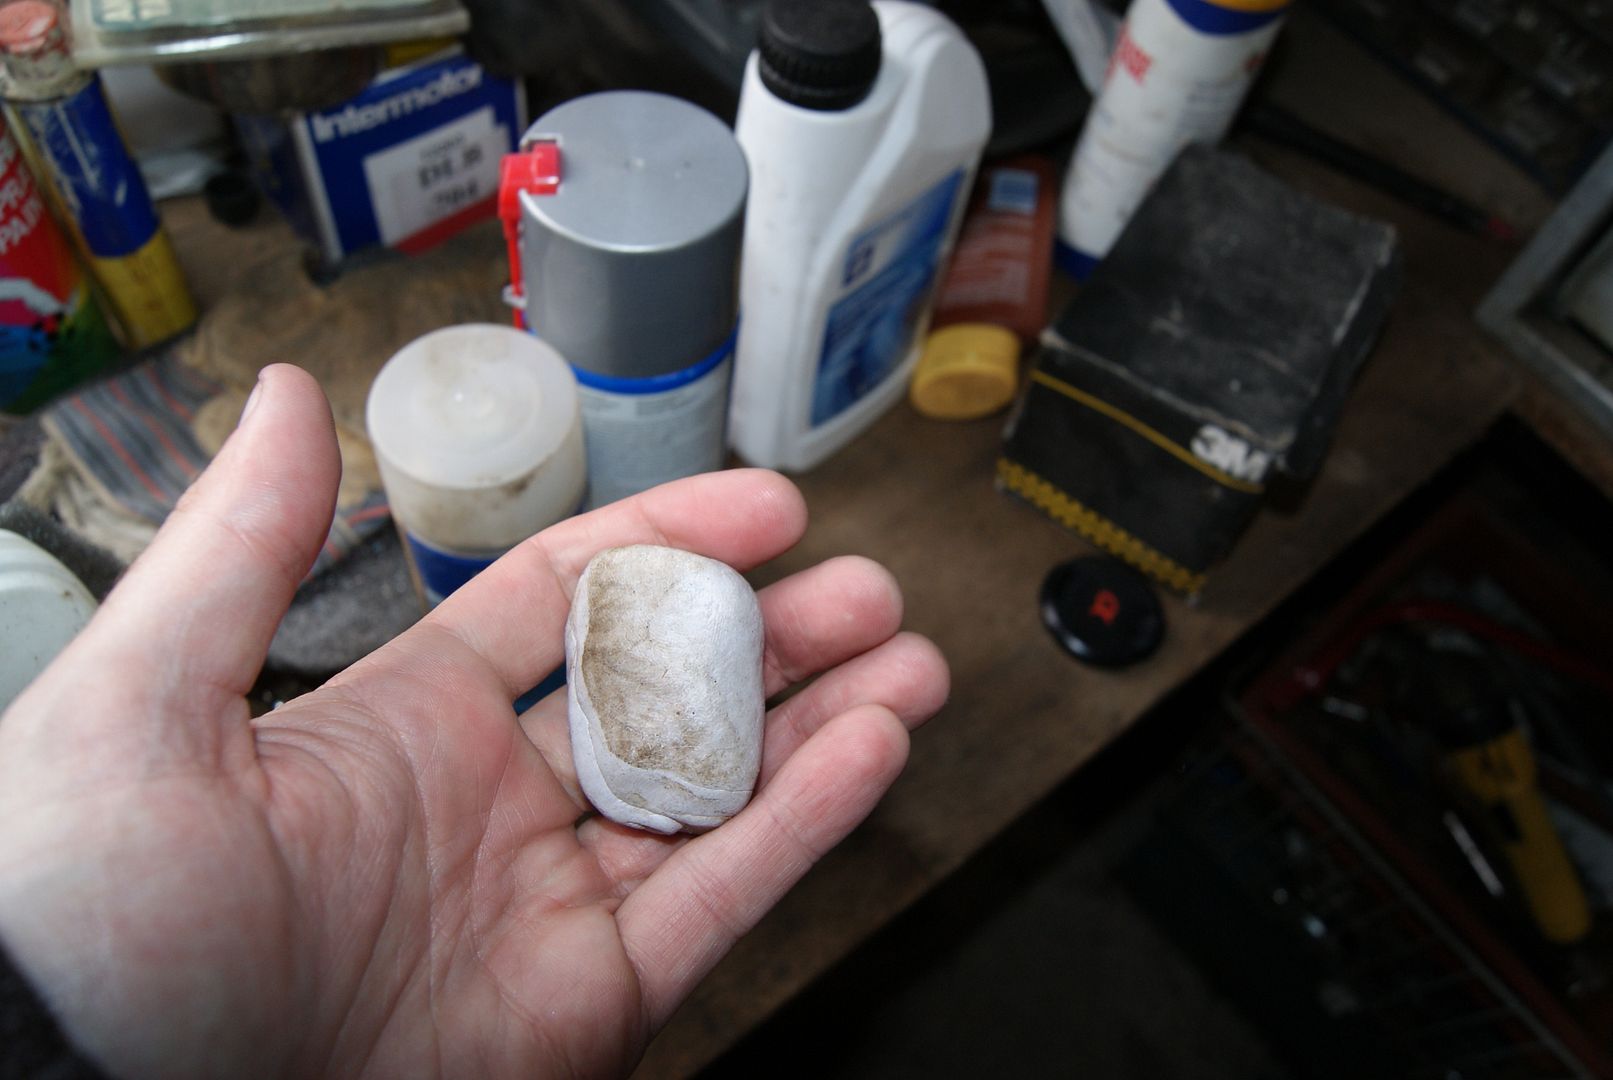
The car was then clayed using Dodo Juice Born Slippy and Dodo Juice Gentle Grey claybar:
Dodo Juice Tarmalade was applied to certain areas of tar, not really much on the car and buffed off.
Then the car was cleaned with the steam cleaner and wiped down to remove any residue from claying and tar removal.
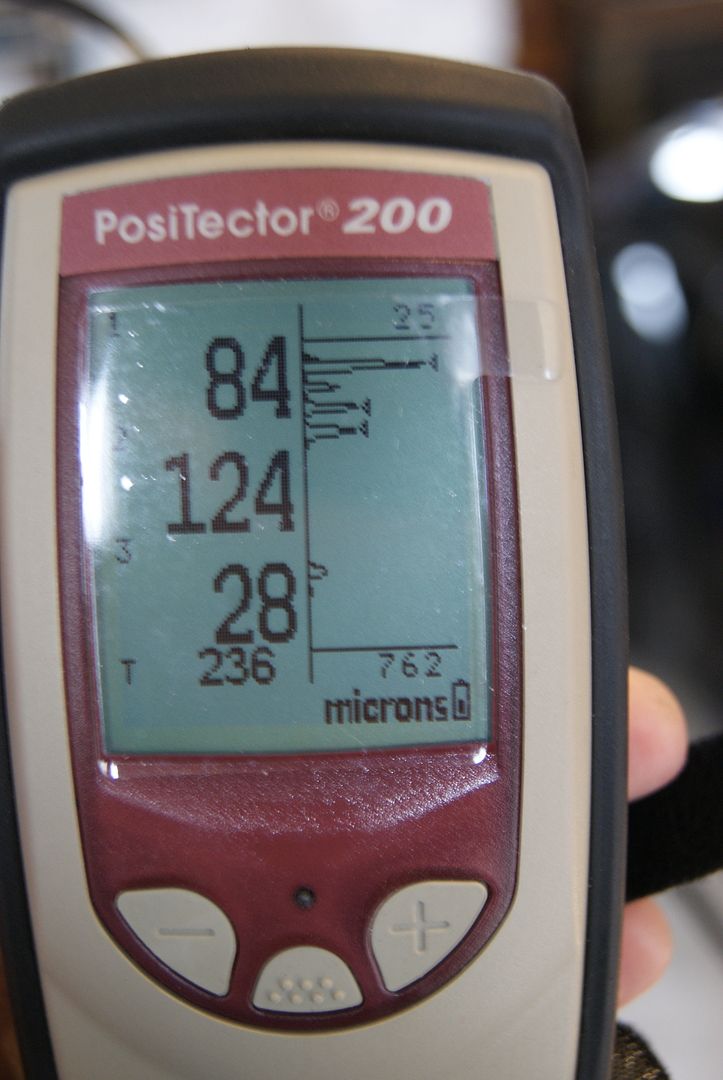
At this stage took various paint depth readings with both my Posi 200a and my PD8 (pd8 was mostly used as working along):
I decided to use Scholls Concept compounds for this detail as had excellent results on a previous Audi with them....So a little example of much cut they have using a test panel:
Started by using S17 on a Green CG Hex Pad and this is the result:
The lighter swirls were removed but not the deeper swirls or scratches. So moved onto S3 Gold with an orange CG Hex Pad and this was the results:
A 50/50 comparisson:

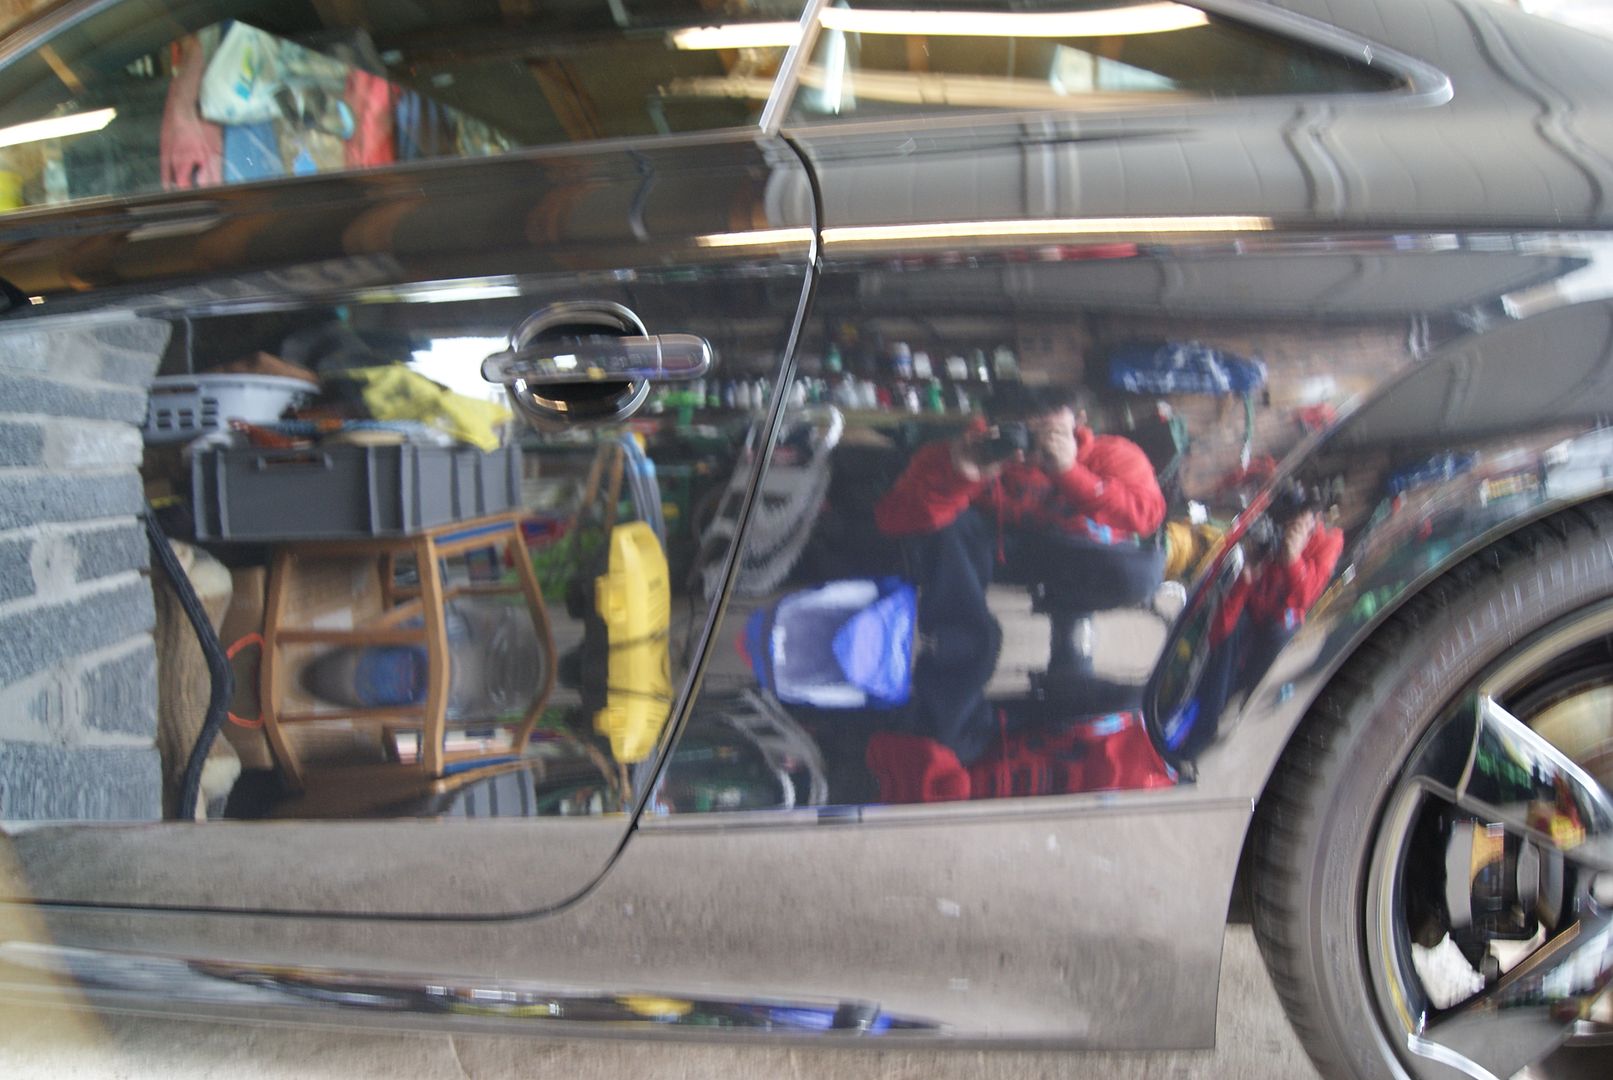
a 50/50 on the door:
Looking at the door I could see previous work was done (previously determined with paint depth readings, but confirmed finding a tape line):
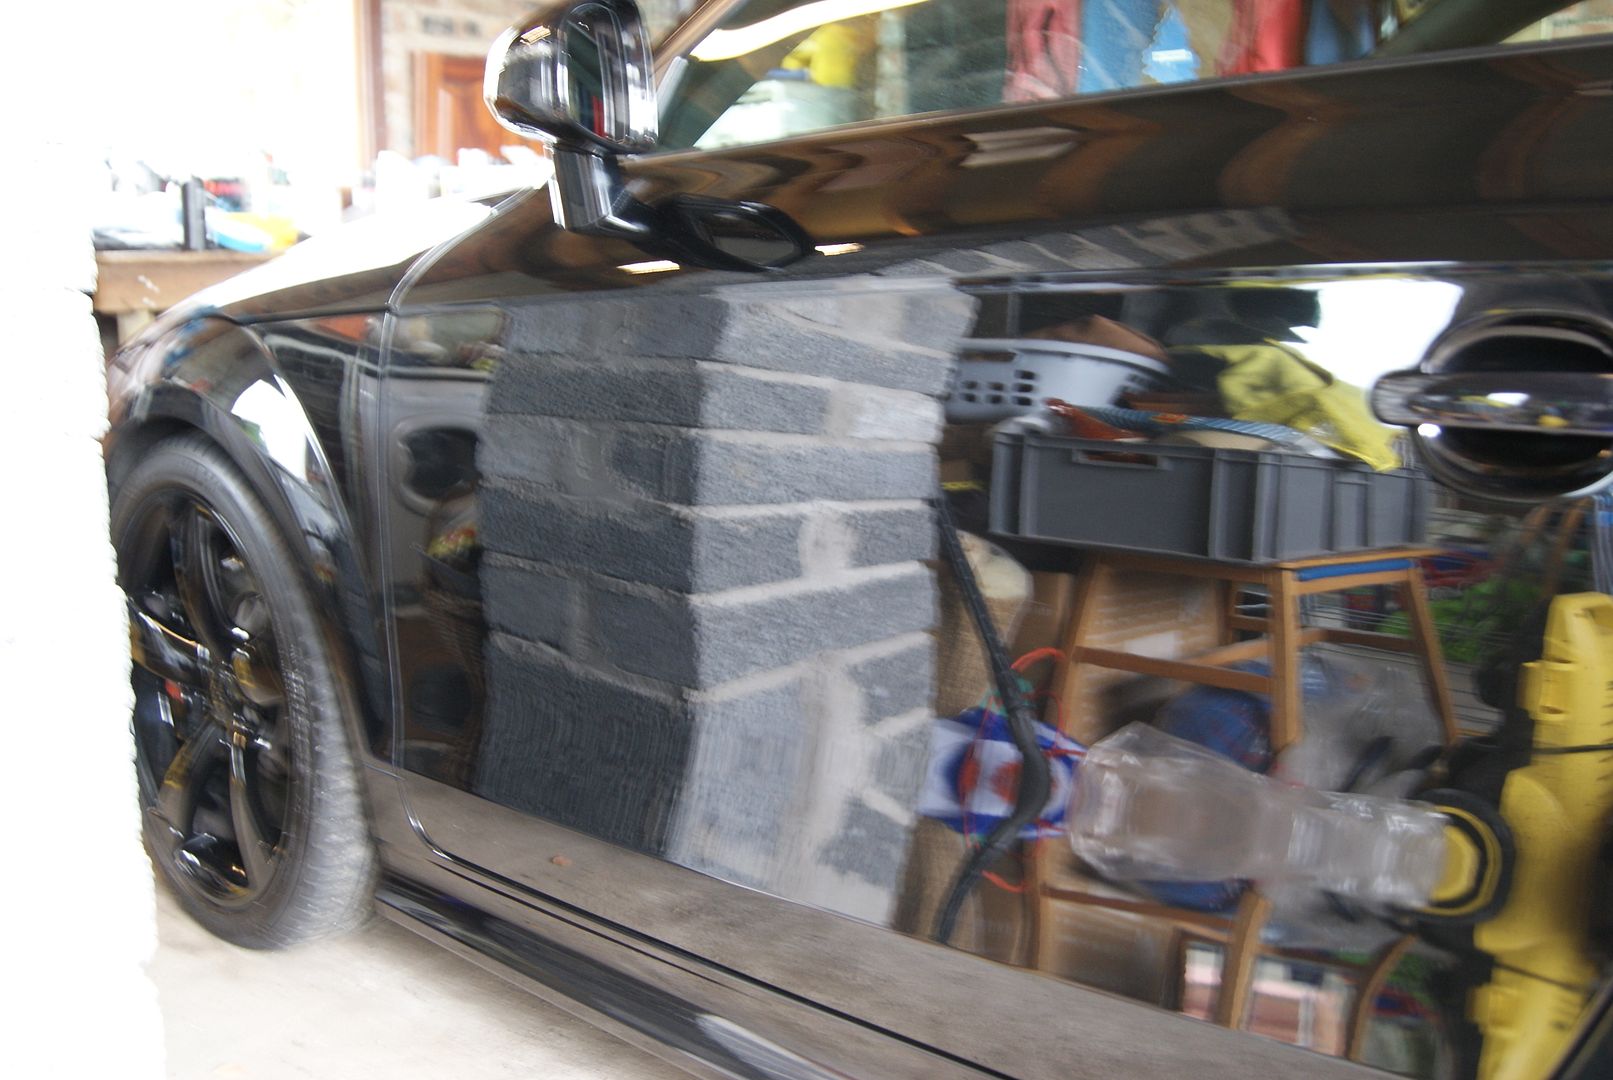
This was after correction:
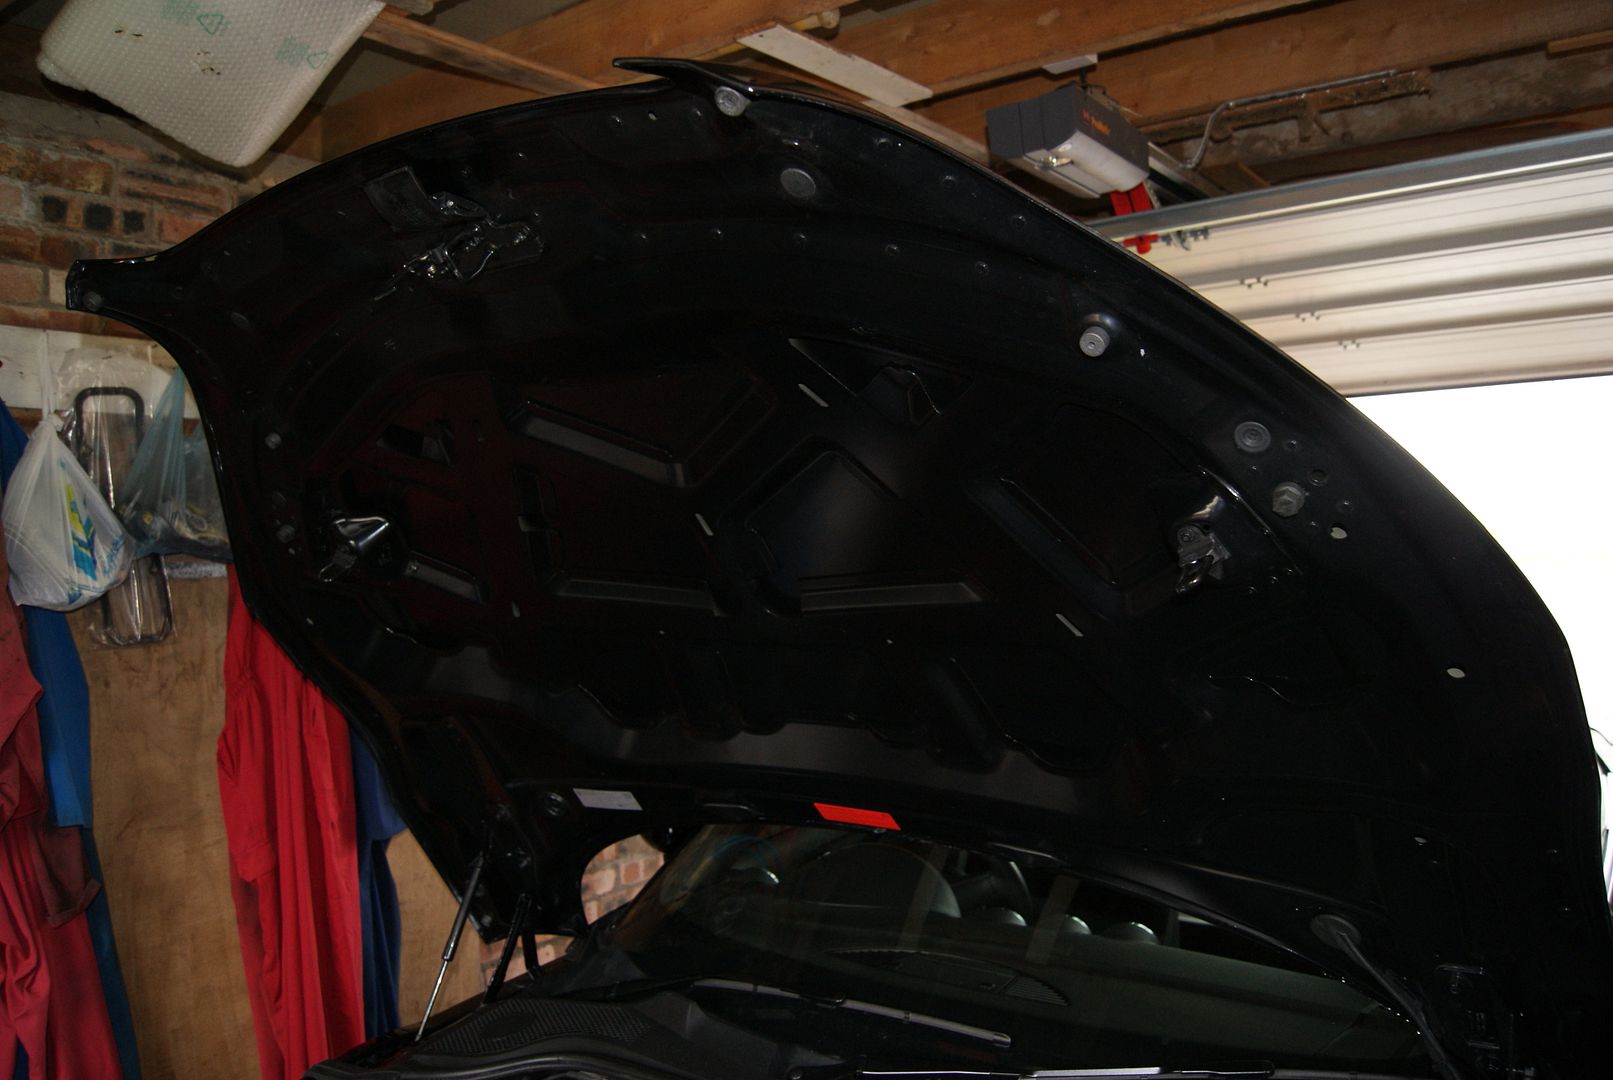
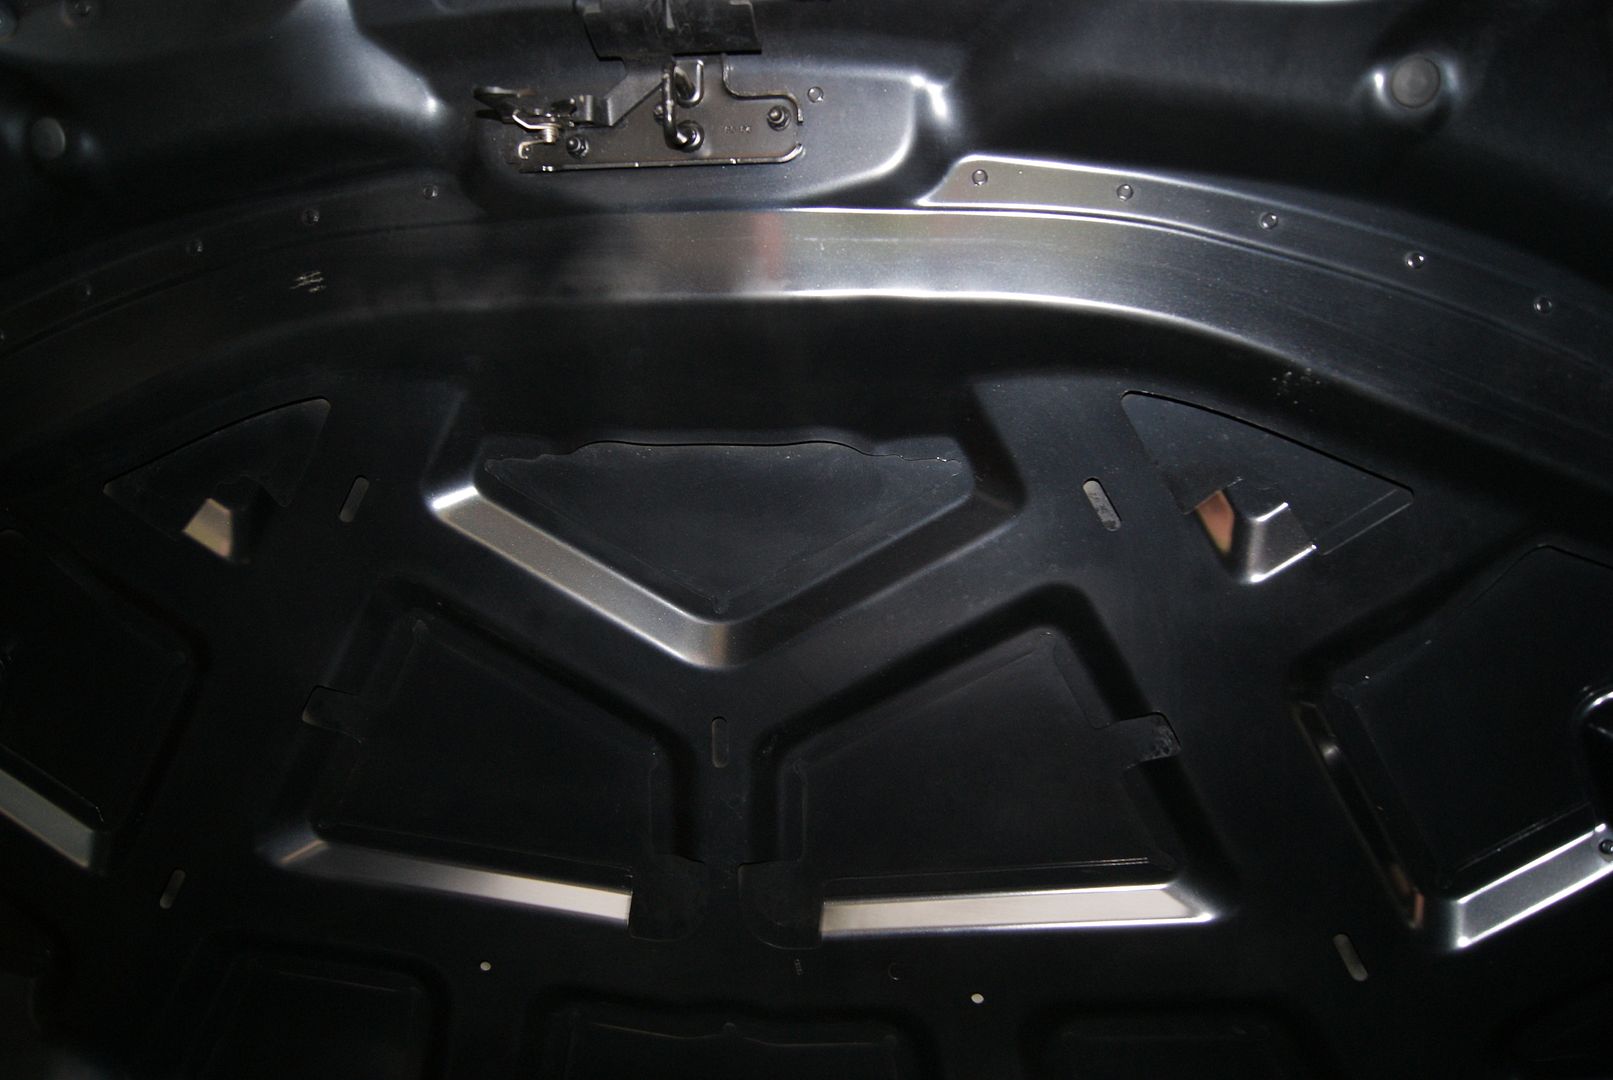
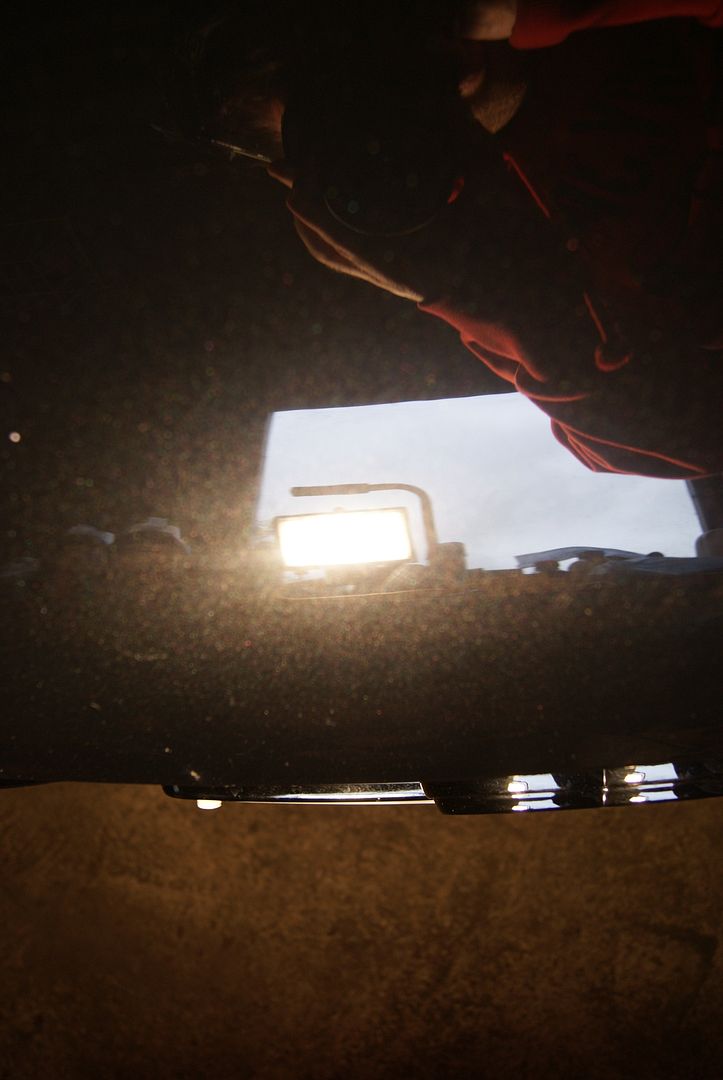
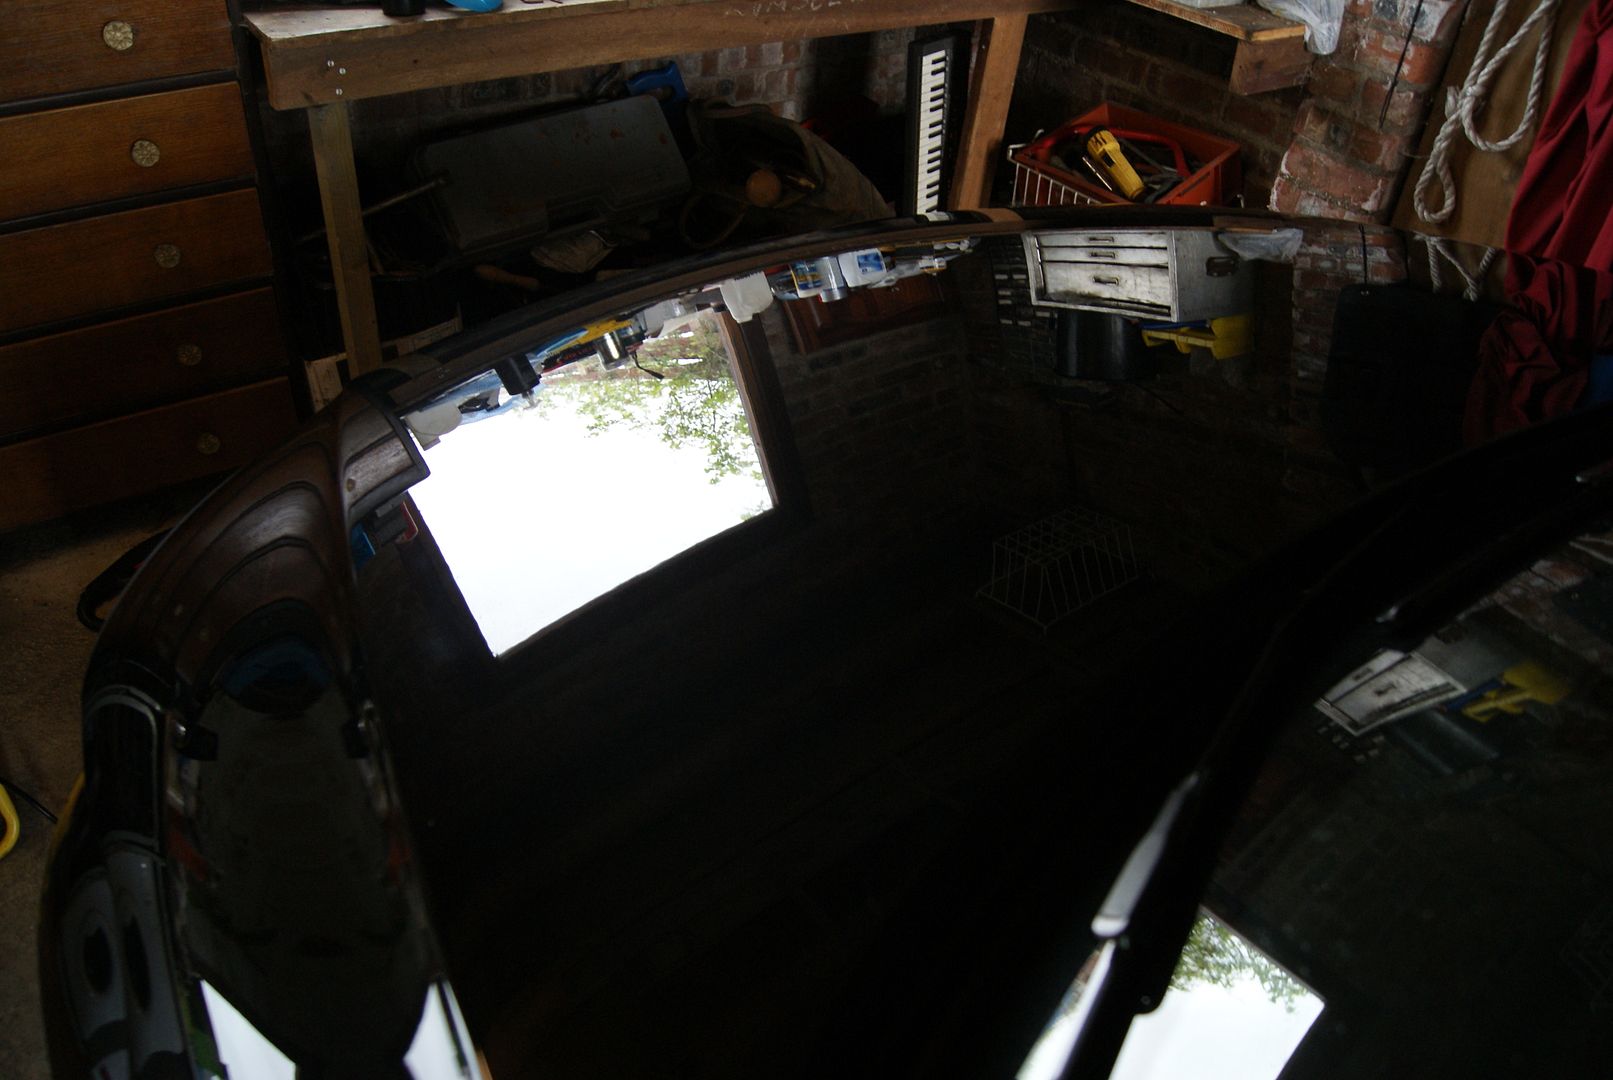
Onto the bonnet:
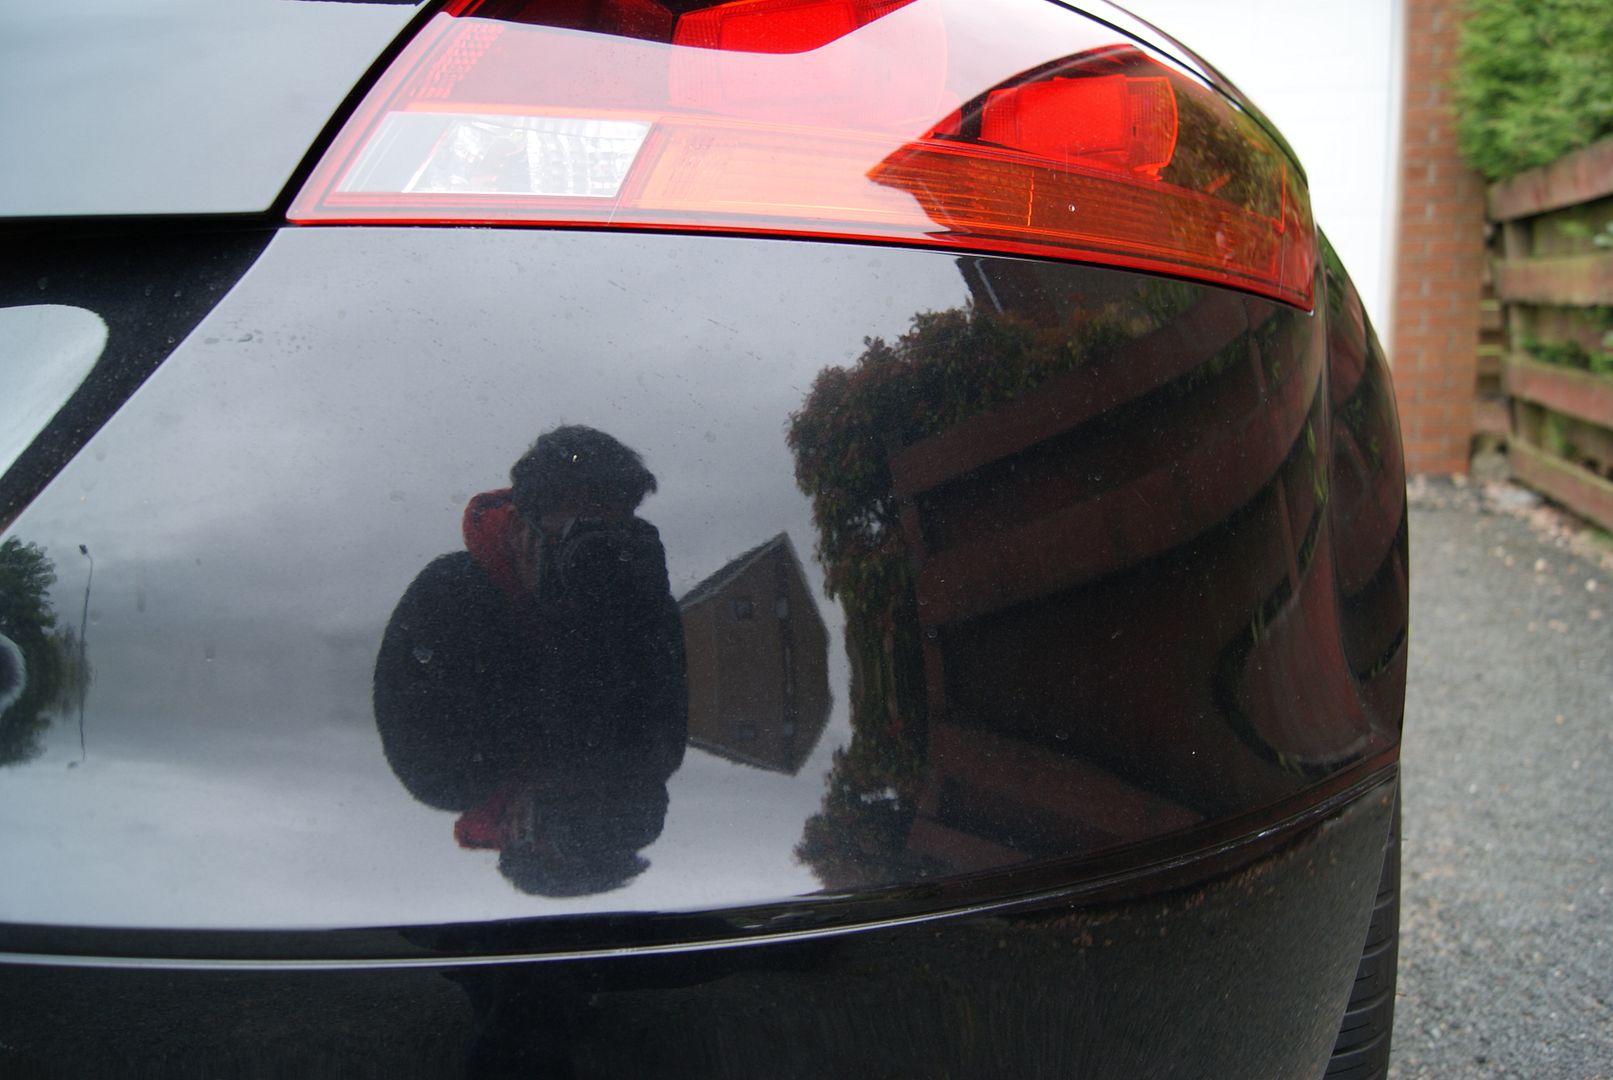
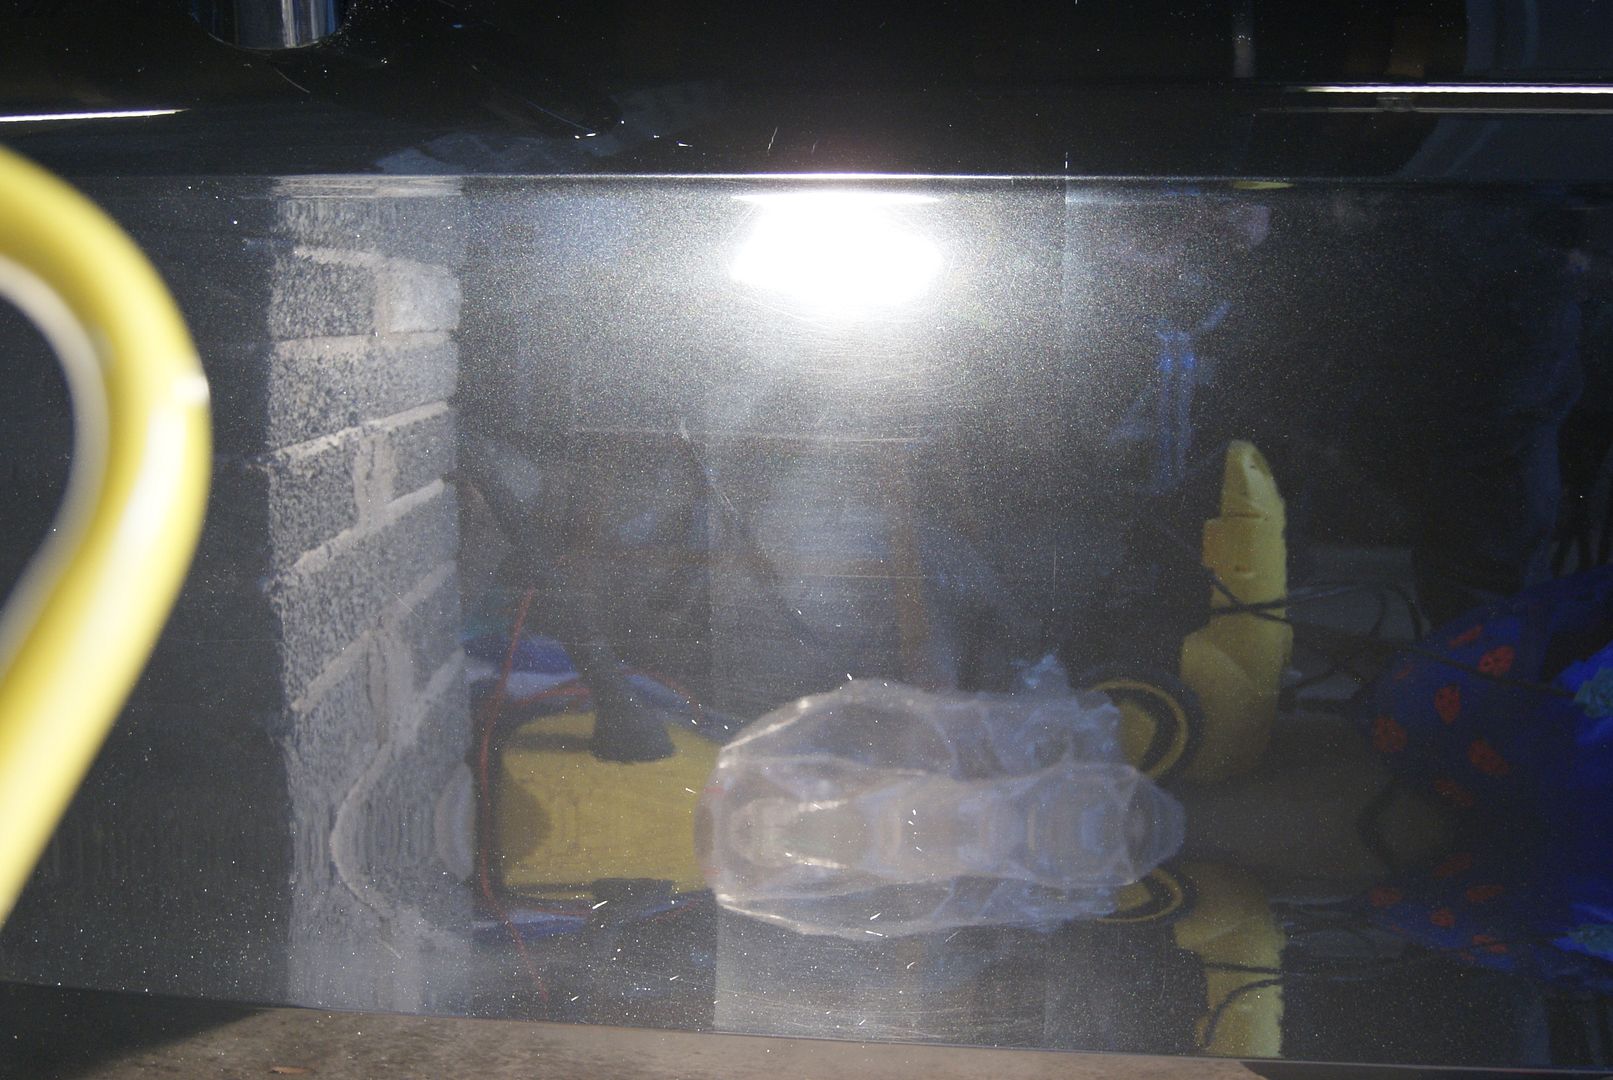
Looks well corrected ?
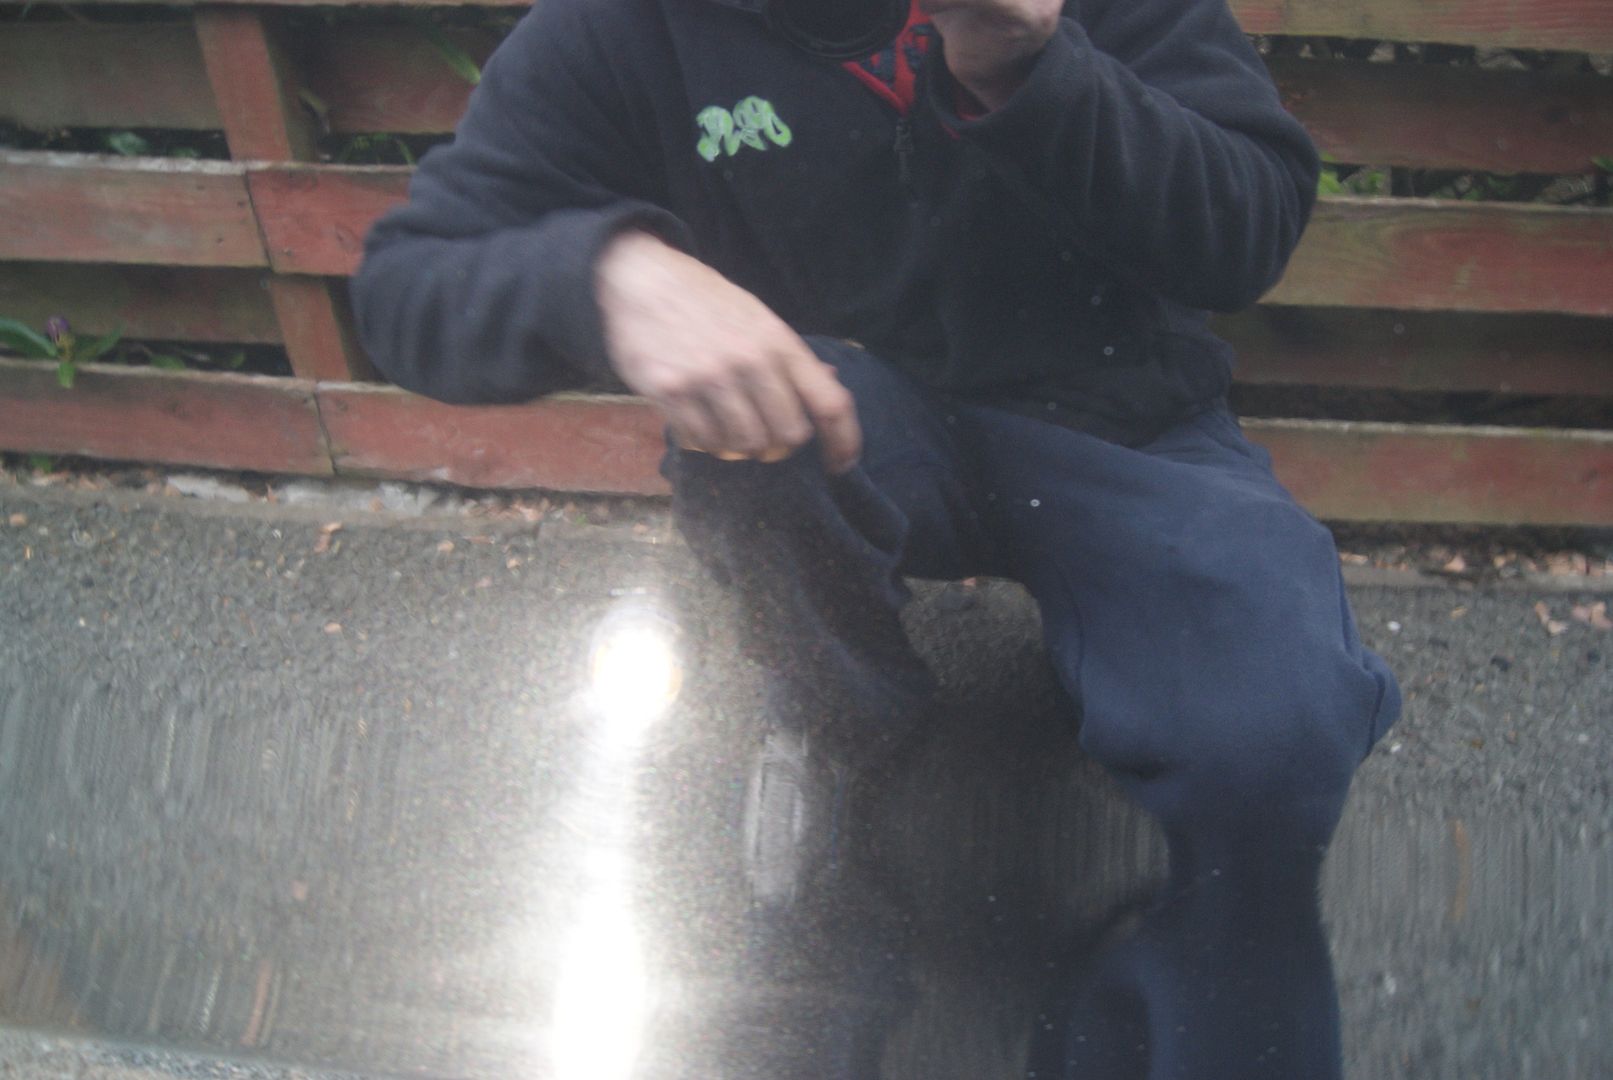
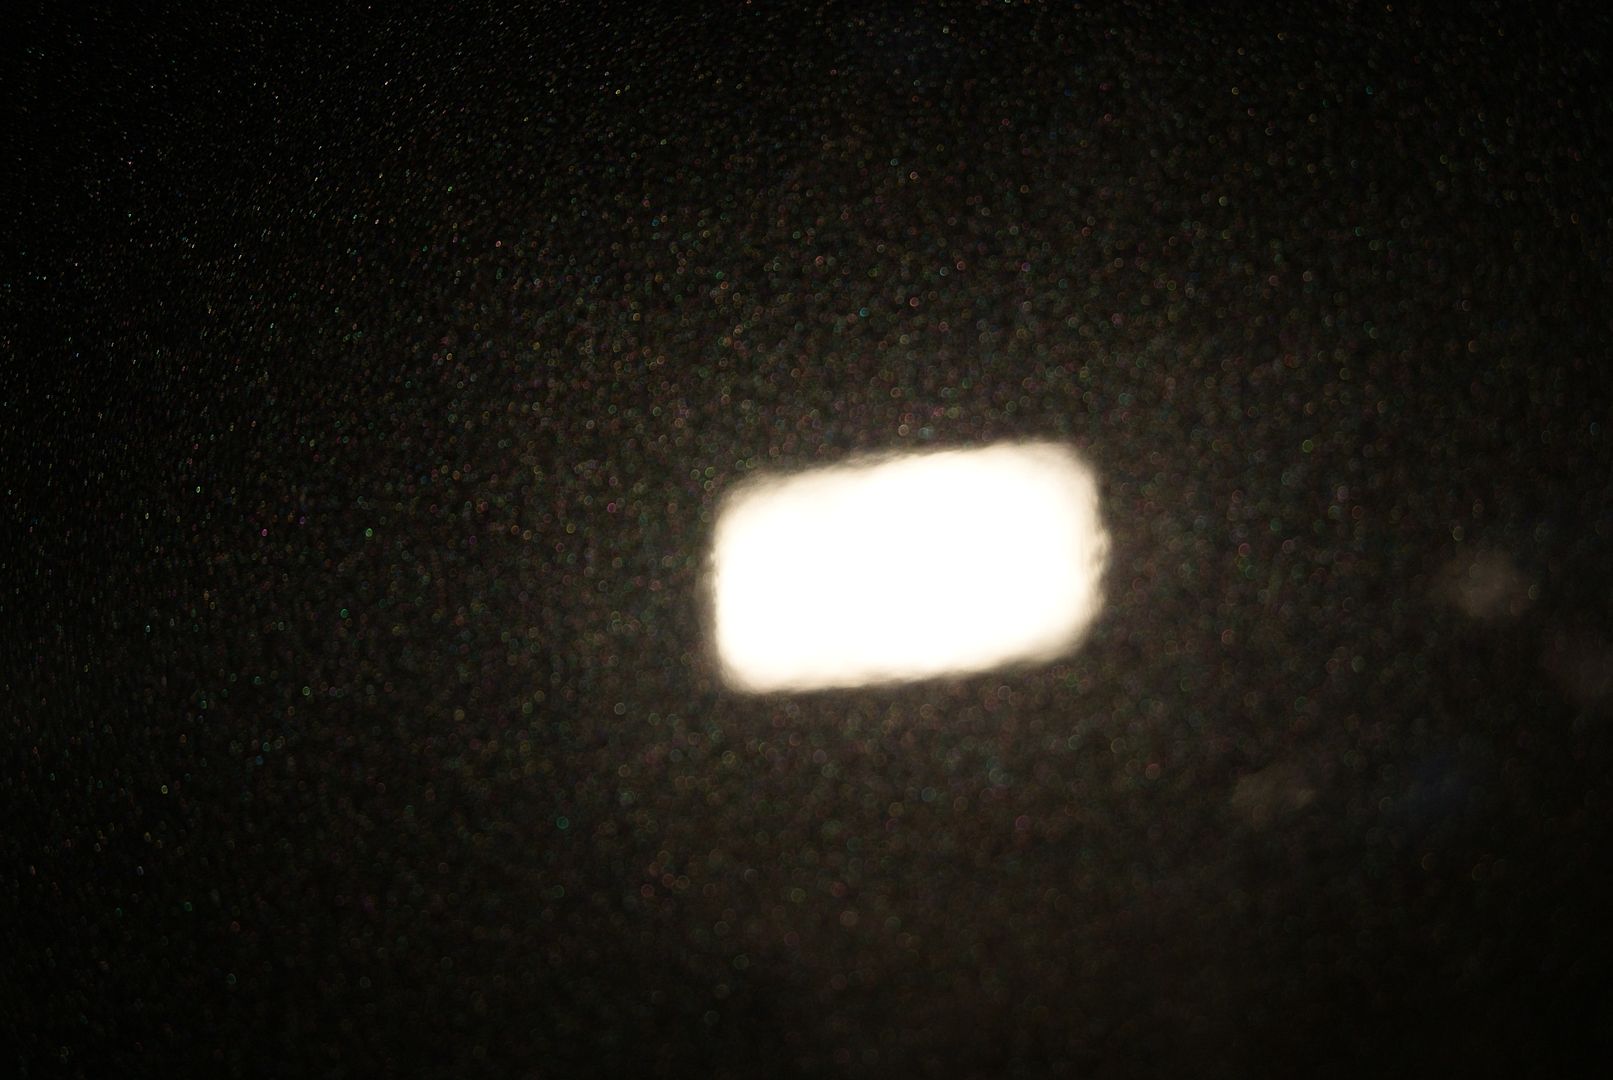
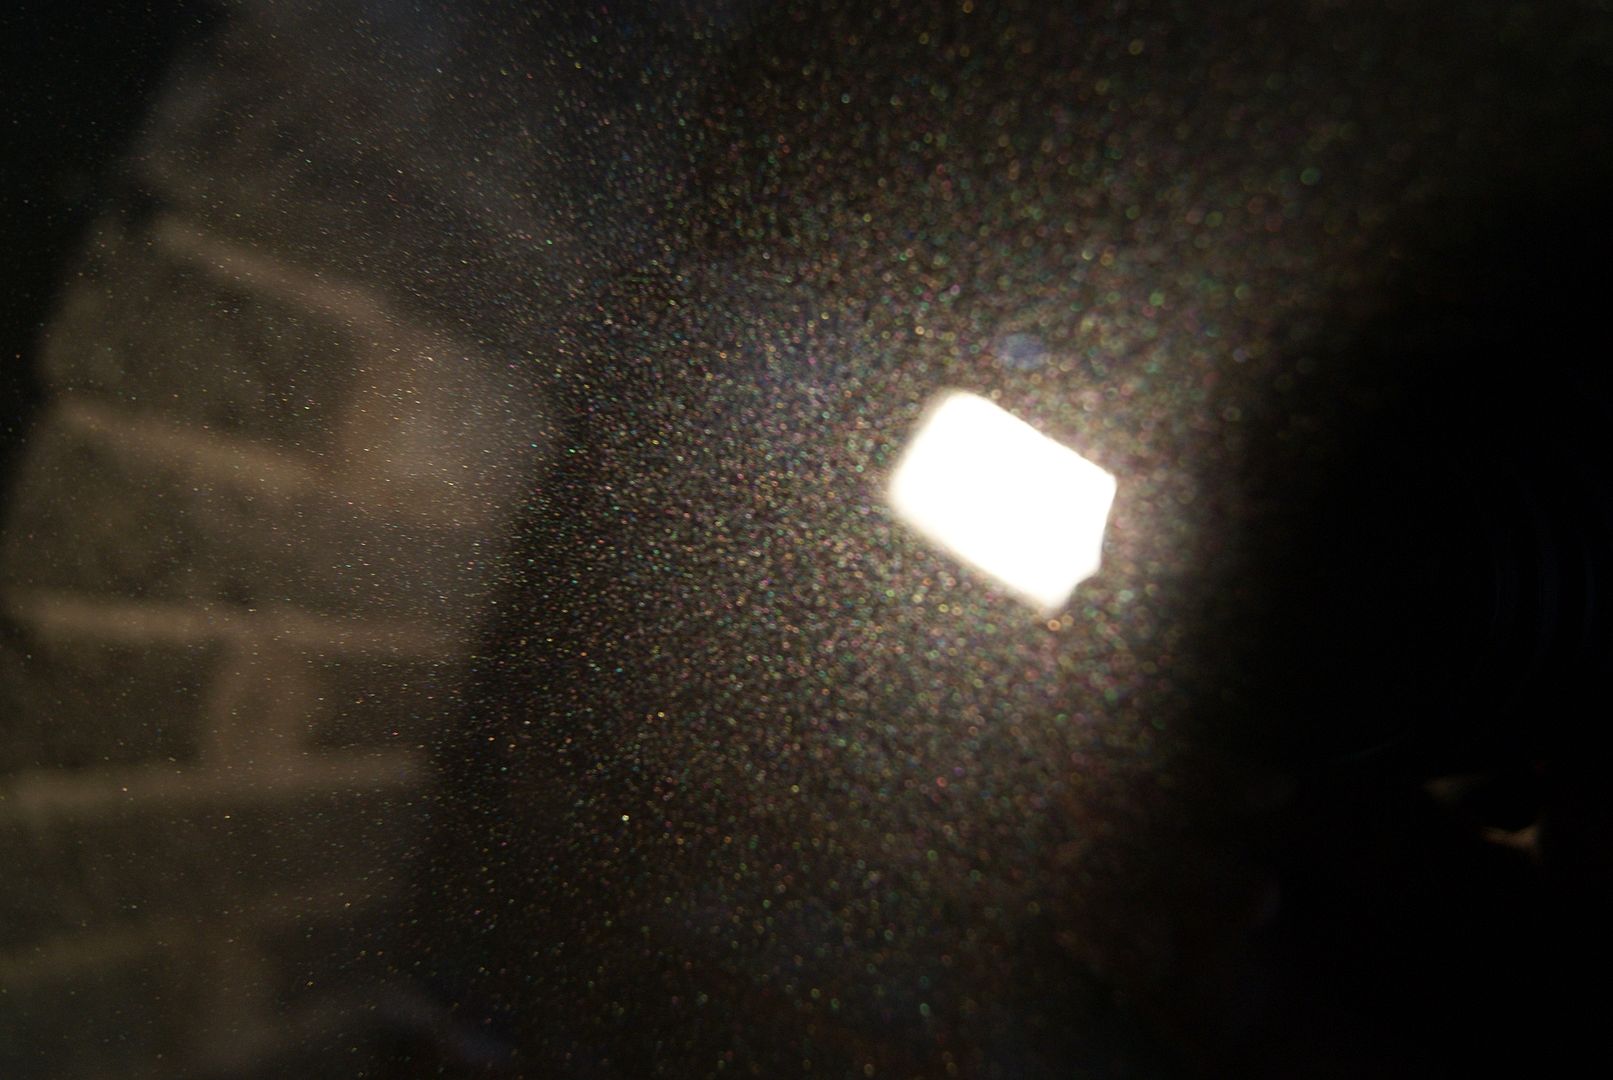
Well not really i focussed the camera on the reflection and not the paint, so placingmy finger in the picture you can see the defects:
Also the scratches you can see were inflicted my me wiping my finger over the paint.....always seems the be the case with Audi Phantom Black paint
The bonnet did not need to go as far as using S3 Gold and only used S17, here is a couple of 50/50:

The process continued round the rest of the car, limited space meant too difficult to take pictures. Once correction was finished applied Swissvax Crystal Rock:
In the engine bay Swissvax Shield was applied and Swissvax Nano Express applied to the plastic trim (engine bay and exterior):
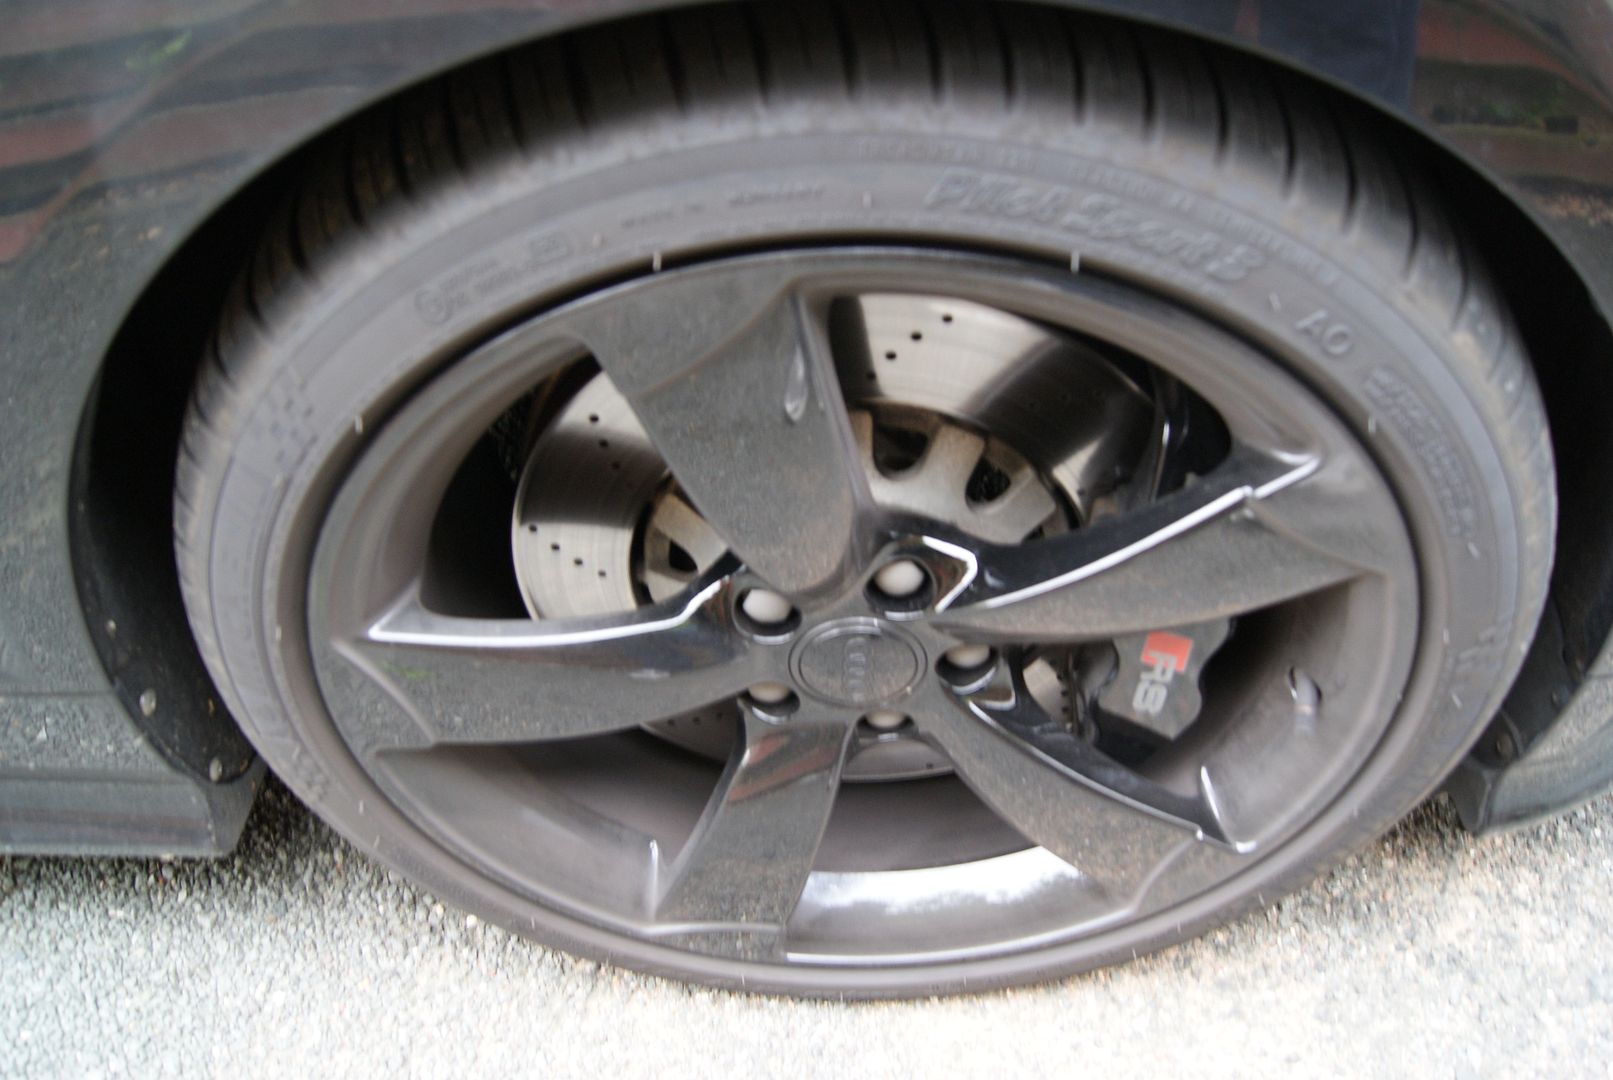
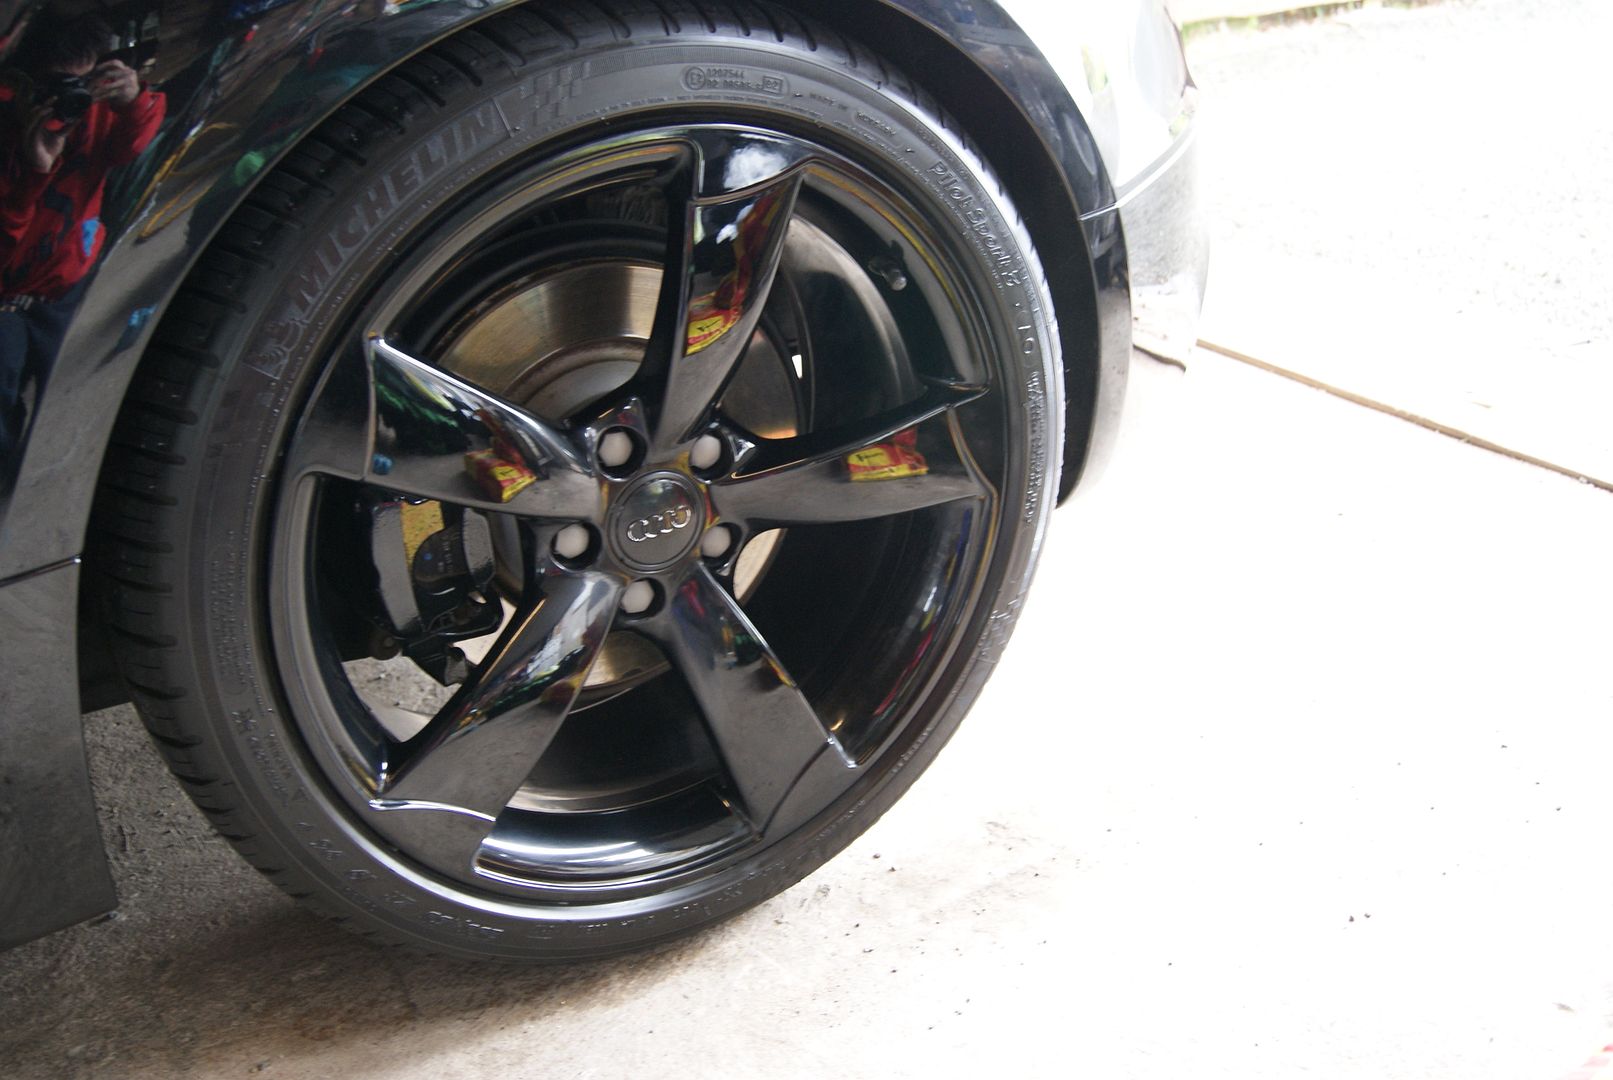
The wheels were previous steam cleaned, so now Zaino Z2 was applied, then Swissvax autobahn and Swissvax Pneu applied to the tyres:
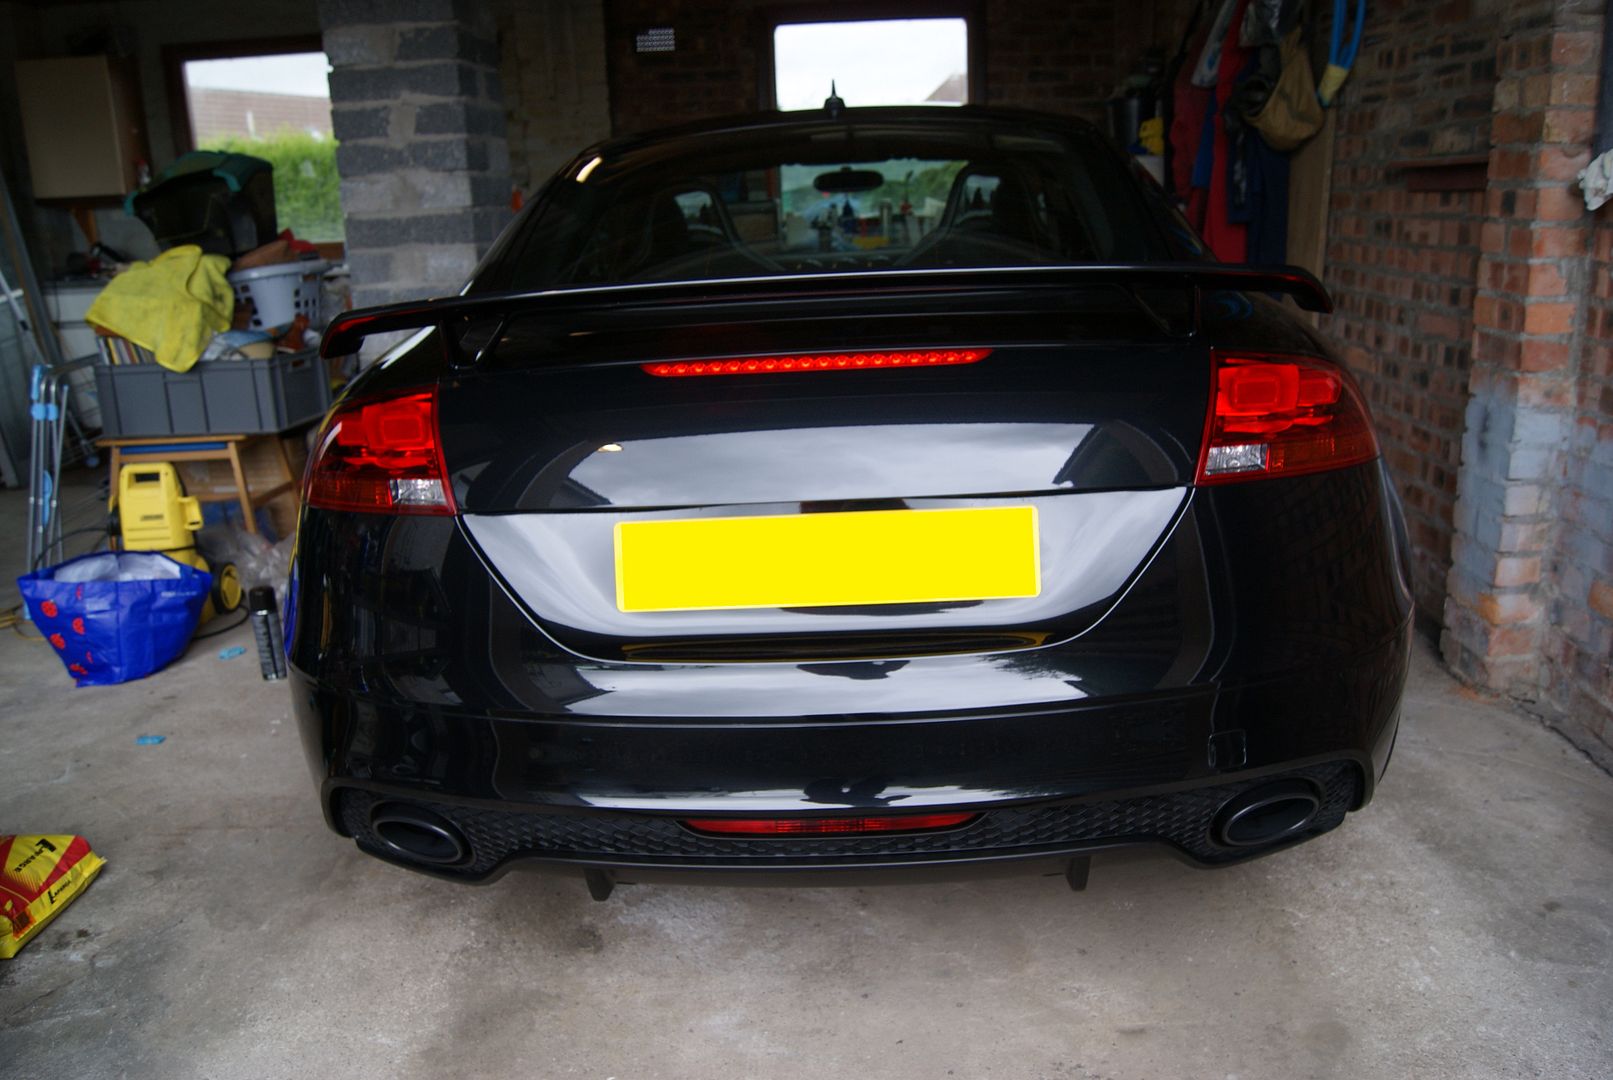
Couple of finished pics inside the garage inc reflection shots:
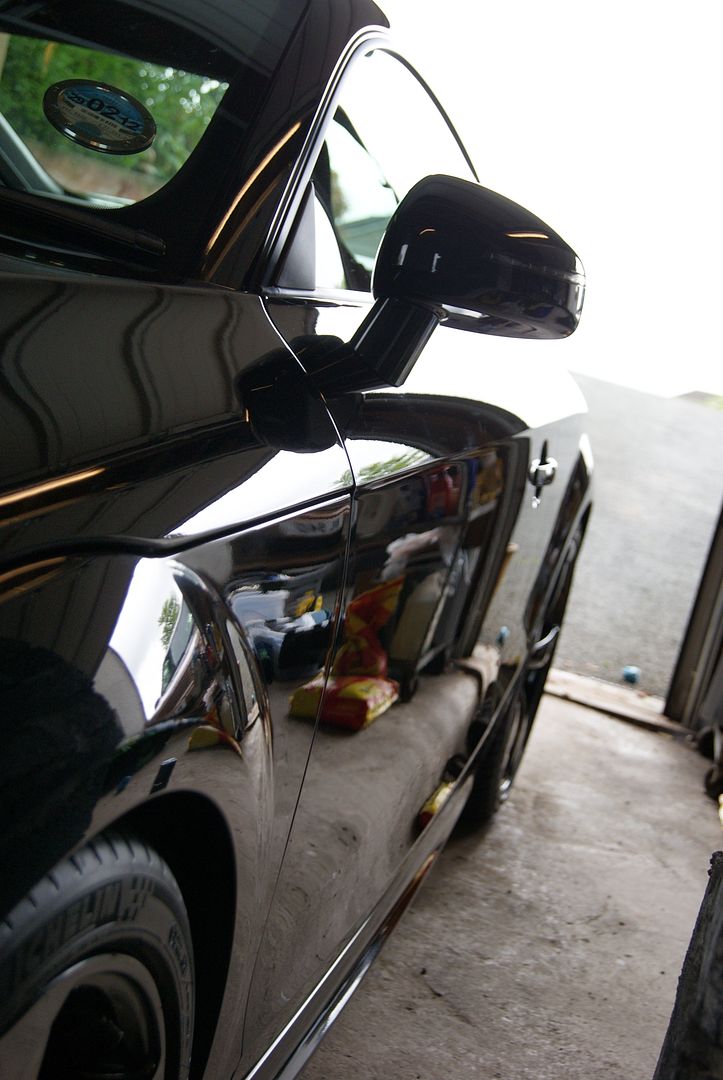

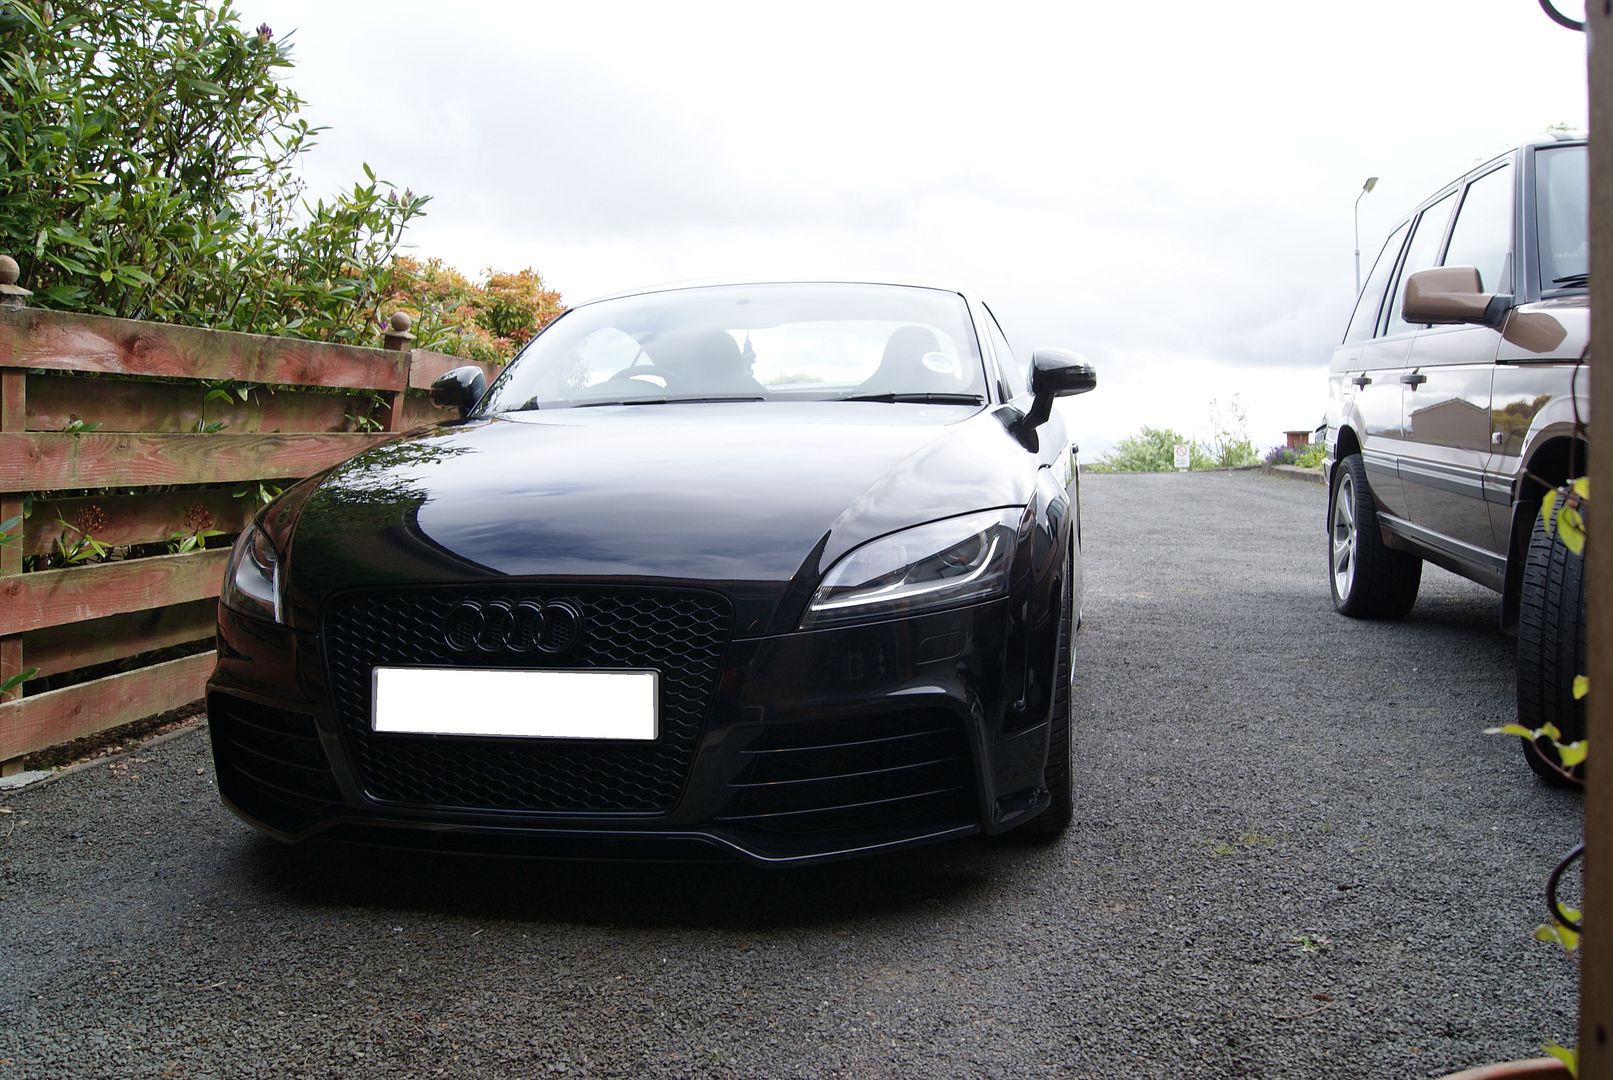
then taken out the garage to hoover and clean the leather interior with LTT products (no pics of interior, sorry) but took some pics of exterior outside:
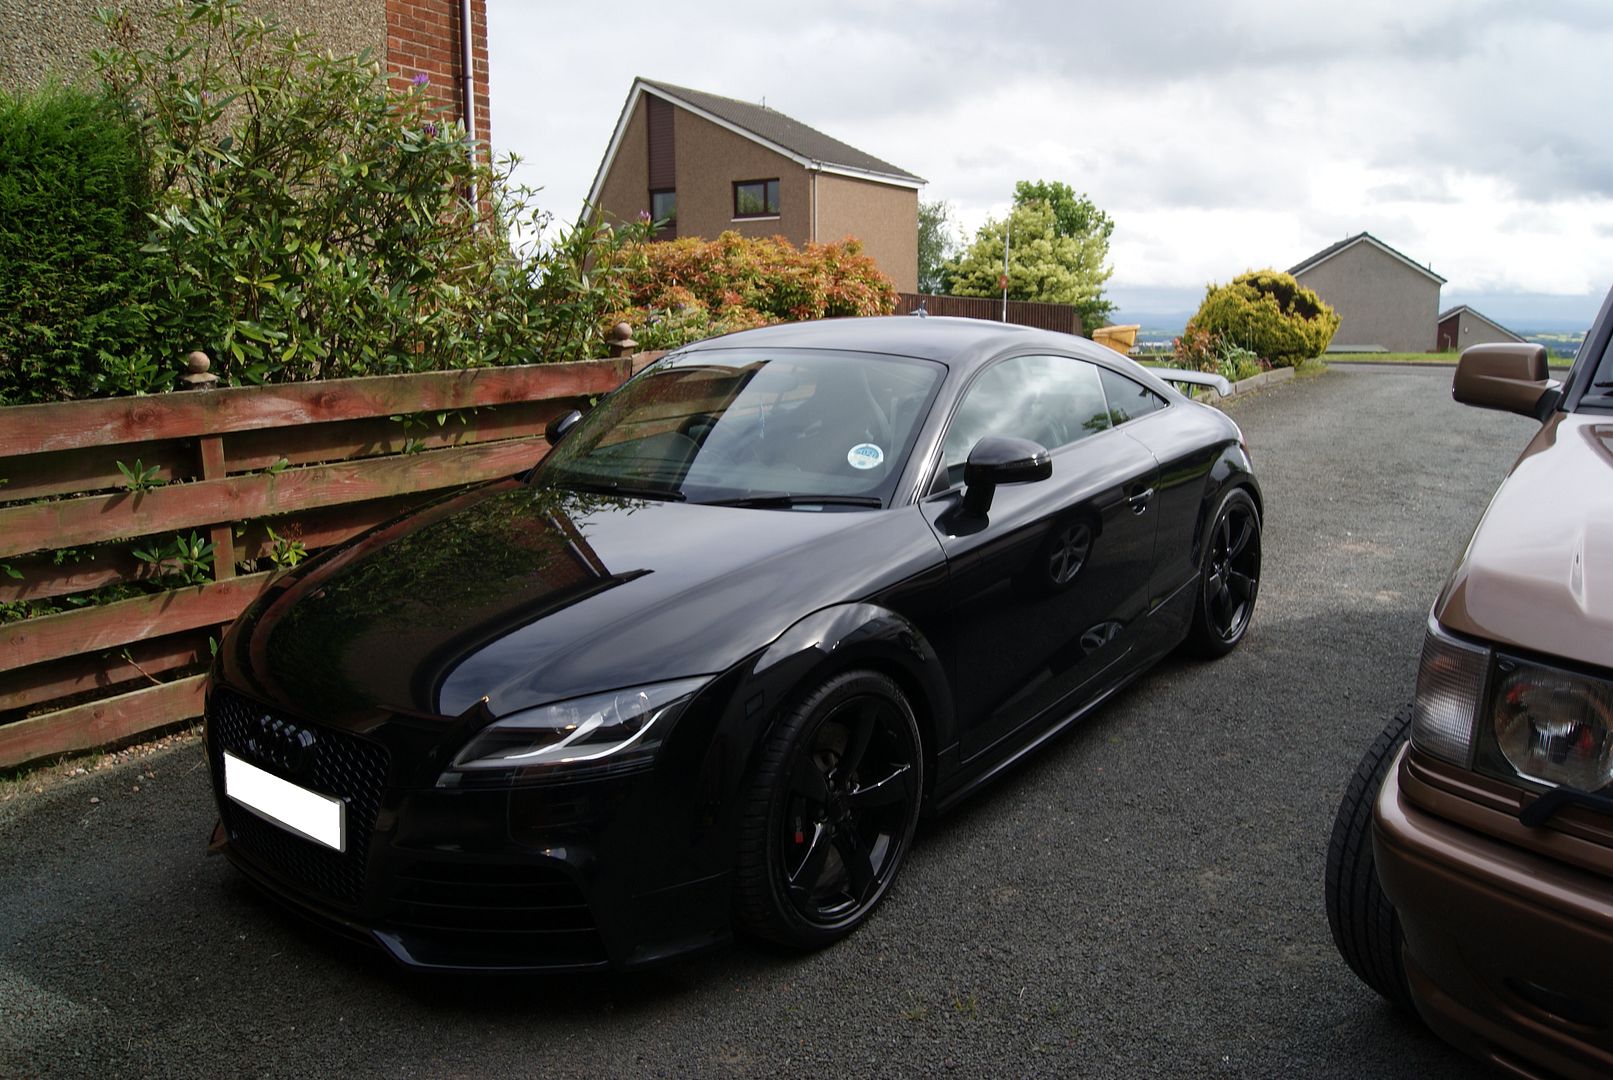
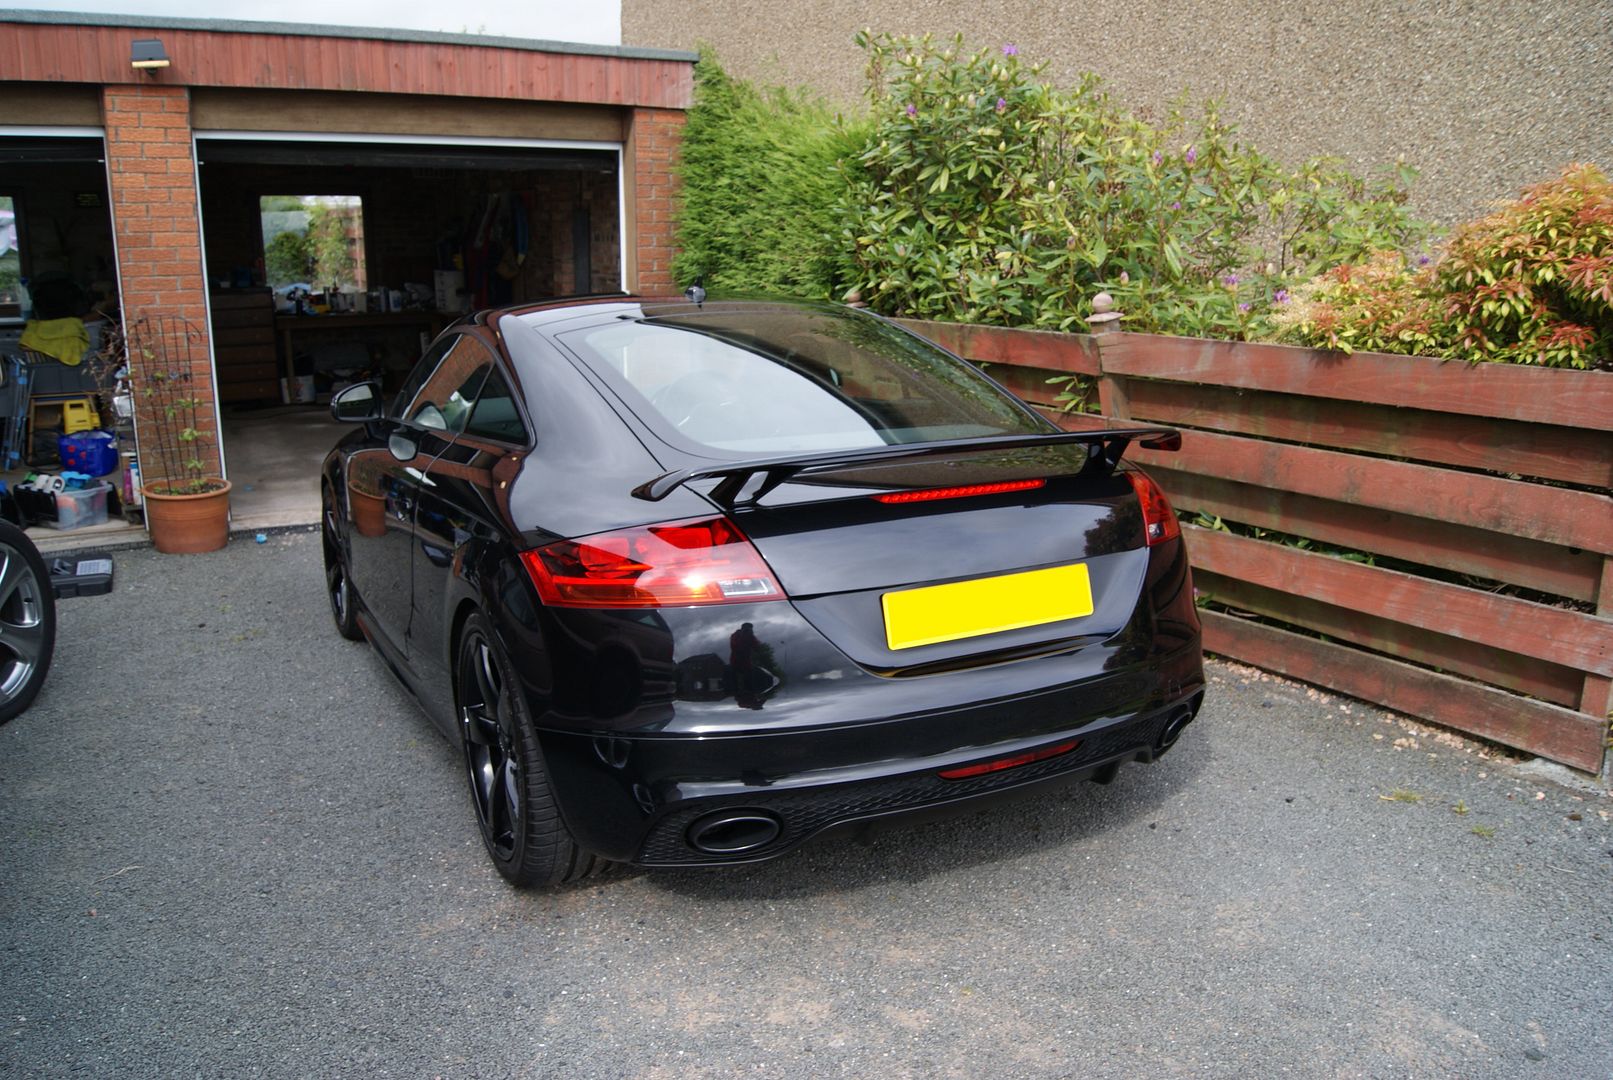
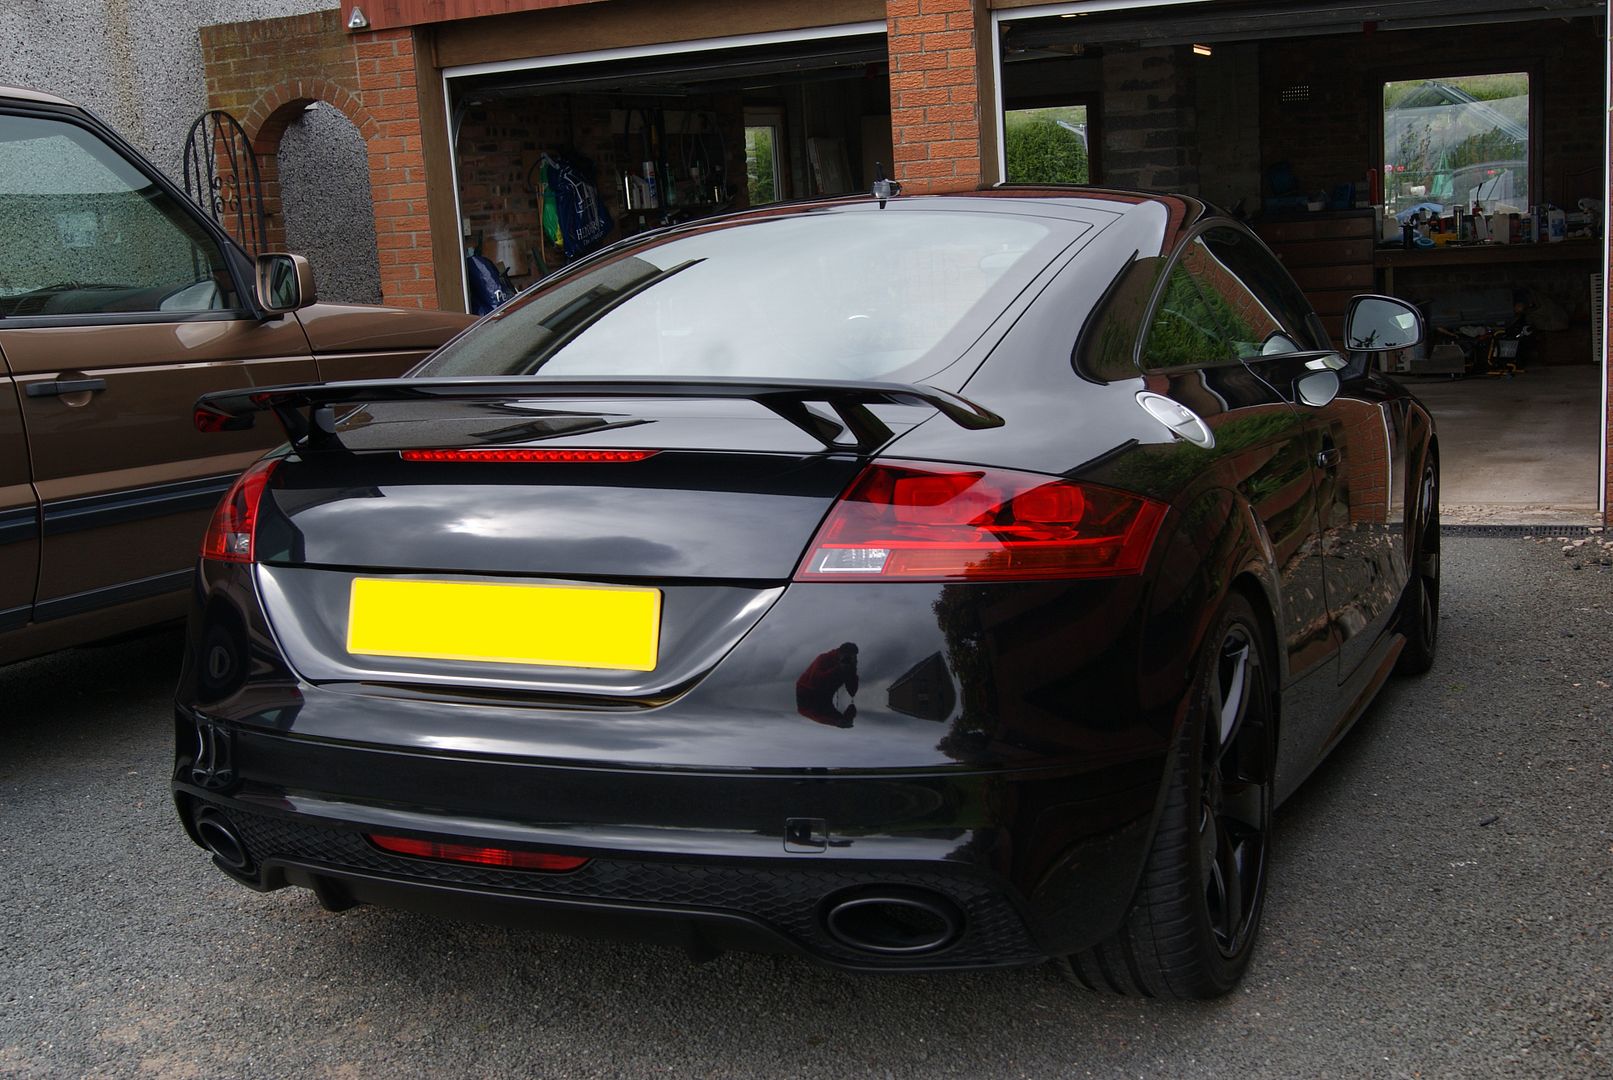
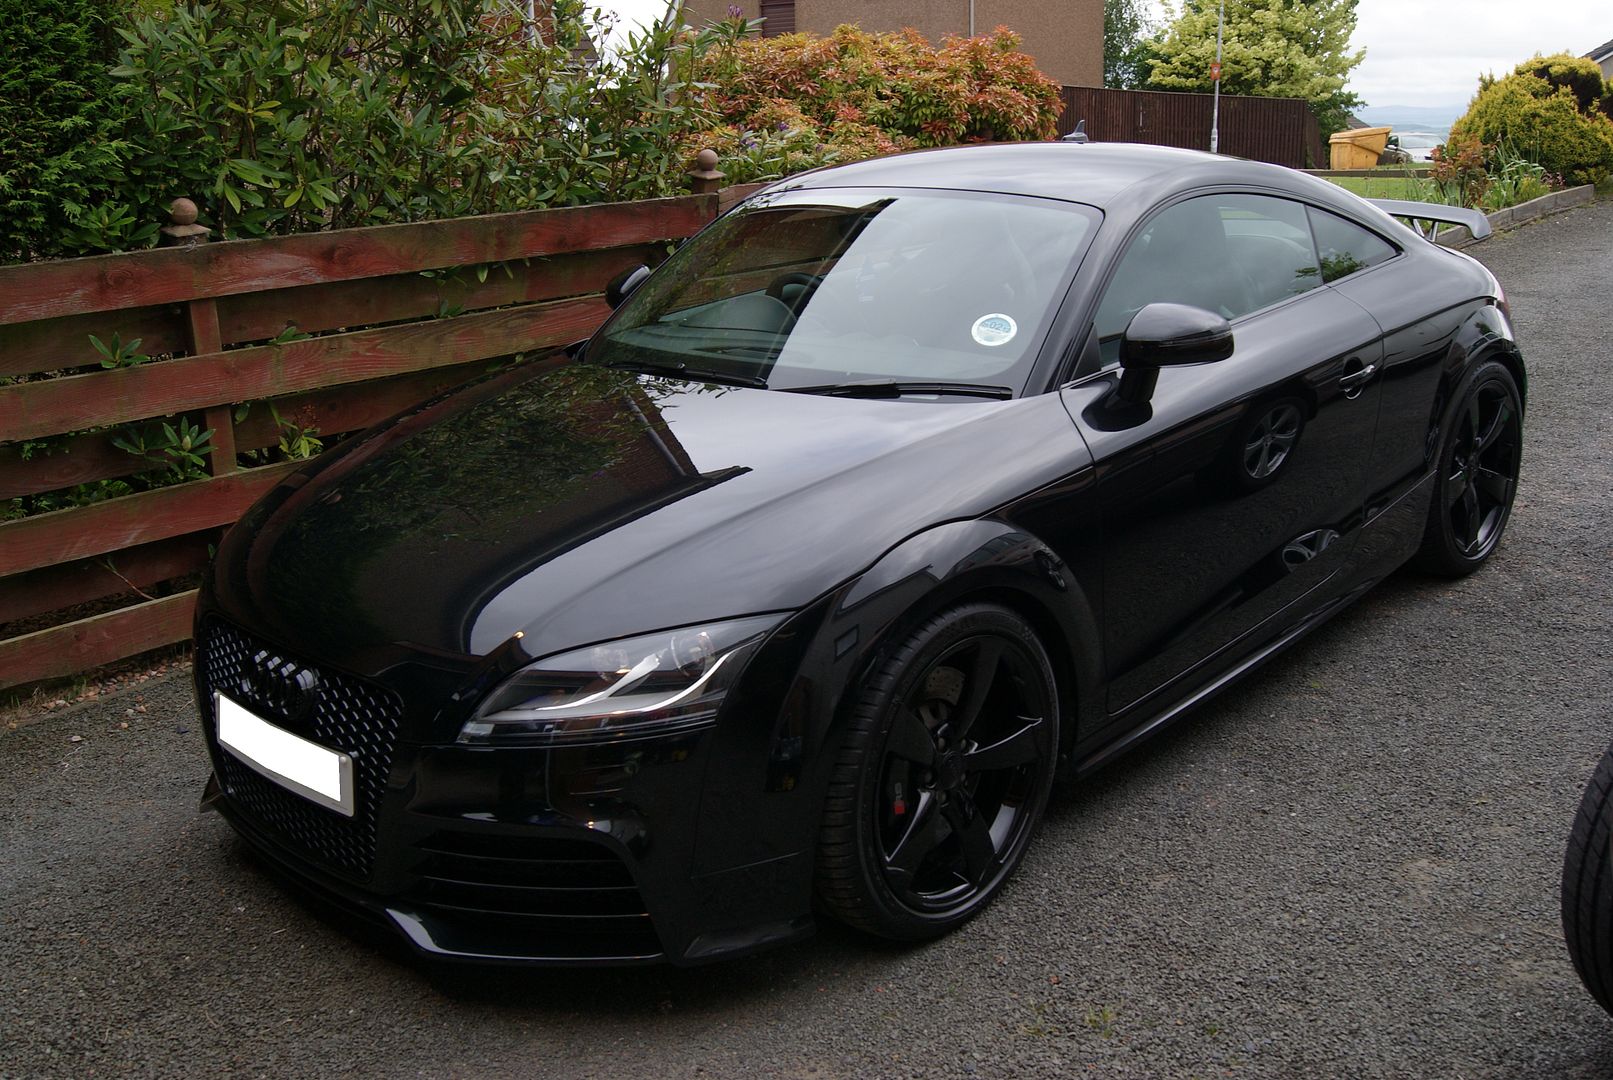

the owner was very pleased with the outcome.
Thanks for viewing
Rob @ Prism Detailing
Prism Detailing - Car Detailing Specialist
FB: PrismDetailingUK
How the car looked when i arrived:
As the car was not really dirty I opted to use Chemical Guys EcoSmart waterless wash:
Panel before:
Applying the CG EcoSmart:
allowing it to work then wipe in one direction with a deep pile MF:
At this time i decided to take a quick pic of the swirls:
As the weather was very cold and looked as if it was going to rain, I decided to move into the garage to continue....at this stage i decided to steam clean the engine bay:
Before:
During (not many pics):
After:
The car was then clayed using Dodo Juice Born Slippy and Dodo Juice Gentle Grey claybar:
Dodo Juice Tarmalade was applied to certain areas of tar, not really much on the car and buffed off.
Then the car was cleaned with the steam cleaner and wiped down to remove any residue from claying and tar removal.
At this stage took various paint depth readings with both my Posi 200a and my PD8 (pd8 was mostly used as working along):
I decided to use Scholls Concept compounds for this detail as had excellent results on a previous Audi with them....So a little example of much cut they have using a test panel:
Started by using S17 on a Green CG Hex Pad and this is the result:
The lighter swirls were removed but not the deeper swirls or scratches. So moved onto S3 Gold with an orange CG Hex Pad and this was the results:
A 50/50 comparisson:
a 50/50 on the door:
Looking at the door I could see previous work was done (previously determined with paint depth readings, but confirmed finding a tape line):
This was after correction:
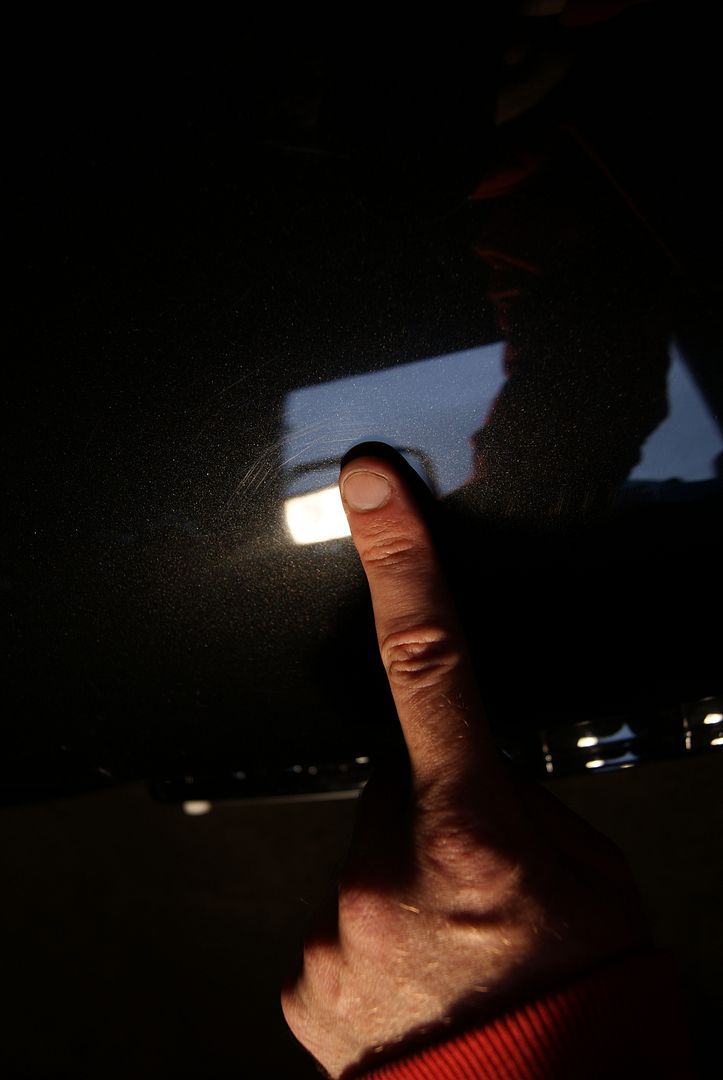
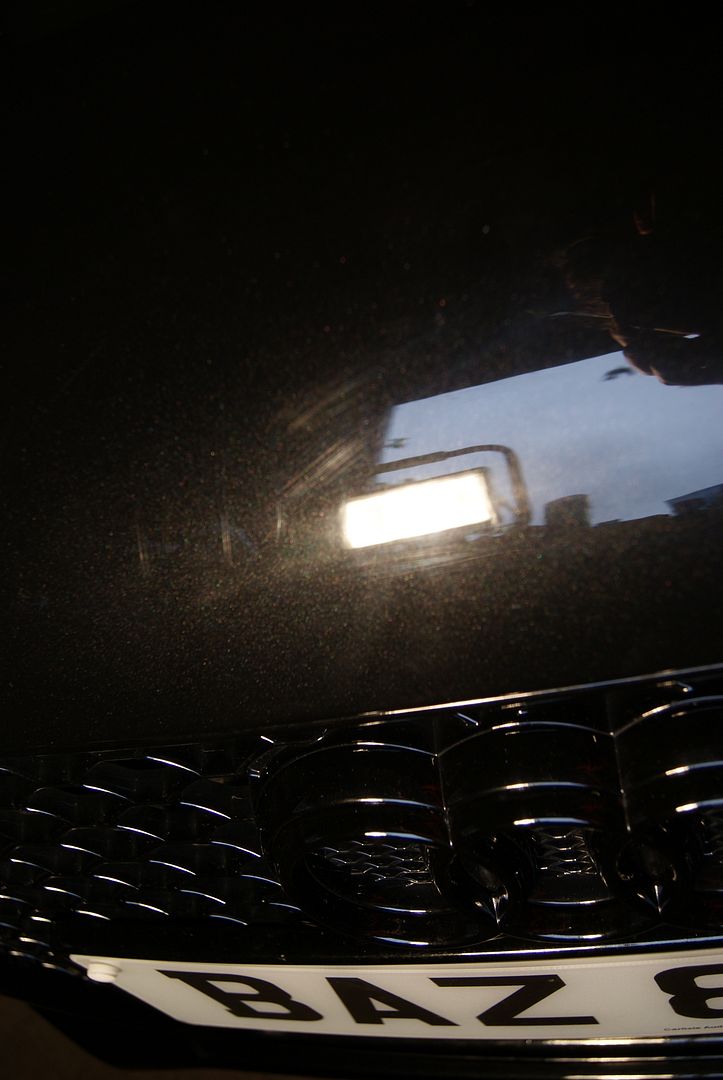
Onto the bonnet:
Looks well corrected ?
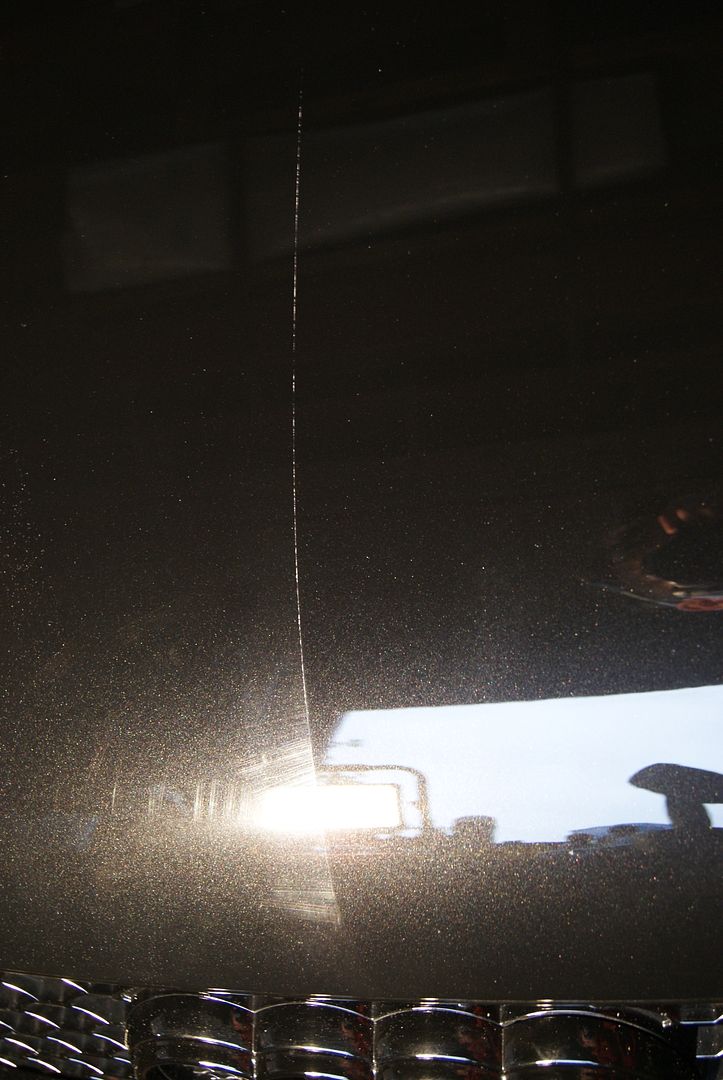
Well not really i focussed the camera on the reflection and not the paint, so placingmy finger in the picture you can see the defects:
Also the scratches you can see were inflicted my me wiping my finger over the paint.....always seems the be the case with Audi Phantom Black paint
The bonnet did not need to go as far as using S3 Gold and only used S17, here is a couple of 50/50:
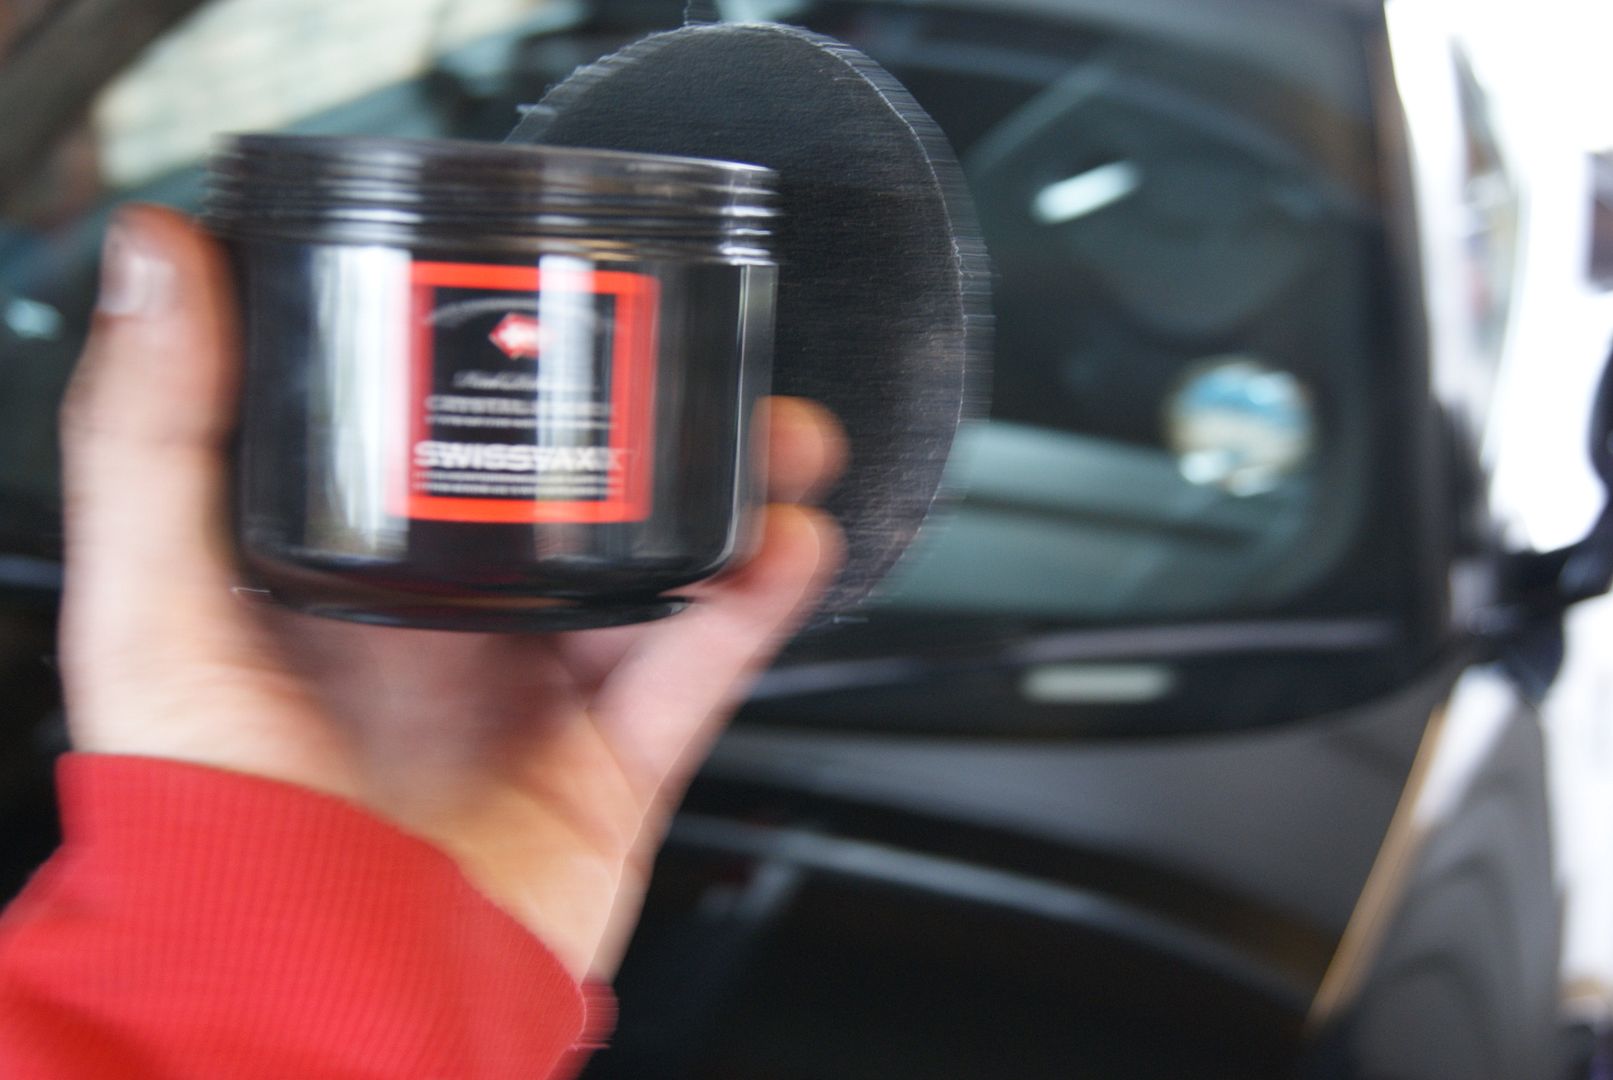
The process continued round the rest of the car, limited space meant too difficult to take pictures. Once correction was finished applied Swissvax Crystal Rock:
In the engine bay Swissvax Shield was applied and Swissvax Nano Express applied to the plastic trim (engine bay and exterior):
The wheels were previous steam cleaned, so now Zaino Z2 was applied, then Swissvax autobahn and Swissvax Pneu applied to the tyres:
Couple of finished pics inside the garage inc reflection shots:
then taken out the garage to hoover and clean the leather interior with LTT products (no pics of interior, sorry) but took some pics of exterior outside:
the owner was very pleased with the outcome.
Thanks for viewing
Rob @ Prism Detailing
Prism Detailing - Car Detailing Specialist
FB: PrismDetailingUK
")