BobbyG
New member
- Dec 29, 2009
- 13,211
- 0
I had the opportunity to do some work on a friends 1969 Plymouth Road Runner. The car was purchased about 18 years ago and is still in nice shape. The car had some bodywork done and it's been repainted.
The car is not perfect but for a 45 year old car I'd take it any day of the week! :dblthumb2:
My plan was to take my time and really spend about a week on the exterior. I wanted to work each panel bringing it to its best possible condition. The owner of the car asked if I would teach him on the fly in order to give him some detailing basics to take away.....and I said why not...each one teach one! He did the nose and I did from the doors back... rops:
rops:
When I looked closely I could see sanding imperfections beneath the paint. Not to say the paint was thin but it's a tell-tale sign that a finer grit sandpaper wasn't used prior to painting.
Step 1
Naturally, washing the car completely was the first step. I washed it by hand twice to ensure everything that was dissoluble was removed from the surface.
Step 2
Claying each panel was next. While the paint felt exceptionally smooth to the touch there was no way I was leaving this step out of the process. It took me about an hour to to clean the entire car. I did take my time but a 1969 Road Runner has a lot of square feet to it so in your mind imagine claying an aircraft carrier....
Step 3
The paint was a single stage enamel. I performed a test using a dab of compound on a white towel and sure enough....single stage...
The first day I used Meguiar's #7 exclusively. The finished hadn't had a lot of TLC over the years so I thought I'd use Mike Phillips article on Restoring Single Stage Paints... This is a nice article to read and use as a guide helping anyone understand the right way to approach this type of paint.
Meguiar's #7 did a nice job at removing some of the oxidation but really excelled adding oils and nutrients to the paint, bringing it back to life if you will!
The Essentials
Not knowing what I'd need, I brought out a couple of machines and a few products.

Paint Condition
Even though the finish looked decent from a distance, up close it was tired.


Compounding
This was going to be some tough going so instead of opting for a dual action machine I went right to my Flex PE14 rotary and a Yellow Foam pad. I've had such great results with Menzerna FG-400 I felt it was a good choice to go with here.
I was using a machine speed of about 1000rpm. I wanted to make some progress here but also realizing in the back of my mind I was working with old paint. I used a slow arm speed and overlapping strokes. I kept a close eye on the pad and it really cut through the oxidation and removed 80% of the heavy defects.
Believe it or not this is a yellow pad heading for the pad washer!!

Smaller, tight areas I used an Orange pad and my Porter Cable 7424XP speed 5.

I switched to a white pad but stayed with the FG-400 giving the finish a 3 section pass.
Finishing
With a new white foam pad I used my Flex 3401 dual action machine. My product choice was Menzerna SF-4000. I really like this product and the gloss I'm able to achieve is simply outstanding.
I took my time letting the machine, pad, and product perform its magic. Slow arm speed is the key here and 3 to 4 sectional pass was required to really make this finish shine....pun intended...
After
Wax - None other than Wolfgang Fuzion


Note: The black stripes were dull and pretty shot. I cleaned them with Prep-All, taped them off, then treated them to 2 coats of Solution Finish. I was very pleased at how rich the black stripes appeared. Solution Finish darkened them up and evened them out..
3 days worth of work and stroll down memory lane!!rops:
Beep - Beep!!
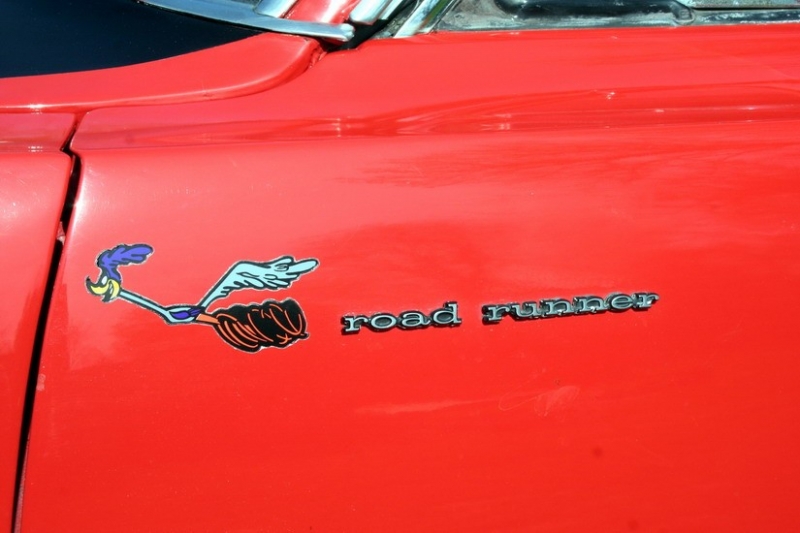
The car is not perfect but for a 45 year old car I'd take it any day of the week! :dblthumb2:
My plan was to take my time and really spend about a week on the exterior. I wanted to work each panel bringing it to its best possible condition. The owner of the car asked if I would teach him on the fly in order to give him some detailing basics to take away.....and I said why not...each one teach one! He did the nose and I did from the doors back...
rops:When I looked closely I could see sanding imperfections beneath the paint. Not to say the paint was thin but it's a tell-tale sign that a finer grit sandpaper wasn't used prior to painting.
Step 1
Naturally, washing the car completely was the first step. I washed it by hand twice to ensure everything that was dissoluble was removed from the surface.
Step 2
Claying each panel was next. While the paint felt exceptionally smooth to the touch there was no way I was leaving this step out of the process. It took me about an hour to to clean the entire car. I did take my time but a 1969 Road Runner has a lot of square feet to it so in your mind imagine claying an aircraft carrier....
Step 3
The paint was a single stage enamel. I performed a test using a dab of compound on a white towel and sure enough....single stage...
The first day I used Meguiar's #7 exclusively. The finished hadn't had a lot of TLC over the years so I thought I'd use Mike Phillips article on Restoring Single Stage Paints... This is a nice article to read and use as a guide helping anyone understand the right way to approach this type of paint.
Meguiar's #7 did a nice job at removing some of the oxidation but really excelled adding oils and nutrients to the paint, bringing it back to life if you will!
The Essentials
Not knowing what I'd need, I brought out a couple of machines and a few products.
Paint Condition
Even though the finish looked decent from a distance, up close it was tired.
Compounding
This was going to be some tough going so instead of opting for a dual action machine I went right to my Flex PE14 rotary and a Yellow Foam pad. I've had such great results with Menzerna FG-400 I felt it was a good choice to go with here.
I was using a machine speed of about 1000rpm. I wanted to make some progress here but also realizing in the back of my mind I was working with old paint. I used a slow arm speed and overlapping strokes. I kept a close eye on the pad and it really cut through the oxidation and removed 80% of the heavy defects.
Believe it or not this is a yellow pad heading for the pad washer!!
Smaller, tight areas I used an Orange pad and my Porter Cable 7424XP speed 5.
I switched to a white pad but stayed with the FG-400 giving the finish a 3 section pass.
Finishing
With a new white foam pad I used my Flex 3401 dual action machine. My product choice was Menzerna SF-4000. I really like this product and the gloss I'm able to achieve is simply outstanding.
I took my time letting the machine, pad, and product perform its magic. Slow arm speed is the key here and 3 to 4 sectional pass was required to really make this finish shine....pun intended...
After
Wax - None other than Wolfgang Fuzion
Note: The black stripes were dull and pretty shot. I cleaned them with Prep-All, taped them off, then treated them to 2 coats of Solution Finish. I was very pleased at how rich the black stripes appeared. Solution Finish darkened them up and evened them out..
3 days worth of work and stroll down memory lane!!
rops:Beep - Beep!!