Dellinger
New member
- May 26, 2013
- 117
- 0
Greetings everyone!
I completed this Accord about 6 weeks ago and am just now getting around to posting it. Overall, the paint was in decent shape considering it is taken to the "swirl-o-matic" once a month this winter (still going strong in Pac. NW.) The odometer read 56K+. The owner was not concerned about the swirling present and in reality, this blue/grayish metallic hides defects decently anyway.... he wanted me to focus on three items:
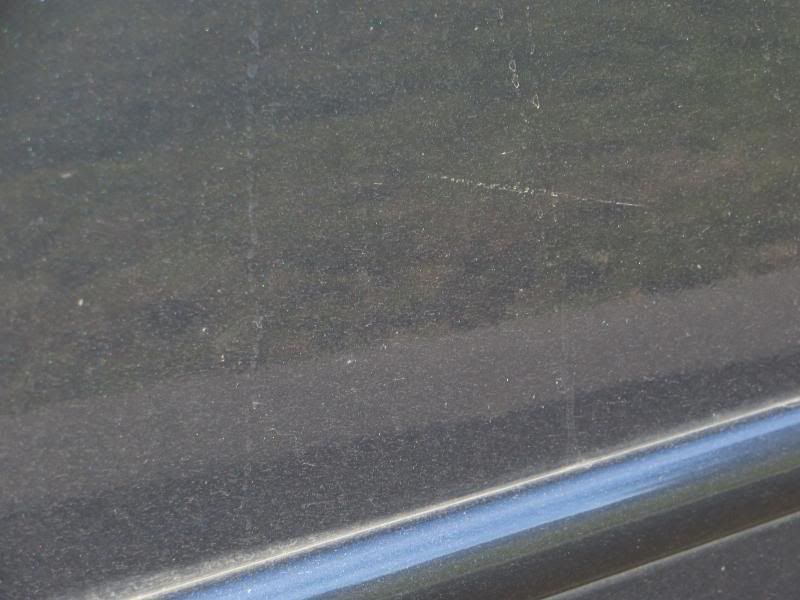
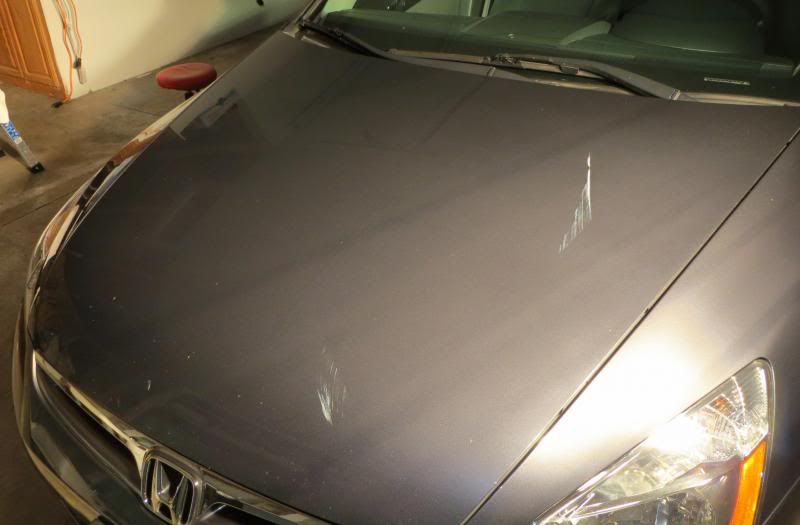
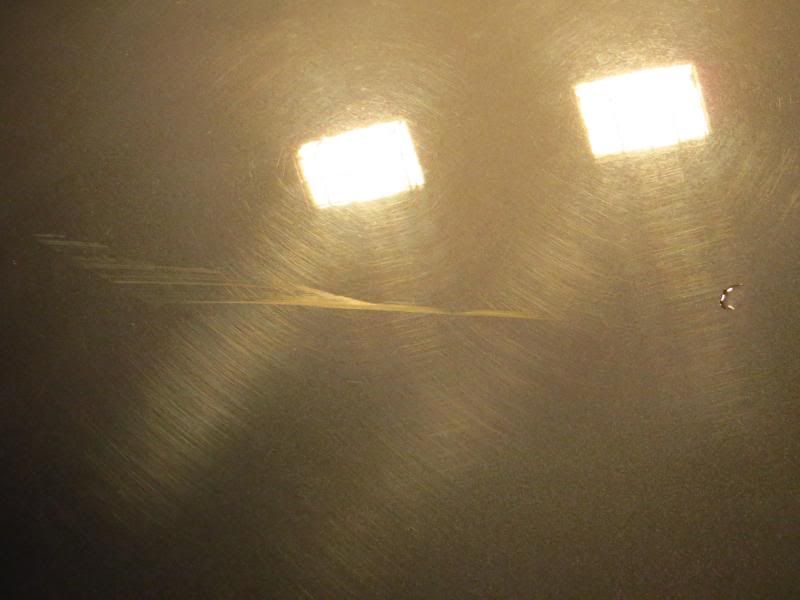
*Spot repair on the hood from a 4'x 8' piece of sheet rock that flew off the back of a flatbed truck while he was cruising down the interstate. I guess he managed to swerve out of the way to miss the majority of it... but some debris did 'explode' upon hitting the road and proceed to bounce up and hit the hood.
*The front incense plate "straightened" from the tunnel wash brushes bending it...lol.
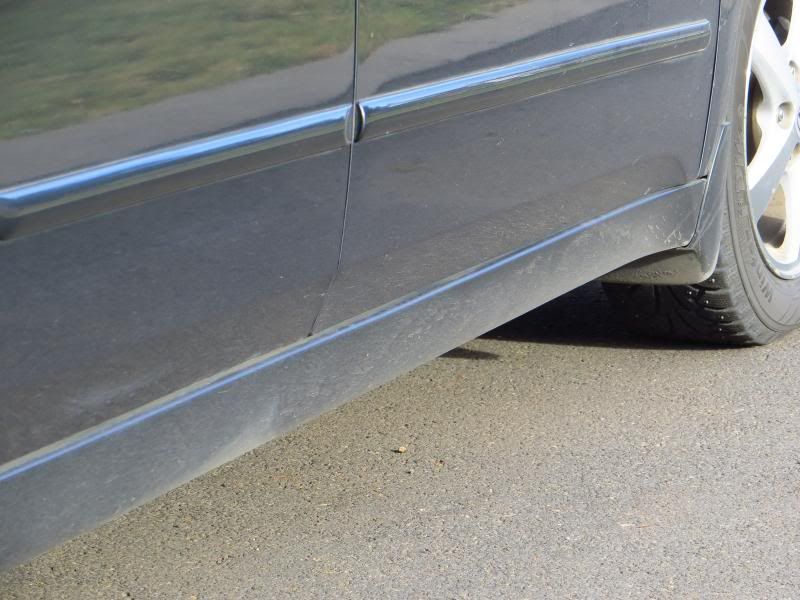
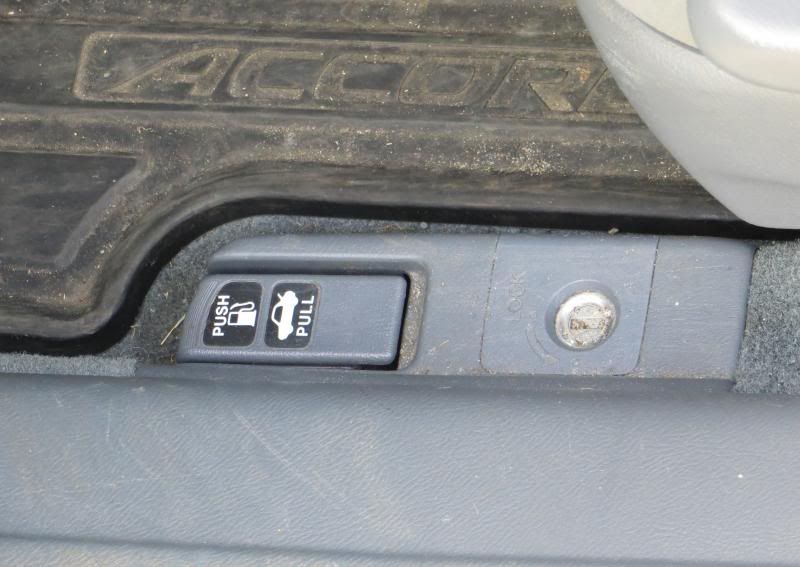
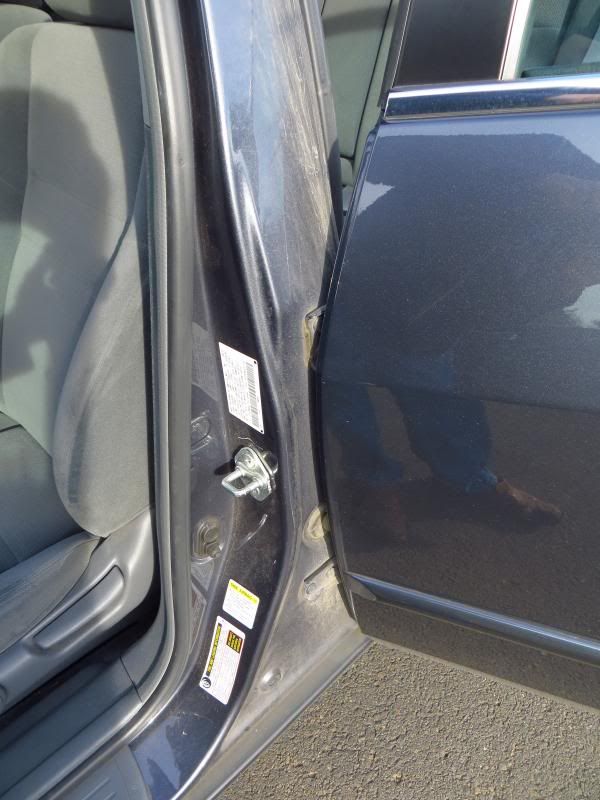
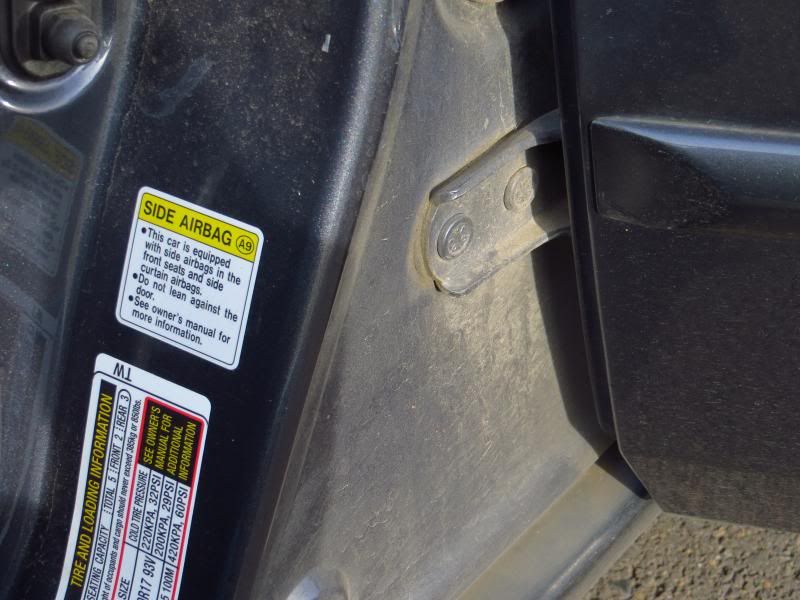
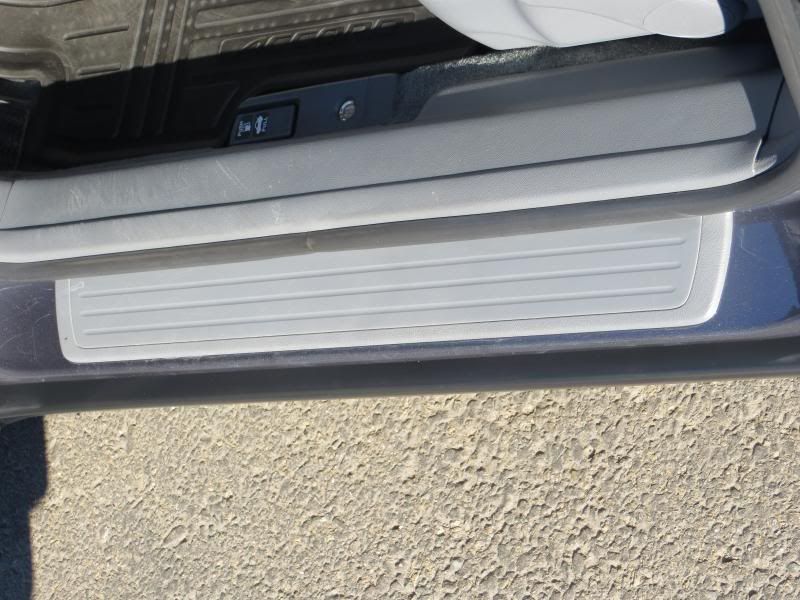
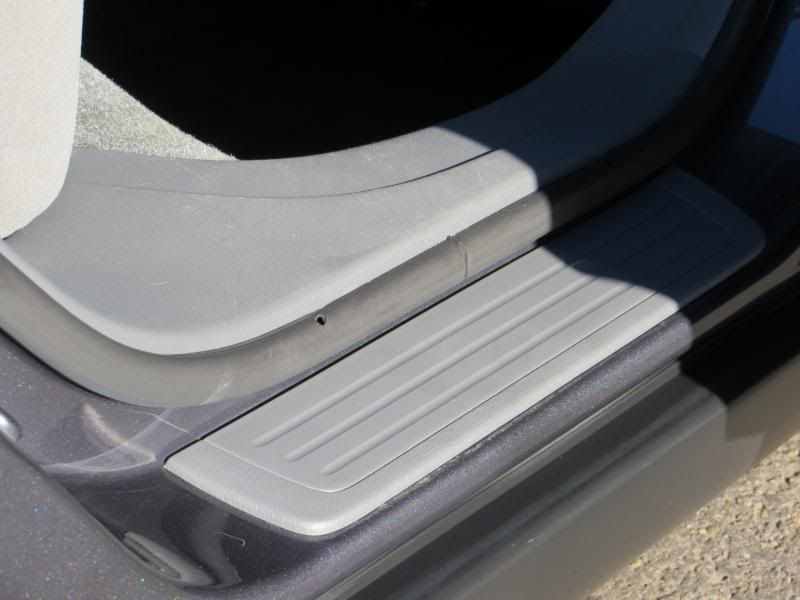
*Door jambs/step plate moldings to look 'better.'
The process was a straight forward and somewhat basic ordeal once the owner decided to purchase my basic exterior package, coupled with my basic interior package. Naturally, extra time was billed due to the spot correction on the hood and the condition of the jambs.
And on to it...

Upon Arrival...
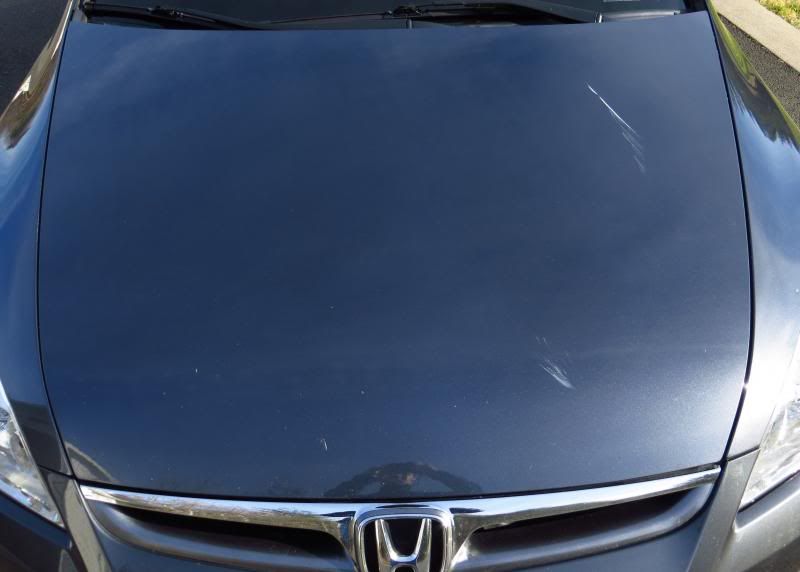
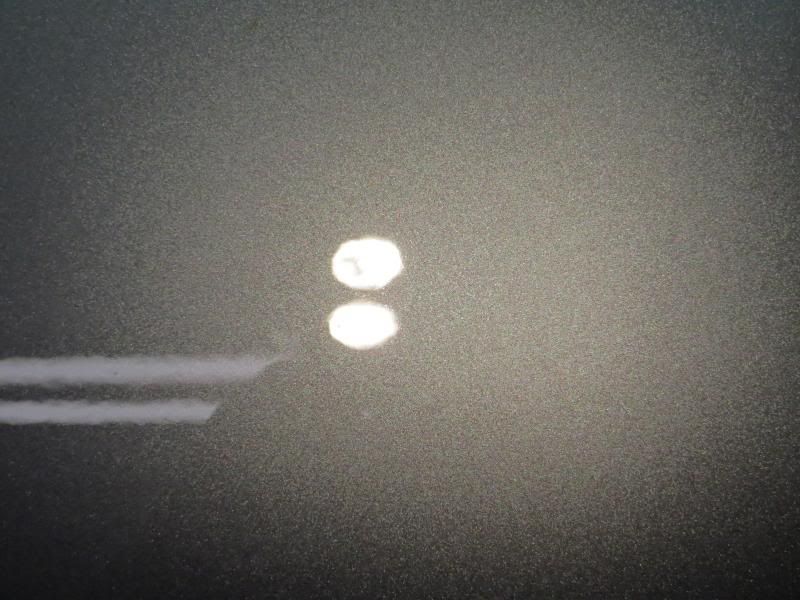
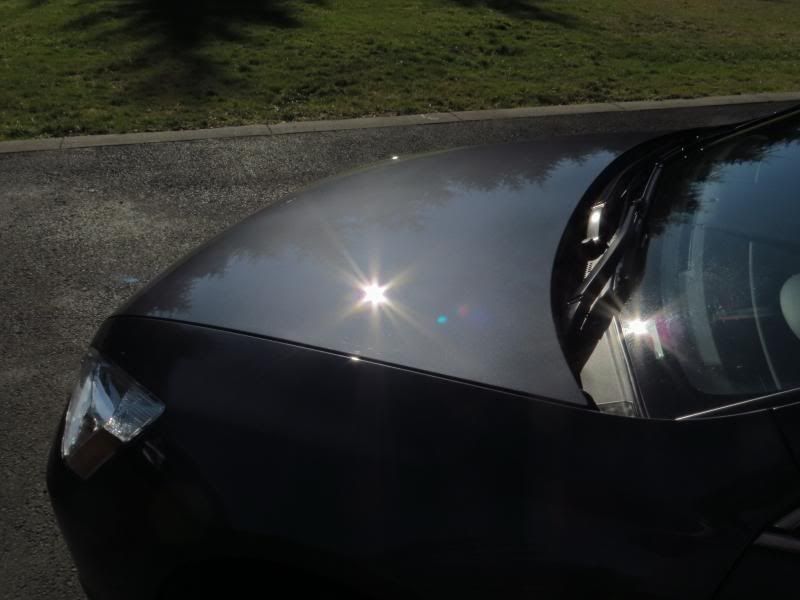
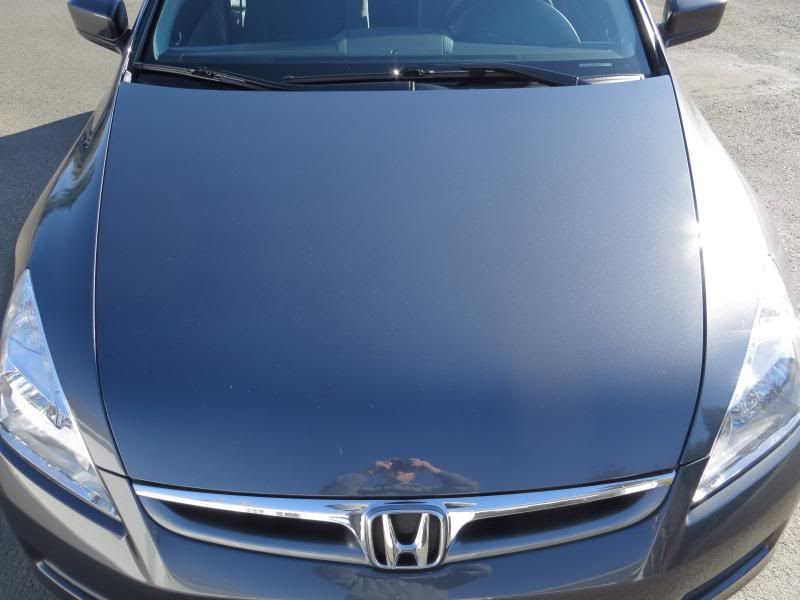
Damaged Hood...
Exterior products used-
Soap- Meg's Shampoo Plus (2BM)
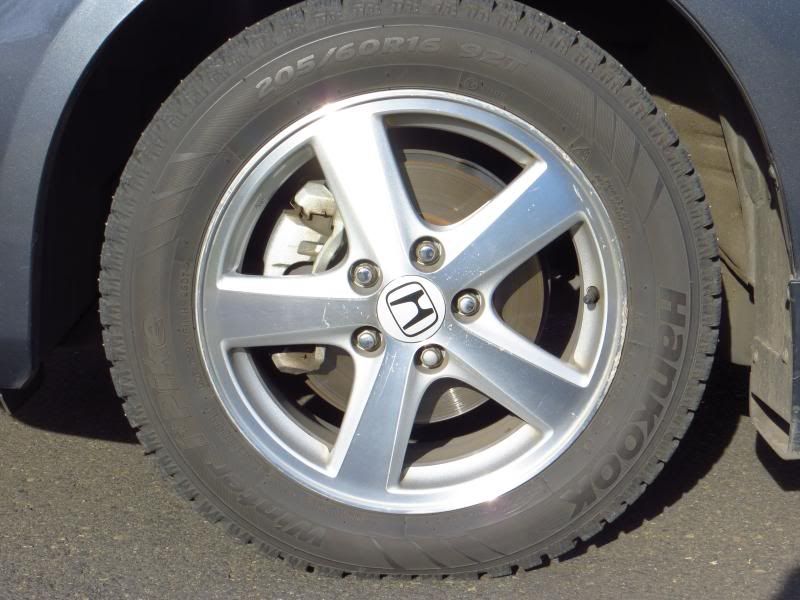
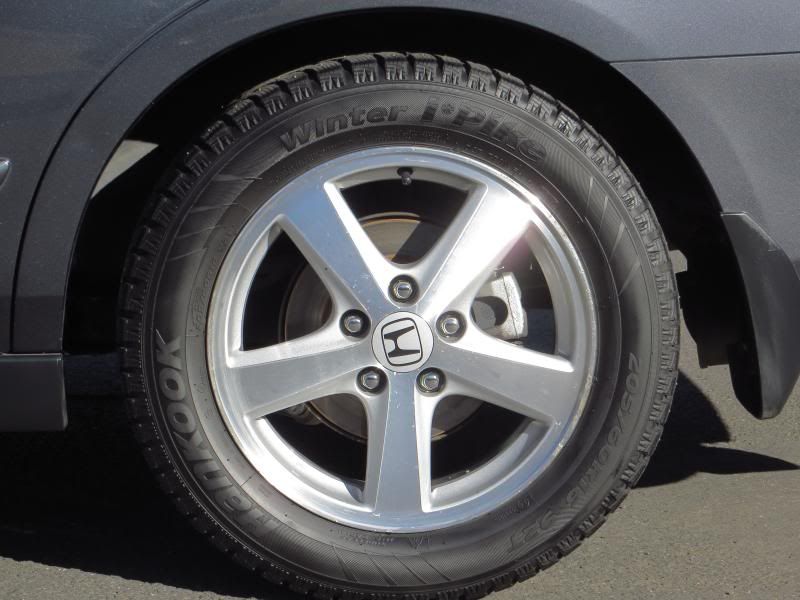
Wheels/Tires- Meg's 143, Non-Acid, Meg's All Season Dressing
Decon- Nanoskin Mitt, fine w/ CG Luber
The paint needed some cleaning and since I was going with a machine applied traditional sealant, I elected to use DG 501 on a B&S black 5.5"
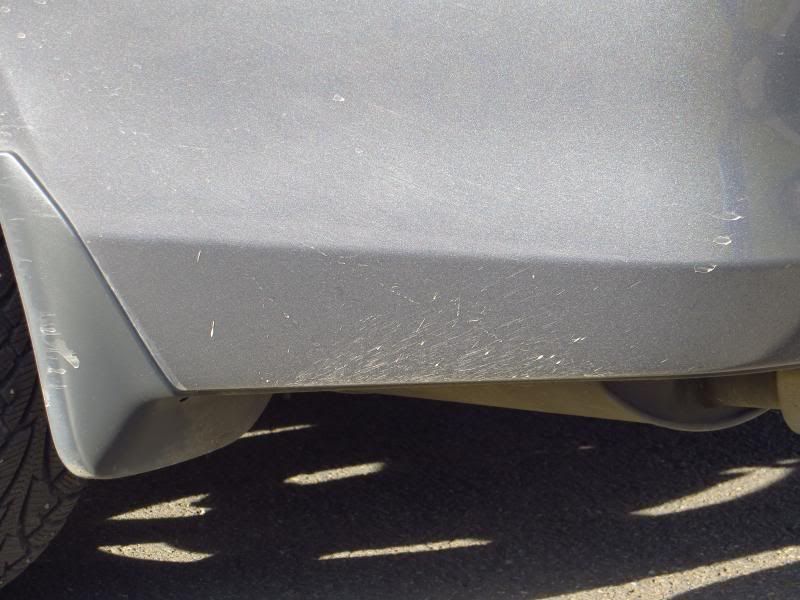
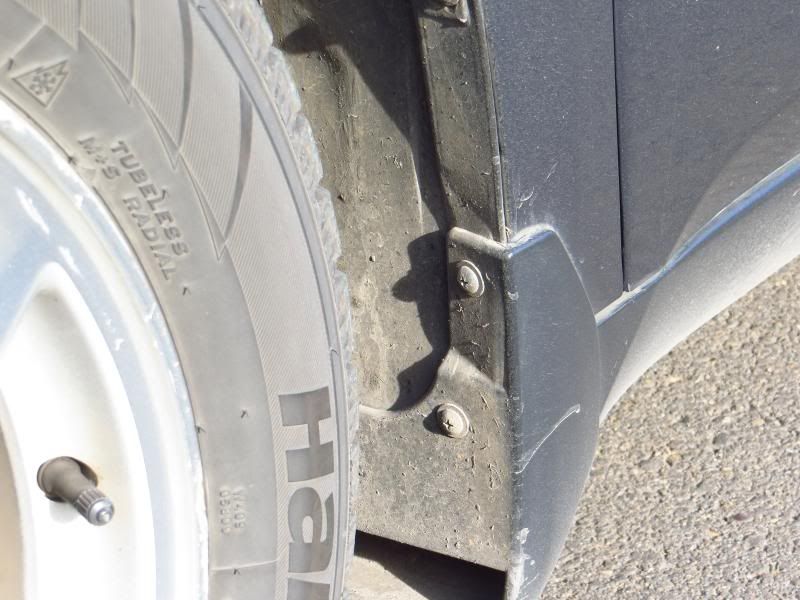
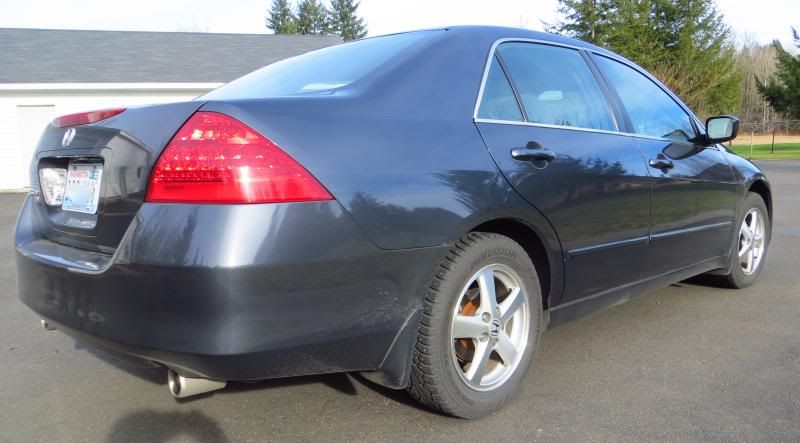
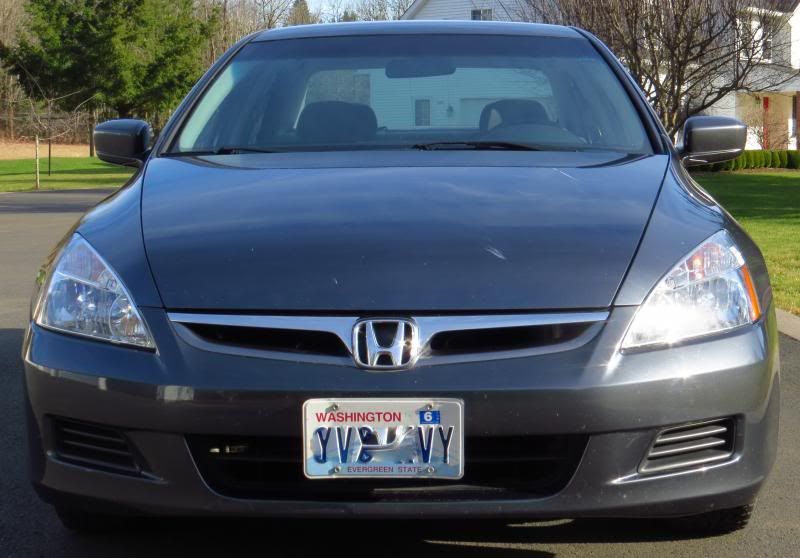
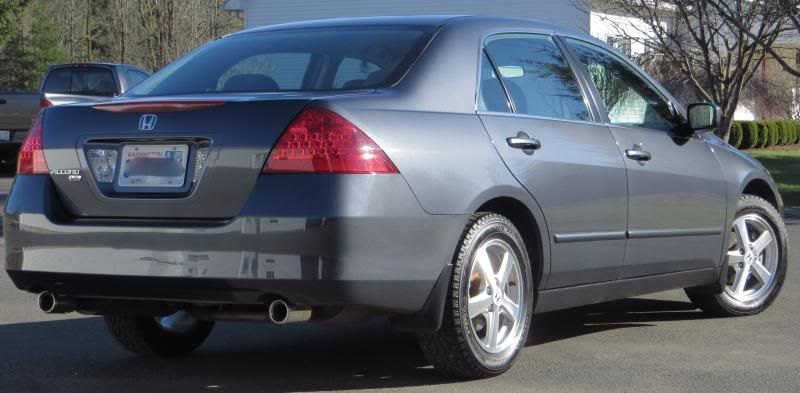
General condition of vehicle...
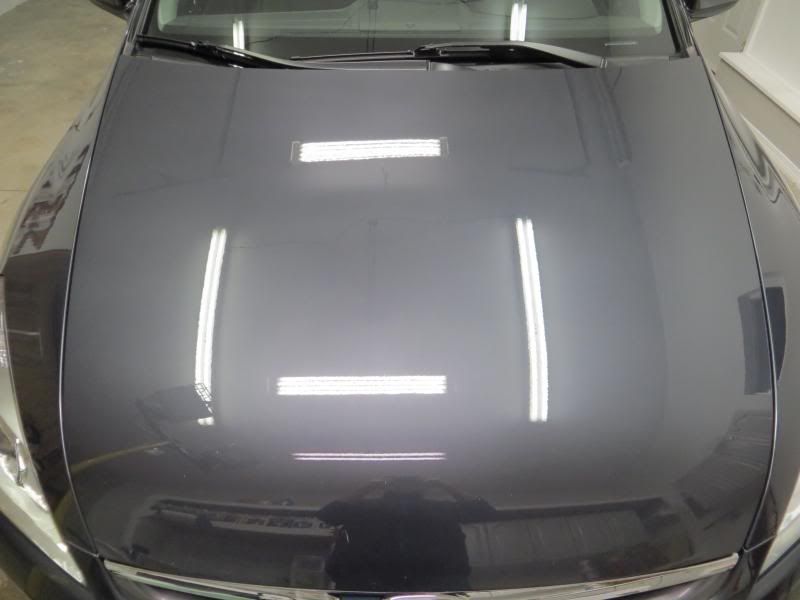
Regarding the spot correction, I utilized a two step method for the two heavily damaged areas and finished up the remaining portions of the hood with a single step.
Products used: HD Cut/ B&S Orange 5.5" on traditional D/A
HD Polish/ B&S Blue 5.5" on traditional D/A
The results weren't perfect... there were still some isolated deep scratches but the majority of the defects were dealt with. I was happy with how the combo finished.
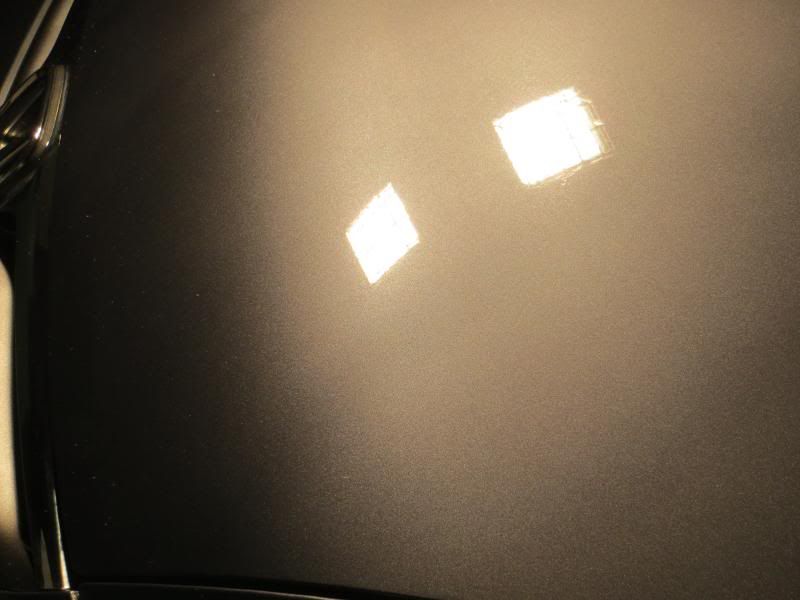
Following pictures showing damage...
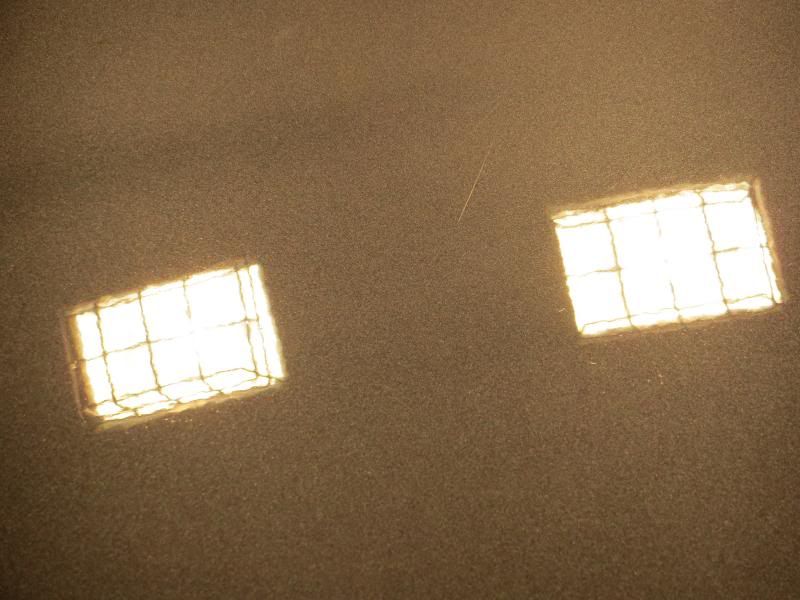
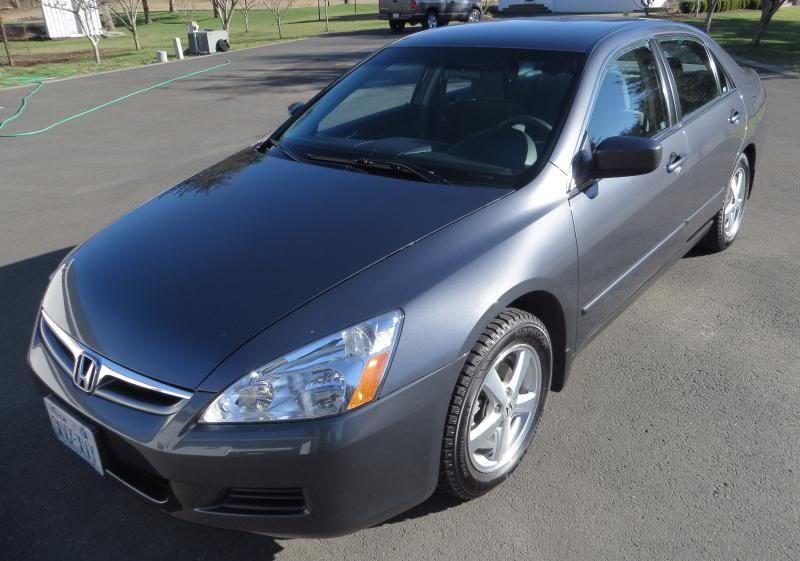
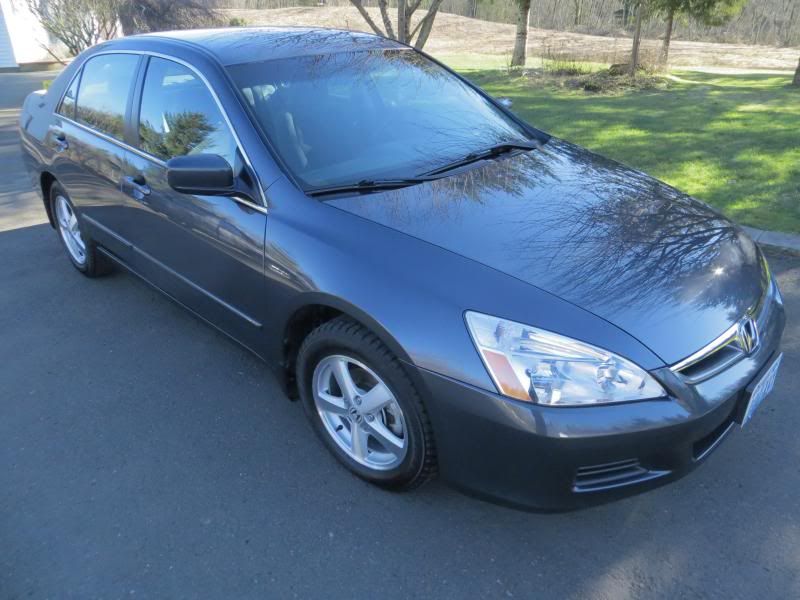
Following pictures showing repair...
On to the Interior.
Well, I learned taking interior shots is harder than exterior... I guess that should have been apparent. Note to self from now on- DO IT INDOORS! I tried to inspect and take photos all in the same location... impossible to do (take good photos that is...) because of shadows presented by sun light.
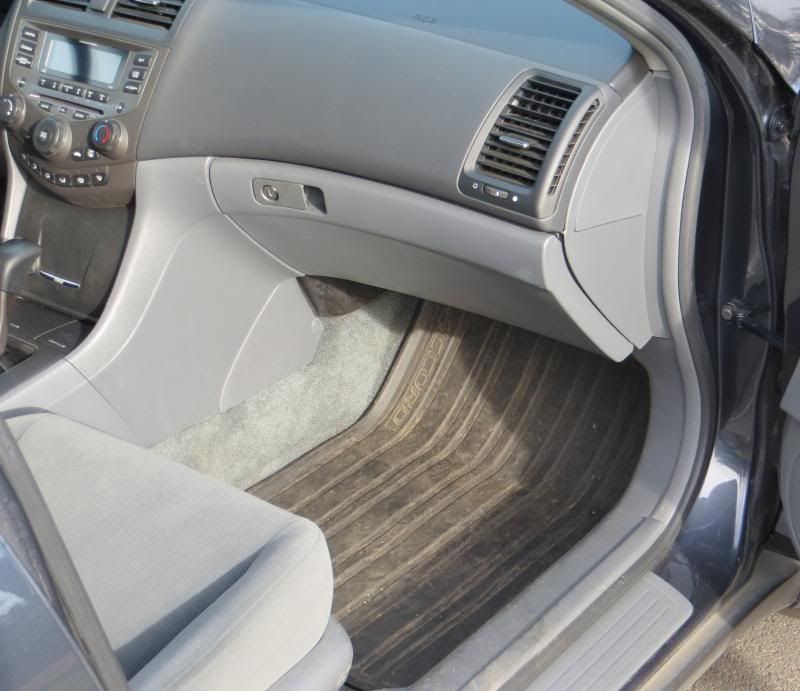
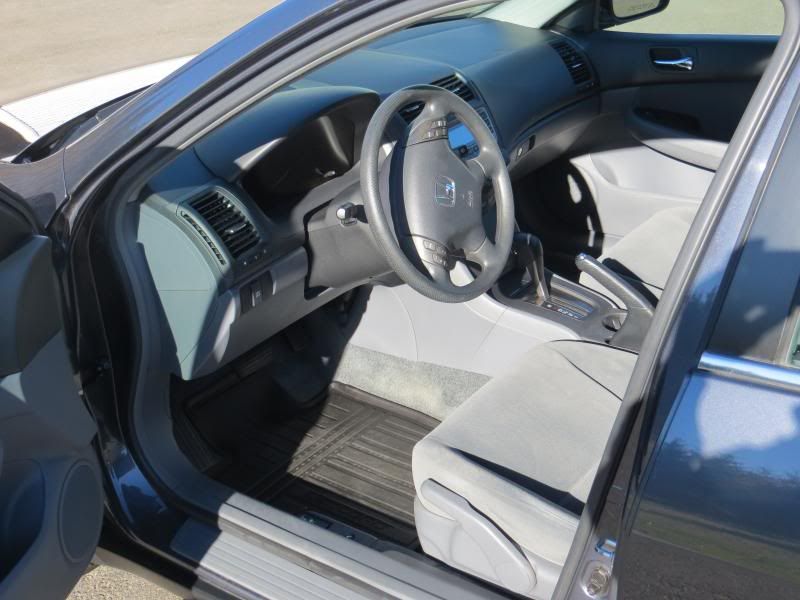
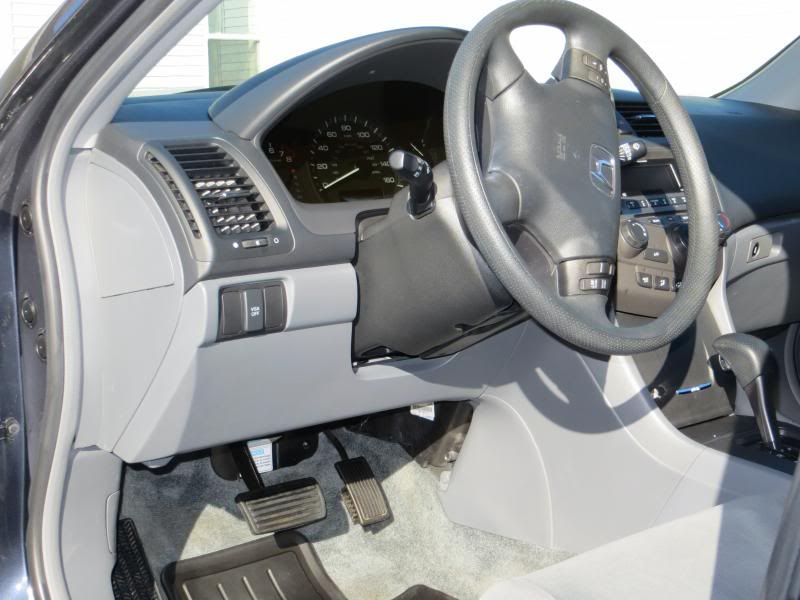
Dash/ Driver's Compartment/ Center console, all were pretty clean, just a light wipe with Meg's Quick Interior Detailer.
Carpets needed a shampoo but owner declined. Just a brush/ vacuum. I didn't take many photos of these areas for the sake of brevity and because I knew there wouldn't be a large contrast.
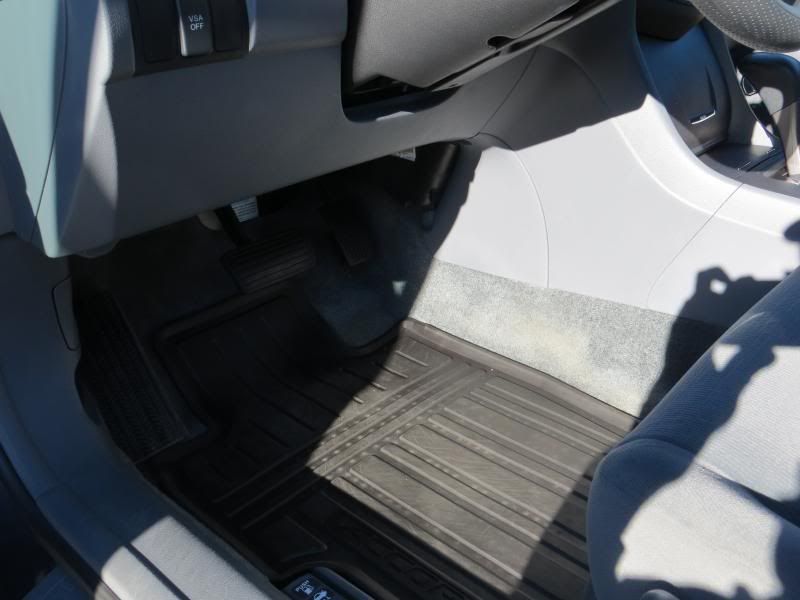
Floor mats cleaned with brushes and Meg's APC. Dressed with Meg's Hyper.
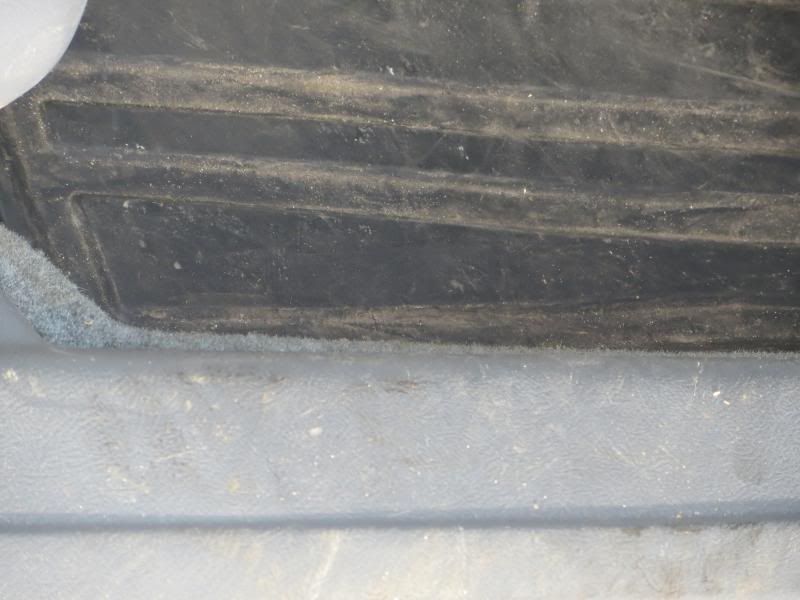
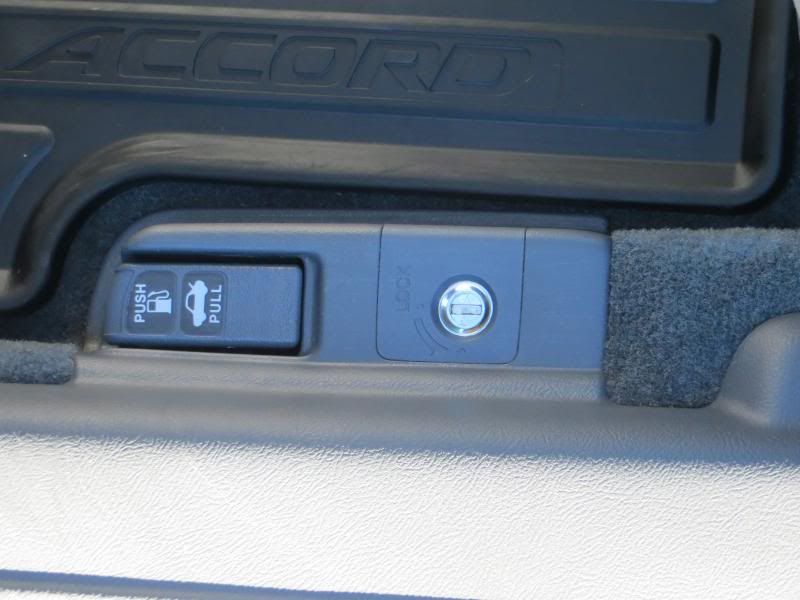
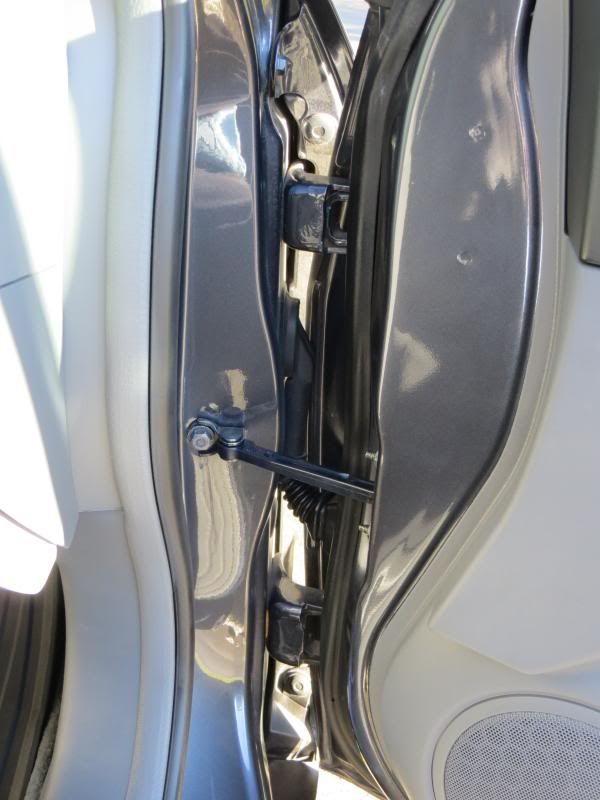
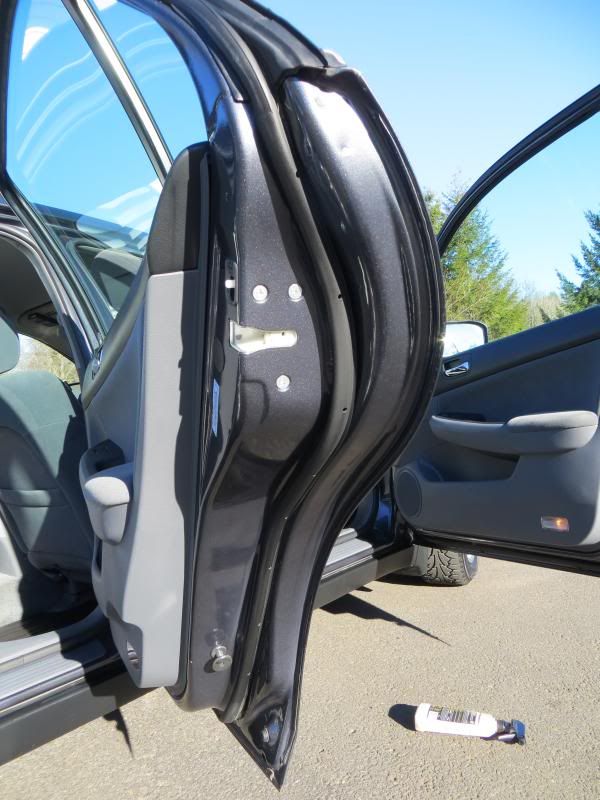
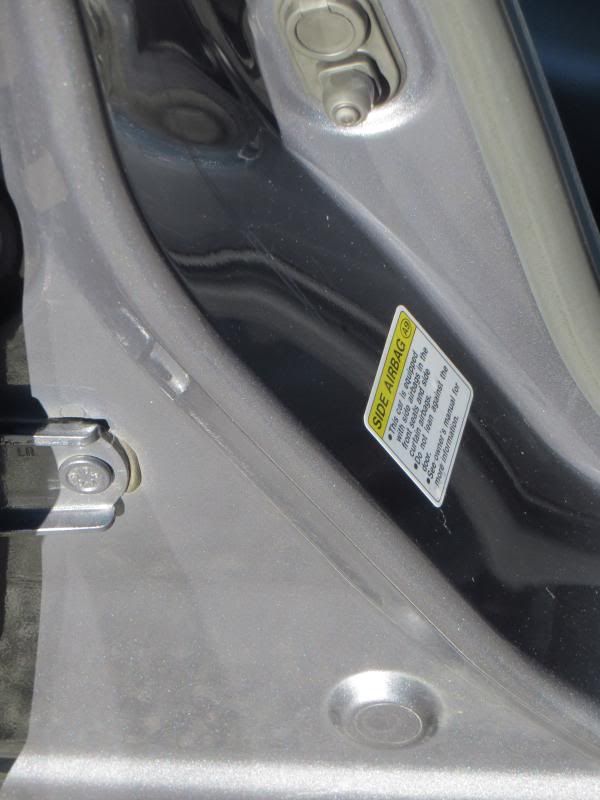
Door jambs and step plate molding(s) cleaned with steam/ Meg's APC/ magic eraser/ various brushes.
Weather seals dressed with CG V.R.P. (although they don't appear to be...)
Interior before...

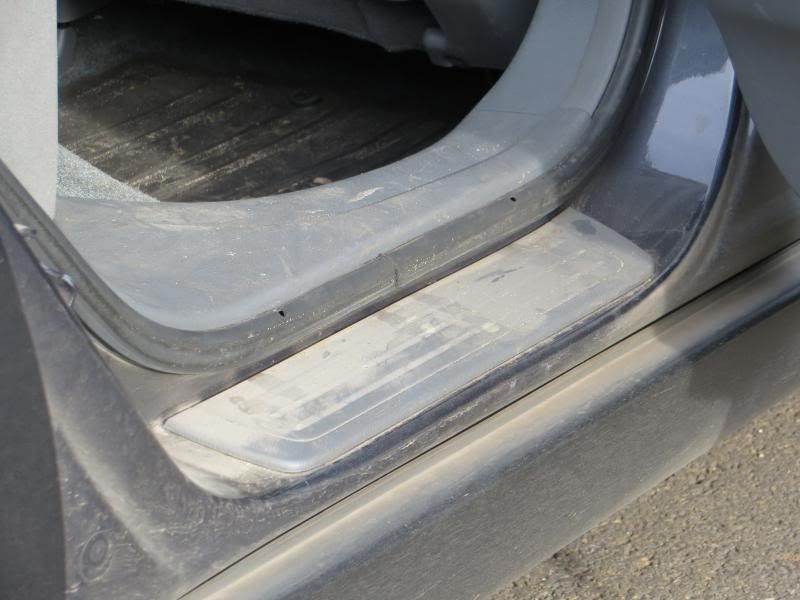
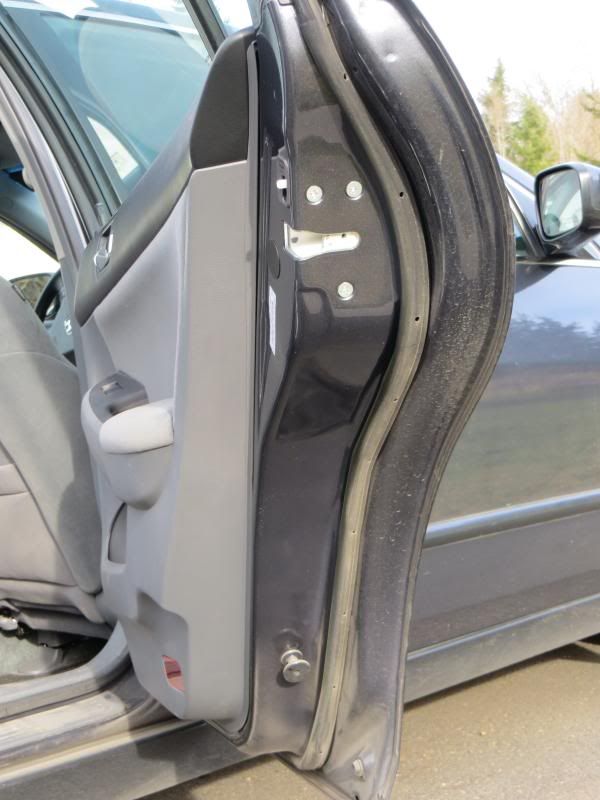
After...
Thank you for reading!
-Gabe
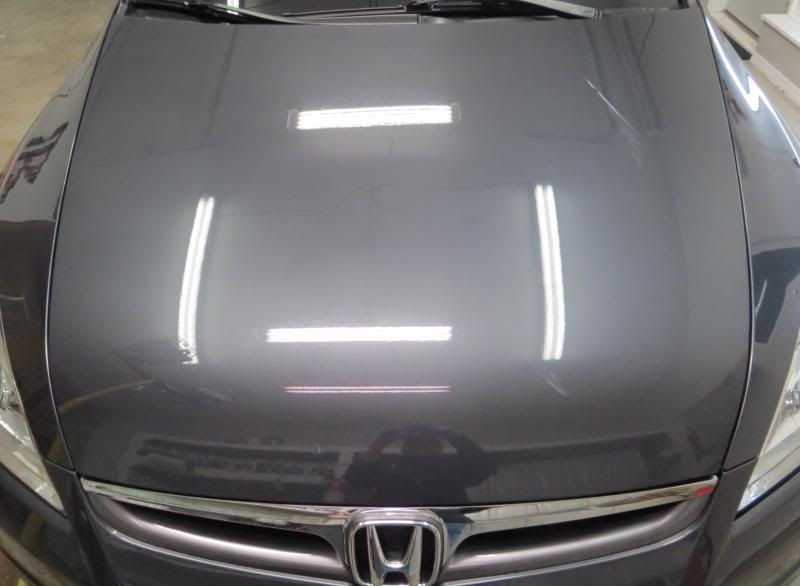
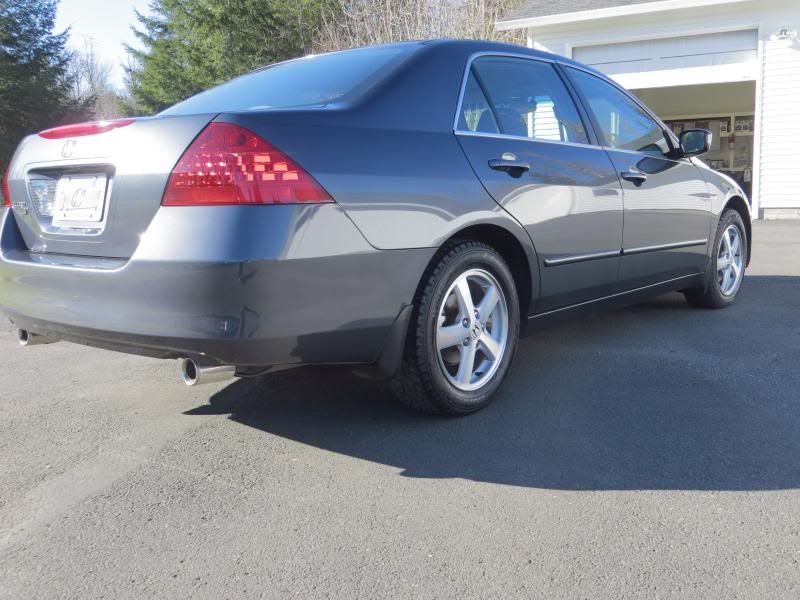
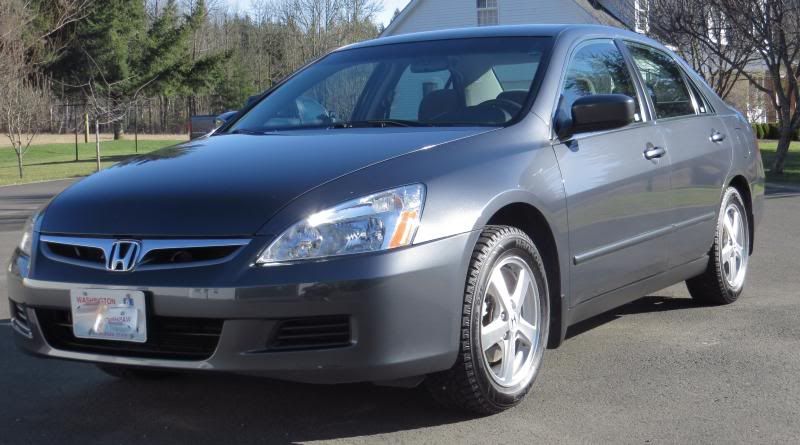
Final Shots...

I completed this Accord about 6 weeks ago and am just now getting around to posting it. Overall, the paint was in decent shape considering it is taken to the "swirl-o-matic" once a month this winter (still going strong in Pac. NW.) The odometer read 56K+. The owner was not concerned about the swirling present and in reality, this blue/grayish metallic hides defects decently anyway.... he wanted me to focus on three items:
*Spot repair on the hood from a 4'x 8' piece of sheet rock that flew off the back of a flatbed truck while he was cruising down the interstate. I guess he managed to swerve out of the way to miss the majority of it... but some debris did 'explode' upon hitting the road and proceed to bounce up and hit the hood.
*The front incense plate "straightened" from the tunnel wash brushes bending it...lol.
*Door jambs/step plate moldings to look 'better.'
The process was a straight forward and somewhat basic ordeal once the owner decided to purchase my basic exterior package, coupled with my basic interior package. Naturally, extra time was billed due to the spot correction on the hood and the condition of the jambs.
And on to it...

Upon Arrival...

Damaged Hood...
Exterior products used-
Soap- Meg's Shampoo Plus (2BM)
Wheels/Tires- Meg's 143, Non-Acid, Meg's All Season Dressing
Decon- Nanoskin Mitt, fine w/ CG Luber
The paint needed some cleaning and since I was going with a machine applied traditional sealant, I elected to use DG 501 on a B&S black 5.5"
General condition of vehicle...


Regarding the spot correction, I utilized a two step method for the two heavily damaged areas and finished up the remaining portions of the hood with a single step.
Products used: HD Cut/ B&S Orange 5.5" on traditional D/A
HD Polish/ B&S Blue 5.5" on traditional D/A
The results weren't perfect... there were still some isolated deep scratches but the majority of the defects were dealt with. I was happy with how the combo finished.
Following pictures showing damage...


Following pictures showing repair...


On to the Interior.
Well, I learned taking interior shots is harder than exterior... I guess that should have been apparent. Note to self from now on- DO IT INDOORS! I tried to inspect and take photos all in the same location... impossible to do (take good photos that is...) because of shadows presented by sun light.
Dash/ Driver's Compartment/ Center console, all were pretty clean, just a light wipe with Meg's Quick Interior Detailer.
Carpets needed a shampoo but owner declined. Just a brush/ vacuum. I didn't take many photos of these areas for the sake of brevity and because I knew there wouldn't be a large contrast.
Floor mats cleaned with brushes and Meg's APC. Dressed with Meg's Hyper.
Door jambs and step plate molding(s) cleaned with steam/ Meg's APC/ magic eraser/ various brushes.
Weather seals dressed with CG V.R.P. (although they don't appear to be...)
Interior before...


After...


Thank you for reading!
-Gabe
Final Shots...


")