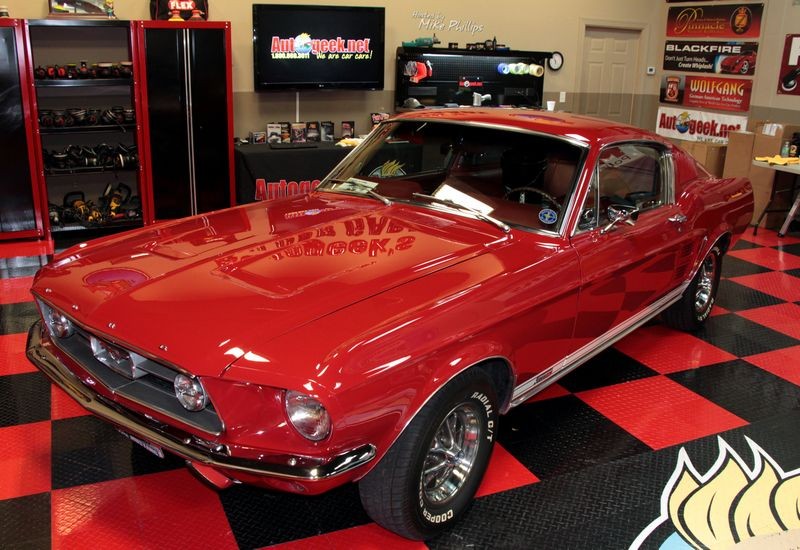
How to remove swirls and scratches by machine
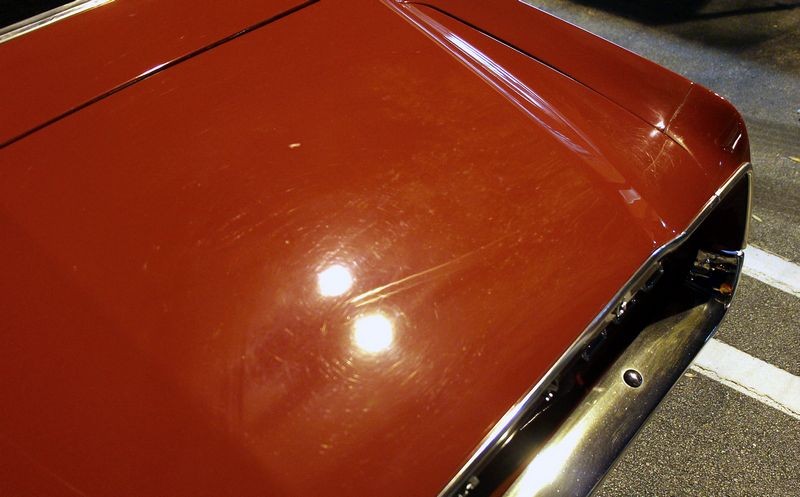
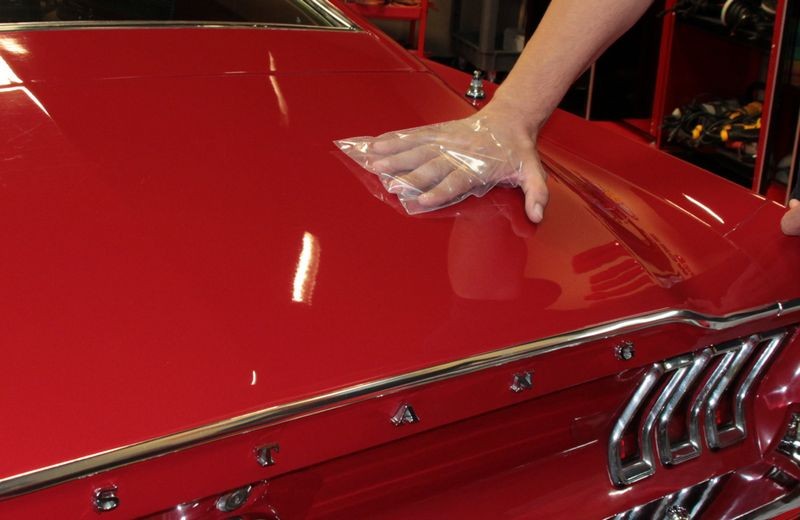
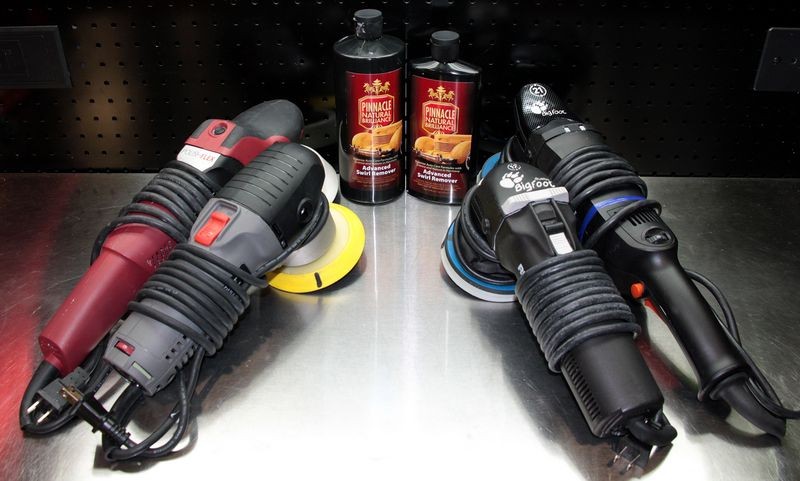
After decontaminating the paint, the next step is to remove the swirls and scratches. For this I let the guy pick whichever tool they like the most or want to get some experience with and the tools of choice for this project were in no specific order,
Flex PE14 Rotary Polisher
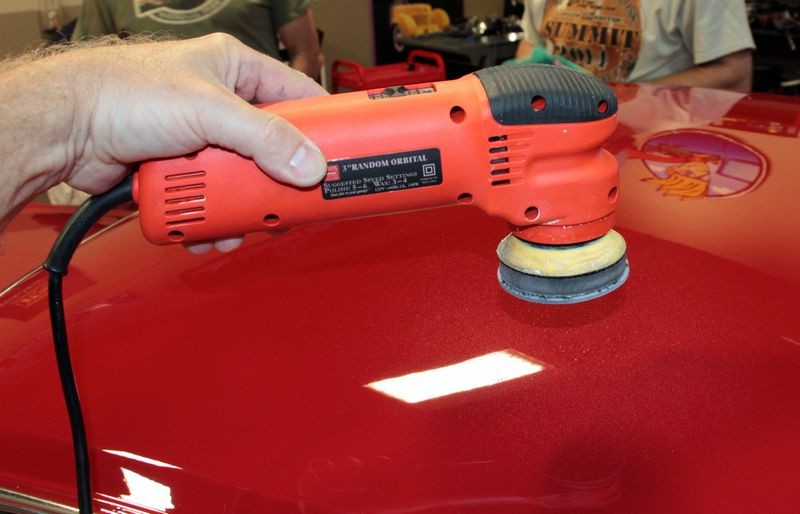
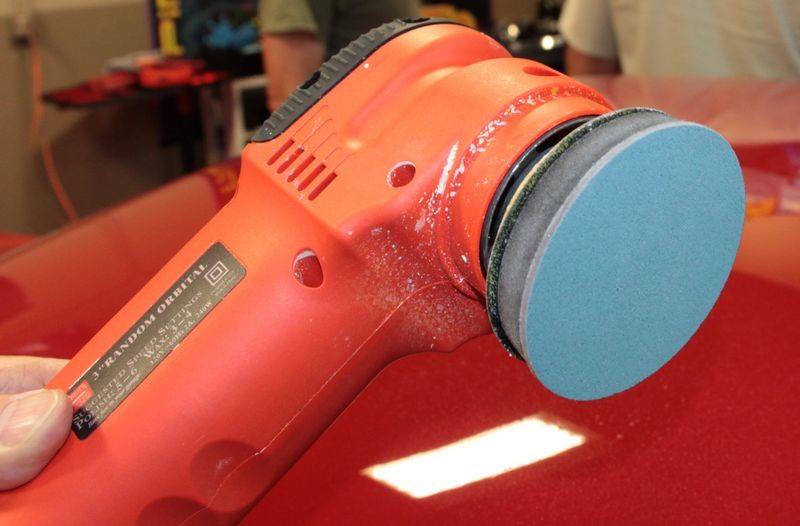
Porter Cable 7424XP
Rupes Bigfoot 21
Rupes Duetto 12
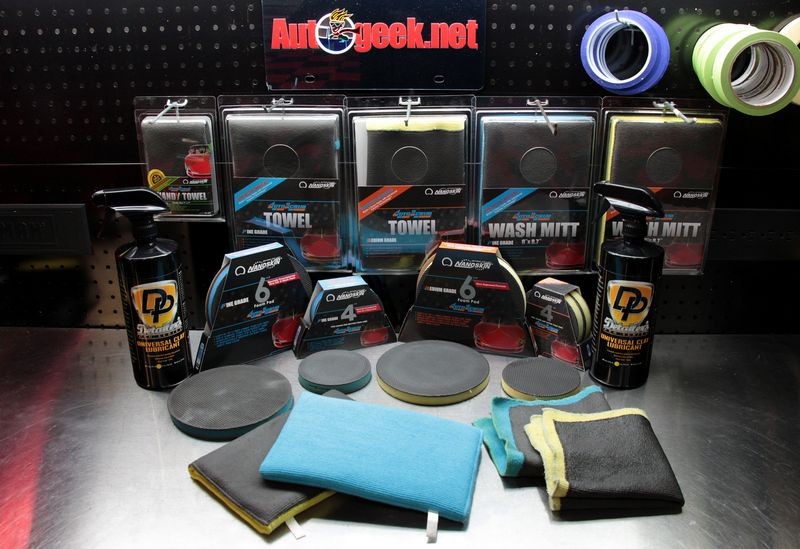
For polish we used Pinnacle Advanced Swirl Remover. This is a medium cut polish that works well with any tool, any pad and on any paint system. You can even use it by hand for tight or intricate areas where you cannot safely fit a buffing pad.
Test Spot
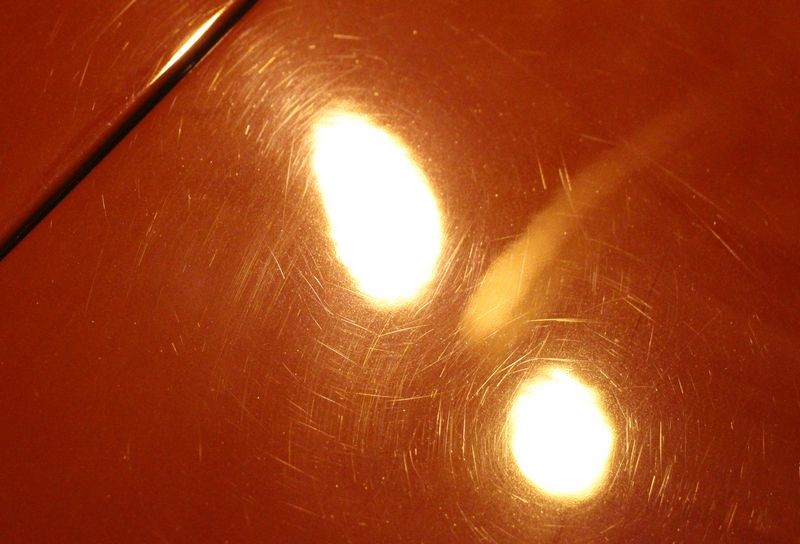
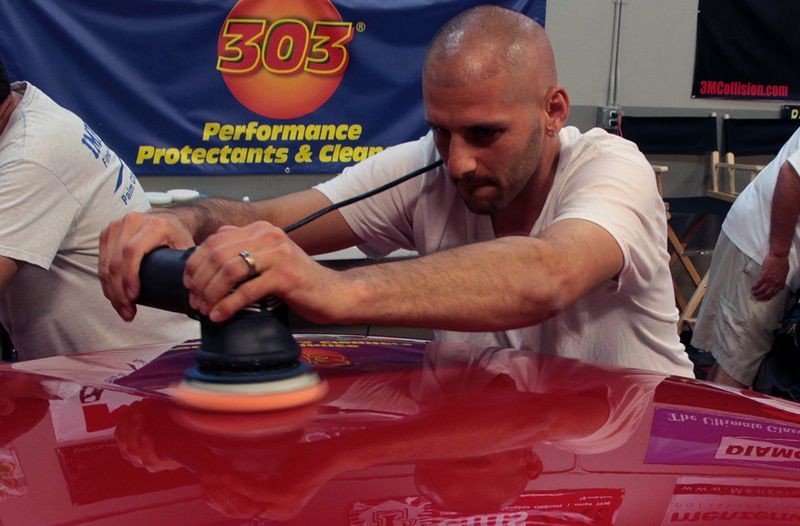
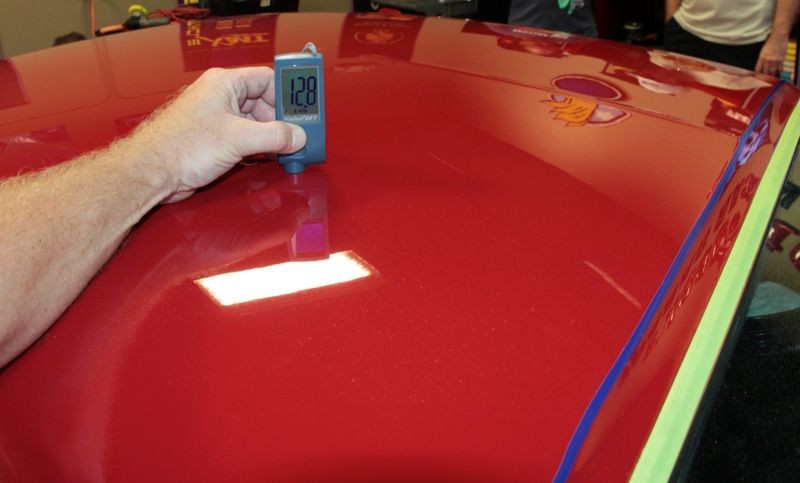
Before we started, I did the test spot on Bill's Mustang. The test spot is where you test all the pads, products, tools and technique to one small area and make sure you're getting exactly the results you want in this one small area before buffing out the rest of the car.
If you process can make one small area look good then it's reasonable to assume if you duplicate this process over the rest of the car you'll get the same great results.
Here's my article on doing a Test Spot
How To Do a Test Spot
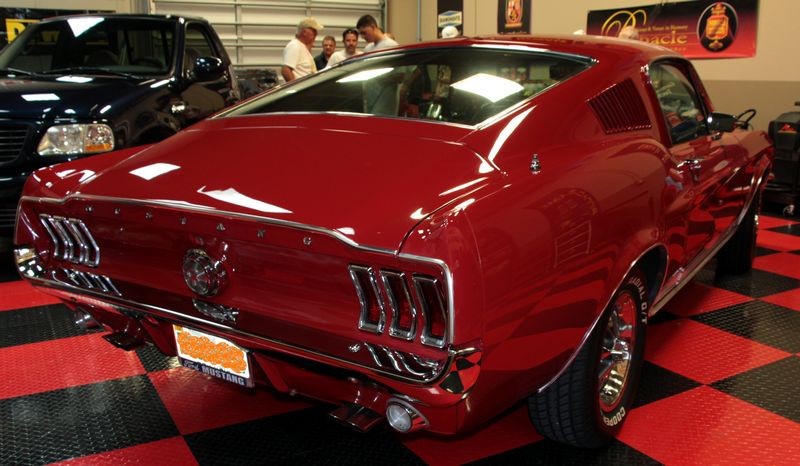
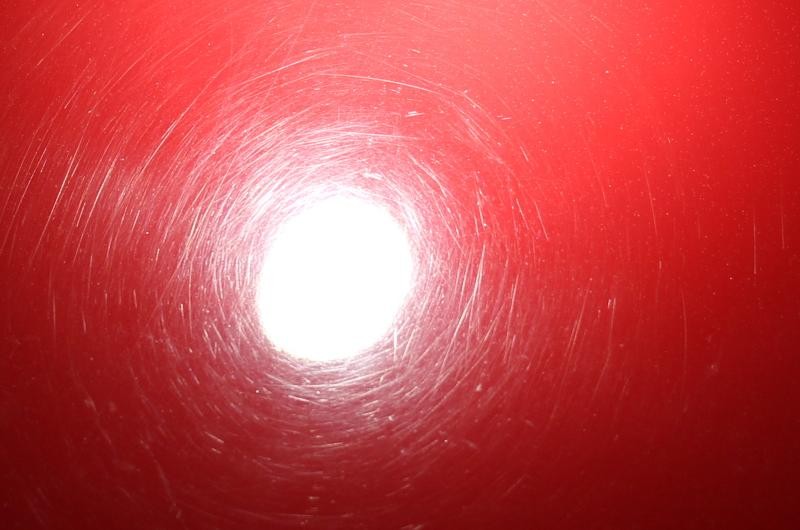
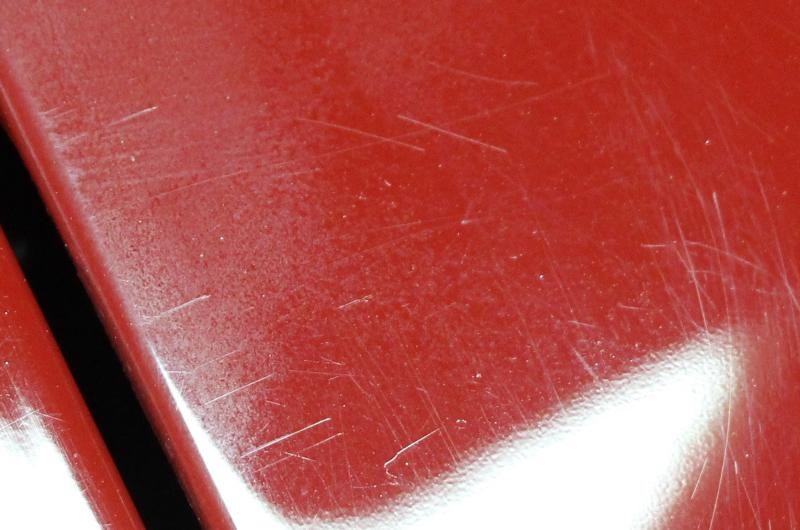
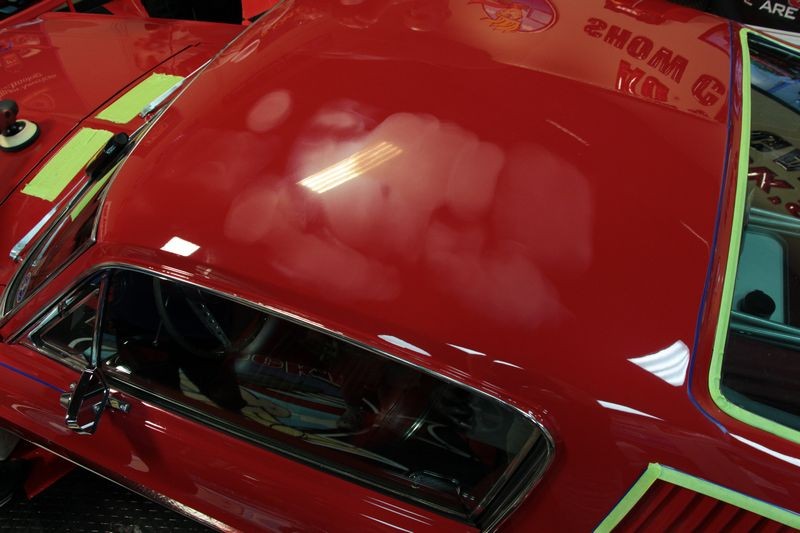
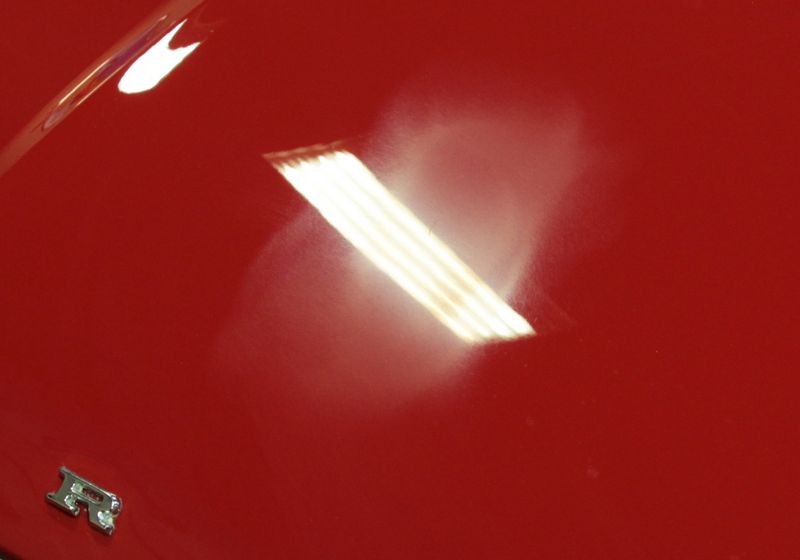
When I did the test spot I found the swirls and scratches came out very easy and the clearcoat paint for this custom paint job polished up really nice. So after the test spot I turned the guys loose on Bill's Mustang.
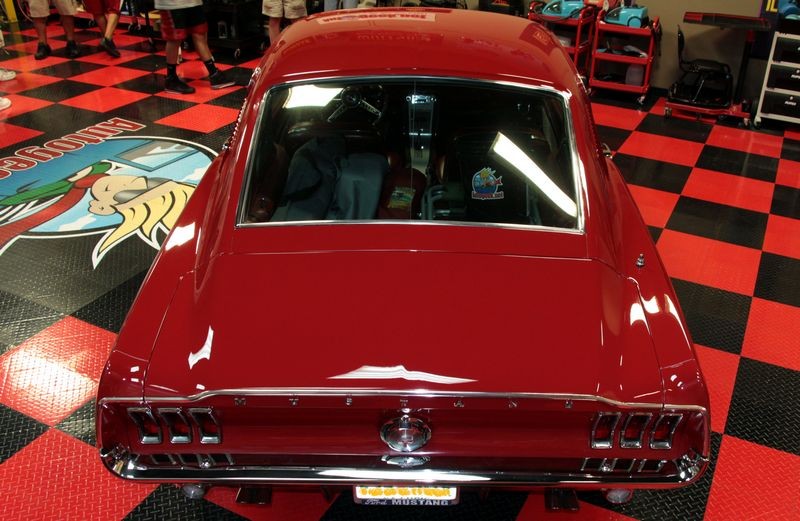
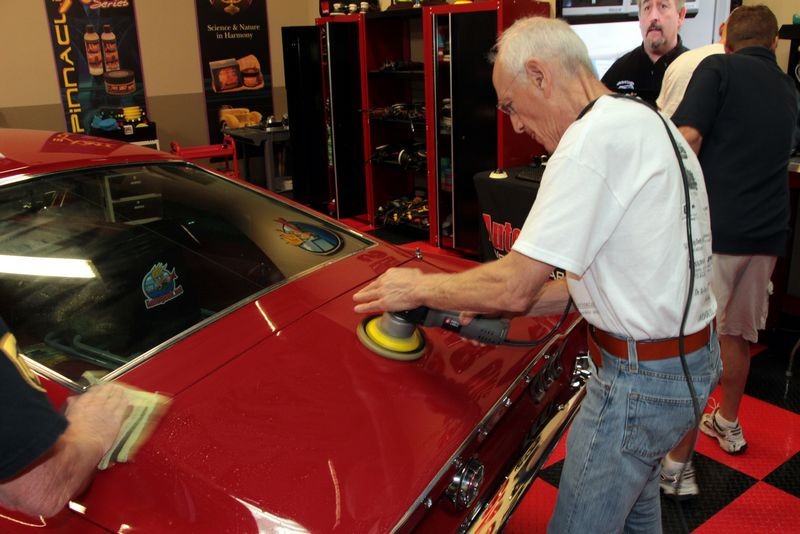
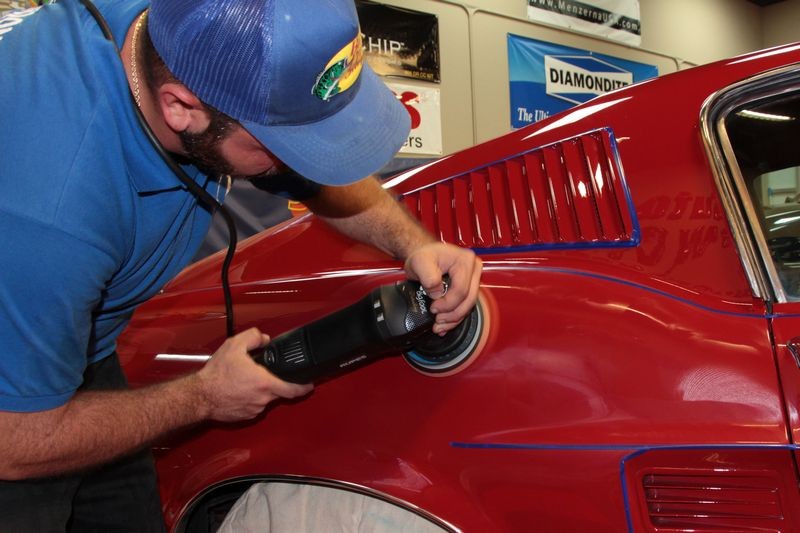
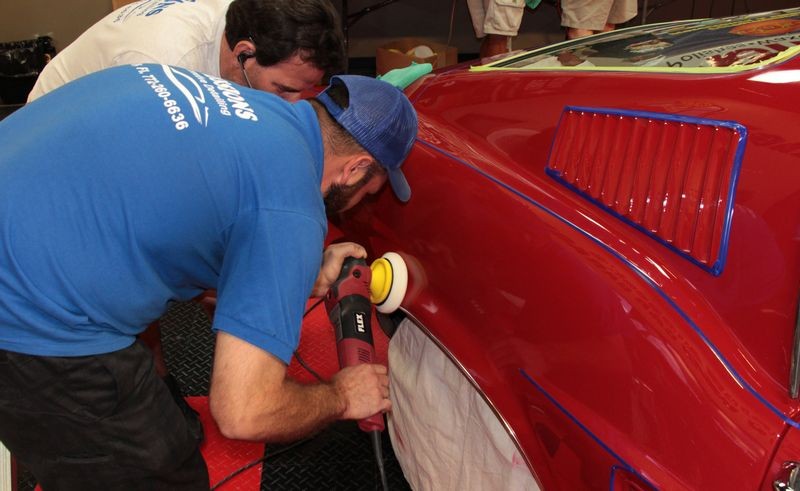
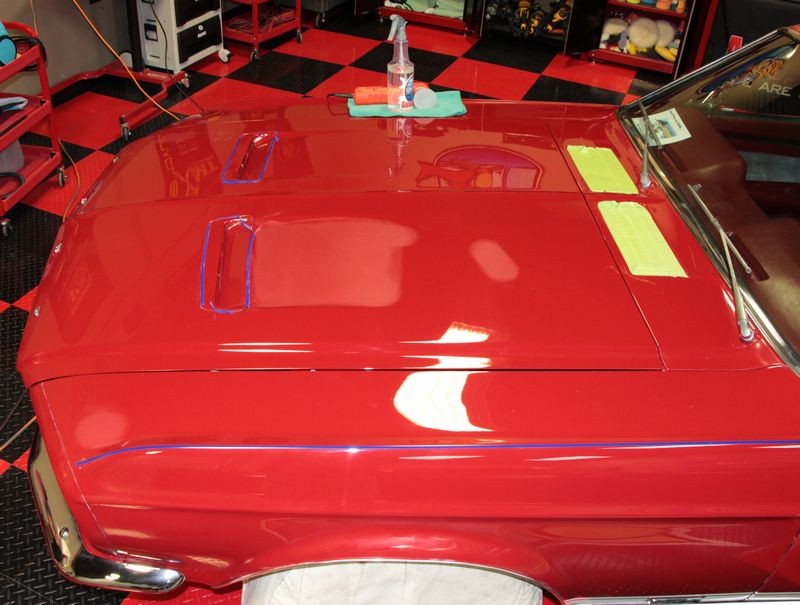
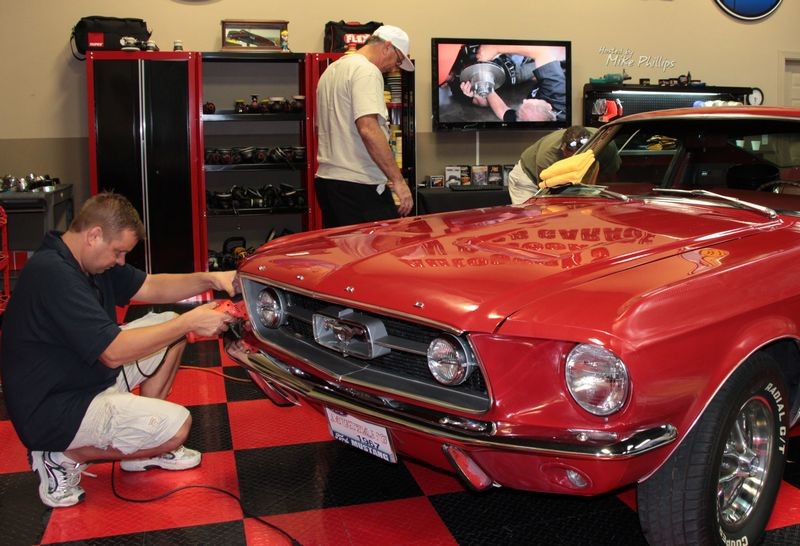
Here's Al, a member of the local BMW Club using the Porter Cable 7424XP with a Lake Country 5.5" Orange Foam Cutting pad removing the swirls and scratches on the deck lid.
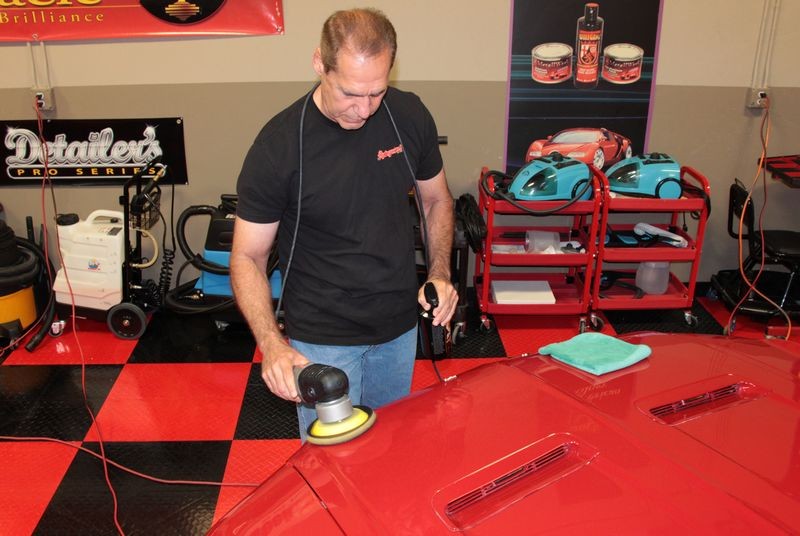
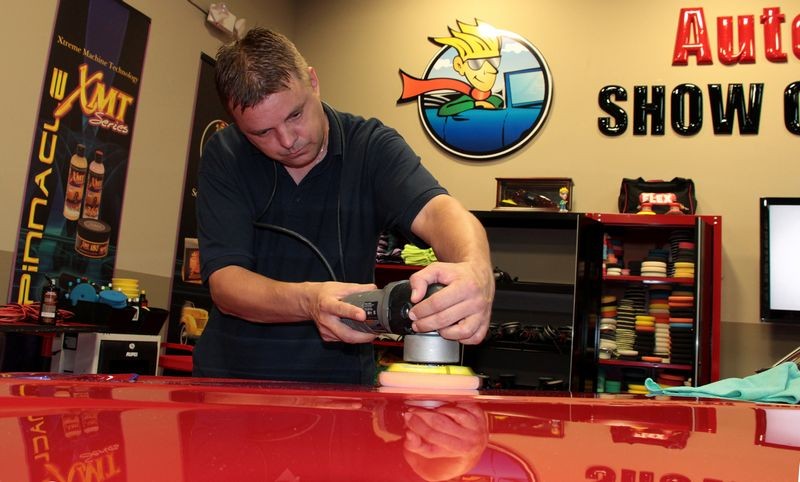
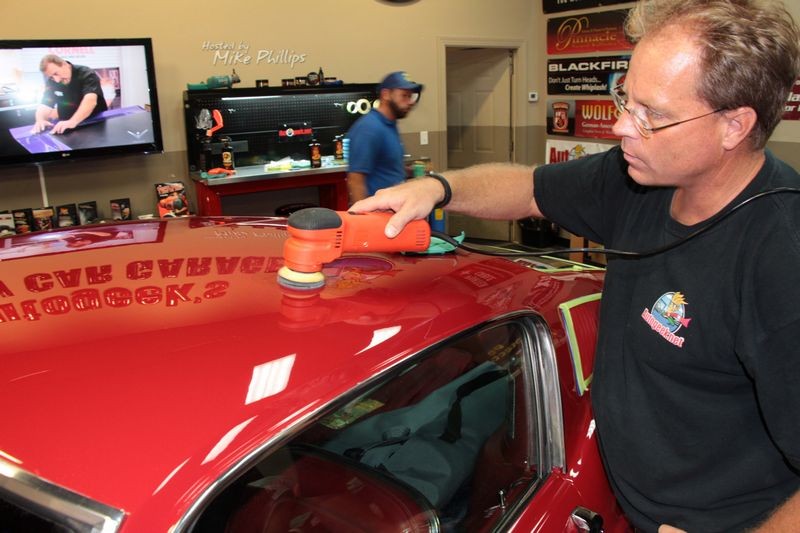
Here's Frank removing the swirls off the hood...
Here's Al, Bill's buddy using the Porter Cable 7424XP for the very first time.
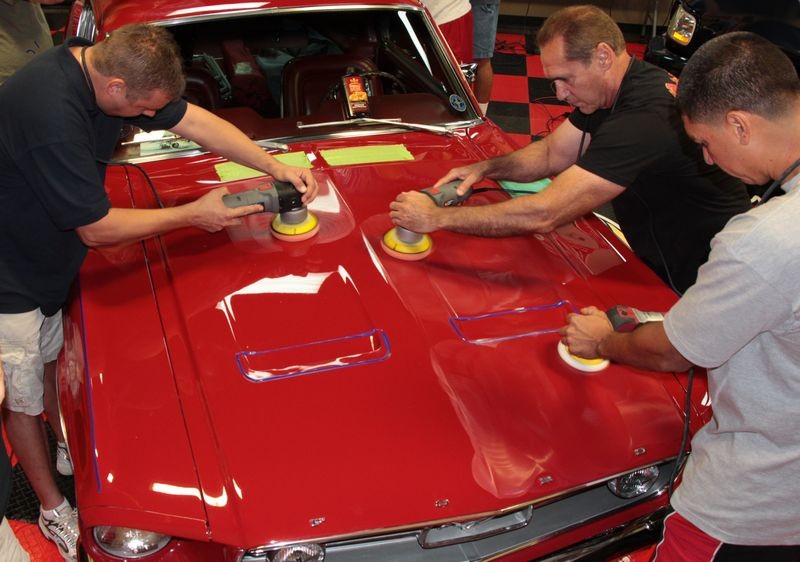
Teamwork
Here's Andy on the left and Frank on the right and in front of Frank is Josue working the Flex PE14 Rotary Polisher.
Rupes Duetto
Here's Chris, on the other side of the roof and Craig on the passenger side tackling the roof. These two guys are using the Rupes Duetto. Chris is using a factory production unit while Craig is using one of 4 Prototypes sent out pre-production for testing.
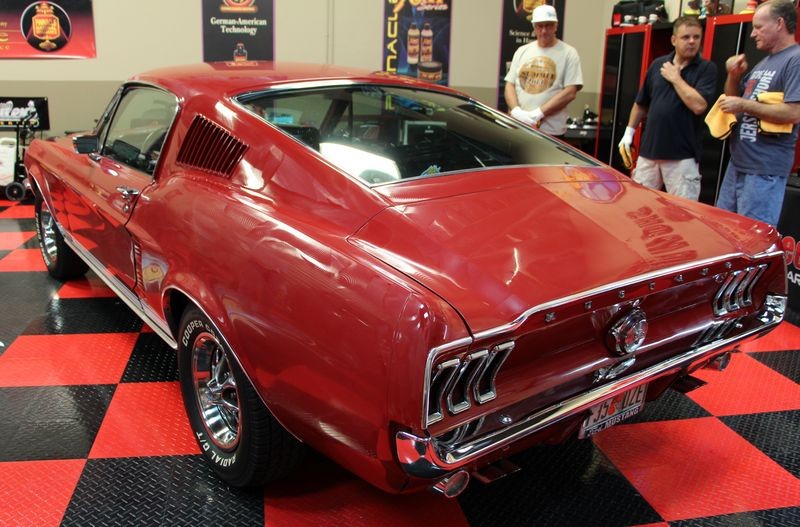
Two guys named Al
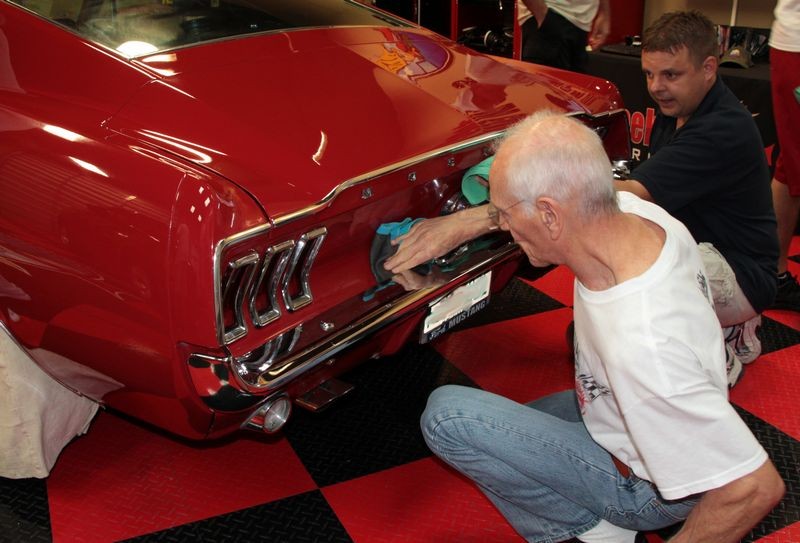
The Al pointing to the deck lid to the other Al, was commenting on how much nicer the paint looked after machine polishing.
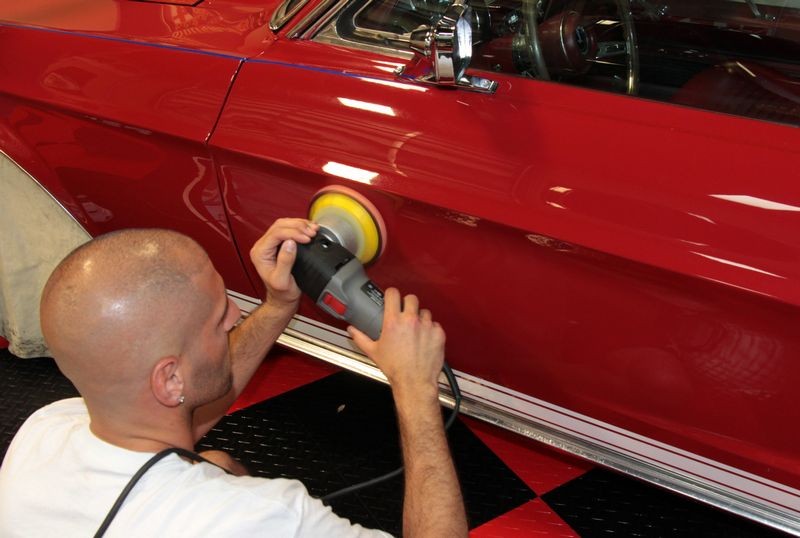
Here's Nicholas Diterlizzi working a Bigfoot Orbital Polisher on the passenger side rear fender...
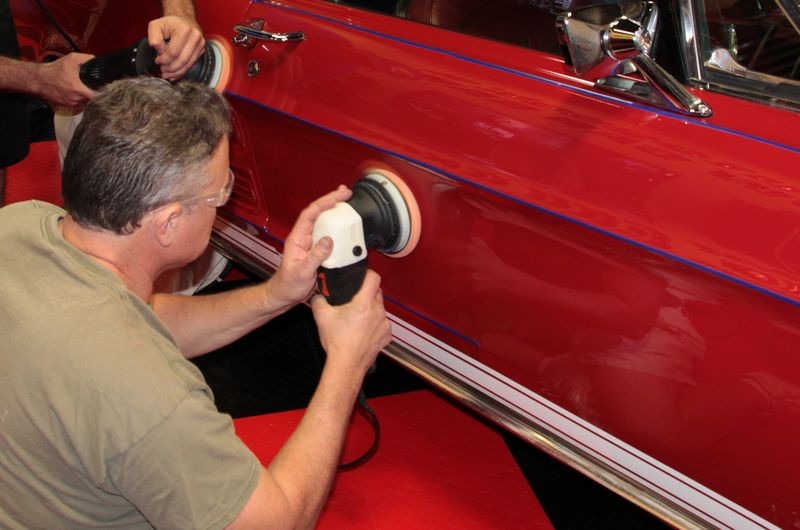
Here's Craig polishing the passenger side door with the Rupes Duetto (Prototype)
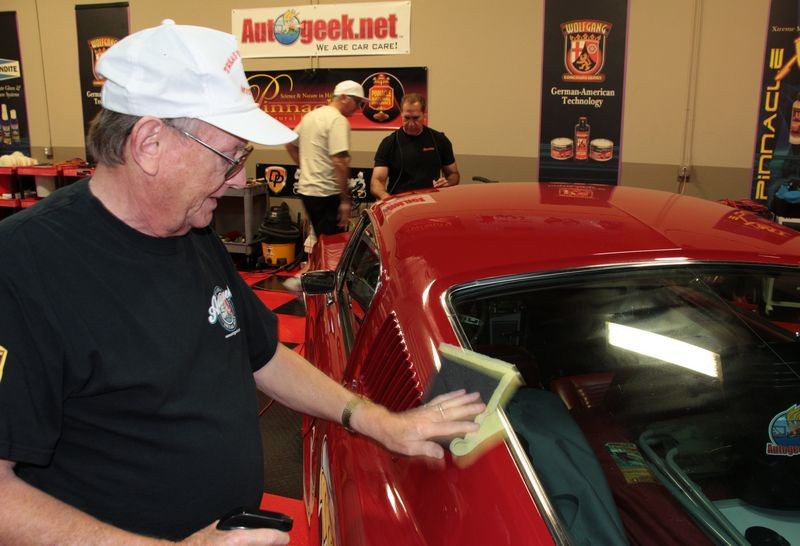
Here's Chris using a pad conditioning brush to clean the face of his buffing pad. (Very important)
Here's Frank using the Rupes Duetto on the driver's side fender...
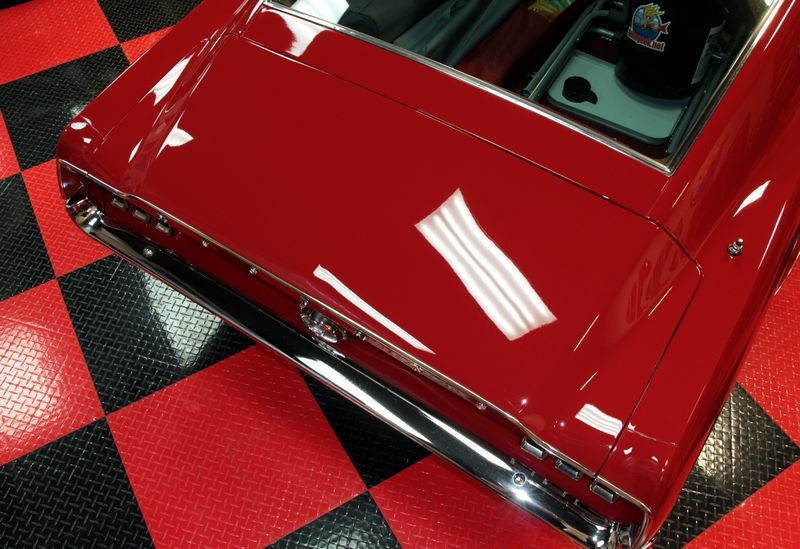
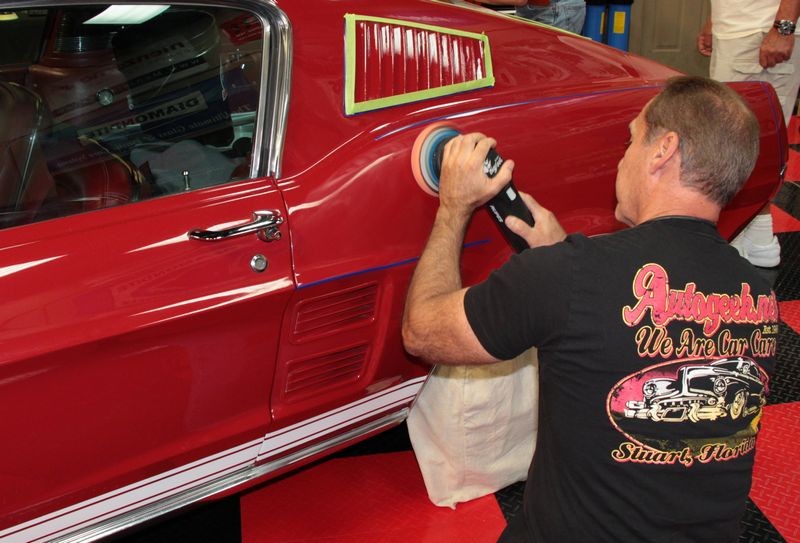
Chris using the Porter Cable. Note in all the pictures now how clear and shiny the paint is becoming?
Andy using a Porter Cable 7424XP on the passenger side hood...
There were some sanding marks just above the fender lip that Nicholas is working on with the help of his dad Robert using a Flex PE14 rotary polisher.
On Autogeek.net
Pinnacle Advanced Swirl Remover - 16 ounce
Pinnacle Advanced Swirl Remover - 32 ounce
Polishers - Flex, Porter Cable, Rupes
Lake Country Buffing Pads
")