Mike Phillips
Active member
- Dec 5, 2022
- 51,004
- 6
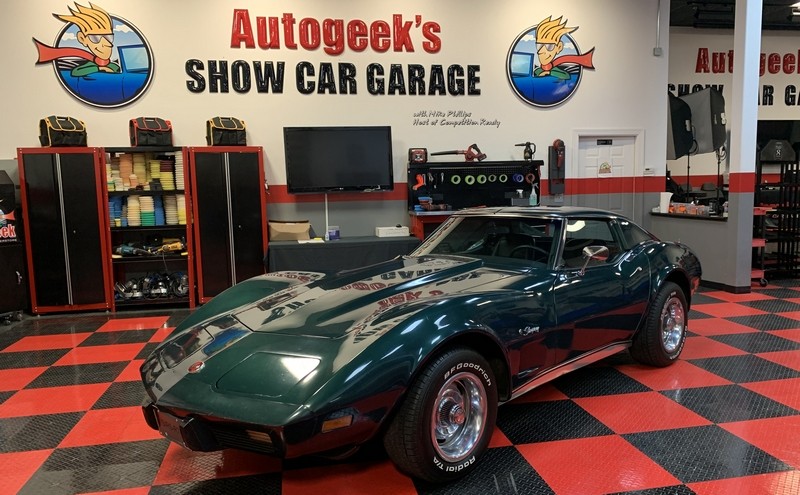
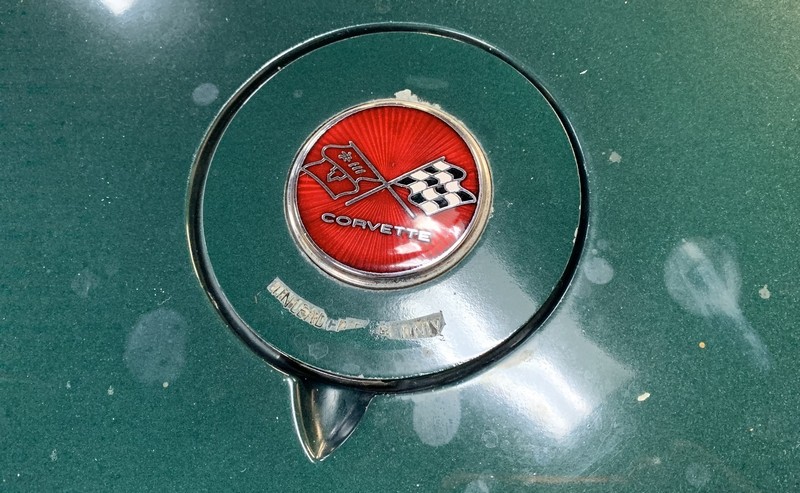
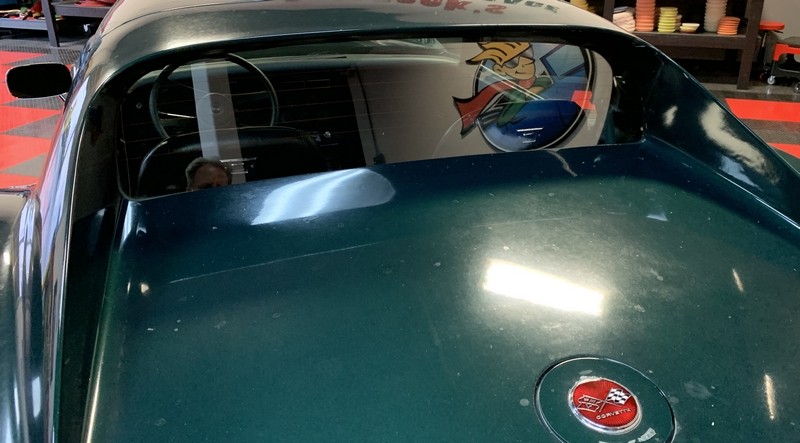
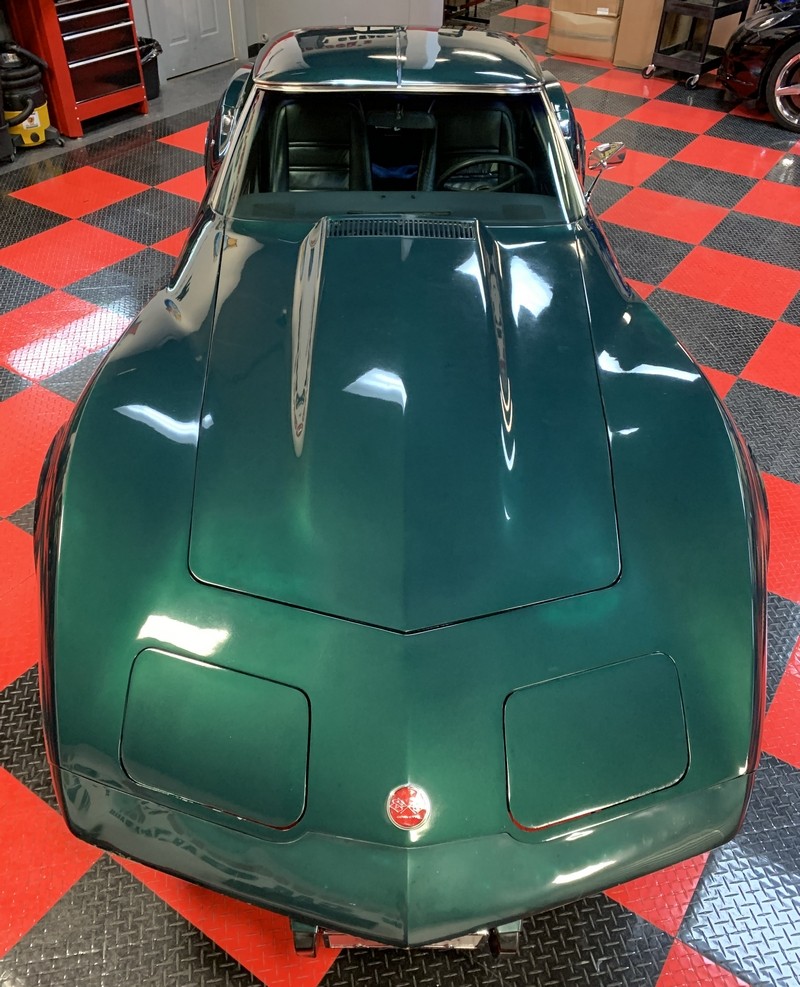
1976 Corvette Original Single Stage Paint - Paint Correction and Waxing
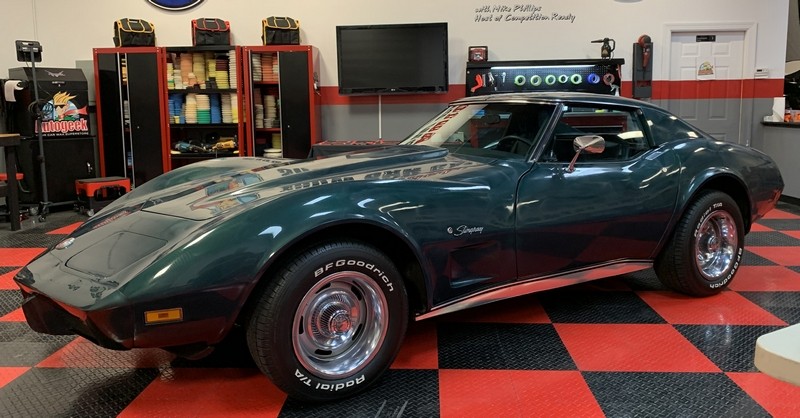
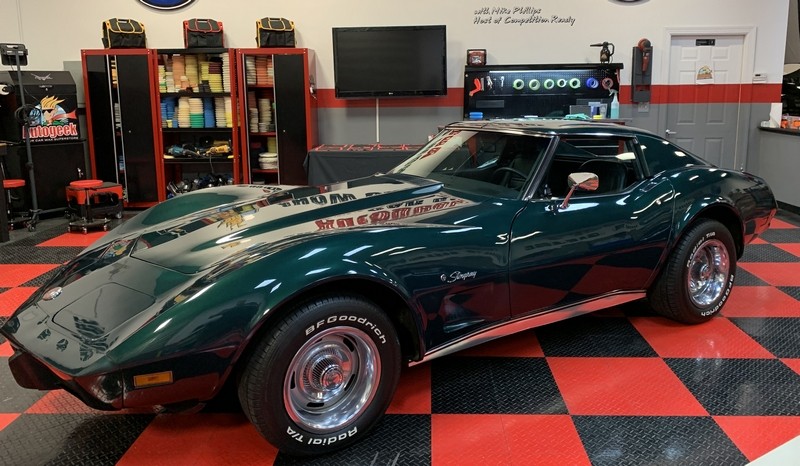
This is a 1976 Chevy Corvette with the original factory single stage paint. It still belongs to to original owner.
Here's a video I made that walks through the process I used. This is hosted on my Facebook page. You don't have to have a Facebook account to watch the video. Just click on the link to launch the video.
Make sure you have your speakers on and the "sound" button and bar in the lower right hand corner of the video screen is on and turned up.
Mike Phillips - Original Paint - 1976 Corvette
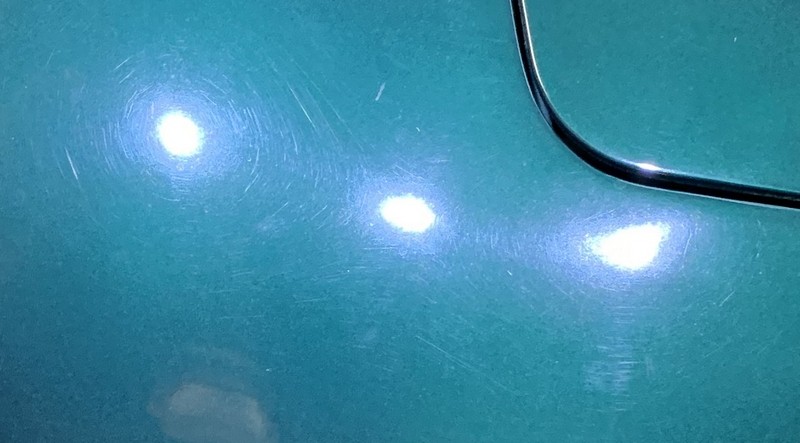
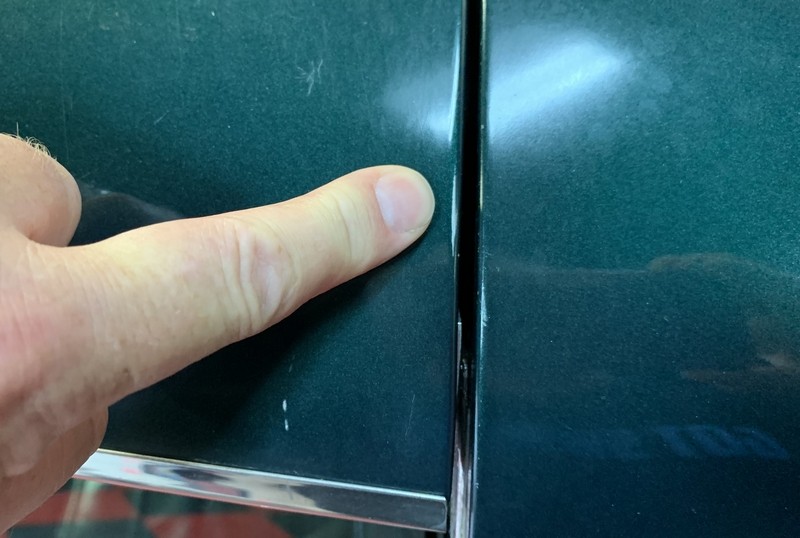
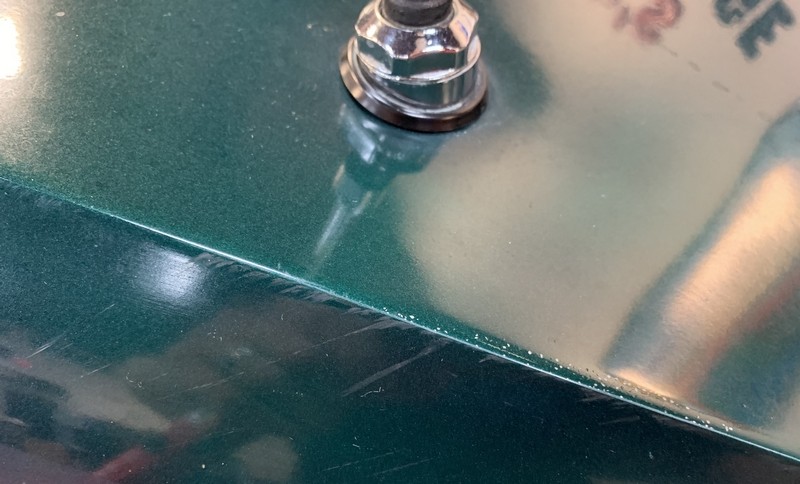
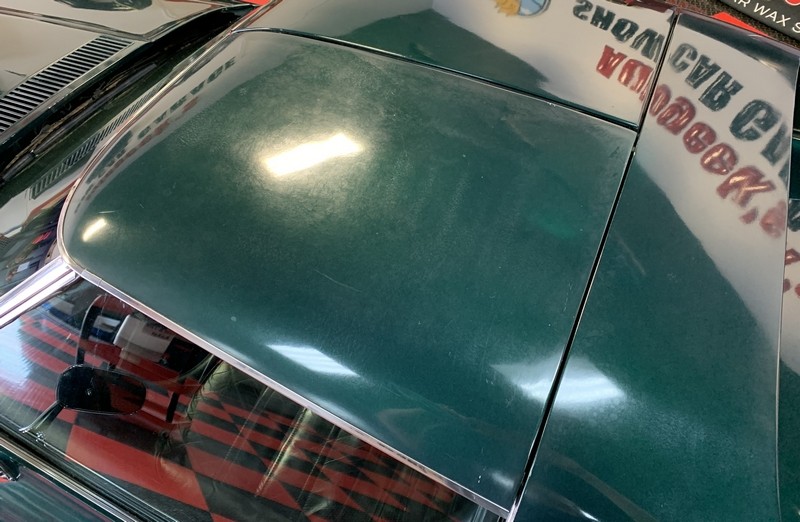
The original paint is in sad shape
The owner has 2 options,
Option 1: Repaint the car.
That wouldn't really be the right approach, the right approach would be to restore the car and that would take years and a lot of money.
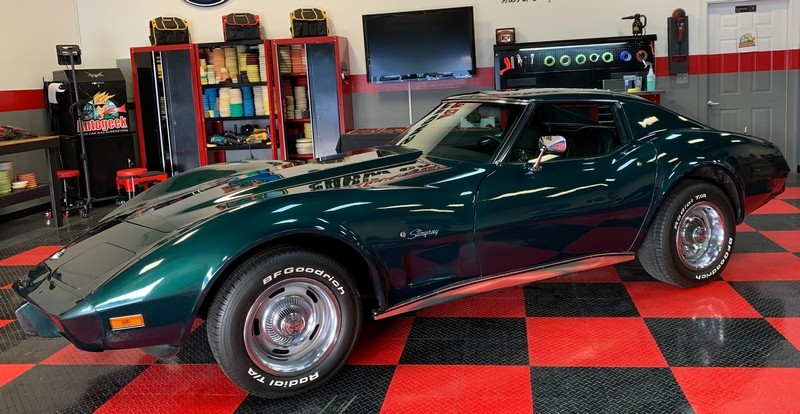
Option 2: Save the paint.
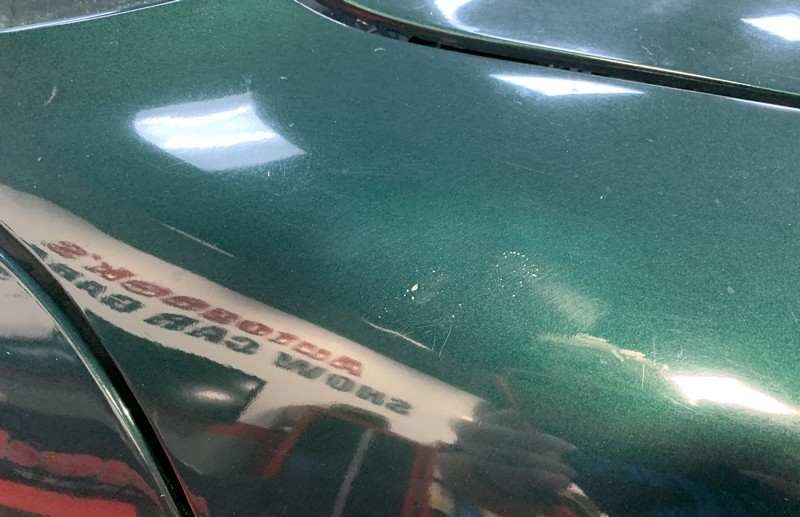
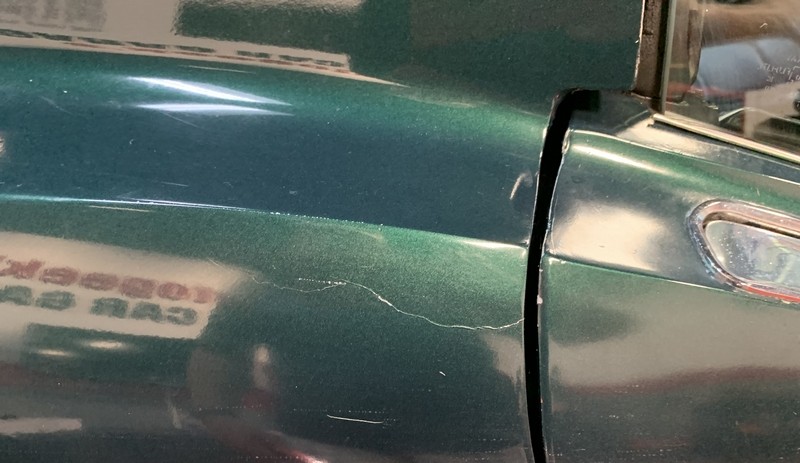
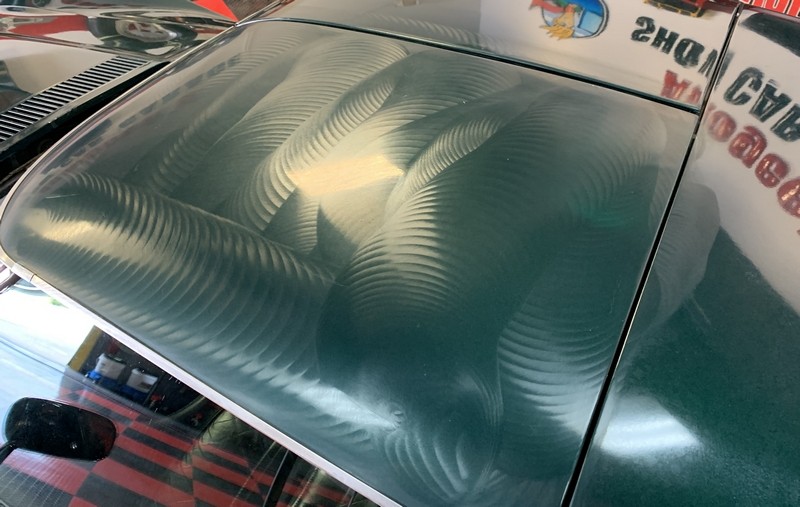
This will cost a lot less money but everyone will have to LOWER THEIR EXPECTATIONS, including me. There are simply too many places where the paint is thin and you can see a light colored primer under the single stage paint. Buffing out paint this old and this thin means some of these thin areas are probably going to grow. That's the deal. There's NO WAY to compound this paint and that means ABRADE this paint in order to remove a little to undo years of neglect and restore gloss, shine, clarity and richness of color.
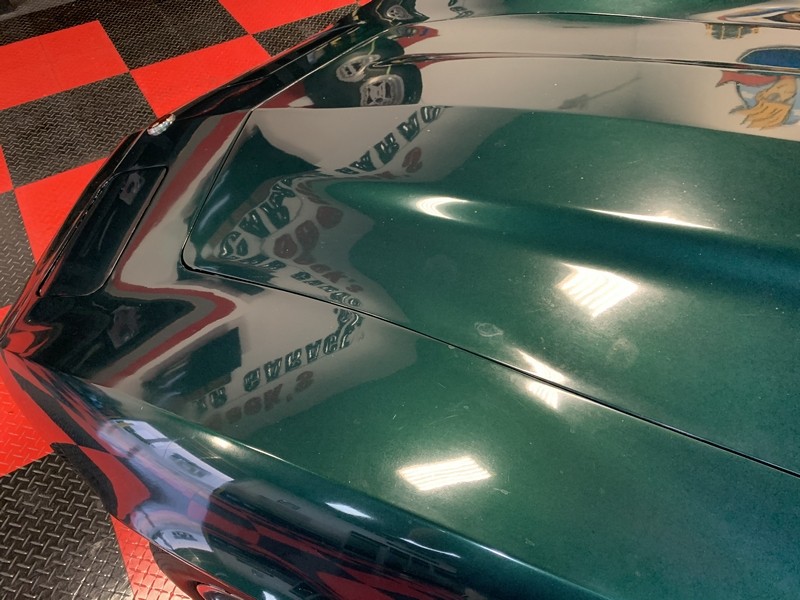
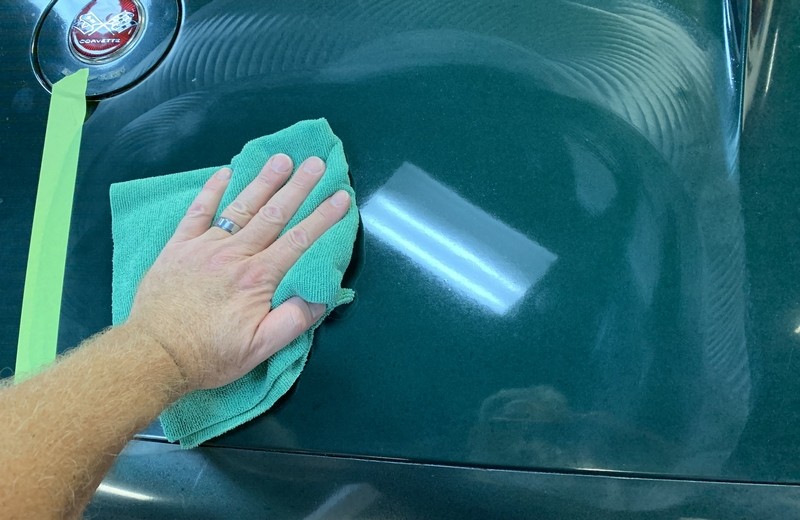
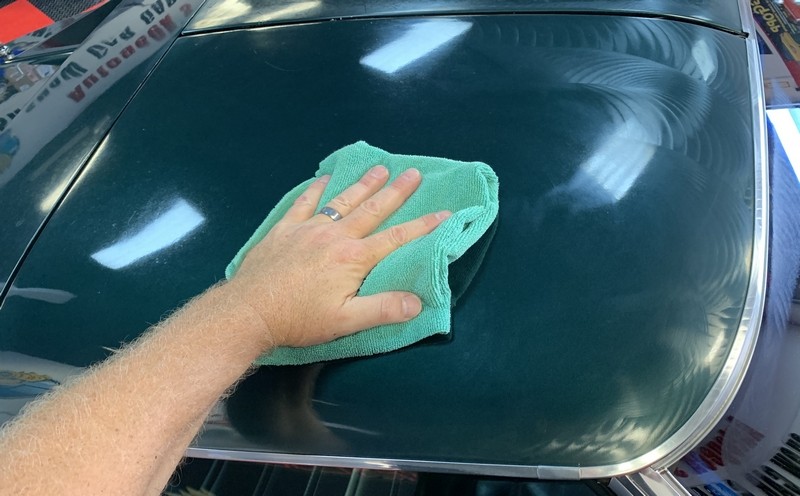
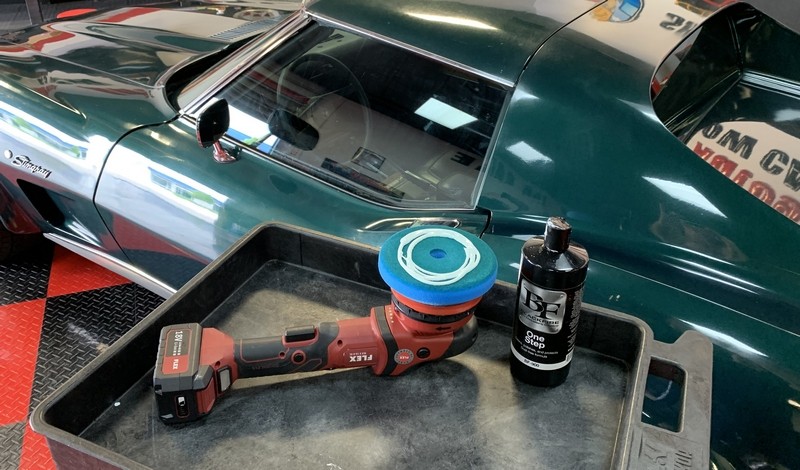
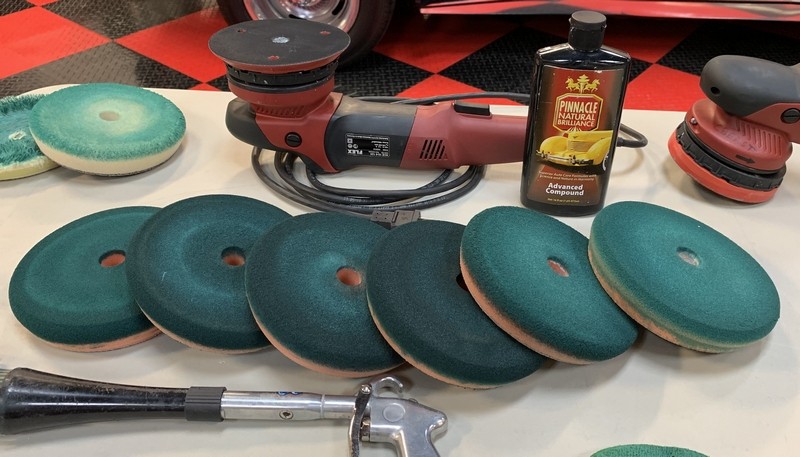
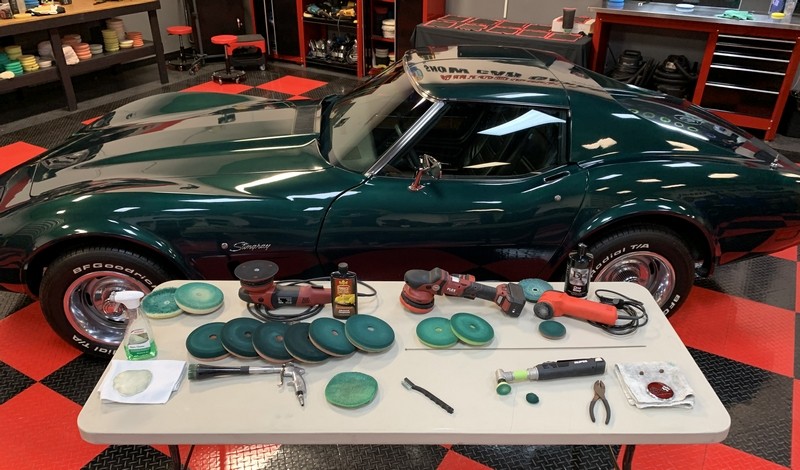
So with the owner knowing all this before starting, he gave me permission to do the best I could do. I had about 11 hours into CAREFULLY and METHODICALLY compounding the paint with Pinnacle Advanced Compound and then machine polishing the paint using the BLACKFIRE One Step.
NOTE: All pictures taken with an iPhone 10X Max.
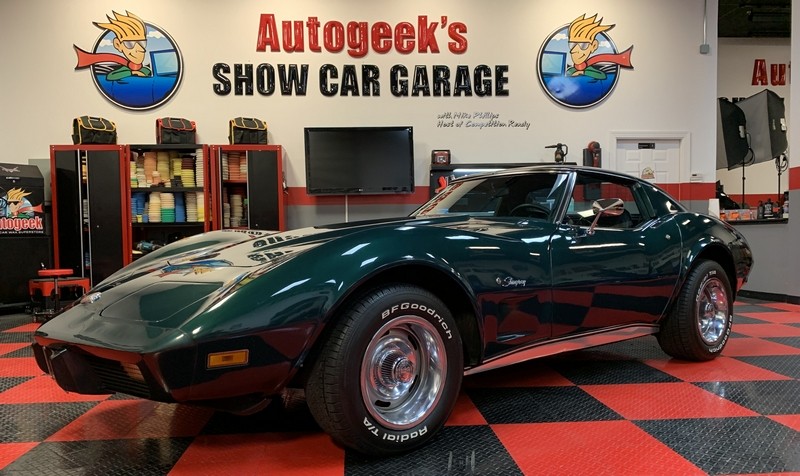
I'll let the pictures do the talking....
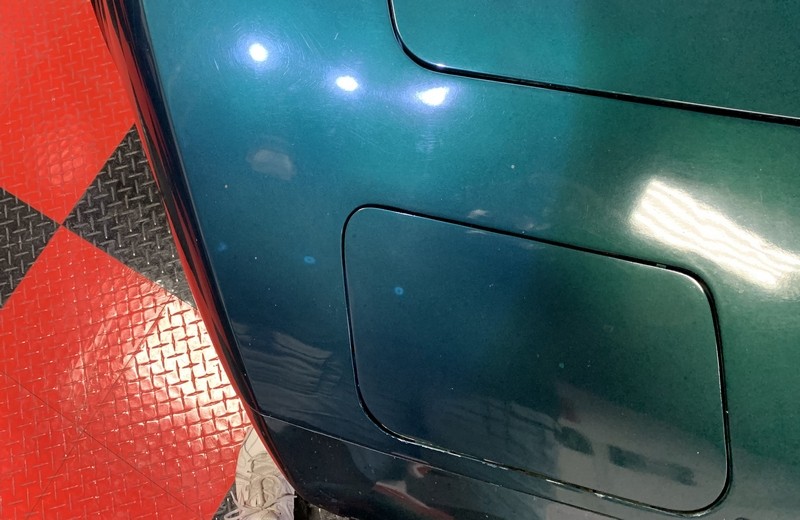
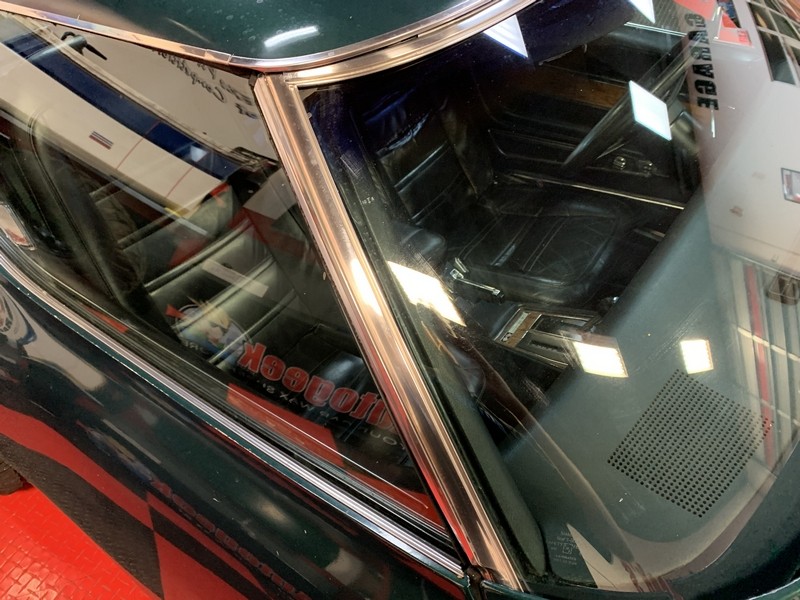
Here's the before condition


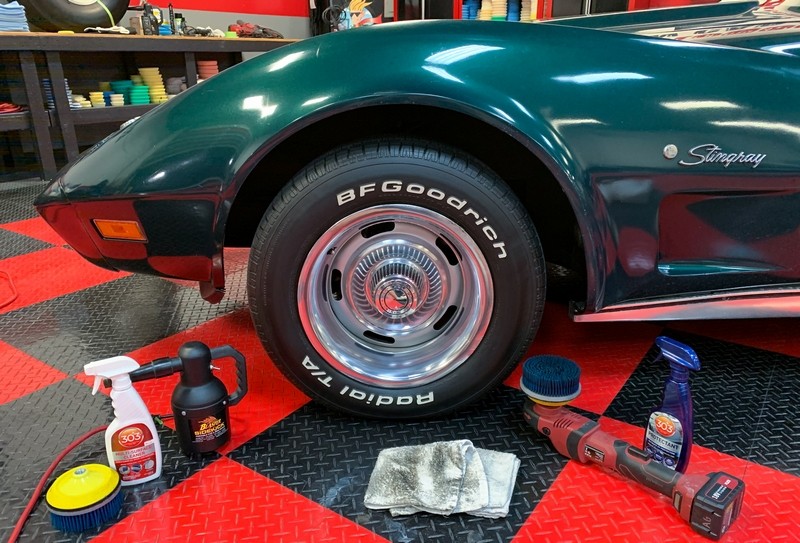
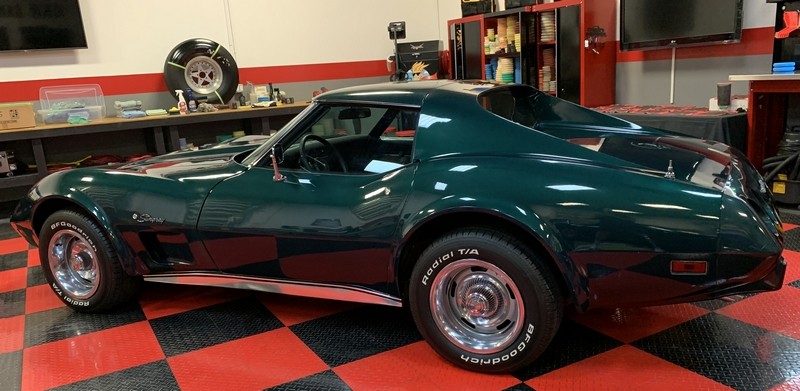
Old Tire Dressing
Stay tuned for my write-up on how I address the tires. These by the way have some kind of tire dressing them. When I wipe the sidewalls with my hands an oily dirty black residue comes off.

")
This is a 1976 Chevy Corvette with the original factory single stage paint. It still belongs to to original owner.
Here's a video I made that walks through the process I used. This is hosted on my Facebook page. You don't have to have a Facebook account to watch the video. Just click on the link to launch the video.
Make sure you have your speakers on and the "sound" button and bar in the lower right hand corner of the video screen is on and turned up.
Mike Phillips - Original Paint - 1976 Corvette
The original paint is in sad shape
The owner has 2 options,
Option 1: Repaint the car.
That wouldn't really be the right approach, the right approach would be to restore the car and that would take years and a lot of money.
Option 2: Save the paint.
This will cost a lot less money but everyone will have to LOWER THEIR EXPECTATIONS, including me. There are simply too many places where the paint is thin and you can see a light colored primer under the single stage paint. Buffing out paint this old and this thin means some of these thin areas are probably going to grow. That's the deal. There's NO WAY to compound this paint and that means ABRADE this paint in order to remove a little to undo years of neglect and restore gloss, shine, clarity and richness of color.
So with the owner knowing all this before starting, he gave me permission to do the best I could do. I had about 11 hours into CAREFULLY and METHODICALLY compounding the paint with Pinnacle Advanced Compound and then machine polishing the paint using the BLACKFIRE One Step.
NOTE: All pictures taken with an iPhone 10X Max.
I'll let the pictures do the talking....
Here's the before condition
Old Tire Dressing
Stay tuned for my write-up on how I address the tires. These by the way have some kind of tire dressing them. When I wipe the sidewalls with my hands an oily dirty black residue comes off.


 rops:
rops: