lane5515
New member
- Mar 3, 2013
- 660
- 0
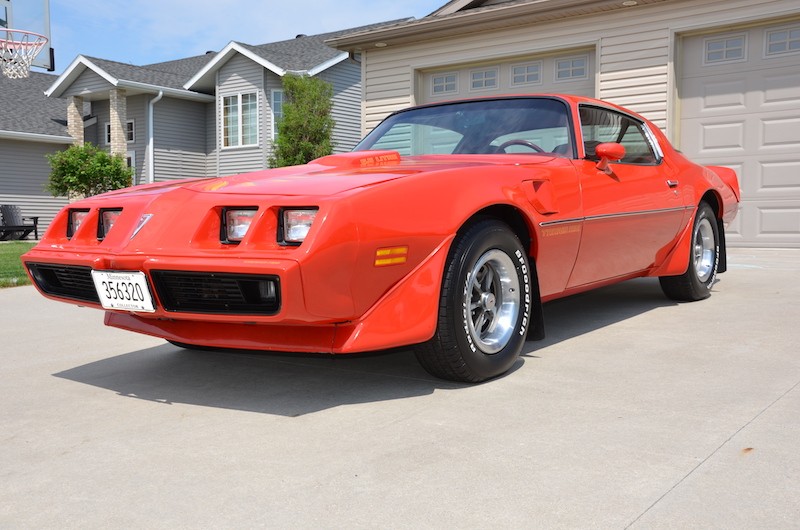
1979 Pontiac Trans Am – all original. 18,447 miles
The owner of this Trans Am was referred to me by a past client. The car was a barn find and the owner wanted to bring it back to life and start entering it in car shows. He has several collector cars so I’m hoping this turns into more details in the future. This Trans Am has the original single stage paint and was in need of some serious attention.
Condition upon delivery
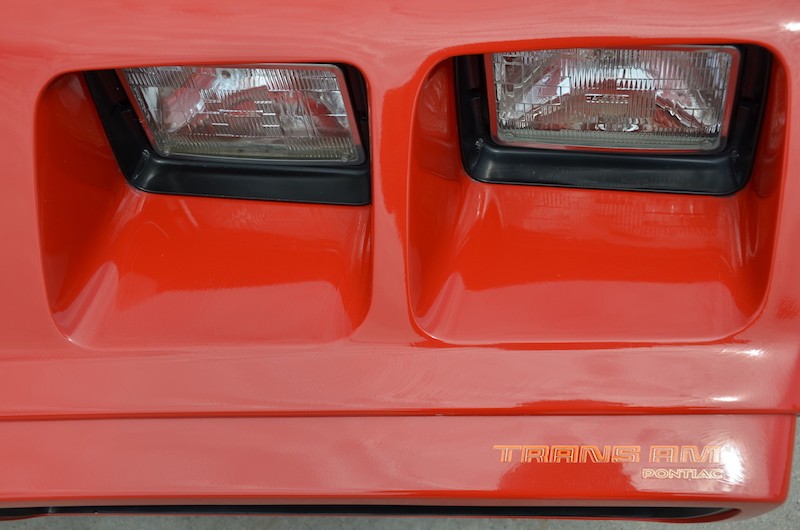
I’d call this car a 20 footer. When looking at it from 20 feet away and out of the sun it looked pretty darn good. When you got close and the sun was out the defects were pretty bad. Heavy water spotting, swirls and scratches covered the entire vehicle. The single stage paint was thin, oxidized, had crows feet in several areas and also some cracking on the bumpers. After looking over the vehicle with the owner, he said do whatever you can to make it look its best.
This car was a perfect candidate for the #7 rub down which I had never completed before but Mike’s articles were very helpful in laying out a plan.
I started this project with the Tires, Wheels and Wells. Overall the wheels were in good condition.
Wheels, Tires and Wells
The tires were cleaned with Shine Supply Wise Guy 1:3 and Tuff Shine Brush.
Wheels were done with Sonax Full Effect Wheel Cleaner, various brushes and CP IncrediFlair Mitt.
Wells cleaned with Shine Supply Wise Guy 1:3 and various brushes.
Tires were dressed with Opti-Bond 1:1 and Wheels sealed with McKee’s Hydro Blue.

Next I moved on to washing and decontaminating the paintwork.
Wash
I completed a rinseless wash with McKee’s N-914
Decon
- Clayed with Pinnacle Ultra Poly Clay
Time for the #7 Rub Down
I used Meguiar’s #7 and terry cloth towels to complete this process. I did the entire car 3 times and left the #7 on overnight before removing. This was a time consuming process that proved to be very beneficial. The oxidation was removed and the paintwork looked much better when finished.
Polishing the Paintwork
I took several paint thickness measurements on every panel. The 40 year old paint was “whisper thin” and had areas of dark shadowing which I believe was the base coat primer. I needed to be very careful and informed the owner before proceeding.
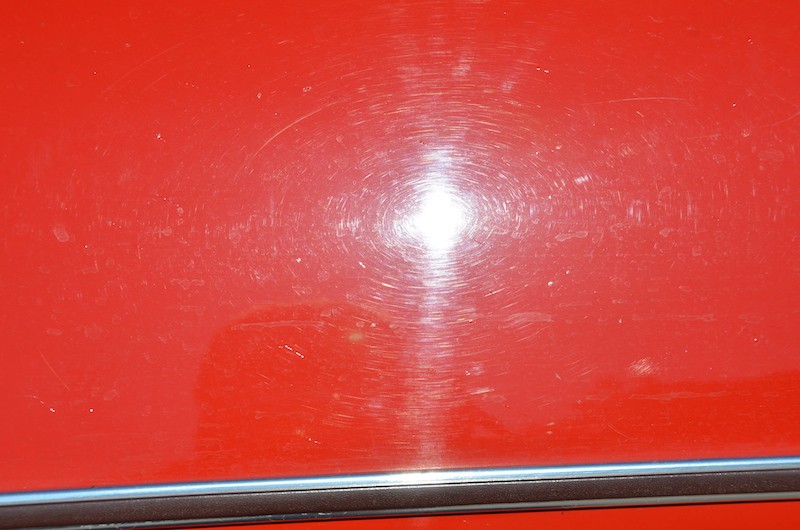
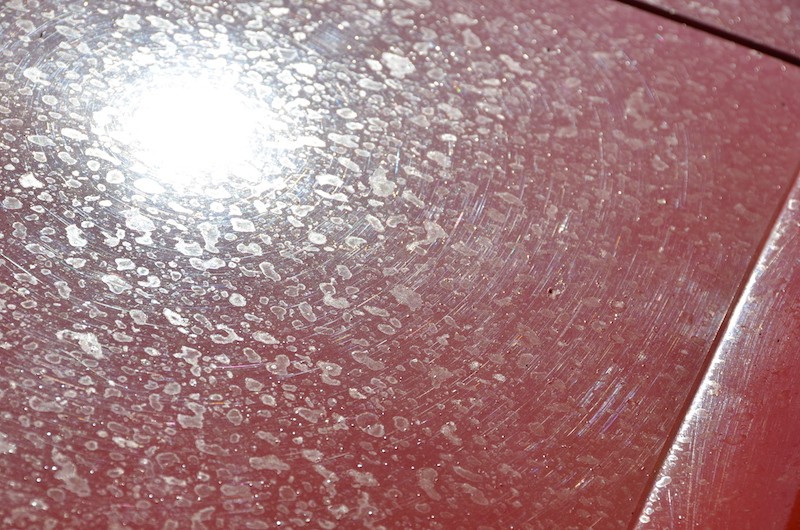
Here are some before shots showing the condition of the paint throughout the entire car.


After doing some test spots I found Blackfire One Step was safely removing the swirls and leaving a nice glossy finish.
Polishers used
- Rupes Mille
- Flex 3401
- Rupes Mini
- Rupes IBrid
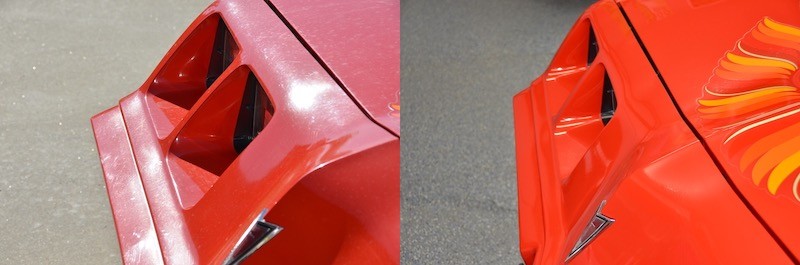
Before/After Shots


LSP
- M37 Hi Def Paint Sealant
I machined applied with my pc and black LC Hybrid Pad and let it sit for a couple hours. Wipe off couldn’t have been any easier.
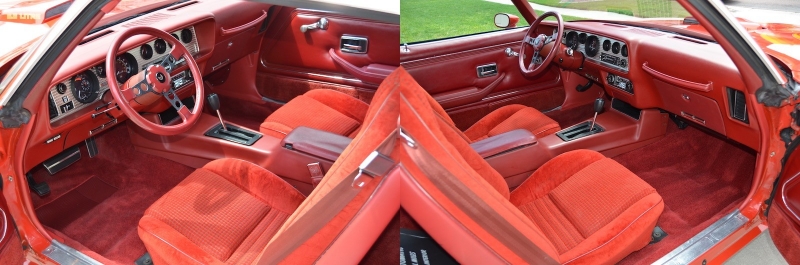
Interior
Basic wipe down and vacuum was all that was needed.
Finished Pics


Thanks for looking! All comments and criticism is appreciated.
The owner of this Trans Am was referred to me by a past client. The car was a barn find and the owner wanted to bring it back to life and start entering it in car shows. He has several collector cars so I’m hoping this turns into more details in the future. This Trans Am has the original single stage paint and was in need of some serious attention.
Condition upon delivery
I’d call this car a 20 footer. When looking at it from 20 feet away and out of the sun it looked pretty darn good. When you got close and the sun was out the defects were pretty bad. Heavy water spotting, swirls and scratches covered the entire vehicle. The single stage paint was thin, oxidized, had crows feet in several areas and also some cracking on the bumpers. After looking over the vehicle with the owner, he said do whatever you can to make it look its best.
This car was a perfect candidate for the #7 rub down which I had never completed before but Mike’s articles were very helpful in laying out a plan.
I started this project with the Tires, Wheels and Wells. Overall the wheels were in good condition.
Wheels, Tires and Wells
The tires were cleaned with Shine Supply Wise Guy 1:3 and Tuff Shine Brush.
Wheels were done with Sonax Full Effect Wheel Cleaner, various brushes and CP IncrediFlair Mitt.
Wells cleaned with Shine Supply Wise Guy 1:3 and various brushes.
Tires were dressed with Opti-Bond 1:1 and Wheels sealed with McKee’s Hydro Blue.
Next I moved on to washing and decontaminating the paintwork.
Wash
I completed a rinseless wash with McKee’s N-914
Decon
- Clayed with Pinnacle Ultra Poly Clay
Time for the #7 Rub Down
I used Meguiar’s #7 and terry cloth towels to complete this process. I did the entire car 3 times and left the #7 on overnight before removing. This was a time consuming process that proved to be very beneficial. The oxidation was removed and the paintwork looked much better when finished.
Polishing the Paintwork
I took several paint thickness measurements on every panel. The 40 year old paint was “whisper thin” and had areas of dark shadowing which I believe was the base coat primer. I needed to be very careful and informed the owner before proceeding.
Here are some before shots showing the condition of the paint throughout the entire car.
After doing some test spots I found Blackfire One Step was safely removing the swirls and leaving a nice glossy finish.
Polishers used
- Rupes Mille
- Flex 3401
- Rupes Mini
- Rupes IBrid
Before/After Shots
LSP
- M37 Hi Def Paint Sealant
I machined applied with my pc and black LC Hybrid Pad and let it sit for a couple hours. Wipe off couldn’t have been any easier.
Interior
Basic wipe down and vacuum was all that was needed.
Finished Pics
Thanks for looking! All comments and criticism is appreciated.
