Mike Phillips
Active member
- Dec 5, 2022
- 51,004
- 6
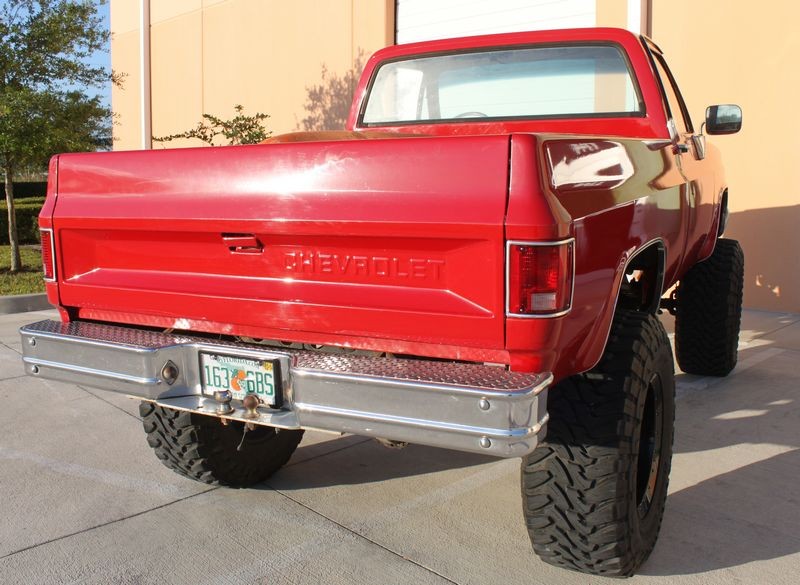
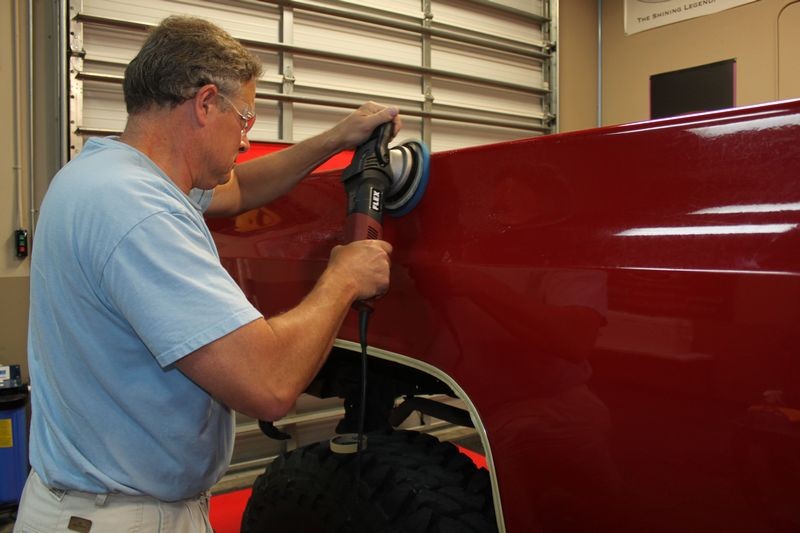
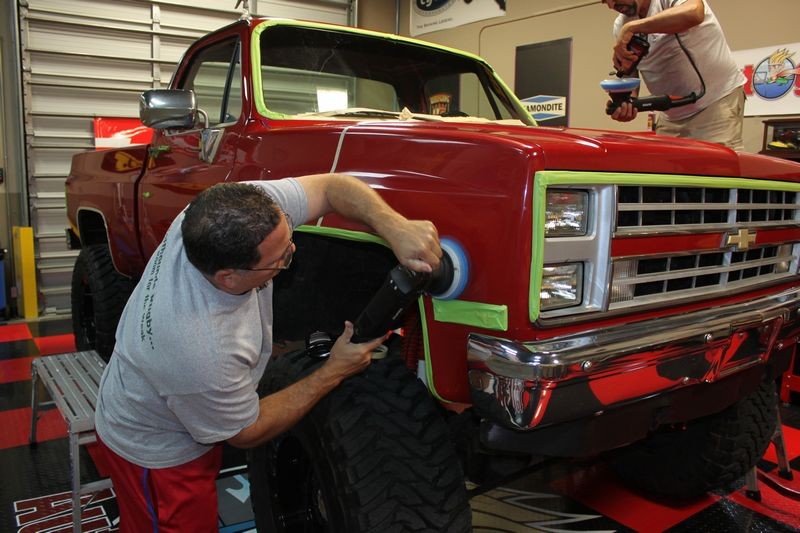
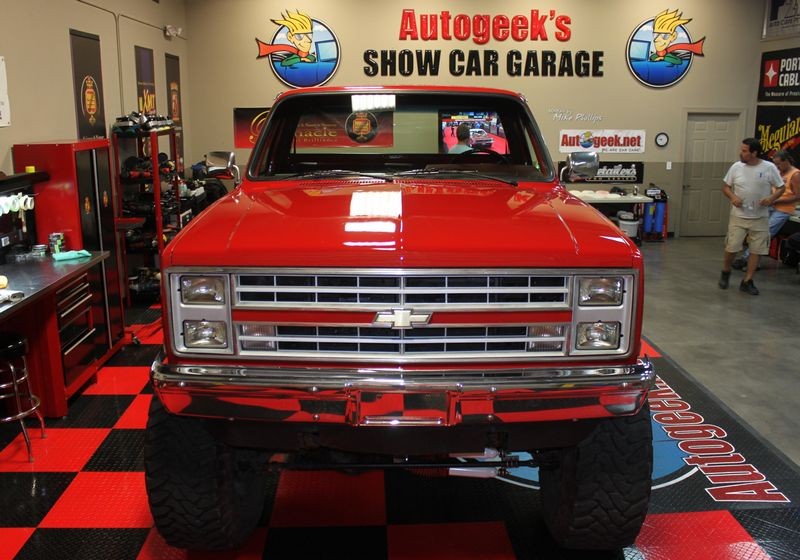
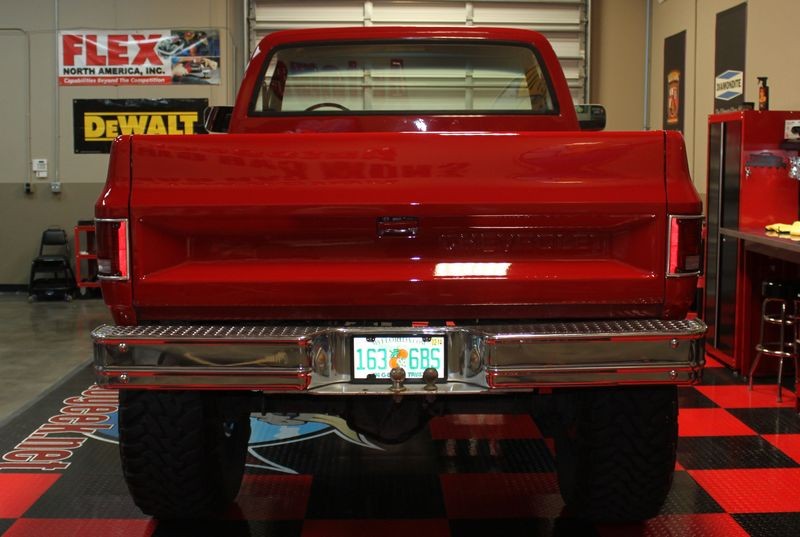
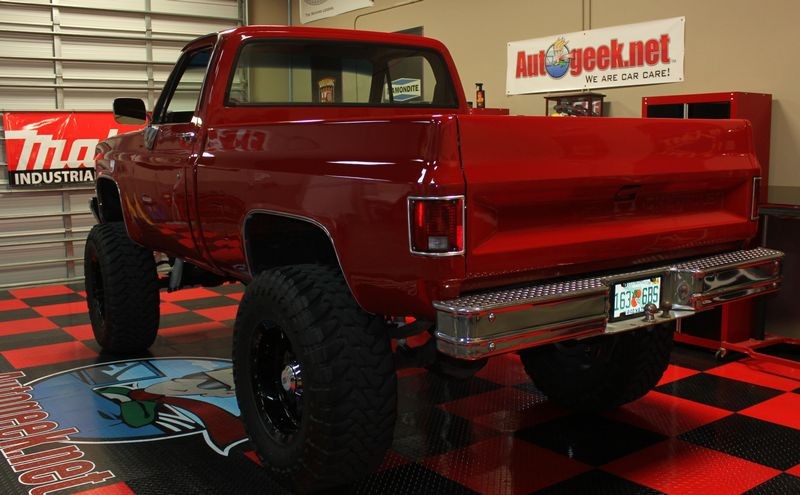
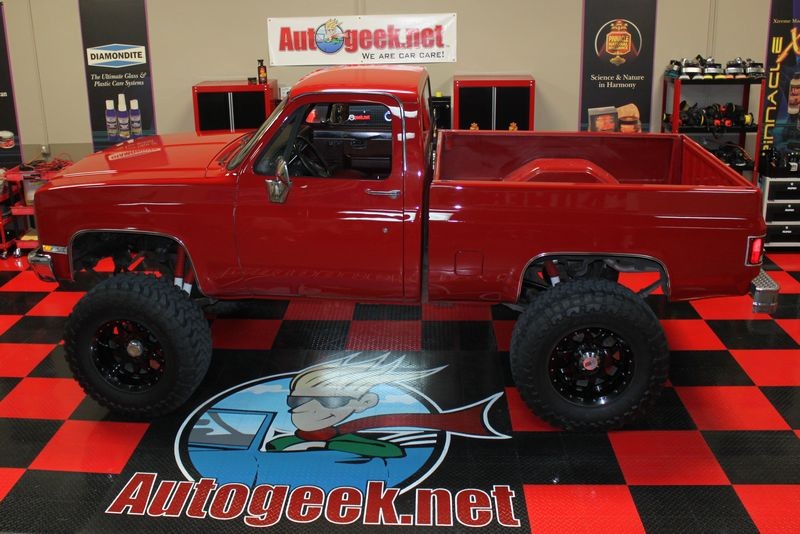
1987 Chevy 4x4 Monster Truck "Before & After" Pictures
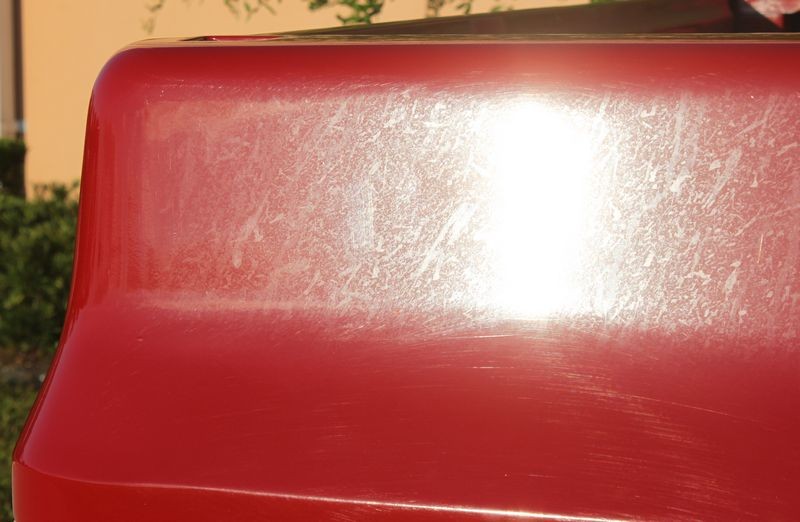
Here's the before pictures from the extreme makeover to my personal daily driver. The condition of the paint is exactly how it was when I purchased the truck. These picture were taken AFTER I washed and dried the truck, so any staining of the paint is actually a physical stain in and on the paint, not simply water drops or water smears after washing and drying.
Fair Warning --> This is going to hurt your eyes...
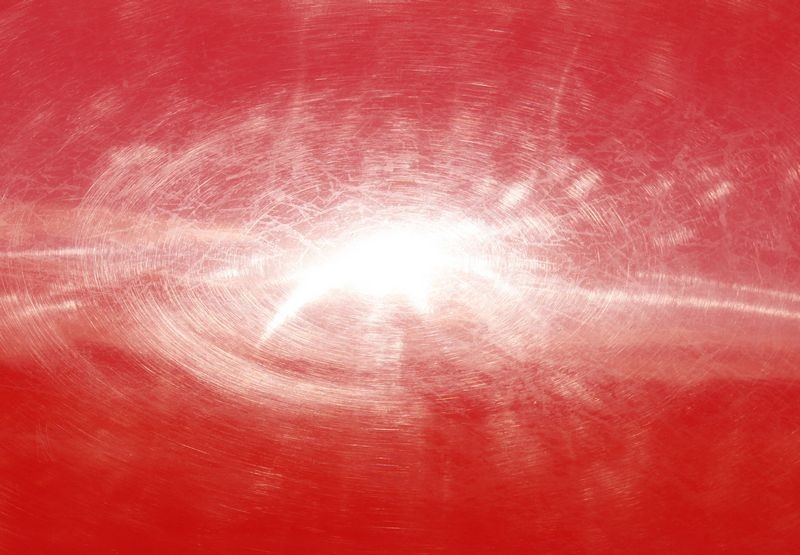
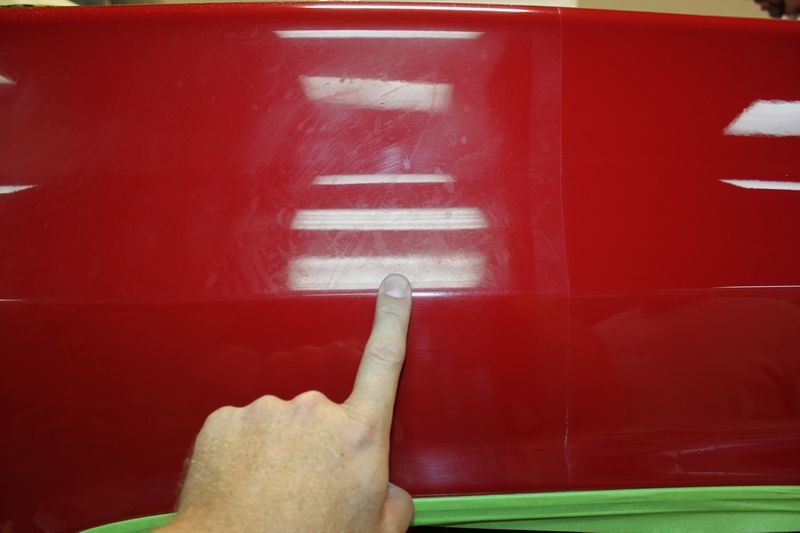
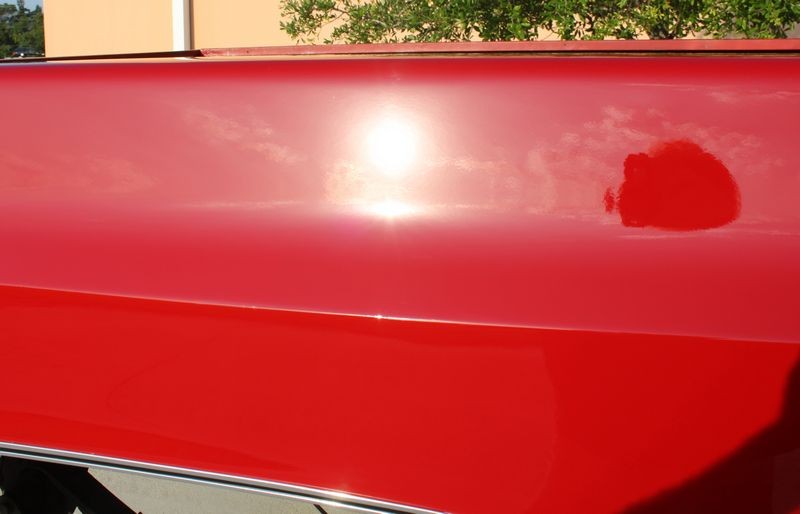
This is a cropped-out close-up of the sun shot above...


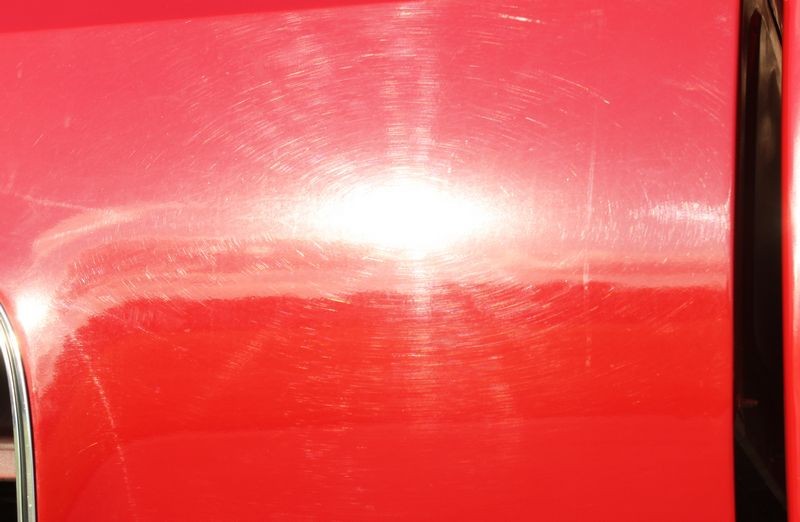
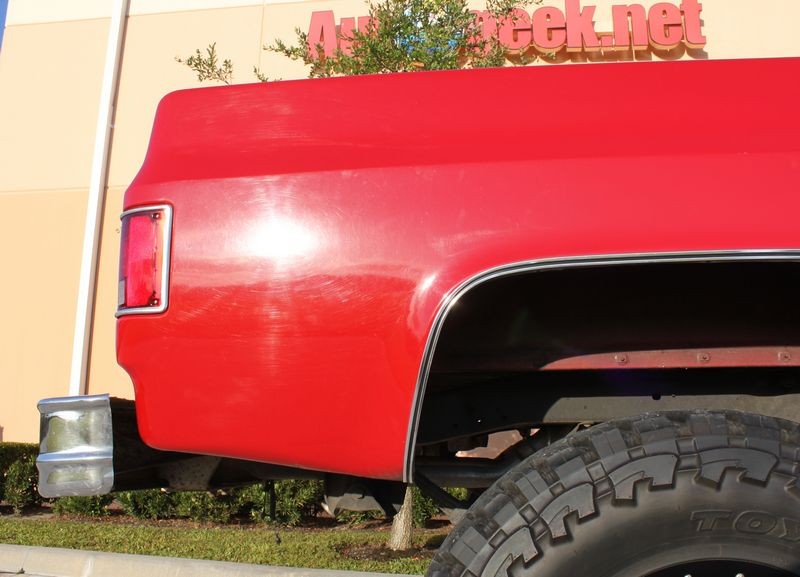
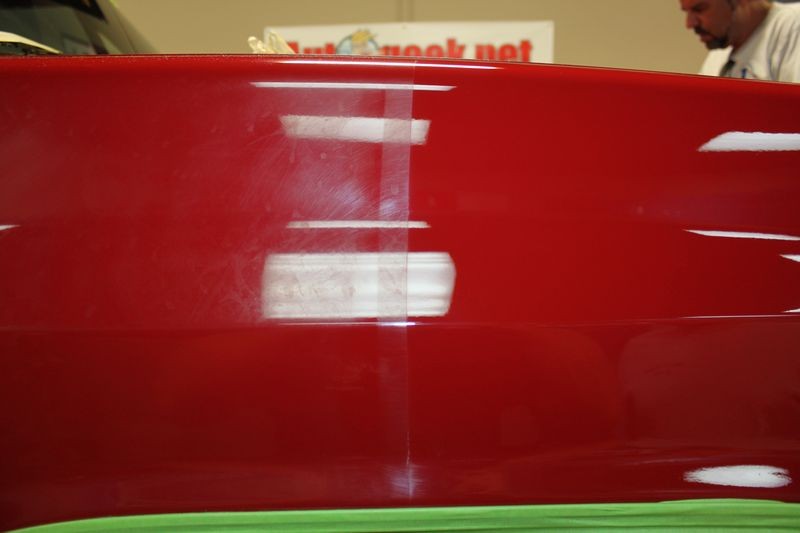
Some kind of crazy staining taking place all over the body panels...

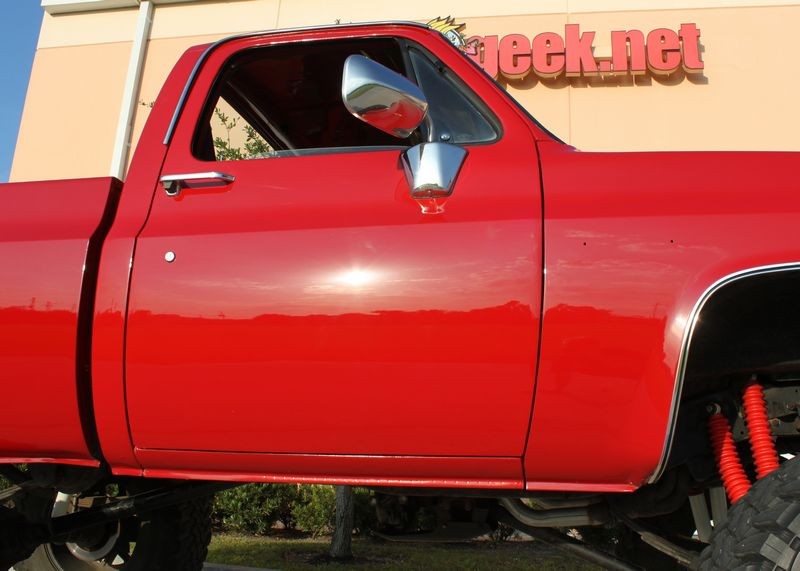
Plenty of swirls to go around for all the body panels, don't want any panel feeling left out...
More pictures of the staining effect...
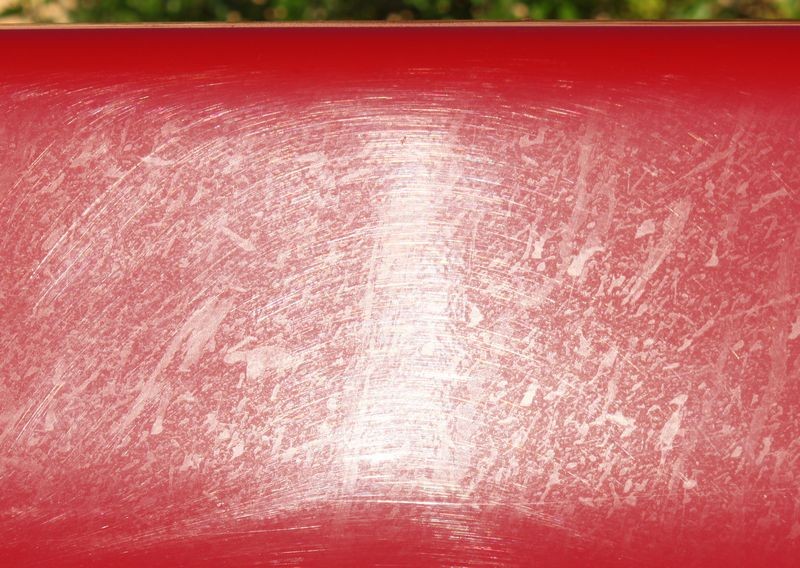

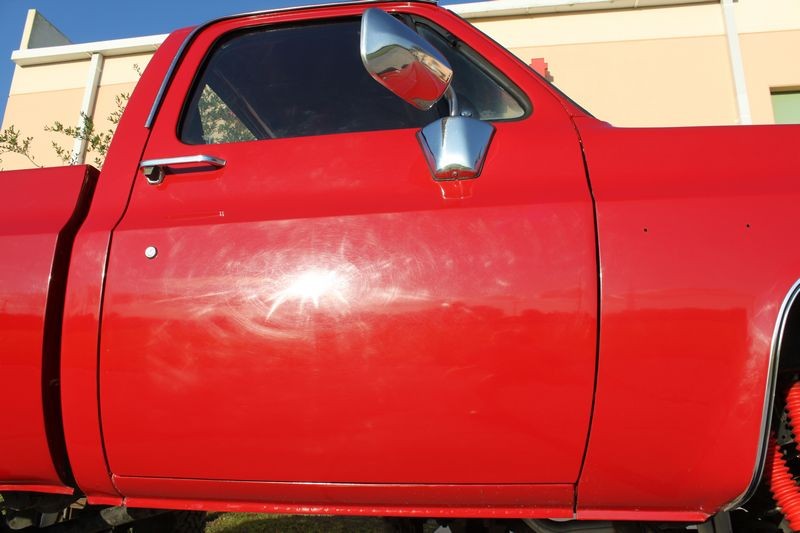


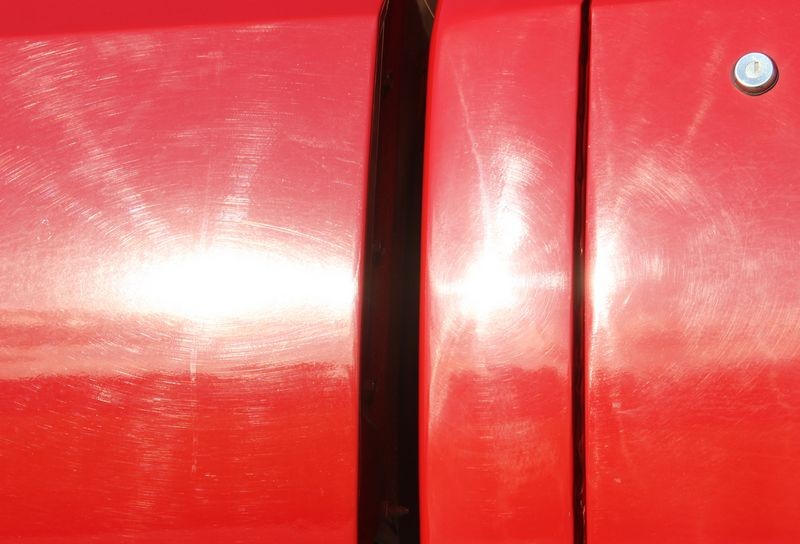
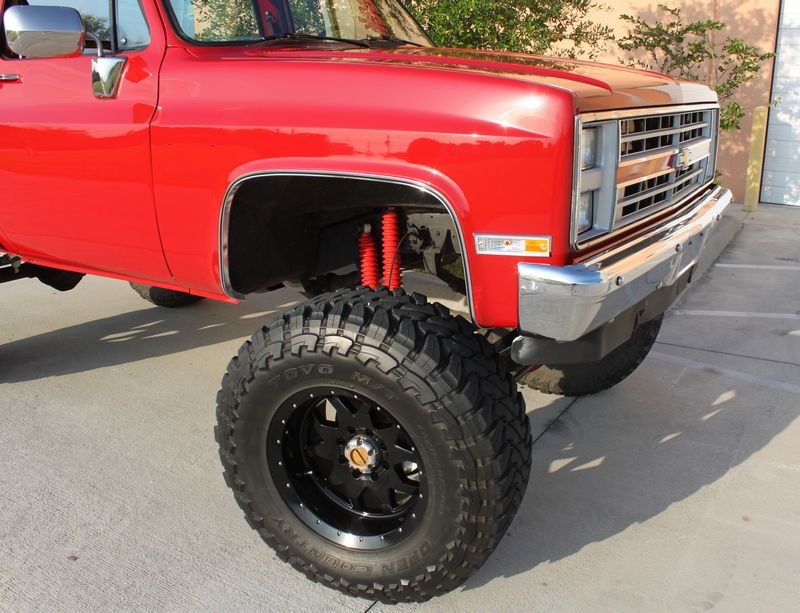
And besides all the cobweb type swirls and stains in the paint, to top it off someone hacked it all up through the misuse of a rotary buffer. I present the dreaded holograms...
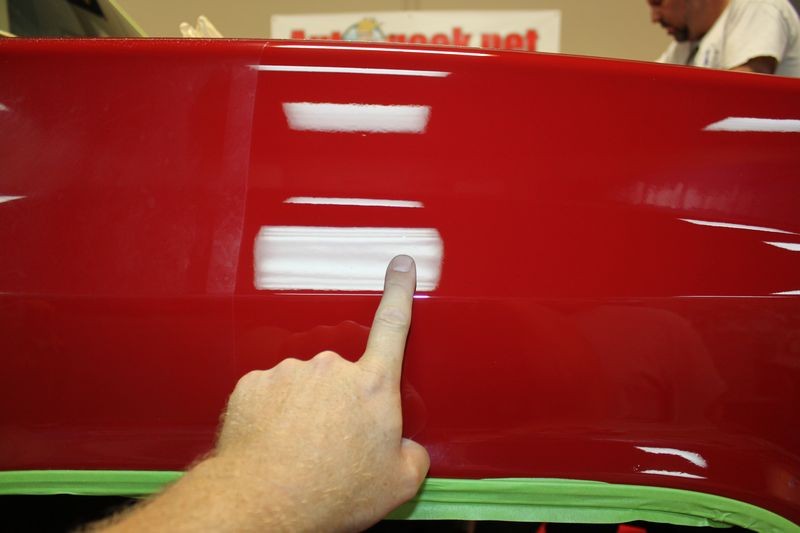
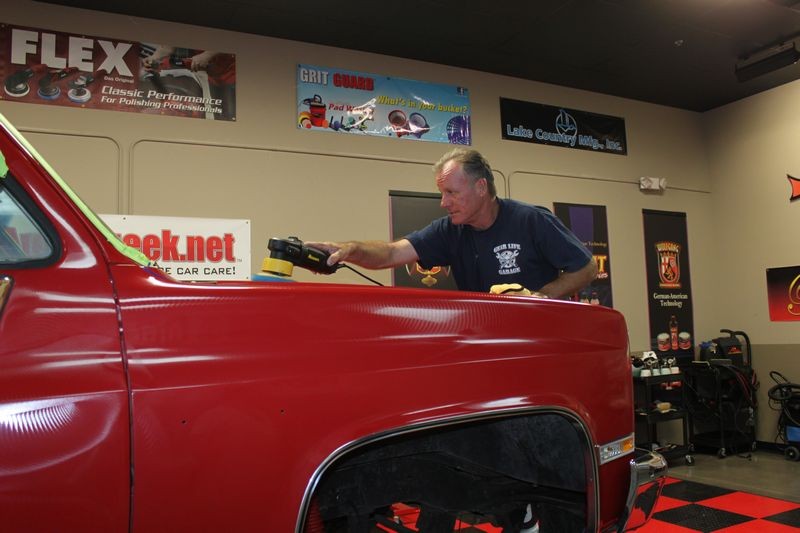
Here's what the paint looks like when the sun hits it...

Holograms from the mis-use of a rotary buffer...

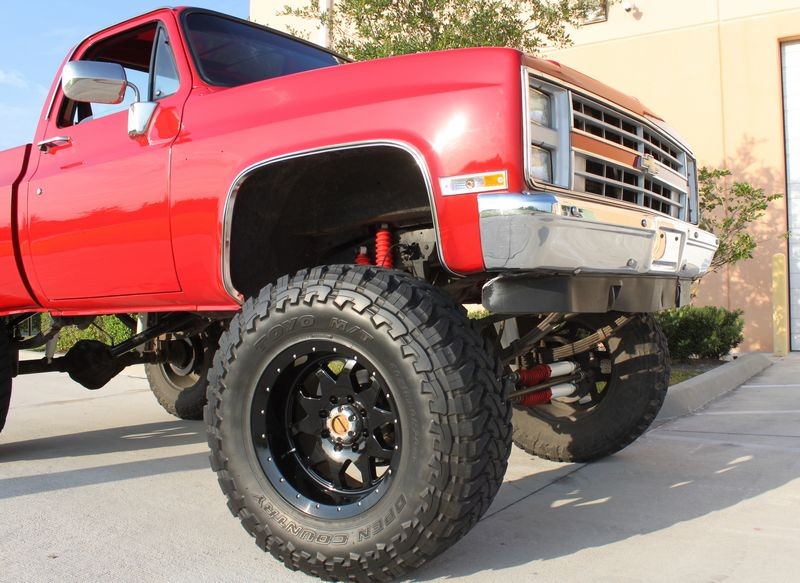
Ouch! What an eyesore!
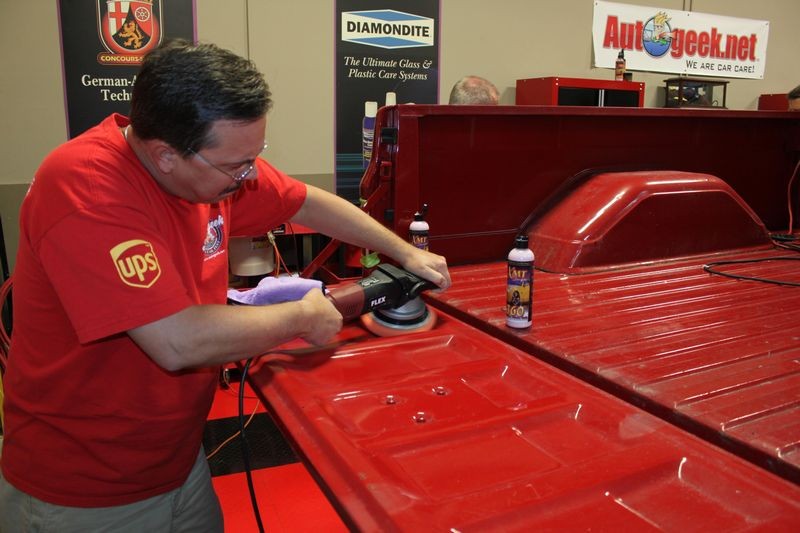
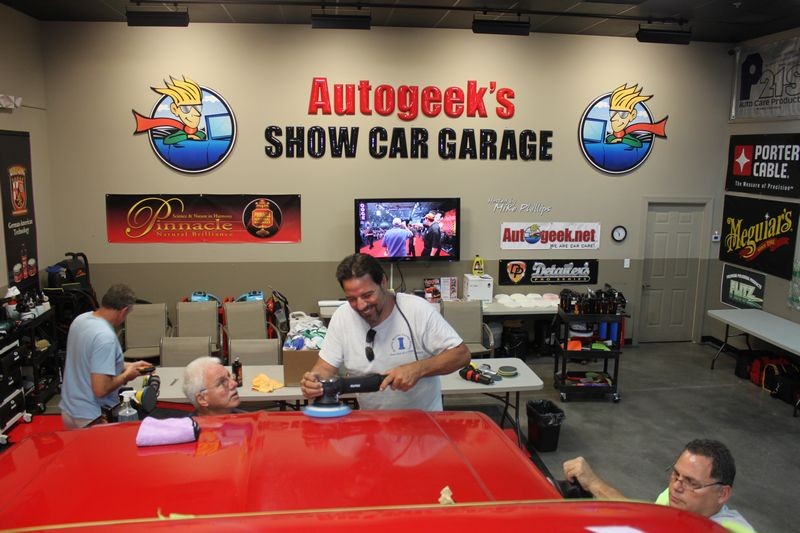
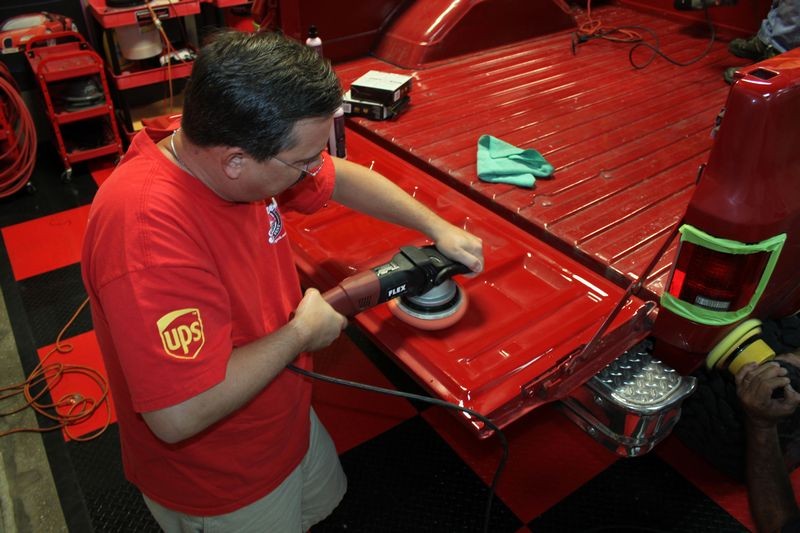
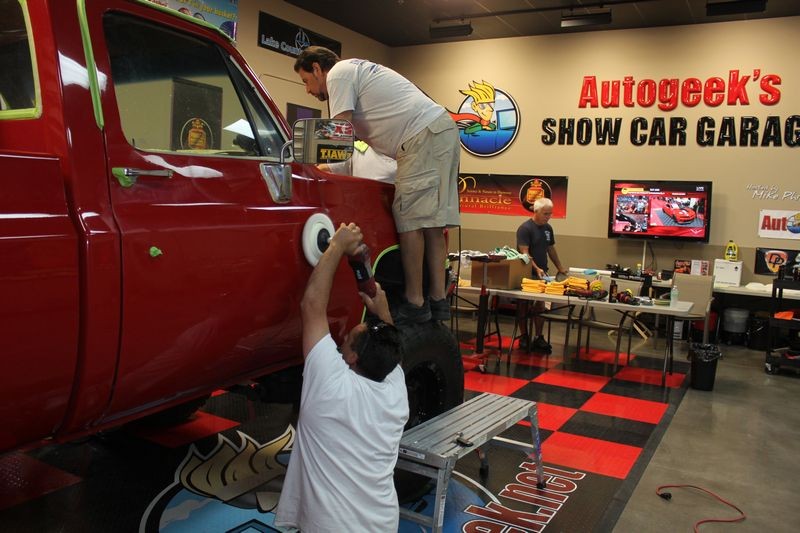
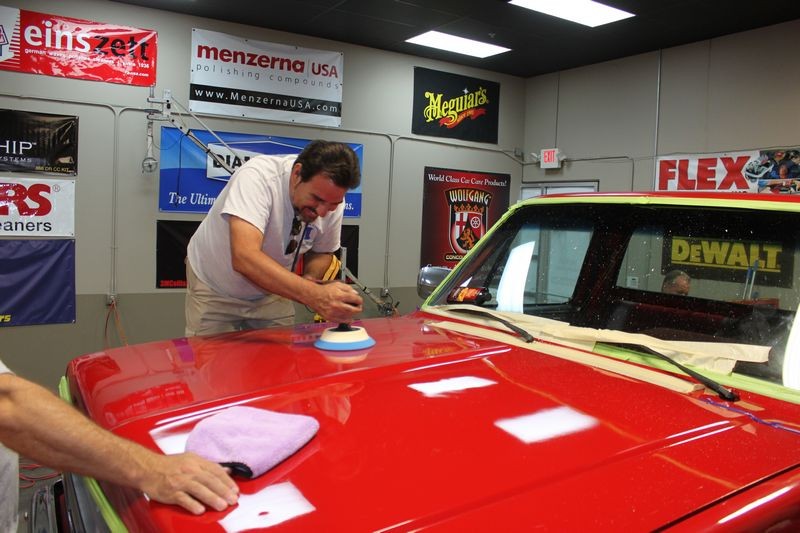
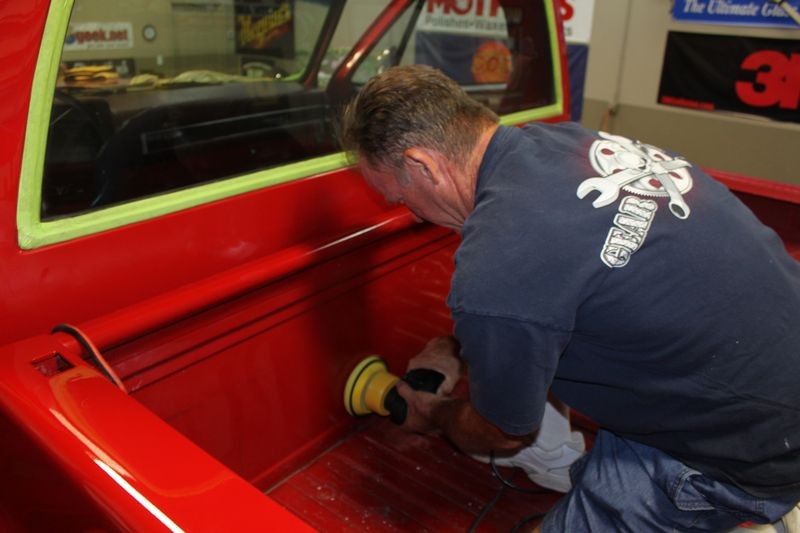
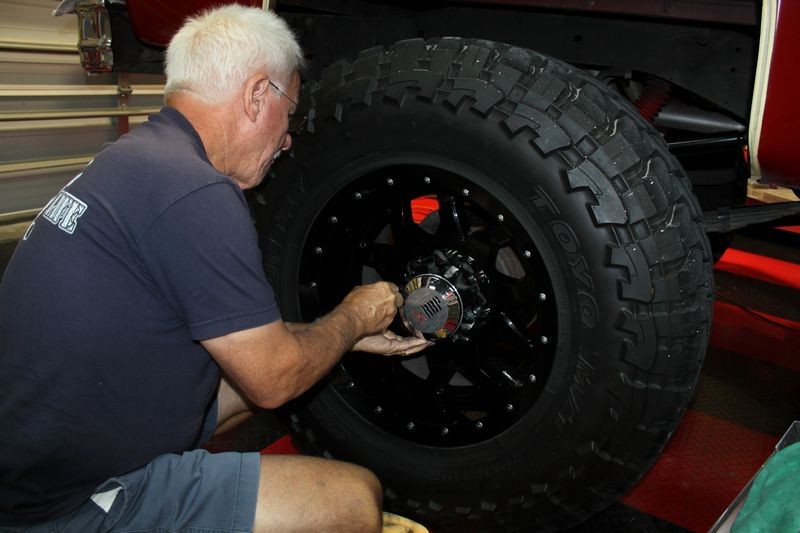
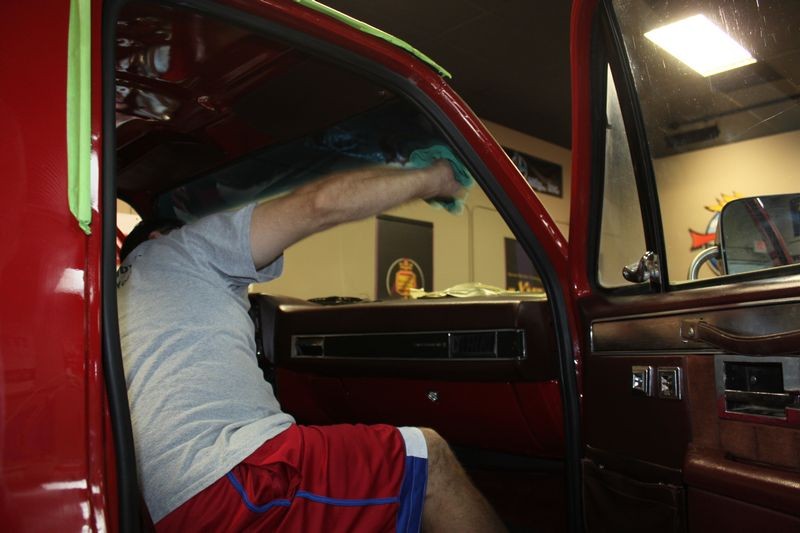
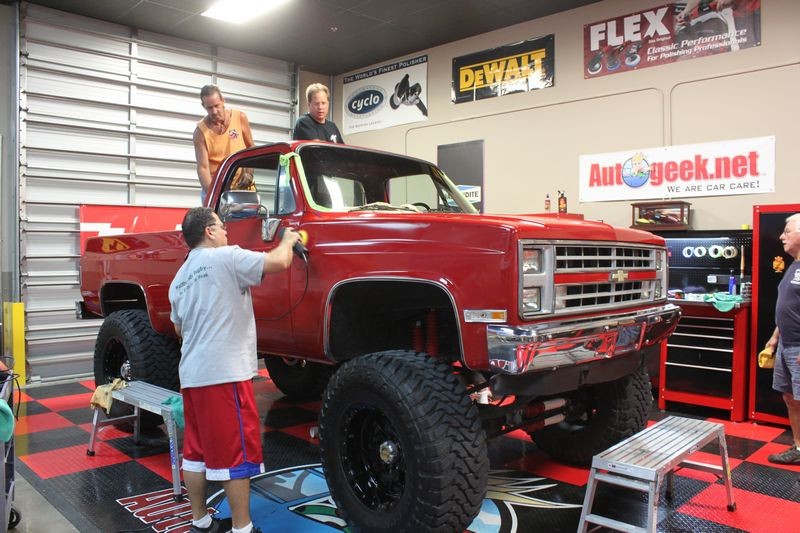
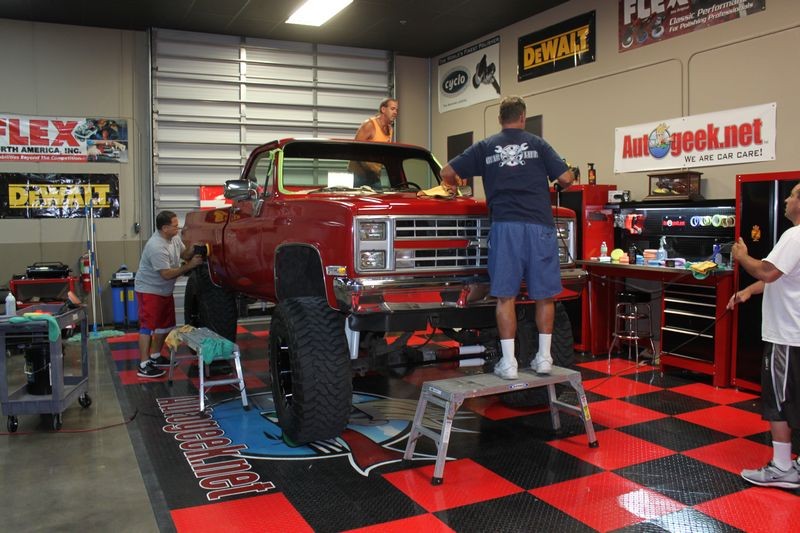
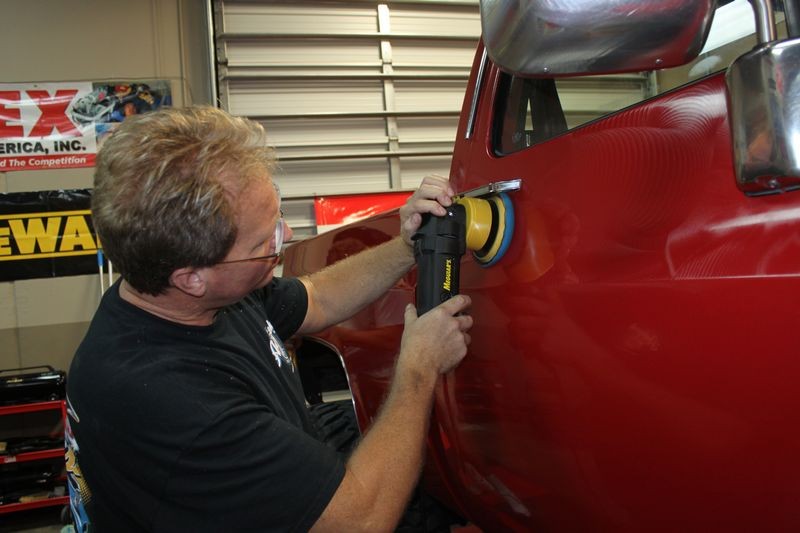
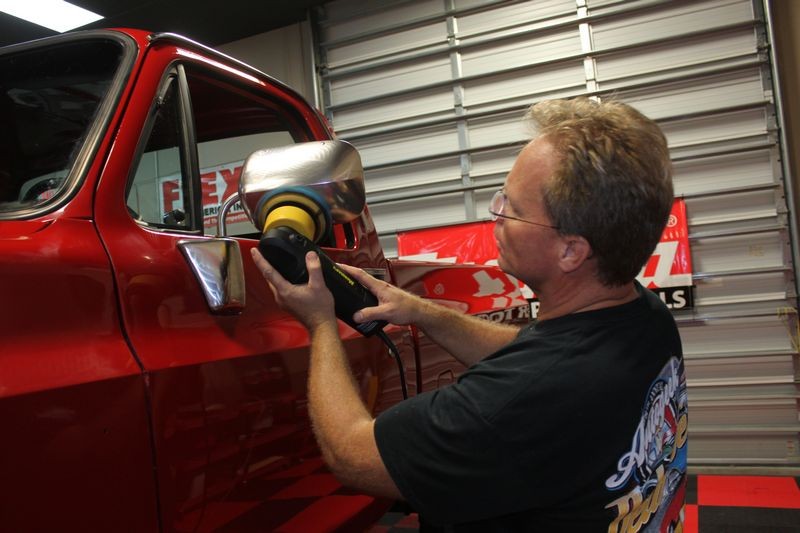
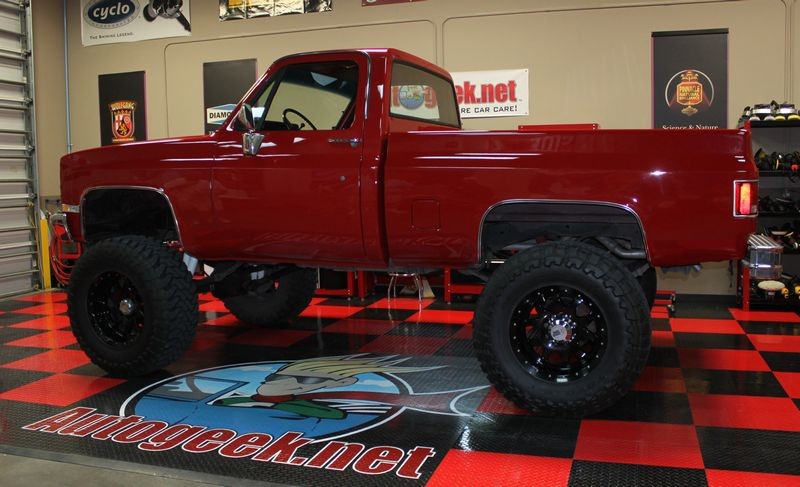
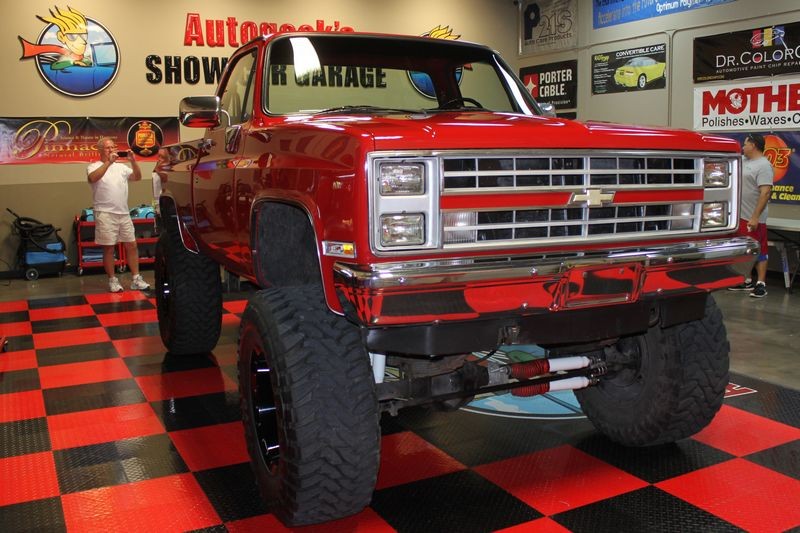
The good news is I have a team of guys and gals coming to Autogeek to perform major surgery to this truck and if history is any indicator, this truck will look like it has a brand new paint job.
")
Here's the before pictures from the extreme makeover to my personal daily driver. The condition of the paint is exactly how it was when I purchased the truck. These picture were taken AFTER I washed and dried the truck, so any staining of the paint is actually a physical stain in and on the paint, not simply water drops or water smears after washing and drying.
Fair Warning --> This is going to hurt your eyes...
This is a cropped-out close-up of the sun shot above...
Some kind of crazy staining taking place all over the body panels...
Plenty of swirls to go around for all the body panels, don't want any panel feeling left out...
More pictures of the staining effect...
And besides all the cobweb type swirls and stains in the paint, to top it off someone hacked it all up through the misuse of a rotary buffer. I present the dreaded holograms...
Here's what the paint looks like when the sun hits it...
Holograms from the mis-use of a rotary buffer...
Ouch! What an eyesore!
The good news is I have a team of guys and gals coming to Autogeek to perform major surgery to this truck and if history is any indicator, this truck will look like it has a brand new paint job.
Last edited by a moderator:


 rops:
rops: