Gary Sword
New member
- Nov 26, 2006
- 4,168
- 0
Continued from Phase I:
http://www.autogeekonline.net/forum/show-n-shine/21580-2002-viper-acr-detail-phase-i.html
Phase II
Engine Bay Detail
ACR Decal Replacement
Polish
Engine Bay Detail:
I started some of the engine bay detail when I had the car up on jack stands then finished it off after I put the wheels back on and put the car back on the floor.
Plastics and Rubber Surfaces - 303 Aerospace Protectant
Aluminum - Collinite 850 Metal Wax
Painted Steel - Duragloss 501


Viper ACR Decal Replacement:
I don't normally like decals and this is the 1st time I have ever put one on a car. The decal is an OEM ACR decal that was damaged when I purchased the car. If you can believe it the dealer wanted $130 for one decal. I was able to get the decal from a member on the Viper's Club or America site who lives in the UK and owns a graphics company. It sent me 2 decal for $35 including air mail.
Before:

I put on some painter's tape before removing the decal so I could make sure I put it on in the exact same spot. Next I removed the old decal. To remove the glue I used Klasse All-In-One. It did a great job removing the glue and I didn't have to worry about damaging the paint with a solvent.

Before putting on the decal I did a 50% water 50% Isopropyl Alcohol wipe down on the area the decal was going on.

I only had to replace the decal on the driver's side so I still have an extra one in case I need it in the future.
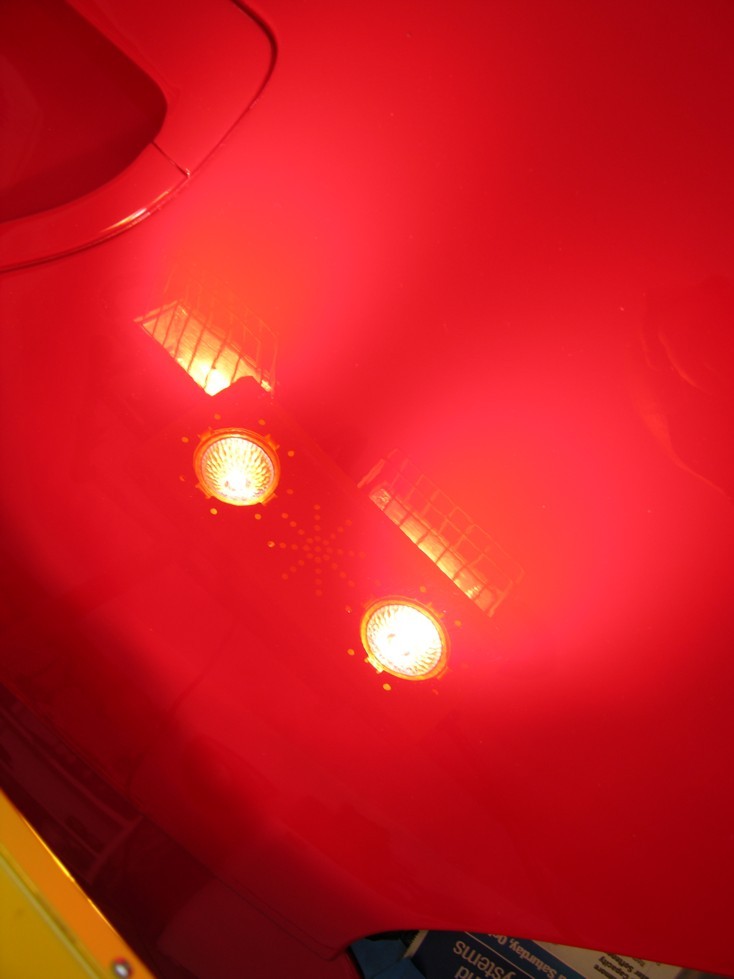
Paint Polish:
Polish - Menzerna PO85RD using Flex and 6" Kompressor Lite Cutting & Jeweling pads.
It been over a year since I polished the car but it didn't have any swirl marks. It did have a few light scratches. I wasn't going to polish it at all then I thought I might as well polish the hard to get to body panel parts on the bottom of the car. while I had it up on jack stands.

Since I had polished the bottom of the body panels and thought I might as well remove a few light scratched and jewel up the paint.


http://www.autogeekonline.net/gallery/data/500/Polish_CO4.jpg

On most of the back I used a PC with a 4" LC lite cutting pad. A 6" pad is just to big to hit most of the spots on the back.


What's Next???? Phase III of course
Phase III
Interior Detail
LSP
To be continued:
:buffing:http://www.autogeekonline.net/gallery/data/500/Undercarriage11.jpg
http://www.autogeekonline.net/forum/show-n-shine/21580-2002-viper-acr-detail-phase-i.html
Phase II
Engine Bay Detail
ACR Decal Replacement
Polish
Engine Bay Detail:
I started some of the engine bay detail when I had the car up on jack stands then finished it off after I put the wheels back on and put the car back on the floor.
Plastics and Rubber Surfaces - 303 Aerospace Protectant
Aluminum - Collinite 850 Metal Wax
Painted Steel - Duragloss 501
Viper ACR Decal Replacement:
I don't normally like decals and this is the 1st time I have ever put one on a car. The decal is an OEM ACR decal that was damaged when I purchased the car. If you can believe it the dealer wanted $130 for one decal. I was able to get the decal from a member on the Viper's Club or America site who lives in the UK and owns a graphics company. It sent me 2 decal for $35 including air mail.
Before:
I put on some painter's tape before removing the decal so I could make sure I put it on in the exact same spot. Next I removed the old decal. To remove the glue I used Klasse All-In-One. It did a great job removing the glue and I didn't have to worry about damaging the paint with a solvent.
Before putting on the decal I did a 50% water 50% Isopropyl Alcohol wipe down on the area the decal was going on.
I only had to replace the decal on the driver's side so I still have an extra one in case I need it in the future.
Paint Polish:
Polish - Menzerna PO85RD using Flex and 6" Kompressor Lite Cutting & Jeweling pads.
It been over a year since I polished the car but it didn't have any swirl marks. It did have a few light scratches. I wasn't going to polish it at all then I thought I might as well polish the hard to get to body panel parts on the bottom of the car. while I had it up on jack stands.
Since I had polished the bottom of the body panels and thought I might as well remove a few light scratched and jewel up the paint.
http://www.autogeekonline.net/gallery/data/500/Polish_CO4.jpg
On most of the back I used a PC with a 4" LC lite cutting pad. A 6" pad is just to big to hit most of the spots on the back.
What's Next???? Phase III of course
Phase III
Interior Detail
LSP
To be continued:
:buffing:http://www.autogeekonline.net/gallery/data/500/Undercarriage11.jpg