Nica
New member
- Oct 23, 2006
- 3,728
- 0
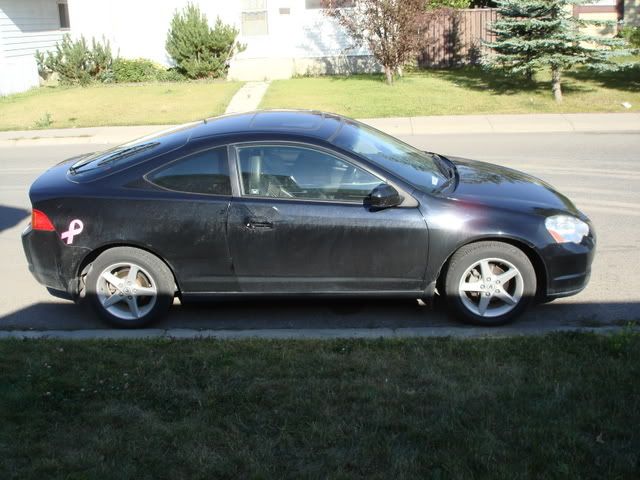
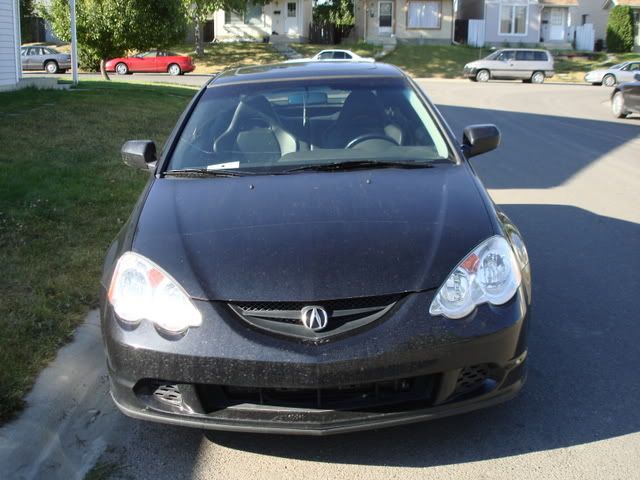
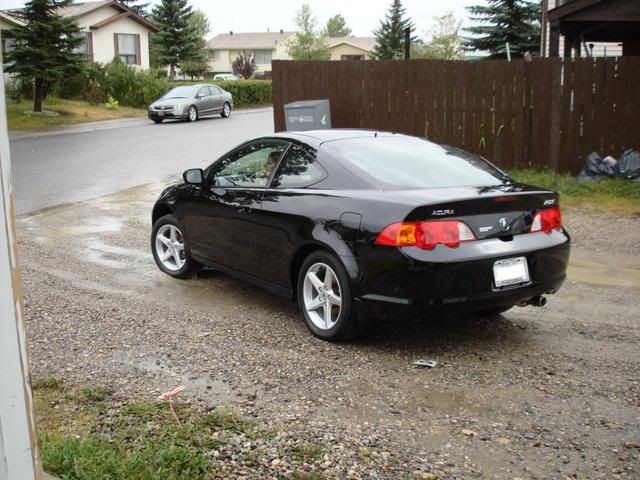
This vehicle belongs to a co-worker. Now, I deemed this vehicle special. So special that I used my very own personal Menzerna products, the ones that I said I would only use for my self. The reason I deemed this vehicle special is because I owned a blue one and driving it brought some good memories.
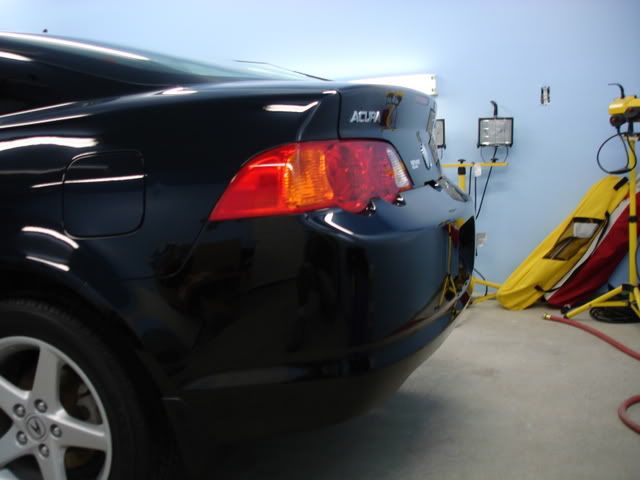
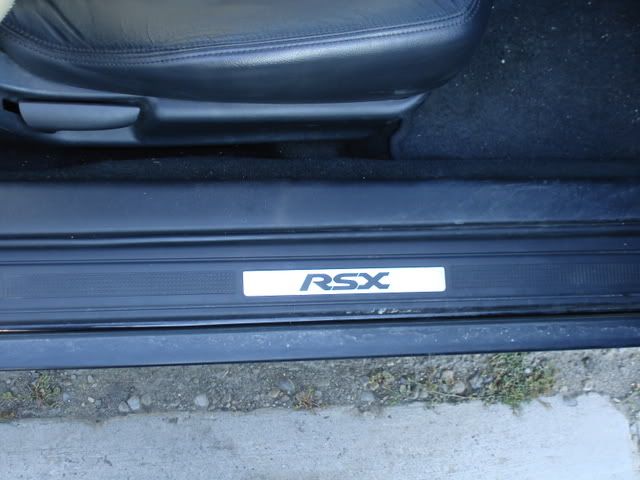
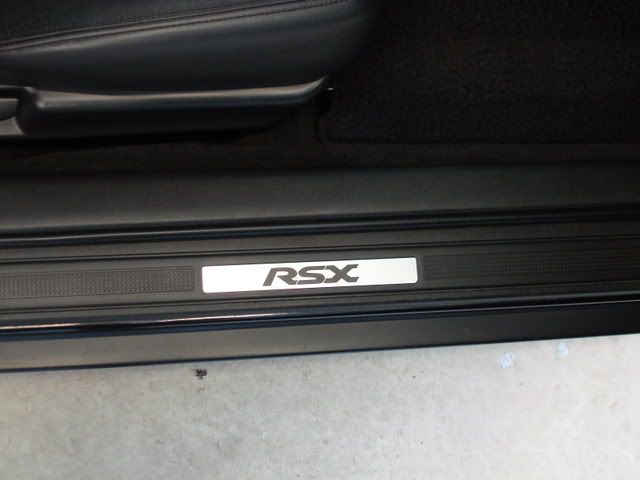
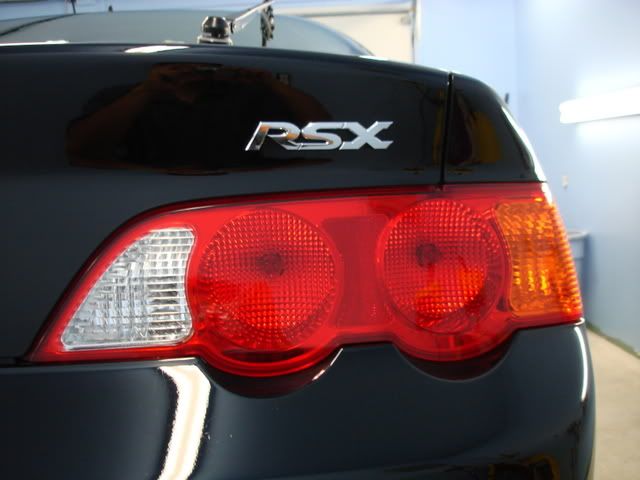
2003 Acura RSX
Interior Process:
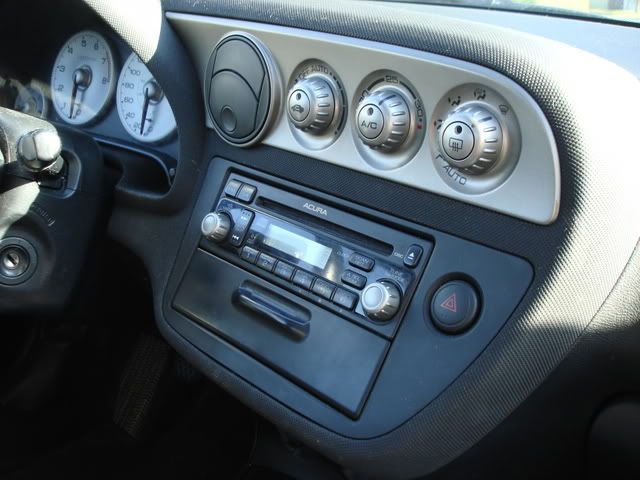
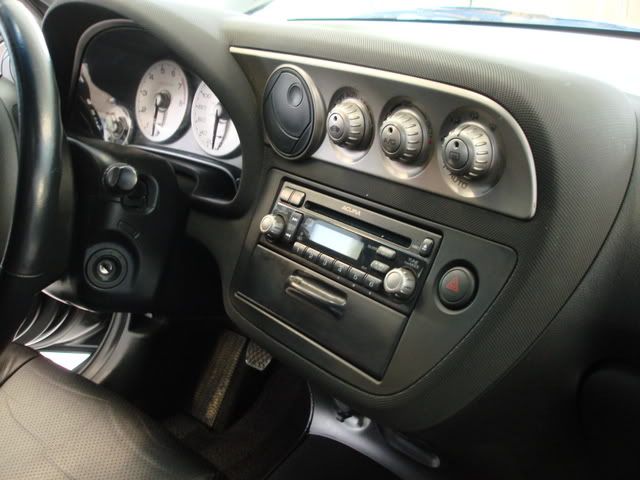
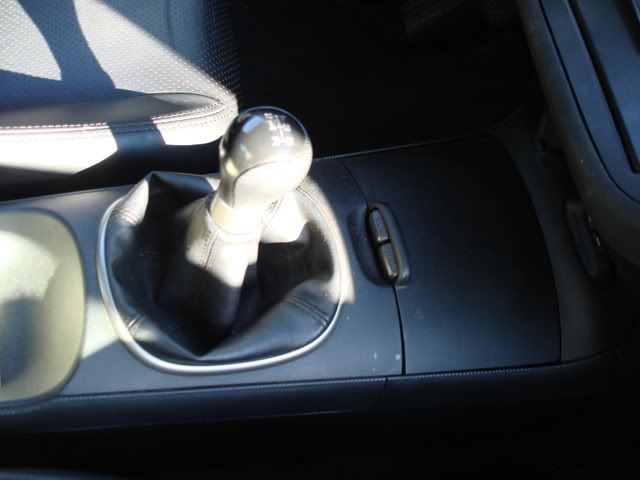
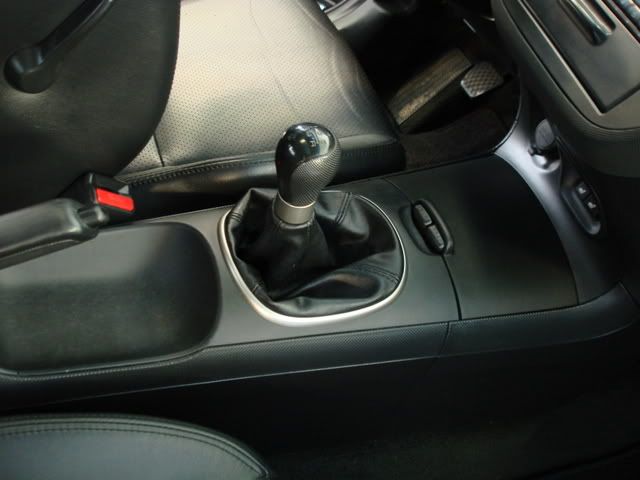
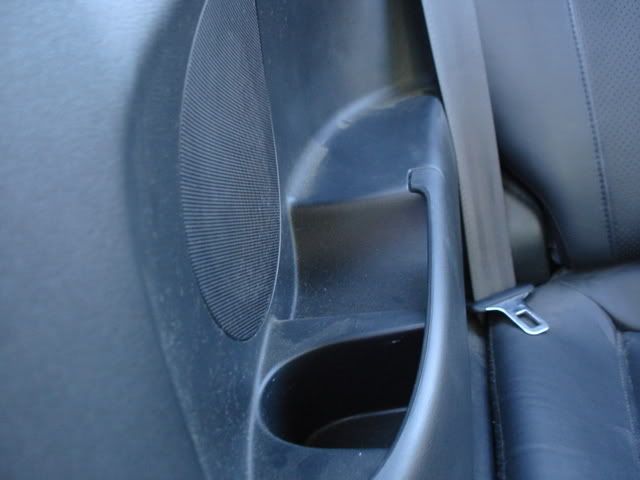
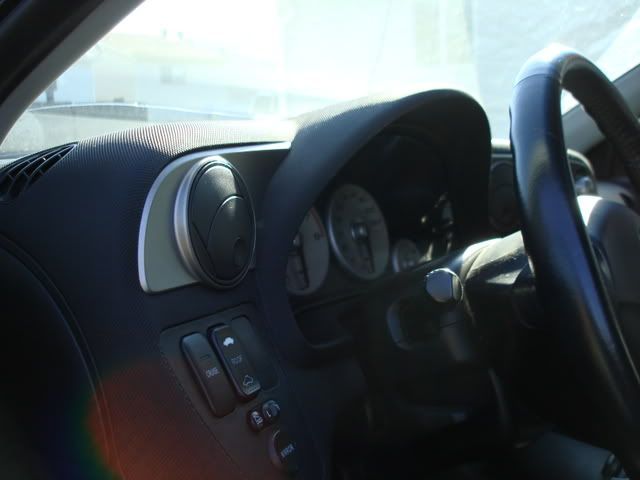
Vinyl:
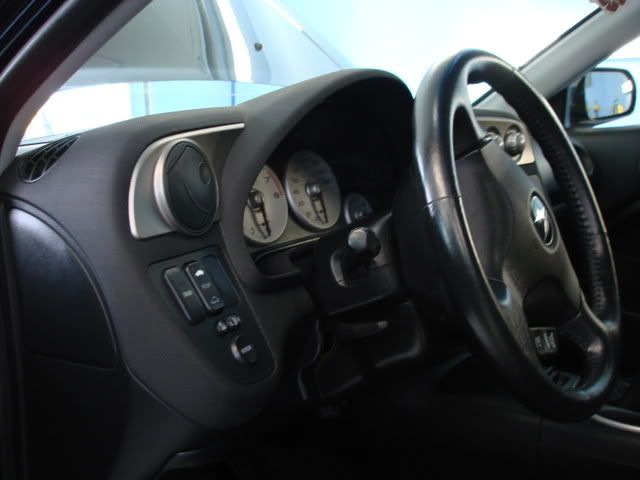
Prior to dressing the interior I gave the entire vehicle a wipe down with Meg’s APC mixed with water 1:1. Then dressed the entire interior with Optimum Protection Plus.
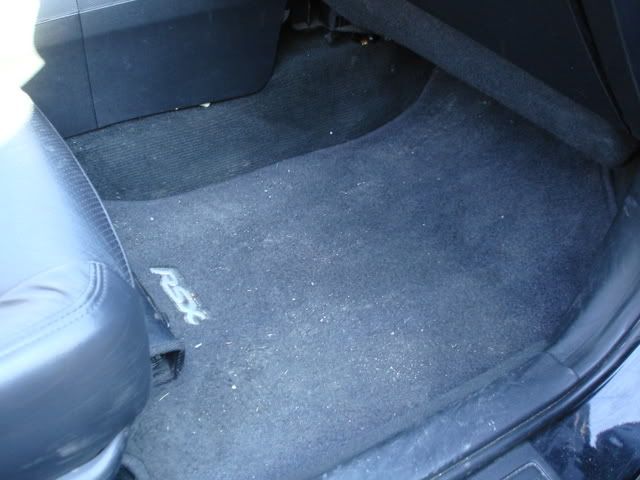
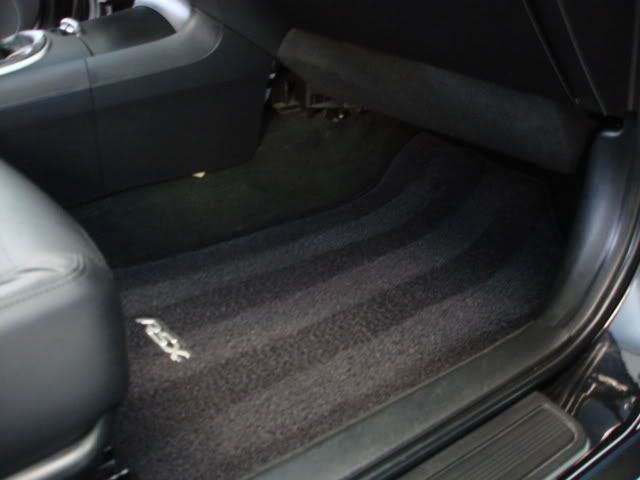
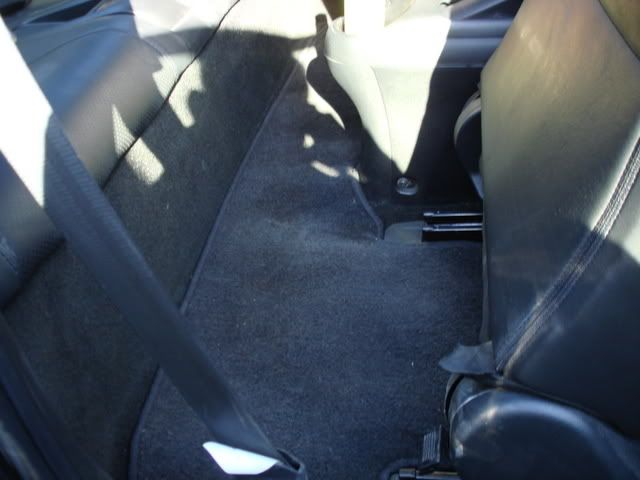
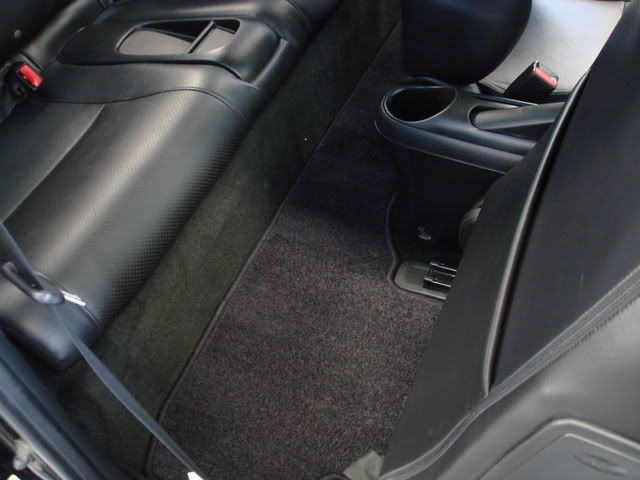
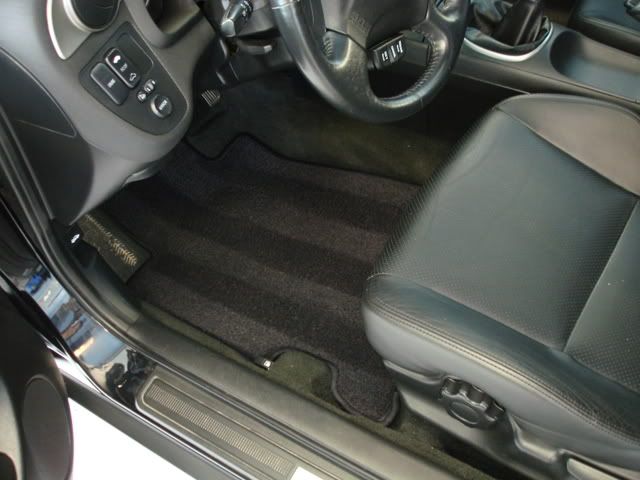
Carpet:
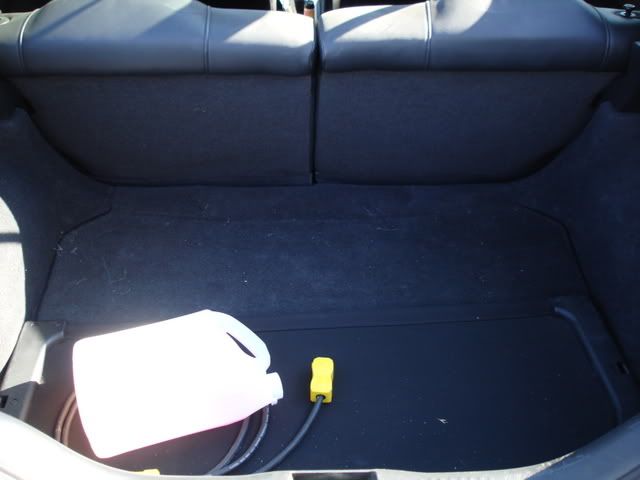
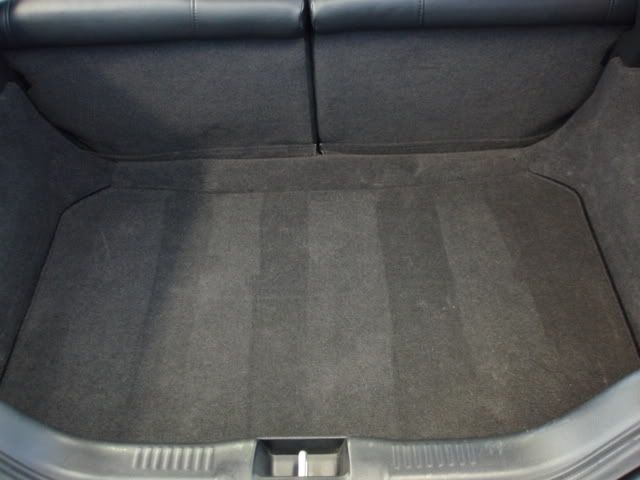
Meguiars APC used it on the carpet. I scrubbed with a brush then extracted it with my shop-vac.
Leather:
Lexol ph leather cleaner and Lexol leather conditioner.
Exterior Process
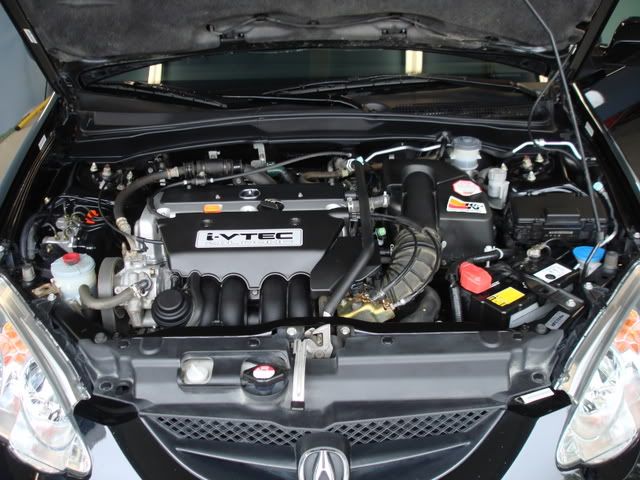
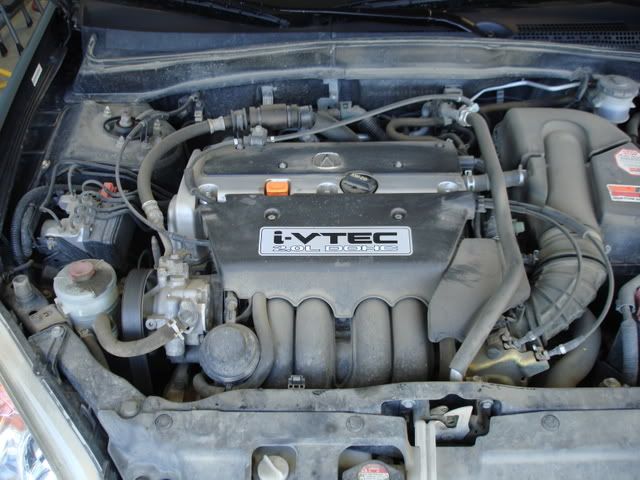
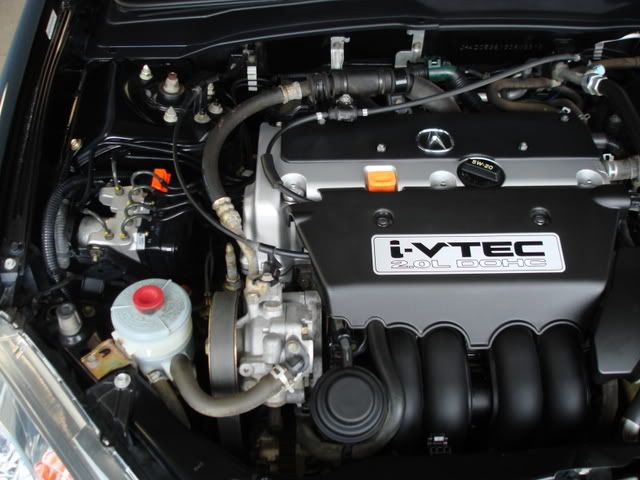
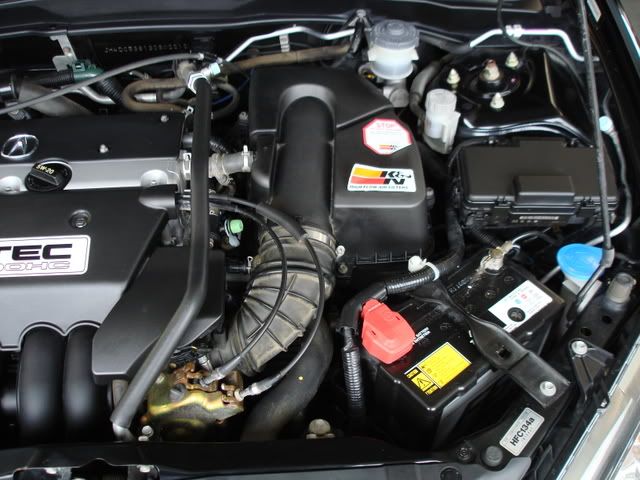
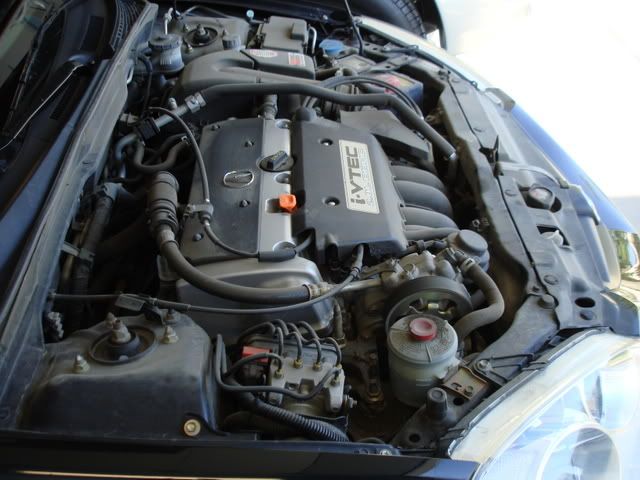
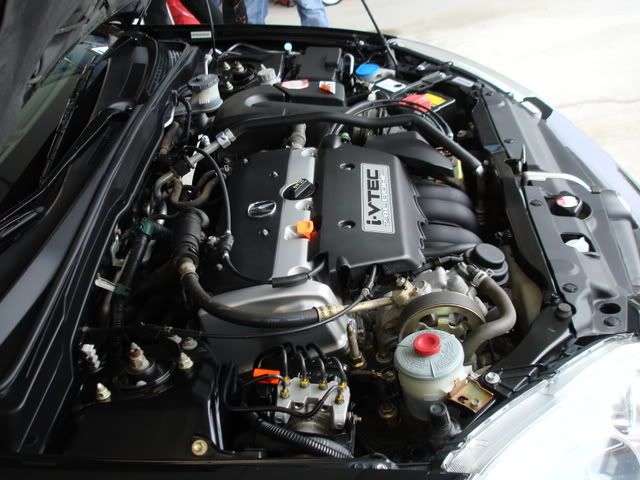
Engine bay:
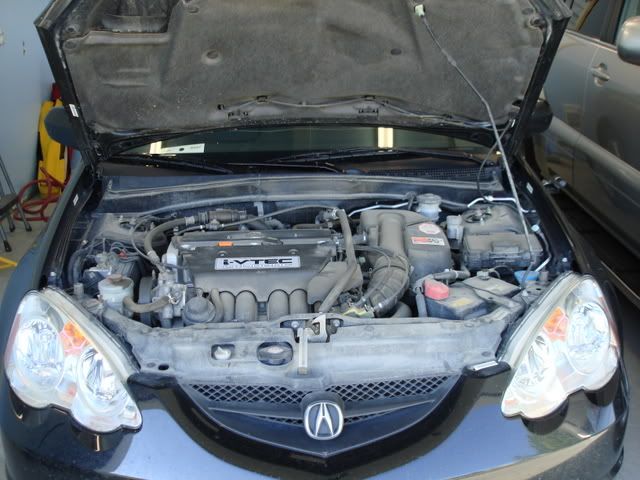
Used P21S Total Auto Wash full strength and dressed with Optimum Protection Plus.
Wash:
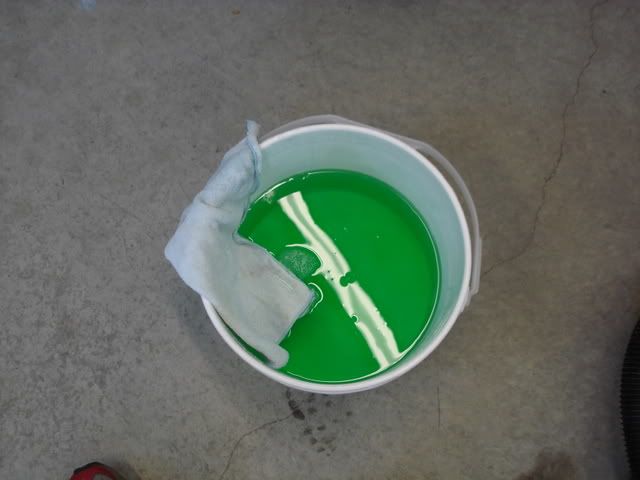
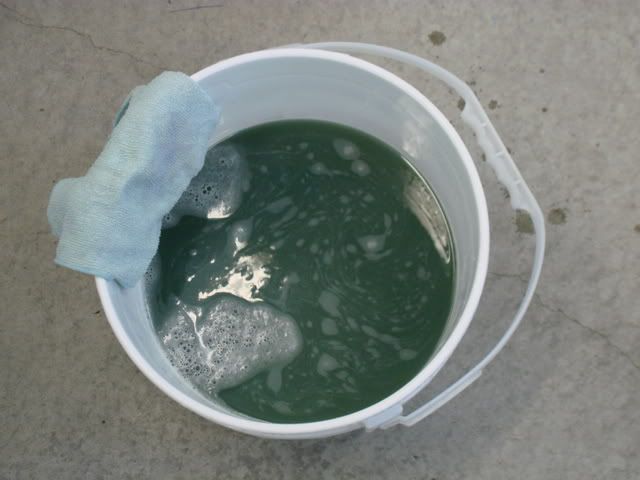
I used Meg’s Gold Class with two bucket method with the Zymol Sponge, used Deionized water for the entire job.
Clay:
The vehicle was in rough shape so I used Red Clay Magic, the vehicle had never been clayed before and it felt like sand paper so extra strength clay was required on this one.
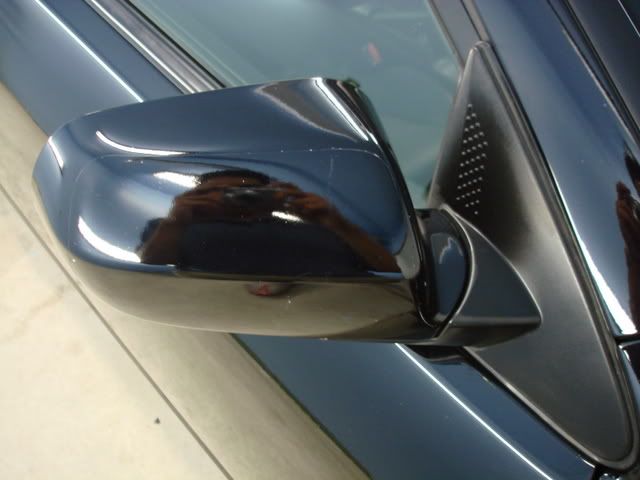
Polish
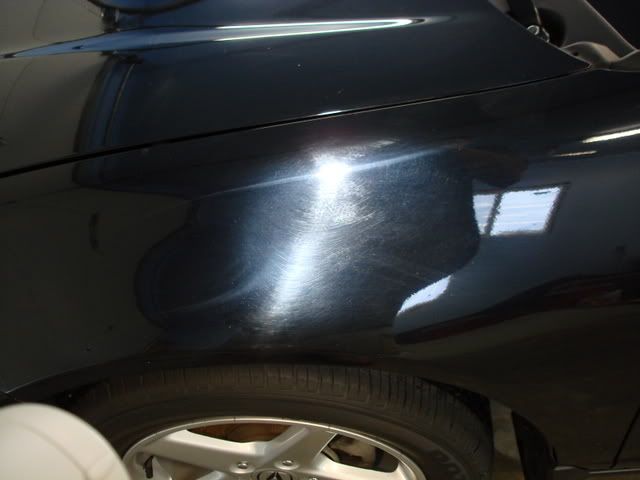
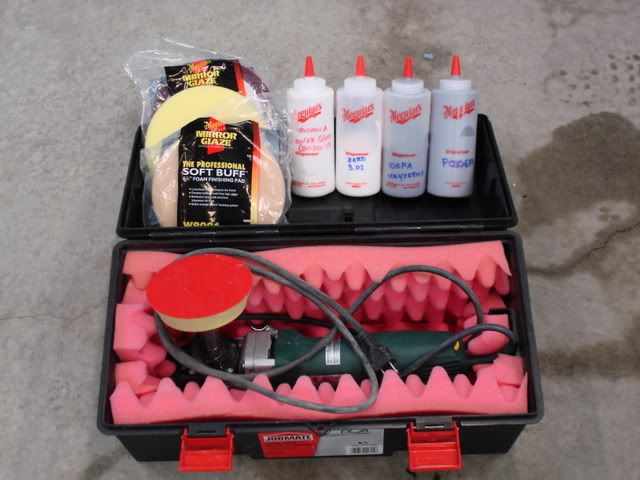
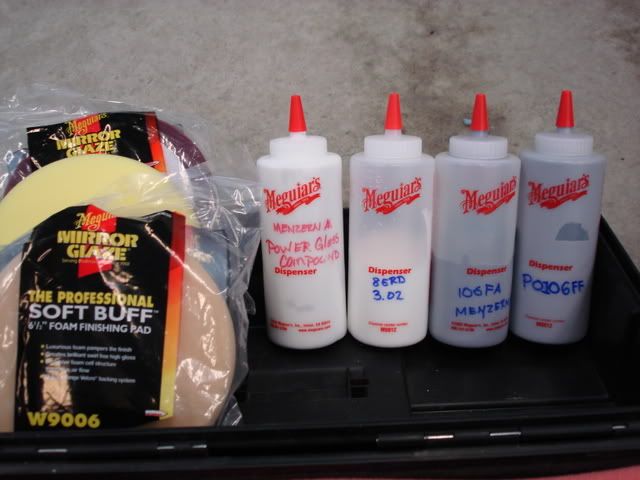
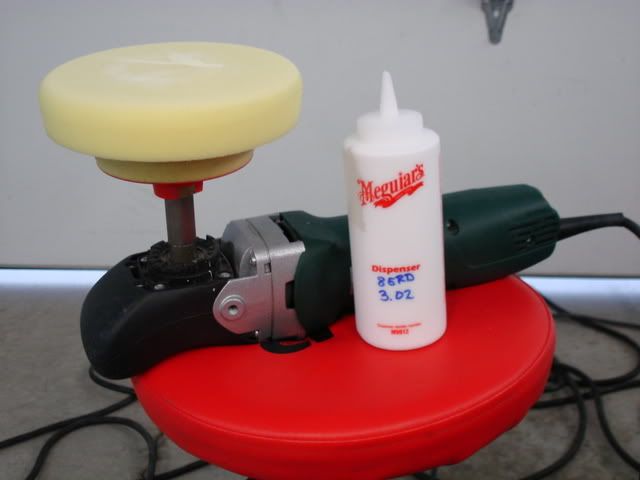
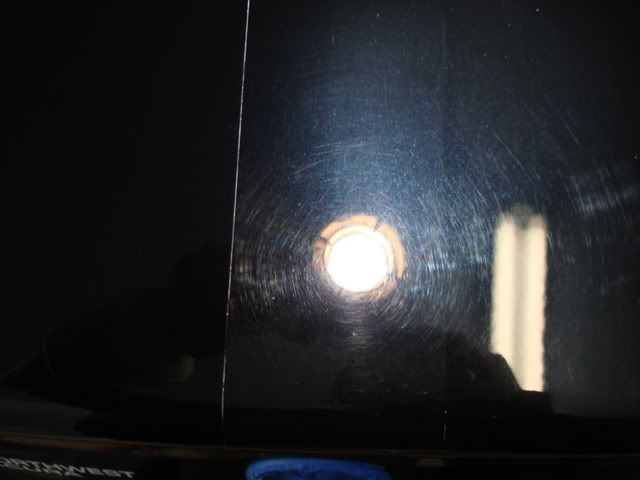
Menzerna 85RD3.02 – Meg’s Polishing pad – 3M Backing Plate – Metabo at 1800rpm
Prepping for wax:
Victoria Light Cleanse applied by foam applicator and removed with Tornado microfiber towel (grey towel)
Wax:
1 – Coat of Victoria Concourse applied by hand and removed with a grey micro fiber towel
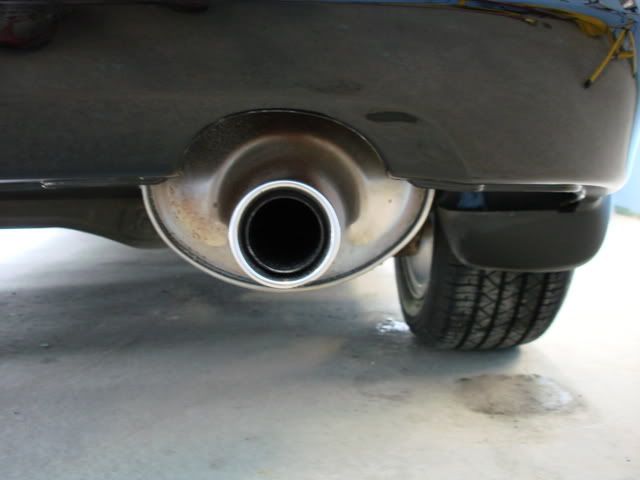
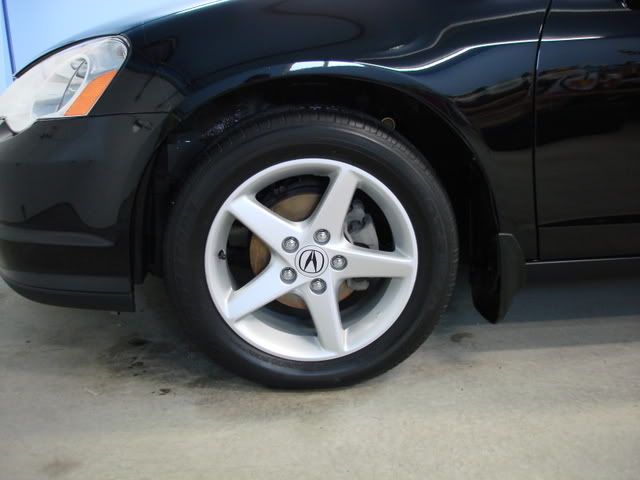
Rims/wheel wells/Tires:
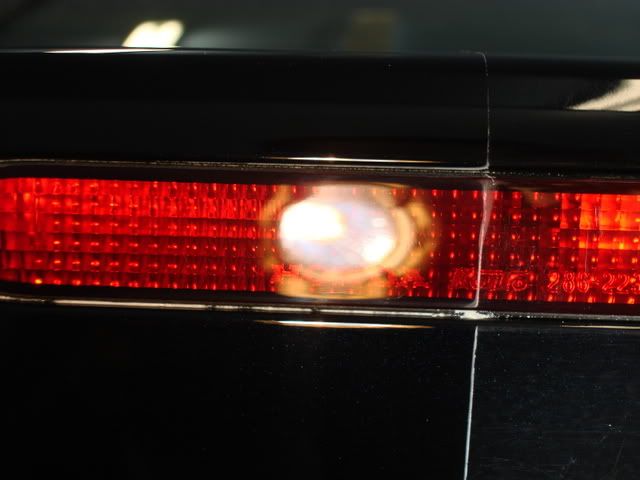
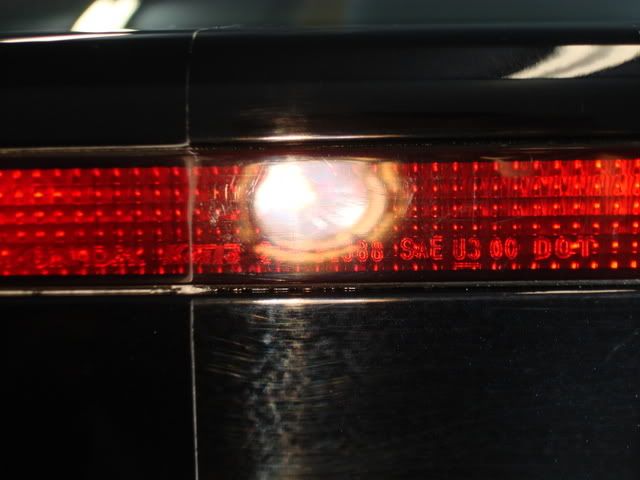
For the rims I used Zymol Wheel Cleaner agitated with my Swissol wheel brush. After rims where cleaned I finished them off with Jetseal 109
For the wheel wells I used P21S Total Auto Wash full strength
Tires and wheel wells were finished off with Optimum Tire Shine
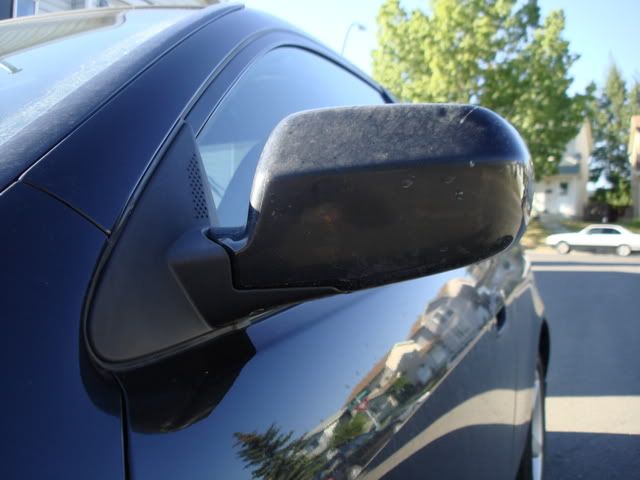
Exterior plastic peaces/trim:
I used Back Again
Glass:
Interior glass was cleaned with Stoners with glass Cobra MF.
Exterior glass received Victoria Light Cleanse followed up with a coat of Victoria Concourse.
Observations/comments:
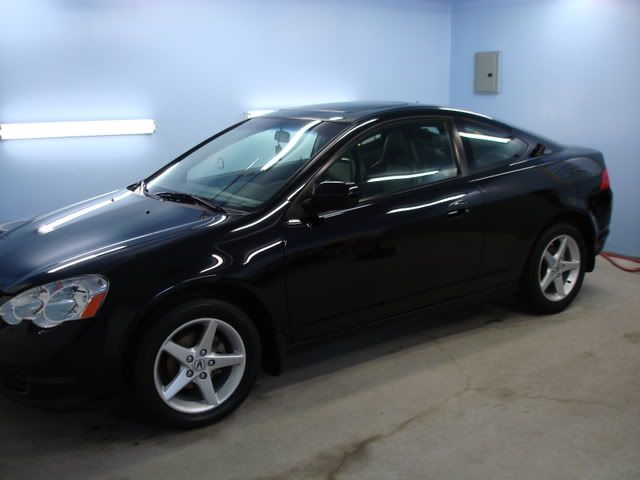
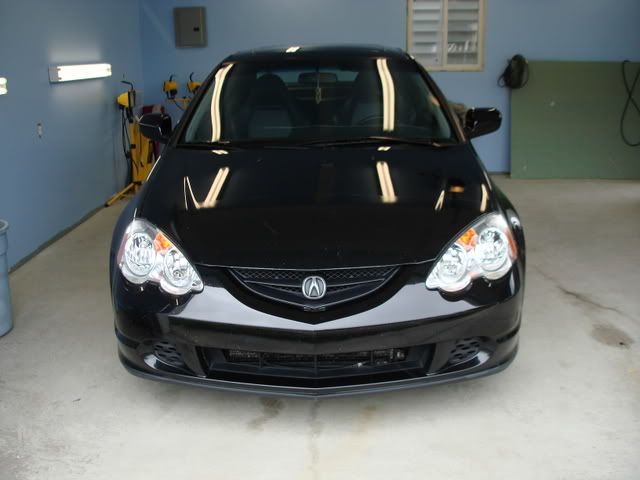
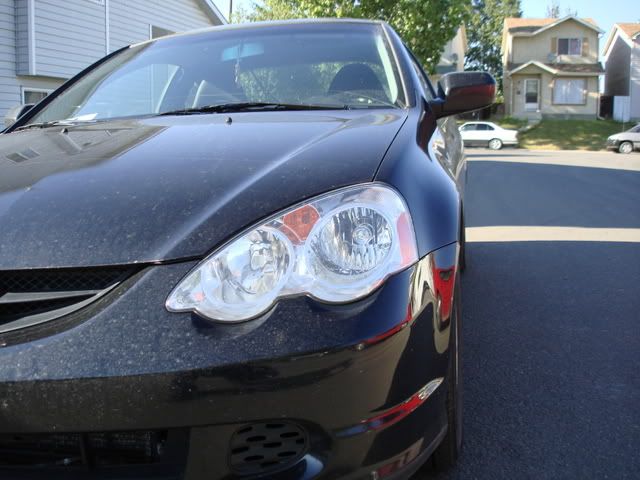
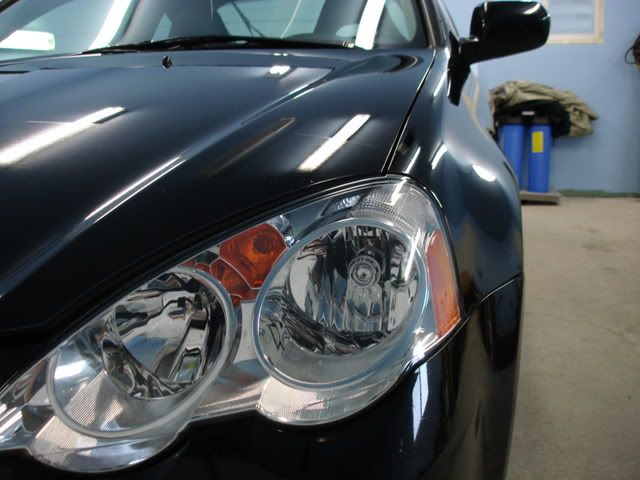
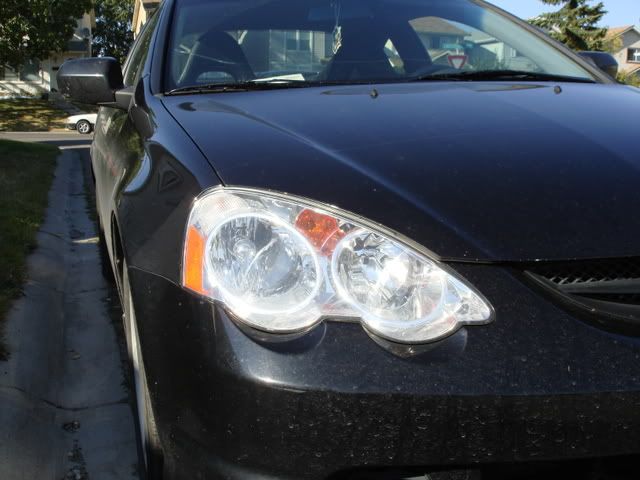
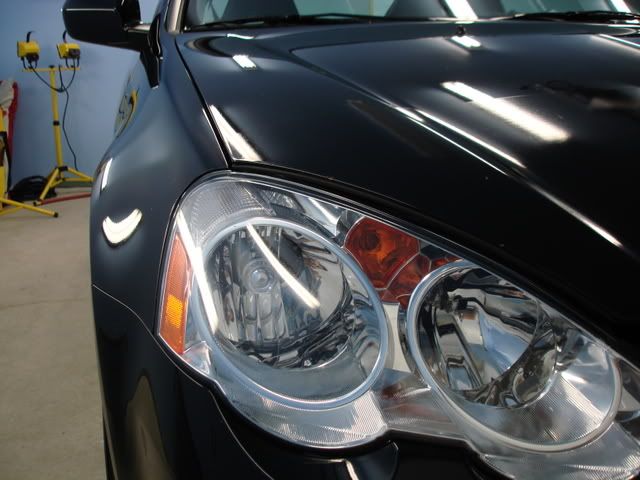
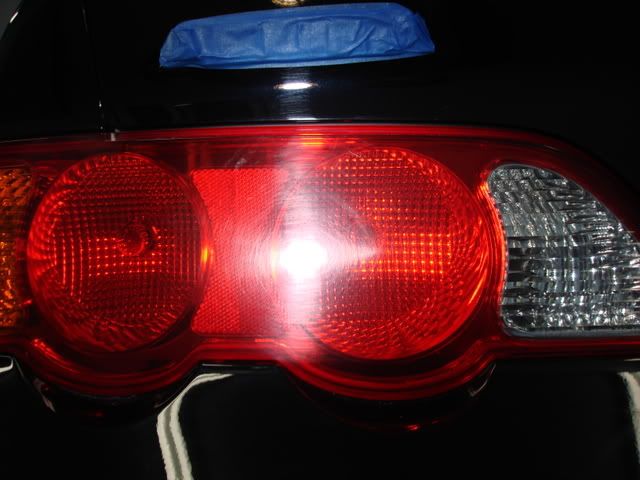
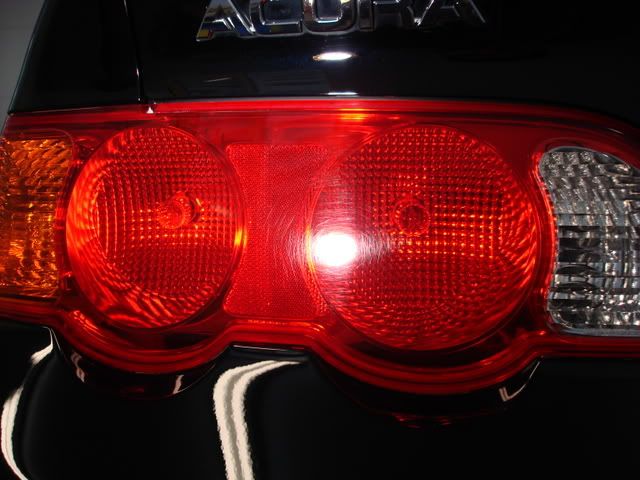
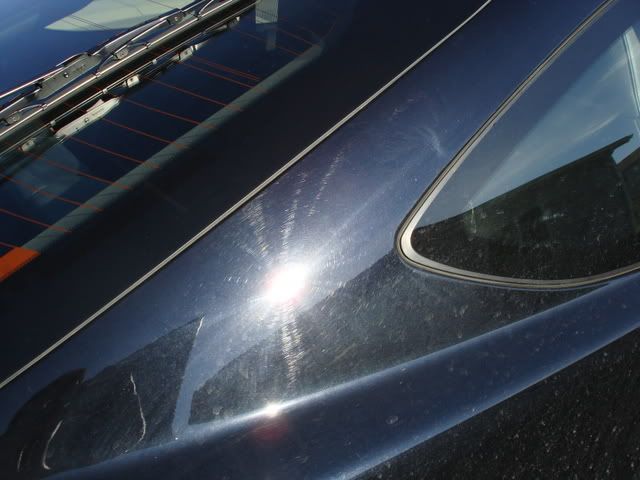
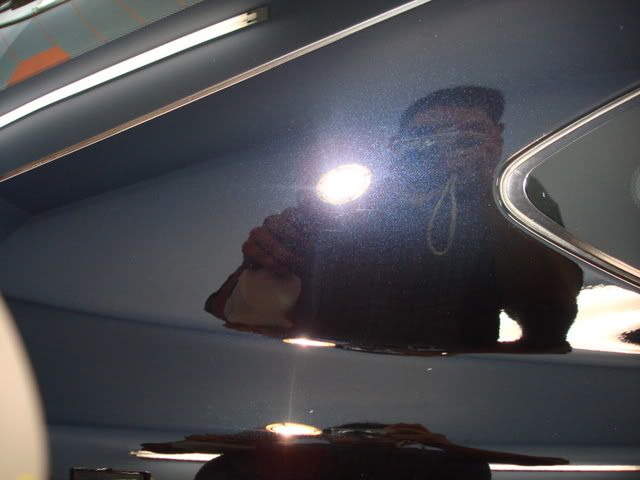
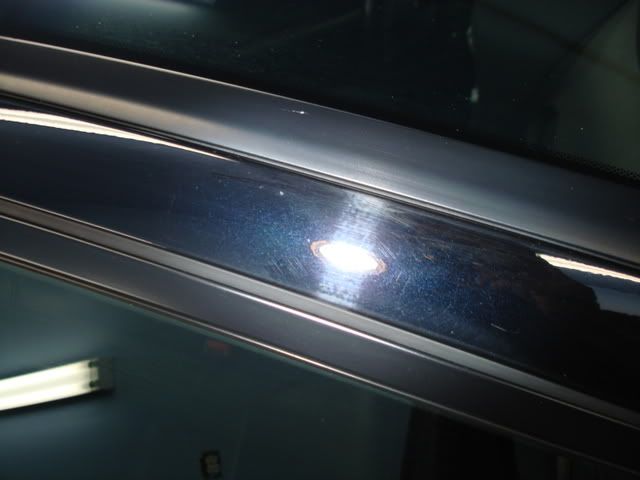
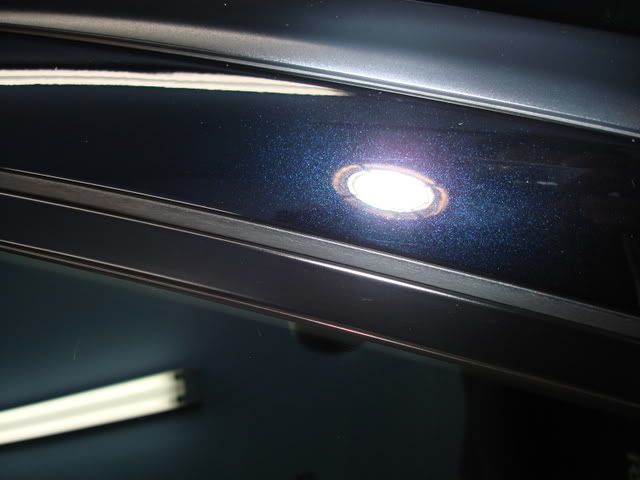
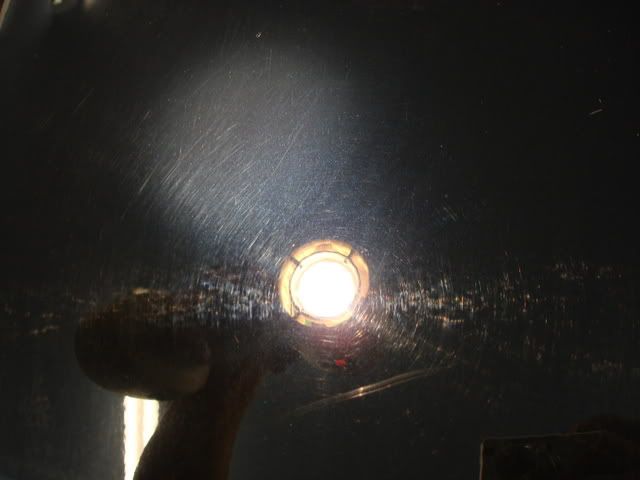
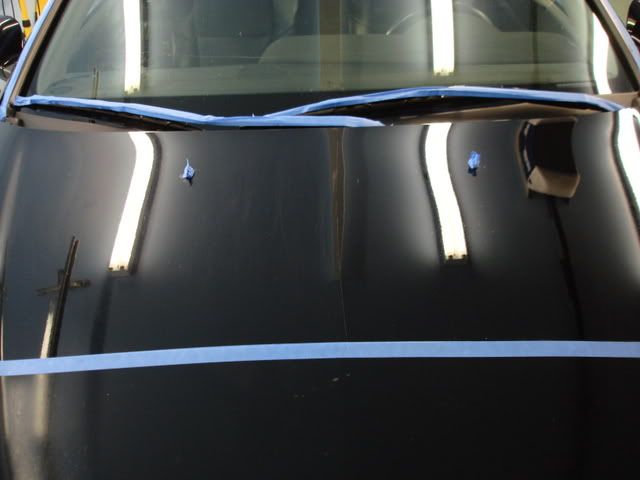
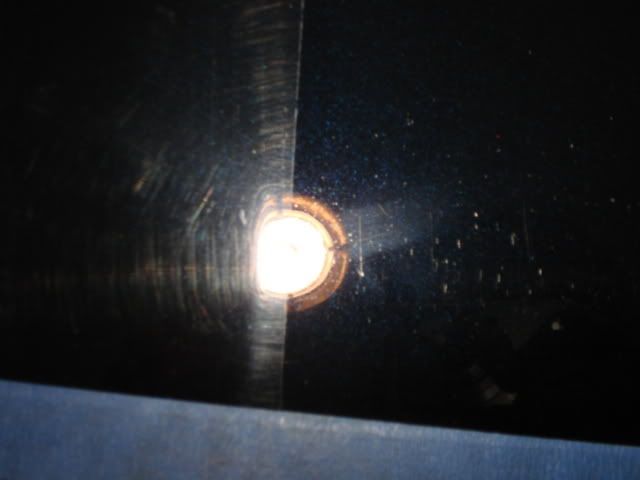
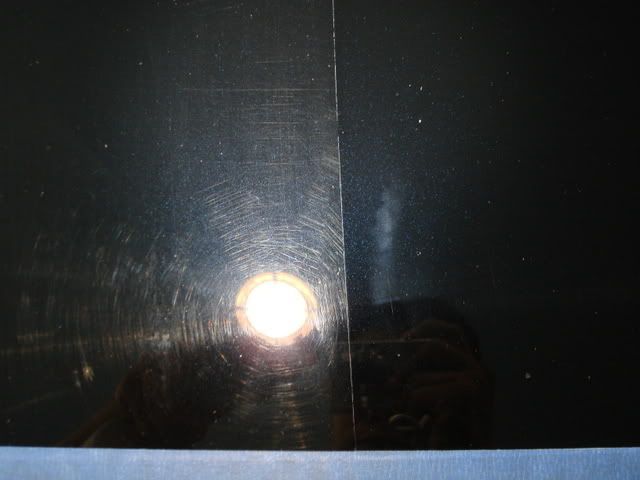
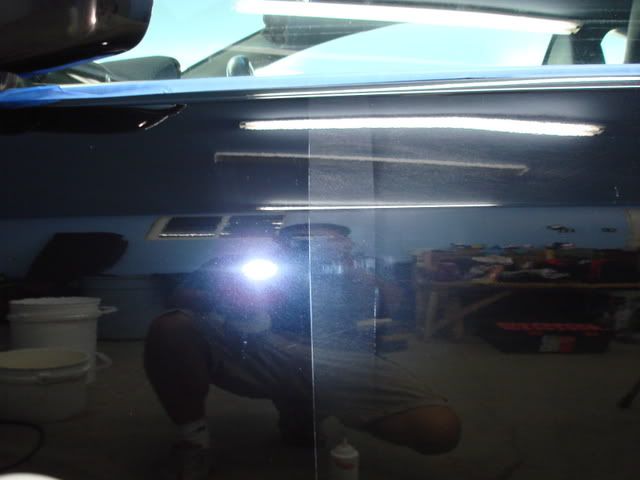
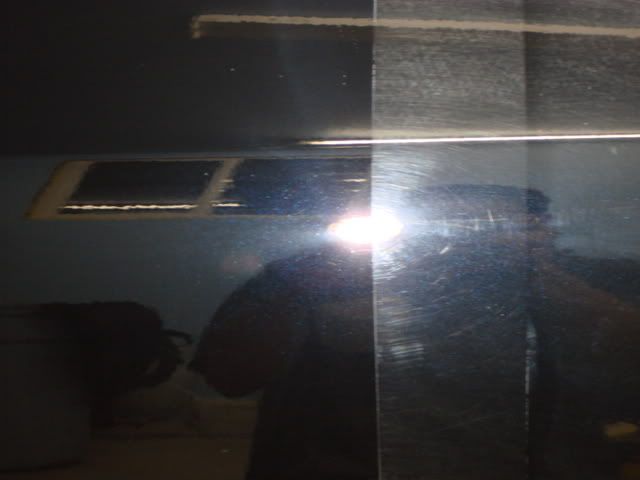
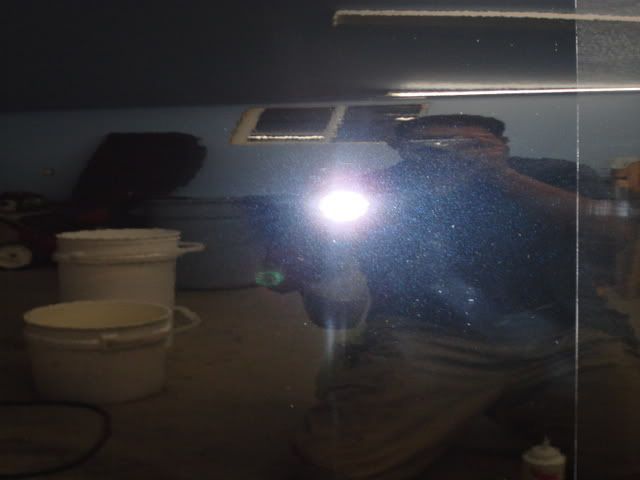
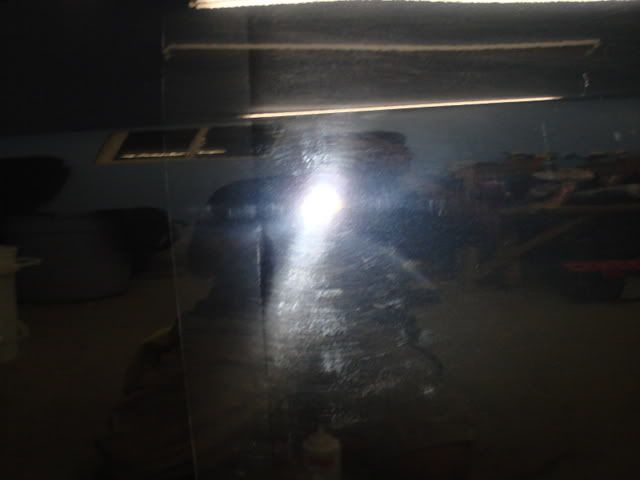
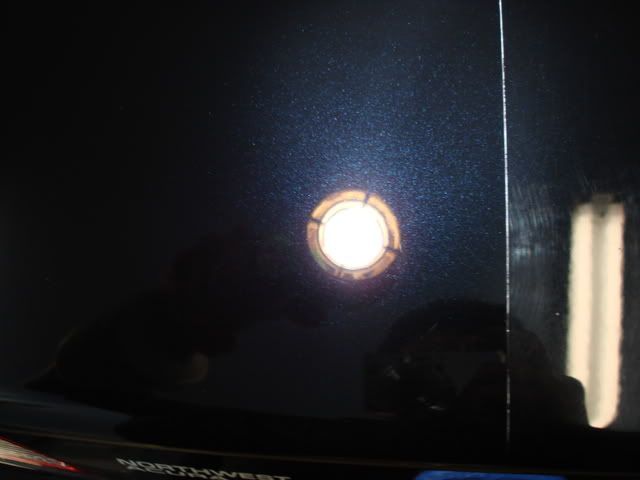
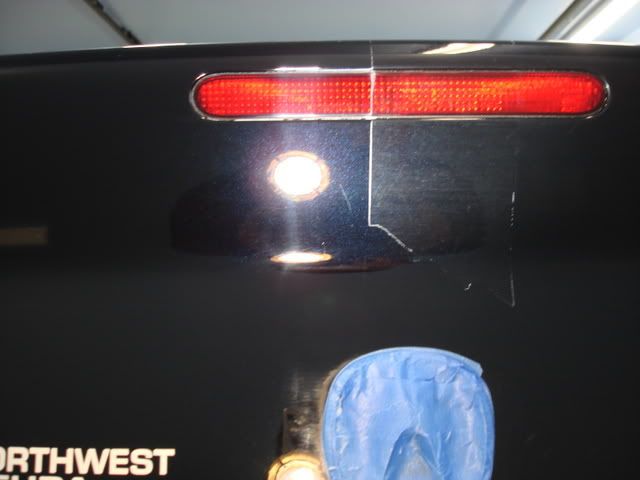
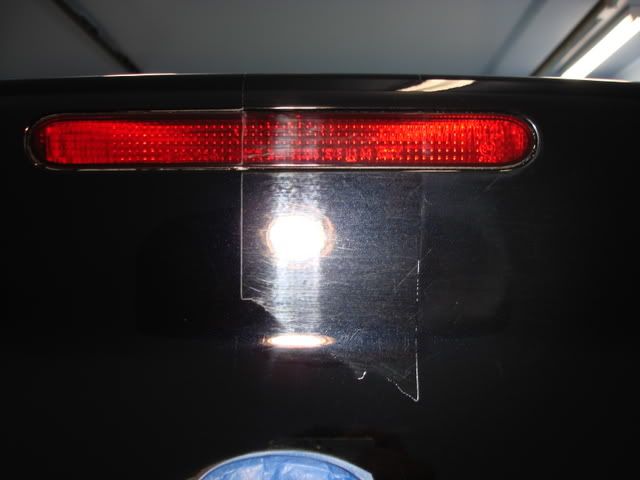
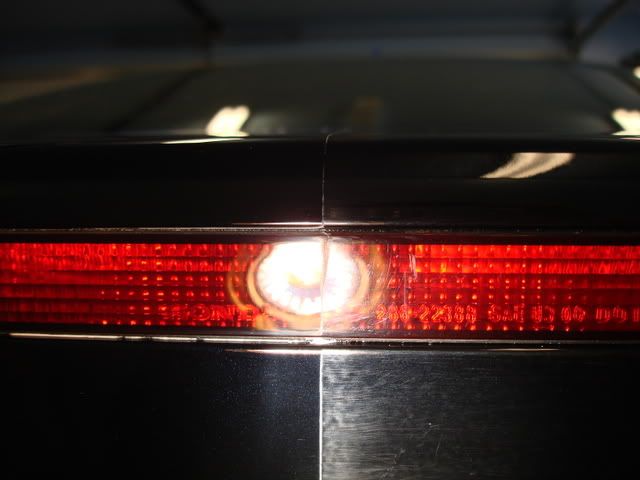
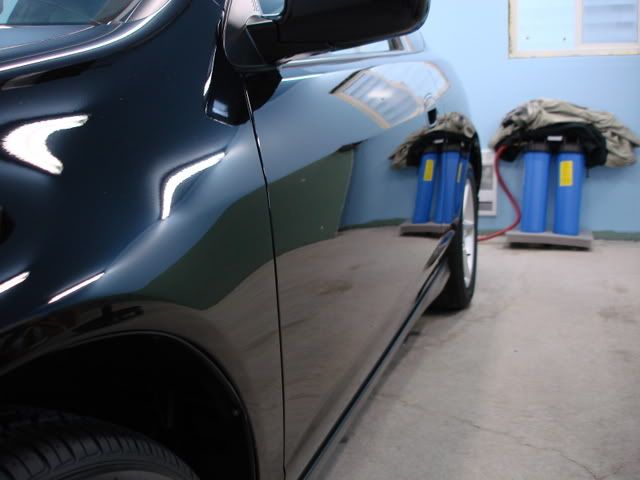
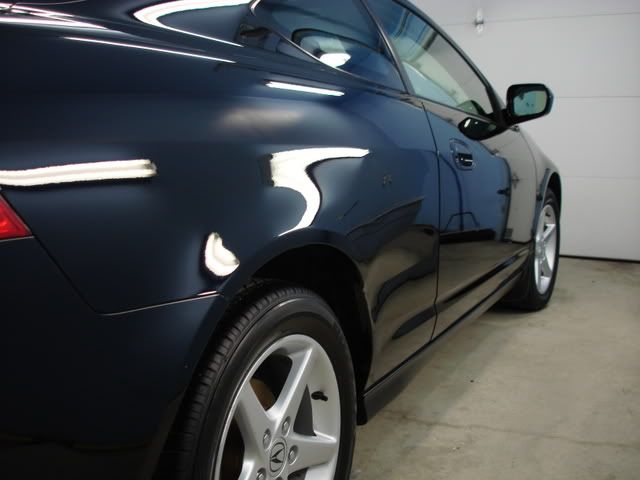
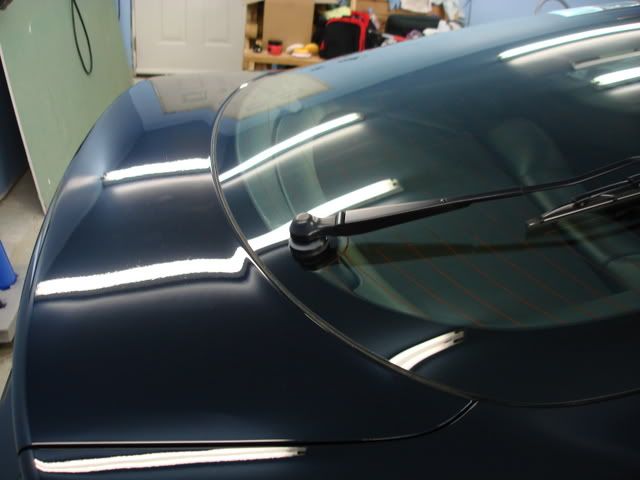
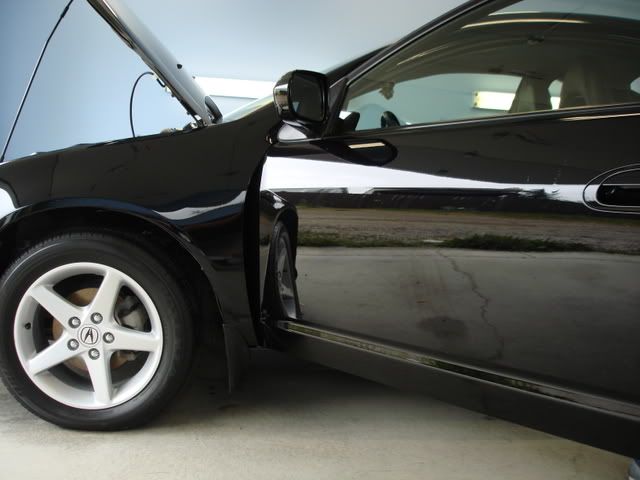
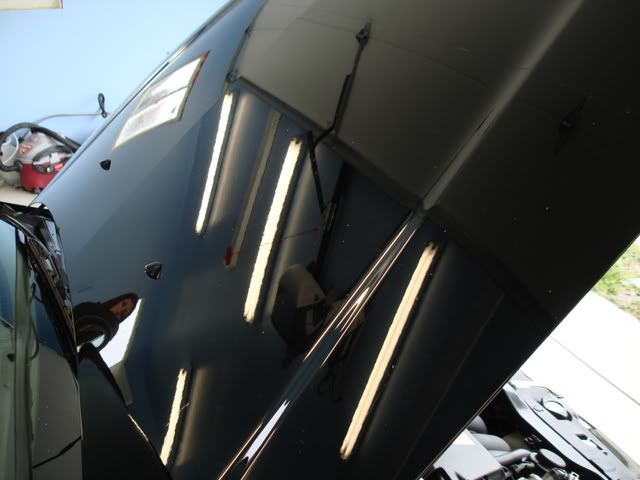
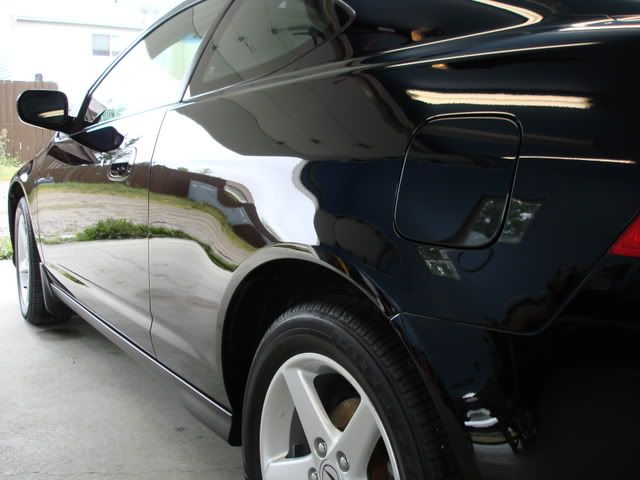
On this vehicle I used a bunch of new products and enjoyed all of them. Some of these products are used exclusively on my vehicles only but felt this vehicle was special, to me at least. Let’s start off with Menzerna 85RD3.02. What can I say that hasn’t been said about Menzerna, it’s a great product and it finishes like a dream, you will see what I mean by the pictures. Next up was the Optimum Protection Plus, it’s a nice product leaves a really nice look in the interior I really like it and it’s much better then Meg’s #40, well at least I think so. The only thing I didn’t like was the smell of the Optimum Protection Plus it but after a wile I couldn’t smell it anymore. Then the Optimum Tire Shine, now this product I have nothing bad to say about it. I enjoyed the way it left the tires with a nice mate look but yet you can still see there is something on the tires, for those that do not like a shiny appearance you will enjoy this product. The vehicle finished off great, had some serious damage that could have benifeted from wet sanding but Menzerna 85RD3.02 took care of everything.
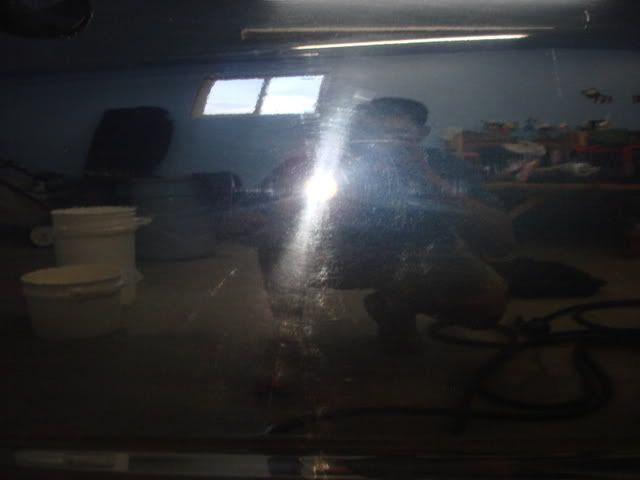
I couldn’t get my regular routine of pictures because it was raining out side when I finished the vehicle but since I have enough lights I my garage I’m going to use those as the after pictures.
1/8
2003 Acura RSX
Interior Process:
Vinyl:
Prior to dressing the interior I gave the entire vehicle a wipe down with Meg’s APC mixed with water 1:1. Then dressed the entire interior with Optimum Protection Plus.
Carpet:
Meguiars APC used it on the carpet. I scrubbed with a brush then extracted it with my shop-vac.
Leather:
Lexol ph leather cleaner and Lexol leather conditioner.
Exterior Process
Engine bay:
Used P21S Total Auto Wash full strength and dressed with Optimum Protection Plus.
Wash:
I used Meg’s Gold Class with two bucket method with the Zymol Sponge, used Deionized water for the entire job.
Clay:
The vehicle was in rough shape so I used Red Clay Magic, the vehicle had never been clayed before and it felt like sand paper so extra strength clay was required on this one.
Polish
Menzerna 85RD3.02 – Meg’s Polishing pad – 3M Backing Plate – Metabo at 1800rpm
Prepping for wax:
Victoria Light Cleanse applied by foam applicator and removed with Tornado microfiber towel (grey towel)
Wax:
1 – Coat of Victoria Concourse applied by hand and removed with a grey micro fiber towel
Rims/wheel wells/Tires:
For the rims I used Zymol Wheel Cleaner agitated with my Swissol wheel brush. After rims where cleaned I finished them off with Jetseal 109
For the wheel wells I used P21S Total Auto Wash full strength
Tires and wheel wells were finished off with Optimum Tire Shine
Exterior plastic peaces/trim:
I used Back Again
Glass:
Interior glass was cleaned with Stoners with glass Cobra MF.
Exterior glass received Victoria Light Cleanse followed up with a coat of Victoria Concourse.
Observations/comments:
On this vehicle I used a bunch of new products and enjoyed all of them. Some of these products are used exclusively on my vehicles only but felt this vehicle was special, to me at least. Let’s start off with Menzerna 85RD3.02. What can I say that hasn’t been said about Menzerna, it’s a great product and it finishes like a dream, you will see what I mean by the pictures. Next up was the Optimum Protection Plus, it’s a nice product leaves a really nice look in the interior I really like it and it’s much better then Meg’s #40, well at least I think so. The only thing I didn’t like was the smell of the Optimum Protection Plus it but after a wile I couldn’t smell it anymore. Then the Optimum Tire Shine, now this product I have nothing bad to say about it. I enjoyed the way it left the tires with a nice mate look but yet you can still see there is something on the tires, for those that do not like a shiny appearance you will enjoy this product. The vehicle finished off great, had some serious damage that could have benifeted from wet sanding but Menzerna 85RD3.02 took care of everything.
I couldn’t get my regular routine of pictures because it was raining out side when I finished the vehicle but since I have enough lights I my garage I’m going to use those as the after pictures.
1/8


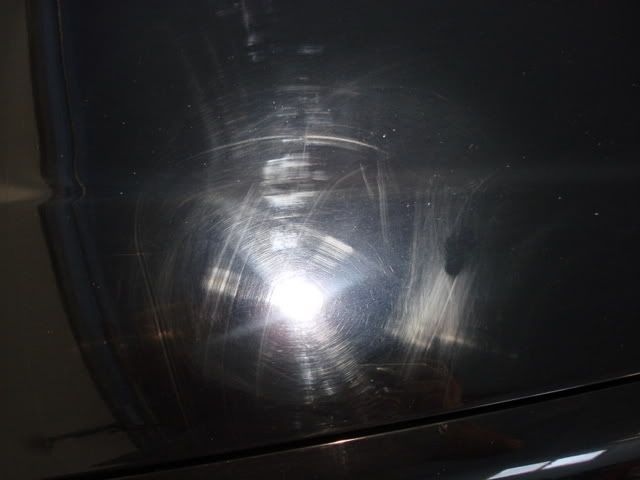
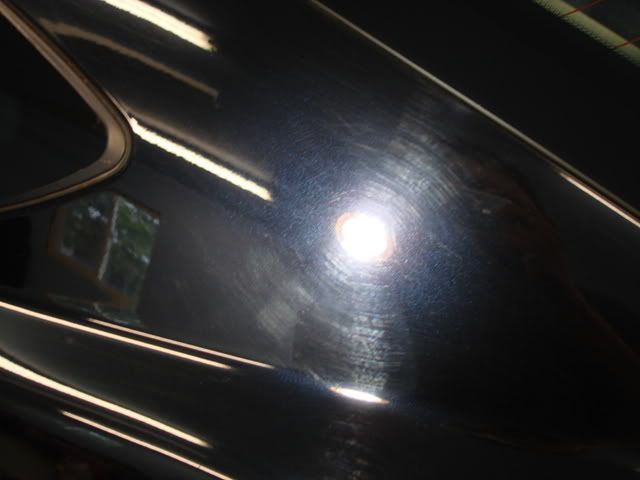


") It works good on exterior to! Glad you liked Optimum tire shine, it makes the tires look good. Better then to glossy. The paint came out good, very reflectiv. Menzerna did it again
It works good on exterior to! Glad you liked Optimum tire shine, it makes the tires look good. Better then to glossy. The paint came out good, very reflectiv. Menzerna did it again  I love those 50/50 shots as well. The end result is fantastic!
 actually owner was very pleased with the results and sorry I had to re-schedule our get together there but we can set something up again. As for the sponge, not sure yet first time I use it and so far I have nothing bad to say about it but I want to use it on a few more vehicles and then I can give you more feed back.