David Fermani
New member
- Apr 19, 2007
- 703
- 0
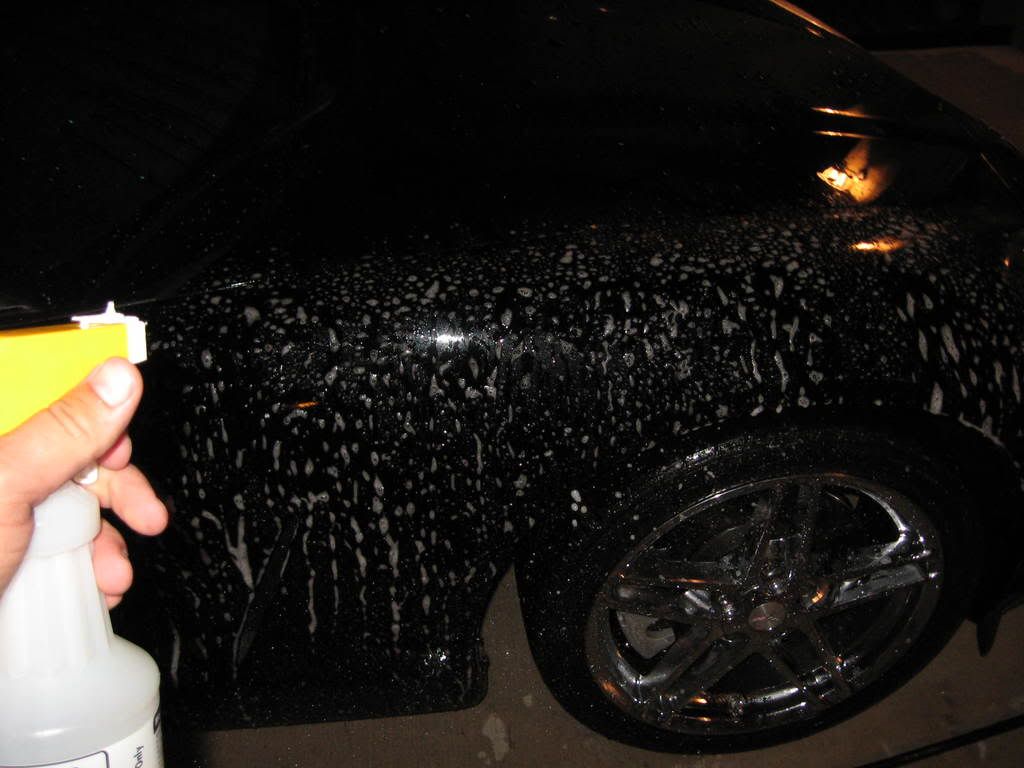
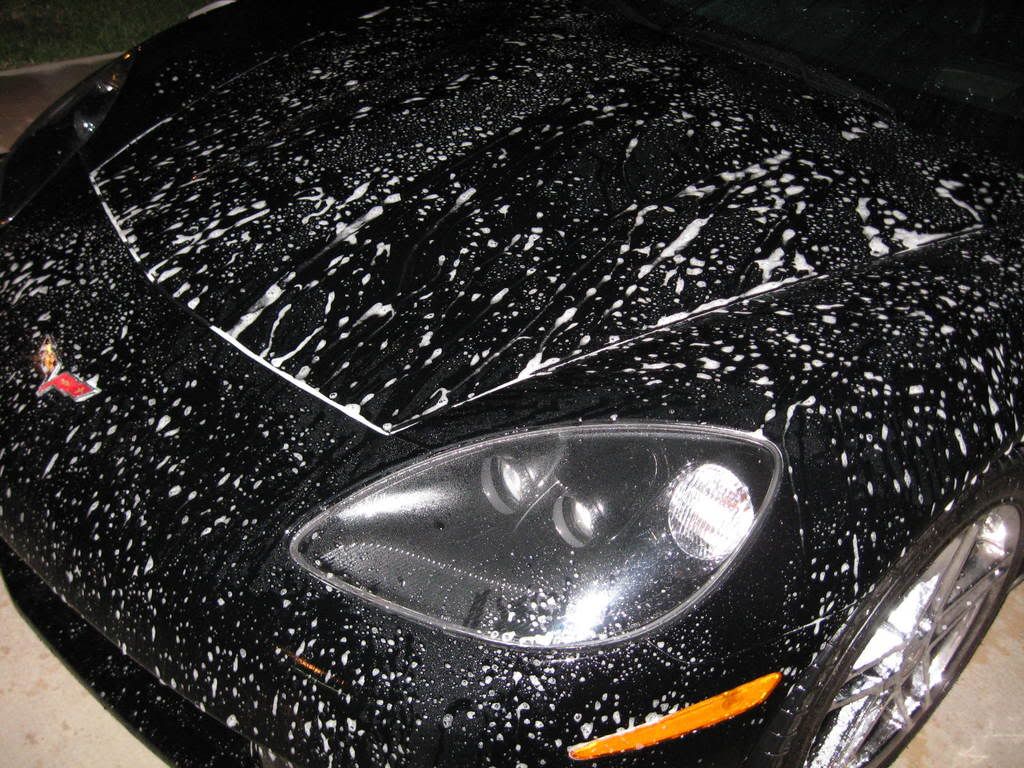
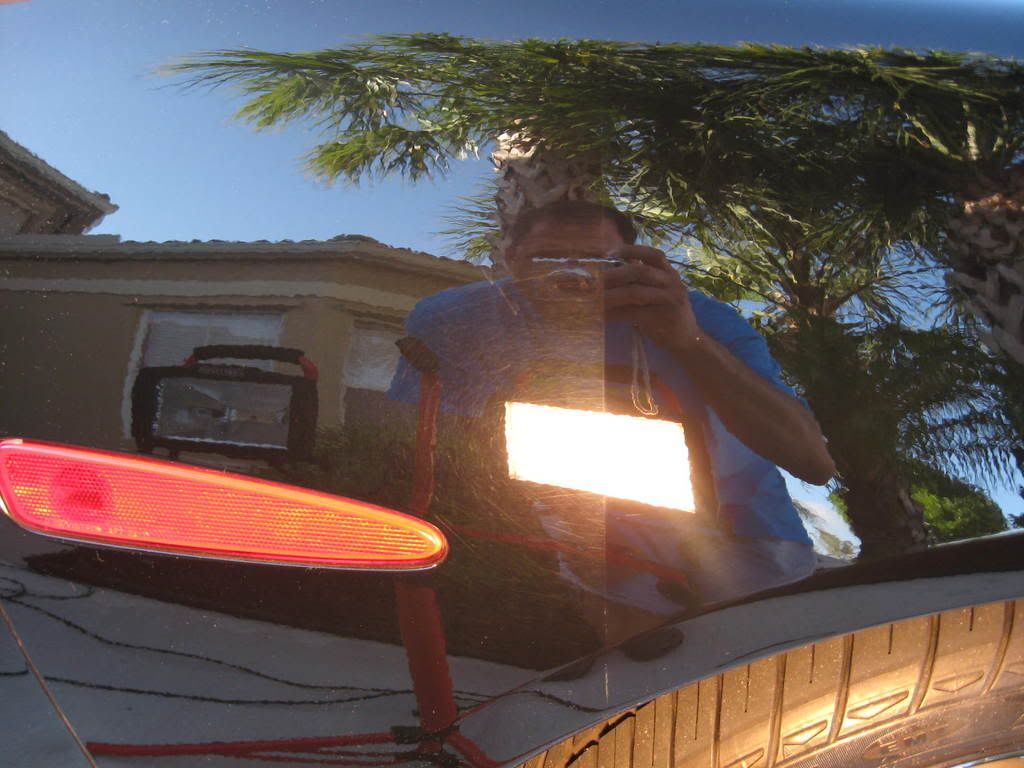
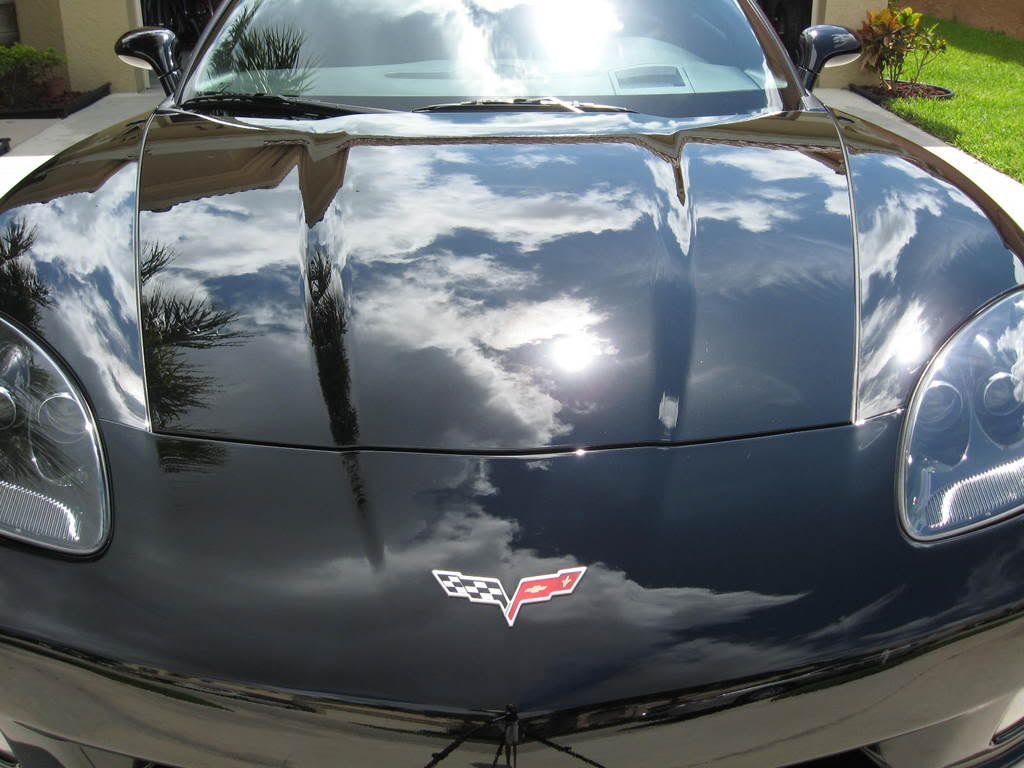
This past weekend I had the opportunity to work on this 2007 black Corvette. The vehicle was dropped off at my house late afternoon Friday and the owner allowed me all weekend to make sure the vehicle was brought back to better than new condition. This client recently had this vehicle “professionally” detailed at one of S. Florida’s premier Car Washes and their “technician” created extensive clear coat marring. This marring was initiated from their failed attempt to gently buff the surface with a cutting wool pad coupled by piss-poor technique & silicone fortified compounds and glazes. After installing deep buffer gouges throughout the entire vehicle, the shop covered up their mess with a healthy portion of silicone based LSP. Late Friday night, my 1st concern was to thoroughly
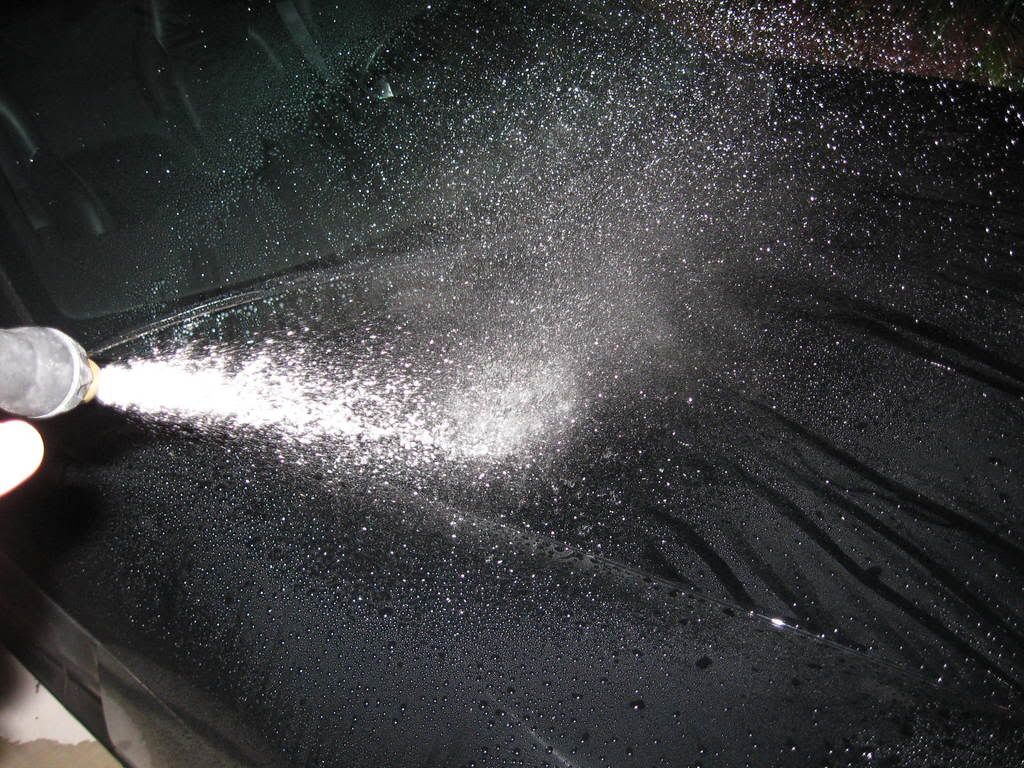
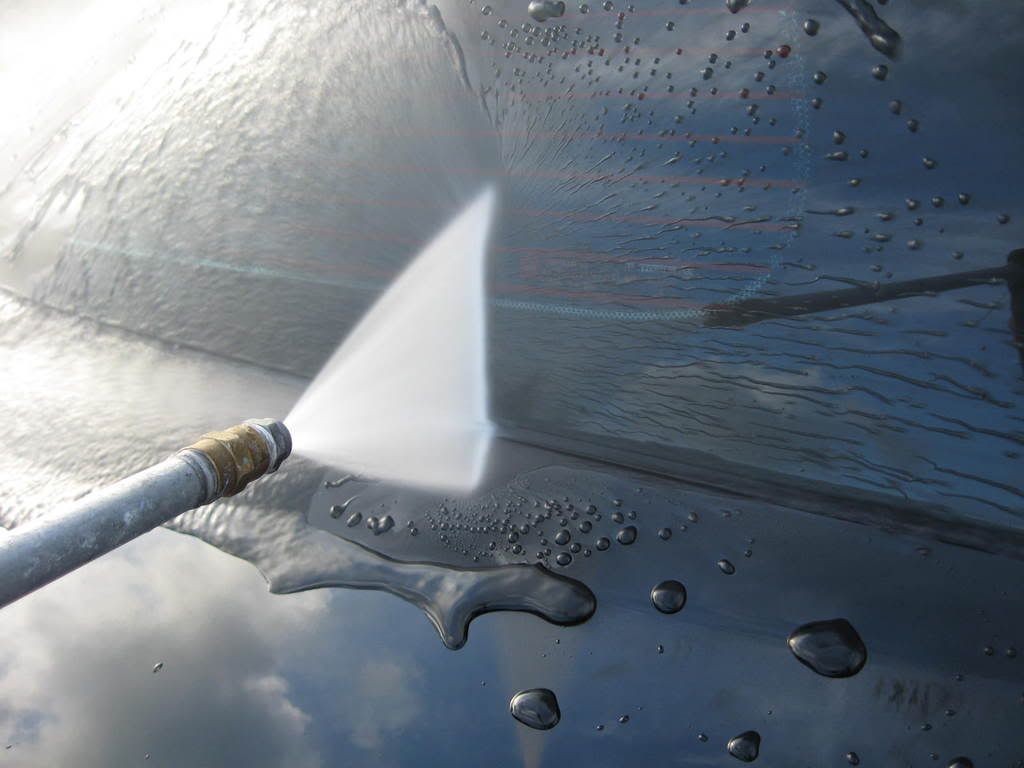
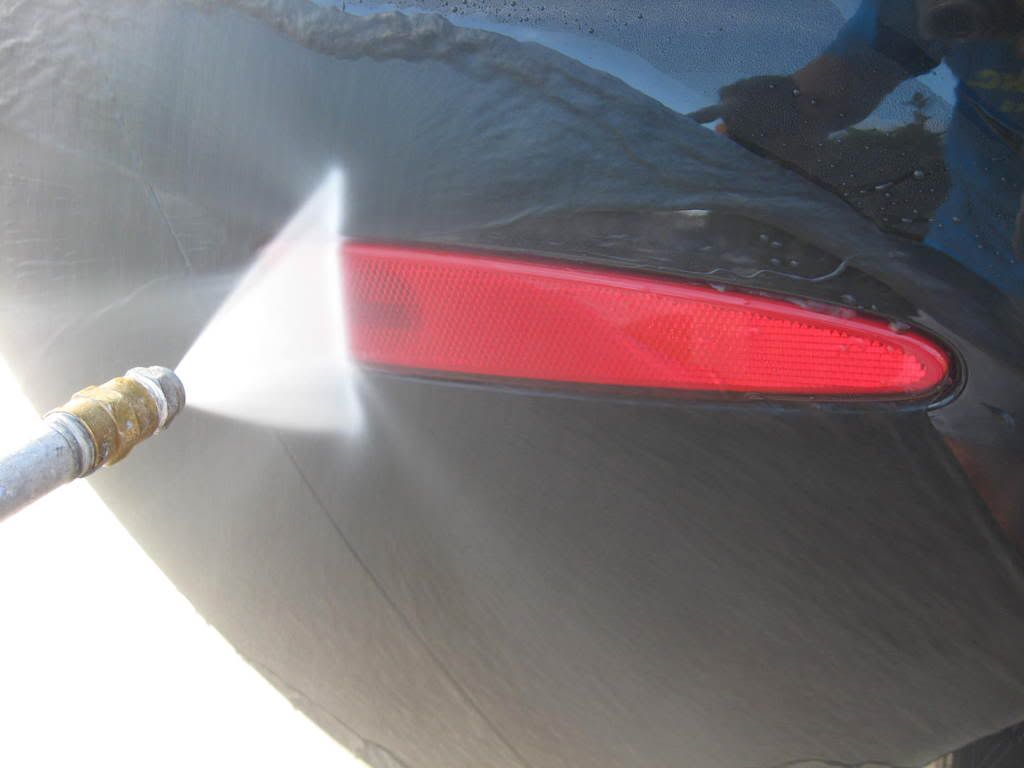
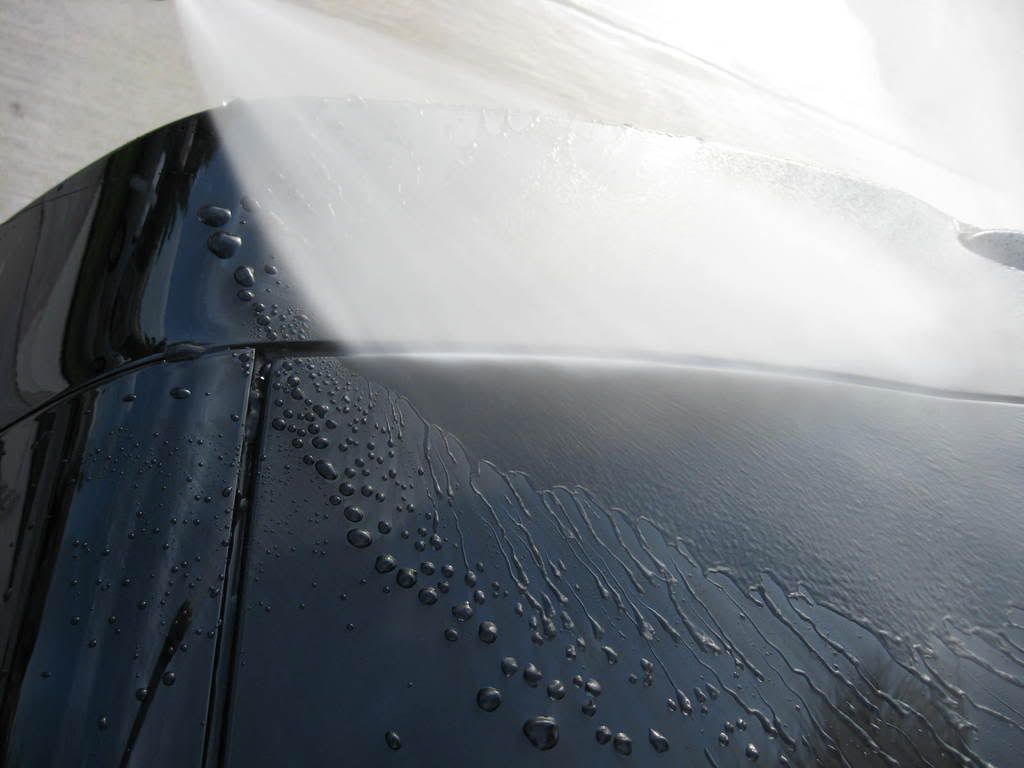
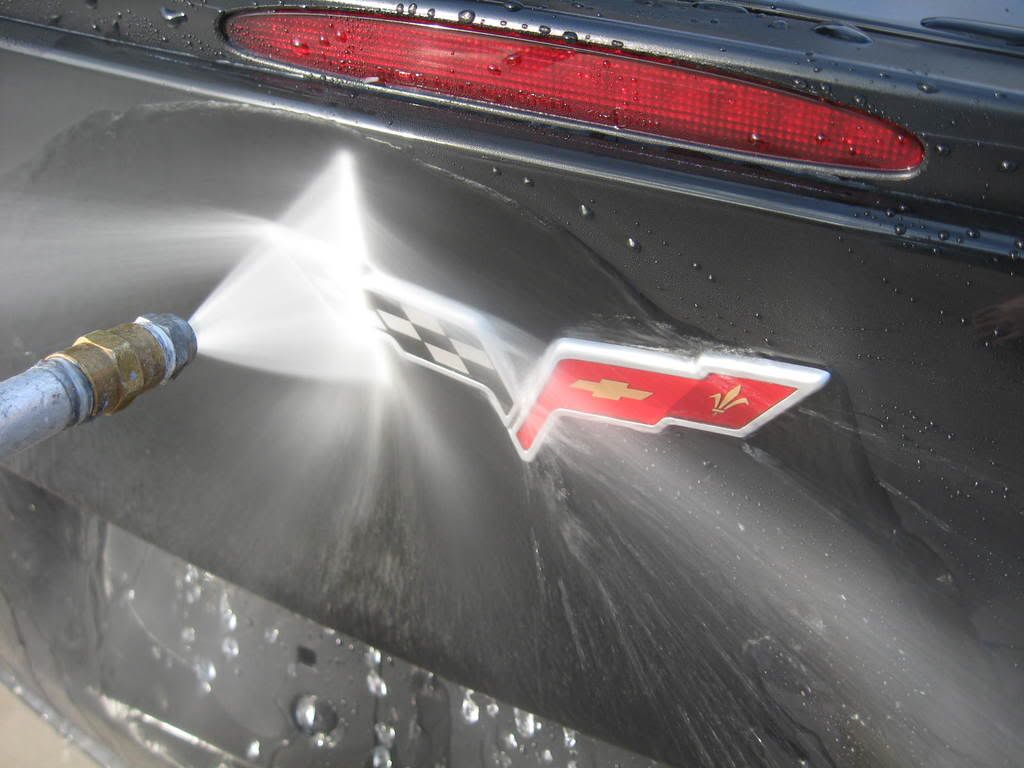
remove/decontaminate/cleanse the finish of all possible waxes, dirt & silicone so that the correction process could be performed without any hiccups. I knew as soon as I took my garden hose to the hood that the already dulled finish was coated with a healthy portion of LSP. The water was beading like it was just freshly waxed.
After power washing the exterior to loosen any and all loose dirt & grit, I proceeded to presoak each section with a strong mix of Auto Magic (AM) Red Hot degreaser and hand washed the surface with Dawn soap.
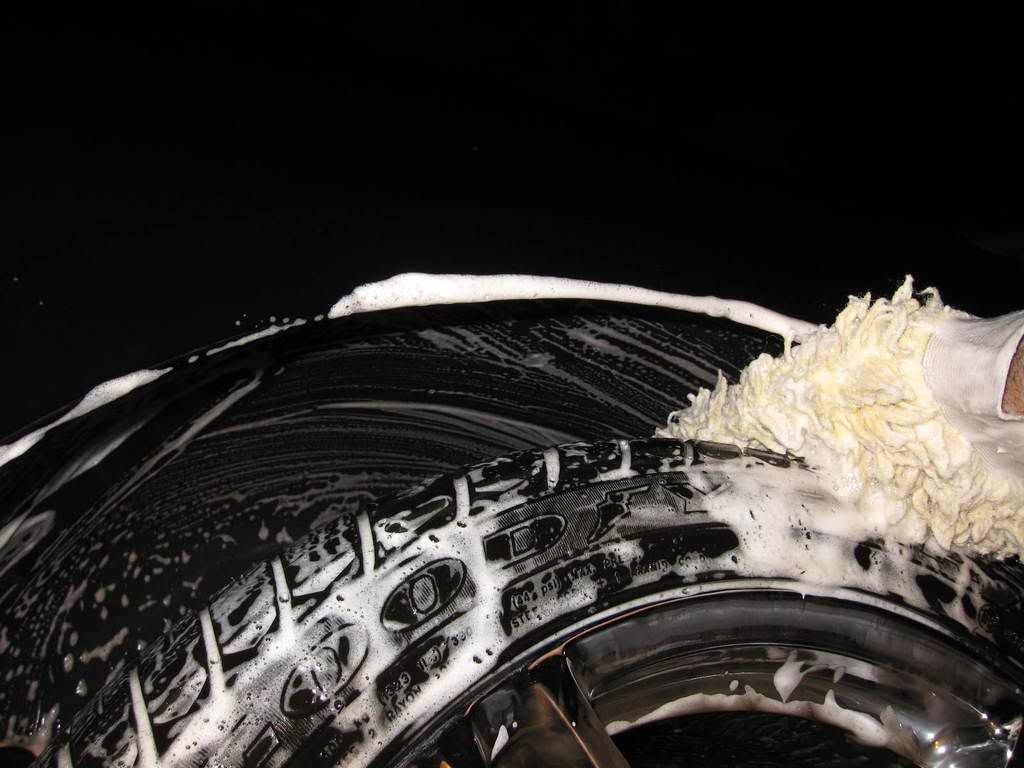
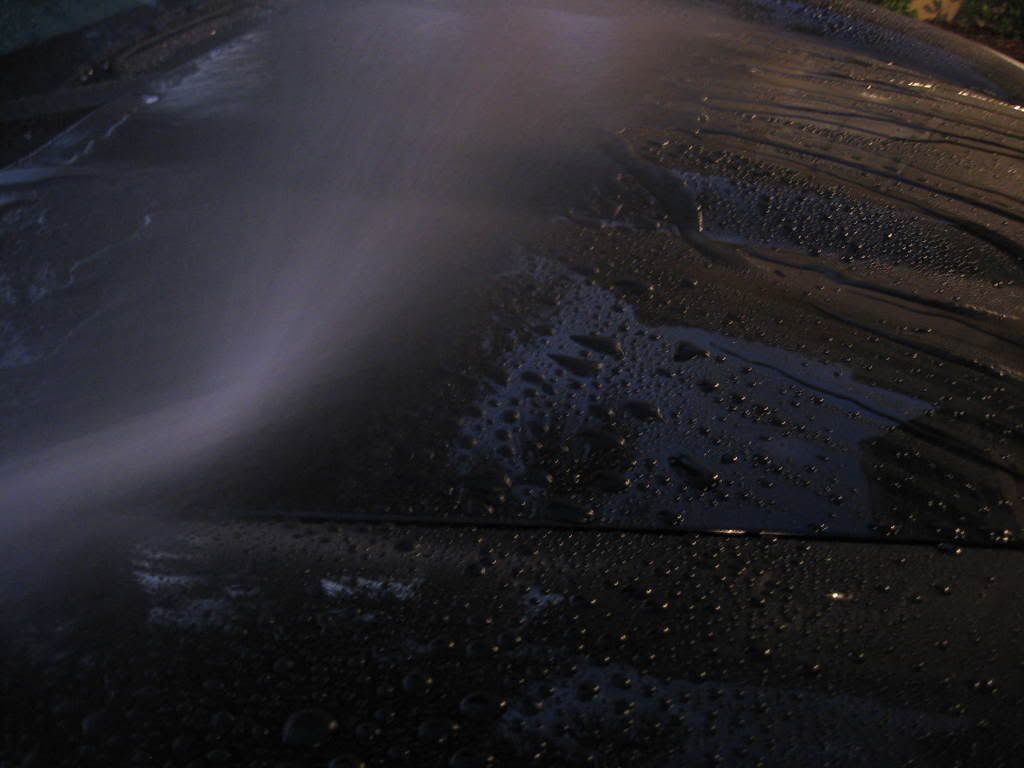
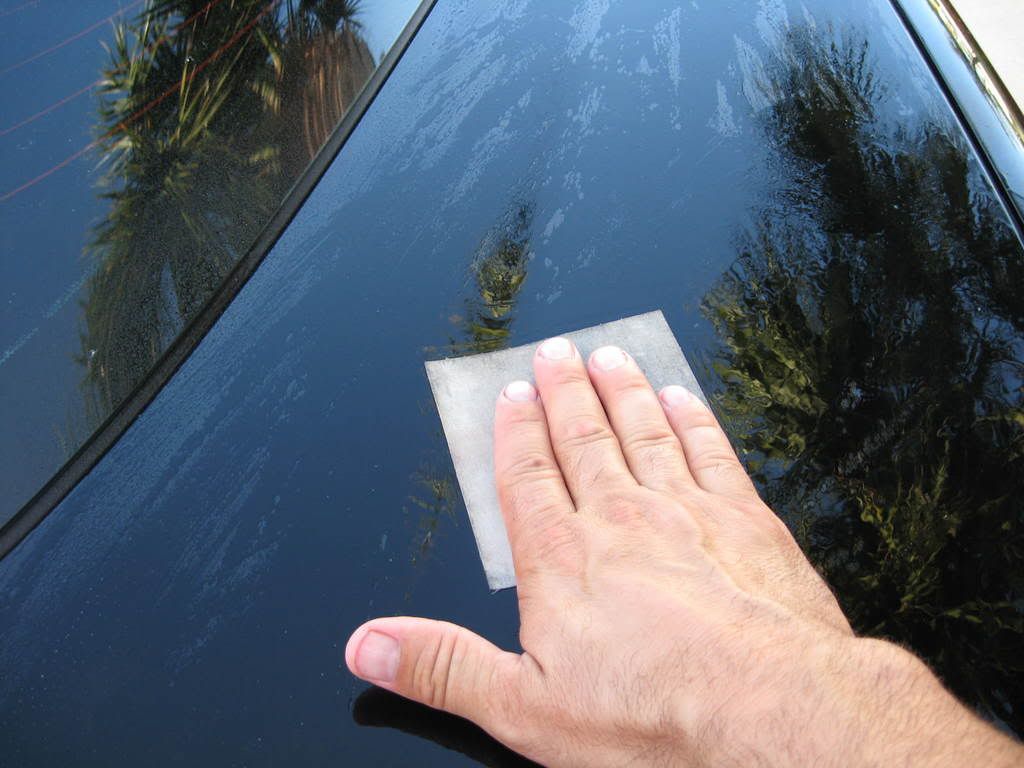
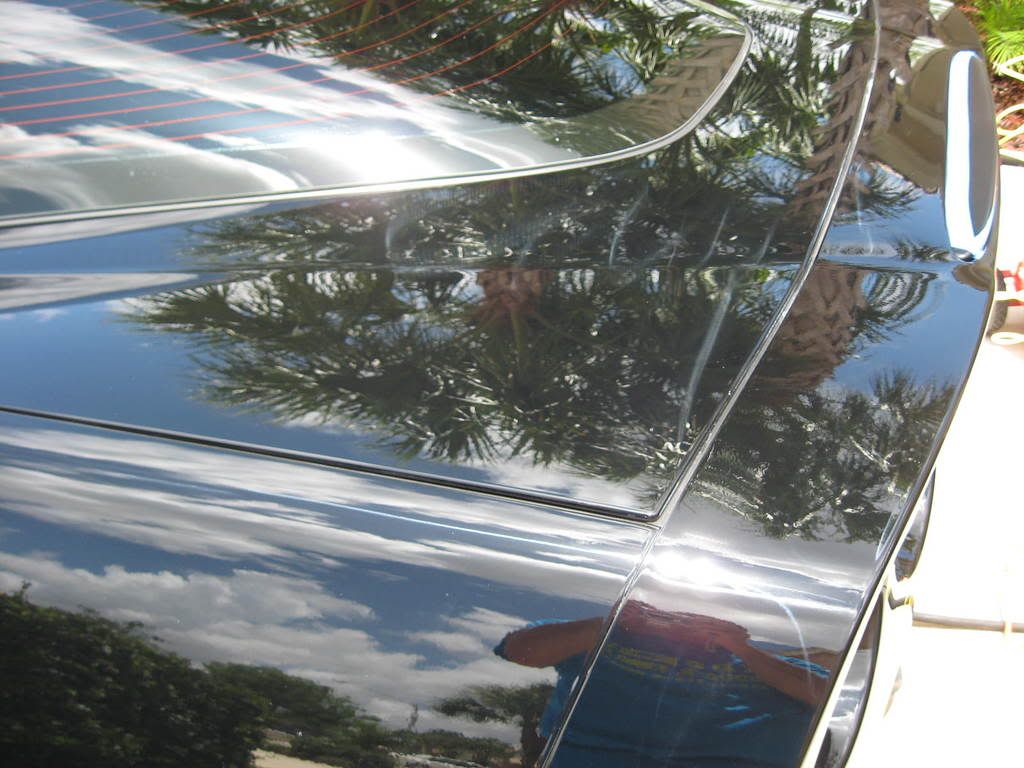
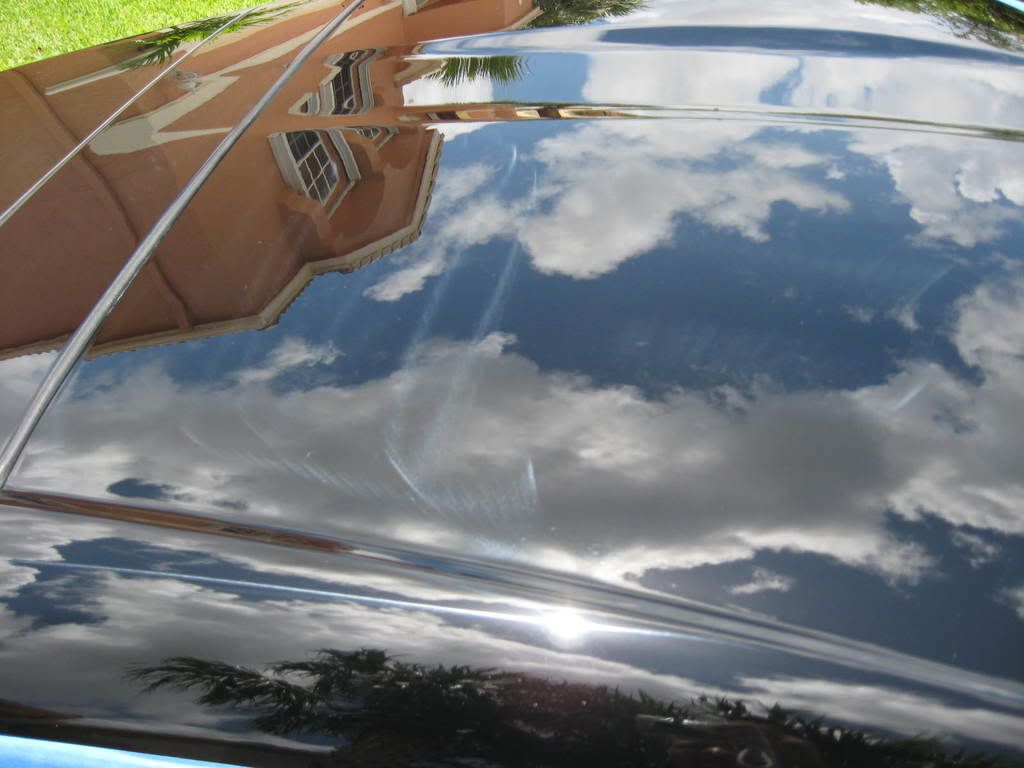
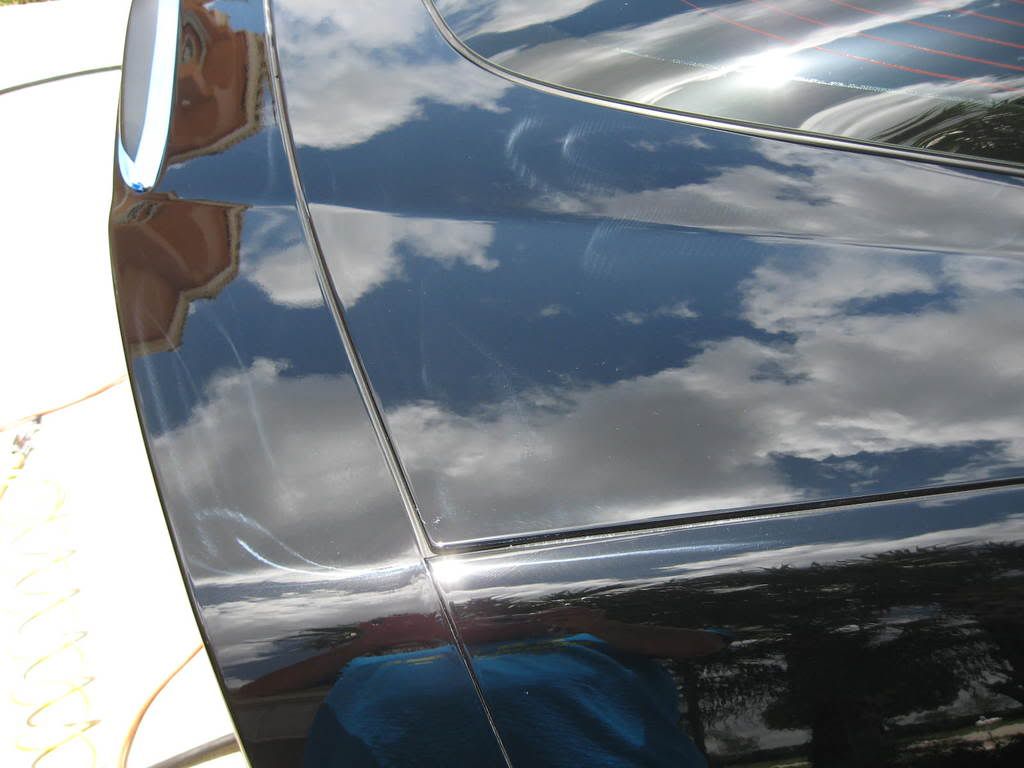
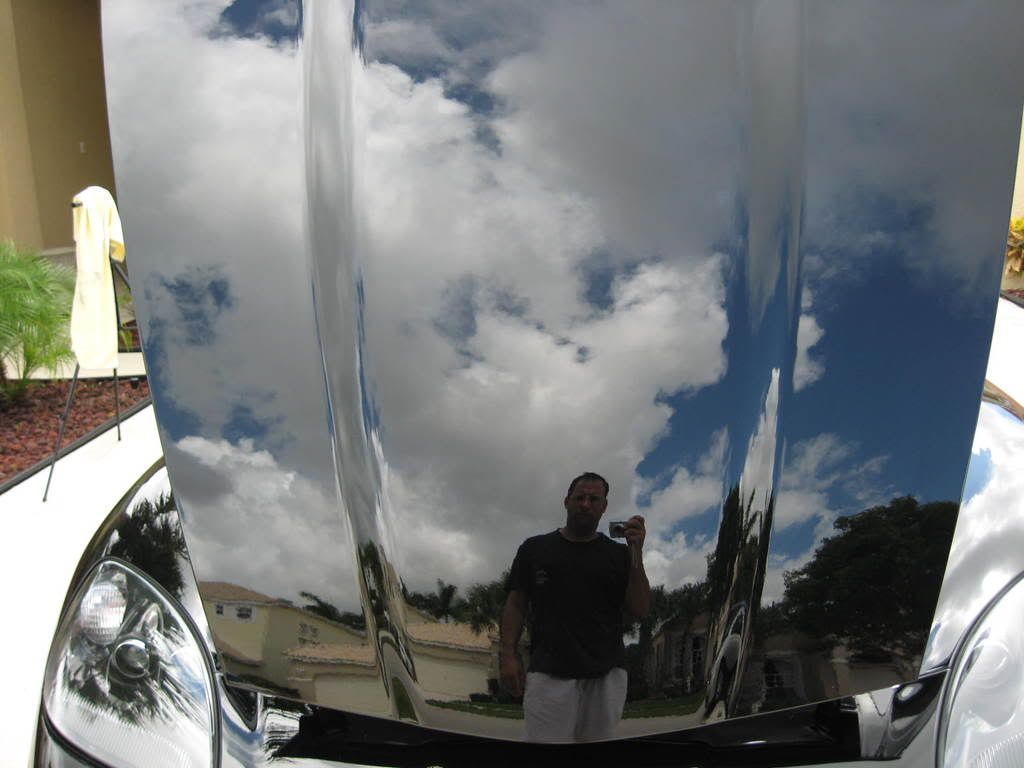
After rinsing, the water on the surface was laying flat and there was little to no beading. After rinsing the exterior and engine compartment, I clayed all the painted exterior surfaces with AM blue Clay Magic & AM Body Shine lubricant. After drying the finish with terry cotton towels, I 4000 grit sanded the surface using Lacquer Thinner as my gliding lubricant. Because the finish was contaminant free by this time, the 4000 grit sandpaper barely induced any further marring into the finish. This process finally insured that there would not be anything on the surface that would interfere with the buffing process to follow.
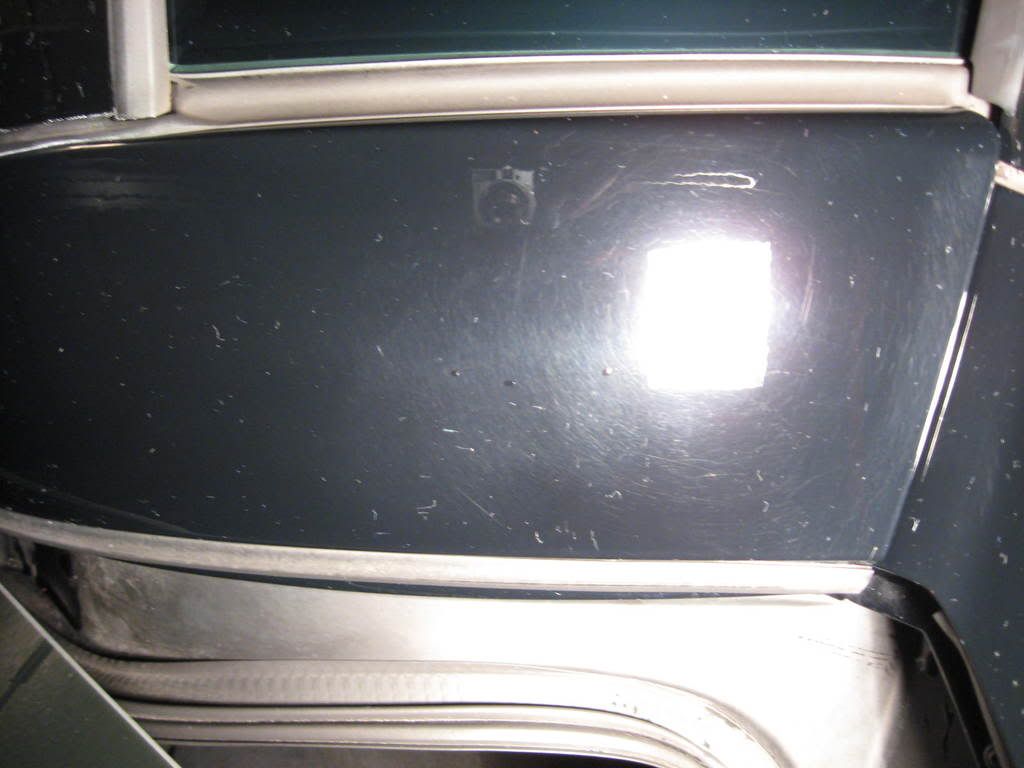
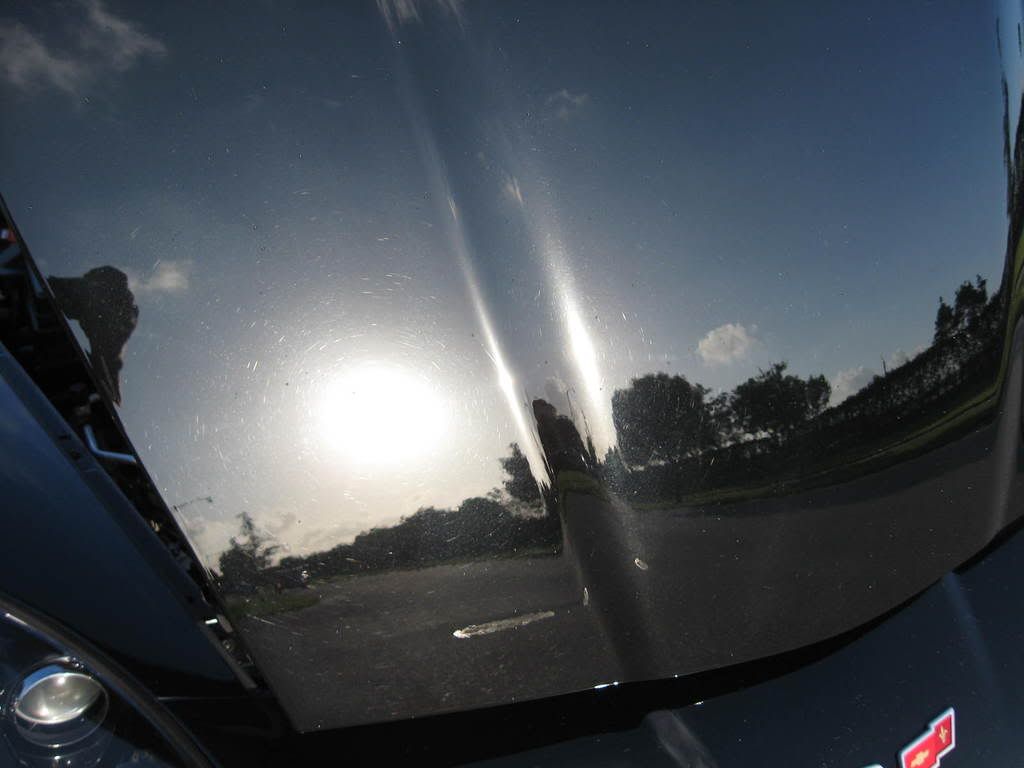
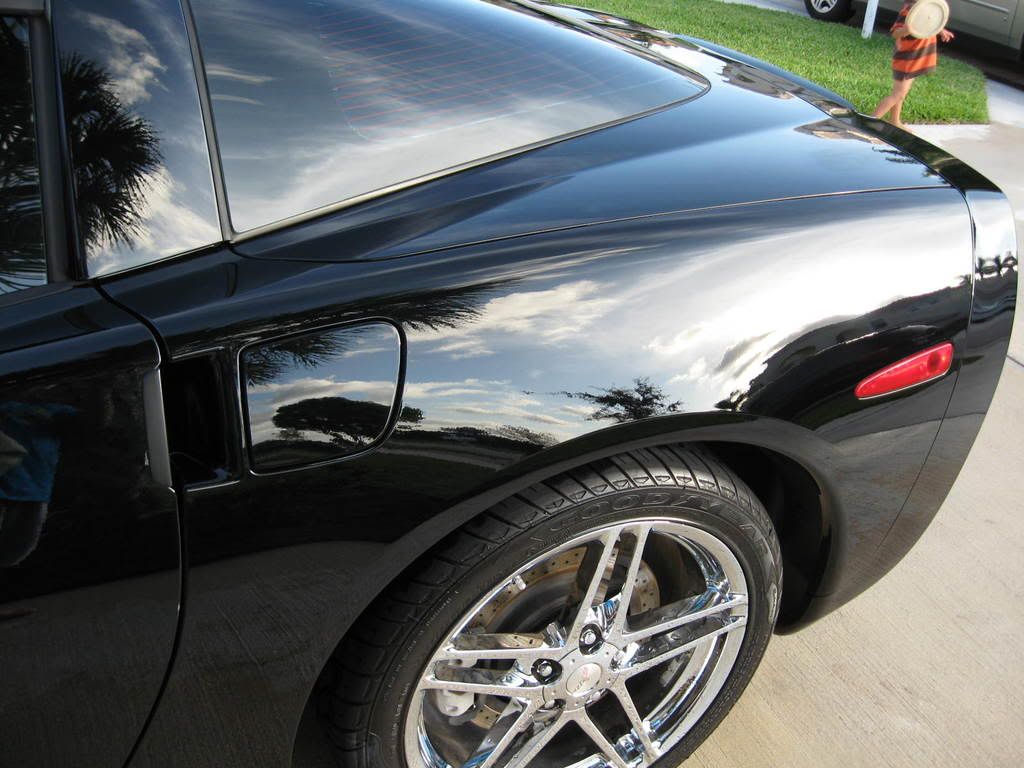
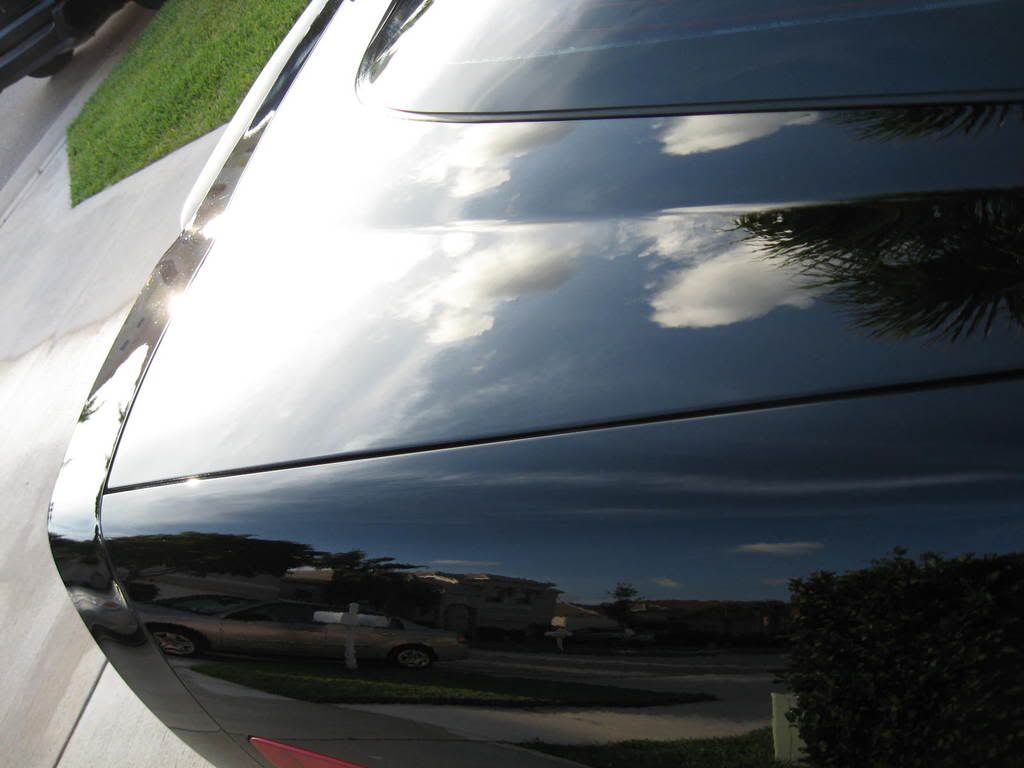
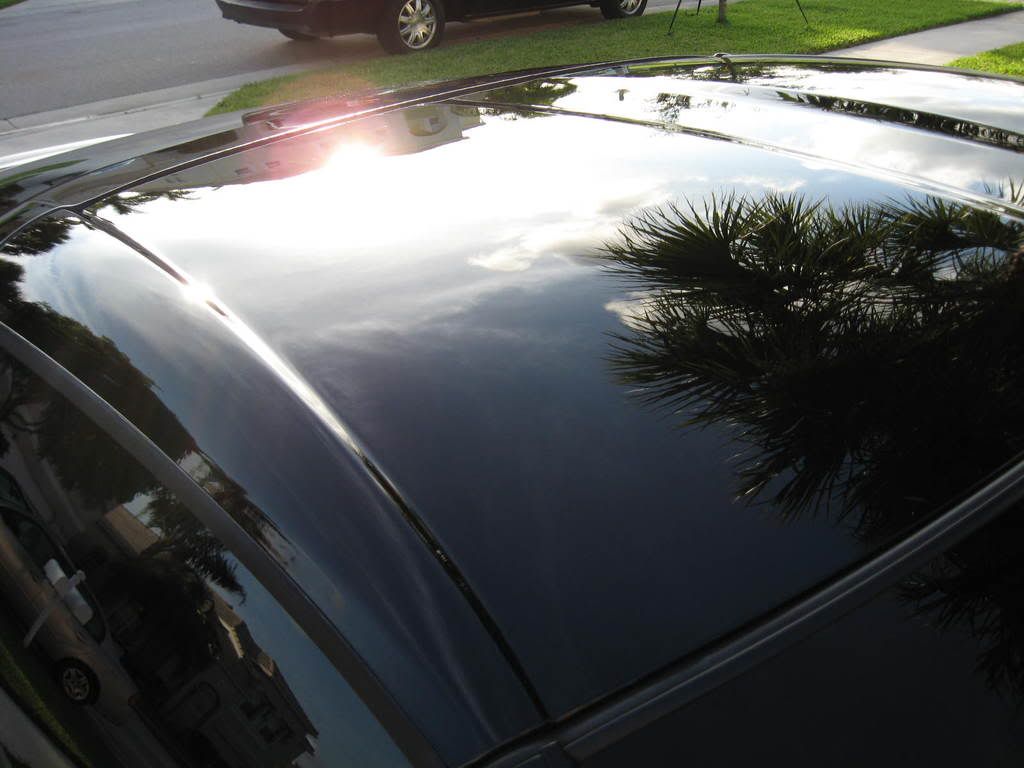
Here’s what the buffer pad damaged finish looked like under Halogens at night:
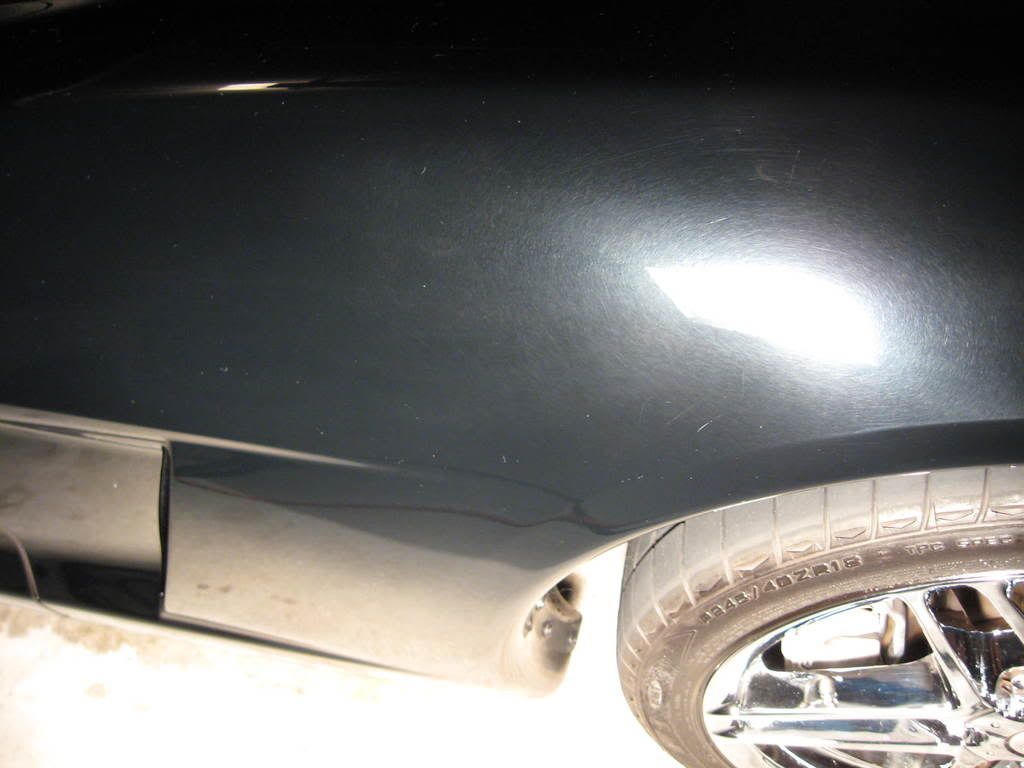
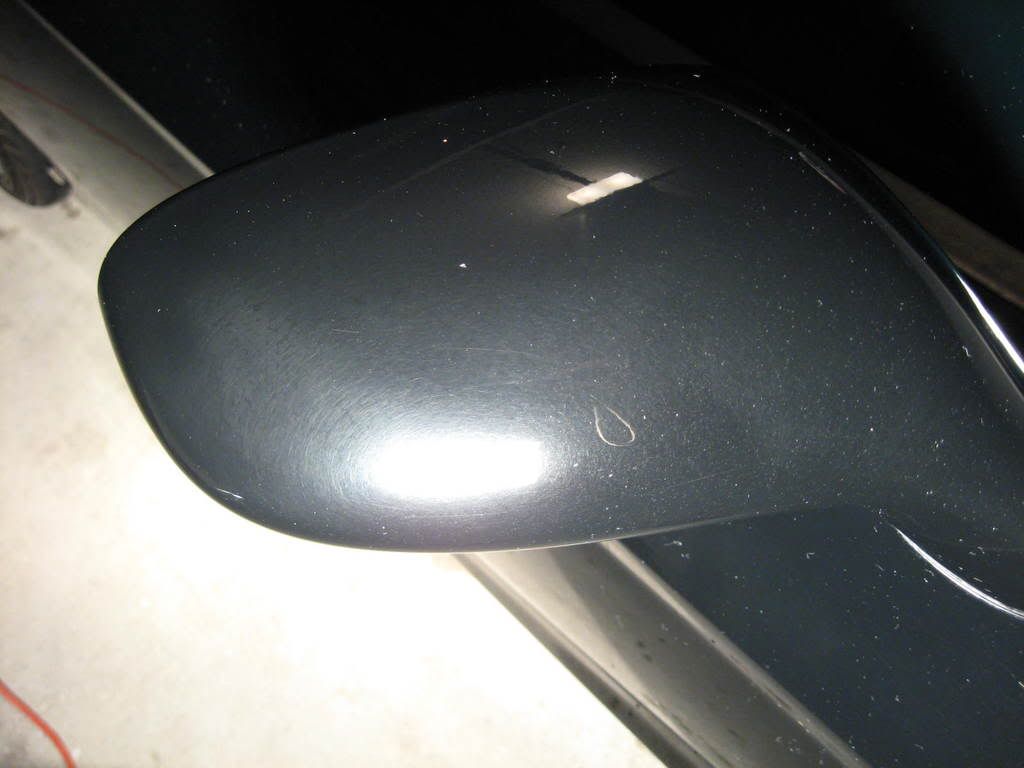
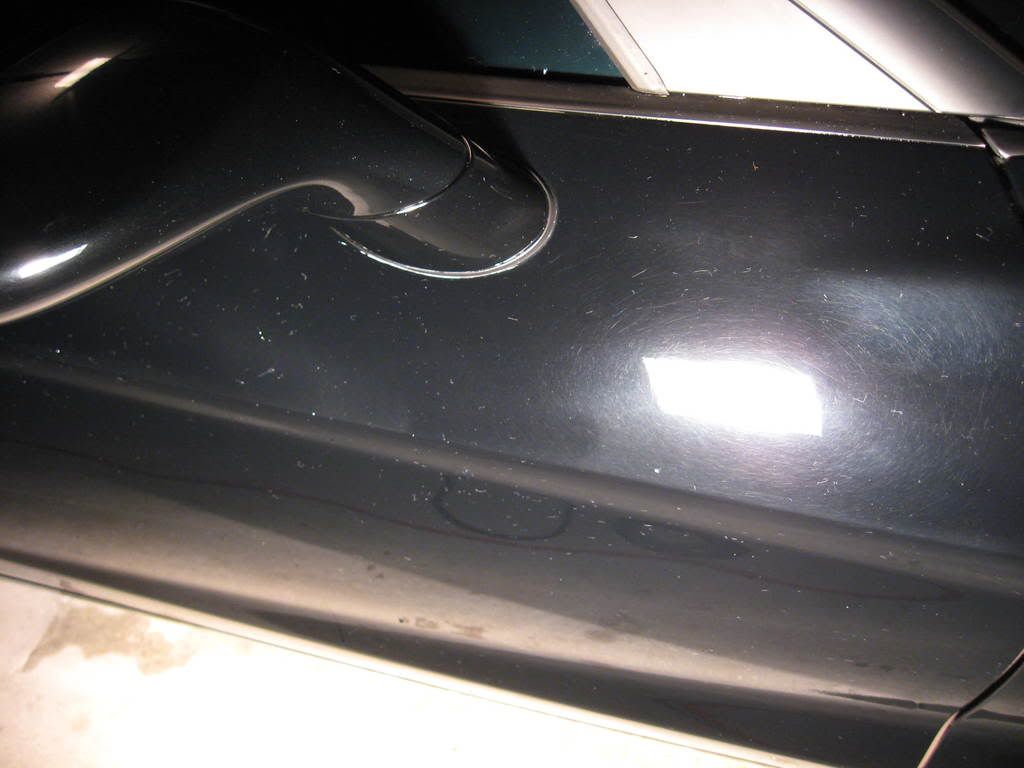
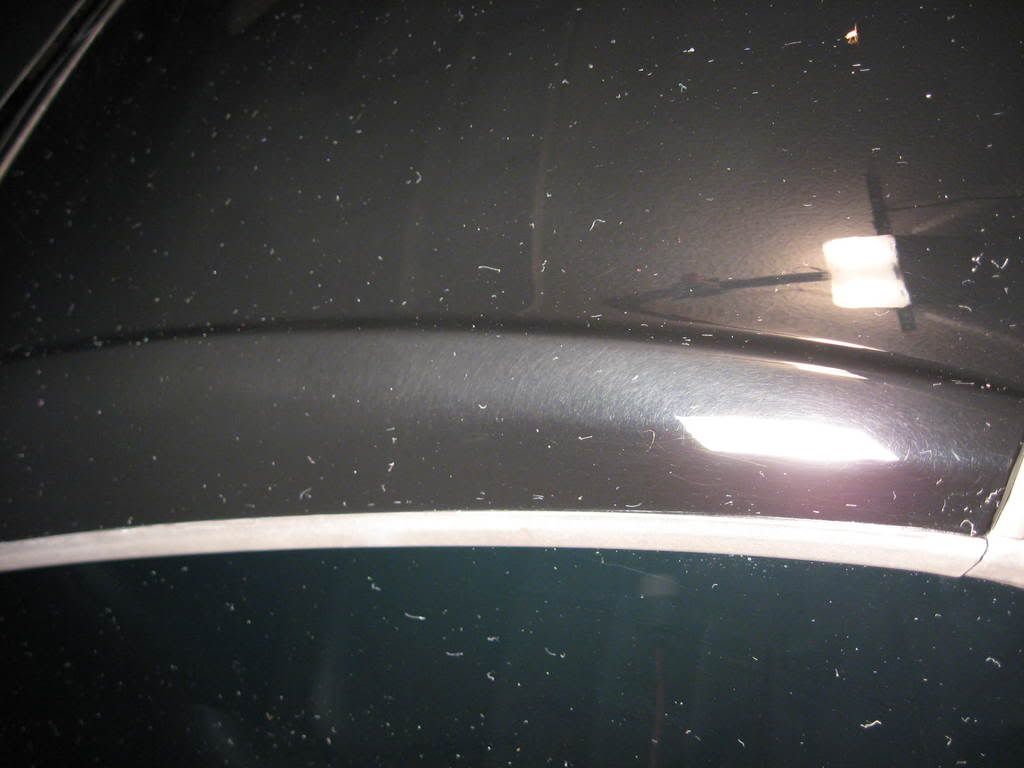
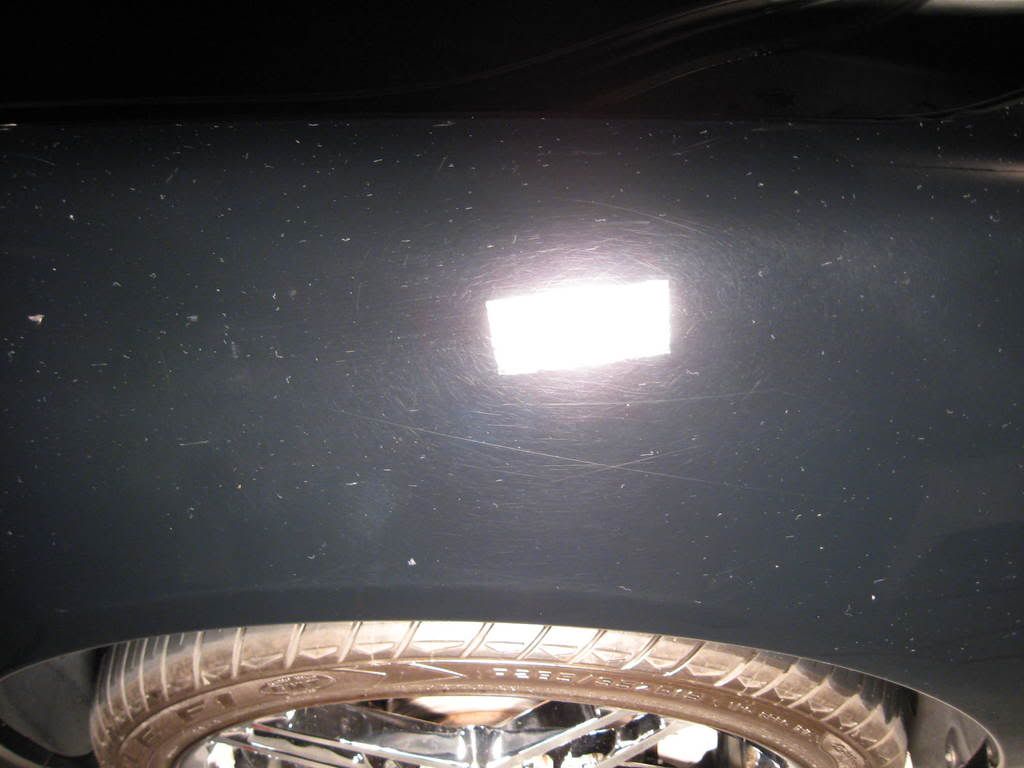

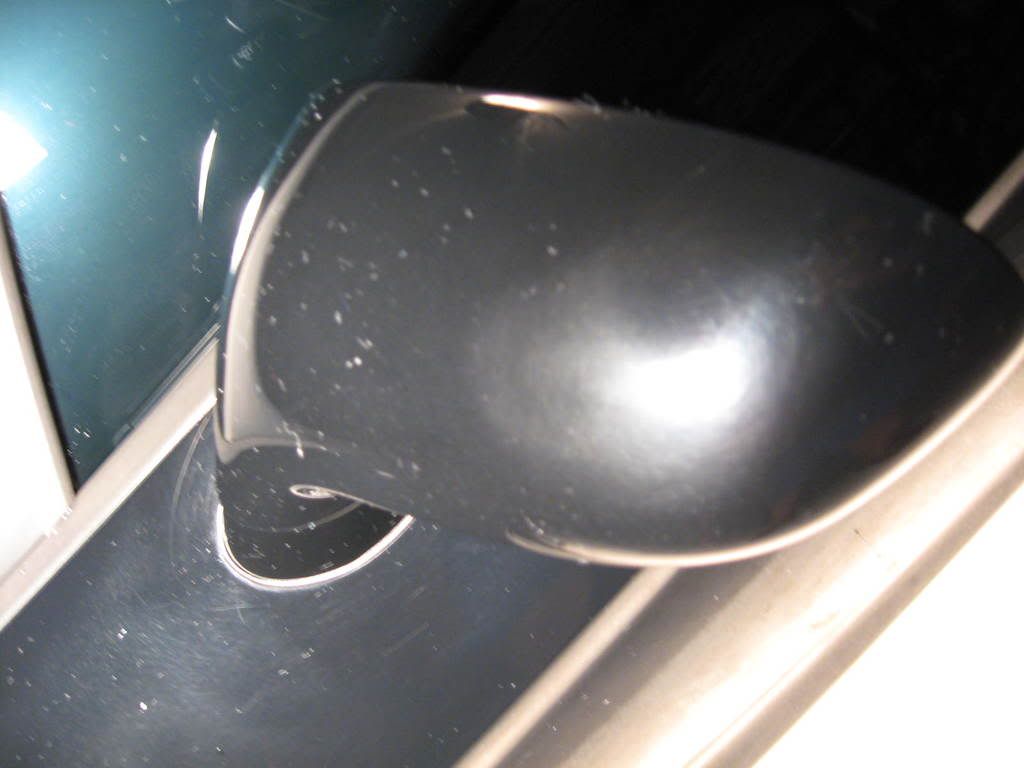
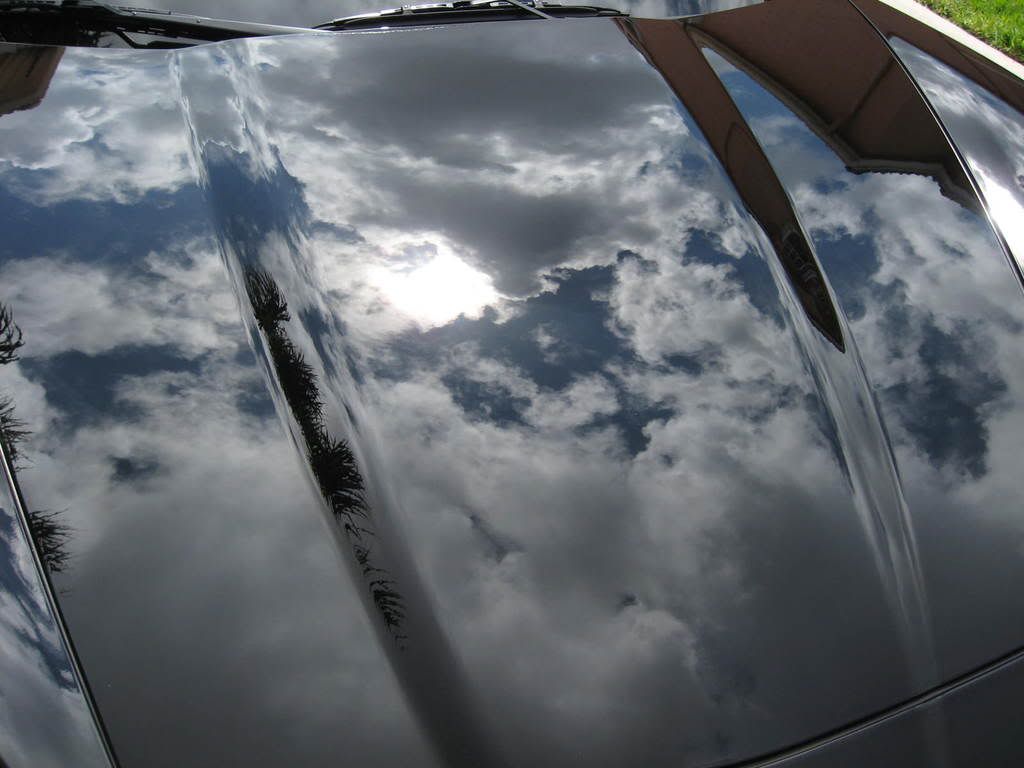
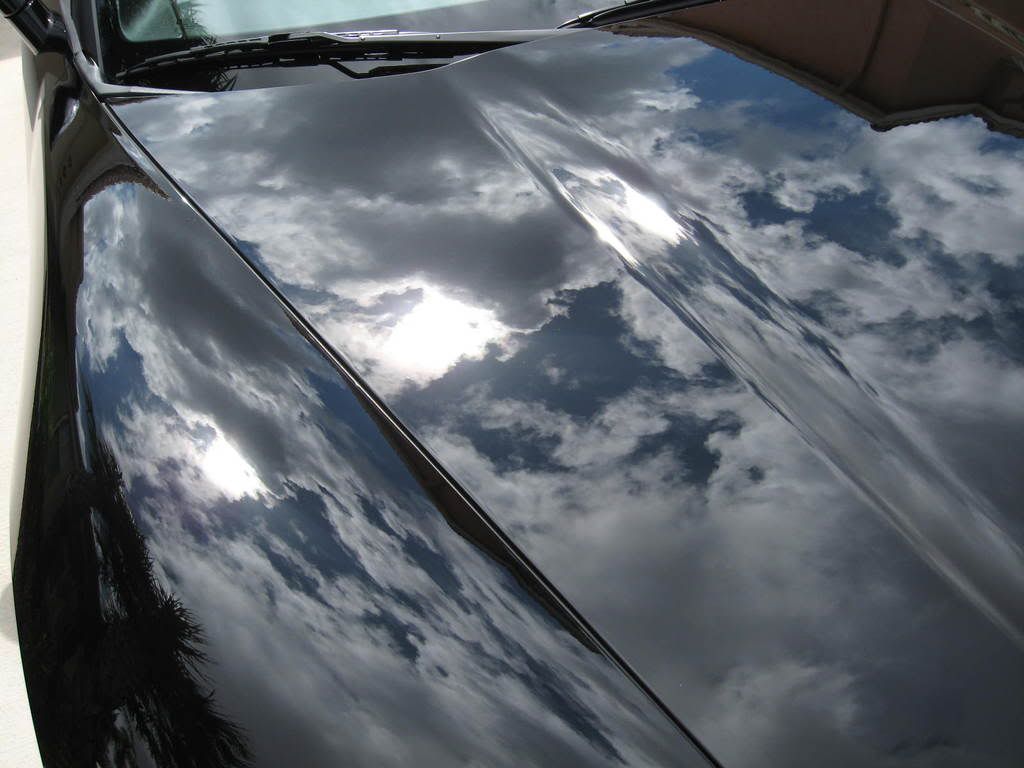
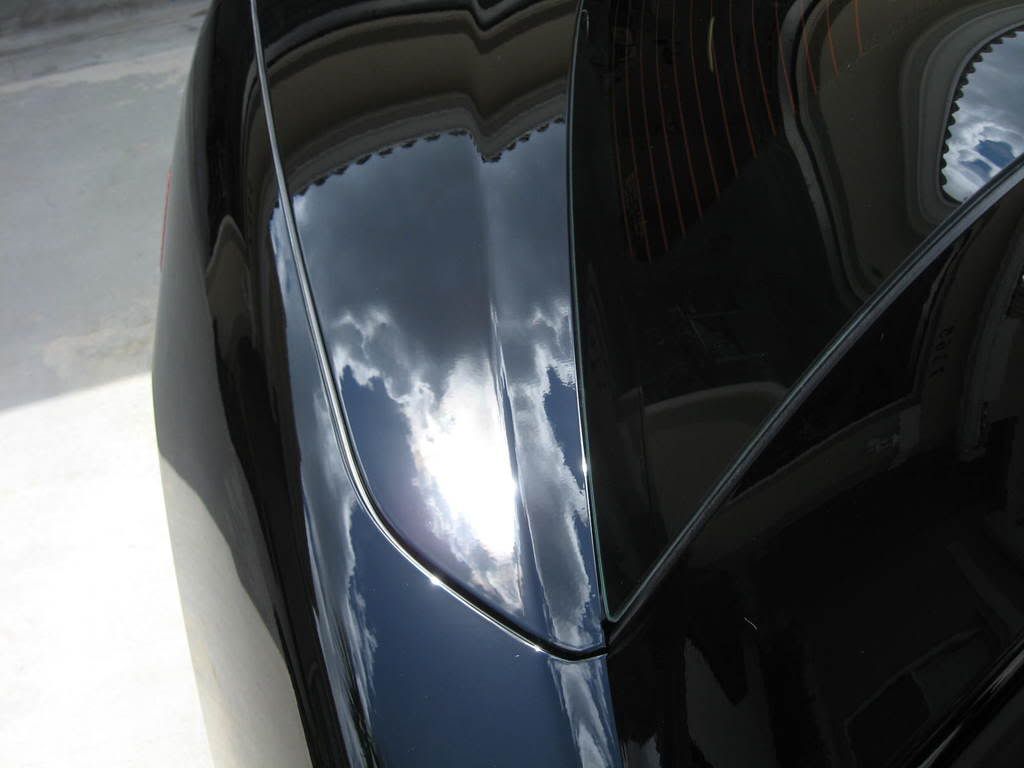
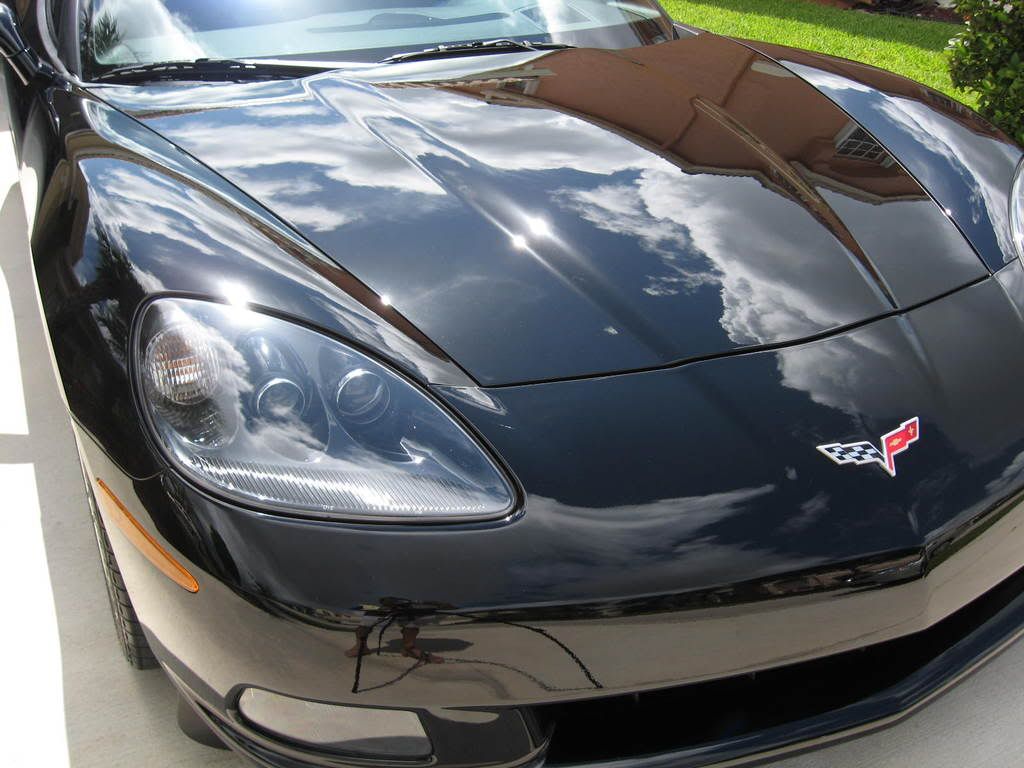
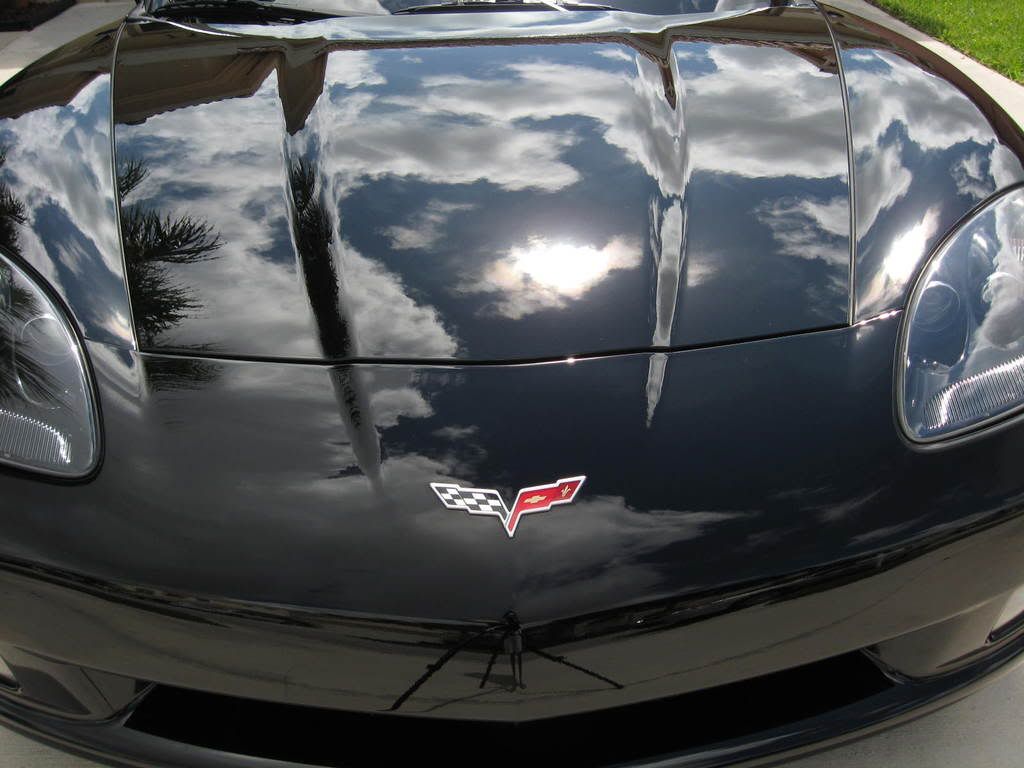
Here’s what it looked like in daylight. The finish was so marred up, that it gave off the illusion of having metallic paint!
remove/decontaminate/cleanse the finish of all possible waxes, dirt & silicone so that the correction process could be performed without any hiccups. I knew as soon as I took my garden hose to the hood that the already dulled finish was coated with a healthy portion of LSP. The water was beading like it was just freshly waxed.
After power washing the exterior to loosen any and all loose dirt & grit, I proceeded to presoak each section with a strong mix of Auto Magic (AM) Red Hot degreaser and hand washed the surface with Dawn soap.
After rinsing, the water on the surface was laying flat and there was little to no beading. After rinsing the exterior and engine compartment, I clayed all the painted exterior surfaces with AM blue Clay Magic & AM Body Shine lubricant. After drying the finish with terry cotton towels, I 4000 grit sanded the surface using Lacquer Thinner as my gliding lubricant. Because the finish was contaminant free by this time, the 4000 grit sandpaper barely induced any further marring into the finish. This process finally insured that there would not be anything on the surface that would interfere with the buffing process to follow.
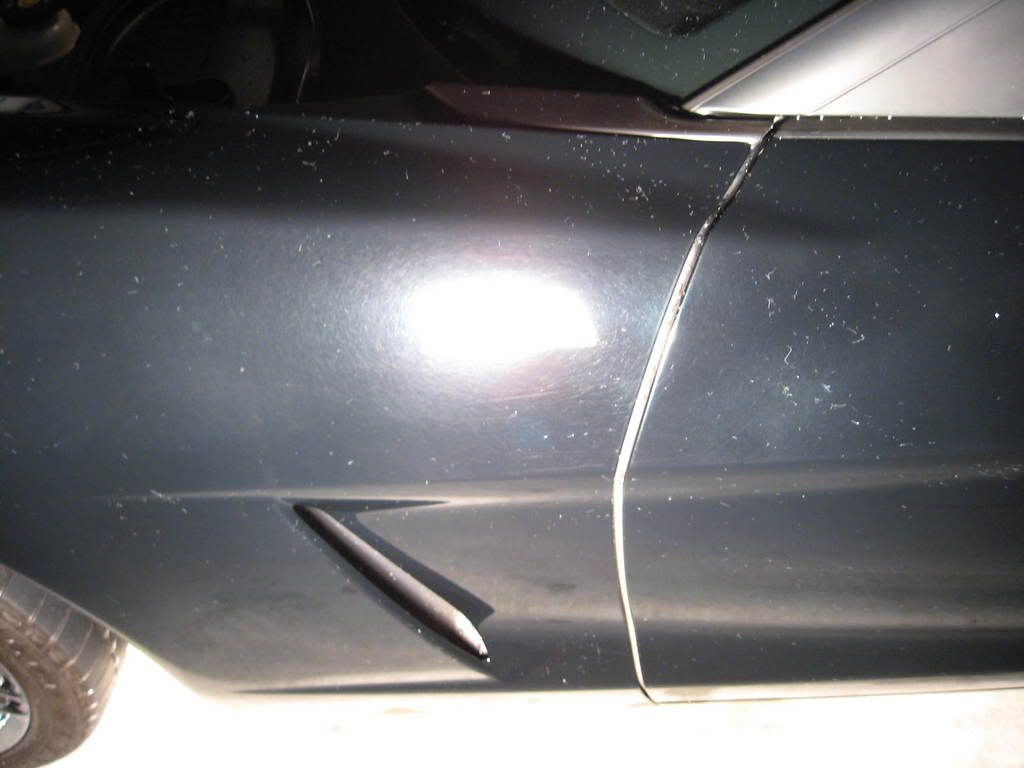
Here’s what the buffer pad damaged finish looked like under Halogens at night:
Here’s what it looked like in daylight. The finish was so marred up, that it gave off the illusion of having metallic paint!
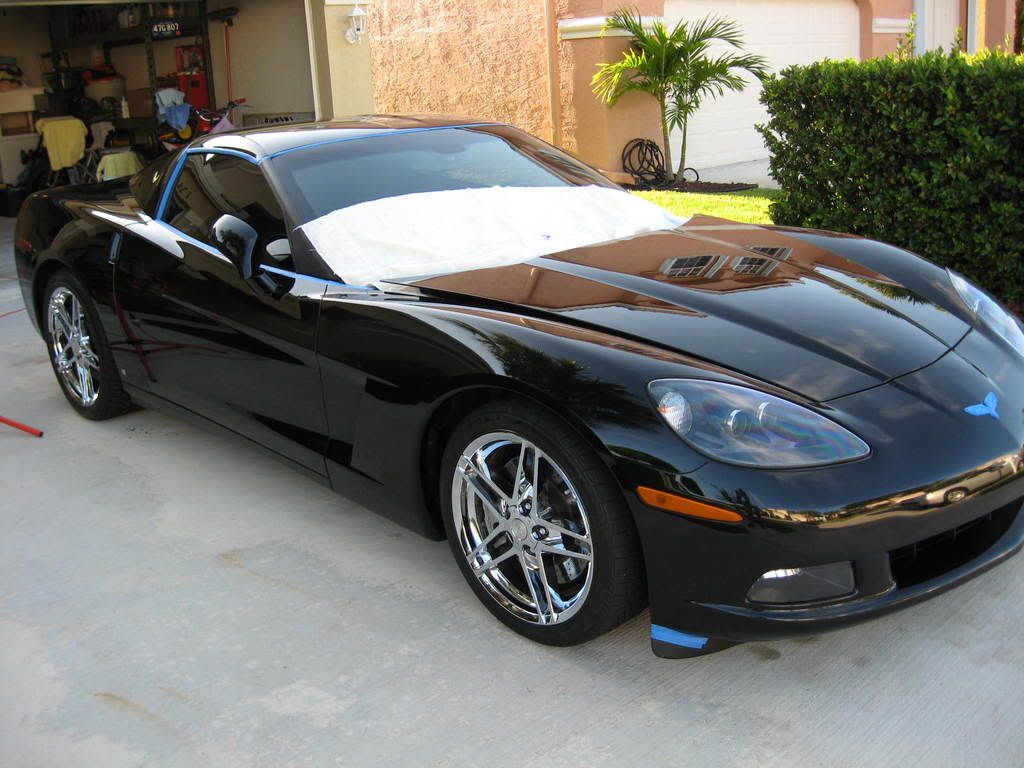


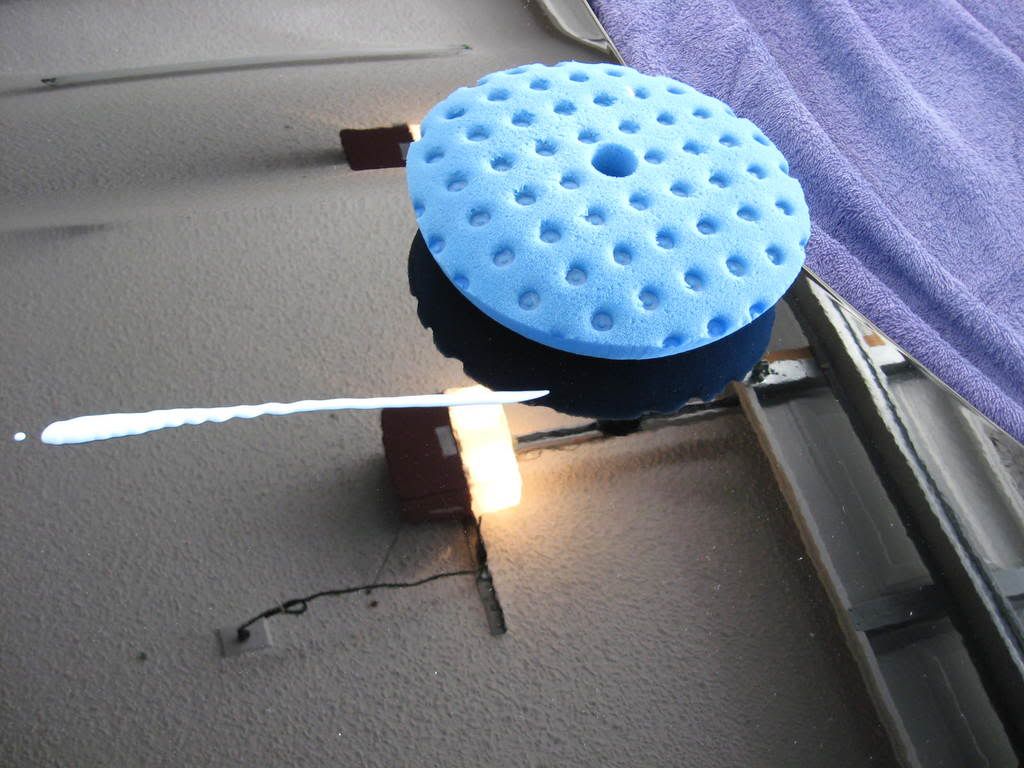


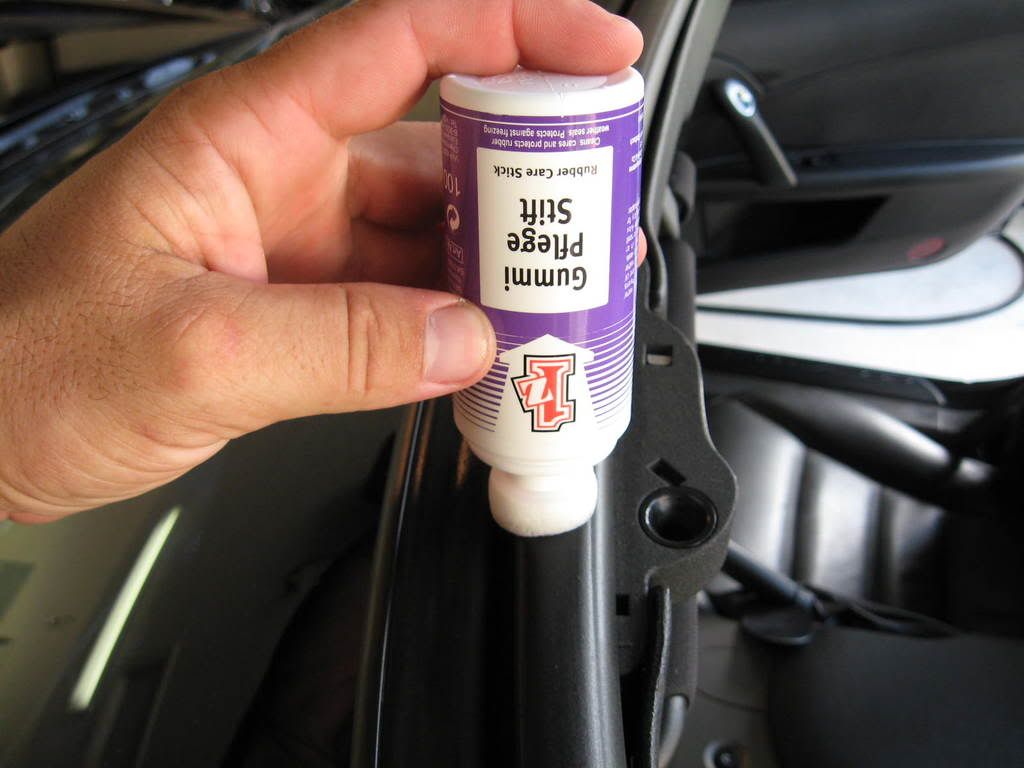

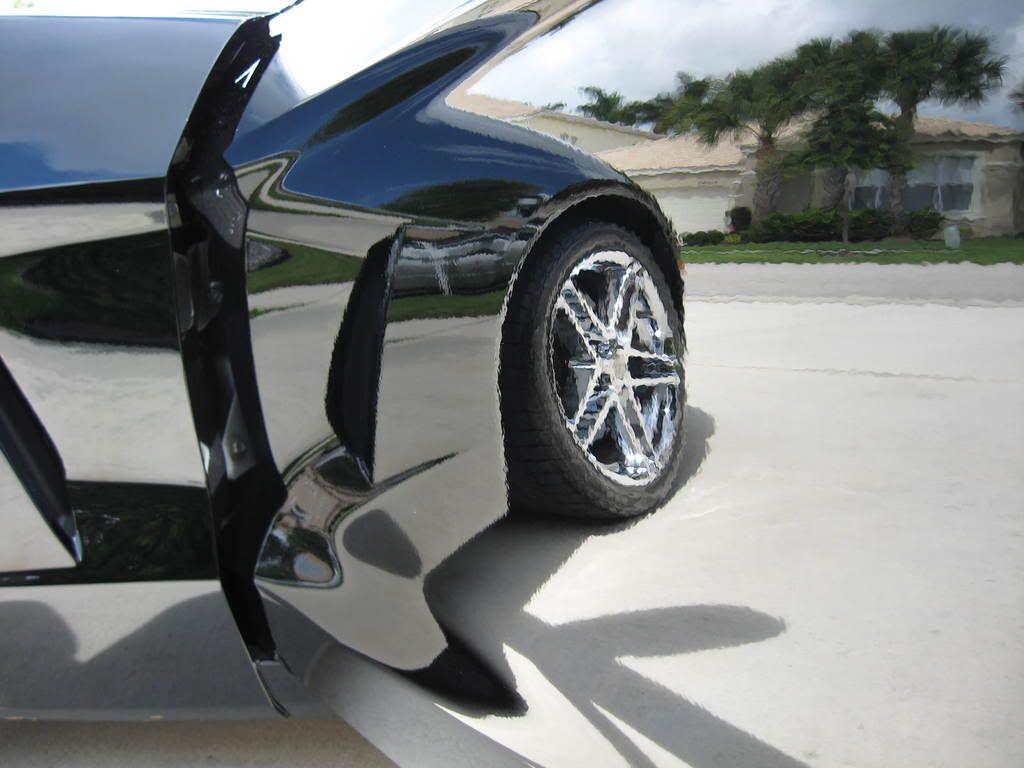
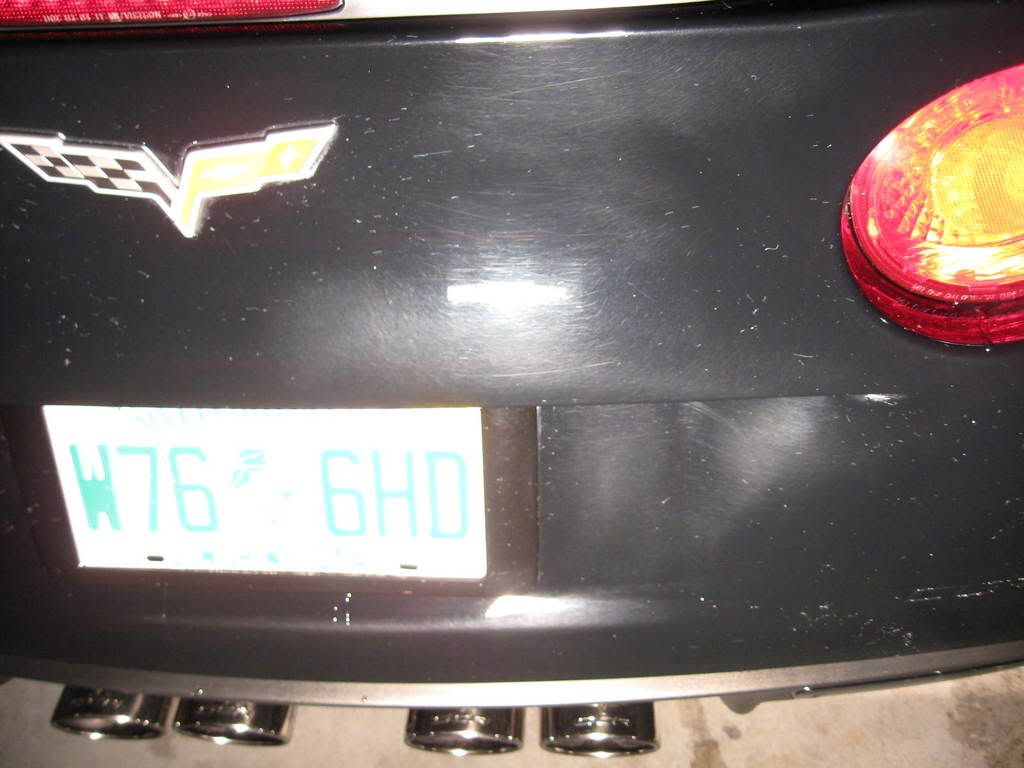
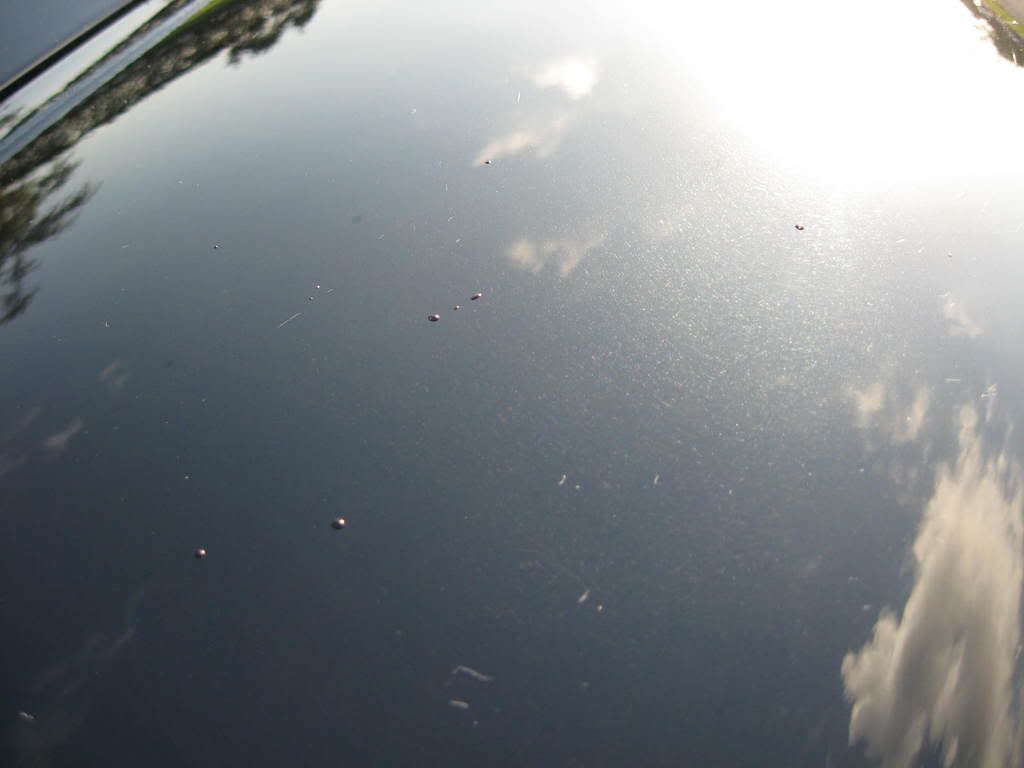
 This car had a ton of silicone based products on the finish that I wanted removed for correction.
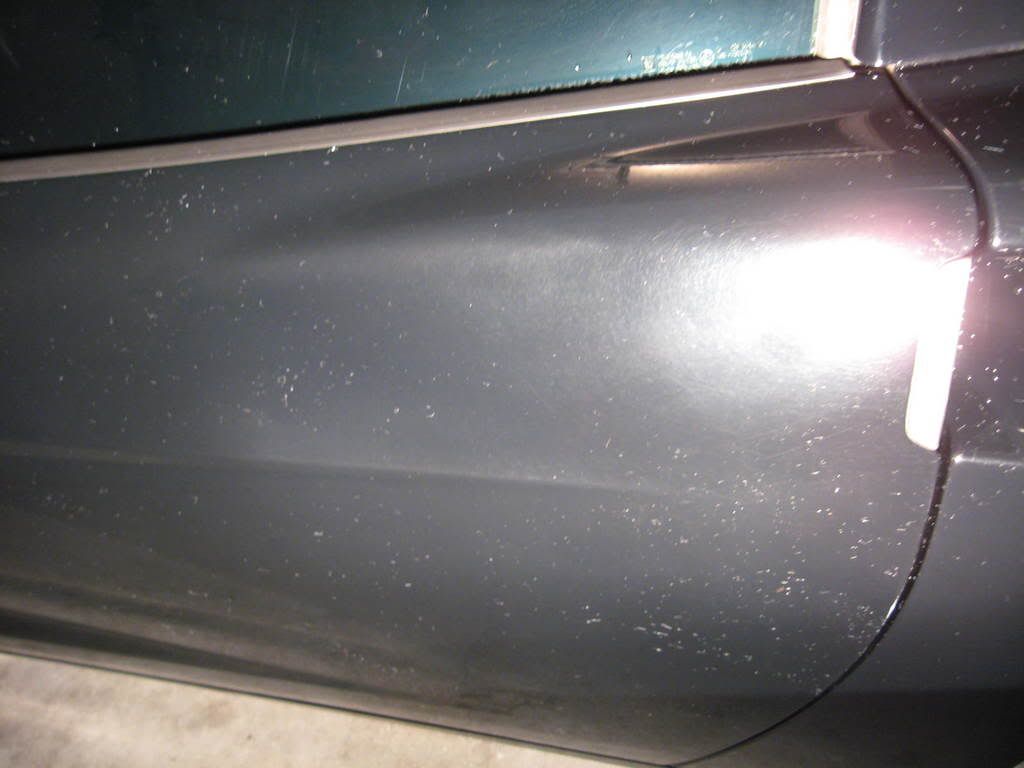