dsms
New member
- Dec 16, 2007
- 190
- 0
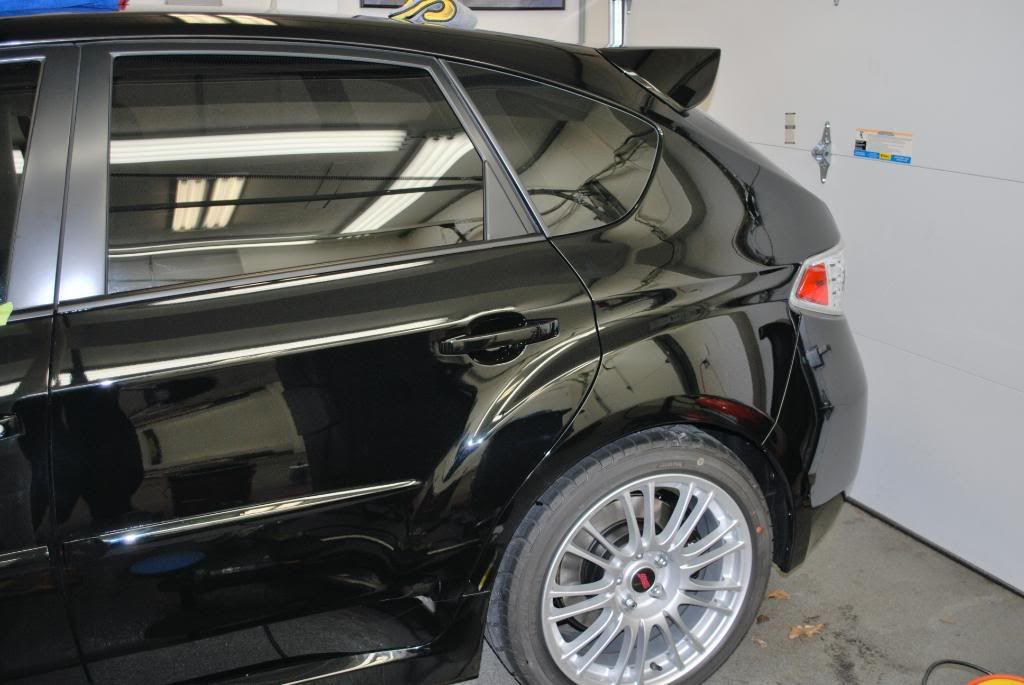
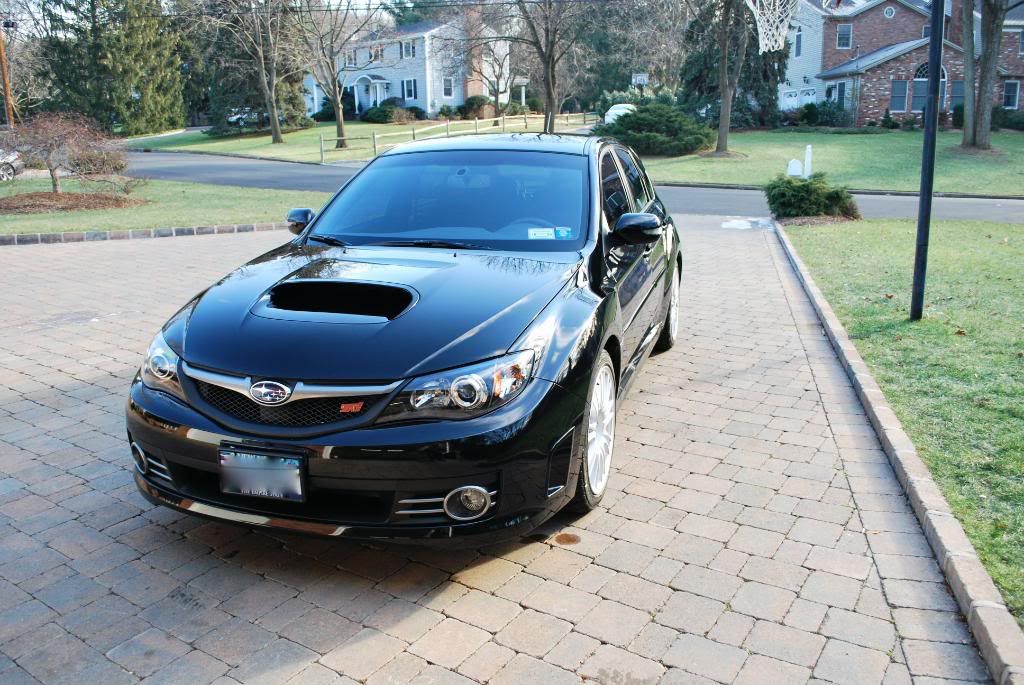
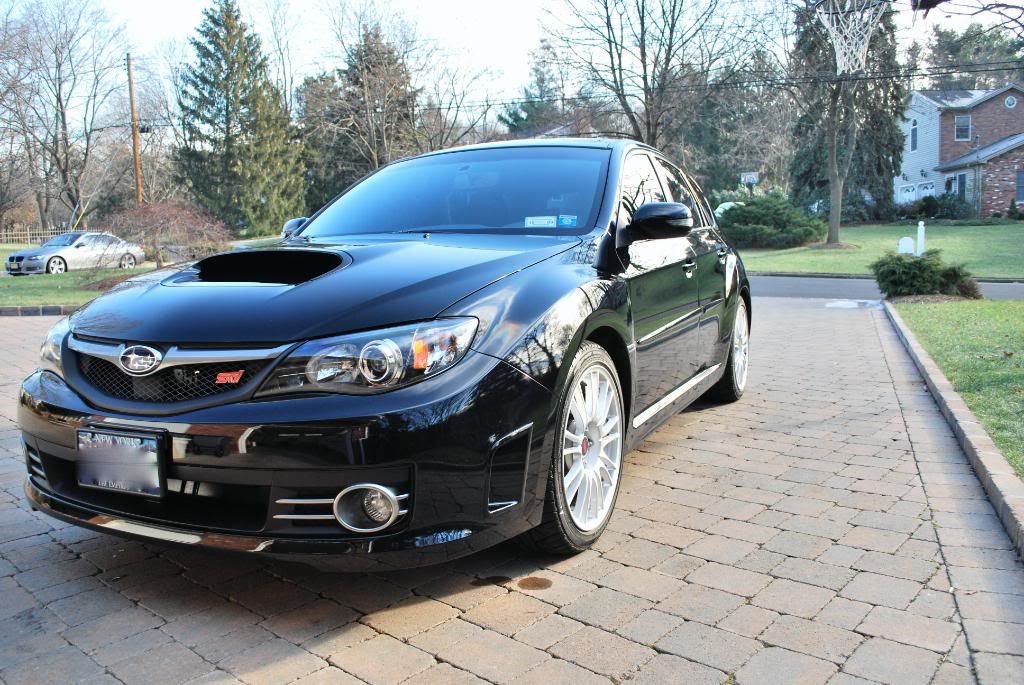
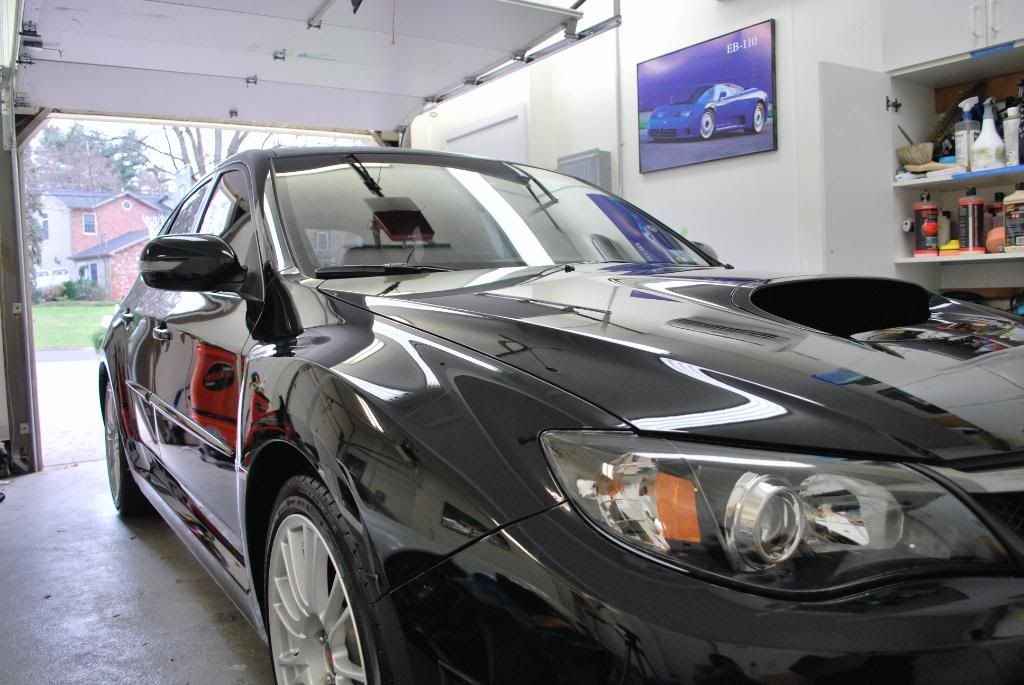
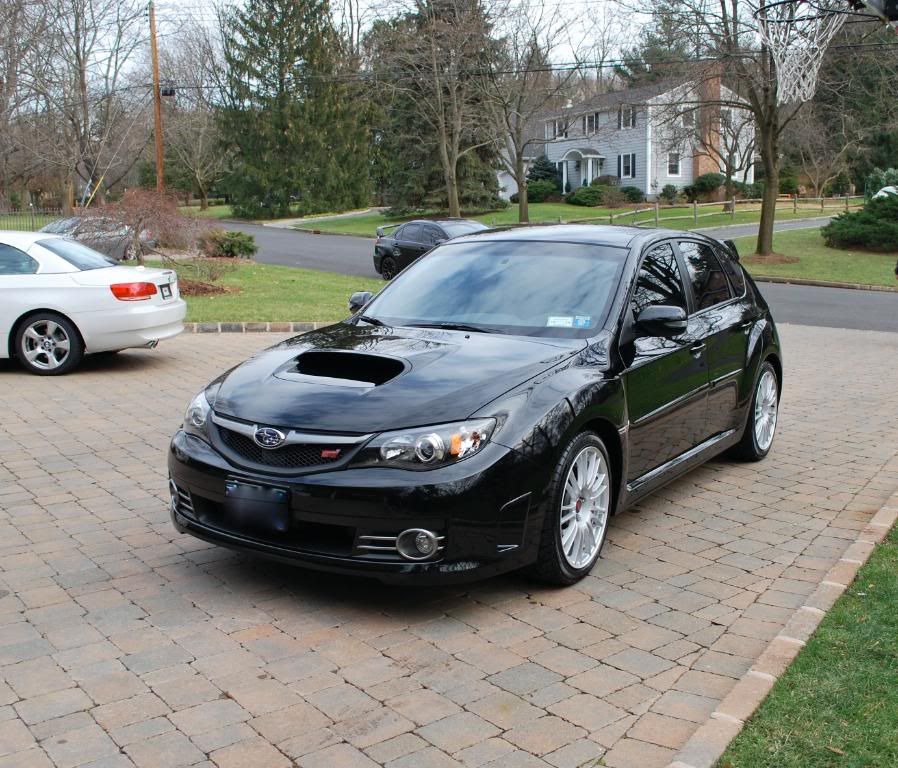
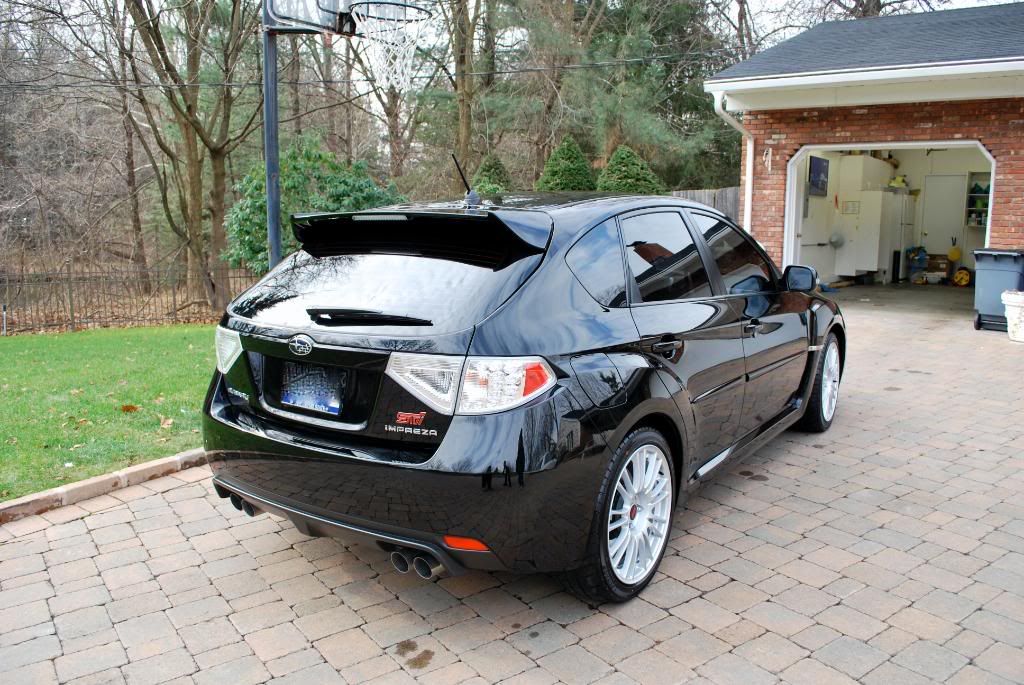
The was a partial new car prep on this 2008 Subaru STi. The car had about 800miles on it and recently had some clear bra work done to the side fenders and lower body panels.
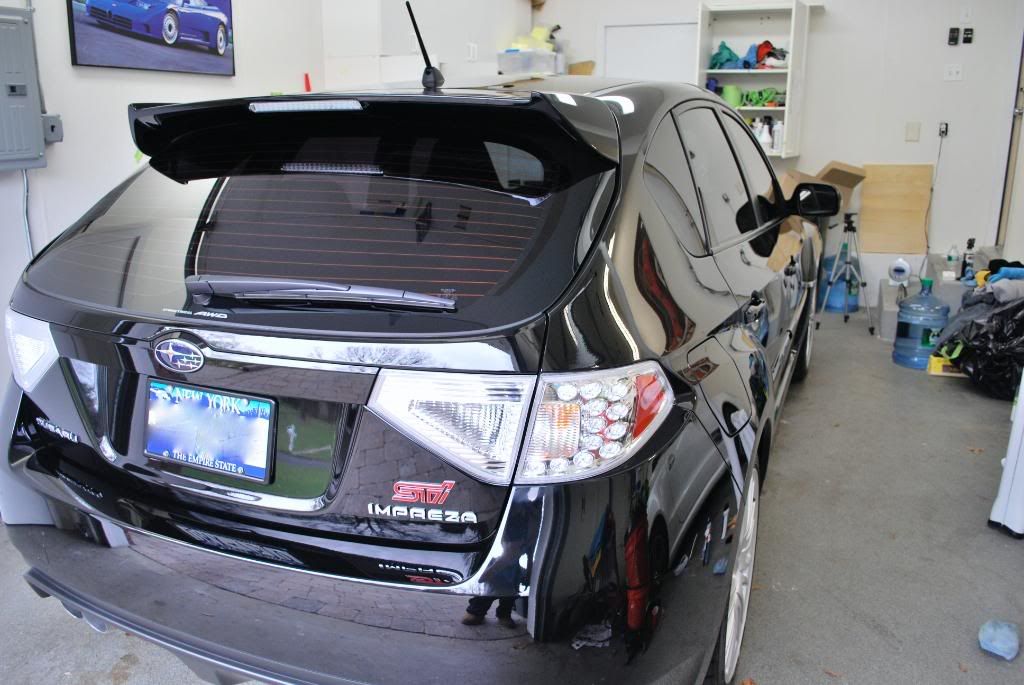
On with the detail...
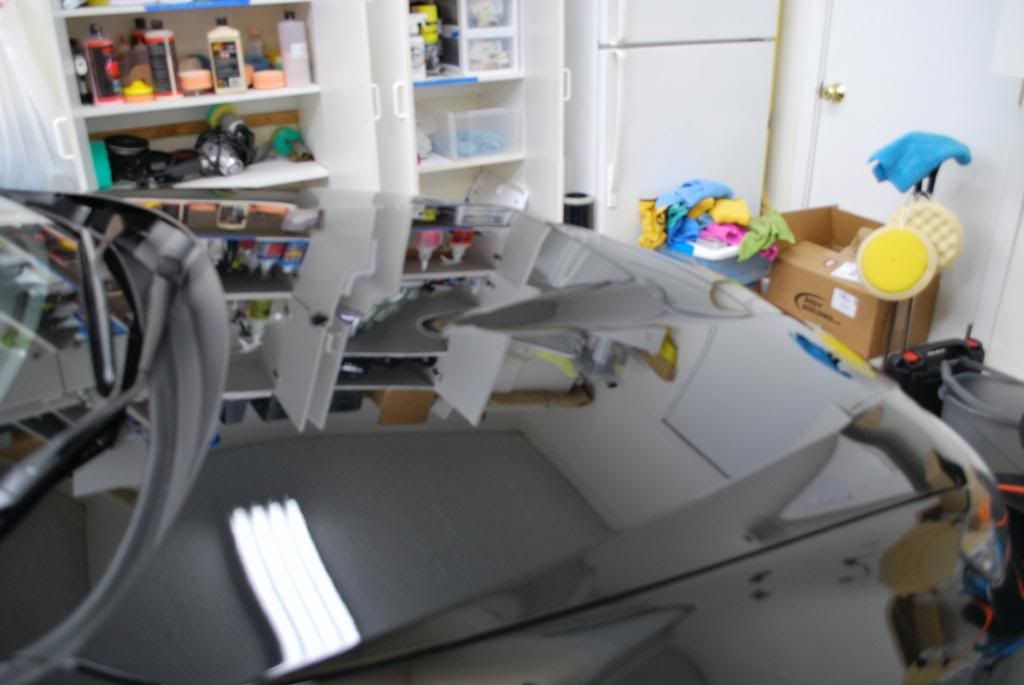
Before pic, this is about 9am Saturday morning. It was well below freezing temps here in NJ and I saw all the water froze on my driveway during the pre-rinse and wheel cleaning steps. Thats when I knew I was going to ONR this bad boy inside the garage instead of using my normal sudsy wash routine outdoors.
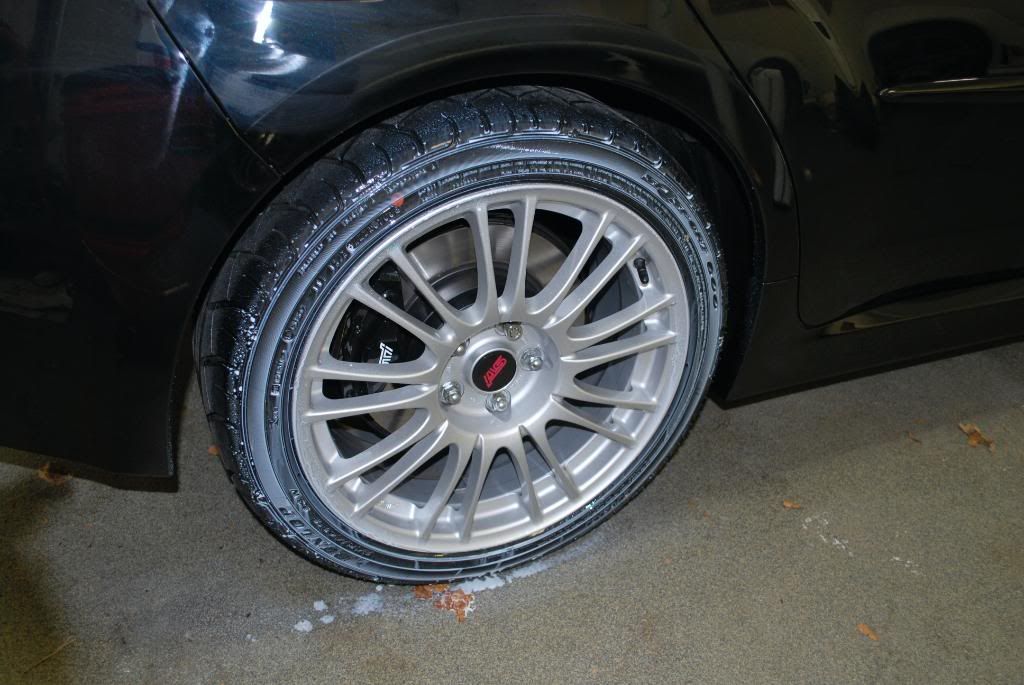
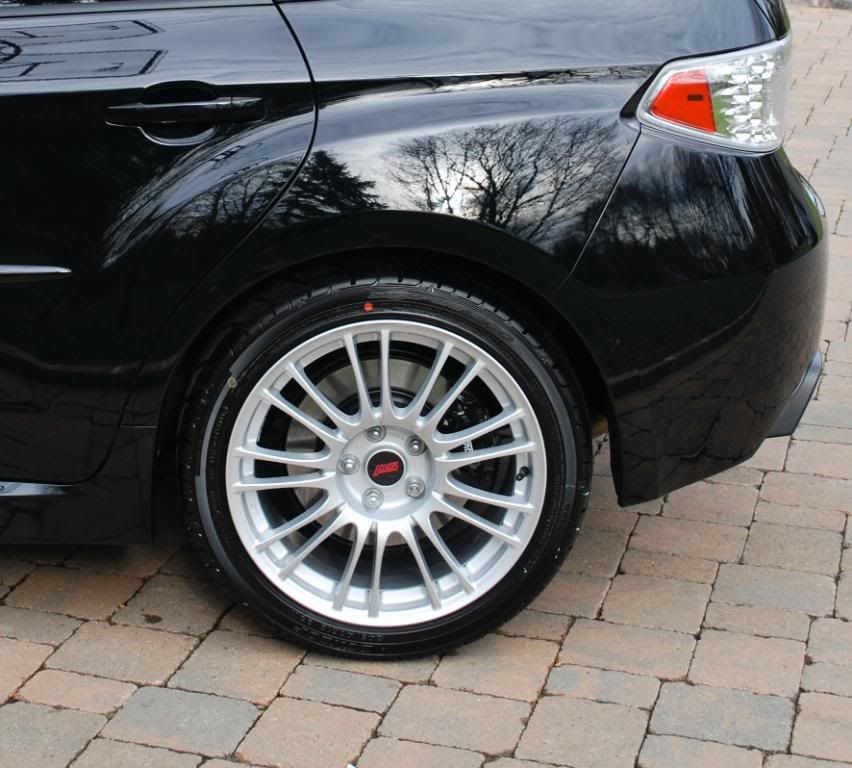
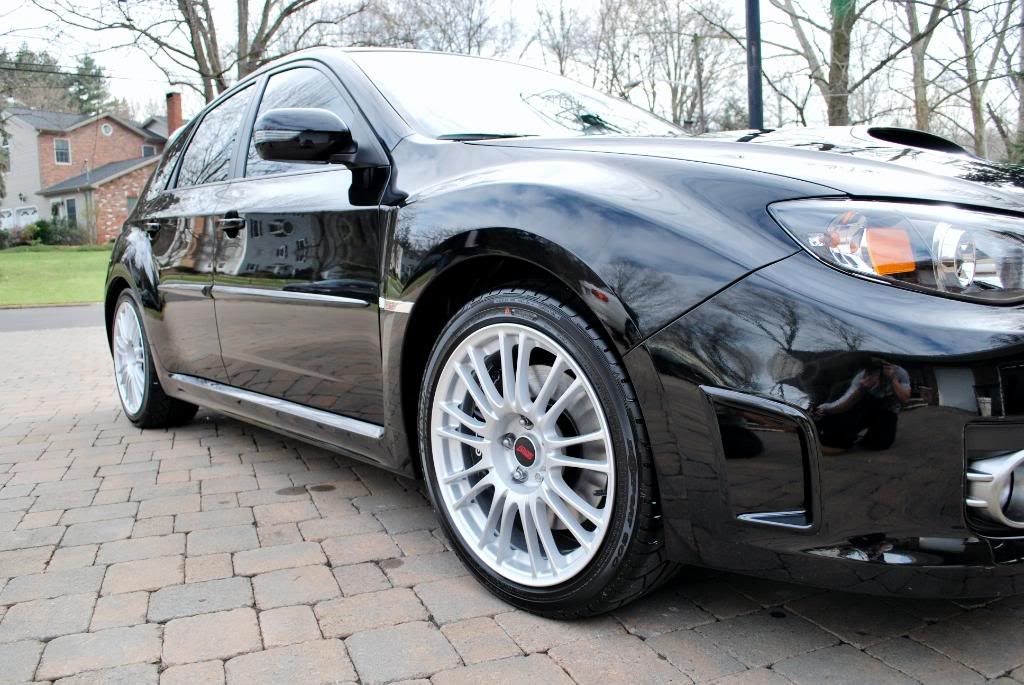
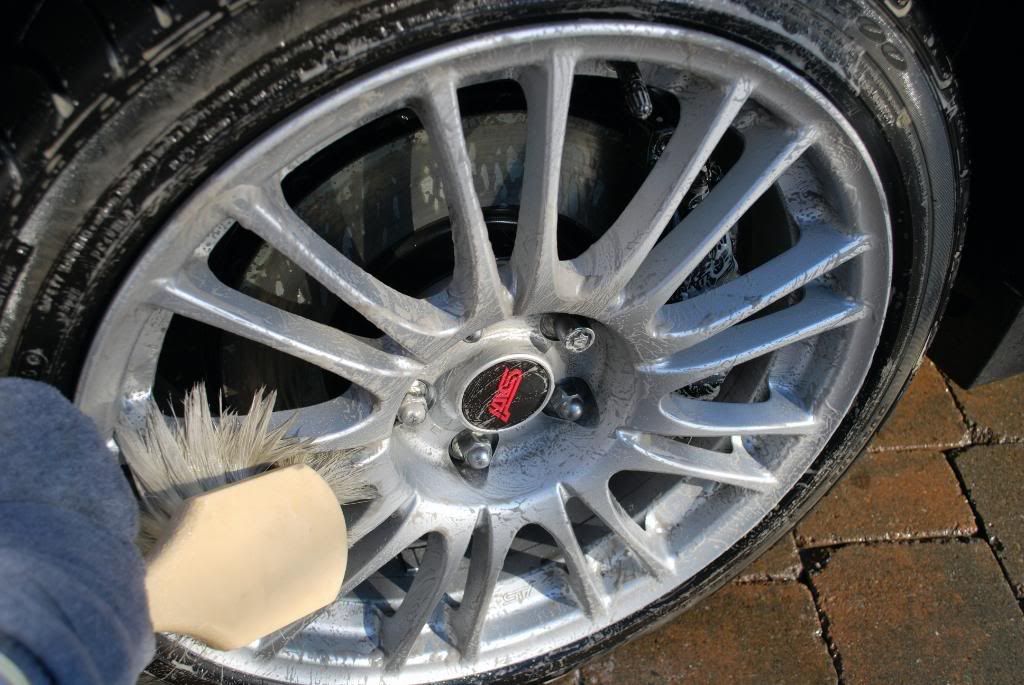
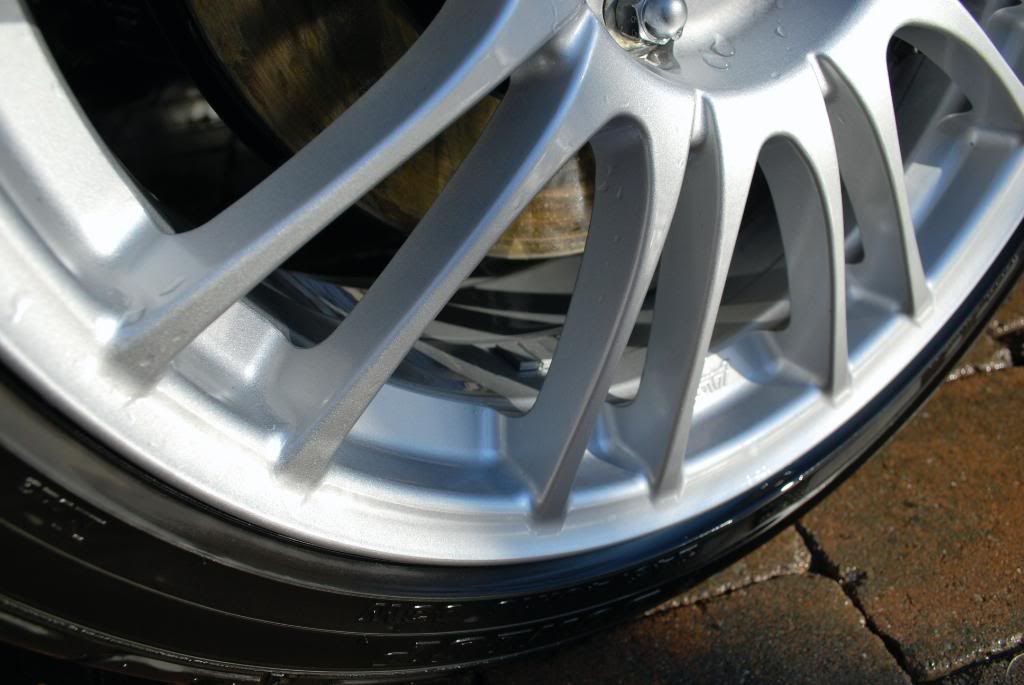
As usual I started with the wheels, in this case some very spokey BBS'
Before

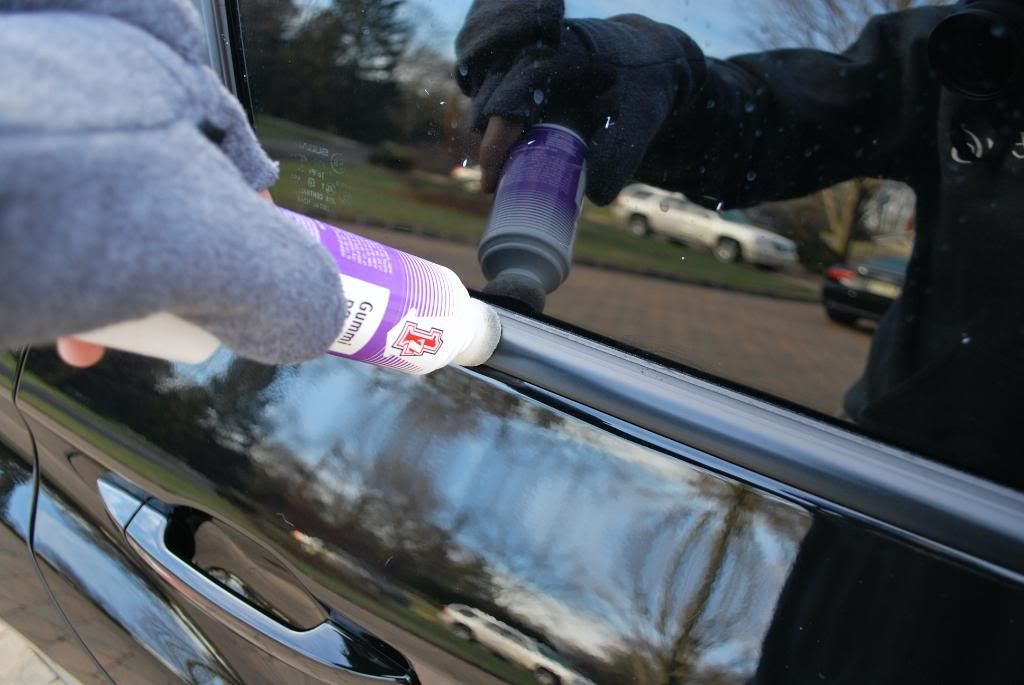
I used the P21s gel on these wheels to ensure no damage to the finish or more importantly the brakes, I let the gel dwell for about 10mins after the initial pressure wash using the Cam spray
I used an assortmant of brushes to get in every crevice of these intricate wheels.
boars hair brush
swissvax brush
wooden spoke brush (for the inner barrels)
oxo tire scrub brush
black agressve shmitt for the wheel wells
Heres me using the boars hair brush for the initial agitation of the p21s, this brush is great for wheels such as these. I used to just use the swissvax brush to go in and out of every spoke but now I can get about 85% of the wheels clean much faster with the large bristles on the boars hair brush.
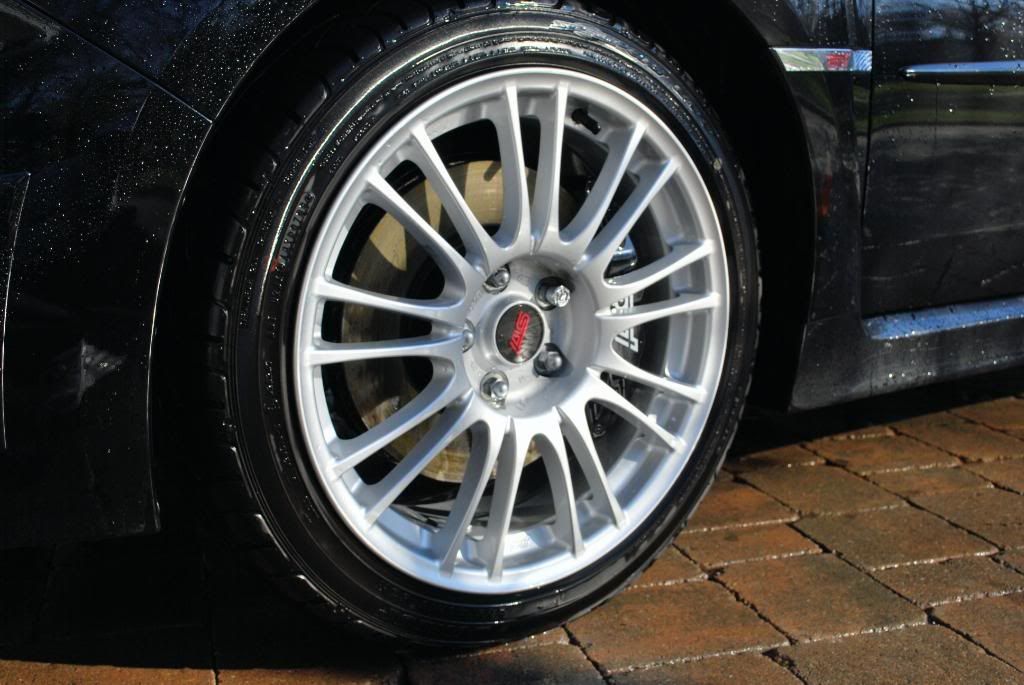
I then cleaned the inners with a long handle spoke brush and re-worked all the spokes with the much more precise swissvax brush. Calipers were scrubbed as well
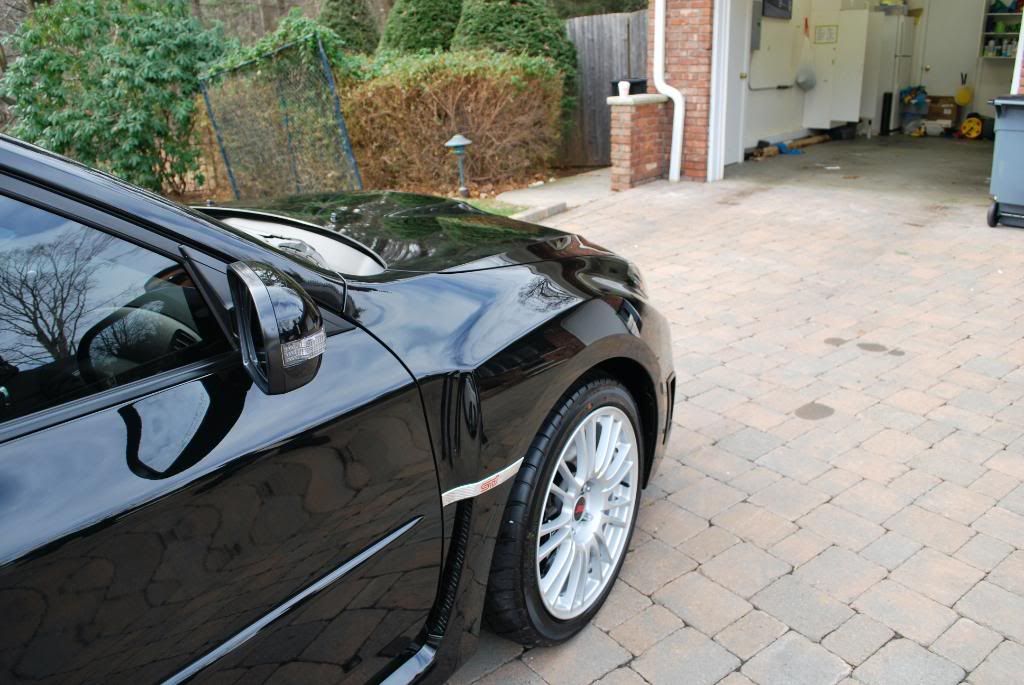
Tires/wells were scrubbed using APC 4:1
After
Another before, you can see the caked up brake dust settled in all the ridges of the wheel
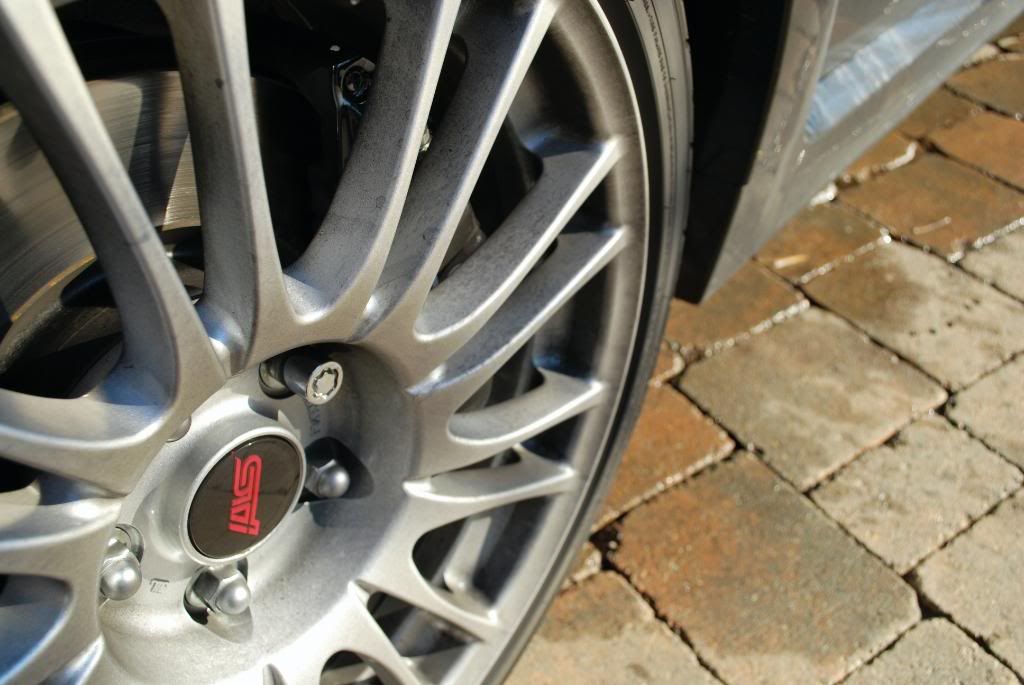
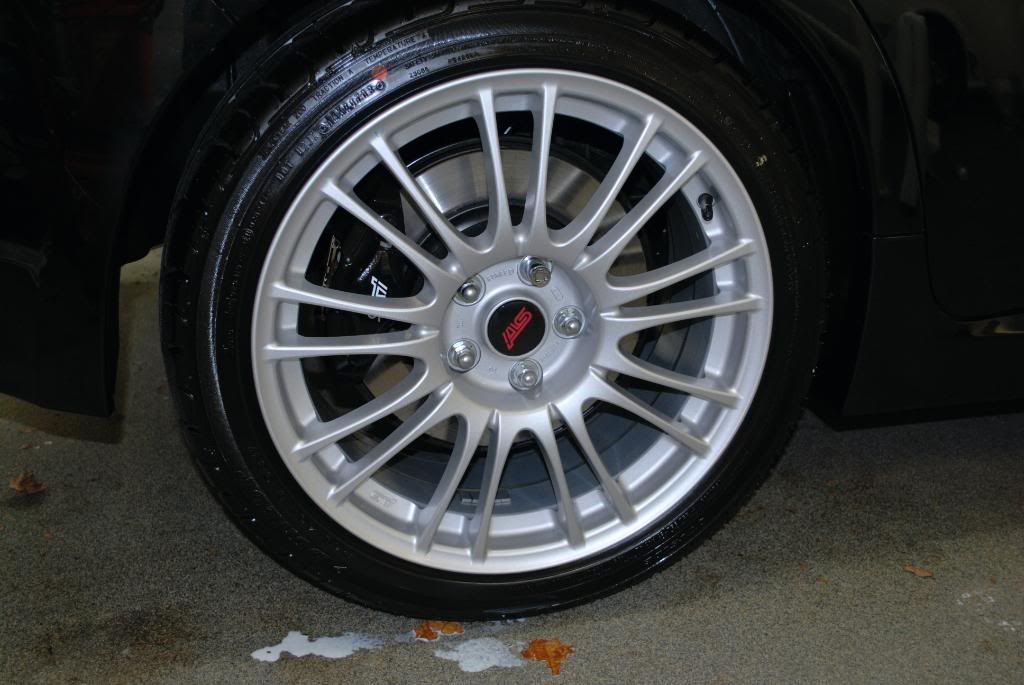
After
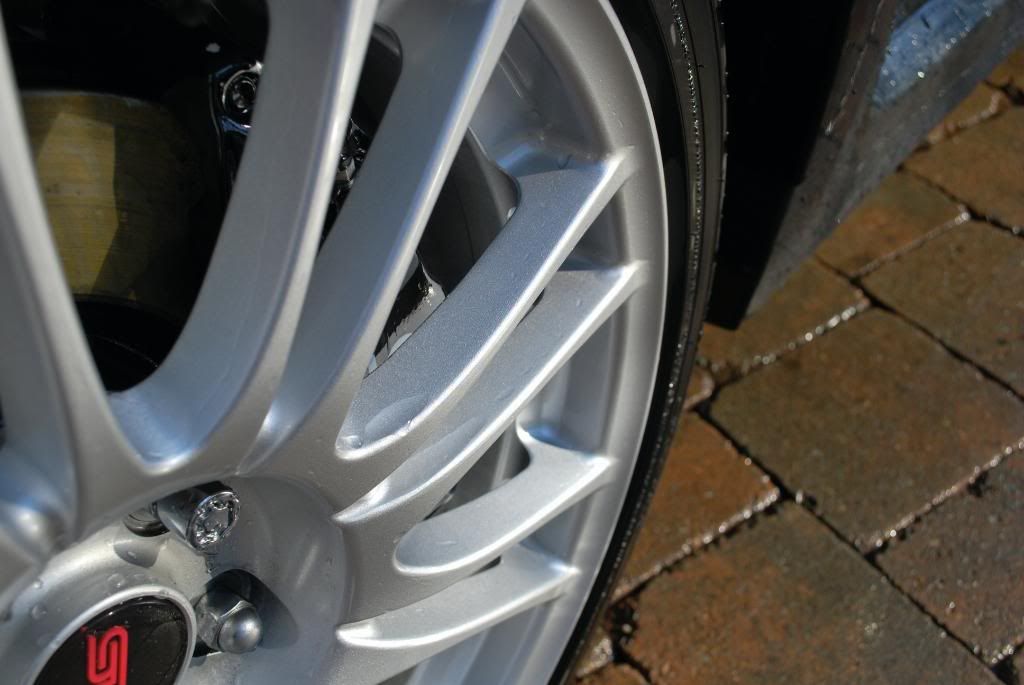
Inners all squeaky clean
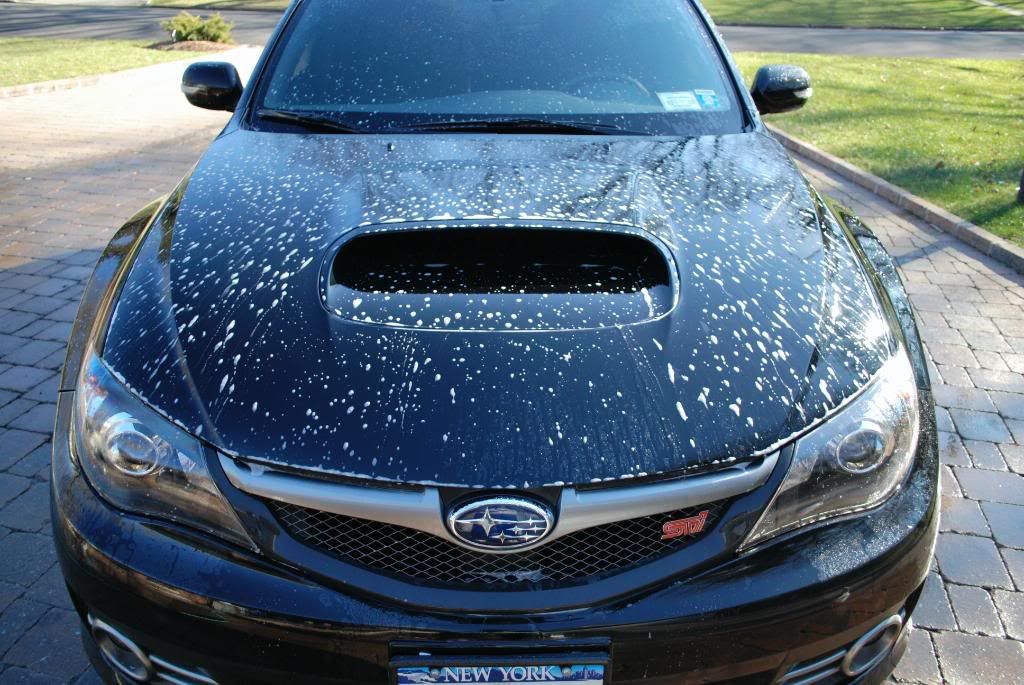
I then proceeded to thoroughly rinse the paint finish
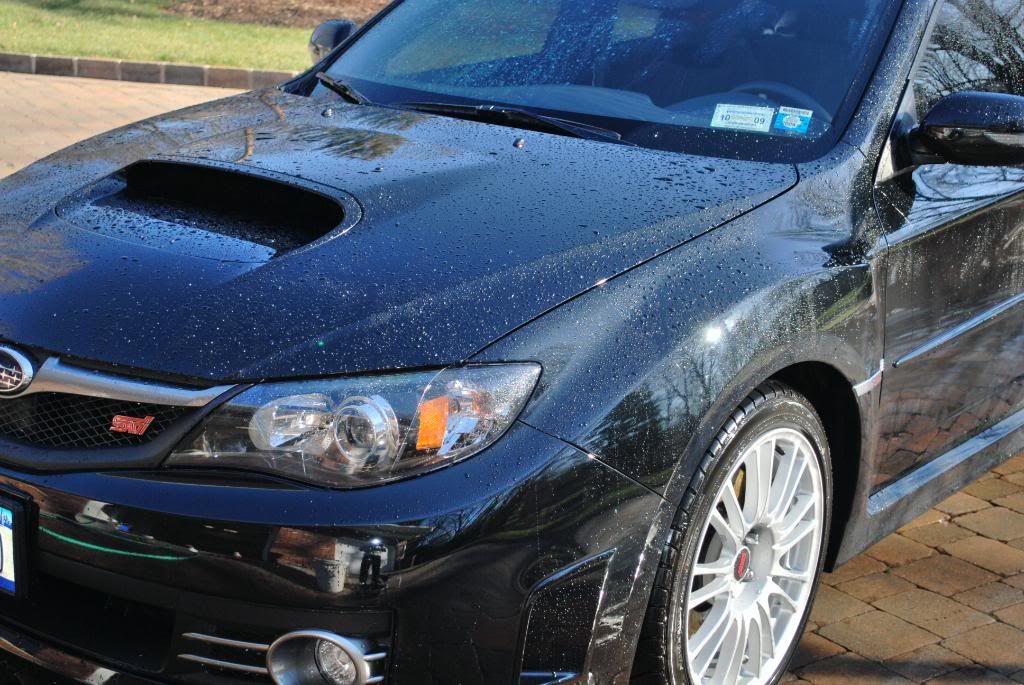
Followed by a p21s TAW pre-soak
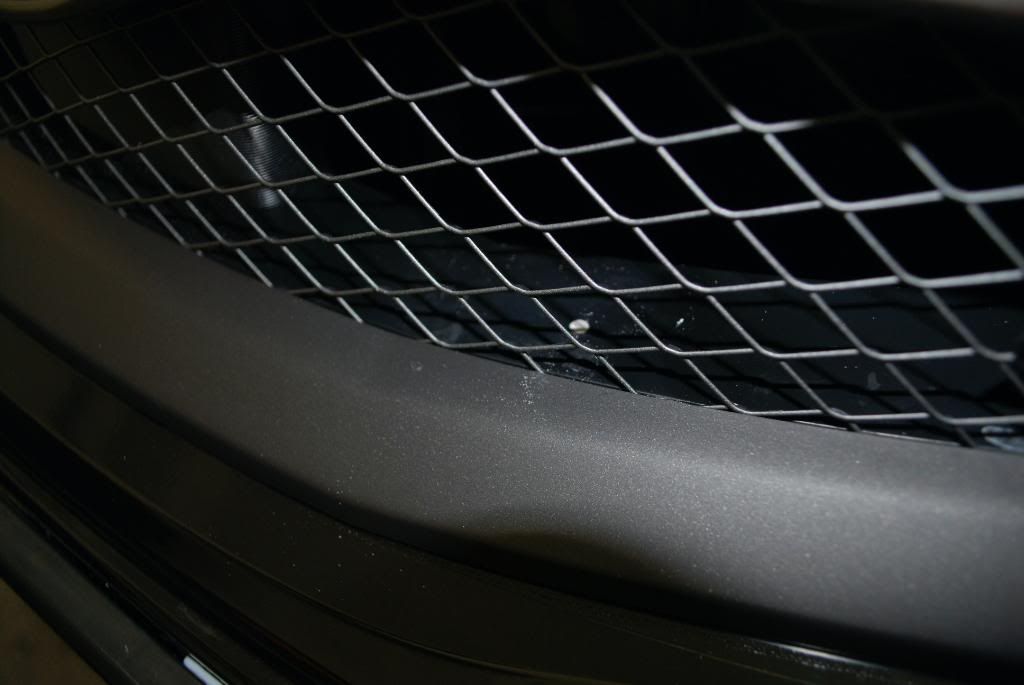
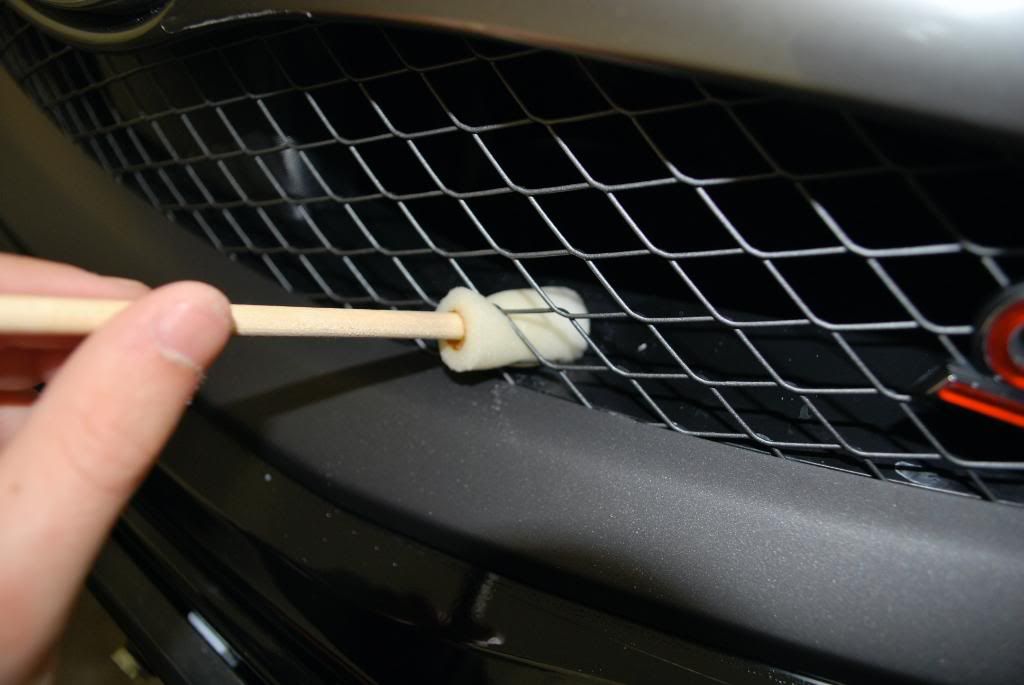
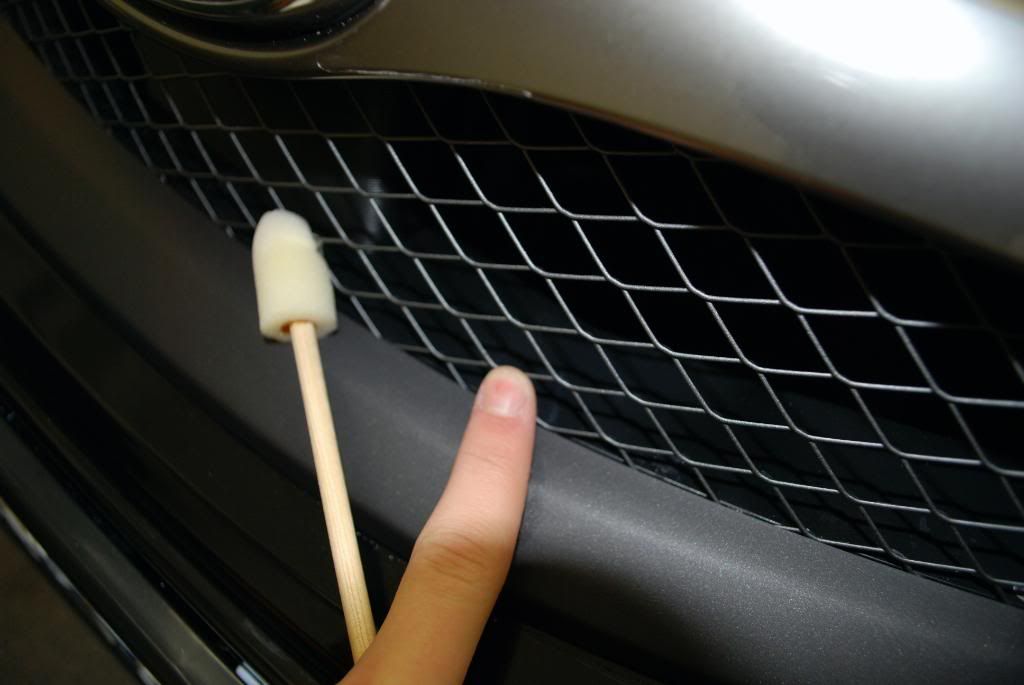
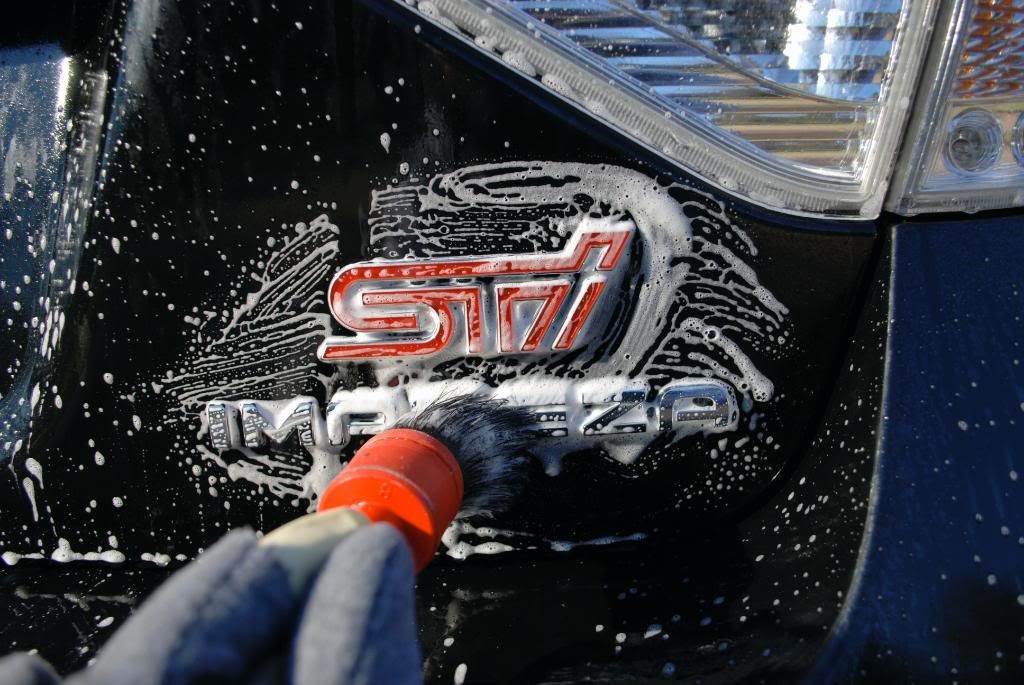
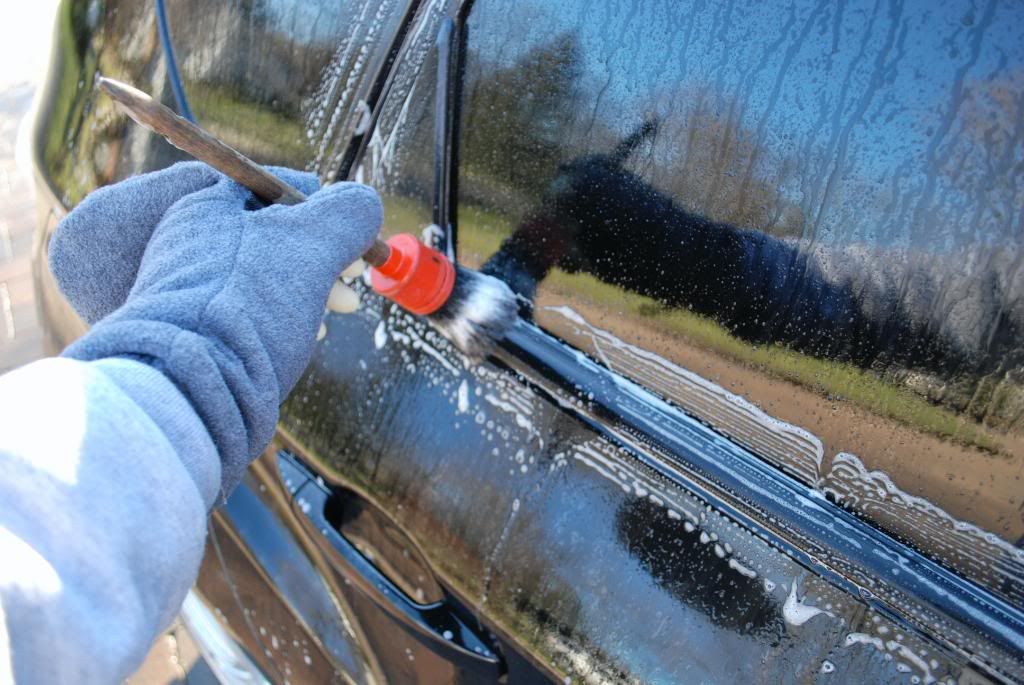
While I let the citrus soap dwell on the paint I used a designated siwssvax wheel brush to agitate the emblems and trim
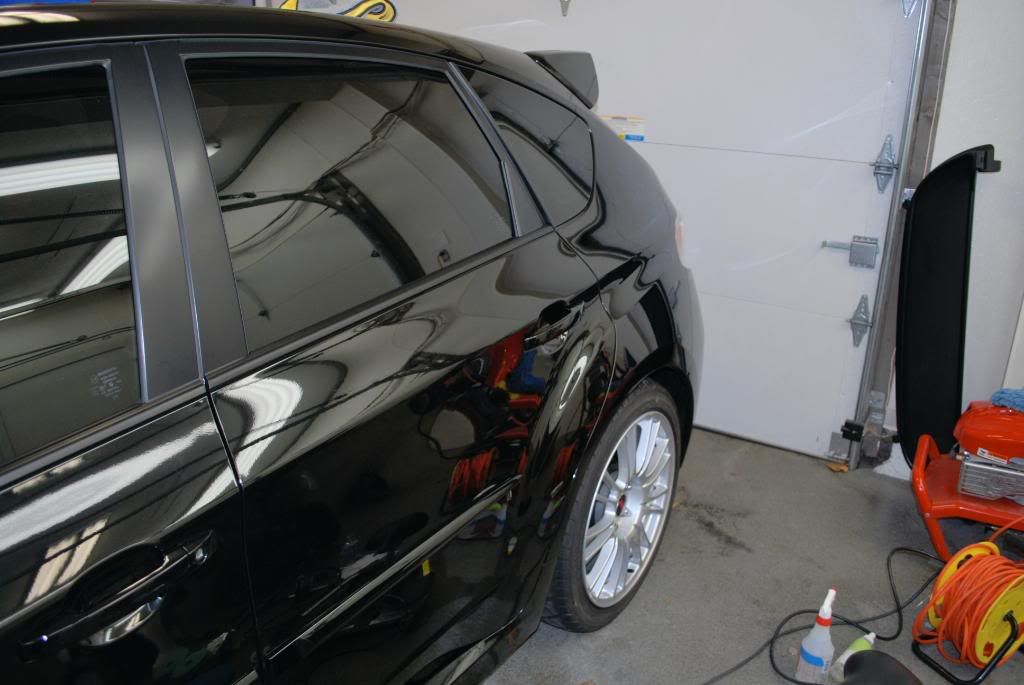
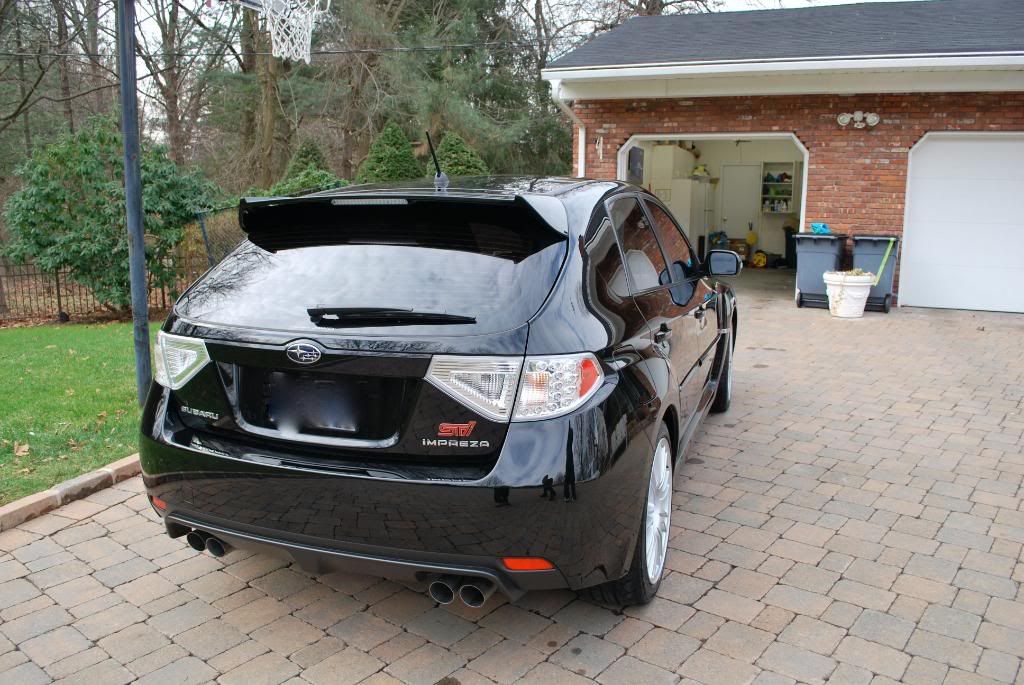
I rinsed the car once more...adding to the thick layer of ice forming beneath my feet due to the freezing temps and pulled the Subby inside for the ONR wash.
The fact that this car has 4wd gave me some piece of mind pulling it in the garage, it was very icy on the driveway that morning!
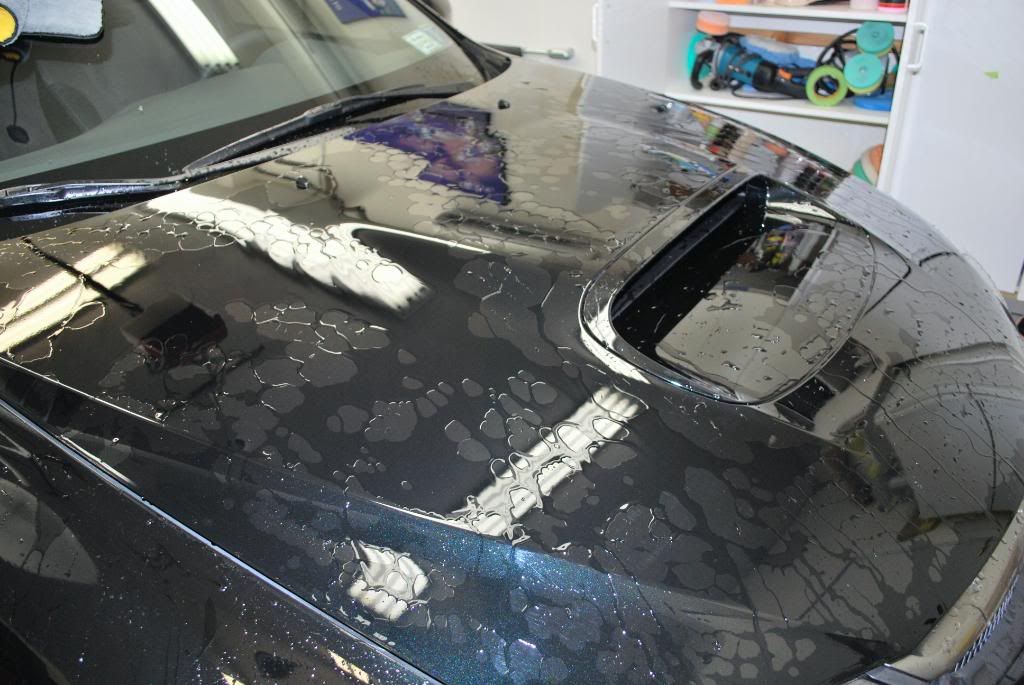
With the car still wet I used the 2 bucket method and began to ONR wash the car panel by panel using soft foam sponges from DD, there just like the Zymol sponges I used to have and work very well with ONR solution

ONR working its magic
I dried each panel with ## miracle dryers and moved onto claying
Sonus fine green clay was used. The car still being new I felt there was no need to use anything more than a soft clay, as I expected the car was only lightly contaminated
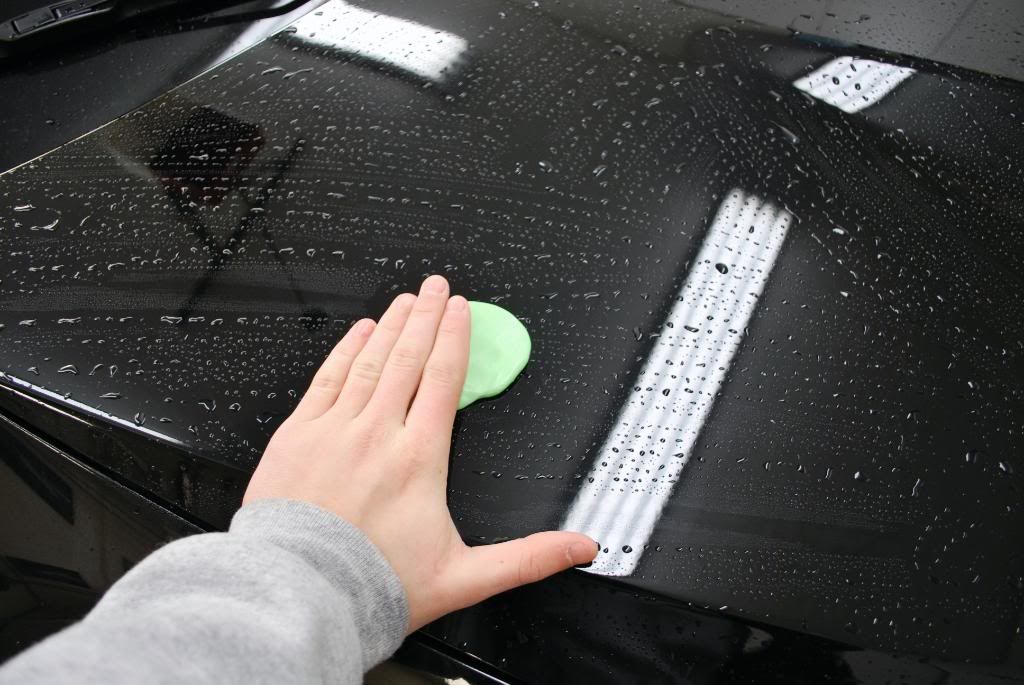
Last touch QD 1:1 was used to lubricate the finish while claying
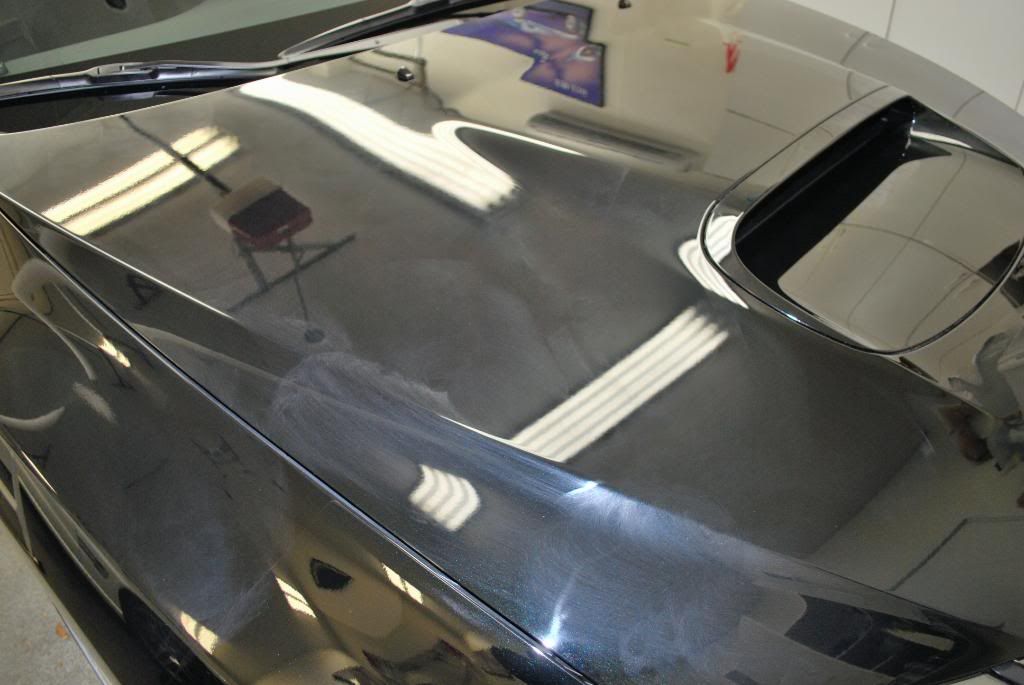
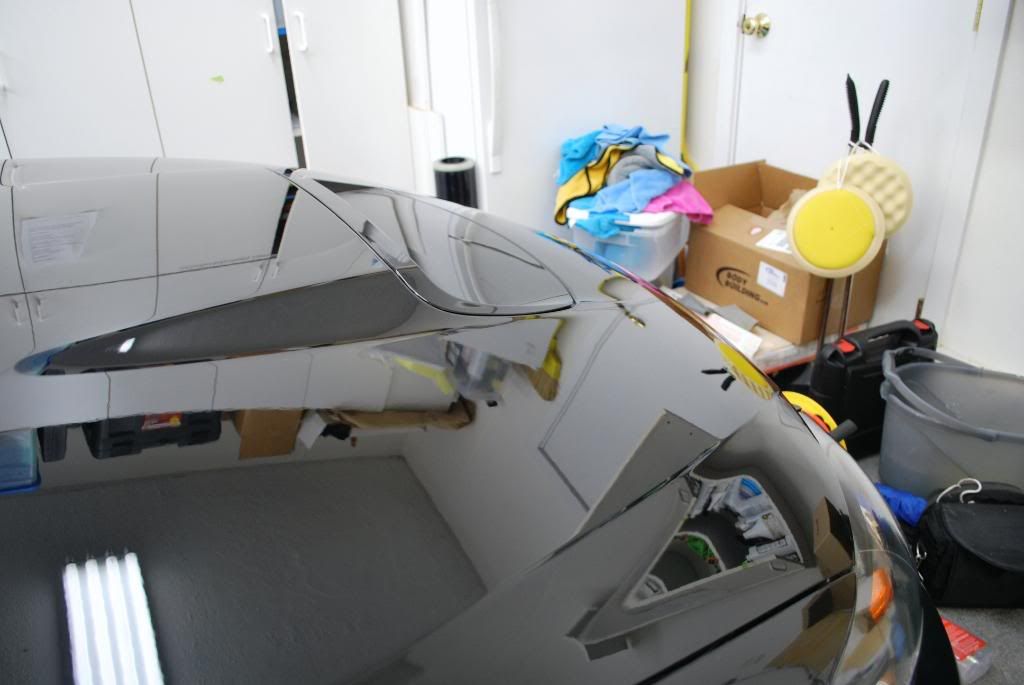
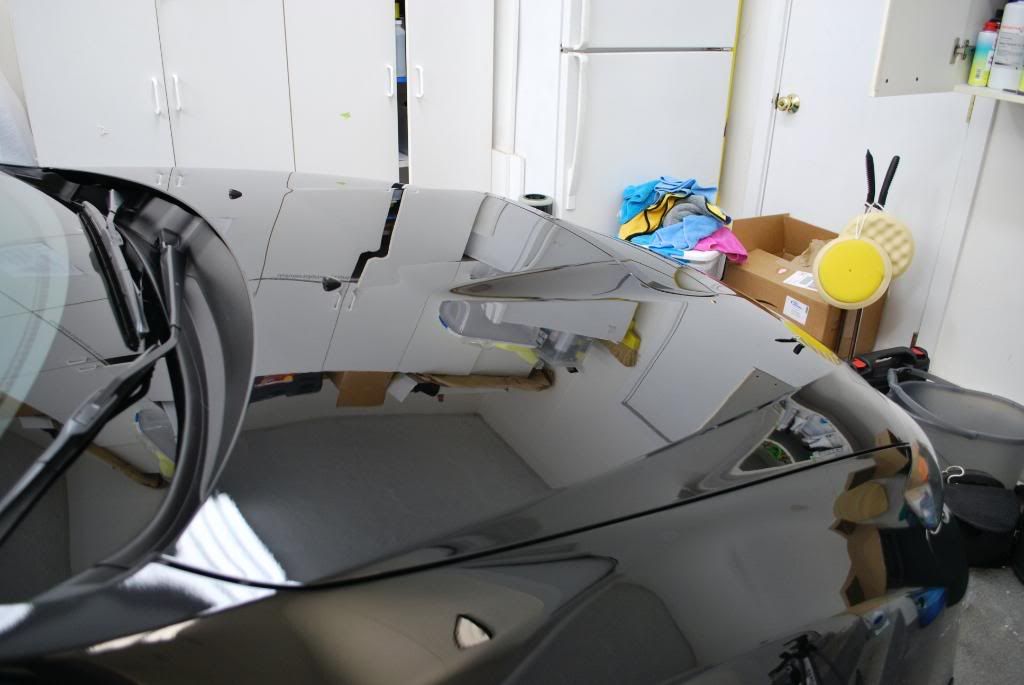
After claying I measured the paint using the PTG and began my inspection starting with the hood
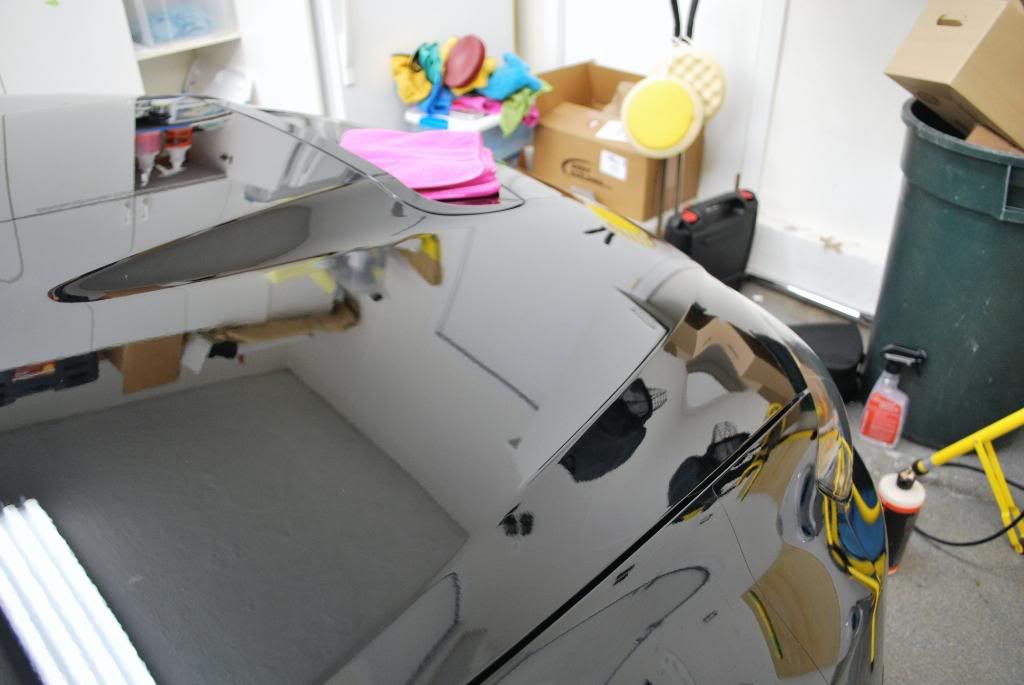
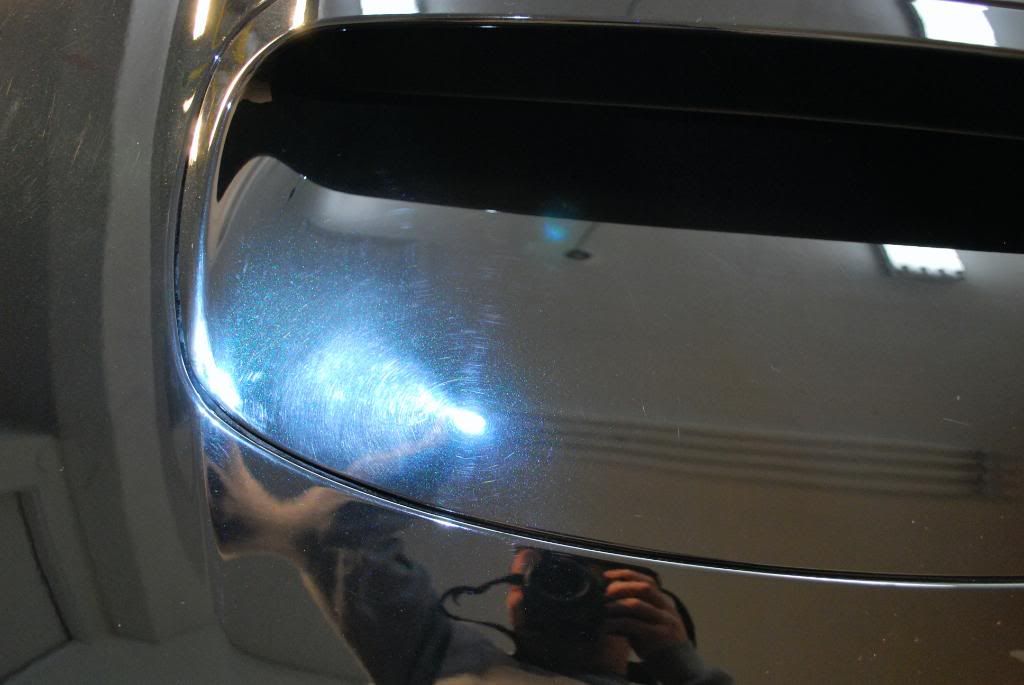
The owner informed me he attempted to clay the car but unfortunatley the clay picked up a large particle or something which induced some heavy scrtahces on the hood scoop area.
These deep RIDS needed the use of an agressive polish/compound to remove where as the rest of the hood needed a lighter corrective polish
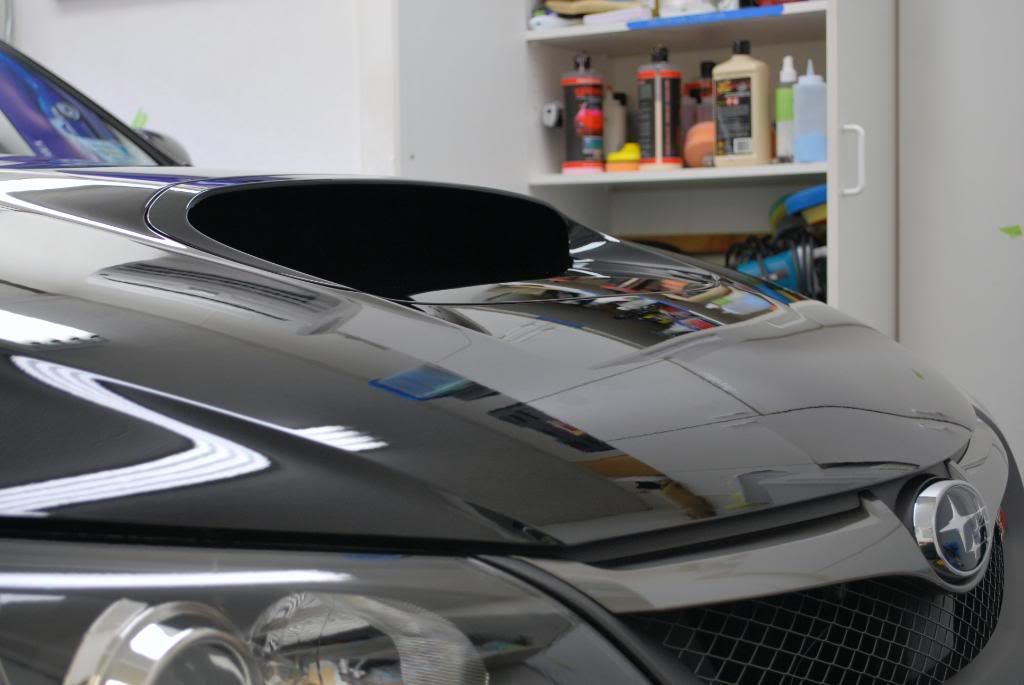
Heres what I mean.
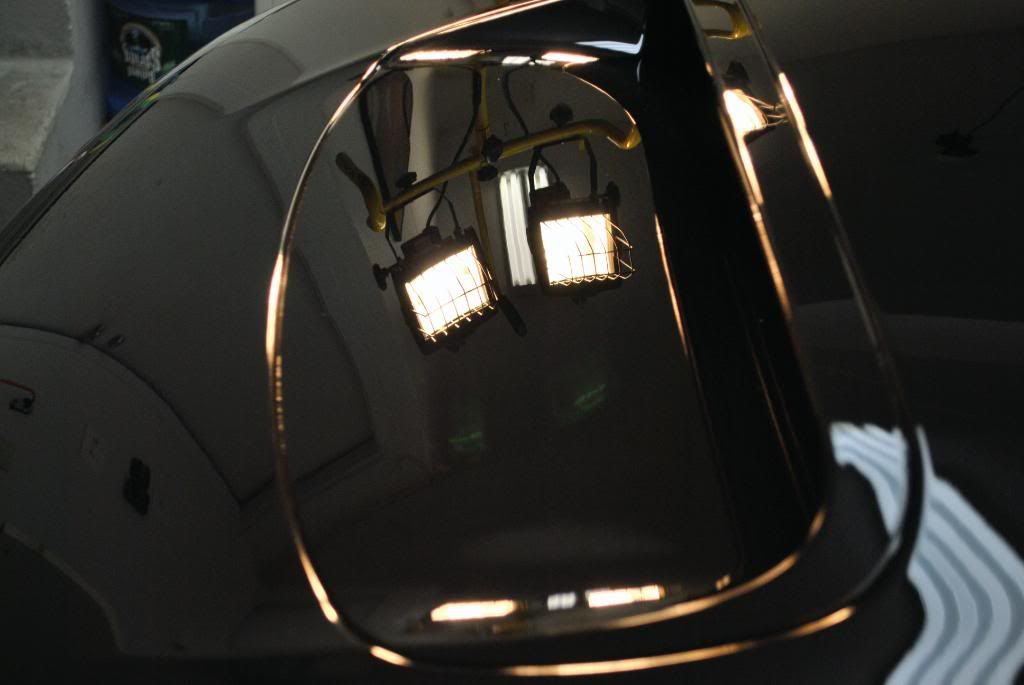
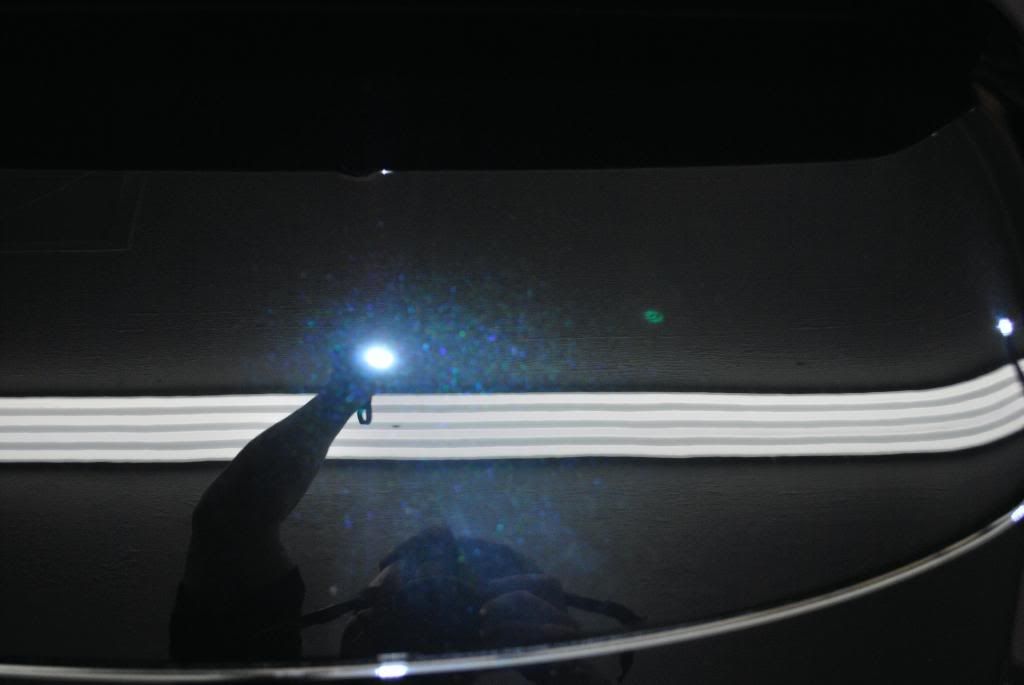
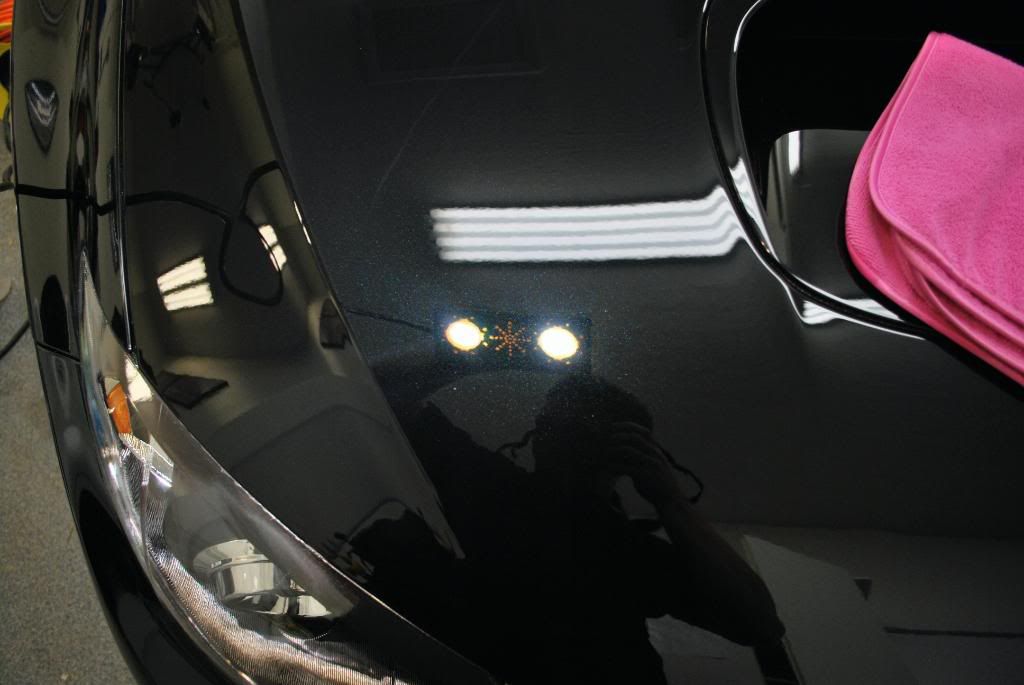
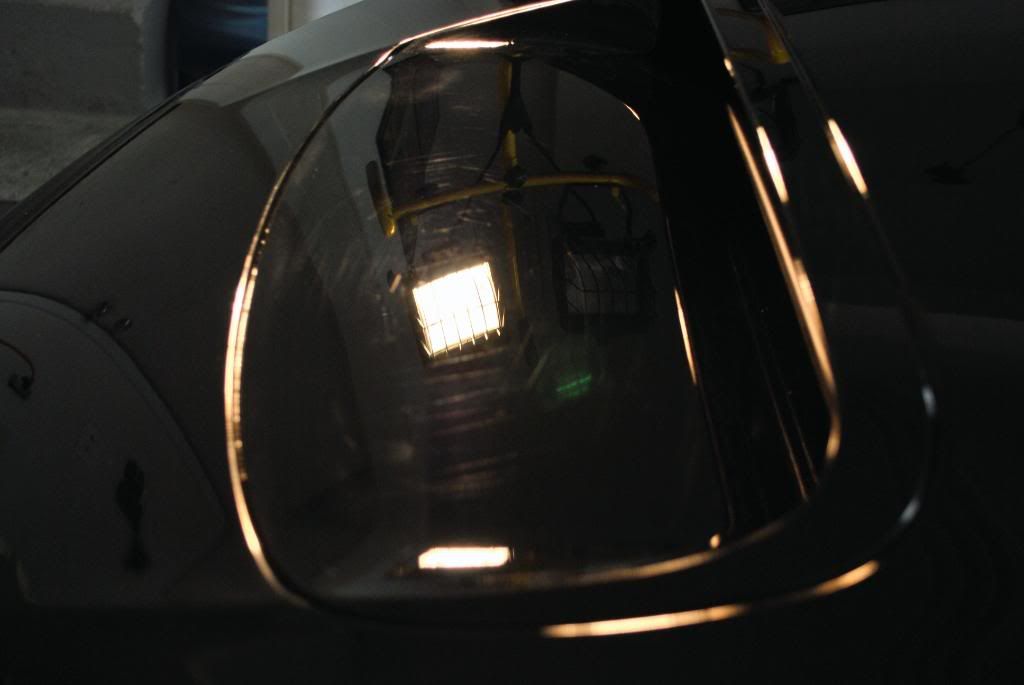
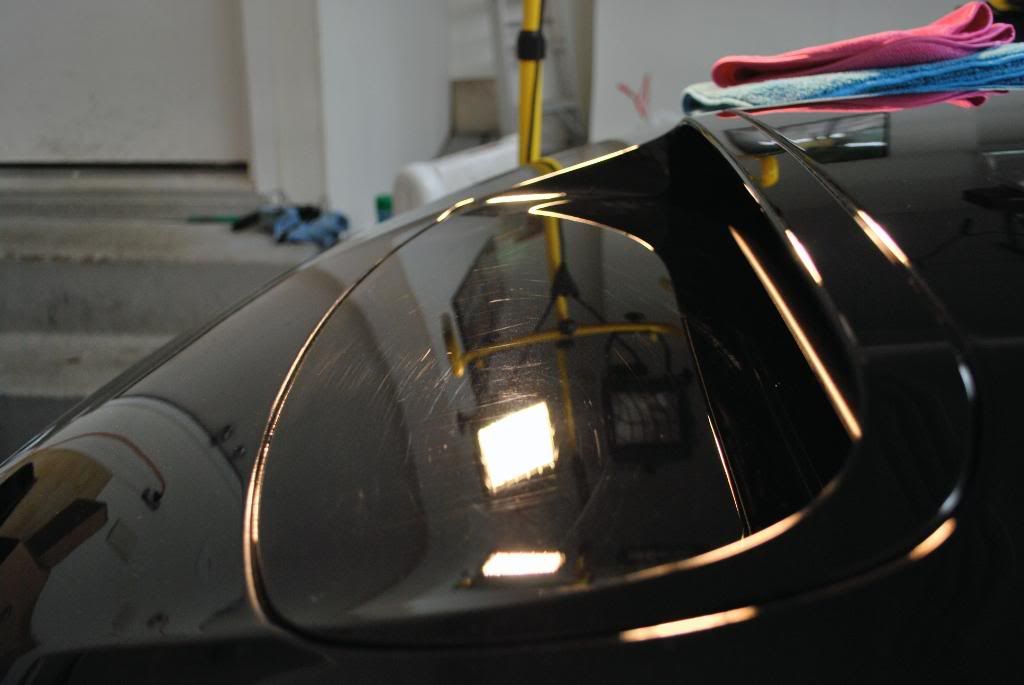
Using the Fenix TK10 to show defects is a great tool for paint inspection, especially on metallics. Big thanks to Bob at Auto Concierge for introducing me to this little light. I cant do paint correction without it now!
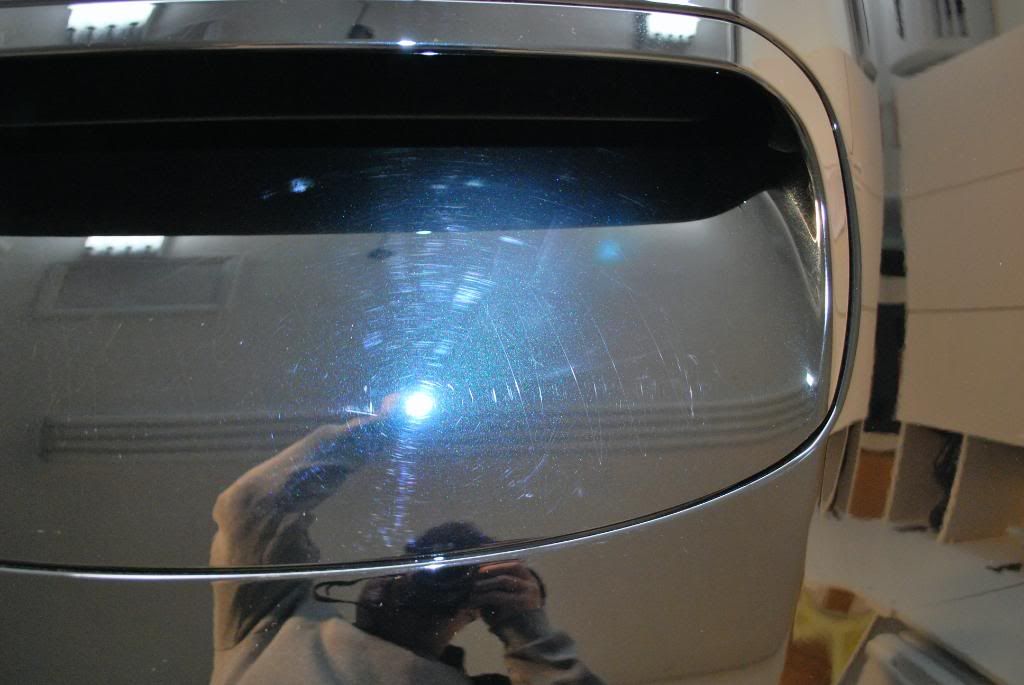
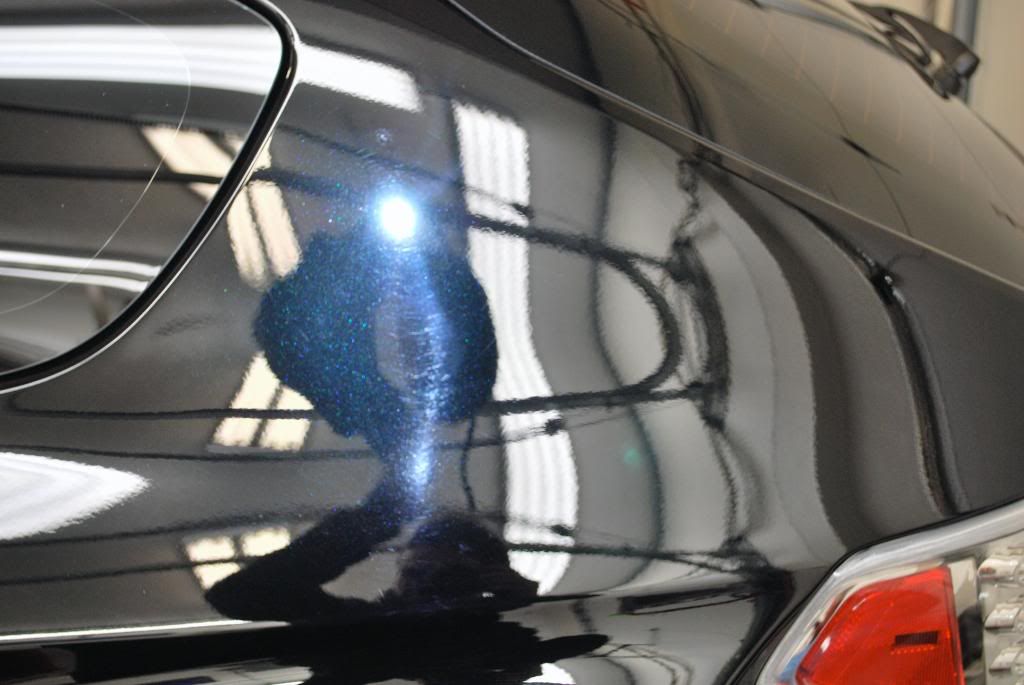
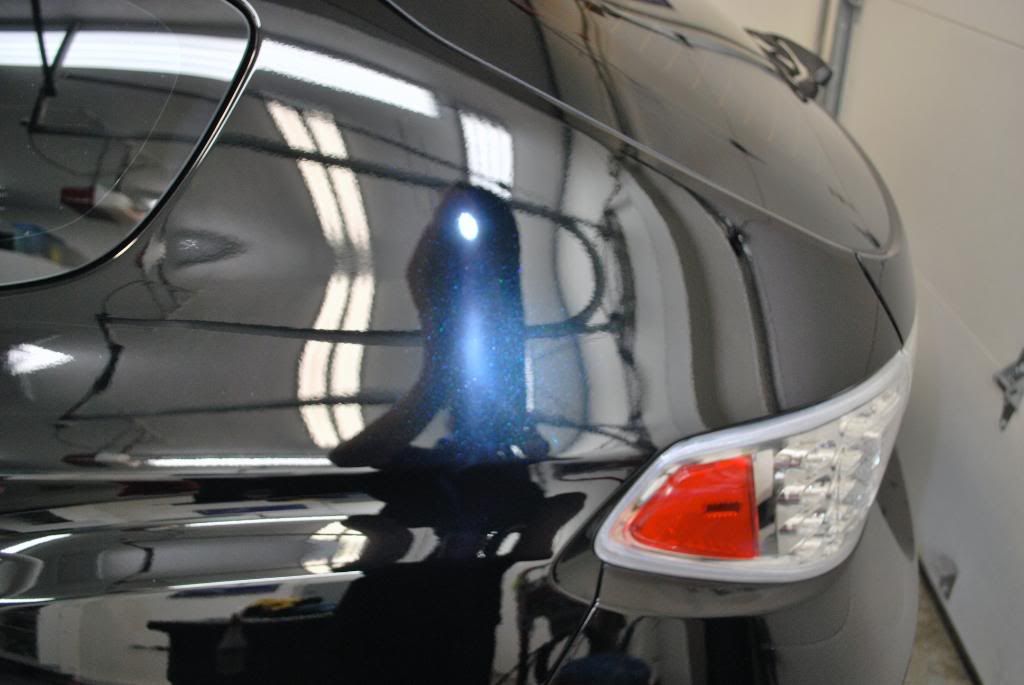
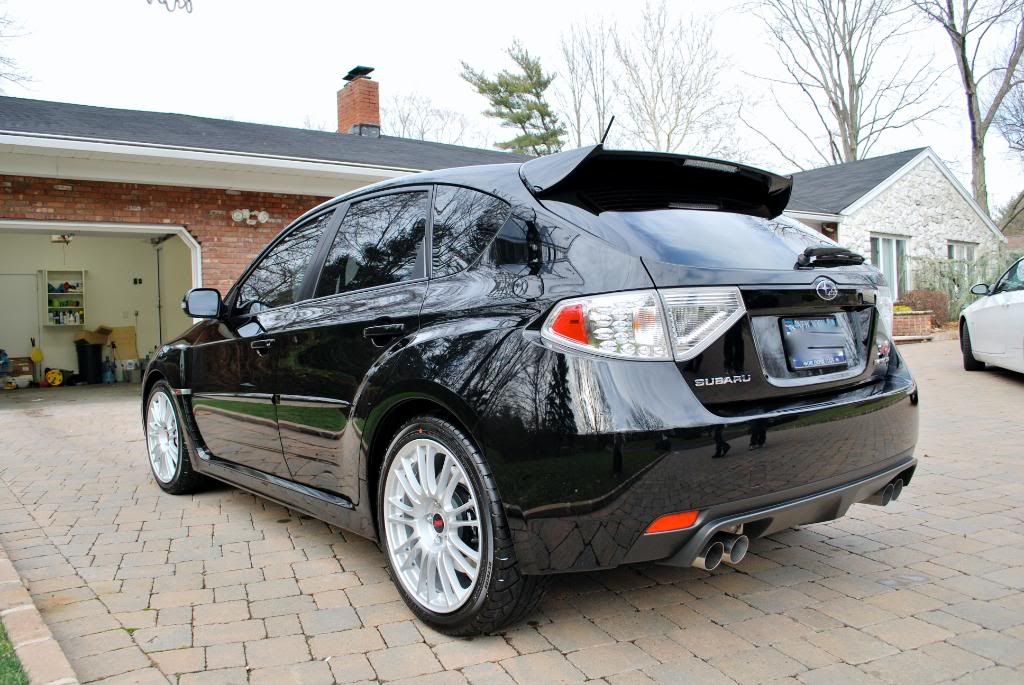
Now under the standing halogens
On with the detail...
Before pic, this is about 9am Saturday morning. It was well below freezing temps here in NJ and I saw all the water froze on my driveway during the pre-rinse and wheel cleaning steps. Thats when I knew I was going to ONR this bad boy inside the garage instead of using my normal sudsy wash routine outdoors.
As usual I started with the wheels, in this case some very spokey BBS'
Before
I used the P21s gel on these wheels to ensure no damage to the finish or more importantly the brakes, I let the gel dwell for about 10mins after the initial pressure wash using the Cam spray
I used an assortmant of brushes to get in every crevice of these intricate wheels.
boars hair brush
swissvax brush
wooden spoke brush (for the inner barrels)
oxo tire scrub brush
black agressve shmitt for the wheel wells
Heres me using the boars hair brush for the initial agitation of the p21s, this brush is great for wheels such as these. I used to just use the swissvax brush to go in and out of every spoke but now I can get about 85% of the wheels clean much faster with the large bristles on the boars hair brush.
I then cleaned the inners with a long handle spoke brush and re-worked all the spokes with the much more precise swissvax brush. Calipers were scrubbed as well
Tires/wells were scrubbed using APC 4:1
After
Another before, you can see the caked up brake dust settled in all the ridges of the wheel
After
Inners all squeaky clean
I then proceeded to thoroughly rinse the paint finish
Followed by a p21s TAW pre-soak
While I let the citrus soap dwell on the paint I used a designated siwssvax wheel brush to agitate the emblems and trim
I rinsed the car once more...adding to the thick layer of ice forming beneath my feet due to the freezing temps and pulled the Subby inside for the ONR wash.
The fact that this car has 4wd gave me some piece of mind pulling it in the garage, it was very icy on the driveway that morning!
With the car still wet I used the 2 bucket method and began to ONR wash the car panel by panel using soft foam sponges from DD, there just like the Zymol sponges I used to have and work very well with ONR solution
ONR working its magic
I dried each panel with ## miracle dryers and moved onto claying
Sonus fine green clay was used. The car still being new I felt there was no need to use anything more than a soft clay, as I expected the car was only lightly contaminated
Last touch QD 1:1 was used to lubricate the finish while claying
After claying I measured the paint using the PTG and began my inspection starting with the hood
The owner informed me he attempted to clay the car but unfortunatley the clay picked up a large particle or something which induced some heavy scrtahces on the hood scoop area.
These deep RIDS needed the use of an agressive polish/compound to remove where as the rest of the hood needed a lighter corrective polish
Heres what I mean.
Using the Fenix TK10 to show defects is a great tool for paint inspection, especially on metallics. Big thanks to Bob at Auto Concierge for introducing me to this little light. I cant do paint correction without it now!
Now under the standing halogens