gothamite302
New member
- Jul 6, 2011
- 60
- 0
In January, I had this customer contact me about making sure the new to her Lexus she just purchased was properly taken care of. She wanted to have maintenance service setup and the most important portion of the car to her was the leather seats. We met up a few days later for me to take a look at the vehicle so I could properly quote out time and measure expectations for the upcoming correction work. As I was looking over the vehicle, I noticed she had been hit in her passenger quarter panel and had not even seen it.
Fast forward a few months, after the repairs were taken care of by a local Lexus dealer (to remain unnamed for reasons that will be apparent in the pics) for the paint and bodywork, the car was delivered to me to get to work on the details of making this car really shine. We settled on a 2 stage correction, interior, and leather restoral and care by. Leatherique
Products used:
Body wash and Decon:
Chemical Guys Citrus Wash
Microfiber wash mitt
2 Bucket method
AutoGeek Foam Gun
CarPro IronX
Speedy Prep Fine prep pad
Chemical Guys Luber
Wheels:
Sonax Full Effect Wheel Cleaner
Megs APC+ 4:1
Megs Super Degreaser 4:1
Chemical Guy BareBones
Daytona Speed Master brush
Soft Wheel Brush
Mothers Curved Tire brush
Megs Tire Gel
Interior:
1Z Premium Cockpit
Megs APC+ 10:1
Leahterique Rejuvenation Oil
Leatherique Pristine Clean
Megs Glass Cleaner 10:1
Correction and LSP:
Flex 3401
LC Cyan 5.5" pads
LC Tang 6.5" pads
LC CCS White pads
Menzerna FG400
Megs M205
Blackfire Finishing Polish
Chemical Guys BlackLight
Chemical Guys Lava
Chemical Guys V07
and a ton of MF towels
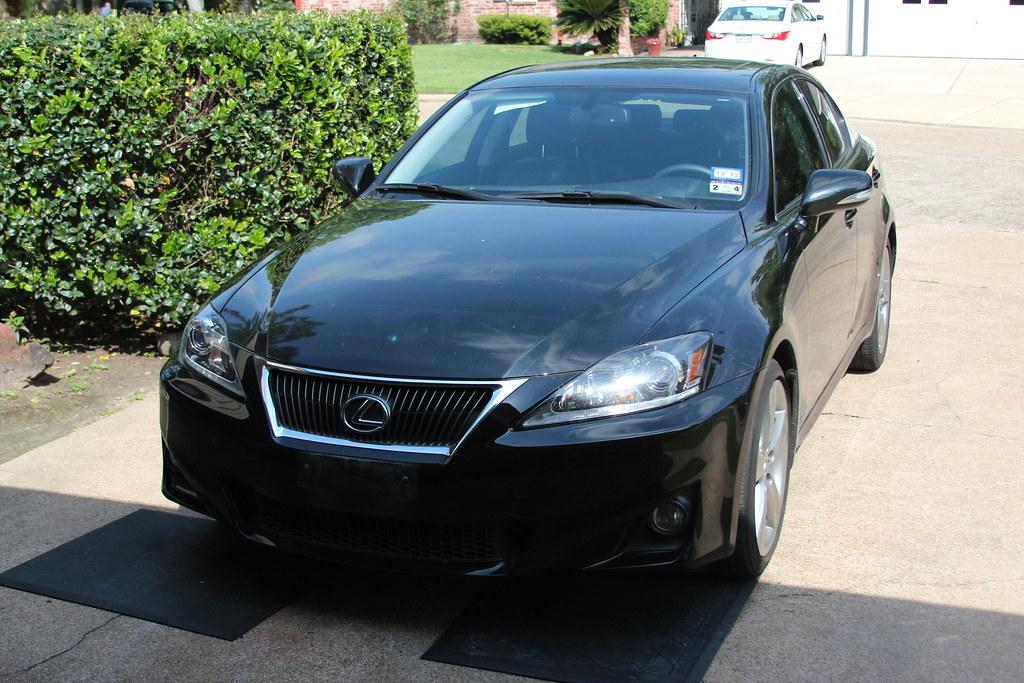
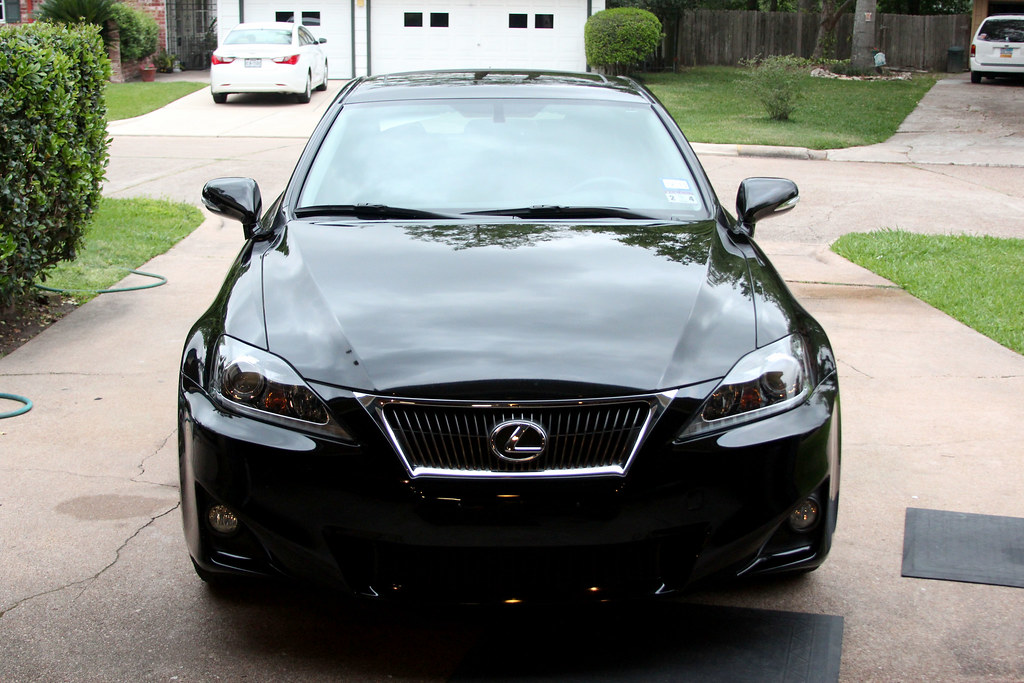
On to the fun stuff. this is the car as it arrived

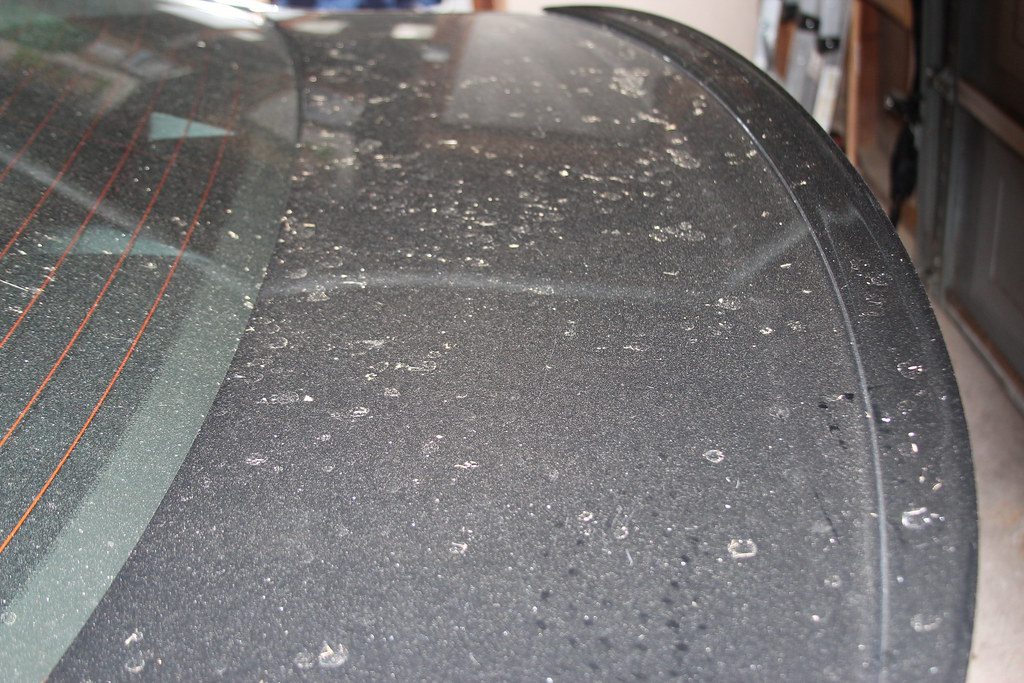
different exposure to show a different view of the dirt!
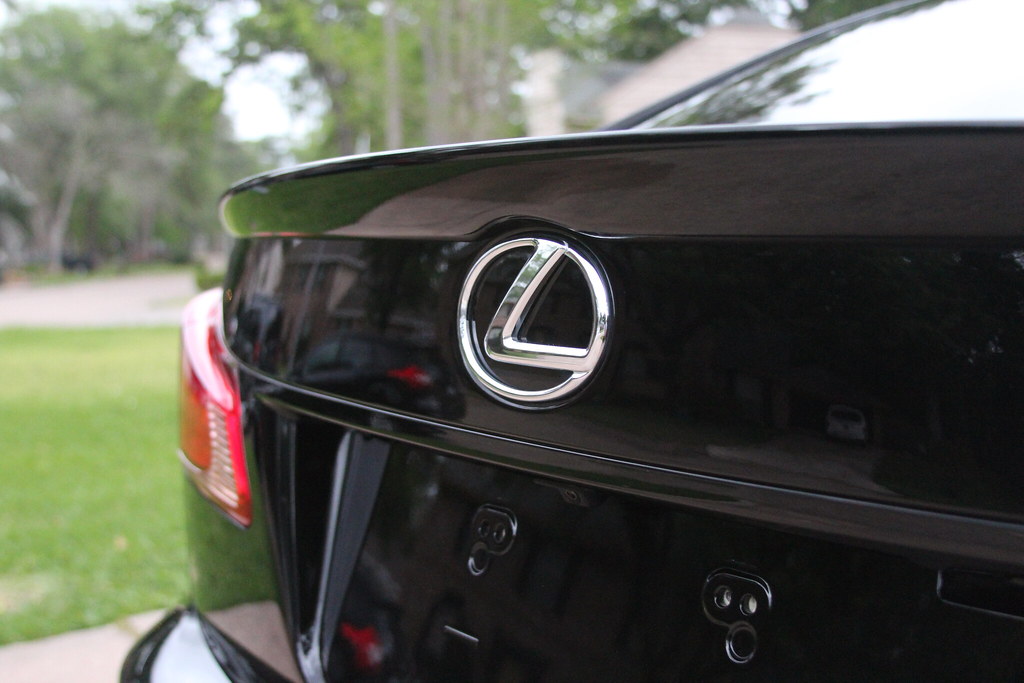
rear decklid
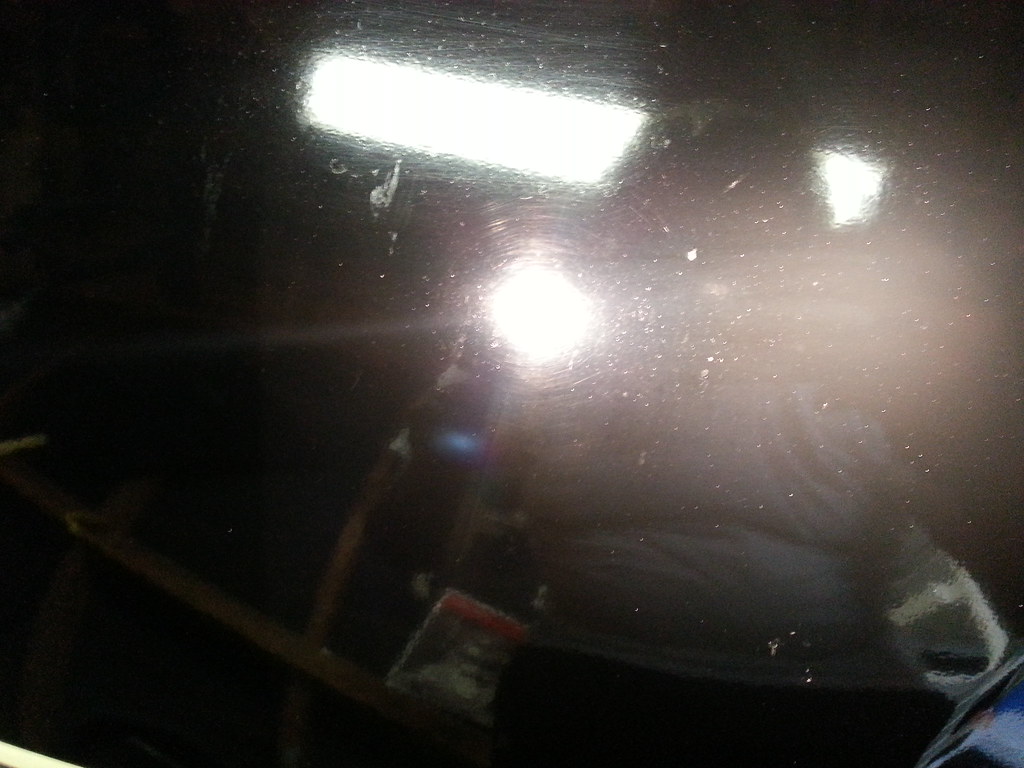
Once I got the car washed and decontaminated, I was finally able to get a good look at the paint without any of the dealership glazes or fillers and saw that I had my work cut out for me.
I set to taping off the car and chose a spot on the hood for my test spot and got to it. I chose the cyan low profile pads and Menzerna FG400 for the correction and it worked amazingly well. I really was surprised at how well it cut and came down to an almost LSP ready finish. It did require a little longer work time but it was well worth the time it saves on needing an extra polishing step with medium cut.
Once i got that dialed in, I set about to do the rest of the car
as i went farther along FG400 performed like a champ the whole way through without a single complaint or issue from me!
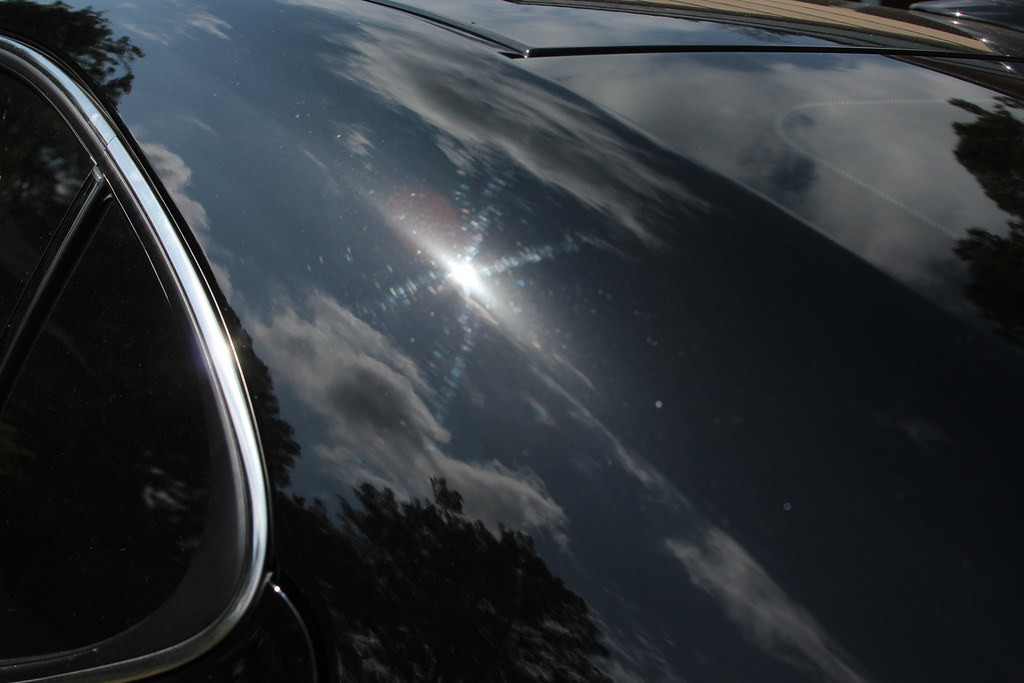
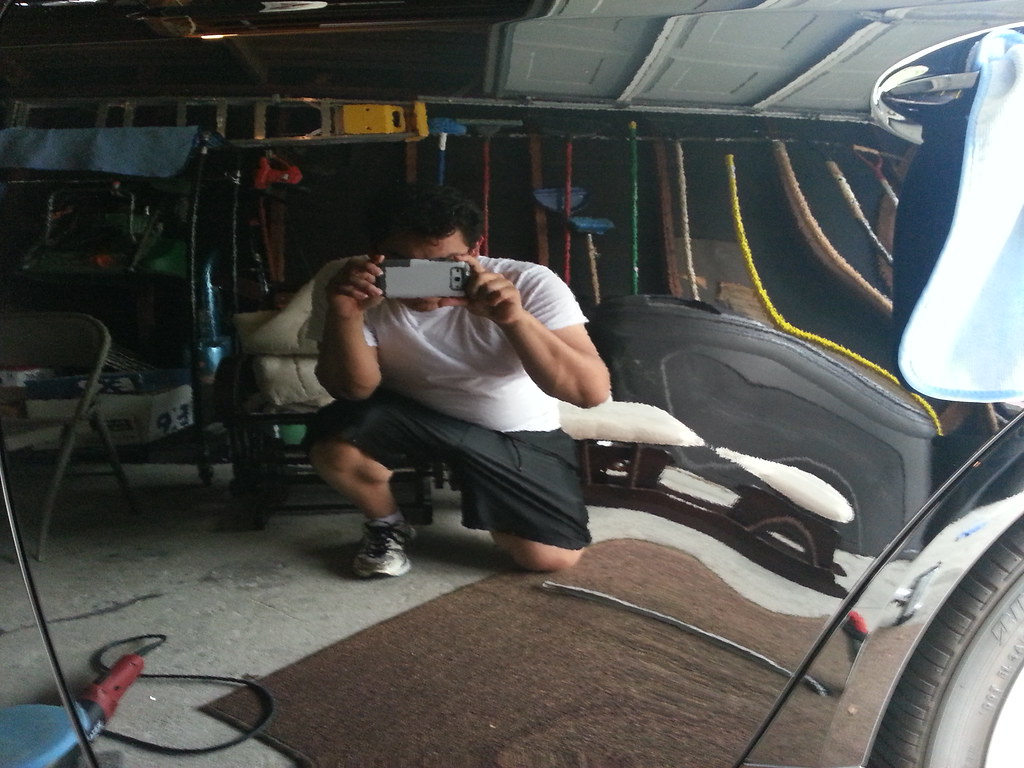
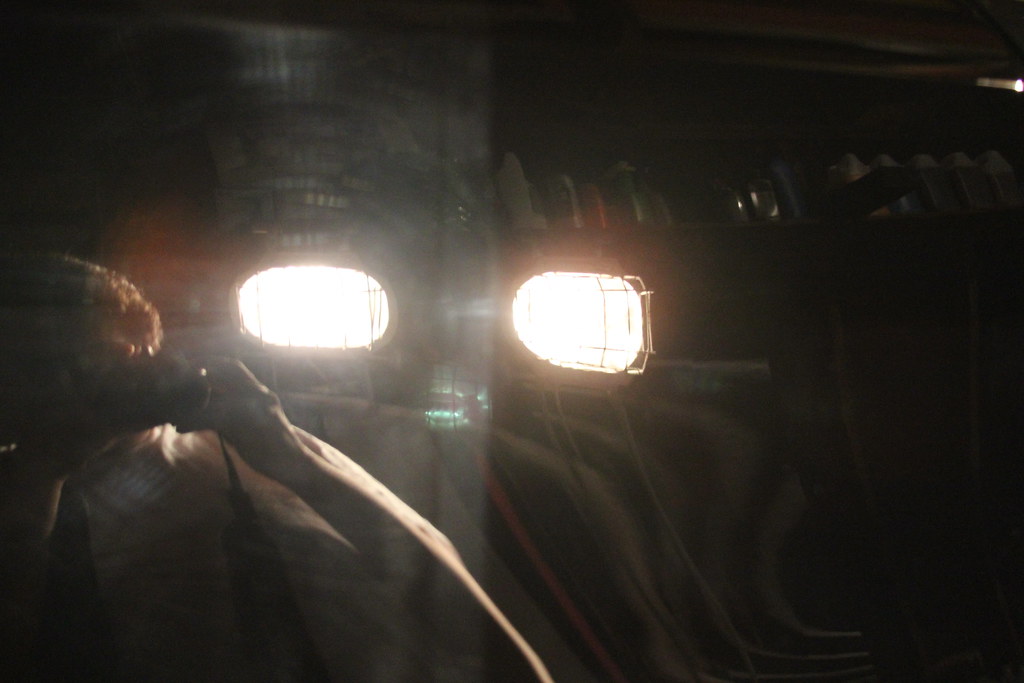
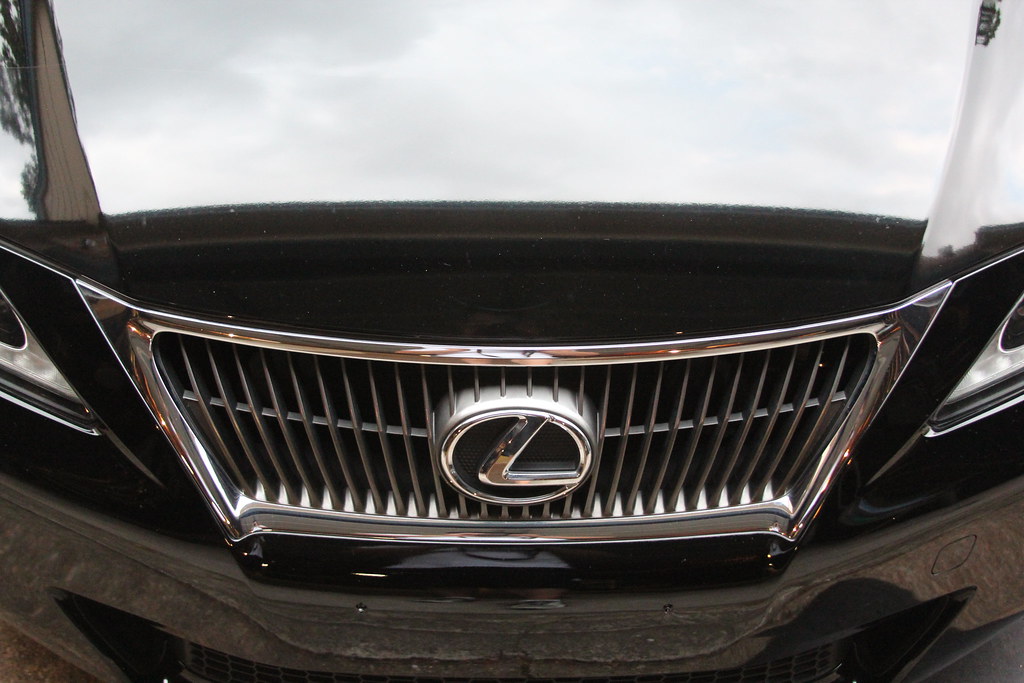
Here is an obligatory reflection "during" shot
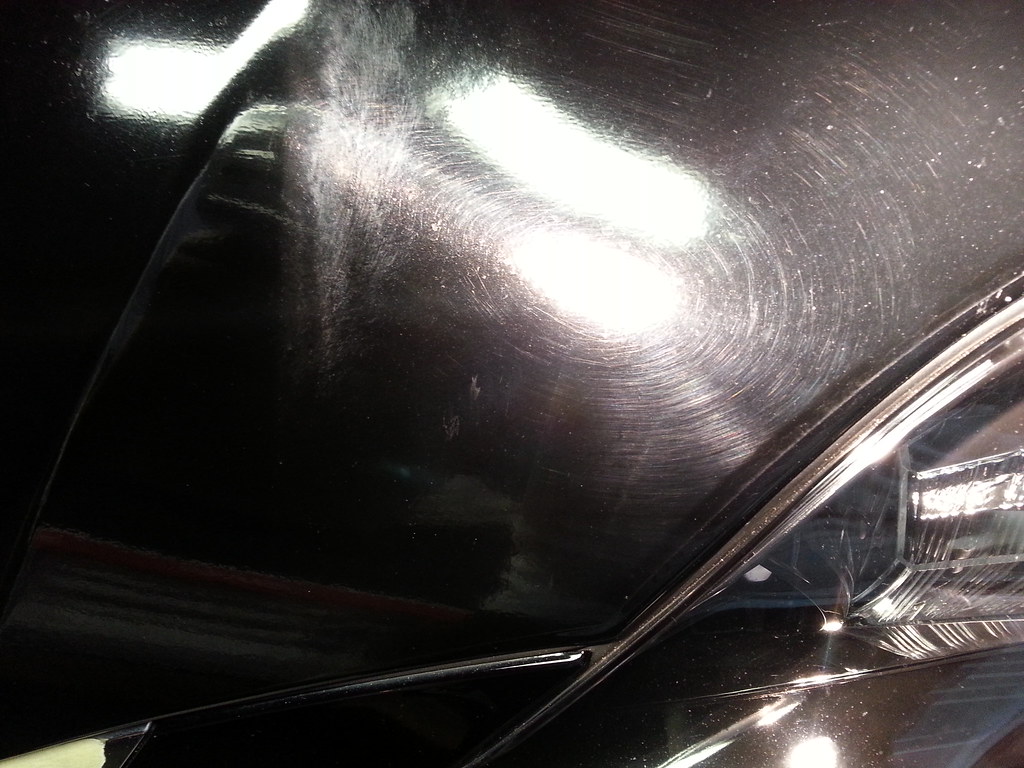
I saved the recently repaired section for last because it was terribly hologrammed and was not sure how the paint was going to react. Here is the before shot of the quarter panel
50/50 shot of the same section after a couple of passes
on the left is paint "FINISHED" by the Lexus Dealer and the right is paint finished by Premier Auto Detailing
It came looking a lot better overall and I was happy with the correction.
Here is a before and after of the clear bra that I did with a white pad and some M205 with very little pressure to ensure the safety of the material.
After
Not perfect but great improved the clarity and look of the clear bra.
I did a final pass on the vehicle to catch any light marring or hazing that might have been left (very very minimal) with Blackfire Finishing Polish and a Tangerine pad.
Afters with CG BlackLight, Lava, and V07 applied body and wheels.
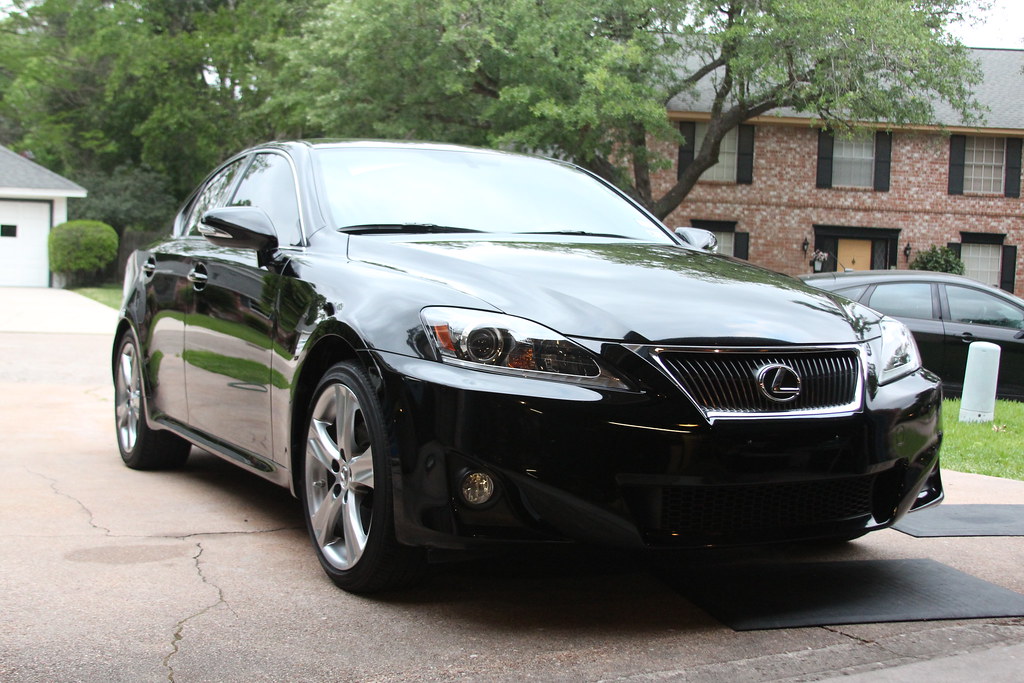
Clear bra


Unfortunately I was losing sunlight and the customer was on the way so I was unable to take any after shots of the interior but the leather looked and felt great and the customer instantly noticed a difference. Tires were dressed and exhaust tips were polished all after the sun had set so no good pictures of that but I will getting the car back in a couple of weeks for a follow up and will post more then.
Thanks for reading and feedback is always welcome!
Jonathan Arrecis
Premier Auto Detailing
Spring TX
Fast forward a few months, after the repairs were taken care of by a local Lexus dealer (to remain unnamed for reasons that will be apparent in the pics) for the paint and bodywork, the car was delivered to me to get to work on the details of making this car really shine. We settled on a 2 stage correction, interior, and leather restoral and care by. Leatherique
Products used:
Body wash and Decon:
Chemical Guys Citrus Wash
Microfiber wash mitt
2 Bucket method
AutoGeek Foam Gun
CarPro IronX
Speedy Prep Fine prep pad
Chemical Guys Luber
Wheels:
Sonax Full Effect Wheel Cleaner
Megs APC+ 4:1
Megs Super Degreaser 4:1
Chemical Guy BareBones
Daytona Speed Master brush
Soft Wheel Brush
Mothers Curved Tire brush
Megs Tire Gel
Interior:
1Z Premium Cockpit
Megs APC+ 10:1
Leahterique Rejuvenation Oil
Leatherique Pristine Clean
Megs Glass Cleaner 10:1
Correction and LSP:
Flex 3401
LC Cyan 5.5" pads
LC Tang 6.5" pads
LC CCS White pads
Menzerna FG400
Megs M205
Blackfire Finishing Polish
Chemical Guys BlackLight
Chemical Guys Lava
Chemical Guys V07
and a ton of MF towels
On to the fun stuff. this is the car as it arrived
different exposure to show a different view of the dirt!
rear decklid
Once I got the car washed and decontaminated, I was finally able to get a good look at the paint without any of the dealership glazes or fillers and saw that I had my work cut out for me.
I set to taping off the car and chose a spot on the hood for my test spot and got to it. I chose the cyan low profile pads and Menzerna FG400 for the correction and it worked amazingly well. I really was surprised at how well it cut and came down to an almost LSP ready finish. It did require a little longer work time but it was well worth the time it saves on needing an extra polishing step with medium cut.
Once i got that dialed in, I set about to do the rest of the car
as i went farther along FG400 performed like a champ the whole way through without a single complaint or issue from me!
Here is an obligatory reflection "during" shot
I saved the recently repaired section for last because it was terribly hologrammed and was not sure how the paint was going to react. Here is the before shot of the quarter panel
50/50 shot of the same section after a couple of passes
on the left is paint "FINISHED" by the Lexus Dealer and the right is paint finished by Premier Auto Detailing
It came looking a lot better overall and I was happy with the correction.
Here is a before and after of the clear bra that I did with a white pad and some M205 with very little pressure to ensure the safety of the material.
After
Not perfect but great improved the clarity and look of the clear bra.
I did a final pass on the vehicle to catch any light marring or hazing that might have been left (very very minimal) with Blackfire Finishing Polish and a Tangerine pad.
Afters with CG BlackLight, Lava, and V07 applied body and wheels.
Clear bra
Unfortunately I was losing sunlight and the customer was on the way so I was unable to take any after shots of the interior but the leather looked and felt great and the customer instantly noticed a difference. Tires were dressed and exhaust tips were polished all after the sun had set so no good pictures of that but I will getting the car back in a couple of weeks for a follow up and will post more then.
Thanks for reading and feedback is always welcome!
Jonathan Arrecis
Premier Auto Detailing
Spring TX
")