Pinpoint_Precision
New member
- Jan 3, 2013
- 1,182
- 0
Pinpoint Precision Auto Detailing
Over the next 2 days, I would be detailing this beautiful machine.
Over the next 2 days, I would be detailing this beautiful machine.

Client wanted the paint to be perfect (better than what it was) so this time I was going to go all out.
Products used
Washing
2 Buckets Wash method
Chemical Guys Citrus Wash/Gloss to strip down the paint
Lemon IronX for the wheels(the smell is much better now, it still has the same power as the original)
IronX
Pinnacle Clay
Polishing
Flex3401
Makita (For the deeper RIDS and Orange peel removal)
Wolfgang Uber 3.0
Meguiar's M105
Meguiar's M205
Carpro Eraser
DP Paint Coating Polish
Cquartz (2 Coats)
LC CSS Orange Pads
LC CSS White Pads
LC Purple Wool Pad (Makita)
Again I realize I have a dedicated thread already, which it can be found here http://www.autogeekonline.net/forum...ion-auto-detailing-show-tell-galleria-20.html
still I think this correction deserved its own thread as well.
Sit back and enjoy the movie......
I mean the write up!
:cruisin:
I mean the write up!
:cruisin:
Now to keep this thread viewable for everyone with slower connections, I will try to make this short as possible. For instance, the washing pictures won't be posted, sorry. Trying to keep it short and less boring.
After carefully washing, stripping and decontaminating the paint completely, wheels and claying every single panel, glass , the car was dried using Cobra waffle towels and Air dried using my huge Blower.
After the clay process....
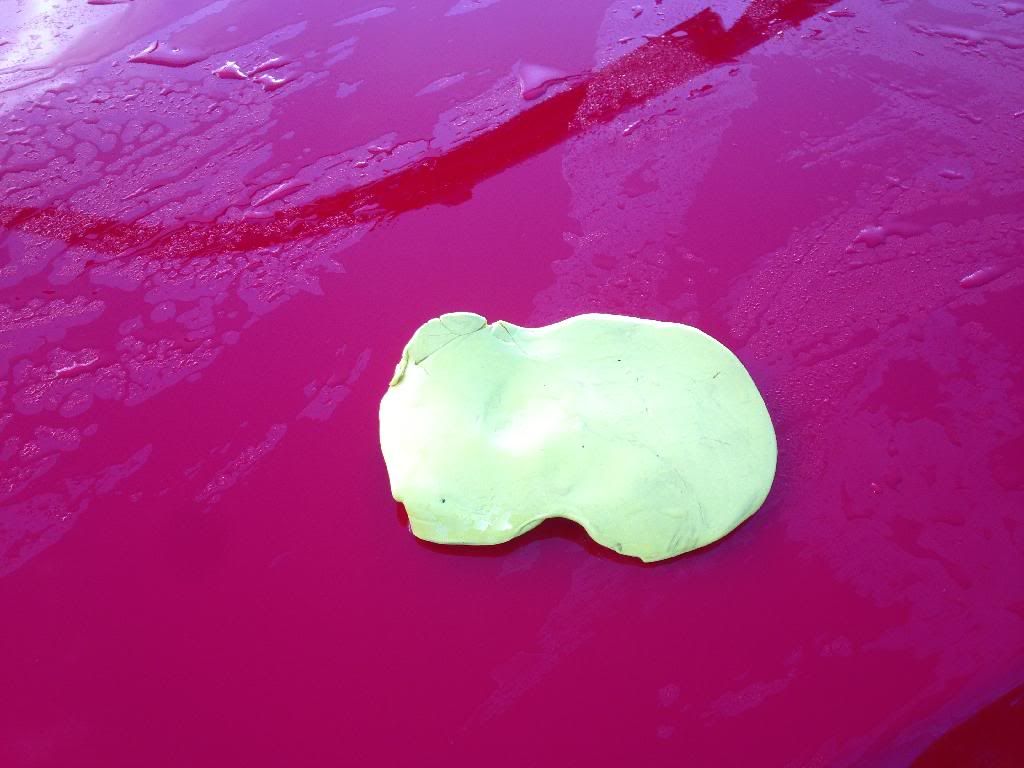
After the clay process....

Car was then moved inside. Photo studio ready, lol. Car getting prepped for surgery.
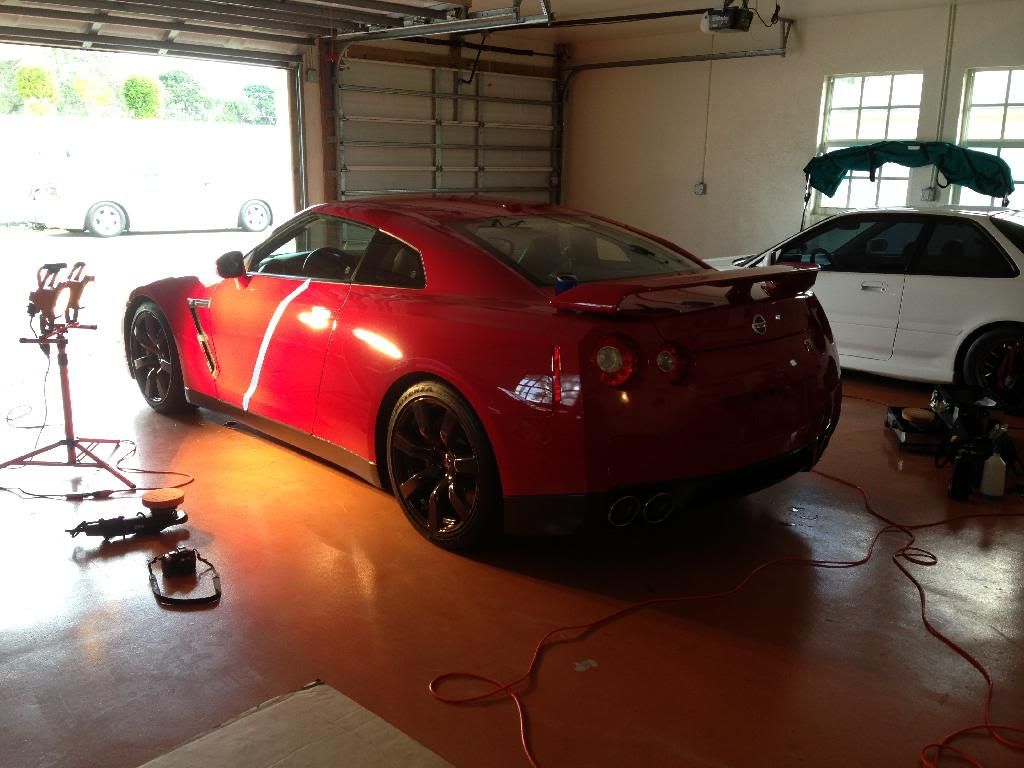
So it begins....
The paint wasn't that bad but it still needed some attention.
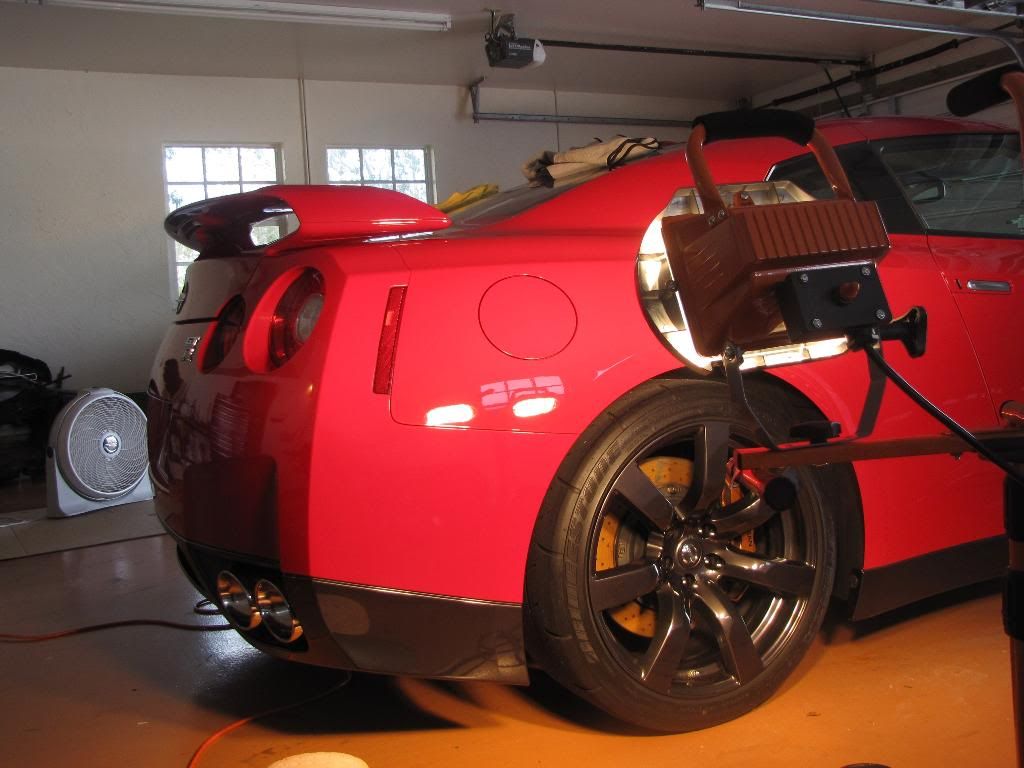
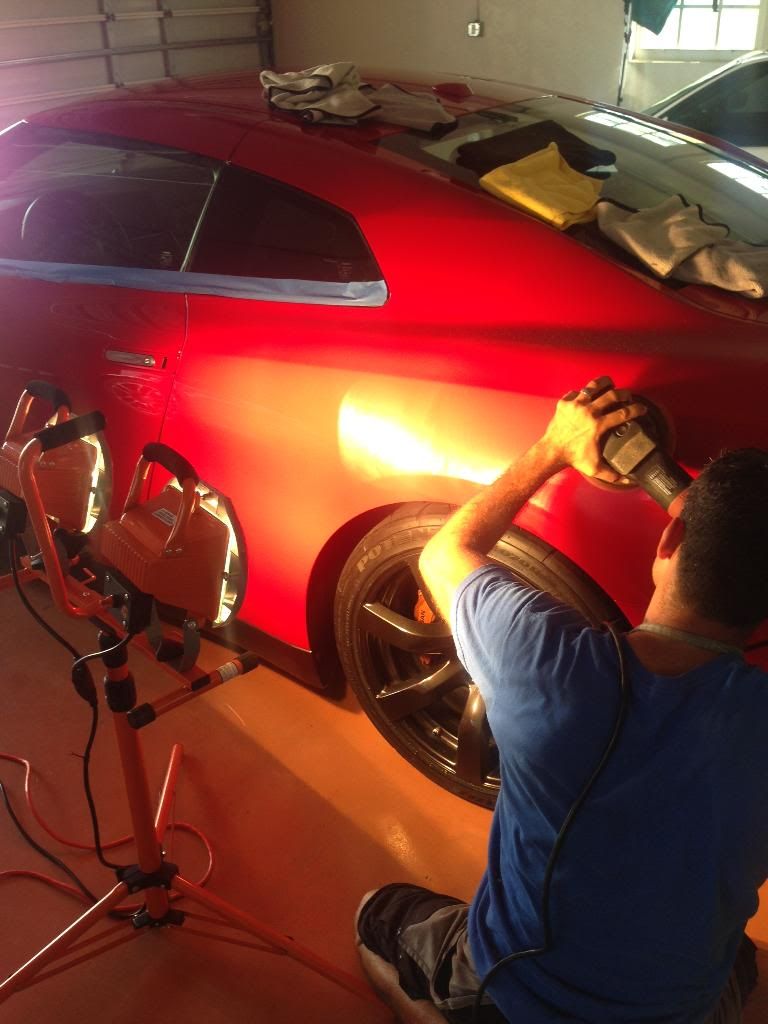
Panel by Panel
Rear quarter panel
Trunk
This I went with my Makita.
All the paint was measured before anything, for those that are wondering.
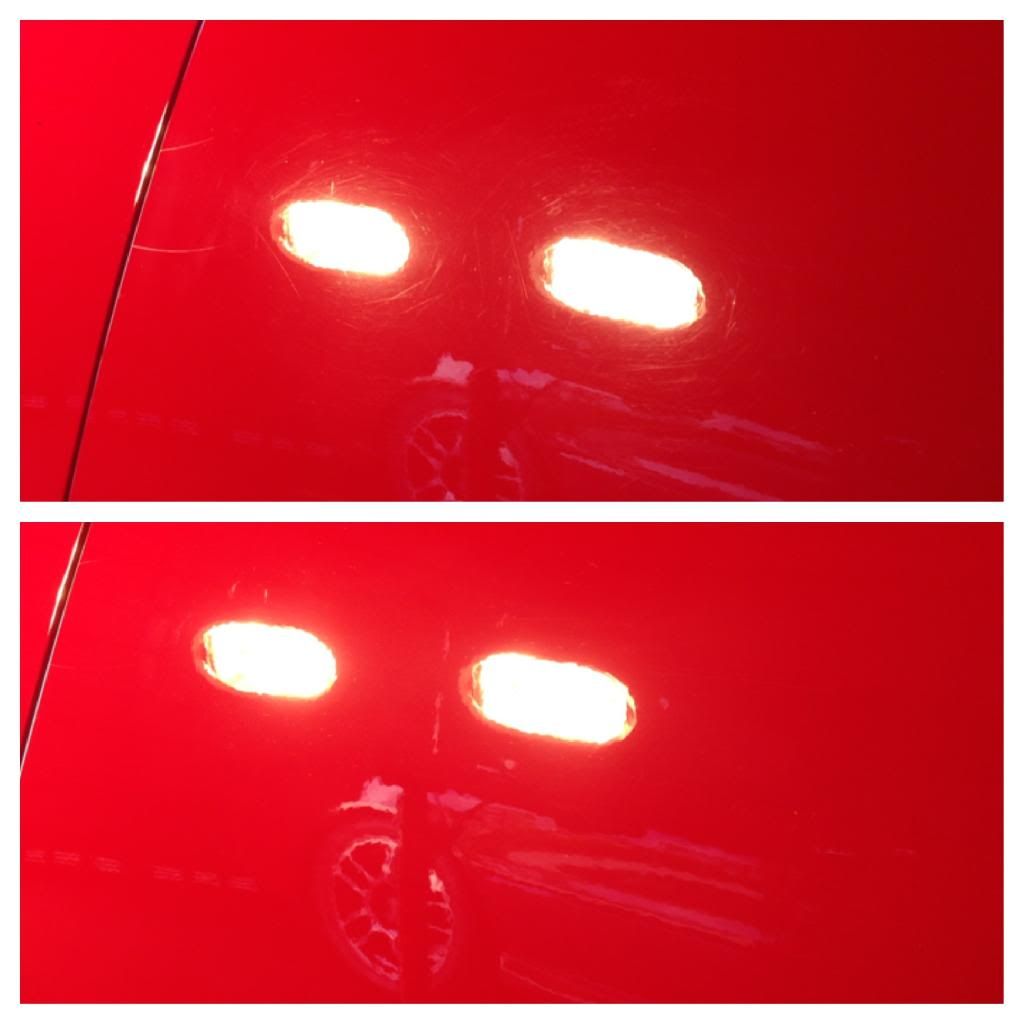
He had some deeper scratches in this area (That's what happens when you have cats).
Before
After
Only one remained and that was after me wet sanding as well. Owner couldn't even see but I knew it was still there. *OCD*
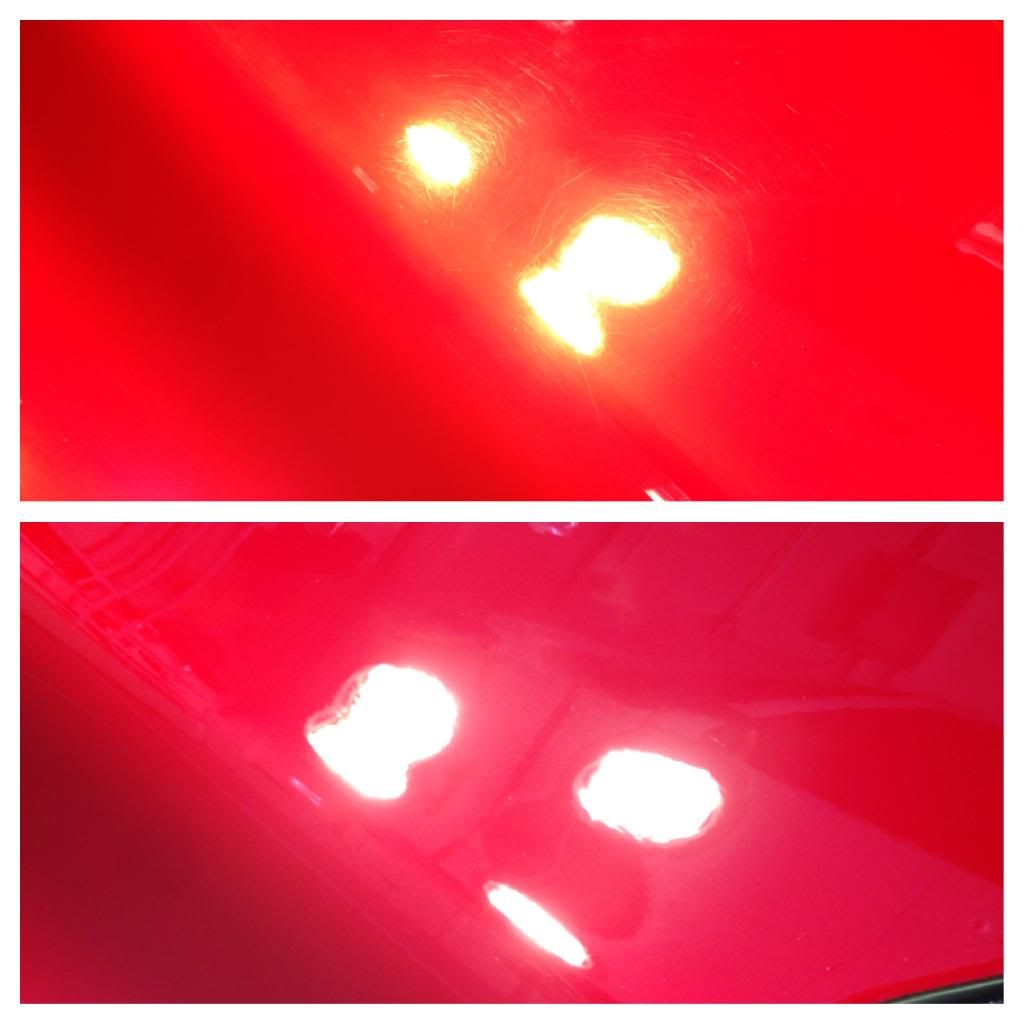
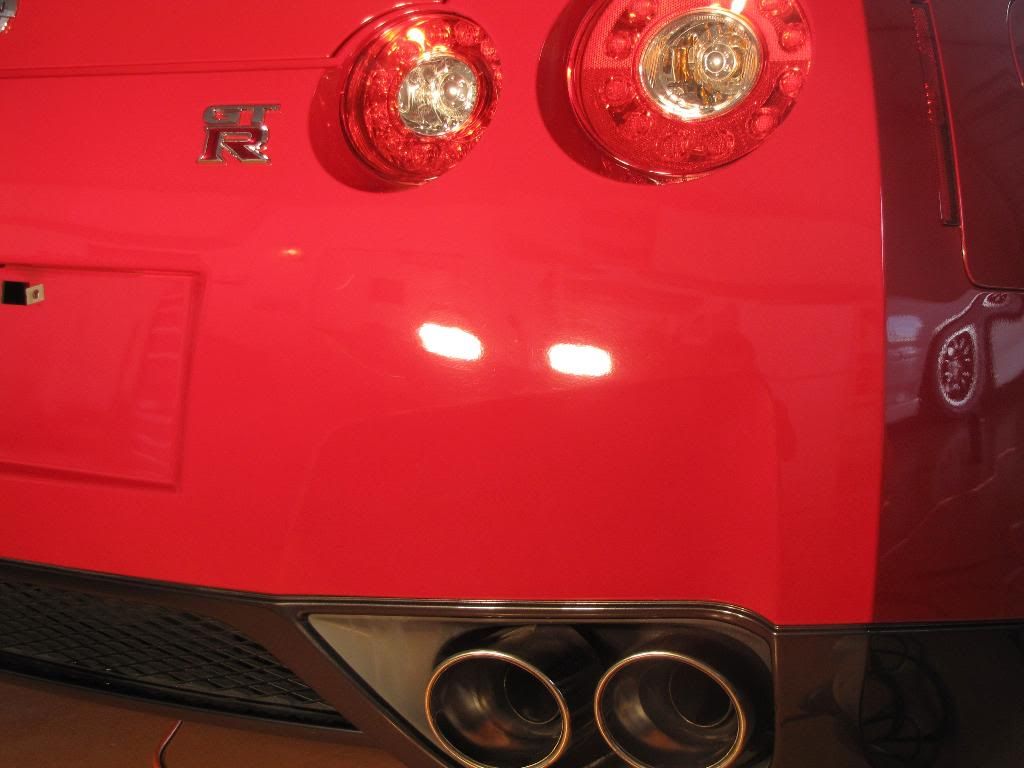
Rear
Before (Zoomed in)
After
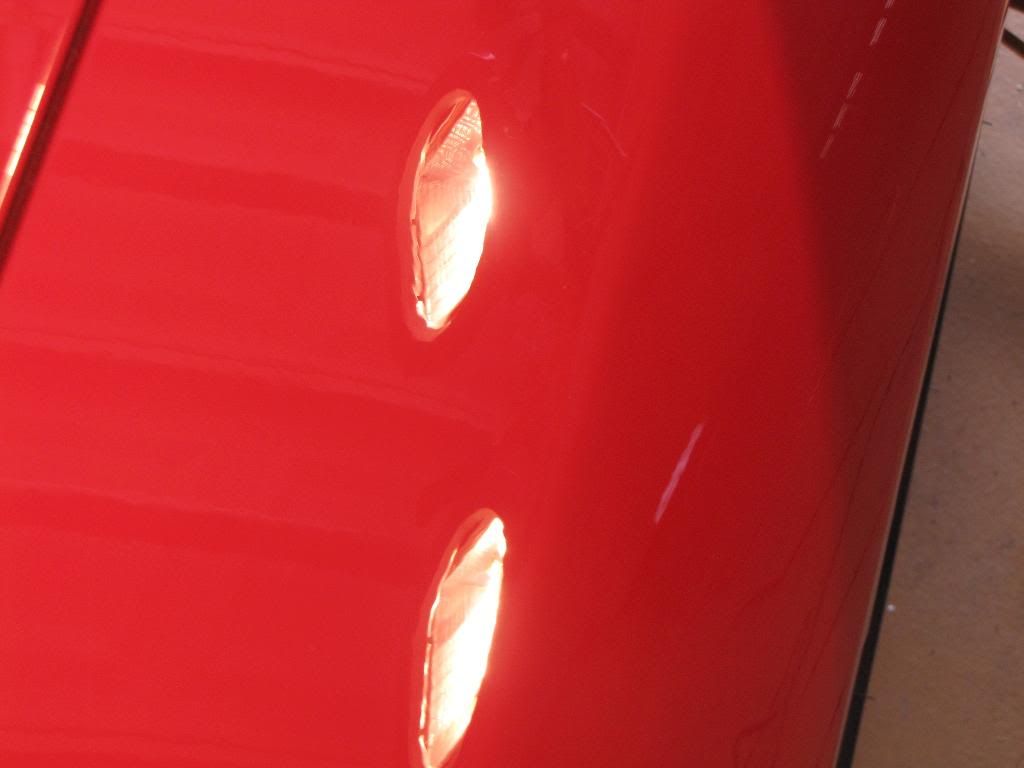
Rear Quarter Panel
Before
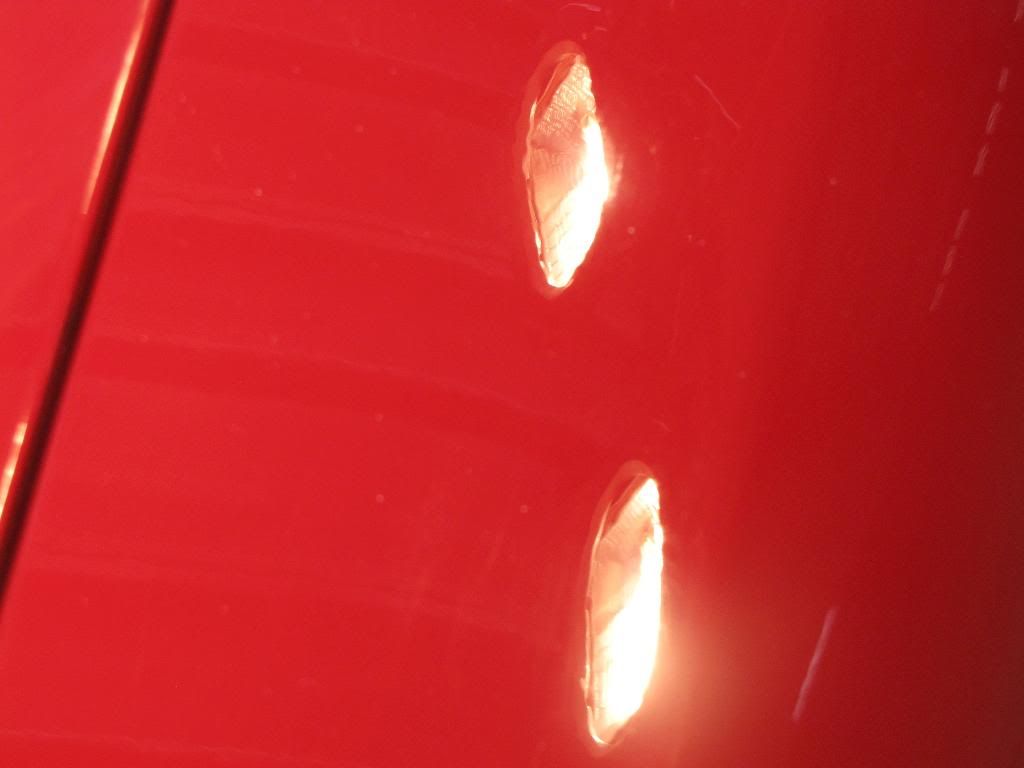
After
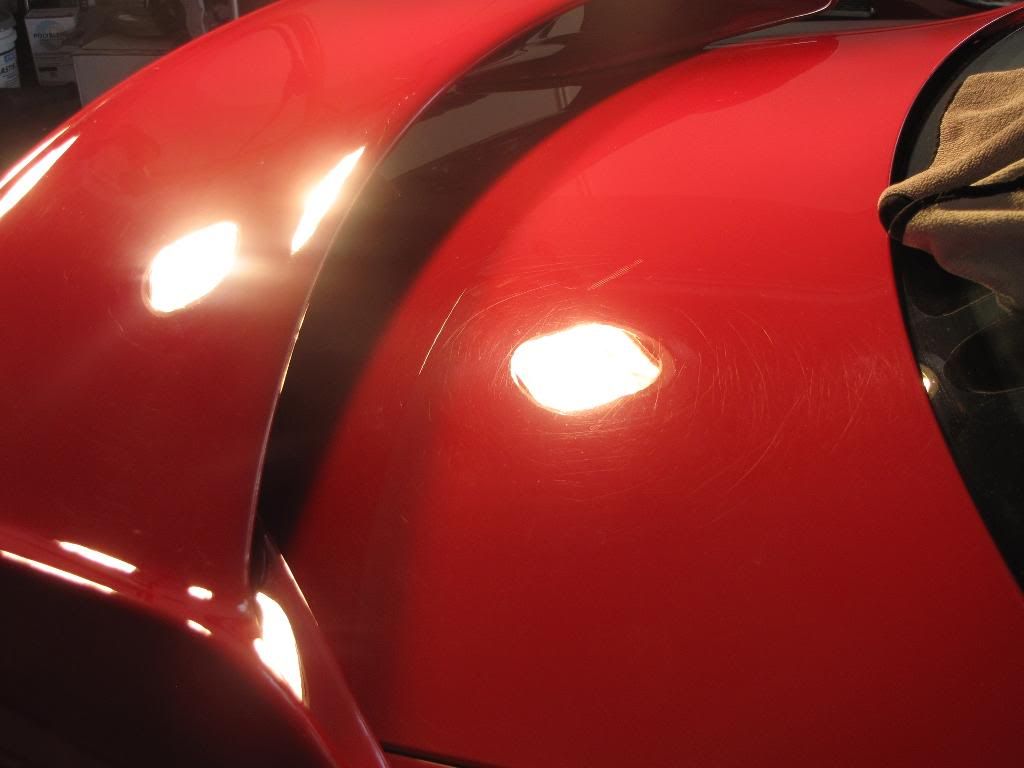
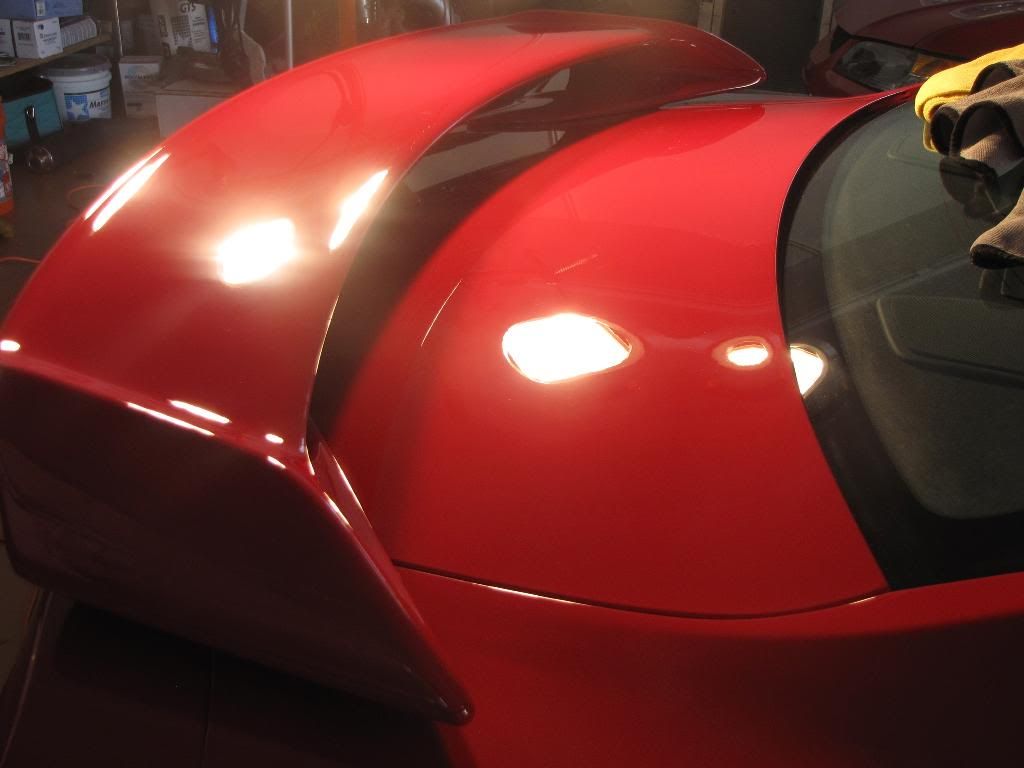
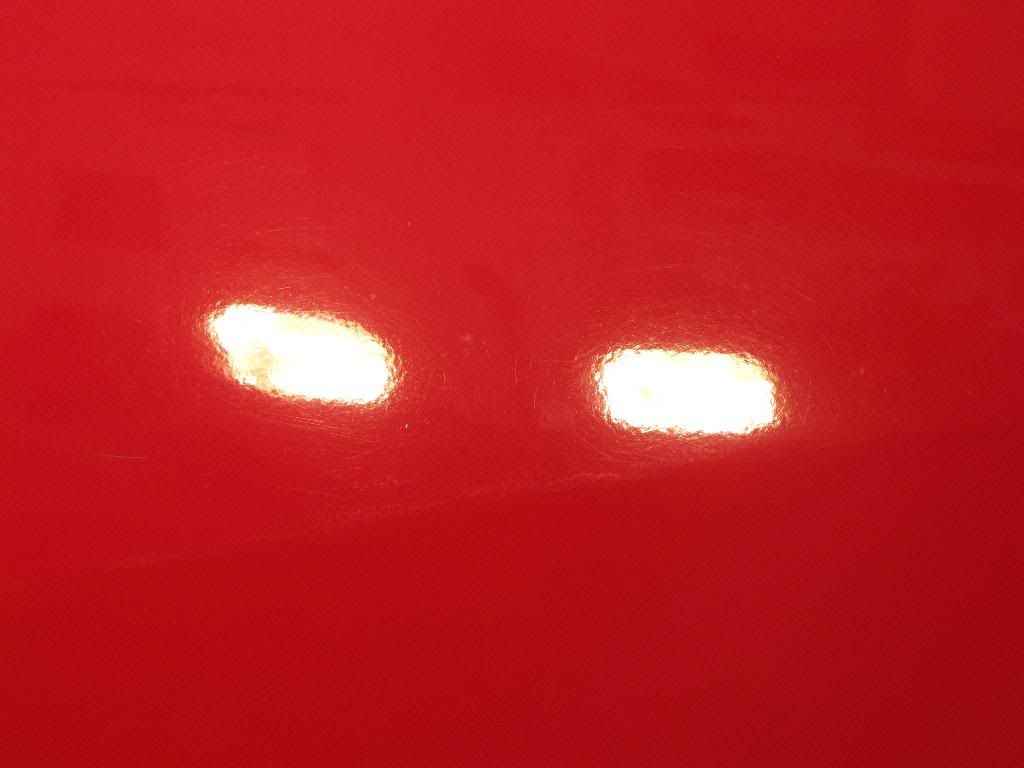
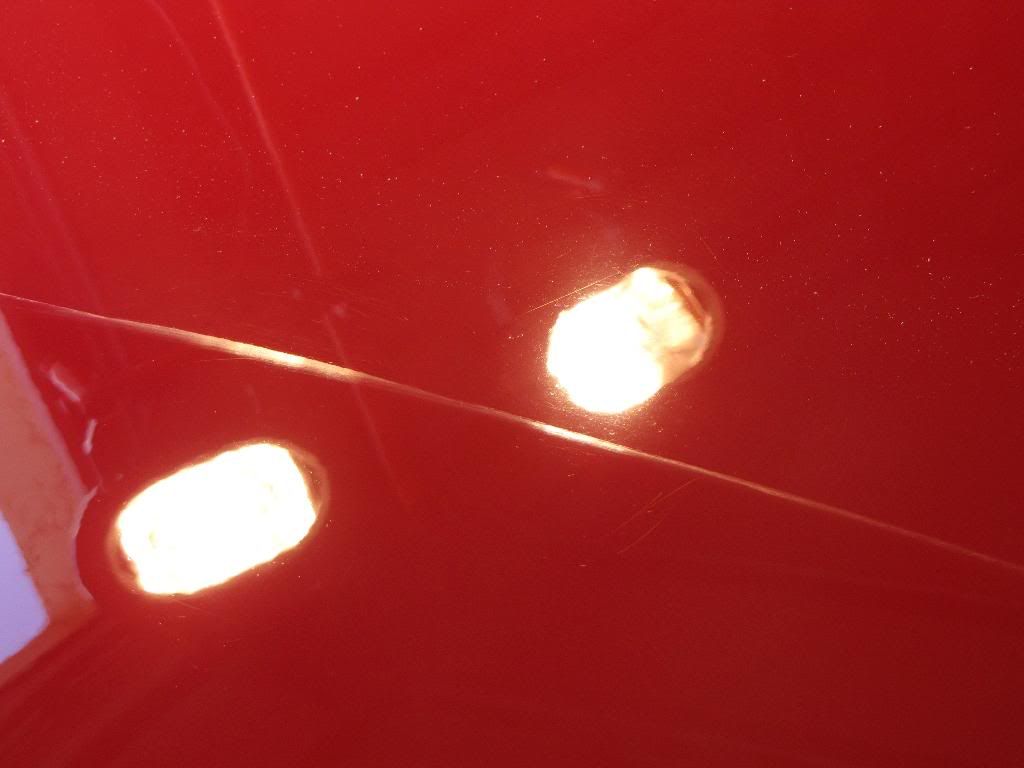
Hood (Zoomed In)
Before
After
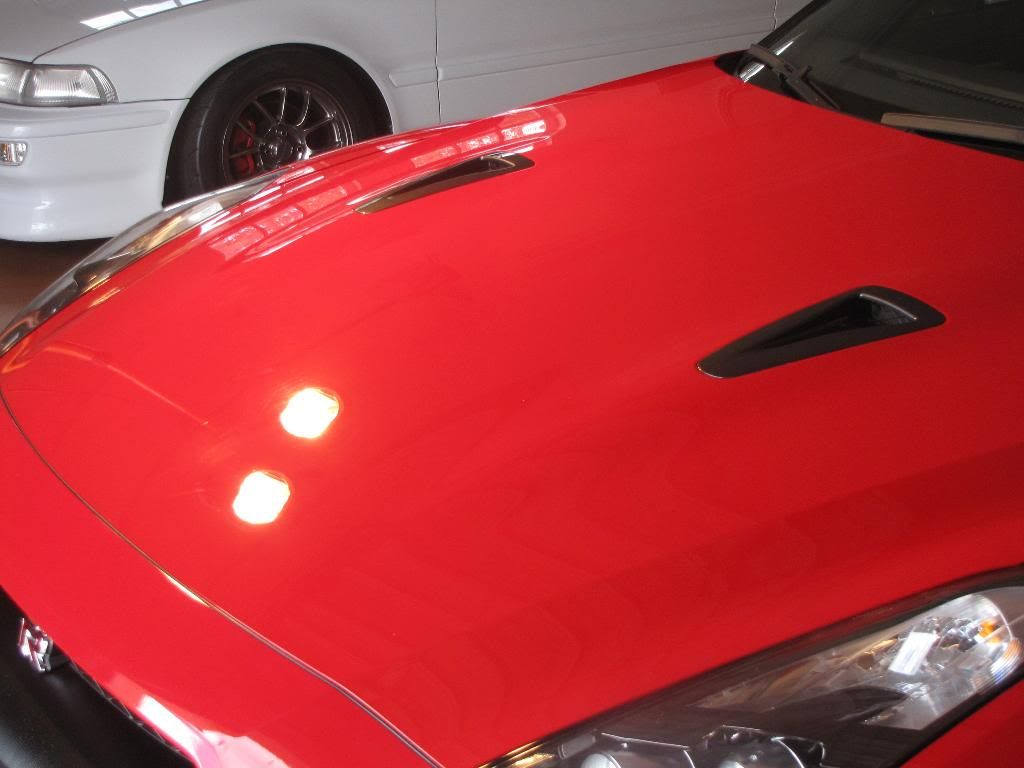
To be Continued..........


So it begins....

The paint wasn't that bad but it still needed some attention.
Panel by Panel

Rear quarter panel

Trunk
This I went with my Makita.
All the paint was measured before anything, for those that are wondering.
He had some deeper scratches in this area (That's what happens when you have cats).
Before

After
Only one remained and that was after me wet sanding as well. Owner couldn't even see but I knew it was still there. *OCD*

Rear
Before (Zoomed in)

After

Rear Quarter Panel
Before

After

Hood (Zoomed In)
Before

After

To be Continued..........


