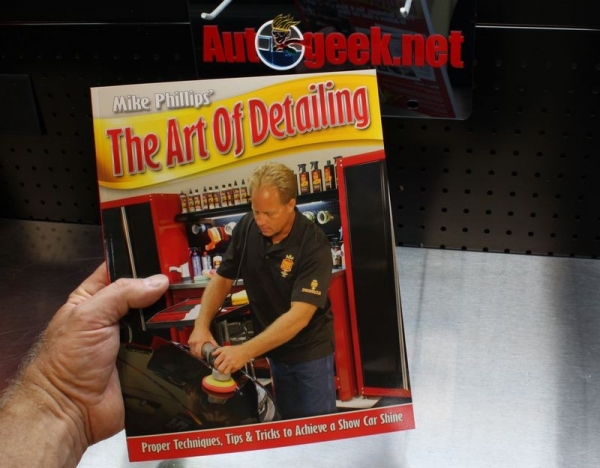
Mike Phillips
Active member
- Dec 5, 2022
- 51,004
- 7
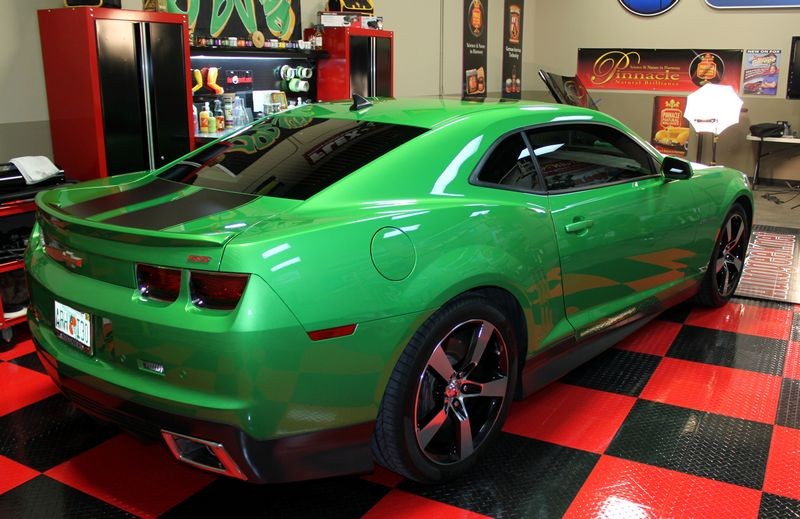
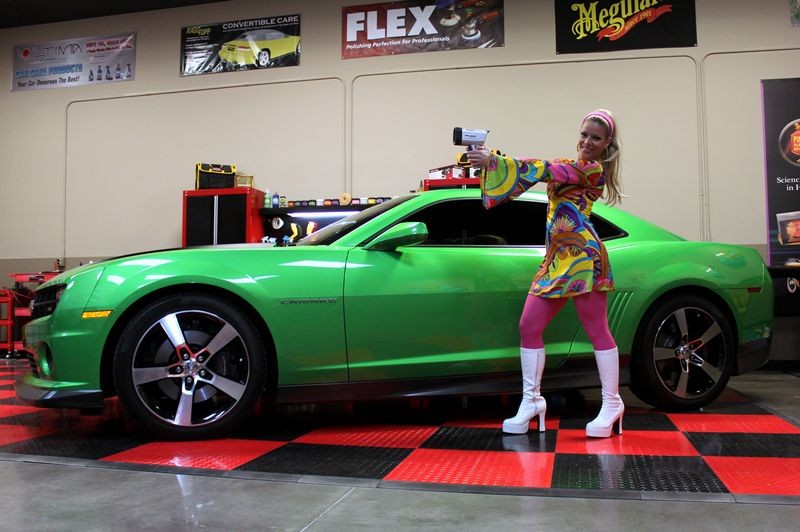
2011 Camaro - Show Car Finish by Dodo Juice - Modeled by Amy
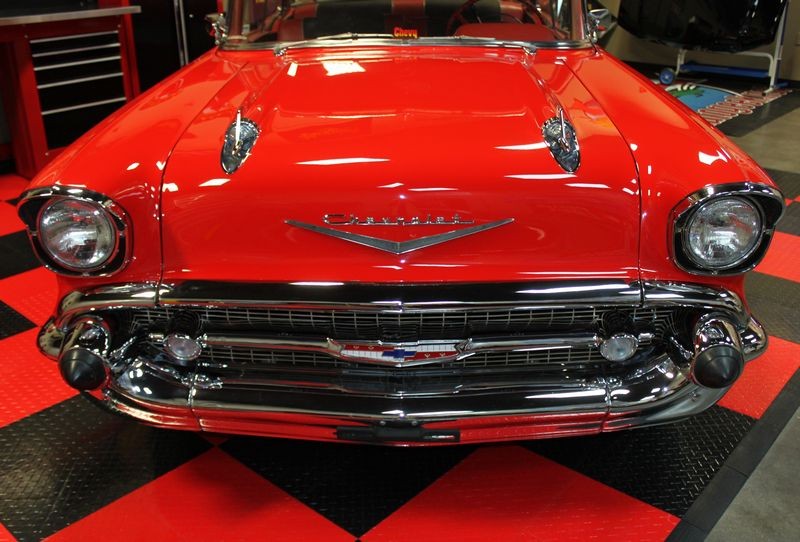
My friend PJ from Dodo Juice was visiting the U.S. from Norway and while he was here I invited him to participate in a couple of our Autogeek's Car of the Week projects. The first project he helped out with was this pristine 1957 Chevy Bel Air with single stage paint in which we hand-applied Dodo Juice Orange Crush.
1957 Chevrolet Bel Air - Remove Swirls - Modeled by Kristin
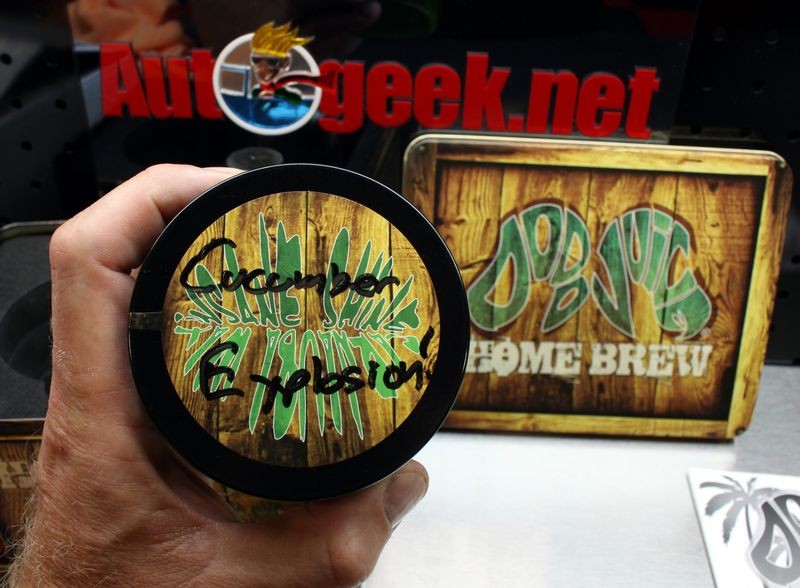
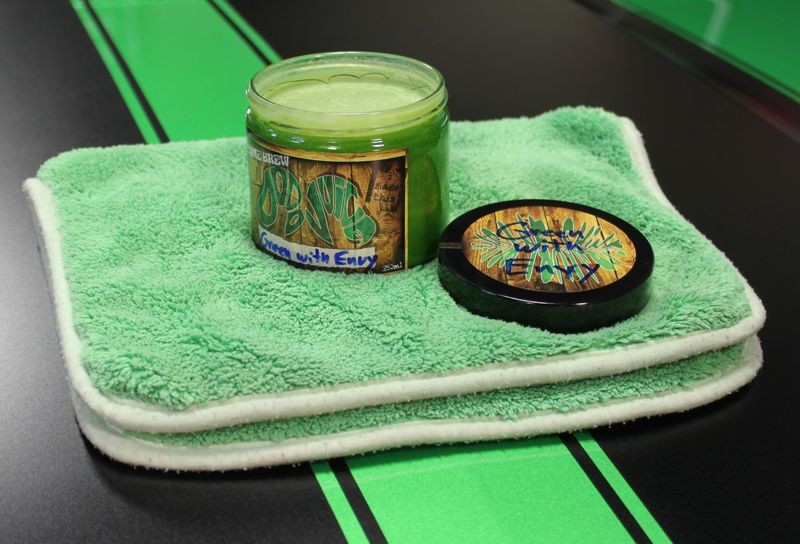
Dodo Juice just introduced a brand new product called Home Brew, which is a do-it-yourself wax making kit. I love this idea so much as soon as it arrived here at Autogeek I purchased four kits for Birthday and Christmas gifts.
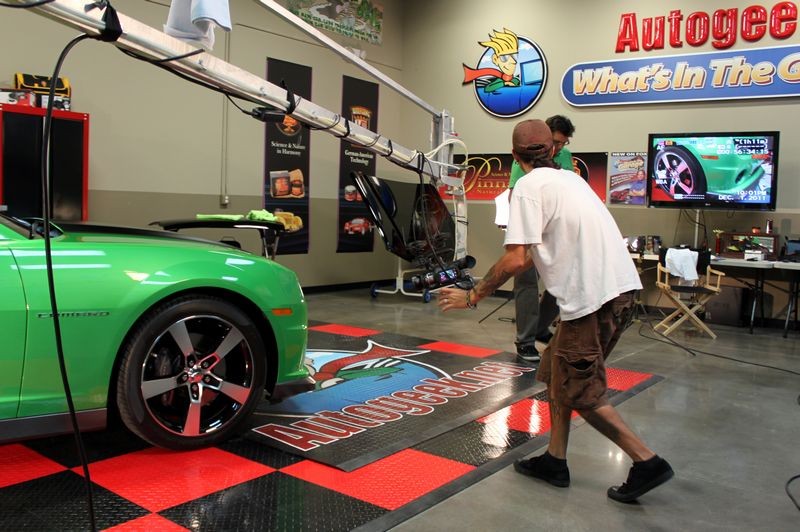
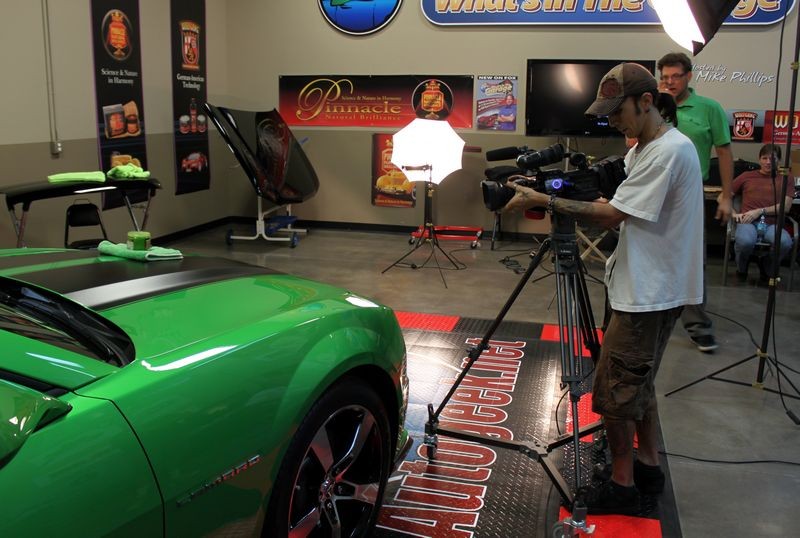
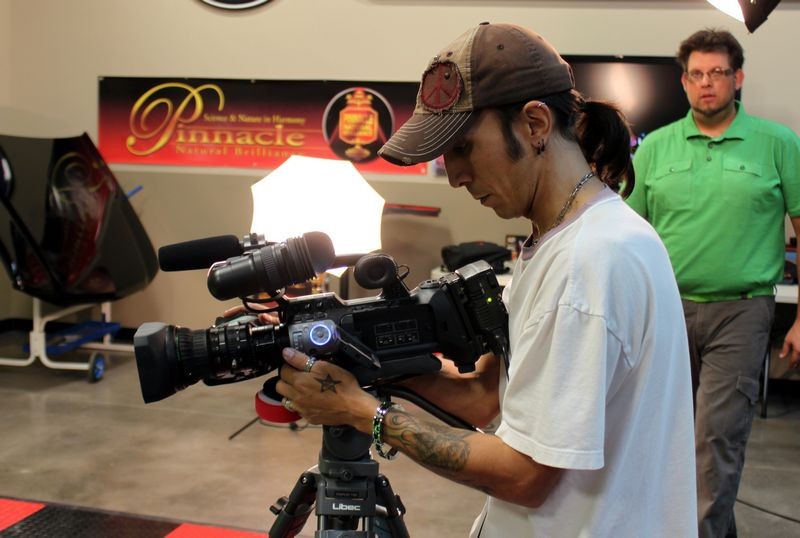
While the kit is well thought out and complete in every way, PJ suggested we make a how-to video while he's here to show step-by-step how to make your own car wax using the Dodo Juice Home Brew Kit. Max said great idea! Get Yancy onboard and go make a video.
Mad Scientists in the Autogeek Laboratory!

PJ and me making our Home Brew Wax...

So once we had approval from management we needed a car. I asked PJ what he would like to work on and he said... get something green...
So I went through my list of green cars and came up with,
With a quick phone call to my friend Chris it was a done deal. I asked Chris how the finish looked and he said it was in excellent condition. He purchased the Camaro in July and it's garage-kept anytime it's not in use.
Anyone that knows me knows I love a challenge, like the 1977 Can Am Corvette that we did a few weeks ago. When it arrived it was a completely swirled-out mess and it was both a challenge and a lot of fun removing the swirls and restoring a show car finish.
1977 Can Am Corvette - Modeled by Amy and Janna - Pictures and Video!
Before - You can't even see the multi-color metal flake because the paint is so hazy with swirls.
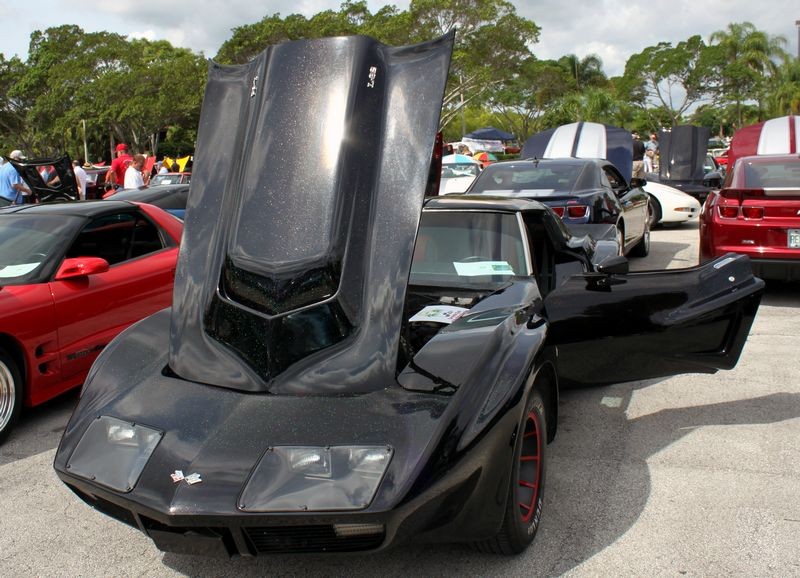

After - The paint glistens like its wet
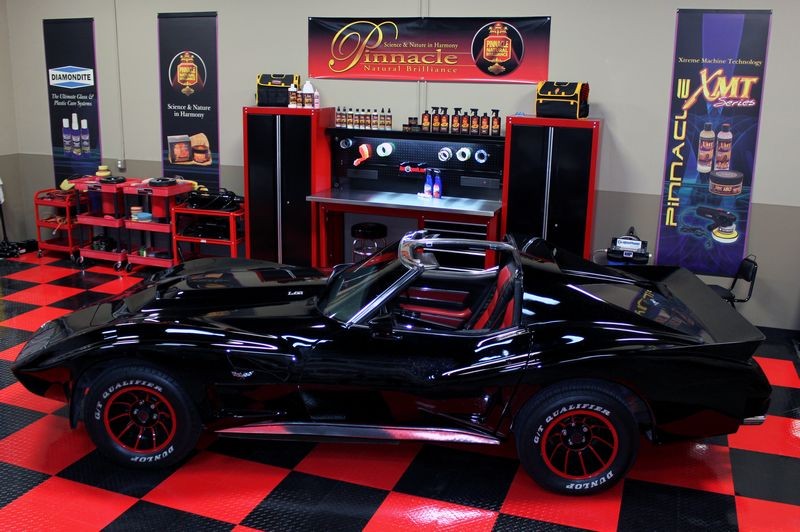
Now you can see the multi-color metalflake finish...

Extreme Makeover vs Show Car Makeover
So while I'm always hoping for a car that will be a challenge we take as we get them and even when the car is in good to excellent condition, there's always a little room for improvement. If we can't do and extreme makeover then we do a show car makeover, the end results are always the same, a finish that glistens like a gemstone and shines like a diamond.
It's easy to take a neglected finish like you see with the Can Am Corvette above and create a DRAMATIC before & after results. It's a lot more difficult to take a finish that's already nice and take it to an even higher level... but it can be done...
I have an article about this topic here,
"Taking your car's paint to its maximum potential"
Mean Green Arrives at Autogeek.net
When Chris arrived the first thing we did was try to capture some pictures of the swirls in the paint using overhead sunlight. With our eyes we could see light swirls throughout the finish but the sun was already starting to set in the sky and that makes it hard to get good swirl shots.
Chris in his Camaro in the Autogeek Parking Lot

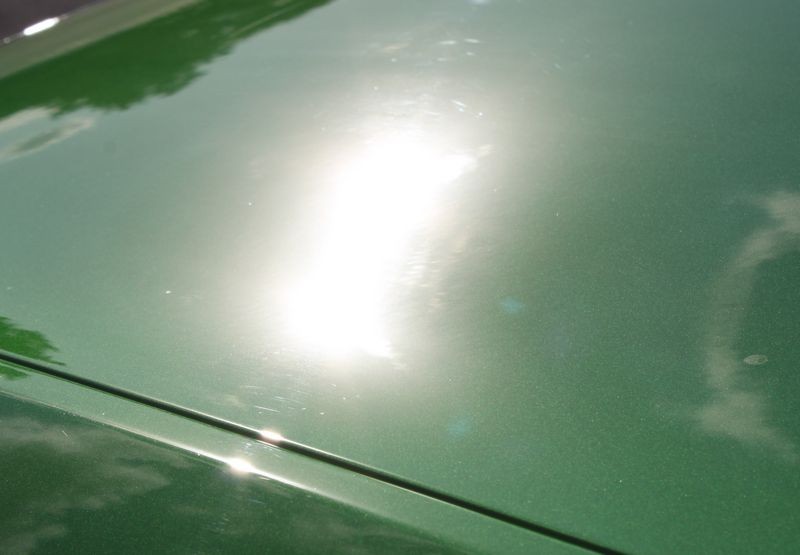
Framing the shot, I had Chris drive around the parking lot till I could get a shot of the sun reflecting off the hood.
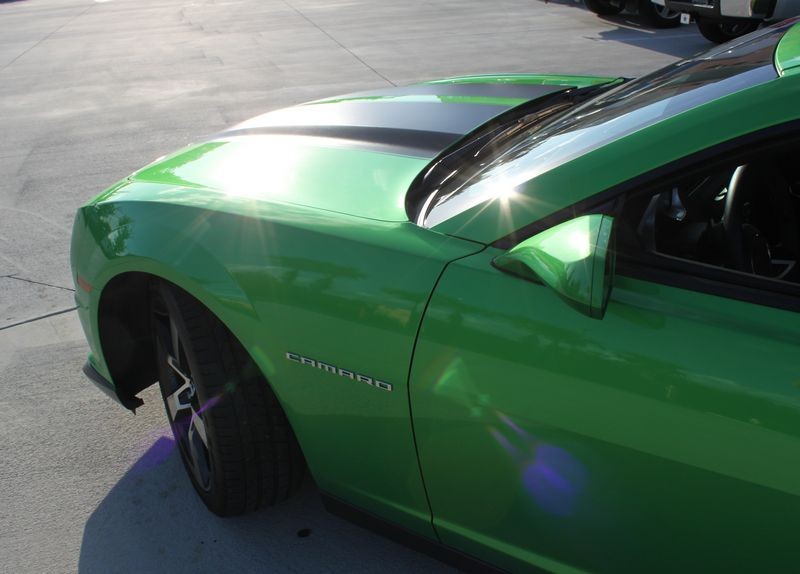
You can see the tale-tale signs of light swirls and scratches in the paint...
Next we tried using the Brinkmann Swirl Finder Light and the overhead florescent lights but again, we could see the light swirls in the paint but it was difficult to capture them on camera.
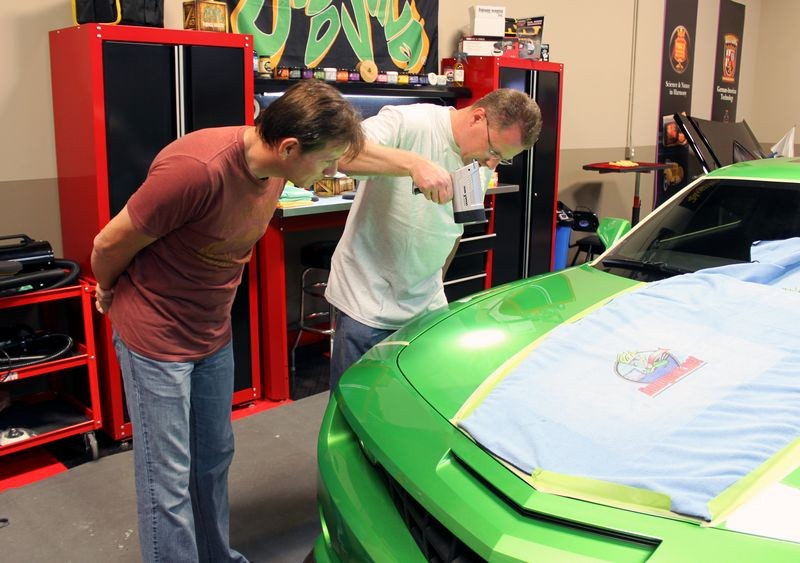
Here's Chris, using the Brinkmann Swirl Finder Light to inspect the finish on his car while Steve, the owner of the 1969 Camaro Pace Car looks for swirls too...
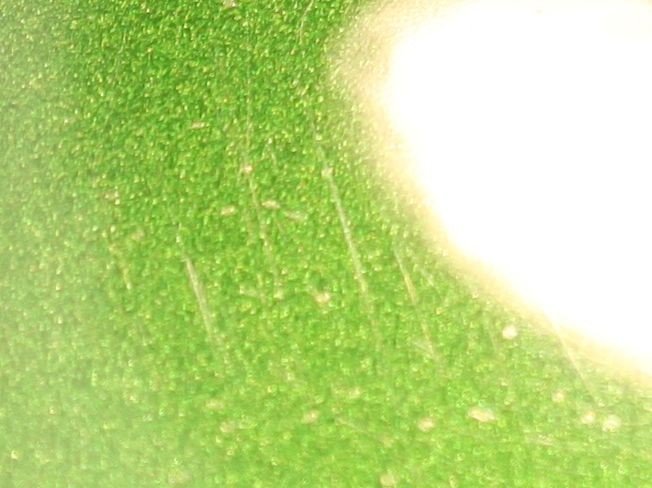
There are actually more swirls throughout the finish plus a few RIDS here and there but this is the best I could capture with my trusty, dusty Canon Rebel...

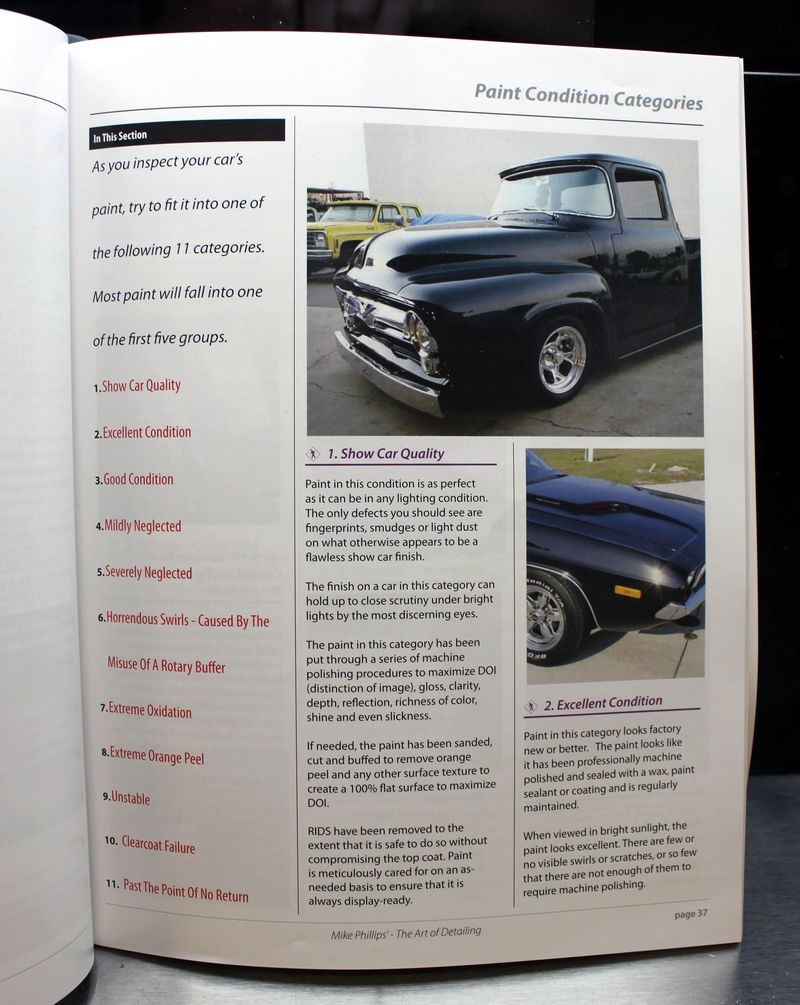
11 Paint Condition Categories
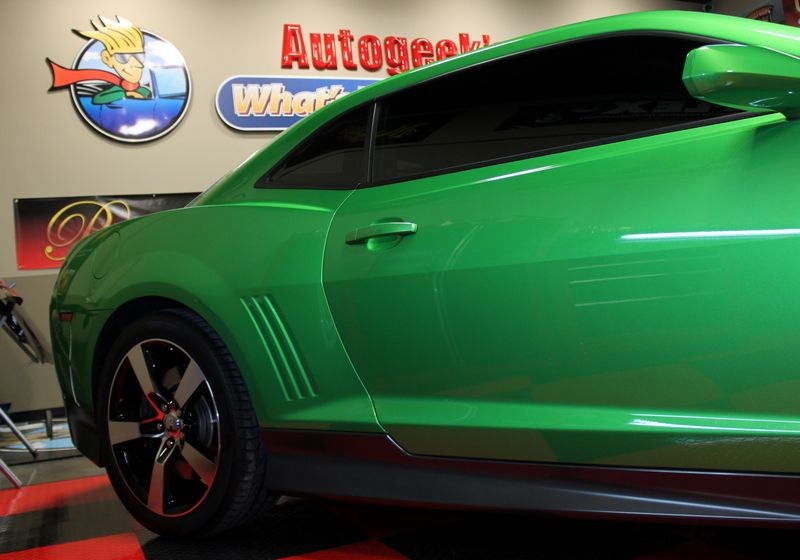
While the paint does look new and in good condition we could see that it was still going to take some machine polishing to bring the condition of the paint up from category 2. Excellent Condition to category 1. Show Car Condition as described on page 37 of my how to book.
What's in the air? - Checking for surface contamination
Next up we wanted to inspect the paint for above surface bonded contaminants. Although new and always garage-kept, it's still possible to have some type of contaminants bonded to the paint. Whether or not your car's finish has what's called Above Surface Bonded Contaminants or not depends upon what's in the air over the car.
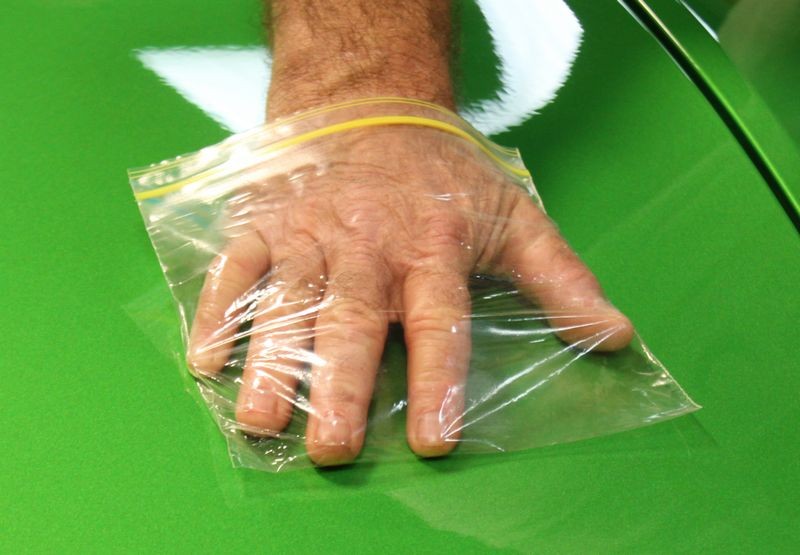
So we felt the paint with our hand and it felt clean as new glass. Next we tried The Baggie Test to see if by using a thin film of plastic if we could then feel and detect any surface contaminants.

Here's Chris the owner using the Baggie Test to inspect the paint...


Here's Ron doing the same.... Ron will be bringing in one of his toys in the near future for one of our Autogeek's Car of the Week projects.

So next up is doing our Test Spot
One of the things we teach at our classes is the idea of,
"Use the least aggressive product to get the job done"
By using the least aggressive product you get the job done, that is you remove the swirls and other paint defects while leaving the most amount of paint on the body panels to last over the service life of the car.
Optimum Polymer Technologies - G-P-S
Optimum recently introduced a brand new product called, G-P-S which stands for Glaze, Polish, Sealant. Basically it's a sprayable light cleaner/wax. In keeping with the idea of using the least aggressive product to get the job done and since the swirls in the paint appeared to be very light or shallow, we gave this product a try first during out Test Spot.
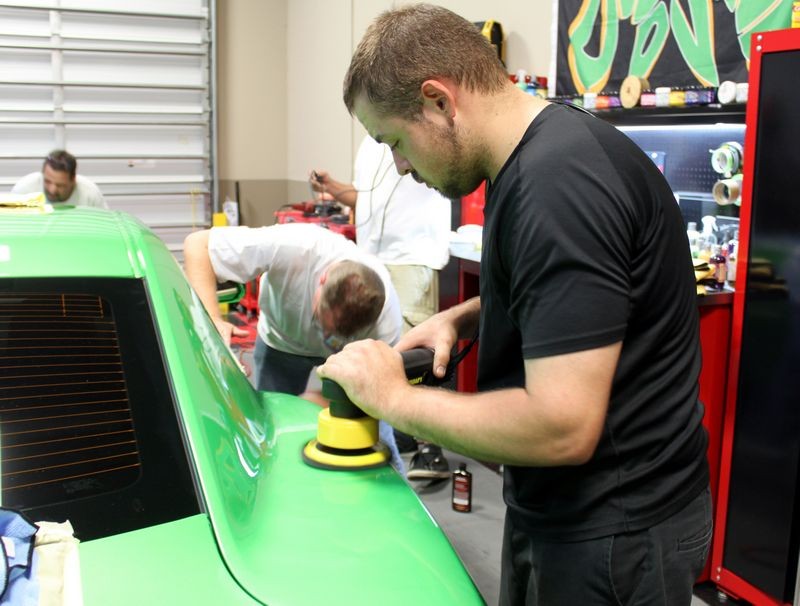
Here I am spraying some G-P-S onto a black finishing pad on a Porter Cable DA Polisher being held by Chris

This is Chris's first time machine polishing so a little hands-on training is in order... Hands-on training completely flattens out the learning curve and also helps to instill confidence to people new to machine polishing and worried about making a mistake.

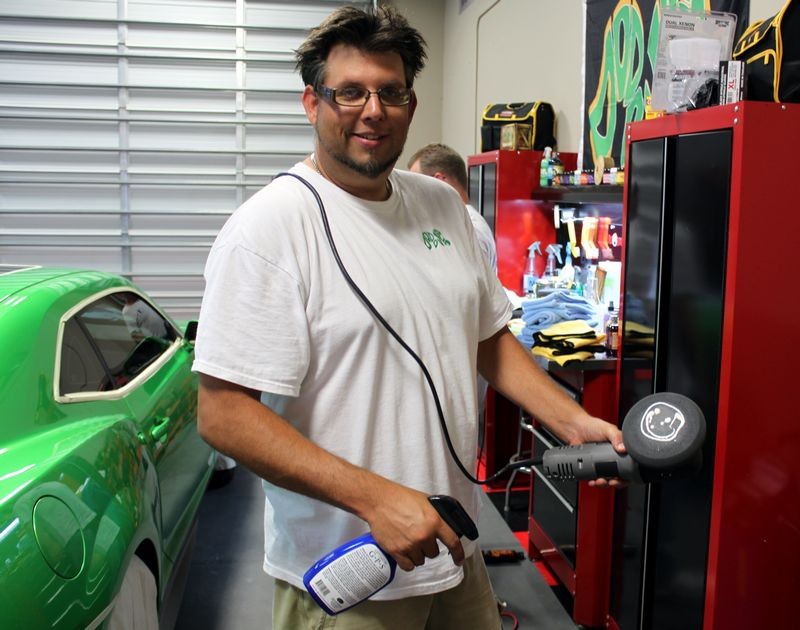
The first combination wasn't aggressive enough so now we're trying a white polishing pad with G-P-S

The G-P-S is a fine polish as far as it's cutting ability goes and while it's important to test first... we really need something more aggressive for the ceramic paints that come on all new Camaros...

Getting more aggressive but still very safe
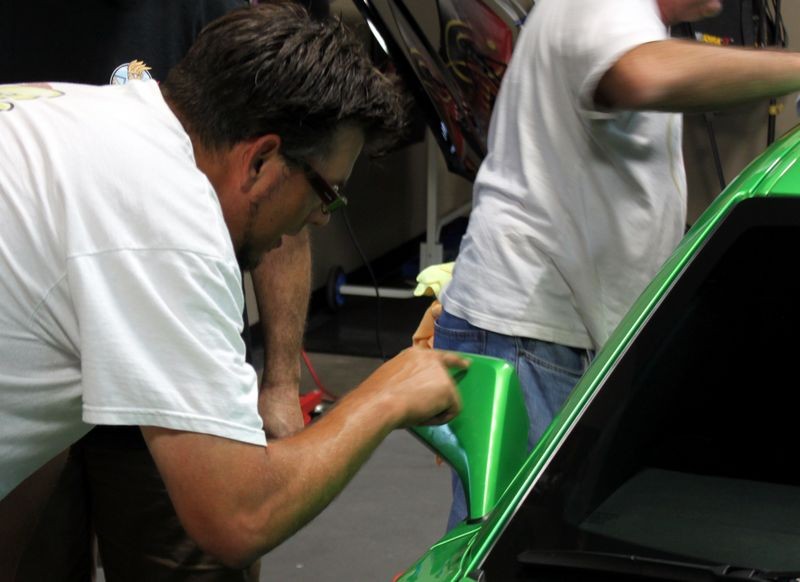
Robert from Impressions Detailing buffs out a lot of cars including a lot of new Camaros and he said from experience the Flex 3401 with Pinnacle Advanced Swirl Remover and a Tangerine Hydro-Tech polishing pad would be more than enough to remove the swirls and scratches and leave the paint ready for the final machine polishing step.
Here's Robert doing a Test Spot

More to come...
:xyxthumbs:
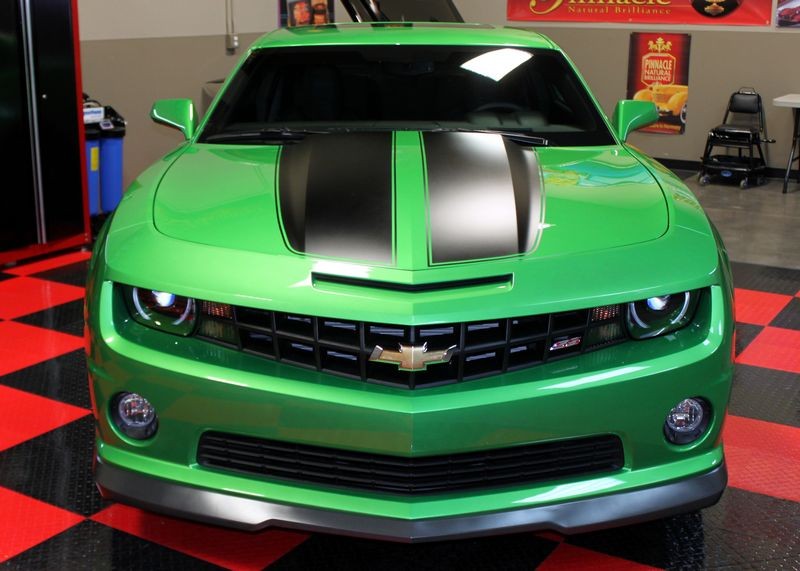
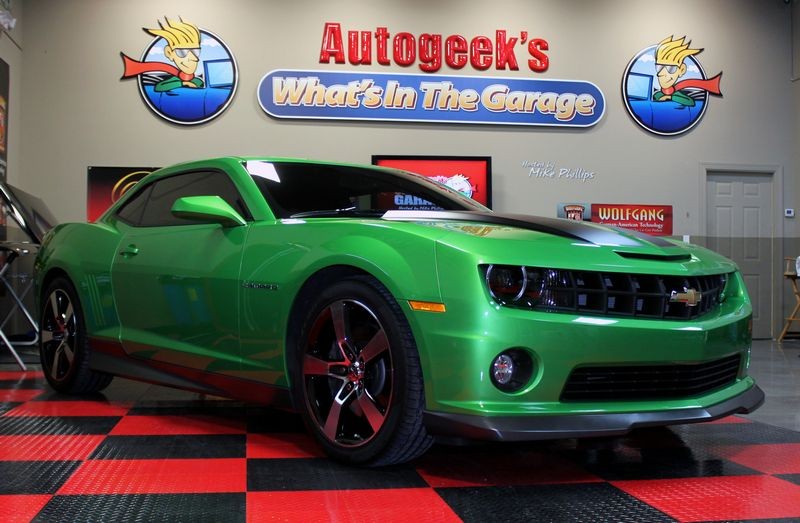
Chris's 2011 Synergy Green Camaro
My friend PJ from Dodo Juice was visiting the U.S. from Norway and while he was here I invited him to participate in a couple of our Autogeek's Car of the Week projects. The first project he helped out with was this pristine 1957 Chevy Bel Air with single stage paint in which we hand-applied Dodo Juice Orange Crush.
1957 Chevrolet Bel Air - Remove Swirls - Modeled by Kristin
Dodo Juice just introduced a brand new product called Home Brew, which is a do-it-yourself wax making kit. I love this idea so much as soon as it arrived here at Autogeek I purchased four kits for Birthday and Christmas gifts.
While the kit is well thought out and complete in every way, PJ suggested we make a how-to video while he's here to show step-by-step how to make your own car wax using the Dodo Juice Home Brew Kit. Max said great idea! Get Yancy onboard and go make a video.
Mad Scientists in the Autogeek Laboratory!
PJ and me making our Home Brew Wax...
So once we had approval from management we needed a car. I asked PJ what he would like to work on and he said... get something green...
So I went through my list of green cars and came up with,
1974 Green AMC Gremlin
1972 Green MGB
1970 Green Chevelle
2011 Synergy Green Camaro
Immediately after rattling off the above list PJ said, get the Synergy Green Camaro!1972 Green MGB
1970 Green Chevelle
2011 Synergy Green Camaro
With a quick phone call to my friend Chris it was a done deal. I asked Chris how the finish looked and he said it was in excellent condition. He purchased the Camaro in July and it's garage-kept anytime it's not in use.
Anyone that knows me knows I love a challenge, like the 1977 Can Am Corvette that we did a few weeks ago. When it arrived it was a completely swirled-out mess and it was both a challenge and a lot of fun removing the swirls and restoring a show car finish.
1977 Can Am Corvette - Modeled by Amy and Janna - Pictures and Video!
Before - You can't even see the multi-color metal flake because the paint is so hazy with swirls.
After - The paint glistens like its wet
Now you can see the multi-color metalflake finish...
Extreme Makeover vs Show Car Makeover
So while I'm always hoping for a car that will be a challenge we take as we get them and even when the car is in good to excellent condition, there's always a little room for improvement. If we can't do and extreme makeover then we do a show car makeover, the end results are always the same, a finish that glistens like a gemstone and shines like a diamond.
It's easy to take a neglected finish like you see with the Can Am Corvette above and create a DRAMATIC before & after results. It's a lot more difficult to take a finish that's already nice and take it to an even higher level... but it can be done...
I have an article about this topic here,
"Taking your car's paint to its maximum potential"
Mean Green Arrives at Autogeek.net
When Chris arrived the first thing we did was try to capture some pictures of the swirls in the paint using overhead sunlight. With our eyes we could see light swirls throughout the finish but the sun was already starting to set in the sky and that makes it hard to get good swirl shots.
Chris in his Camaro in the Autogeek Parking Lot
Framing the shot, I had Chris drive around the parking lot till I could get a shot of the sun reflecting off the hood.
You can see the tale-tale signs of light swirls and scratches in the paint...
Next we tried using the Brinkmann Swirl Finder Light and the overhead florescent lights but again, we could see the light swirls in the paint but it was difficult to capture them on camera.
Here's Chris, using the Brinkmann Swirl Finder Light to inspect the finish on his car while Steve, the owner of the 1969 Camaro Pace Car looks for swirls too...
There are actually more swirls throughout the finish plus a few RIDS here and there but this is the best I could capture with my trusty, dusty Canon Rebel...
11 Paint Condition Categories
While the paint does look new and in good condition we could see that it was still going to take some machine polishing to bring the condition of the paint up from category 2. Excellent Condition to category 1. Show Car Condition as described on page 37 of my how to book.
What's in the air? - Checking for surface contamination
Next up we wanted to inspect the paint for above surface bonded contaminants. Although new and always garage-kept, it's still possible to have some type of contaminants bonded to the paint. Whether or not your car's finish has what's called Above Surface Bonded Contaminants or not depends upon what's in the air over the car.
So we felt the paint with our hand and it felt clean as new glass. Next we tried The Baggie Test to see if by using a thin film of plastic if we could then feel and detect any surface contaminants.
Here's Chris the owner using the Baggie Test to inspect the paint...
Here's Ron doing the same.... Ron will be bringing in one of his toys in the near future for one of our Autogeek's Car of the Week projects.
So next up is doing our Test Spot
One of the things we teach at our classes is the idea of,
"Use the least aggressive product to get the job done"
By using the least aggressive product you get the job done, that is you remove the swirls and other paint defects while leaving the most amount of paint on the body panels to last over the service life of the car.
Optimum Polymer Technologies - G-P-S
Optimum recently introduced a brand new product called, G-P-S which stands for Glaze, Polish, Sealant. Basically it's a sprayable light cleaner/wax. In keeping with the idea of using the least aggressive product to get the job done and since the swirls in the paint appeared to be very light or shallow, we gave this product a try first during out Test Spot.
Here I am spraying some G-P-S onto a black finishing pad on a Porter Cable DA Polisher being held by Chris
This is Chris's first time machine polishing so a little hands-on training is in order... Hands-on training completely flattens out the learning curve and also helps to instill confidence to people new to machine polishing and worried about making a mistake.
The first combination wasn't aggressive enough so now we're trying a white polishing pad with G-P-S
The G-P-S is a fine polish as far as it's cutting ability goes and while it's important to test first... we really need something more aggressive for the ceramic paints that come on all new Camaros...
Getting more aggressive but still very safe
Robert from Impressions Detailing buffs out a lot of cars including a lot of new Camaros and he said from experience the Flex 3401 with Pinnacle Advanced Swirl Remover and a Tangerine Hydro-Tech polishing pad would be more than enough to remove the swirls and scratches and leave the paint ready for the final machine polishing step.
Here's Robert doing a Test Spot
More to come...
:xyxthumbs: