Mike Phillips
Active member
- Dec 5, 2022
- 51,004
- 6
4 Steps to restore single paint paint - 1972 Mercedes-Benz 280 SE
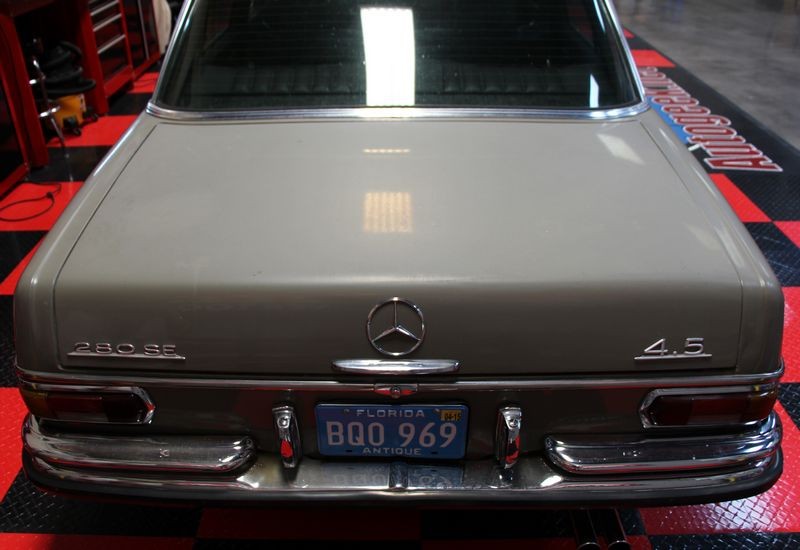
Yesterday, a gentleman named Wayne in West Palm Beach called me to ask me about how to go about saving the ALL ORIGINAL paint on his 1972 Mercedes-Benz 280 SE. He had recently purchased this car with 41,000 original miles.
He told me the paint was oxidized, especially the hood, trunk and roof. He also told me he took it to a local body shop where he was told the paint couldn't be saved but they could repaint it for around $2000.00 but this would not include removing all the chrome and stainless steel trim, nor the bumpers or emblems, basically an entry level paint job.
Wayne Carini "Chasing Classic Cars"
Wayne told me he saw Autogeek on Chasing Classic Cars with Wayne Carini and how I restored the original paint on the 1953 Hudson Hornet for Wayne Carini.
That would be this segment...
Here's the TV commercial we did with the Hudson and using #7 plus Pinnacle products, which are the products I actually did use to restore the paint over the entire car.
I explained that I have an article on how to restore antique single stage paint and not only have I used this technique now for decades, but others have used it very successfully to save an preserve the original paint on antique and classic cars, including the original paint on muscle cars from the 1960's and 1970's.
I invited him to bring his Mercedes-Benz to Autogeek and this morning I shared with him 4-steps to restore the original paint. This is the exact same procedure I used on Wayne Carini's 1953 Hudson.
Step 1
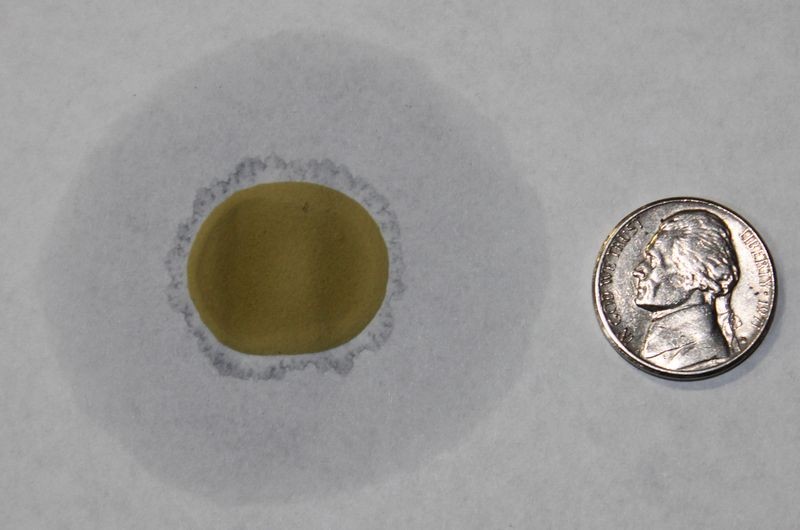
Rub the paint down with a heavy, or wet application of Meguiar's #7 Show Car Glaze using a terry cloth wash cloth. Put some passion behind the pad and then let the oils in the #7 soak overnight or for as long as possible so they can migrate "into" the paint. I cover this in my article and show pictures of how it works. #7 is non-abrasive, but it is the unique polishing oils that have been around in this product since the time of the Model T, and thus since the time single stage automotive paints were invented that revive the paint and bring out the original, full richness of color. After the paint has soaked in the #7, remove it.
Step 2
Machine polish the paint using Pinnacle Advanced Swirl Remover. It's key to use the highest quality abrasive technology you can obtain so as to effectively remove all the oxidation, (not removed by the terry cloth while rubbing in the #7), and to also remove or reduce as many of the swirls and scratches as possible. Try to use a foam polishing pad to be extra gentle to the paint but if needed, use a more aggressive pad. Keep in mind, antique, original single stage paints will tend to be brittle and abrade easily, so use the least aggressive pad and/or products to get the job done. We used the Lake Country 5.5" and 6.5" white, flat polishing pads. Wayne used the Porter Cable and I used the Flex 3401. After applying the polish immediately remove using soft microfiber towels.
Step 3
Machine polish the paint using the Pinnacle Advanced Finishing Polish. For this switch to a foam "finishing" pad. We used the Lake Country 5.5" and 6.5" black flat finishing pads. After applying the polish immediately remove using soft microfiber towels.
Step 4
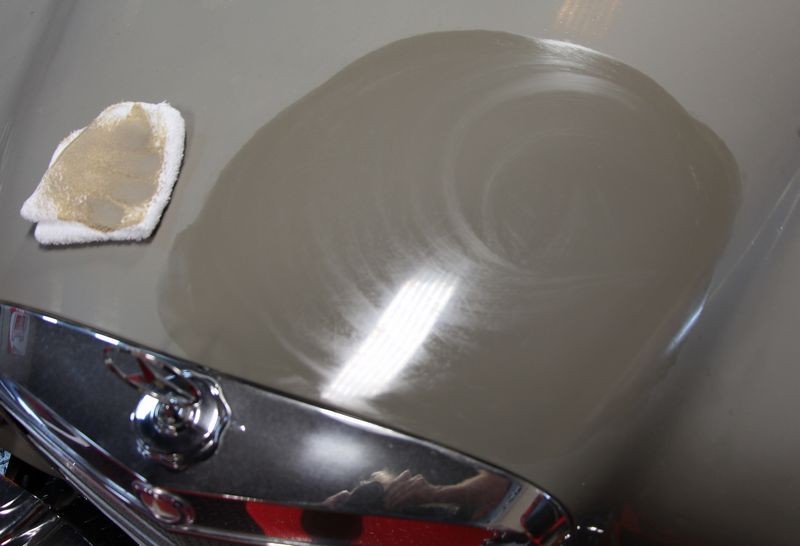
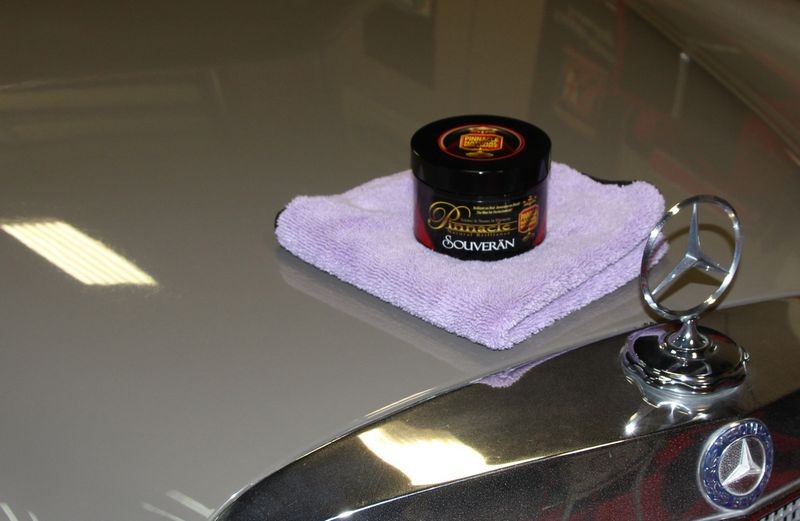
Machine apply a show car quality finishing wax like Pinnacle Souveran Paste Wax. It's important to use a non-abrasive finishing wax, not a cleaner/wax of any type. I use Pinnacle Souveran on a lot of the show cars I buff out as you don't have to let it dry before you wipe it off and it always leaves a deep, wet shine. For this we used a 5.5" Lake Country blue flat waxing pad on the Porter Cable on speed setting 4. After applying the wax, use your softest, clean microfiber towels, folded 4-ways t gentle remove the wax. I prefer and show others to wear microfiber gloves for this step as "like attracts like" and the gloves help you to more easily grip the microfiber towel plus you can touch the car without leaving fingerprints.
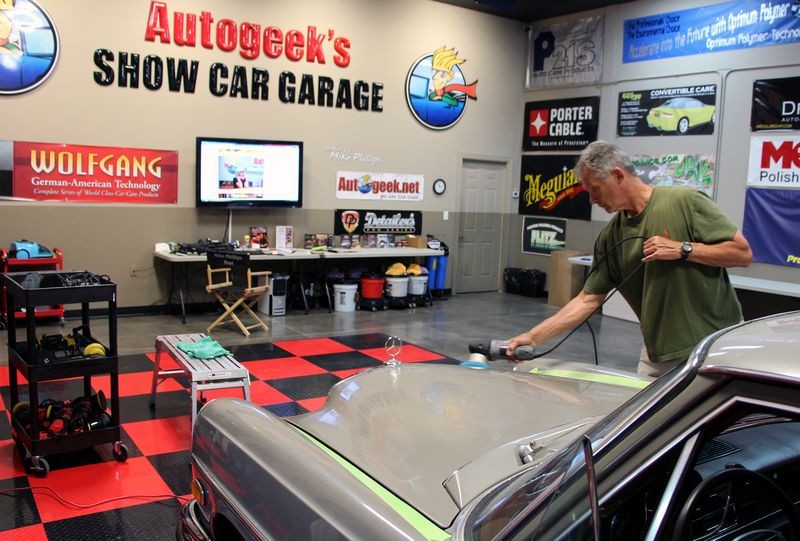
Now I let the pictures do the talking and note, this is the first time Wayne has ever used any of these products or tools, including the Porter Cable 7424XP dual action polisher. Looks like show car results to me....
Before


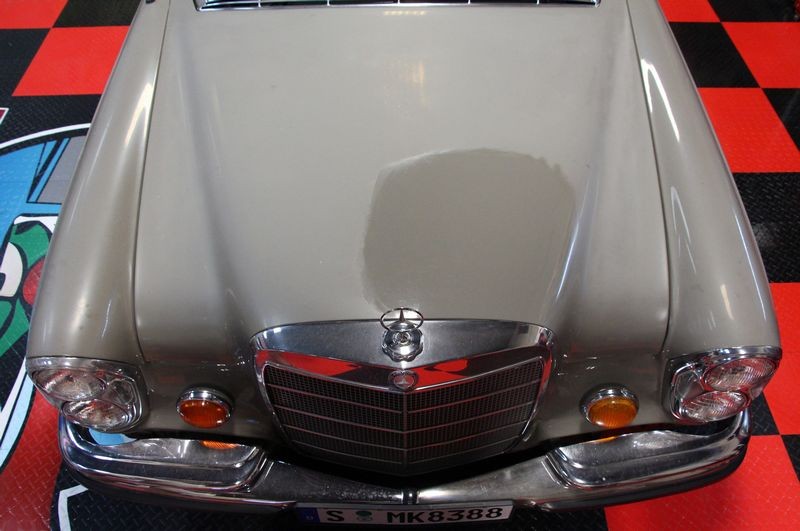


After
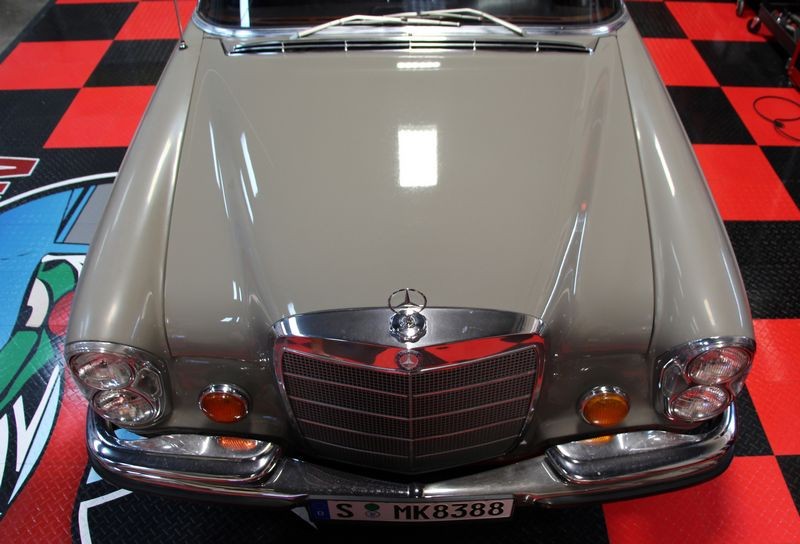

Close up of the same shot above, remember the paint had ZERO reflectivity when it arrived and this is a light color.


On Autogeek.net
Meguiar's #7 Show Car Glaze
Pinnacle Advanced Swirl Remover
Pinnacle Advanced Finishing Polish
Pinnacle Souveran Paste Wax
Lake Country Flat Pads
Porter Cable 7424XP
Flex XC 3401 Forced Rotation Dual Action Polisher
Microfiber Gloves
Thank you!
Thank you Wayne for watching Chasing Classic Cars with Wayne Carini and then following the segment to Autogeek.net and then taking the time to contact us.
Thank you also for trusting us with your classic Mercedes-Benz.
")
Yesterday, a gentleman named Wayne in West Palm Beach called me to ask me about how to go about saving the ALL ORIGINAL paint on his 1972 Mercedes-Benz 280 SE. He had recently purchased this car with 41,000 original miles.
He told me the paint was oxidized, especially the hood, trunk and roof. He also told me he took it to a local body shop where he was told the paint couldn't be saved but they could repaint it for around $2000.00 but this would not include removing all the chrome and stainless steel trim, nor the bumpers or emblems, basically an entry level paint job.
Wayne Carini "Chasing Classic Cars"
Wayne told me he saw Autogeek on Chasing Classic Cars with Wayne Carini and how I restored the original paint on the 1953 Hudson Hornet for Wayne Carini.
That would be this segment...
Here's the TV commercial we did with the Hudson and using #7 plus Pinnacle products, which are the products I actually did use to restore the paint over the entire car.
I explained that I have an article on how to restore antique single stage paint and not only have I used this technique now for decades, but others have used it very successfully to save an preserve the original paint on antique and classic cars, including the original paint on muscle cars from the 1960's and 1970's.
I invited him to bring his Mercedes-Benz to Autogeek and this morning I shared with him 4-steps to restore the original paint. This is the exact same procedure I used on Wayne Carini's 1953 Hudson.
Step 1
Rub the paint down with a heavy, or wet application of Meguiar's #7 Show Car Glaze using a terry cloth wash cloth. Put some passion behind the pad and then let the oils in the #7 soak overnight or for as long as possible so they can migrate "into" the paint. I cover this in my article and show pictures of how it works. #7 is non-abrasive, but it is the unique polishing oils that have been around in this product since the time of the Model T, and thus since the time single stage automotive paints were invented that revive the paint and bring out the original, full richness of color. After the paint has soaked in the #7, remove it.
Step 2
Machine polish the paint using Pinnacle Advanced Swirl Remover. It's key to use the highest quality abrasive technology you can obtain so as to effectively remove all the oxidation, (not removed by the terry cloth while rubbing in the #7), and to also remove or reduce as many of the swirls and scratches as possible. Try to use a foam polishing pad to be extra gentle to the paint but if needed, use a more aggressive pad. Keep in mind, antique, original single stage paints will tend to be brittle and abrade easily, so use the least aggressive pad and/or products to get the job done. We used the Lake Country 5.5" and 6.5" white, flat polishing pads. Wayne used the Porter Cable and I used the Flex 3401. After applying the polish immediately remove using soft microfiber towels.
Step 3
Machine polish the paint using the Pinnacle Advanced Finishing Polish. For this switch to a foam "finishing" pad. We used the Lake Country 5.5" and 6.5" black flat finishing pads. After applying the polish immediately remove using soft microfiber towels.
Step 4
Machine apply a show car quality finishing wax like Pinnacle Souveran Paste Wax. It's important to use a non-abrasive finishing wax, not a cleaner/wax of any type. I use Pinnacle Souveran on a lot of the show cars I buff out as you don't have to let it dry before you wipe it off and it always leaves a deep, wet shine. For this we used a 5.5" Lake Country blue flat waxing pad on the Porter Cable on speed setting 4. After applying the wax, use your softest, clean microfiber towels, folded 4-ways t gentle remove the wax. I prefer and show others to wear microfiber gloves for this step as "like attracts like" and the gloves help you to more easily grip the microfiber towel plus you can touch the car without leaving fingerprints.
Now I let the pictures do the talking and note, this is the first time Wayne has ever used any of these products or tools, including the Porter Cable 7424XP dual action polisher. Looks like show car results to me....
Before
After
Close up of the same shot above, remember the paint had ZERO reflectivity when it arrived and this is a light color.
On Autogeek.net
Meguiar's #7 Show Car Glaze
Pinnacle Advanced Swirl Remover
Pinnacle Advanced Finishing Polish
Pinnacle Souveran Paste Wax
Lake Country Flat Pads
Porter Cable 7424XP
Flex XC 3401 Forced Rotation Dual Action Polisher
Microfiber Gloves
Thank you!
Thank you Wayne for watching Chasing Classic Cars with Wayne Carini and then following the segment to Autogeek.net and then taking the time to contact us.
Thank you also for trusting us with your classic Mercedes-Benz.