Crazy Amos
New member
- Oct 20, 2010
- 1,060
- 0
Before I get started with this novel I want to thank everyone on this forum for turning me on to the HT pads. I love 'em! Like everyone here said; they cut faster, allow longer working time and actually last longer per pad swap. Like I said before, I have been using CG products pretty much exclusivly but would now like to try M105 & M205. This last car used up the rest of my product and I need to refill. This time I think I will listen to you guys and try them out. Anyway, thanks again-I love this forum!
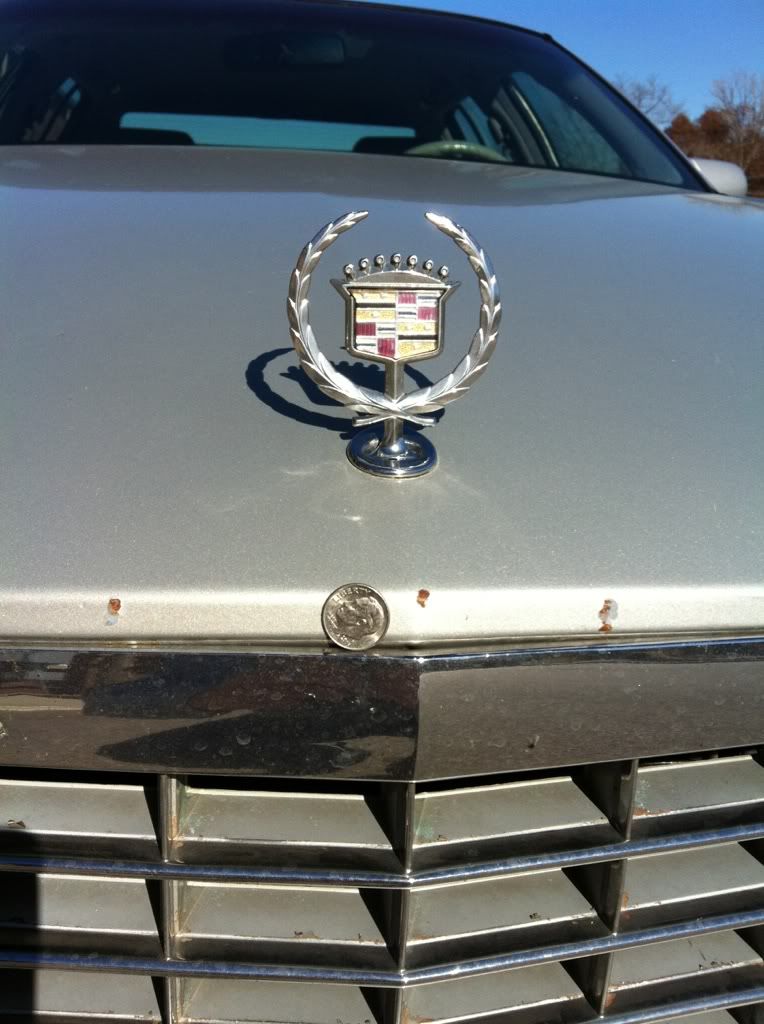
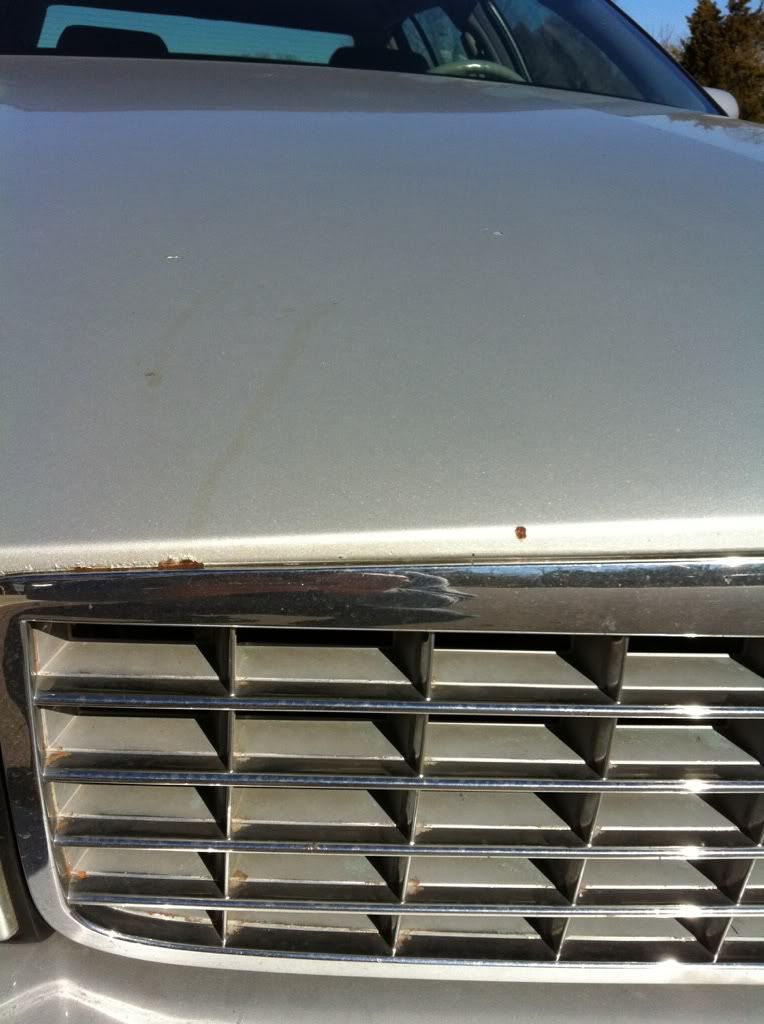
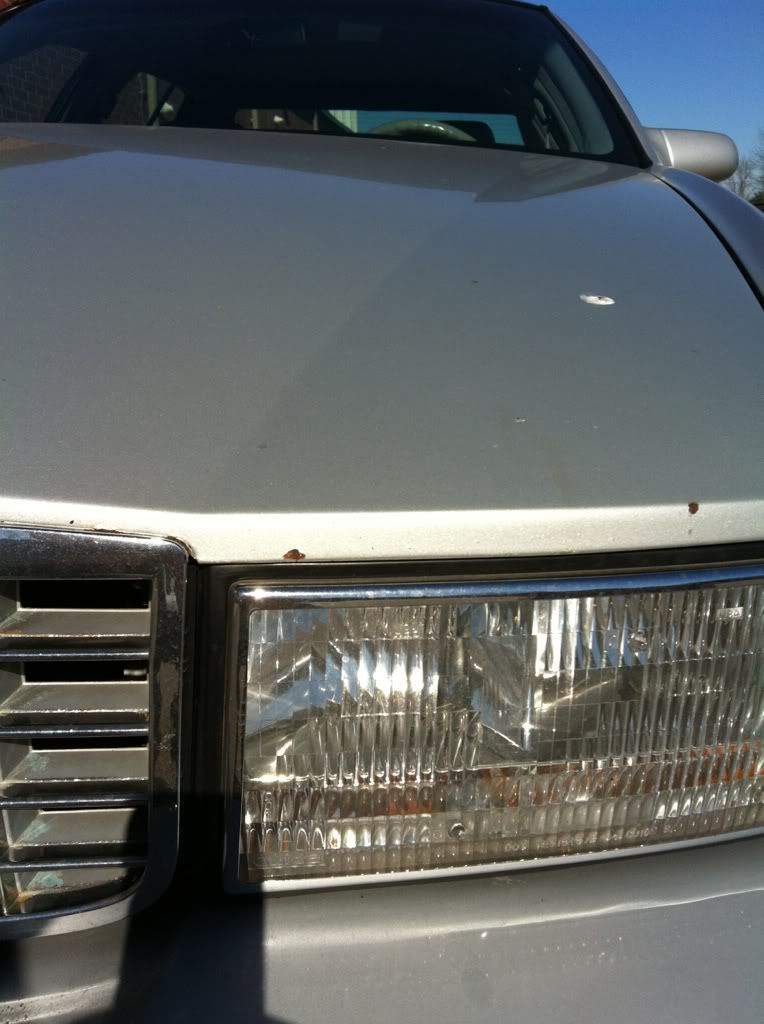
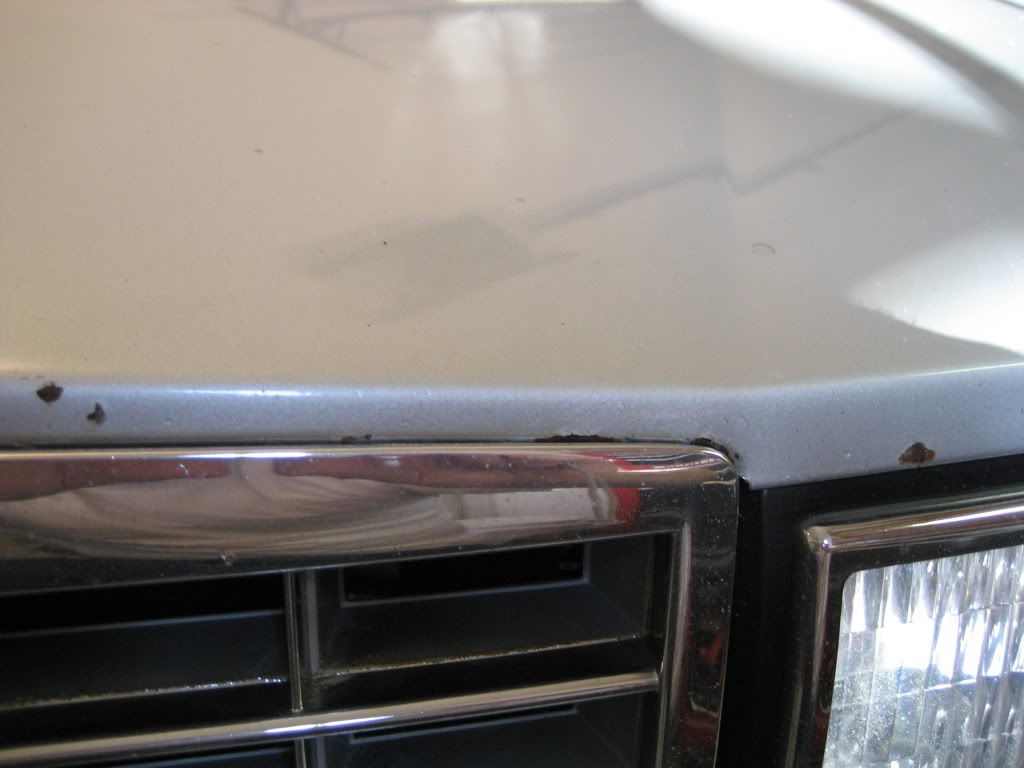
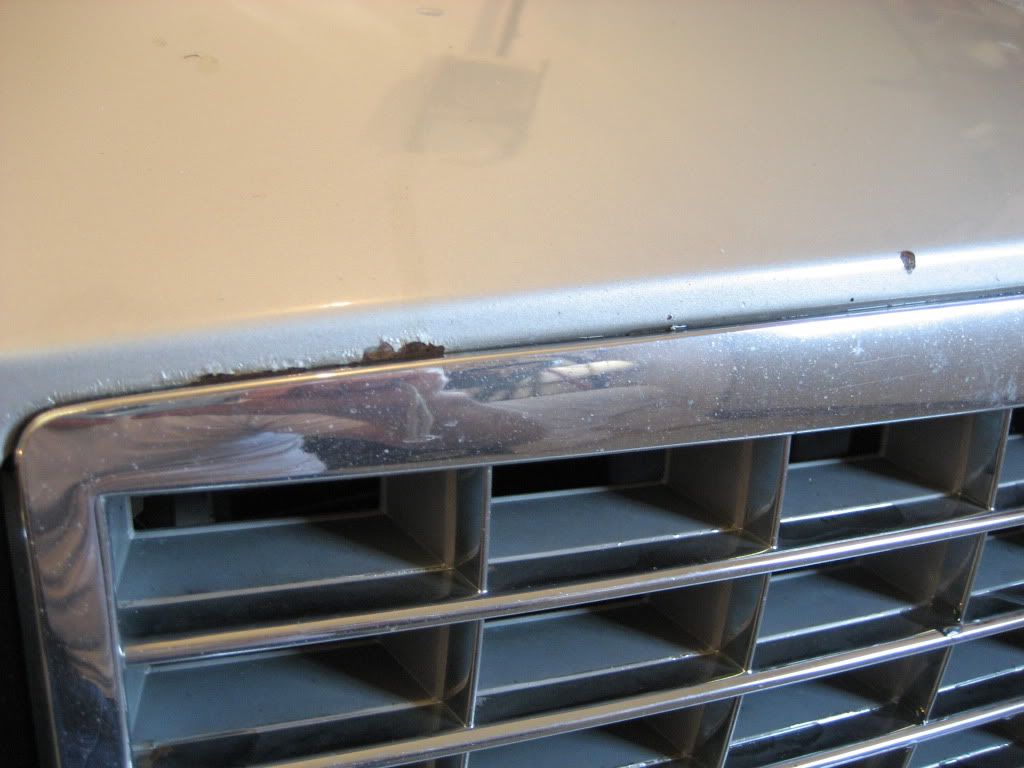
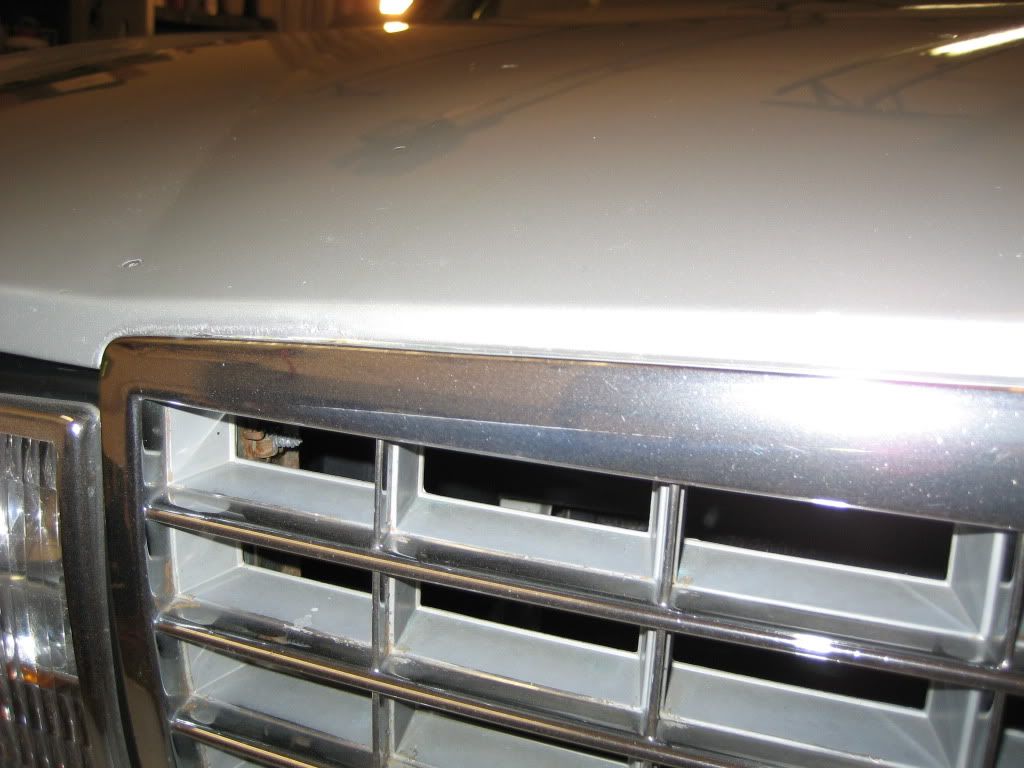
Ok, with all of that out of the way lets get started. I have a customer who came to me and asked if I could touch up his paint. It was metallic siver and the spots were rather large, rusted and in plain sight. Knowing he loves his car (but just doesn't keep it clean....I do that for him $$) I suggested to let me try a different way to touch it up other than the traditional way. He was a little hesitant at first but when I told him I would do it for free when I seal it for the winter. He had a couple other spots where someone had used a brush or something and it stuck out like a sore thumb (because it was metallic). I reassured him that it would definately look better than that.
Fast forward-------> A couple of weeks ago I submitted an new post titled "Airbrush Touch-up" and was hoping to get some advice on the subject. I would like to thank those of you who showed interest and the advice that was given, but in the end it was very little (by no means am I complaining). So, that led me to believe that there hasn't been anyone that has tried or thought about using an airbrush to touch-up rock chips. Actually I found there wasn't much info on the subject anywhere and thought that a "how-to" type of article may be interesting subject and helpful to many. I hope that we can take the method I used and build on it. Kinda like a think tank.
Please, keep in mind that this is the way I approached it and by no means am I trying to portray myself as an expert on the subject. I would like this to be a learning experience for all of us because we all hate rock chips and/or scratches!!!
The touch up kits that are available definatley work and get the job done, but alot of the times when the affected area is "larger" in size you have to use a brush or a toothpick which usually does not blend very well. Flat colors usually come out OK, but its the metallics and pearls that look horrible. They come out flat and darker than the surrounding paint causing them to almost look worse because it seems like a
half-***ed job.
After a few days of thinking of a way and trying to research for a way to tackle this I finally settled on a method and tested it. After a couple of coats, I thought it was satisfactory and decided to go with. Below is what I did and how it turned out.
Getting to the good stuff.
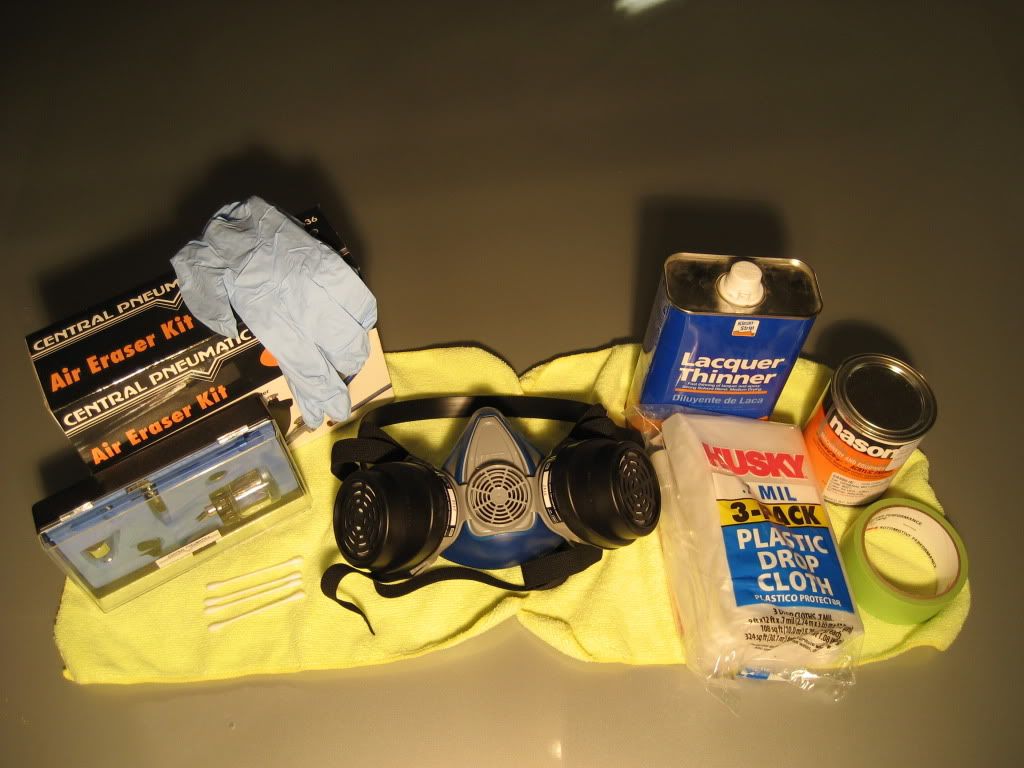
Equipment and Materials used:
4 gallon 115 psi air compressor with filter and regulator
Air Eraser (miniature sand blaster) with 220 grit
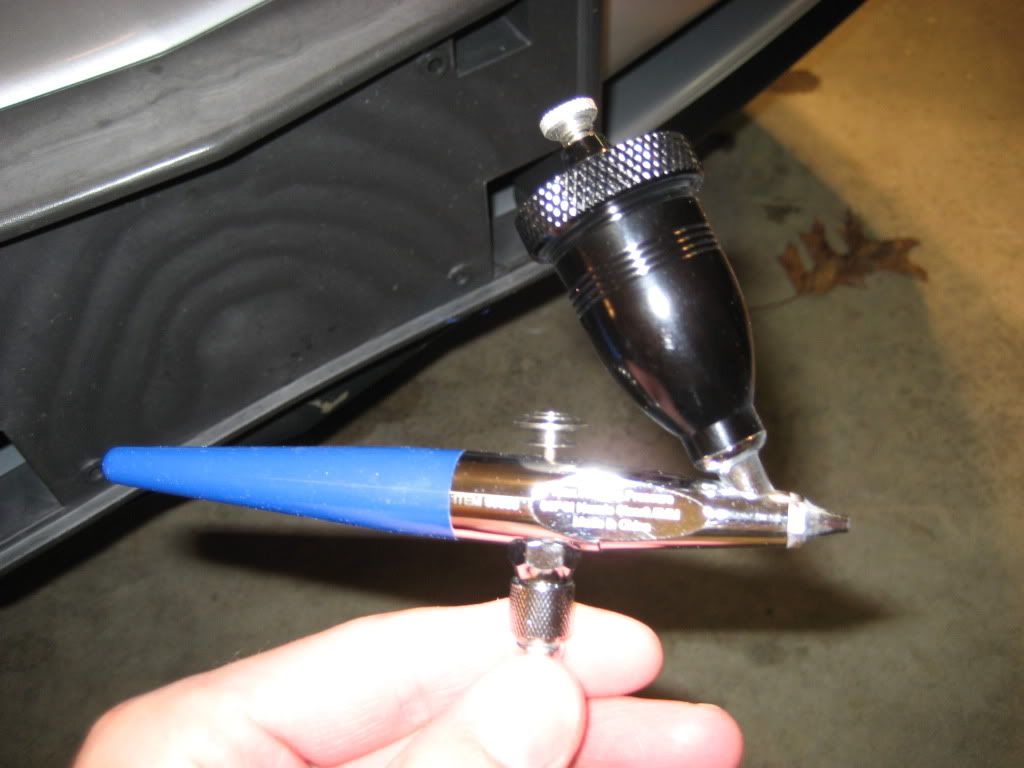
Air Brush
Resperator
Glasses to protect eyes from flying grit
Nitrile Gloves
Q-Tips
Painters Tape
Masking plastic
Microfiber Towels
Laquer Thinner
4 oz of paint mixed to color code
Process - I would do this with pics but dont have a pic for every step (sorry was focusing on the task at hand and forgot)
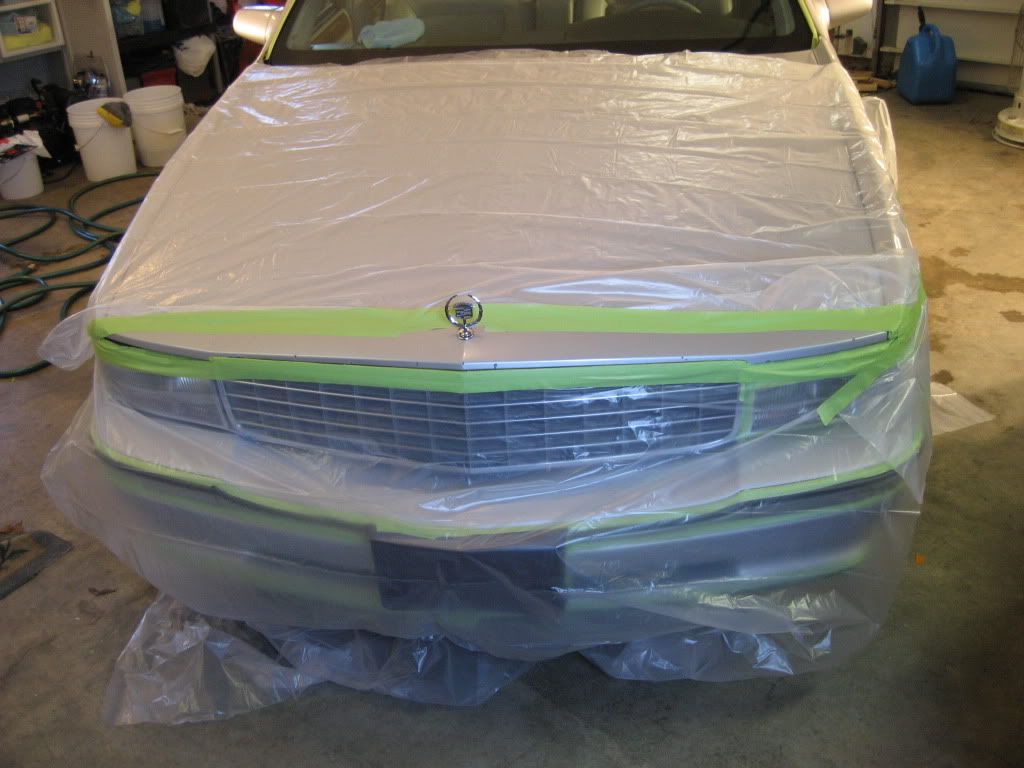
1. Wash car to remove any dirt on the paint to eliminate the chance of the masking plastic scratching the paint.
2. Dry
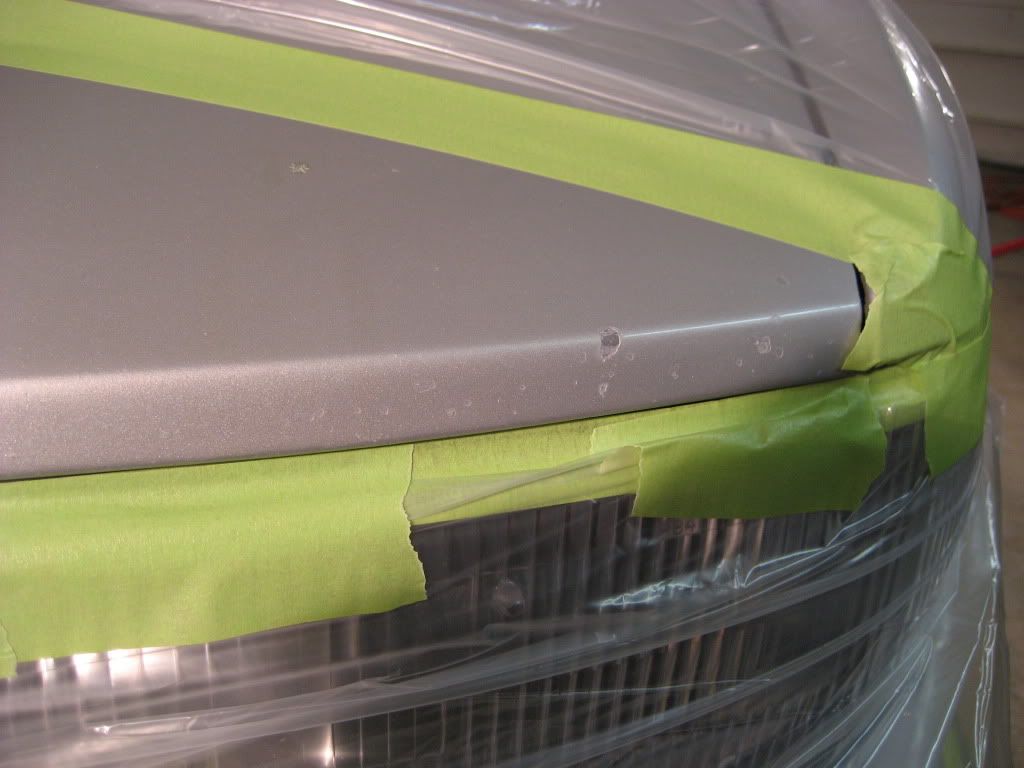
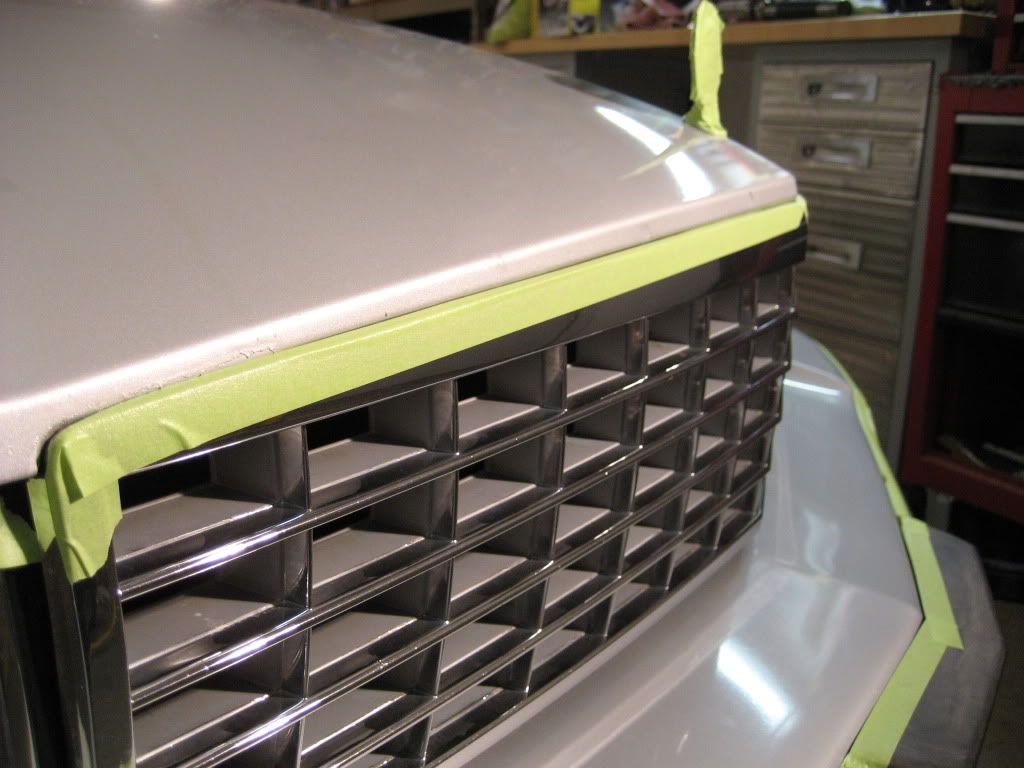
3. Tape off accents and trim, then mask off everything around your working area. Do not tape up to the edge of the chip, leave some area open because you can always clean the overspray with a microfiber and laquer thinner. This helps you see how it is building up. If not you may add too much paint while spraying and cant see how the over-all picture looks.
4. Erase the rust. Use the 220 grit and set your regulator to 60 psi. Place the nozzle about 1/8 of an inch away from the spot which keeps the overspray down and allows better control to get right up to the edge of the paint. Be careful not to spray the paint because it will rip right off.
I found that using the air eraser is extremely fast and efficient way to remove ALL of the rust. Since the area is small it is hard to get up to the edge of the paint with sanding pen or paper. Not to mention it only takes about 2-3 seconds....literally.
5. Use the compressor to blow away the left over grit to avoid scratch the paint.
6. Pour some laquer thinner onto a microfiber towel and clean out the chip to remove any dust and allow to dry. It only takes a few seconds, then wipe with a dry microfiber.
7. Shake the paint to mix it, then pour the amount needed into the airbrush bottle.
8. Using a small cup or bowl and pour laquer thinner in and place the Q-tips into the thinner. Fold up a microfiber towel and pour little thinner on it.
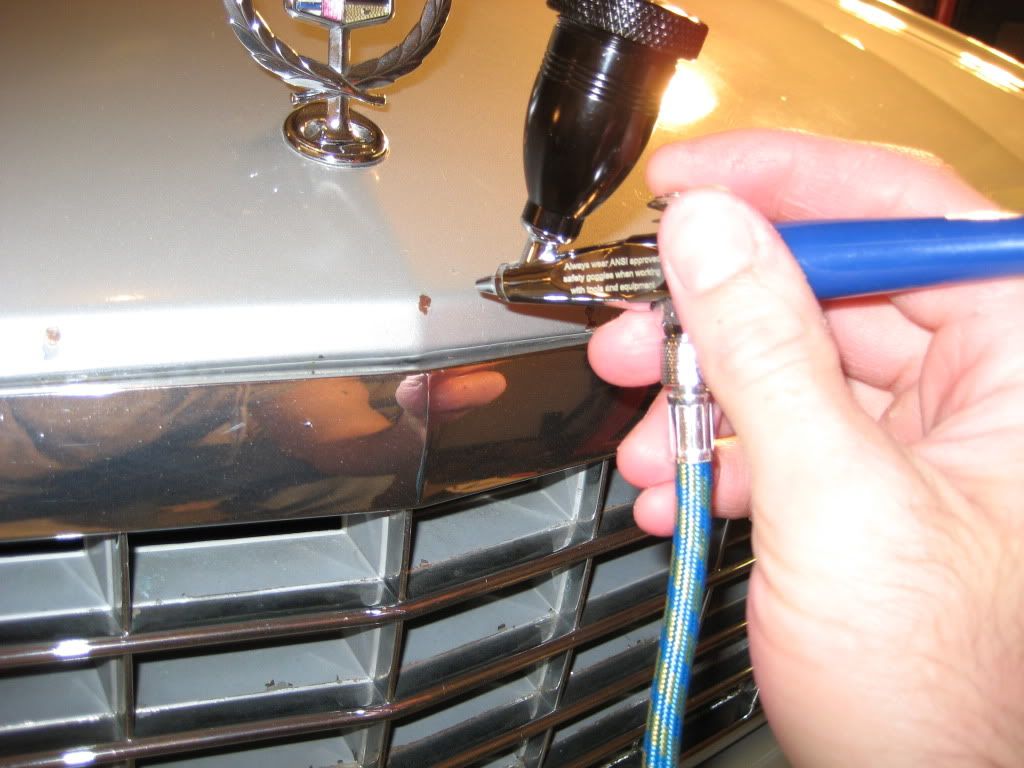
9. You are ready to spray. Set your pressure, volume, and distance by spraying on something other than the car. In my case I used the tape and plastic but anything will work. I found that full volume (trigger pulled all the way back) and 18 psi and a distance of about a 1/2 inch worked well.
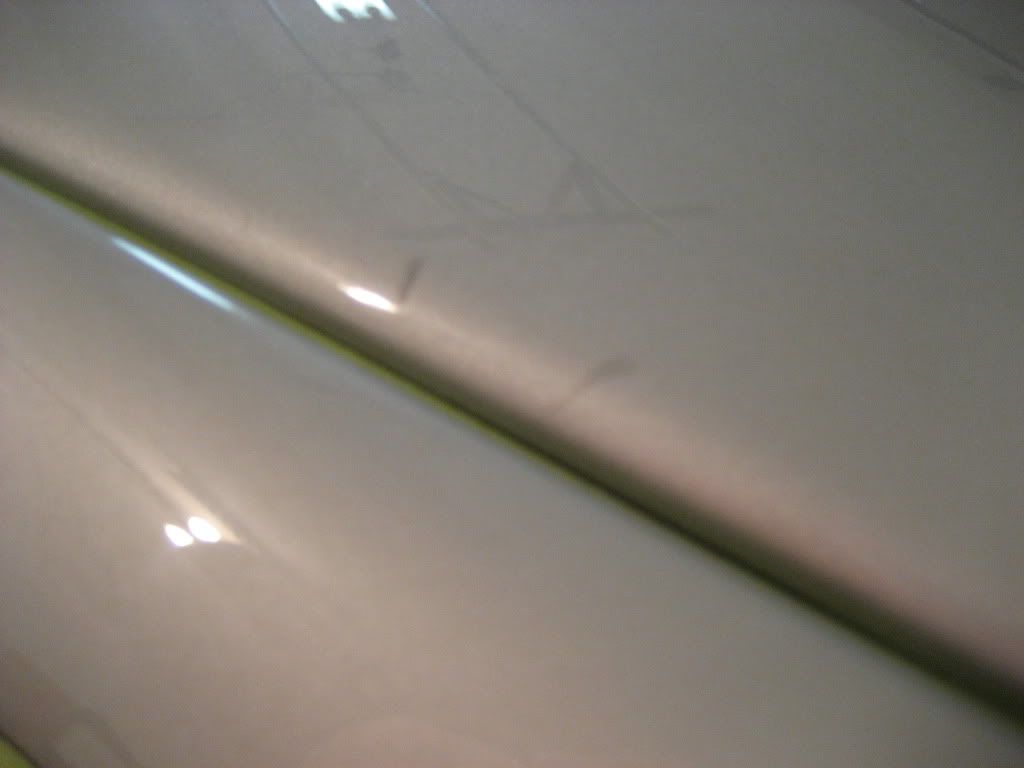
10. Spray your first spot. Dont worry about the overspray because it is very minimal at such low pressure. If you spray directly into the spot it will create a "splattered" look. Instead, spray using a fanning motion passing back and forth over the spot. Two or three passes should do it per coat.
11. After spraying, take the microfiber with the thinner on it and wipe the surrounding area. Once the general area is clean, use the Q-tip and clean up to the edge of the spot like you were coloring and trying to stay in the lines. Roll the Q-tip as you wipe so that you are always wiping with a clean part of it. Then take the opposite dry side and dry the area you just wiped.
12. Repeat steps 10 & 11 for the remaining spots and coats.
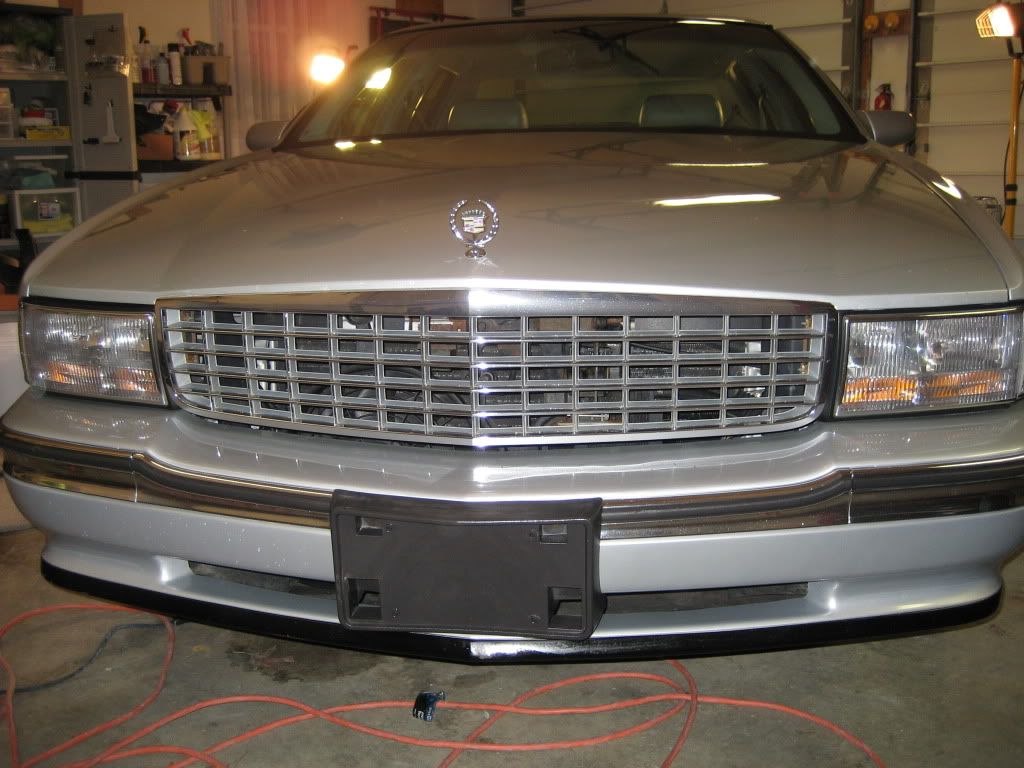
11. Allow to dry and then seal using a wax or sealant of your choice.
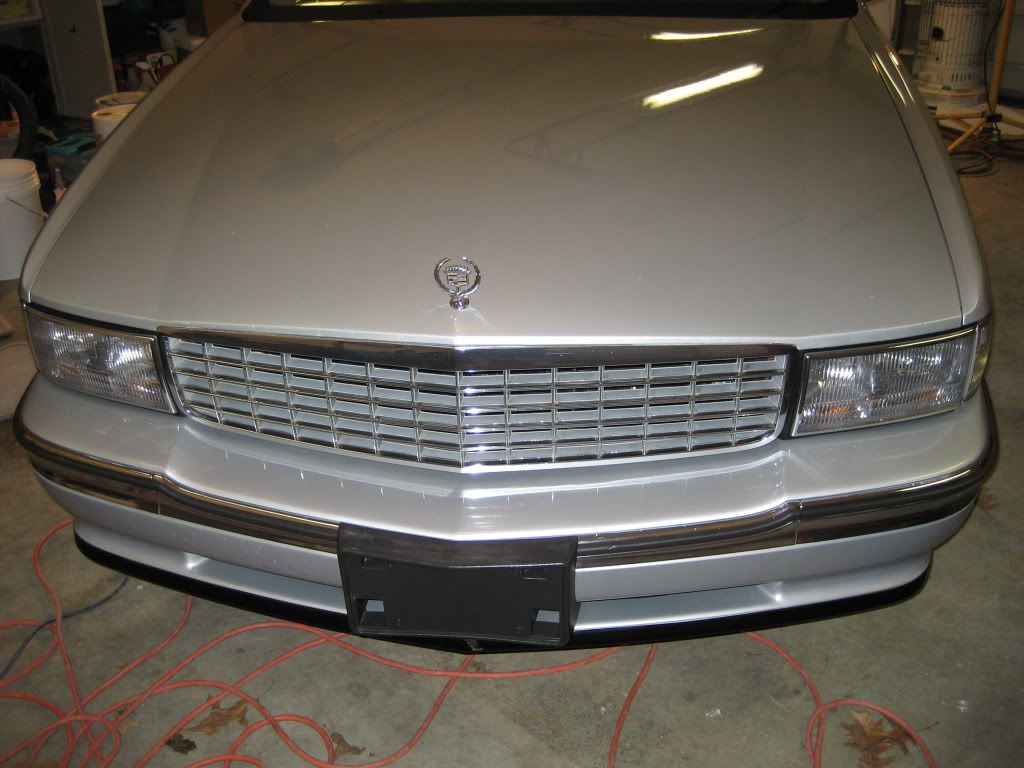
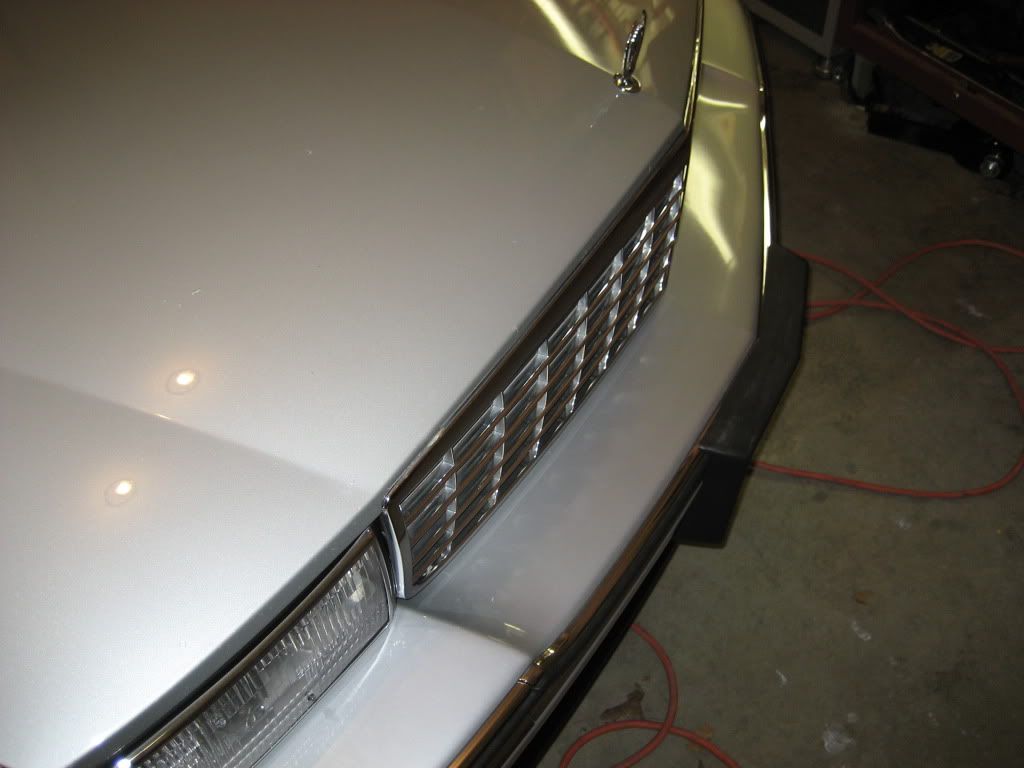
Pictures!!!
Pics are from start to finish-I fully detailed this car as well but will post those pics later. It takes me while to upload.
Ok, with all of that out of the way lets get started. I have a customer who came to me and asked if I could touch up his paint. It was metallic siver and the spots were rather large, rusted and in plain sight. Knowing he loves his car (but just doesn't keep it clean....I do that for him $$) I suggested to let me try a different way to touch it up other than the traditional way. He was a little hesitant at first but when I told him I would do it for free when I seal it for the winter. He had a couple other spots where someone had used a brush or something and it stuck out like a sore thumb (because it was metallic). I reassured him that it would definately look better than that.
Fast forward-------> A couple of weeks ago I submitted an new post titled "Airbrush Touch-up" and was hoping to get some advice on the subject. I would like to thank those of you who showed interest and the advice that was given, but in the end it was very little (by no means am I complaining). So, that led me to believe that there hasn't been anyone that has tried or thought about using an airbrush to touch-up rock chips. Actually I found there wasn't much info on the subject anywhere and thought that a "how-to" type of article may be interesting subject and helpful to many. I hope that we can take the method I used and build on it. Kinda like a think tank.
Please, keep in mind that this is the way I approached it and by no means am I trying to portray myself as an expert on the subject. I would like this to be a learning experience for all of us because we all hate rock chips and/or scratches!!!
The touch up kits that are available definatley work and get the job done, but alot of the times when the affected area is "larger" in size you have to use a brush or a toothpick which usually does not blend very well. Flat colors usually come out OK, but its the metallics and pearls that look horrible. They come out flat and darker than the surrounding paint causing them to almost look worse because it seems like a
half-***ed job.
After a few days of thinking of a way and trying to research for a way to tackle this I finally settled on a method and tested it. After a couple of coats, I thought it was satisfactory and decided to go with. Below is what I did and how it turned out.
Getting to the good stuff.
Equipment and Materials used:
4 gallon 115 psi air compressor with filter and regulator
Air Eraser (miniature sand blaster) with 220 grit
Air Brush
Resperator
Glasses to protect eyes from flying grit
Nitrile Gloves
Q-Tips
Painters Tape
Masking plastic
Microfiber Towels
Laquer Thinner
4 oz of paint mixed to color code
Process - I would do this with pics but dont have a pic for every step (sorry was focusing on the task at hand and forgot)
1. Wash car to remove any dirt on the paint to eliminate the chance of the masking plastic scratching the paint.
2. Dry
3. Tape off accents and trim, then mask off everything around your working area. Do not tape up to the edge of the chip, leave some area open because you can always clean the overspray with a microfiber and laquer thinner. This helps you see how it is building up. If not you may add too much paint while spraying and cant see how the over-all picture looks.
4. Erase the rust. Use the 220 grit and set your regulator to 60 psi. Place the nozzle about 1/8 of an inch away from the spot which keeps the overspray down and allows better control to get right up to the edge of the paint. Be careful not to spray the paint because it will rip right off.
I found that using the air eraser is extremely fast and efficient way to remove ALL of the rust. Since the area is small it is hard to get up to the edge of the paint with sanding pen or paper. Not to mention it only takes about 2-3 seconds....literally.
5. Use the compressor to blow away the left over grit to avoid scratch the paint.
6. Pour some laquer thinner onto a microfiber towel and clean out the chip to remove any dust and allow to dry. It only takes a few seconds, then wipe with a dry microfiber.
7. Shake the paint to mix it, then pour the amount needed into the airbrush bottle.
8. Using a small cup or bowl and pour laquer thinner in and place the Q-tips into the thinner. Fold up a microfiber towel and pour little thinner on it.
9. You are ready to spray. Set your pressure, volume, and distance by spraying on something other than the car. In my case I used the tape and plastic but anything will work. I found that full volume (trigger pulled all the way back) and 18 psi and a distance of about a 1/2 inch worked well.
10. Spray your first spot. Dont worry about the overspray because it is very minimal at such low pressure. If you spray directly into the spot it will create a "splattered" look. Instead, spray using a fanning motion passing back and forth over the spot. Two or three passes should do it per coat.
11. After spraying, take the microfiber with the thinner on it and wipe the surrounding area. Once the general area is clean, use the Q-tip and clean up to the edge of the spot like you were coloring and trying to stay in the lines. Roll the Q-tip as you wipe so that you are always wiping with a clean part of it. Then take the opposite dry side and dry the area you just wiped.
12. Repeat steps 10 & 11 for the remaining spots and coats.
11. Allow to dry and then seal using a wax or sealant of your choice.
Pictures!!!
Pics are from start to finish-I fully detailed this car as well but will post those pics later. It takes me while to upload.

 rops:
rops:")