HotRod
New member
- May 14, 2008
- 247
- 0
My van was recently involved in a hit and run accident and caused minor cosmetic damage to the rear of the van. The drunk driver crashed into my parked van, bounced off it and hit the house. Only minor damage was done and nobody was hurt thankfully. And the cops arrested him when he got stuck in a snow drift, but not before he hit 3 more vehicles down the street.
Anyhow, My van went to the body shop to be repaired, and I told them to replace the broken brake light lens with a salvage yard piece to save money, and if it was faded out I would then restore it. They also replaced the bumper assembly and repaired and repainted a few trim pieces. They did a decent job, but induced some swirls and scratches in the paint when they washed my van.
The steps to restore this lens is the same as if I was restoring a headlight and produces brilliant results! In the past I have tried restoring headlights and brake lights with Klasse sealant. But, within 4 months they would start to show wear and fade out. So I am using the spar urethane sealant with excellent results, longevity and adds awesome gloss unmatched with paint sealant or any wax that I am aware of. I have restored the break lights with the urethane before the wreck(7 or 8 months ago) and they still look new, in fact, the broken light was only damaged on the back side of the lens and chipped at the corners. Not sure why the original lens exterior stayed mostly together when the vehicle hit it. It should have shattered but the exterior stayed together. The bulb mounts are what broke, and chipped the corners.
Process:
Wet sand 400, 800, 1000, 2000
Buff with Ryobi drill, wool and foam pads, M105 and M205
Wipe down with Denatured alcohol
Sealant- spar urethane/mineral spirits mixture
If anyone is curious about the urethane treatment, please view this thread, it should answer any questions.http://www.autogeekonline.net/forum...eadlight-restoration-new-uv-sealant-idea.html

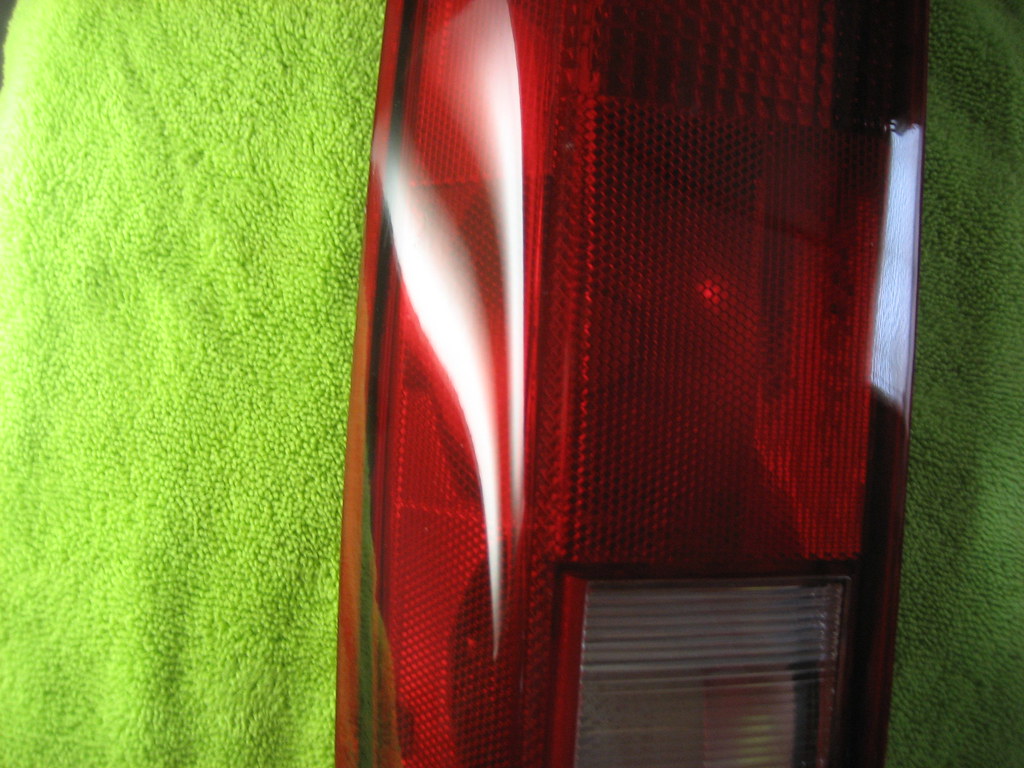
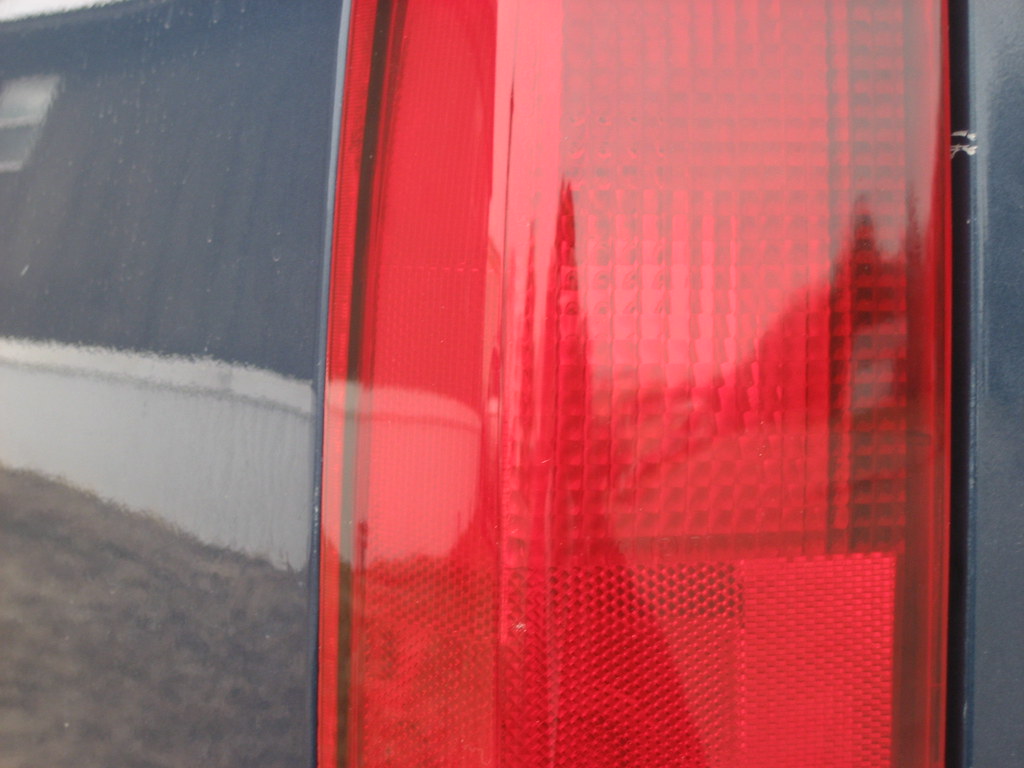
Salvage yard lens before restoration. It is scuffed, scratched, faded and almost has an orange peel texture.

Before Restoration
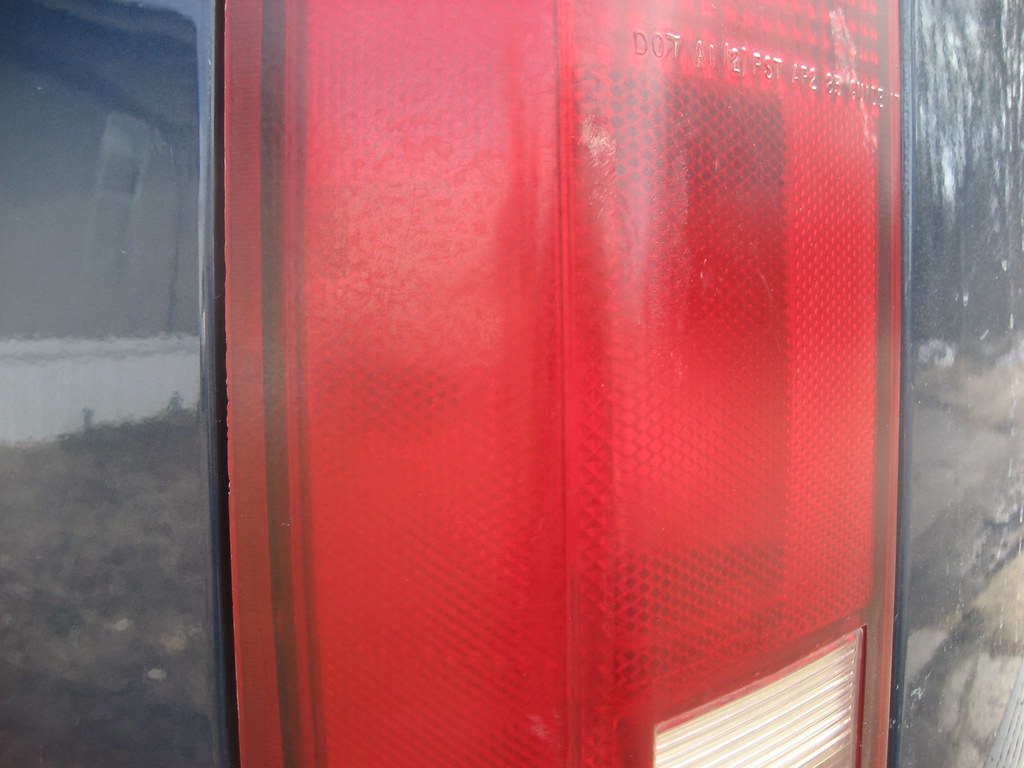
Before Restoration
Before Restoration
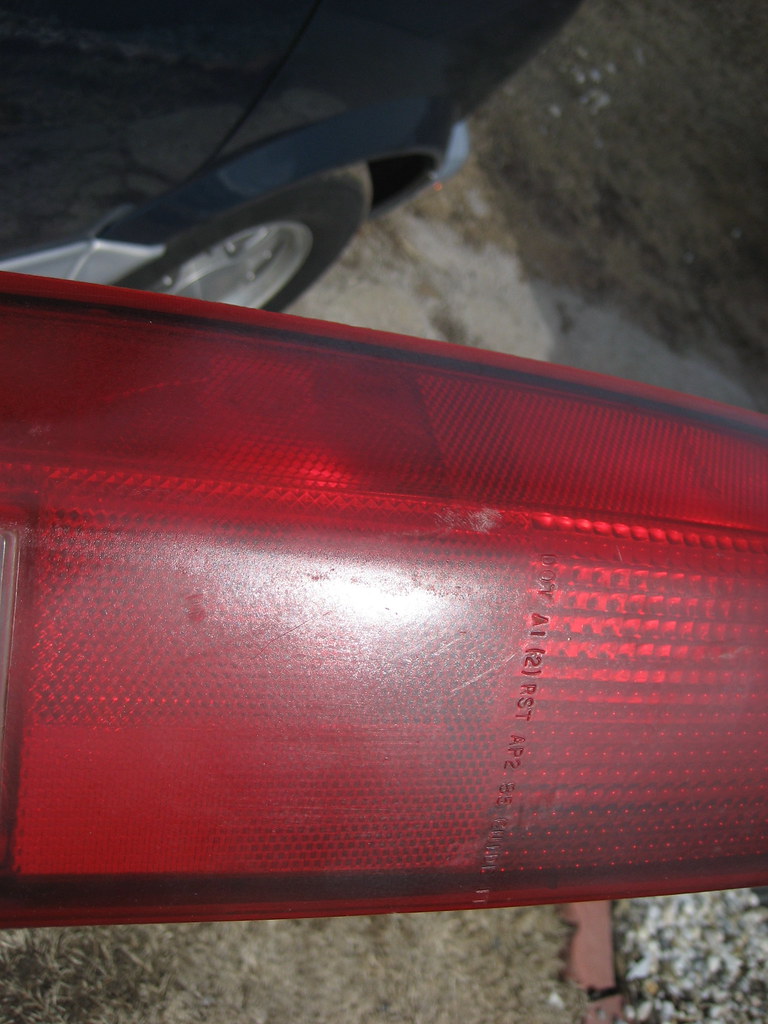
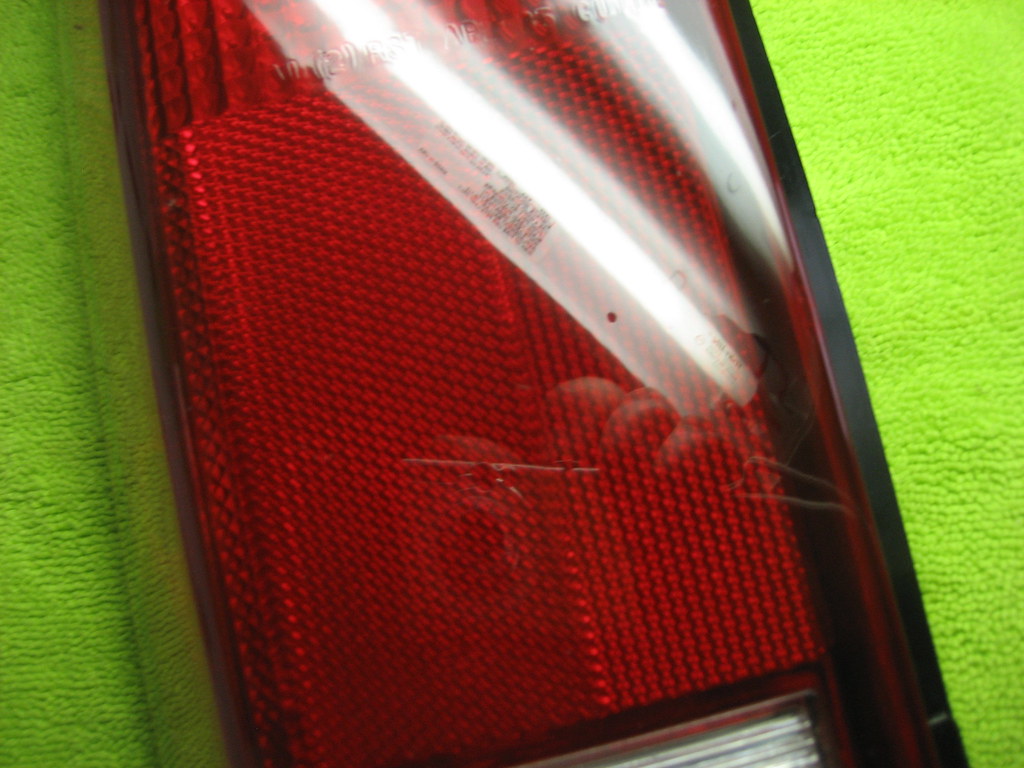
I took the light off to get better pictures and show it with different lighting. This light source is one that I use for paintless dent removal (fluorescent light).
Here is a reflection shot with the fluorescent PDR light.

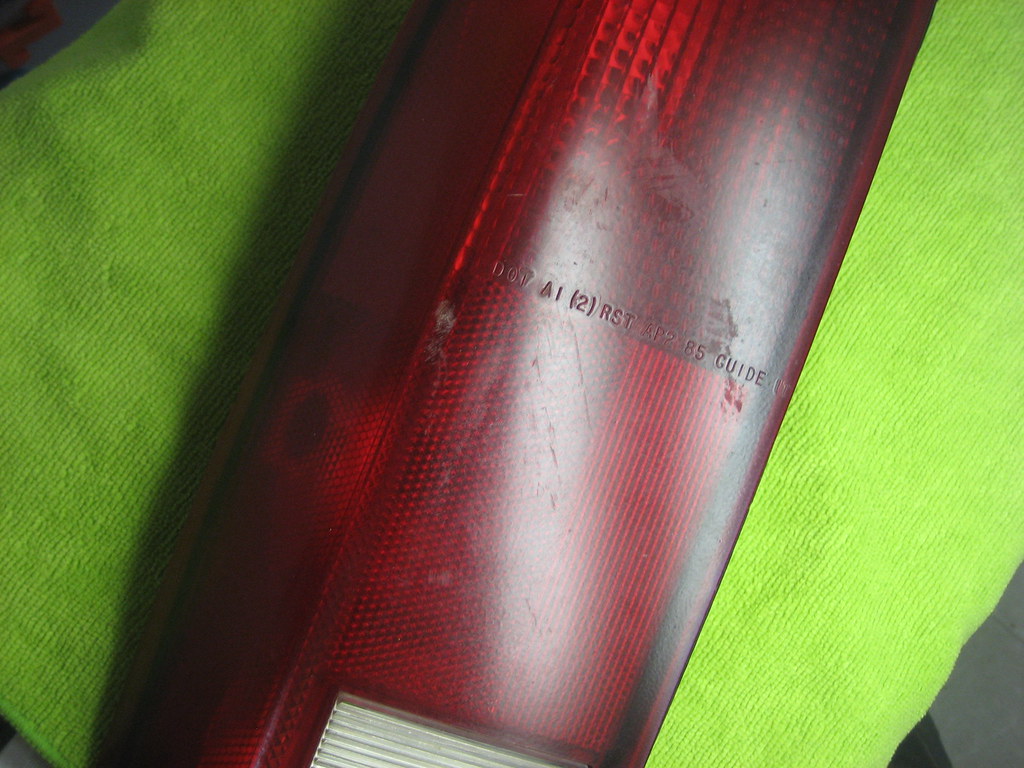
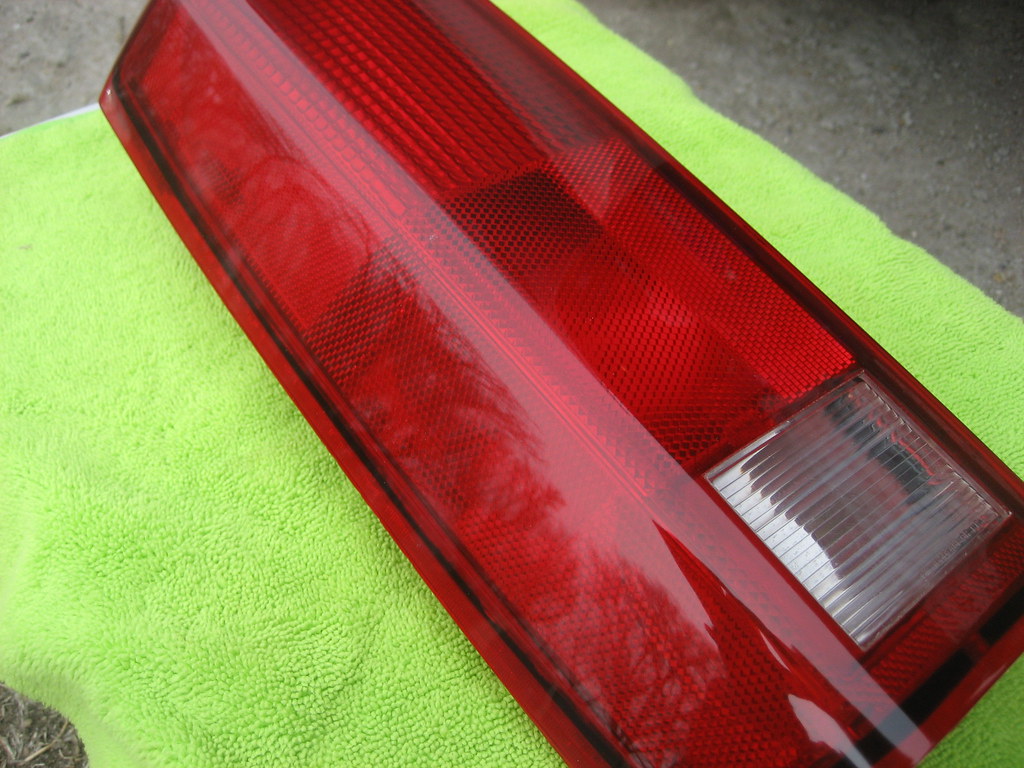
After Restoration. Same reflection source, same brake light, after cure time, Dramatic difference!!!!
After Restoration
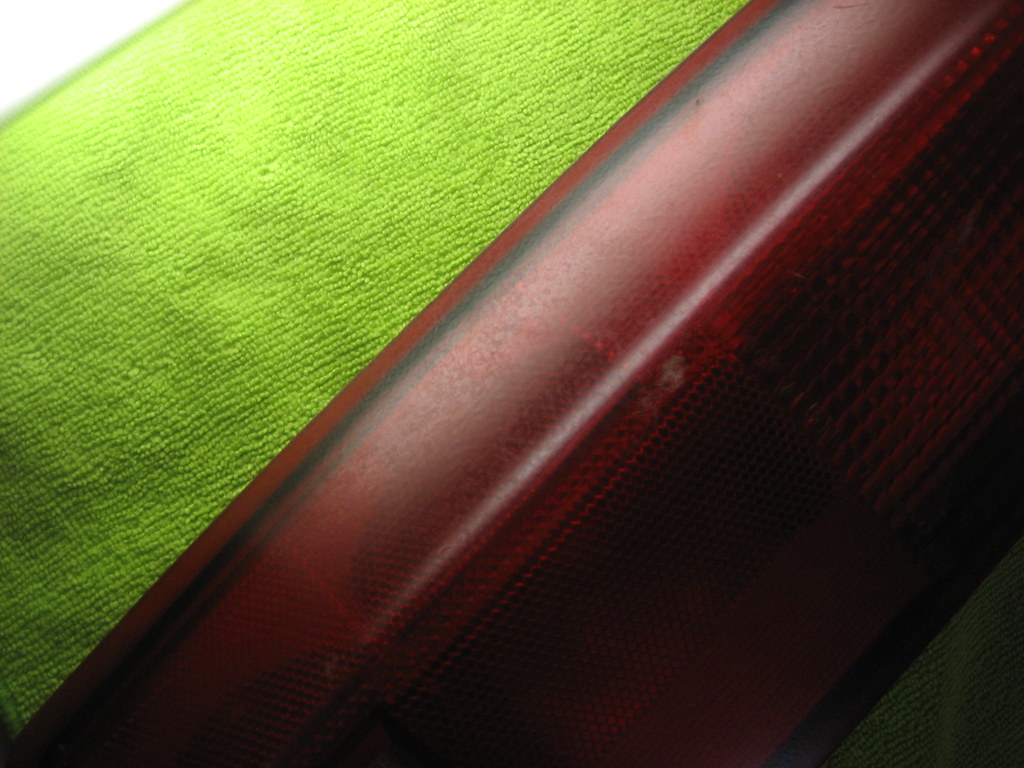
After Restoration. Reflection shot is bare bulbed PDR light.
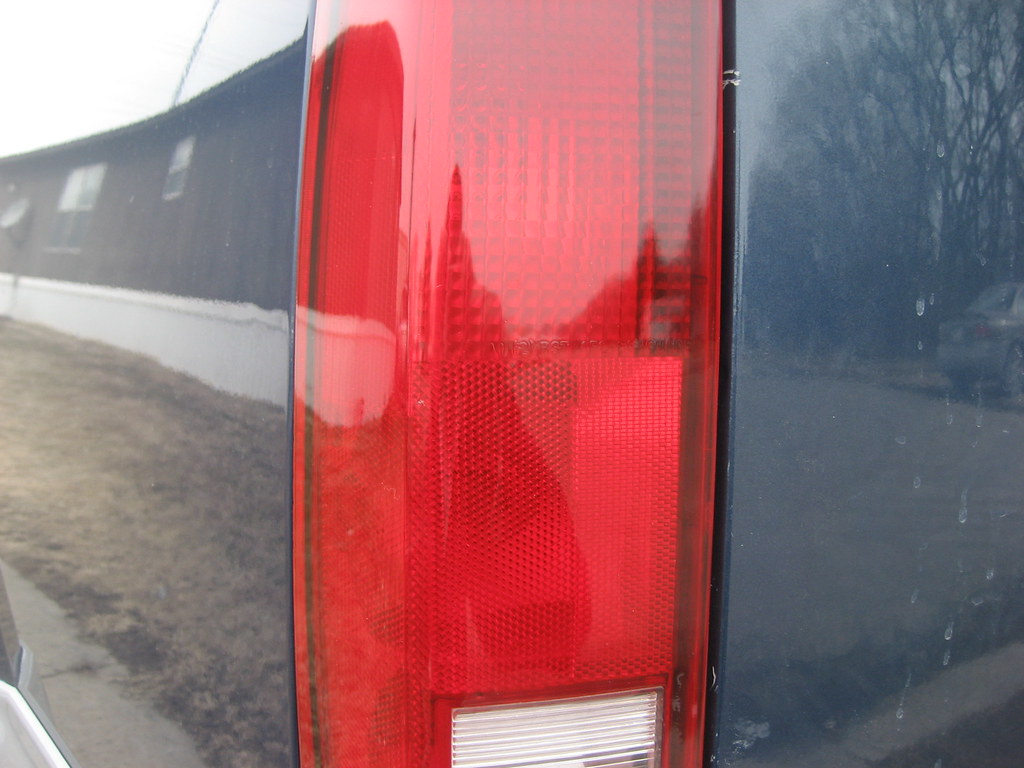
After restoration. Outdoor reflection.

Another outdoors reflection.
After Restoration
After restoration
Anyhow, My van went to the body shop to be repaired, and I told them to replace the broken brake light lens with a salvage yard piece to save money, and if it was faded out I would then restore it. They also replaced the bumper assembly and repaired and repainted a few trim pieces. They did a decent job, but induced some swirls and scratches in the paint when they washed my van.
The steps to restore this lens is the same as if I was restoring a headlight and produces brilliant results! In the past I have tried restoring headlights and brake lights with Klasse sealant. But, within 4 months they would start to show wear and fade out. So I am using the spar urethane sealant with excellent results, longevity and adds awesome gloss unmatched with paint sealant or any wax that I am aware of. I have restored the break lights with the urethane before the wreck(7 or 8 months ago) and they still look new, in fact, the broken light was only damaged on the back side of the lens and chipped at the corners. Not sure why the original lens exterior stayed mostly together when the vehicle hit it. It should have shattered but the exterior stayed together. The bulb mounts are what broke, and chipped the corners.
Process:
Wet sand 400, 800, 1000, 2000
Buff with Ryobi drill, wool and foam pads, M105 and M205
Wipe down with Denatured alcohol
Sealant- spar urethane/mineral spirits mixture
If anyone is curious about the urethane treatment, please view this thread, it should answer any questions.http://www.autogeekonline.net/forum...eadlight-restoration-new-uv-sealant-idea.html
Salvage yard lens before restoration. It is scuffed, scratched, faded and almost has an orange peel texture.
Before Restoration
Before Restoration
Before Restoration
I took the light off to get better pictures and show it with different lighting. This light source is one that I use for paintless dent removal (fluorescent light).
Here is a reflection shot with the fluorescent PDR light.
After Restoration. Same reflection source, same brake light, after cure time, Dramatic difference!!!!
After Restoration
After Restoration. Reflection shot is bare bulbed PDR light.
After restoration. Outdoor reflection.
Another outdoors reflection.
After Restoration
After restoration