Nick McKees37
McKee's 37 Product Support
- Jan 6, 2011
- 7,265
- 0
A lot of stuff ends up on my desk every week. From home made dent removal tools to waxes labeled "the best" and everything else in between. ")
A couple months ago a nicely packaged kit called "BumperSkinz" found its way across my desk. It looked cool enough - a DIY (do it yourself) clear bumper protection film?! But how good could it be? For the suggested retail price of $29.99, it almost looked too good to be true.
After testing it on the rear bumper of a Mercury Sable all summer (Florida heat is the ultimate test), I was pleasantly surprised to say the least. So we brought it in and here I am now.
What is BumperSkinz exactly?
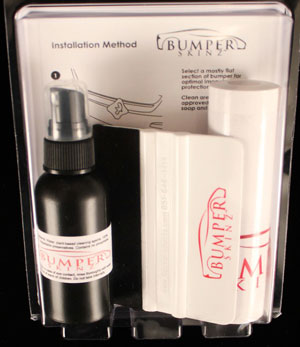
BumperSkinz Crystal Clear Bumper Protection is a pre-cut, totally clear bumper protection film with the easiest application ever. BumperSkinz Crystal Clear Bumper Protection protects your bumper from the most common assaults; nicks caused by runaway shopping carts, dings from a careless parallel parker, scuffs, scratches, and more! The peel-and-stick application takes less than 5 minutes, and virtually anyone can do it – you don’t need to be a professional body shop employee! Bumpers take the brunt of most damages done to cars; make sure it’s protected with BumperSkinz Crystal Clear Bumper Protection.
BumperSkinz is sold exclusively as a kit. It contains a strip of clear film that's 5.5" x 50" long, a felt-tipped squeegee and 2 ounces of application fluid.
Application is easy!
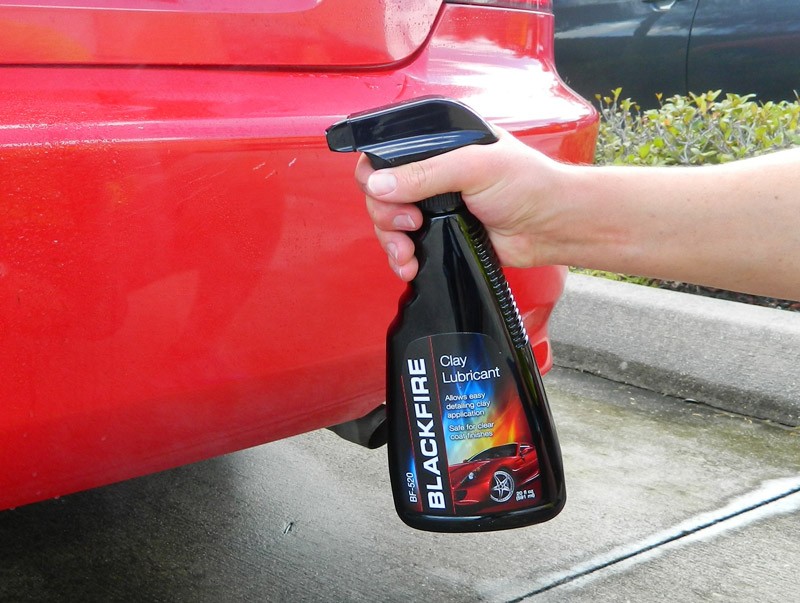
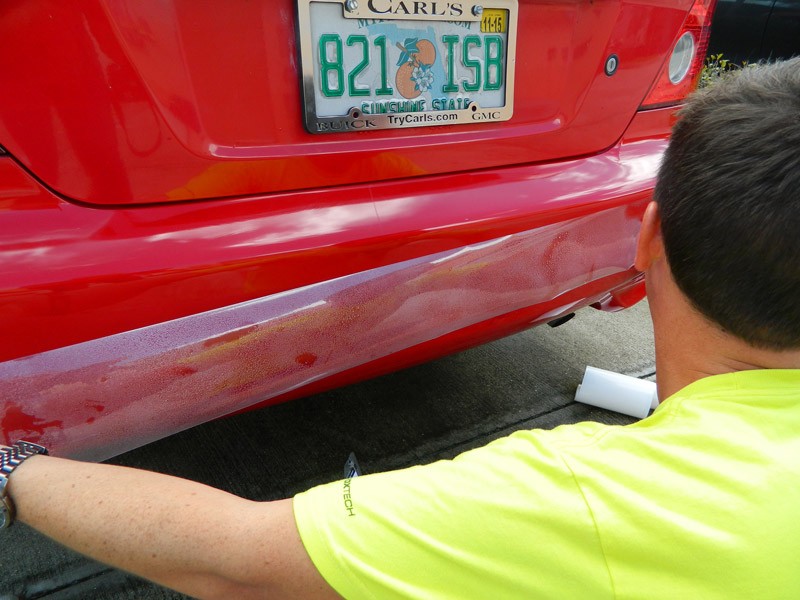
First, you need to clay the bumper to remove above-surface contaminants that would otherwise prevent the film from adhering. BLACKFIRE Poly Clay and Clay Lubricant made this step quick, easy and very effective.
Spray
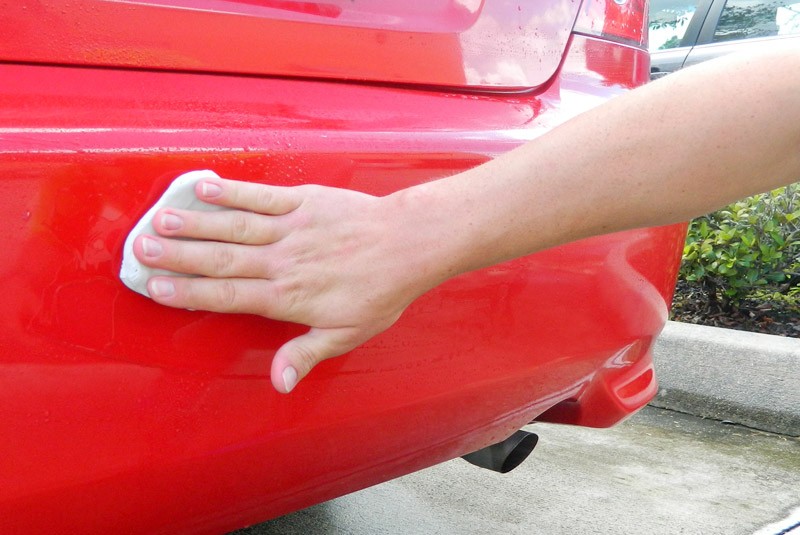
Rub the clay patty back and forth until it glides freely
Fold and re-knead the clay as needed
Look how contaminated the bumper was on this Civic!

Then, spray the panel with the included applicator fluid

Also spray the film as you unravel it
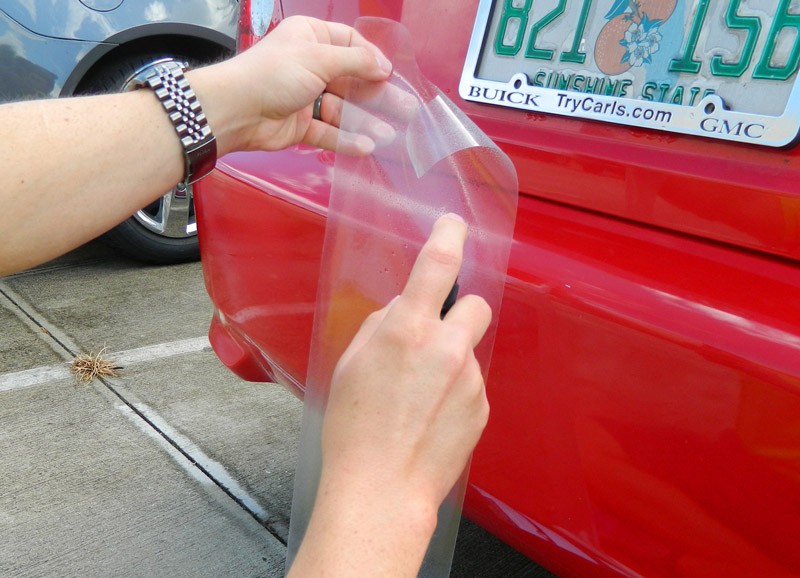
Position it across the bumper, making sure to line it up the best you can
I used the back up lights on the Civic as my point of reference

Use the included squeegee to smooth the film over the panel, removing air bubbles and excess applicator fluid


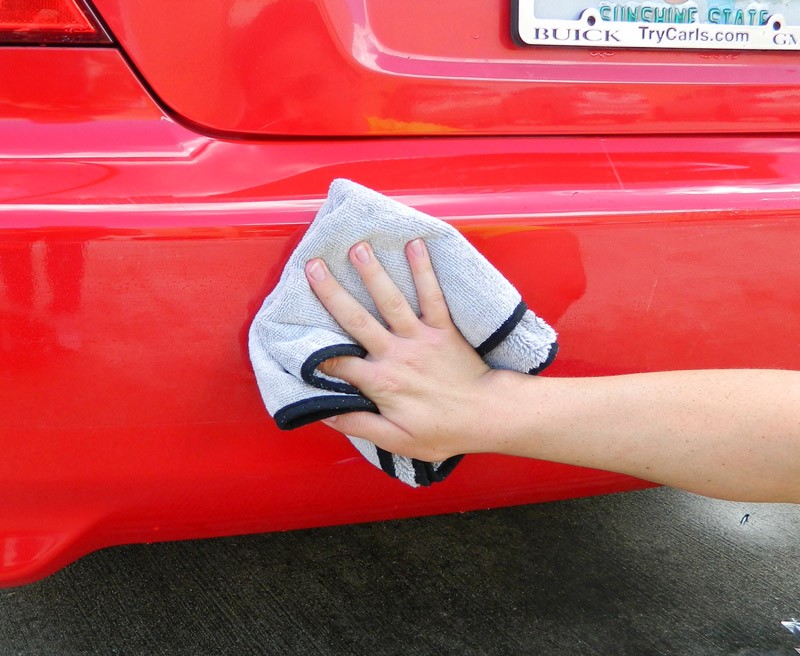
Wipe off any excess applicator fluid
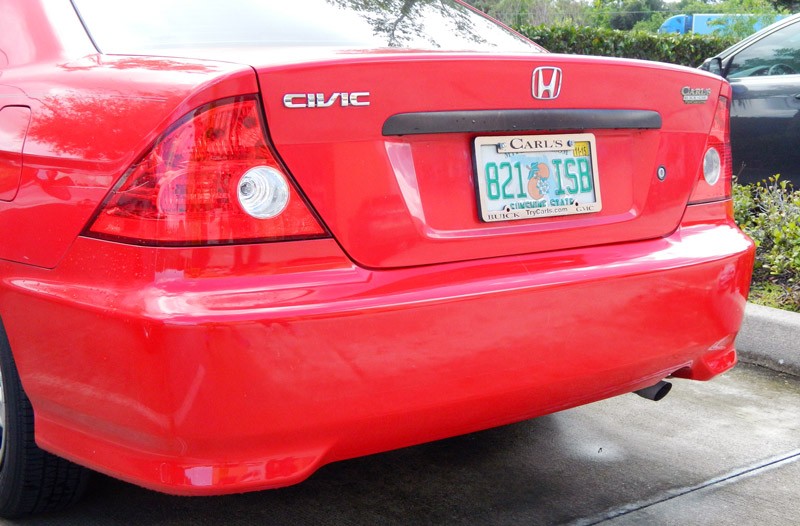
Stand back and admire your newly protected bumper!
I was very skeptical of BumperSkinz, but it turned out to be an easy, inexpensive way to apply a strip of protection to help prevent damage from shopping carts, careless children, etc. For less than 30 bucks per kit you can't go wrong.
Two thumbs up.
BumperSkinz Crystal Clear Bumper Protection
BLACKFIRE Poly Clay & Lubricant Combo
A couple months ago a nicely packaged kit called "BumperSkinz" found its way across my desk. It looked cool enough - a DIY (do it yourself) clear bumper protection film?! But how good could it be? For the suggested retail price of $29.99, it almost looked too good to be true.
After testing it on the rear bumper of a Mercury Sable all summer (Florida heat is the ultimate test), I was pleasantly surprised to say the least. So we brought it in and here I am now.
What is BumperSkinz exactly?
BumperSkinz Crystal Clear Bumper Protection is a pre-cut, totally clear bumper protection film with the easiest application ever. BumperSkinz Crystal Clear Bumper Protection protects your bumper from the most common assaults; nicks caused by runaway shopping carts, dings from a careless parallel parker, scuffs, scratches, and more! The peel-and-stick application takes less than 5 minutes, and virtually anyone can do it – you don’t need to be a professional body shop employee! Bumpers take the brunt of most damages done to cars; make sure it’s protected with BumperSkinz Crystal Clear Bumper Protection.
BumperSkinz is sold exclusively as a kit. It contains a strip of clear film that's 5.5" x 50" long, a felt-tipped squeegee and 2 ounces of application fluid.
Application is easy!
First, you need to clay the bumper to remove above-surface contaminants that would otherwise prevent the film from adhering. BLACKFIRE Poly Clay and Clay Lubricant made this step quick, easy and very effective.
Spray
Rub the clay patty back and forth until it glides freely
Fold and re-knead the clay as needed
Look how contaminated the bumper was on this Civic!
Then, spray the panel with the included applicator fluid
Also spray the film as you unravel it
Position it across the bumper, making sure to line it up the best you can
I used the back up lights on the Civic as my point of reference
Use the included squeegee to smooth the film over the panel, removing air bubbles and excess applicator fluid
Wipe off any excess applicator fluid
Stand back and admire your newly protected bumper!
I was very skeptical of BumperSkinz, but it turned out to be an easy, inexpensive way to apply a strip of protection to help prevent damage from shopping carts, careless children, etc. For less than 30 bucks per kit you can't go wrong.
Two thumbs up.
BumperSkinz Crystal Clear Bumper Protection
BLACKFIRE Poly Clay & Lubricant Combo