Coatings and Single Stage Paints

Becciasm

New member
Joined
Jul 6, 2009
Messages
1,066
Reaction score
0
Looking for some experienced help here... Maybe Chris@Optimum or Avi can chime in on this one as well.

I have a 2011 red honda fit econobox scheduled for mild oxidation removal and protection. Red honda fit's are single stage paints.

I know the benefits of opti-coat and Cquartz, and i have Cquartz on hand at the moment.

this will be my first attempt at correction of single stage paints, and I have several options on hand to give it a go - chemical paint cleaners, light to heavy polishes and compounds, glazes and AIO's, as well as blue, grey, white, and orange pads.

If correction happens using the least aggressive method of feeding the paint with glazing oils, would I be able to use Cquartz to protect the paint? I'm thinking NO, because the coating will not bond to any surfaces that have glazing oils present.

If the answer is no, do I use a light polish and abrade the oxidation away, exposing fresh paint and color, then Cquartz after cleaning the surface of polishing oils?

Do coatings even work with single stage paints?

I will post pics when I get the vehicle.
 
Your thoughts are right on. The coatings won't bond correctly with oils on the paint. Durability would be very poor.

You are also correct about polishing and removing the oxidation. At that point after removing the oils you can coat the vehicle. HOWEVER, with both Opticoat and CQuartz there is no guarantee that the coating will be as durable as it is on clear coat. There are so many different types and conditions of single stage paints neither company guarantees results on single stage. However, many people have been successful on single stage paint. Occasionally a user will experience durability not lasting as long as they do on clearcoat paints.

Thanks Corey.

What about UPGP? Will UPGP bond with using glazes to restore the finish over polishing?

This car sits outside 24/7 and is exposed to salt, fallout, weather, SUN (obviously), and other fun environmental effects of living at the beach..

UPGP with 845 over top?The car care maintenance for this car is next to nothing.
 
:cheers: No, unfortunately the UPGP won't bond great to most glazes either. I have layered it with danase wet glaze but never tested it with danase as the first layer.
 
:cheers: No, unfortunately the UPGP won't bond great to most glazes either. I have layered it with danase wet glaze but never tested it with danase as the first layer.

oK. SO depending on which method works, sticking with least aggressive and moving up as needed, will determine my choice of lsp.

Thanks Corey!

Fortunately i have several types of products to try. I will have to take pics.

Does anyone have experience with KAIO or JWPrime or similar on single stage? The goal of this detail is oxidation removal, not necessarily swirl/scratch correction...
 
My pleasure Steve!

If you remove all the oxidation and leave the paint oil free then the CQ you have on hand should work well and give better protection then any sealants or aio, etc.

Sorry, Im not experienced with those aio products you mentioned but look forward to others comments.
 
Steve, I meant to mention one other thing. I would apply to one section, wait 30 minutes, and buff off to check results before duplicating on an entire single stage paint vehicle just to be safe.
 
Double check the red fit is single, I'm a Honda enthusiast and I'm under the impression the only Honda color that is single is the white.
This from a google search:


mikenap
07-19-2011, 09:44 AM
Sorry if all this has gotten a little confusing. According to the Fit's paint code, it's a tricoat paint with tint in the outer clearcoat. Treat it like clearcoat and you should be fine. BTW, the Colli Sapphire cleaner isn't recommended for clearcoats so I'd stick with your Klasse twins.

Will do.. Thanks for the info Glen.. I've checked around a few places as well and the other rumor is that the milano red is single stage... but maybe that was for the older fit models.. If it is a tricoat, Cquartz it is!! :)

In any event, a test spot should help nail down the correction process. If glazes and light polishing do not do it, then I'll step up the process.

I took pics yesterday evening and this morning... i'll post them later today to help with suggestions.
 
Last edited:
I've had good results on an older honda ridgeline with white paint. I know white isn't the best example but Honda often puts a small amount of metal flake in there paints so when it oxidized it was in really bad shape. The paint had that chalky feeling that single stages get without protection. The only thing I used on this car was a petroleum based sealer and a wax pad with a DA, and just paid attention to make sure that the pad was rotating while I was applying it and it cleaned right up. Zero oxidation metallics shining through in the direct sun light. It will not take much to get it back to where it needs to be. Your simplest, quickest, lightest cut polishing method with a long lasting synthetic sealer is all it will take to make this customer happy.
 
If the paint is tinted, you would still treat it like a clear coat finish because the resin is the same as a straight forward clear coat finish only it has a "little" tinting or pigmenting added for a special effect.

If the paint is a single stage, the issue is that single stage paints tend to me more porous or open, a big word for this is permeable. Then like others said modern coatings are all being formulated for the type of paint that is being used on the majority of all new cars being manufactured and as of today that's still basecoat/clearcoat paint systems.

If you're seeing oxidation on your Honda's tinted clear coat finish then you can correct this using a medium cut to a light cut polish.

Word Definitions - Compounds, Polishes, Glazes, Paint Cleaners and Waxes


After polishing, follow the manufacturers recommendations for preparing the paint for their coating and you should be okay. I find the Erasure works a lot better for chemically stripping paint versus simple IPA/Water plus there's the synergistic chemical compatibility factor working in your favor.

Also, ask yourself how did the paint become oxidized? It's possible that you might want to practice more frequent car car maintenance. Oxidation tends to happen and accelerate when paint is left neglected. Frequent use of a light polish or cleaner/wax will remove and prevent oxidation as will using a quality car wash soap and avoiding detergents.


:)
 
Here's something I wrote on the different types of paint systems...


Single Stage Paint - Tinted Clears - Basecoat/Clearcoat - Embedded Dirt


Single Stage Paint

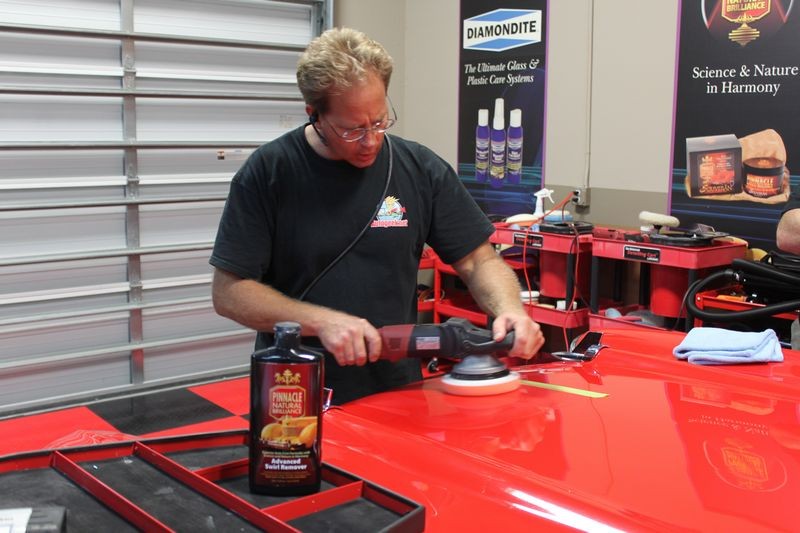
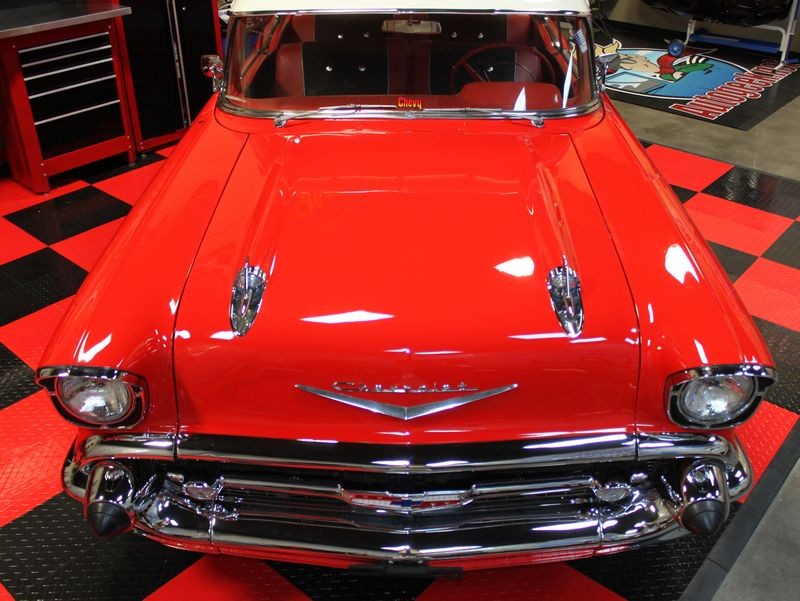
If you're pulling a LOT of color or pigment then the car is a single stage paint like this 1957 Chevy we buffed out just a few weeks ago...

1957 Chevrolet Bel Air - Remove Swirls - Modeled by Kristin

1957BelairExtremeMakeover030.jpg


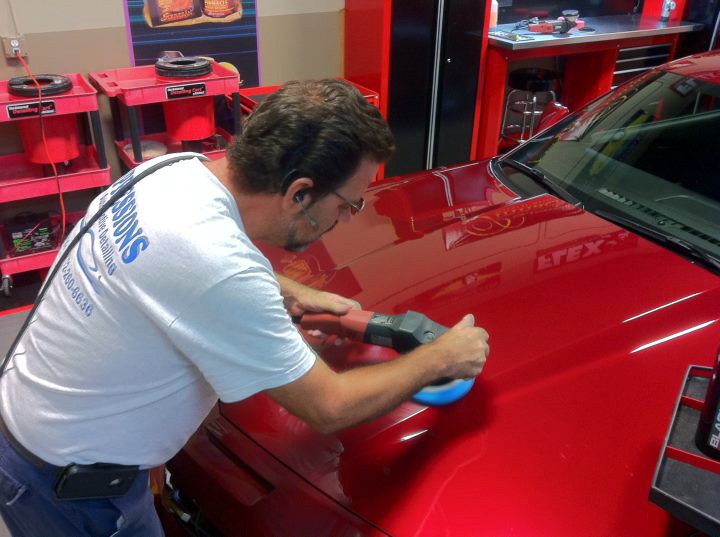
Yep... we're working on red single stage paint as you can see by the red pigment transferring to the face of the buffing pad.

1957BelairExtremeMakeover031.jpg


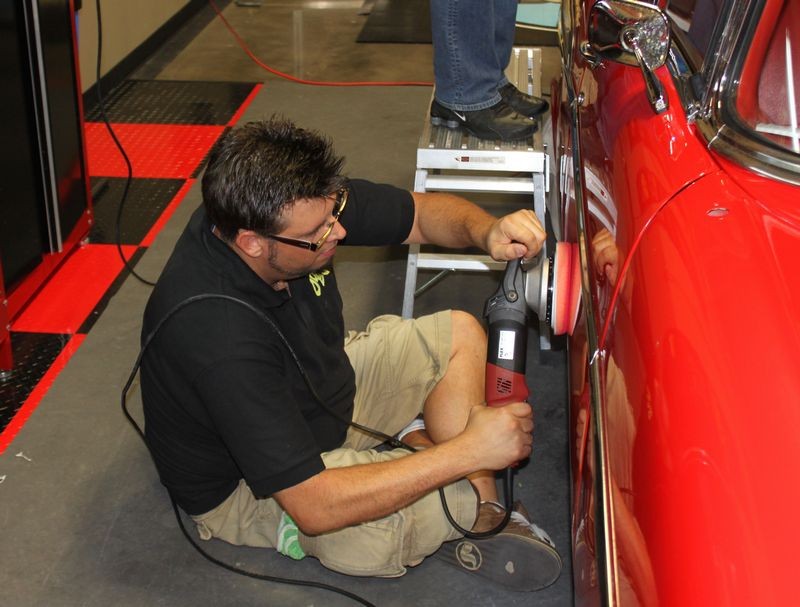
You can see the red pigment building up on the pad as PJ buffs a vertical panel.
1957BelairExtremeMakeover042.jpg


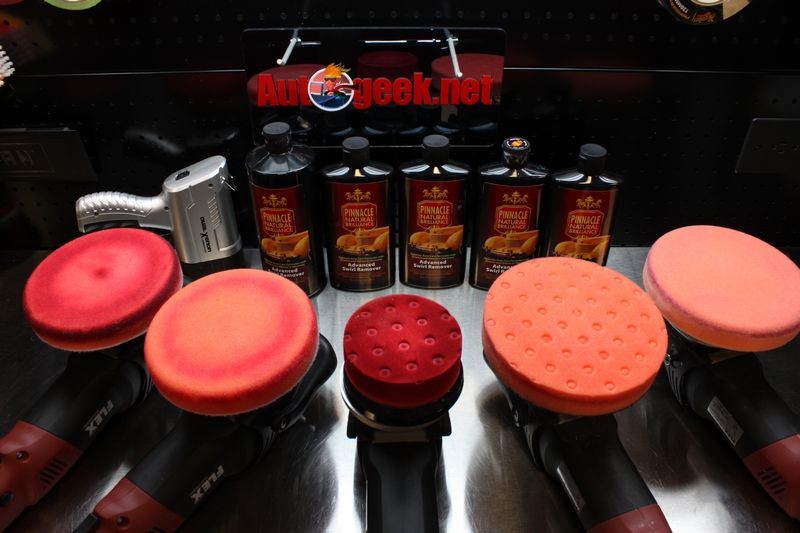
Here you can see red pigment on the face of some of the buffing pads we used on the 1957 Chevy...
1957BelairExtremeMakeover043.jpg


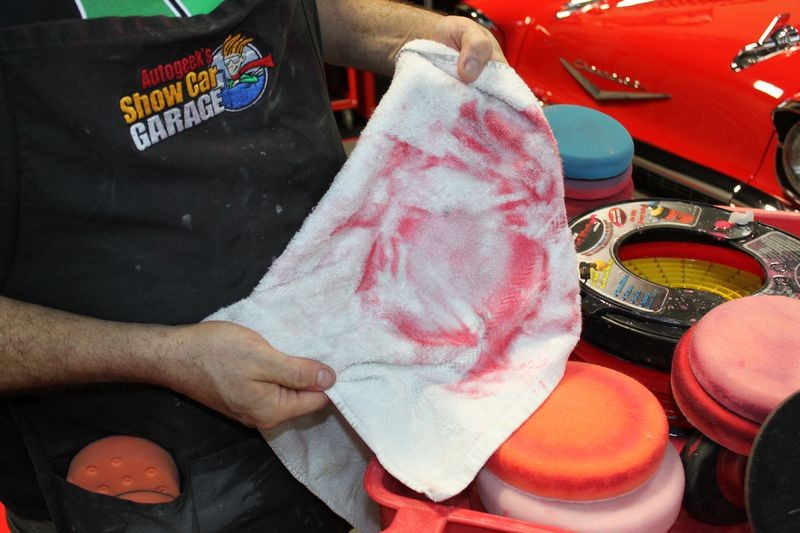
And you can really see the red pigment on this white terry cloth towel after doing some pad cleaning...
1957BelairExtremeMakeover051.jpg


Finished...
One thing about single stage paints, correctly polished you get amazing richness of color, gloss and depth...
1957BelairExtremeMakeover096.jpg


Tinted Clear Coats
If you're working on a TINTED clear you'll pull a LITTLE color or pigment and see this on your buffing pad. For example, here's some pictures from the Red Jewel Tint 2011 Camaro we buffed out a few weeks ago that belongs to Rene.


2011 Camaro - Modeled by Amy


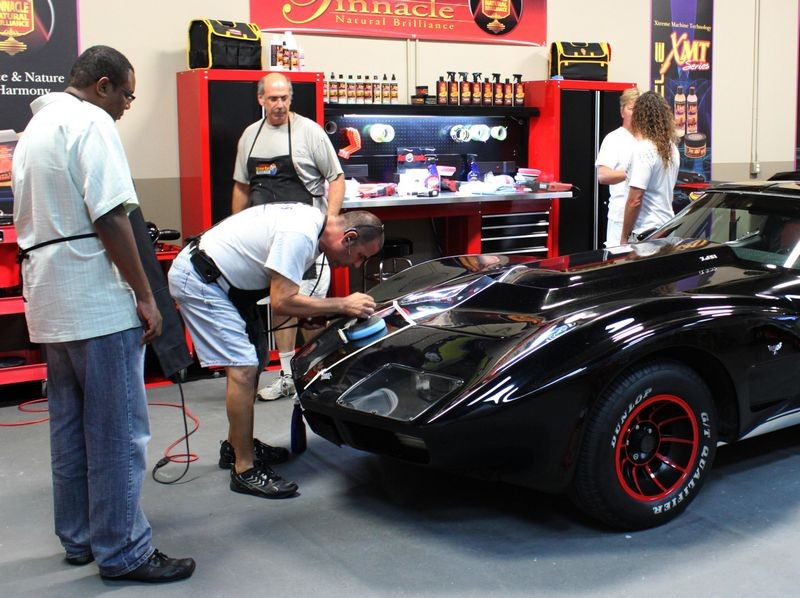
Robert does a Test Spot on the hood to dial-in the process the rest of us will duplicate over the rest of the car. For this he's using the Flex 3401 with a Cyan Hydro-Tech Cutting Pad and the Blackfire Scratch Resistant Compound. This combination of products on the 5.0 Speed Setting removed all but the deepest RIDS
2011RJTCamaro008.jpg


Here you can see the tint in the tinted clear coming off the car as we compound it and onto the face of the pad. This is nothing to worry about, keep in mind when you're doing any correction work on a clearcoat paint system you too are removing paint that is building up on the face of your buffing pad but because the paint is clear you won't see it build-up on the face of your pad.


2011RJTCamaro010.jpg


See this article,
Why it's important to clean your pads often...


Finished...
Polished correctly, tinted clears offer a candied look...
2011RJTCamaro023.jpg


Clear Coat Paint
If you're working on a clear coat paint the only color you should see on the pad is the color of the compound, polish or wax you're using.

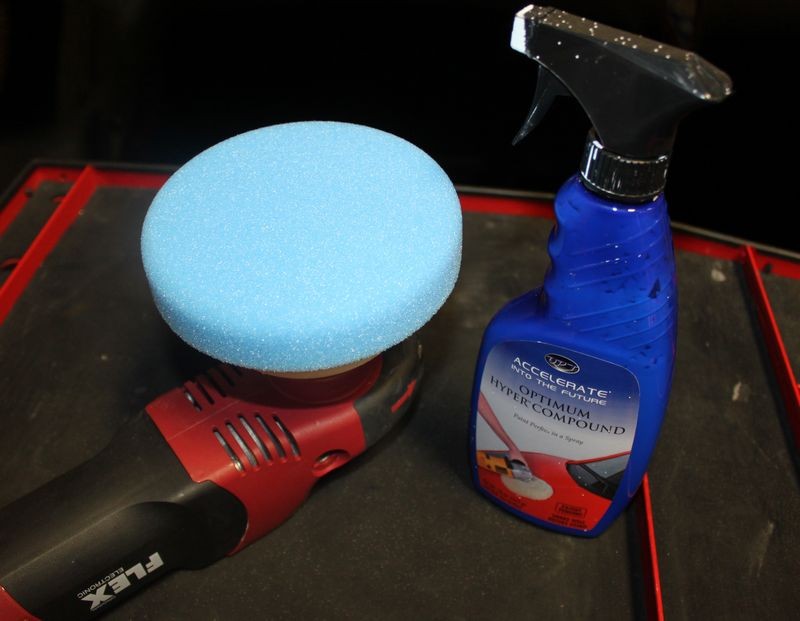
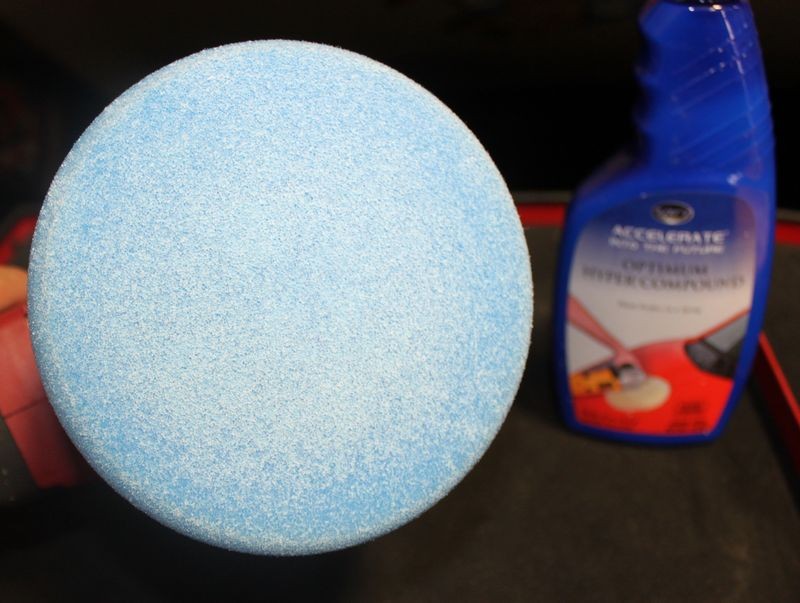
When we buffed out the 1977 Can Am Corvette we used Optimum Hyper-Compound which is blue on a blue pad on a clear coated black car and never pulled any color during our buffing process.

CanAmCorvette116.jpg


CanAmCorvette117.jpg


CanAmCorvette029.jpg


No color coming off the car and onto the pad...
Anytime you're working on a clear coat the only color you want to see on your buffing pad is the color of the pad and the color of the compound, polish or wax. If you see the color of the paint... that's a bad thing... a real bad thing...

CanAmCorvette118.jpg


Finished...
Polished correctly a clear coat will be perfectly clear and showcase the color of the basecoat...
CanAmCorvette073.jpg


Embedded Dirt In Paint...
It's possible to be working on a clear coated car and see a brownish, grayish, blackish tinge or tint on your buffing pad even after washing and claying the paint. If you see this it's a sign of staining of the paint which is dirt in the air or some type of contaminant embedded on the paint and in the paint from the environment in where the car is stored, driven or parked.

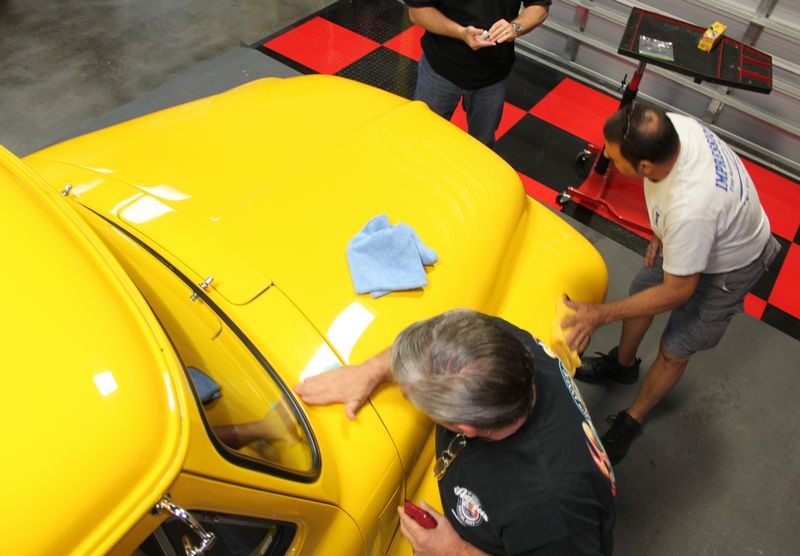
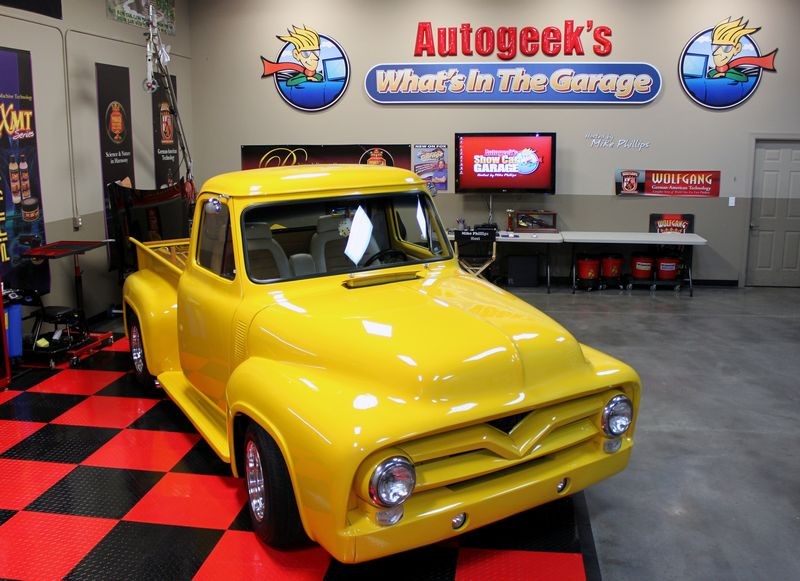
1954 Ford F-100 - Extreme Makeover - Process and products used


We wiped this "Show Truck" down with DP Waterless Wash and then clayed each panel, this effectively would have removed any loose dirt or dust and bonded contaminants.

Restoring smoothness by claying the paint
Here's Glen the owner of the truck claying just in front of the windshield for the very first time..
54Ford621.jpg


Here's Jeff claying the back of the truck...
54Ford64.jpg


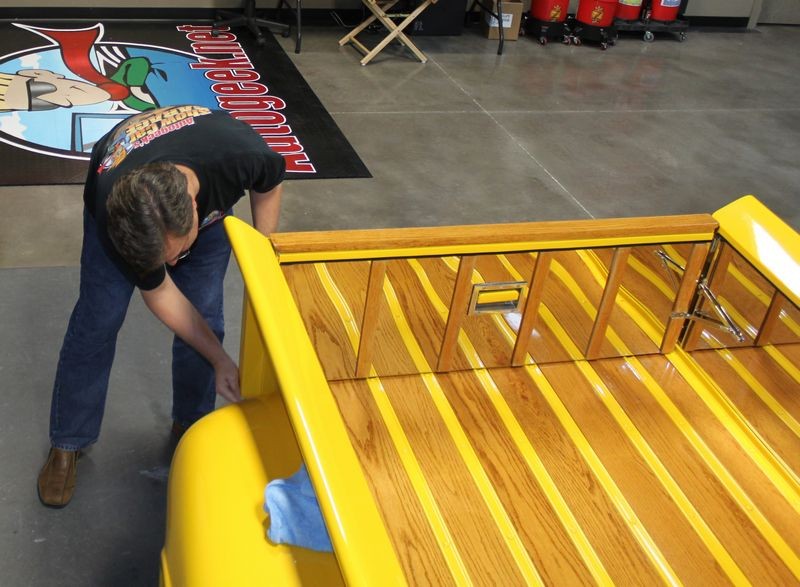
Rene claying the bed rails...
54Ford65.jpg


Glen, Adam and Rene claying the paint... you can already see the gloss becoming amped up just from claying...
54Ford66.jpg


Here's Robert and Glen tackling the roof, not they are standing on stable work platforms to protect both themselves and the truck.
54Ford82.jpg


Robert using the PC and Glenn using the Meguiar's G110v2
54Ford83.jpg


Remember how dirty the clay was after claying just one half of the roof? Clay remove ABOVE surface bonded contaminants but it doesn't remove embedded staining of the paint. You can see abrading the paint with a light polish and a microfiber pad has removed the staining effect and restored a very bright and shiny finish.
54Ford84.jpg


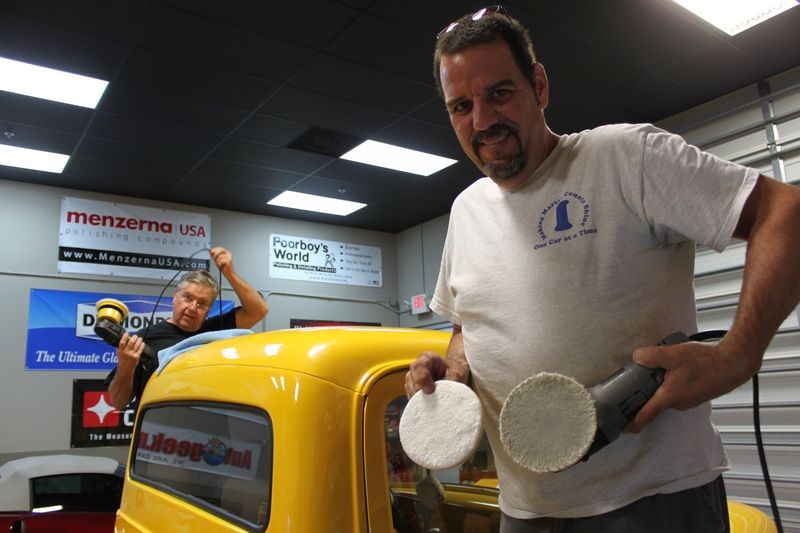
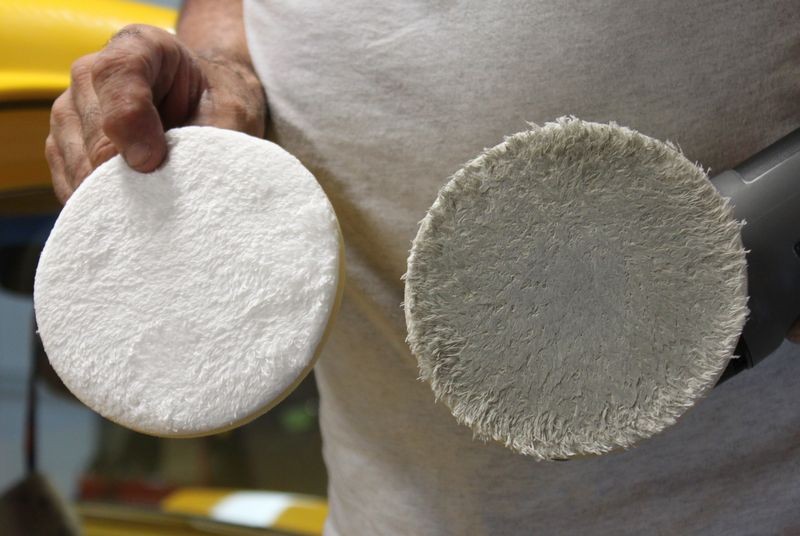
The pad on the left is new and bright white, the pad on the left is a grayish tinge to it from embedded dirt that was removed during the polishing process.
54Ford85.jpg


Finished...
Polished correctly, any swirls, scratches and embedded dirt will be removed and a totally clear and smooth finish produced...
54Ford113.jpg


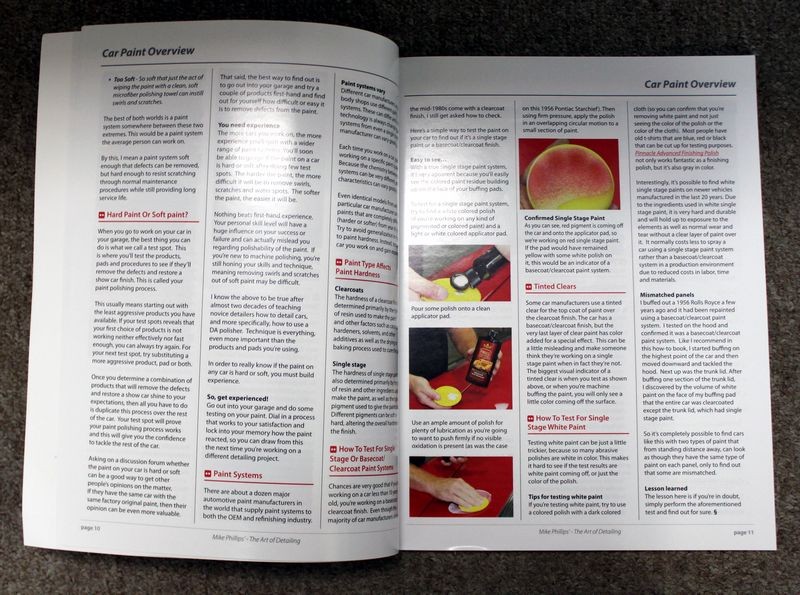
How to test for single stage paint, tinted clears and basecoat/clearcoat paint systems
I also cover how to test for single stage, tinted clears or basecoat/clear paints on page 10 and 11 in my how to book.

E-bookpage10a.jpg


E-bookpage10a.jpg


:)
 
If the paint is tinted, you would still treat it like a clear coat finish because the resin is the same as a straight forward clear coat finish only it has a "little" tinting or pigmenting added for a special effect.

If the paint is a single stage, the issue is that single stage paints tend to me more porous or open, a big word for this is permeable. Then like others said modern coatings are all being formulated for the type of paint that is being used on the majority of all new cars being manufactured and as of today that's still basecoat/clearcoat paint systems.

If you're seeing oxidation on your Honda's tinted clear coat finish then you can correct this using a medium cut to a light cut polish.

Great advice

Also, ask yourself how did the paint become oxidized? It's possible that you might want to practice more frequent car car maintenance. Oxidation tends to happen and accelerate when paint is left neglected. Frequent use of a light polish or cleaner/wax will remove and prevent oxidation as will using a quality car wash soap and avoiding detergents.

:)

That's easy: the owner practices ZERO car maintenance - it was only through a friend of mine that i got a hold of the car because he had just started doing the maintenance work on it! I'm going to offer her a monthly plan that I can at least monitor the finish and keep up on the protection..

Here's something I wrote on the different types of paint systems...

:)

Thanks for the article Mike :xyxthumbs:

I had actually referred to this article when talking with the owner regarding the car's paint condition.

When i get the pics uploaded everyone will hopefully be able to see what I'm seeing. It looks and feels 99% like oxidized paint - but we'll know more after I get into it..

Thanks everyone for your help!
 
Thanks for the article Mike :xyxthumbs:

I had actually referred to this article when talking with the owner regarding the car's paint condition.


Cool. It's always interesting to read feedback like this, I put the above article together by simply using portions of other how-to article I had already written and just by chance it all worked out pretty good.


:)
 
Cool. It's always interesting to read feedback like this, I put the above article together by simply using portions of other how-to article I had already written and just by chance it all worked out pretty good.


:)

It's funny, because this is one of those clients that "just doesn't care"... she really didn't care what I was going to do and why... just make it shiney again..

I'm lucky to have a great knowledge base from the AG forum to fall back on to do it correctly... :props:
 
I remember the first time I buffed single staged paint; it was a red chevy truck. When the whole pad turned red after a few passes I nearly fainted, I thought I had burned the clear coat completely off and hit the base coat after 2 light passes.
 
Although Optimum Coating was designed for clear coat applications, we have found that it will bond to any hard surface when prepped properly. When considering a single stage paint system, the "bare paint" rule still applies. You can apply it to single stage, but you will need to "strip" the surface of all waxes, polishing oils, etc. so that proper bonding will occur.
 
update:

I've attached some pics of the current conditions. P & S camera and I'm not a professional photographer by any means, so i apologize for the quality..

So, I had originally thought i was dealing with single stage honda red paint that was mildly oxidized - this was only partially correct; what was then suggested that it was tri-coat paint with a tinted clear coat was also only partially correct..

As i got into correction with my PC 7424 (non XP), i noticed that the least aggressive methods - KAIO, JW Prime, XMT swirl #1 - were not making a dent in the color of the car. It looked pink prior to any correction attempts, and was still pink after the first tries..

I stepped up to UC/105 on an orange pad.. nothing.. no color change, pink still existed. Checking my pads after every pass and after every combination for color transfer, i didn't see any red on any pad. This leads me to believe this is a typical BC/CC paint combination.

As you can see below from the 50/50 shots, there is a good amount of correction as far as swirl removal, but the car is still pink. I'll get more shots this afternoon when i can continue on correction.

In the first pic below i had tried to capture the difference in color between the hood and the front fender (both yet uncorrected); the fender is still a vibrant red, but the hood is faded.

The next pics are the same shots with different lighting conditions (with and without camera flash) - right side UC/105, left side untouched..

DSCN0623.JPG


DSCN0615.JPG


DSCN0617.JPG


Any thoughts or advice? it seems that the clear layer on the horizontal panels is faded through and i would assume that it is on the verge of total failure.

I will continue with the correction on the rest of the car, and finish up the detail for my client, but I am kinda disappointed that i was not able to deliver on the color restoration that she had requested, even though the root cause of the color fade is beyond my control...
 
I stepped up to UC/105 on an orange pad.. nothing.. no color change, pink still existed.

This is a very telling sign because anything that was TOPICAL would have been abraded off and restored clarity to the clear coat to enable a person's eyes to see the true color underneath.

That's why I love this article, it's the only good picture I've ever seen of "Beginning Clear Coat Failure" where the clear layer has NOT started to flake off like the car has a rash but you can clearly see the cloudiness in the clear layer since it's sitting over the top of black paint.


Beginning Clearcoat Failure

Here is the best example I've been able to find that shows beginning clear coat failure, it's from a thread I created on MeguiarsOnline called the The Clearcoat Failure Photo Archive


Photos Courtesy of MeguiarsOnline
2600_8_30_06OG003.JPG


Since I have not been able to find a similar car with the beginning of clear coat failure to photograph for the AG forum, and because this is a very useful picture for helping people diagnose what type of problem they're having with their car's clear coat I've added to the Clearcoat Failure Photo Gallery Archive here on AG but have given proper credit to where I obtained the photograph.

Due credit where due credit is due.... which more people would do this...


On AutogeekOnline.com

The Clearcoat Failure Photo Gallery Archive


This same thing happens to other cars before it starts to flake off it's just that you cannot see it as easily on non-black cars. This could be what's wrong with the Honda's paint you're working on.


Questions

Does this car sit out side all of the time?

Does this car live in an extreme sun location?


Checking my pads after every pass and after every combination for color transfer, i didn't see any red on any pad. This leads me to believe this is a typical BC/CC paint combination.

IF this car has a tinted clear coat finish you would have seen the tint or "color" coming off on the pad. This would be very apparent using a white pad with a white compound or polish.

I think your instincts are correct. Just goes to show how important it is to do some testing and focus on the task at hand.


:)
 
Back
Top