Confused by Michael's instruction how to prim a new pad?

robert1955

New member
Joined
Feb 19, 2011
Messages
66
Reaction score
0
I am reading again and taking notes on Michael Phillip's new book on auto detailing. In the part were he tells how to prime a new DA pad I am confused. He uses different techniques to spread the polish over the surface of the pad . but in the pictures it really looks like way too much material to use.

Can you elaborate on this for me. It almost looks like I would need a pad for each fender and section of the hood roof and trunk. Also can you further elaborate on pad conditioners in auto Greeks store they say nothing about not using it to help prime a new DA pad. I found it works excellent. no problems.
Bob Geco
 
Priming the pad is applying the product you're going to use to the entire face of the pad and you can use the amount that "you" need to do the job adequately.

The amount I show in the pictures is the actual amount I used to do the job adequately and quickly. Using less product can be done but takes more time because there's less product to spread out... find a way that works for you...

As for pad conditioners they work too and are a good idea for stiff, sharp, dry foam cutting pads. I list them on page 63 of the book.

Either or, or use both, your choice.


:xyxthumbs:
 
From my article list...


How to prime a foam pad when using a DA Polisher


Here are 3 ways to apply product to your pad.

1. Priming the pad then adding product to work with

Priming a clean, dry pad is considered the best approach for using a DA Polisher because it ensures that 100% of the working surface of the pad is wet with product and working at maximum efficiency when you turn the polisher on. I originally learned of this technique from my friend Kevin Brown.

Priming the pad also ensures that you don't have any dry portion of the pad working over the paint un-lubricated. This really isn't a risk because since you're just starting out you're going to be removing defects a lot more serious than would be caused by any portion of the pad that is dry and spinning against the paint.

Plus, after just a few passes, the product you apply to specific areas of the face of the pad will migrate over the entire face of the pad and it will do this rather quickly when you're on the higher speed settings.


Priming the Pad - For clean, dry pads
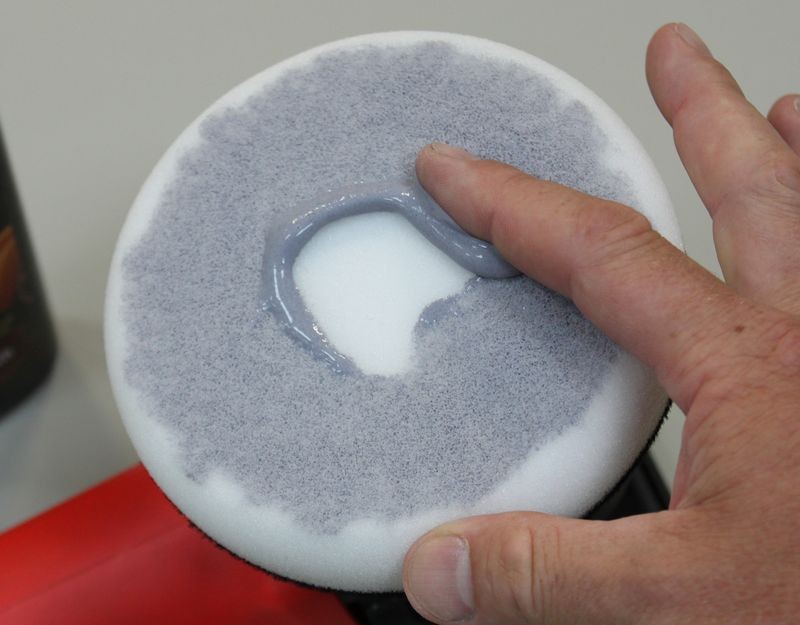
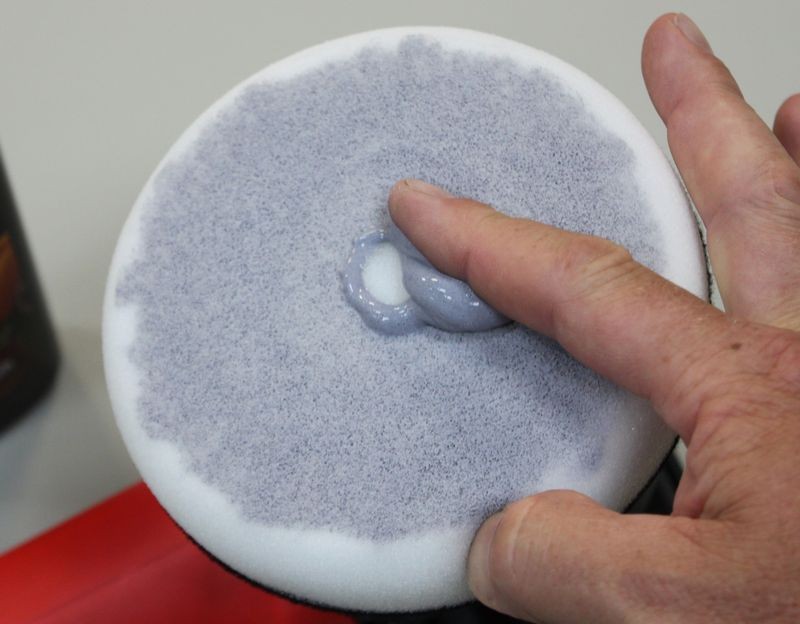
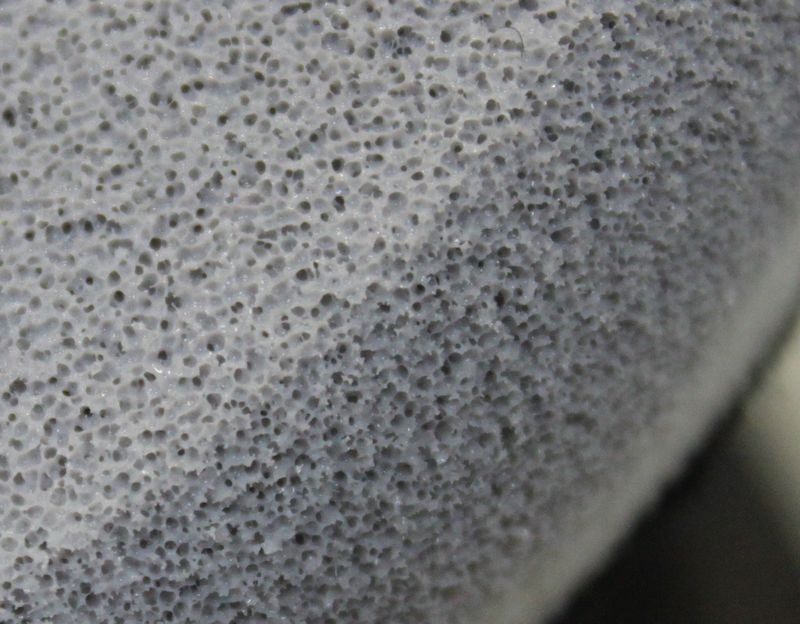
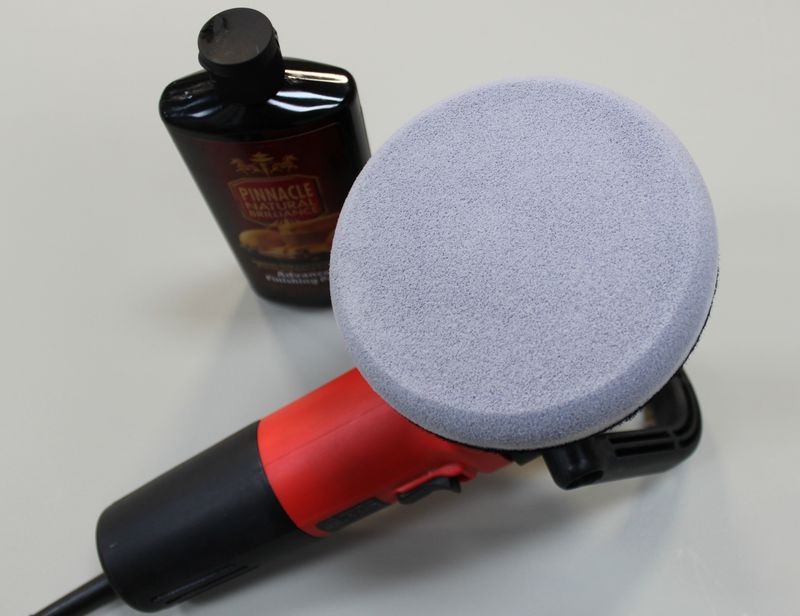
Start with a clean, dry pad and add some fresh product to be spread out to the face of the pad. Using your finger, spread the product out over the pad and then using your finger work it into the pores of the pad. Don't saturate the pad, just use enough product to make sure that 100% of the working face of the pad has product coverage.

PrimingPad01.jpg


PrimingPad02.jpg


Work the product around the face of the pad and into the pores
PrimingPad03.jpg


PrimingPad04.jpg


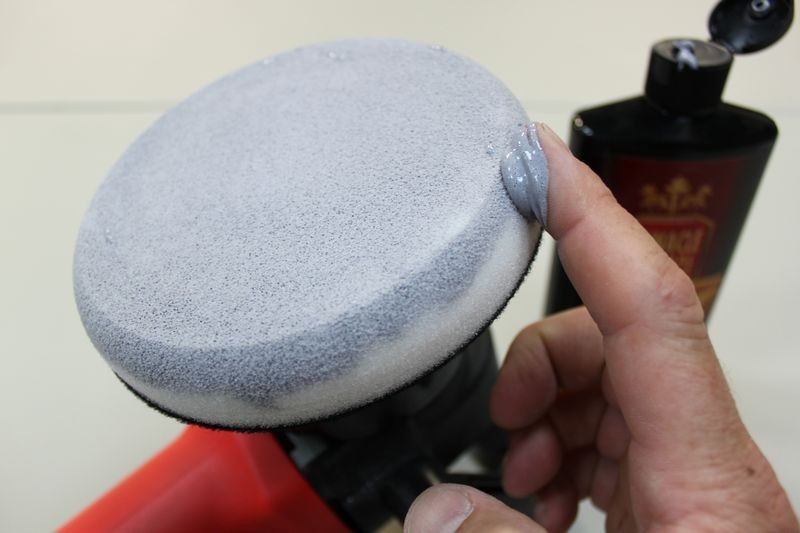
Any extra, take and apply to the outer edge until 100% of the working face of the pad is primed with product.
PrimingPad05.jpg


As an option you can also prime the outer edge. This helps if you're buffing around convex curves or around panels that the edge of your buffing pad may come into contact with, like spoilers, side mirror housings, curved panels etc.

PrimingPad06.jpg


PrimingPad07.jpg


Primed and ready to add "Working Product" to.
PrimingPad09.jpg


PrimingPad08.jpg


Adding "Working Product" to the primed pad
Some people will recommend 3 to 4 pea size drops of product as the proper amount of product to use and this can be correct for concentrated products or working small sections and if you follow this advice make sure you are not under-lubricating the surface being worked.

Pea size drops of product
PrimingPad10.jpg


PrimingPad11.jpg


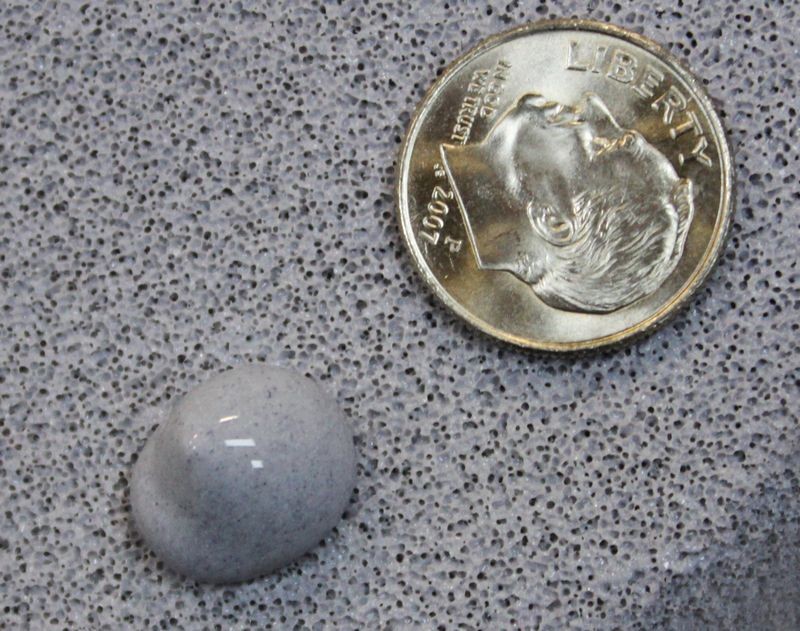
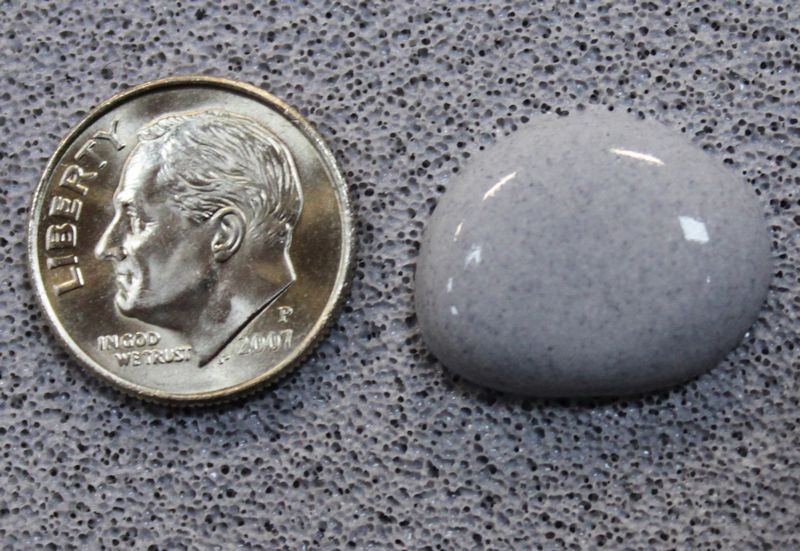
For some products and paint conditions, you may want more product on the surface working for you. Here's an example of dime size drops of product.

Dime size drops of product
PrimingPad12.jpg


PrimingPad13.jpg


How much product to use after priming

Ample
You want an AMPLE amount of product when first starting out because you pad is dry and some of the product is going to seep into the pad leaving less on the surface to LUBRICATE and ABRADE the paint

Cut down on the amount of product AFTER pad is broken-in...
After your pad is broken in with product, clean your pad after each section pass and when you apply fresh product you can cut down on the amount of product you actually apply to the face of your pad.


Too Little Product
Under-using product reduces lubricity and will make it more difficult for your pad to rotate efficiently.

Too Much Product
Using too much product will hyper-lubricate or over-lubricate the pad and will interfere with the abrasives ability to abrade the paint.


Keep in mind that you want enough product on the surface so you have,

  • Abrasives working for you.
  • A lubricating film between the paint and the pad.
Often times if you don't have enough product to work with you'll end up buffing to a dry buff. When you lose lubrication, friction increase and this can lead to micro-marring or hazing.


:xyxthumbs:
 
I'm not sure what's in the book but I've read Mike's online article about it.

from what I remember, you give the pad a squirt of pad conditioner (QD also works -- I use my ONR clay lube), apply a ring or X of whatever you are using, then spread it around with your finger until the entire pad is covered but you can still see the texture of the foam. Apply 3 pea sized dots to the foam, and start polishing.

With some compounds like 105, you will need to take the less is more approach, but for the most part, priming a pad is pretty straightforward. No need to overthink it.

edit: ok you can disregard my post now that the master himself has answered you...
 
I

It almost looks like I would need a pad for each fender and section of the hood roof and trunk.


Here's reality...

When using a DA Polisher that uses a free floating spindle bearing assembly like the Porter Cable, Meguiar's, Griot's DA Polishers is they all maintain pad rotation BEST when the pads are dry.

that's because wet foam acts to absorb and dissipate the energy coming out of the tool even more than a dry pad.

So here's the deal... you can buff out an entire car with a pad or two for the longest step which is the major correction step. You can do, no problem. You can do it faster with more pads. It's just a time issue and everyone has to decide what their time is worth.

More pads means doing the major correction step faster. I think I also point this out in my how-to book.


I also talk about this in the below thread...


WG TSR/FG & PC 7335 Technique

Excerpt...

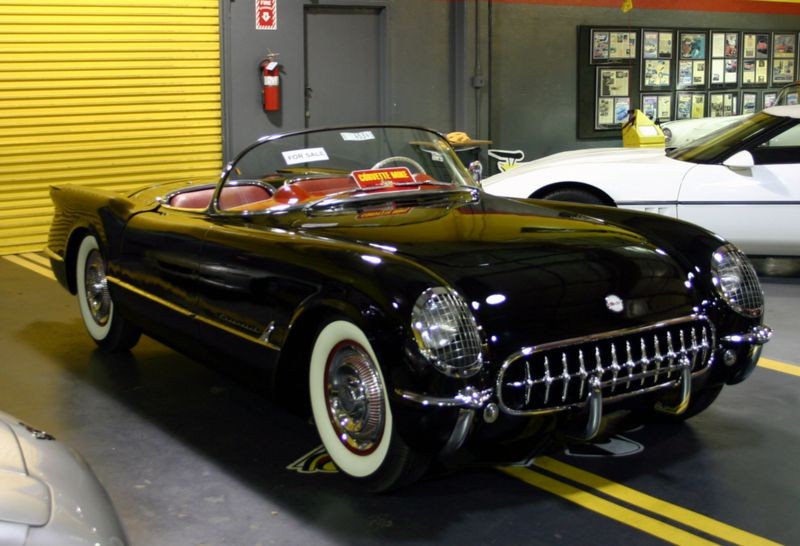
I count 7 yellow polishing pads in the below picture, as one pad would quit rotating effectively I would swap it out to a clean, dry pad.

54VetteEM001.jpg


I have extensive before pictures documenting how horribly scratched, swirled and water-spotted the paint was on this car but here's a few after shots...

54VetteEM002.jpg


54VetteEM003.jpg


54VetteEM004.jpg


:)
 
How, if at all does this technique vary when using a Rotary?
(Sorry for threadjack Robert)
 
How, if at all does this technique vary when using a Rotary?
(Sorry for threadjack Robert)

I don't prime pads with the product I'm using when using a rotary. It couldn't hurt to have the entire face of the pad primed with the abrasives you're going to use but here's the deal...

After you pick up your bead of product and start working an area you very quickly break-in your pad and spread the product out over the area you're working.

This is especially true by the time you make your second pass with fresh product so to me it's a non-issue.

As for using a pad conditioning product or wetting agent, this is a good option when using cutting pads to lubricate and soften the pad a little before starting.

Both wool cutting pads and aggressive foam cutting pads are a bit sharp to the paint.

Here's what I do when using a rotary buffer... from my article list under Rotary Buffers...

Rotary Buffers

Edging - Buffing the paint around edges

Bumblebee - Testing out the NEW DeWALT DWP849X

The New FLEX PE14-2-150 Rotary Buffer - Includes Video

This one --> The 10 @ 10 technique for picking up a bead of product with a rotary buffer


The Traditional Orbital Buffer aka The Wax Spreader

Rotary Buffers: Stick Handle - Hoop Handle - Or no handle at all

Video: The Flex 3403 Rotary Buffer – How to remove Sanding Marks after Dampsanding Orange Peel


And here that technique is in action...

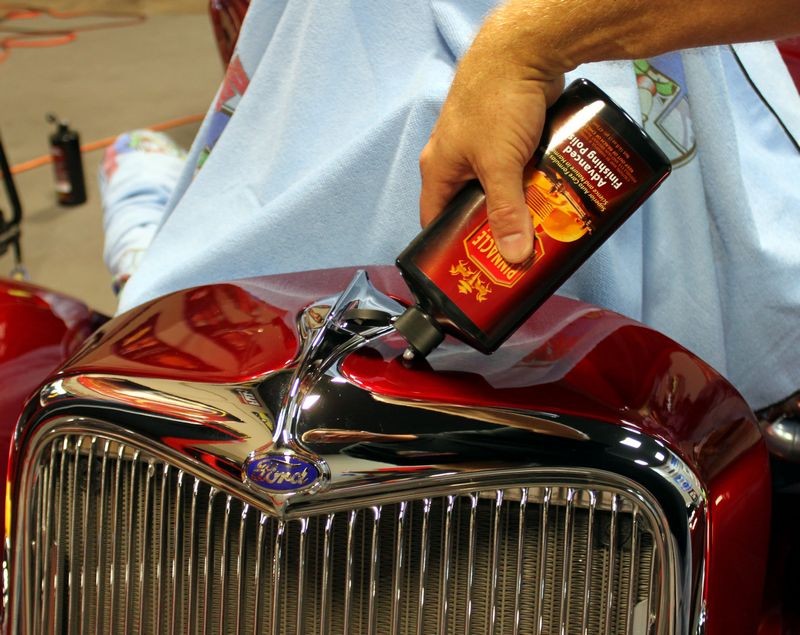
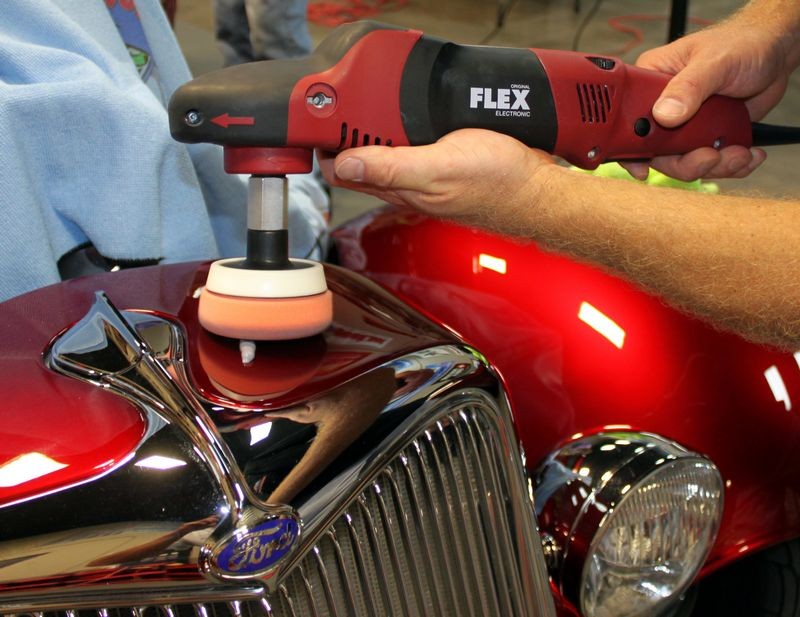
Blown 1934 Ford Pick-up - Show Car Makeover - Modeled by Kristin


Dampsanding34Ford07.jpg


Dampsanding34Ford08.jpg


Dampsanding34Ford09.jpg


Dampsanding34Ford10.jpg


Practicing what I preach...

:)
 
Thanks Mike.

I did read that thread about picking up product with a rotary and that truck turned out Gorgeous!
 
what is suggested method if you clean your pads every section or two with universal pad washer would the pad need to be primed as much with the pad being damp
 
Back
Top