johnnyO
New member
- Mar 31, 2021
- 19
- 0
Controlling pigment removal using Mirror Glaze #7 - 1953 MG
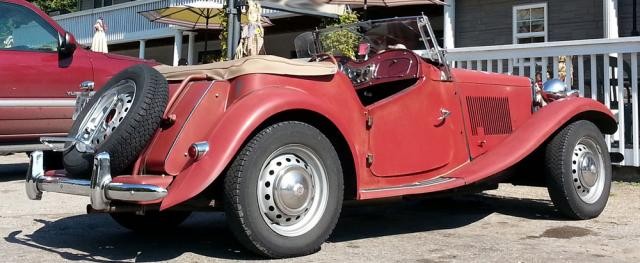
I'm trying to preserve as much of the original paint on my '53 MG TD as possible. In the 33 years I've owned and driven the car, the red has given way to various shades of grey and orange primer and even bare metal on the tops of the cutaway doors that serve as armrests. There is no rust, just lots of character. I recently discovered this Forum and and hope that Mike and others will chime in.


For the past 15 years, I've applied heavy coats of Griot's Paint Sealant (now discontinued) about twice a year in a manner similar to what I've just learned is recommended using Mirror Glaze #7. Most areas of the car just soak it up, and then I blend and lightly buff the last coat to create a somewhat uniform look on the various panels... each of which has its own particular sheen and color. The pigment on the top 2 hood panels seems to be held in place by gravity and will come loose and streak with even the most gentle wiping. Reluctantly, I plan to have these panels repainted to match the patina and color of the others (in their treated depth of color).
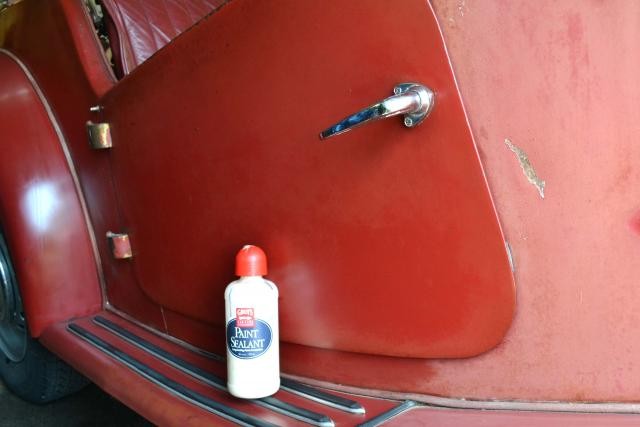
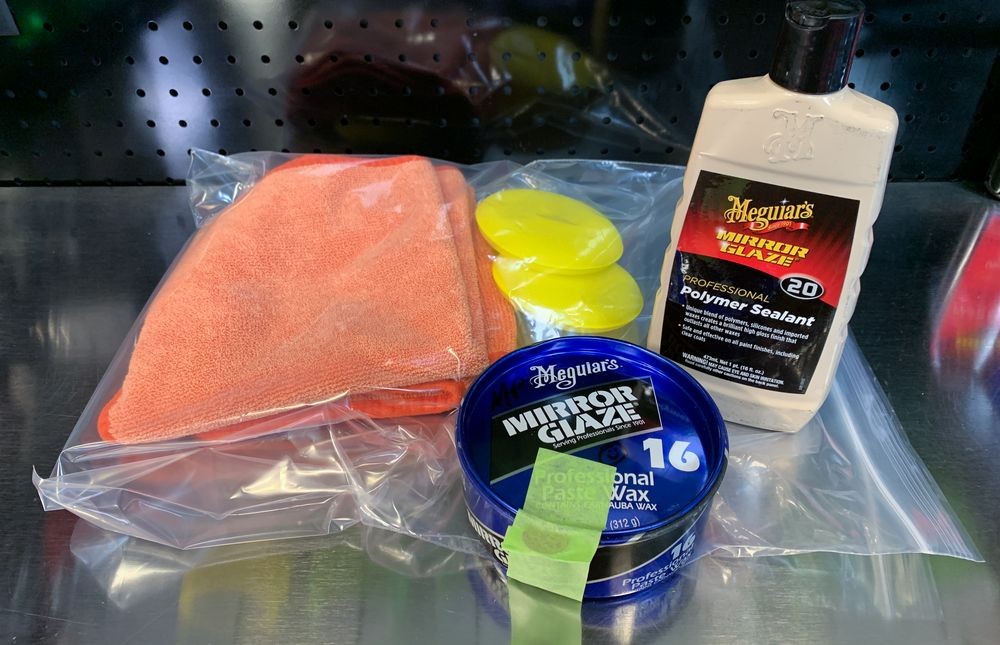
I'm experimenting now with the #7 on the slab fuel tank before treating the expansive fender areas and have the following questions:

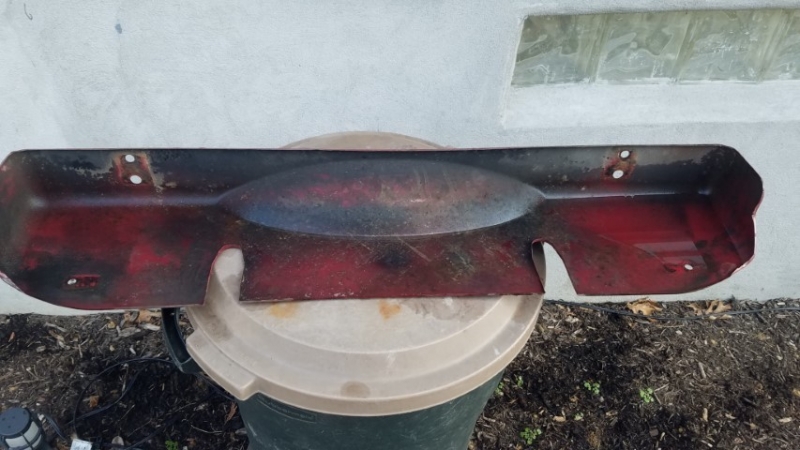
Ahh, the challenges of single stage red paint!
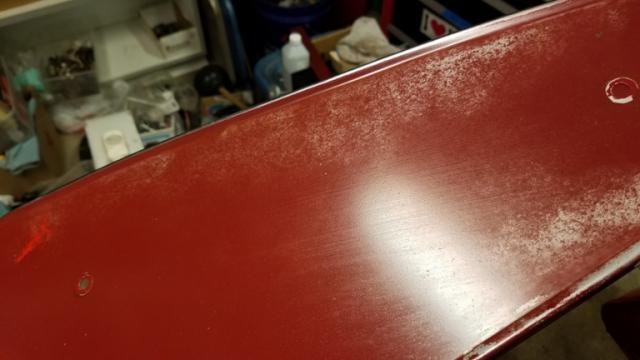
Here's a pic from 11 years ago to show the lost of pigment, also showing sealer applied to one side.

")
I'm trying to preserve as much of the original paint on my '53 MG TD as possible. In the 33 years I've owned and driven the car, the red has given way to various shades of grey and orange primer and even bare metal on the tops of the cutaway doors that serve as armrests. There is no rust, just lots of character. I recently discovered this Forum and and hope that Mike and others will chime in.
For the past 15 years, I've applied heavy coats of Griot's Paint Sealant (now discontinued) about twice a year in a manner similar to what I've just learned is recommended using Mirror Glaze #7. Most areas of the car just soak it up, and then I blend and lightly buff the last coat to create a somewhat uniform look on the various panels... each of which has its own particular sheen and color. The pigment on the top 2 hood panels seems to be held in place by gravity and will come loose and streak with even the most gentle wiping. Reluctantly, I plan to have these panels repainted to match the patina and color of the others (in their treated depth of color).
I'm experimenting now with the #7 on the slab fuel tank before treating the expansive fender areas and have the following questions:
- After the initial soaking, I find that on additional layers my applicator towel still gets soaked with a pink slurry that gets spread around. After drying about a half hour, there are swirls and lines where the residue has built up. (Not sure if this will show in photos below) This buildup will not buff out by hand. Adding a bit of glaze to the surface will loosen it and allow me to feather it out. But there is still some "loose" pigment on the surface. So now I'm using a clean application and buffing towel for each coat. Once the buffing towel has minimal red on it, I assume it will be time for wax.
- In the past, I've not been top coating the sealant with wax because when I tried years ago, even more paint came off on my towel and it left a blotchy finish that I had to feather out with more product. So, is the goal with multiple applications of #7 to nourish and seal the paint with so many thin layers that the pigment gets "locked" in place? And that a final application of wax will further protect the base layers?
- WAX. Will a paste wax provide a better layer of protection than liquid? I don't want a wet-look high gloss, but rather a mellow sheen. Recommendations? The car is driven regularly in all types of weather, so durability is a must.
- FOLLOW UP. Will the paint be able to hold the sealed darker appearance with several waxings per year and not have to feed the paint with sealer again? Or if there is a hint of fading, do I retreat with #7 and rewax throughout the driving season?
- I've used Griot's Poly Wax on clearcoat. Are modern finishes like this compatible/recommended with the #7 Glaze?
- Will Speed Shine or other detailer have a negative effect on my treatment? Or put another way, what will cause deterioration of the wax and sealant layers?? Rain, sun, wind friction from high-speed driving, harsh wash soap, ???
Ahh, the challenges of single stage red paint!
Here's a pic from 11 years ago to show the lost of pigment, also showing sealer applied to one side.