christian900se
New member
- Apr 22, 2008
- 827
- 0
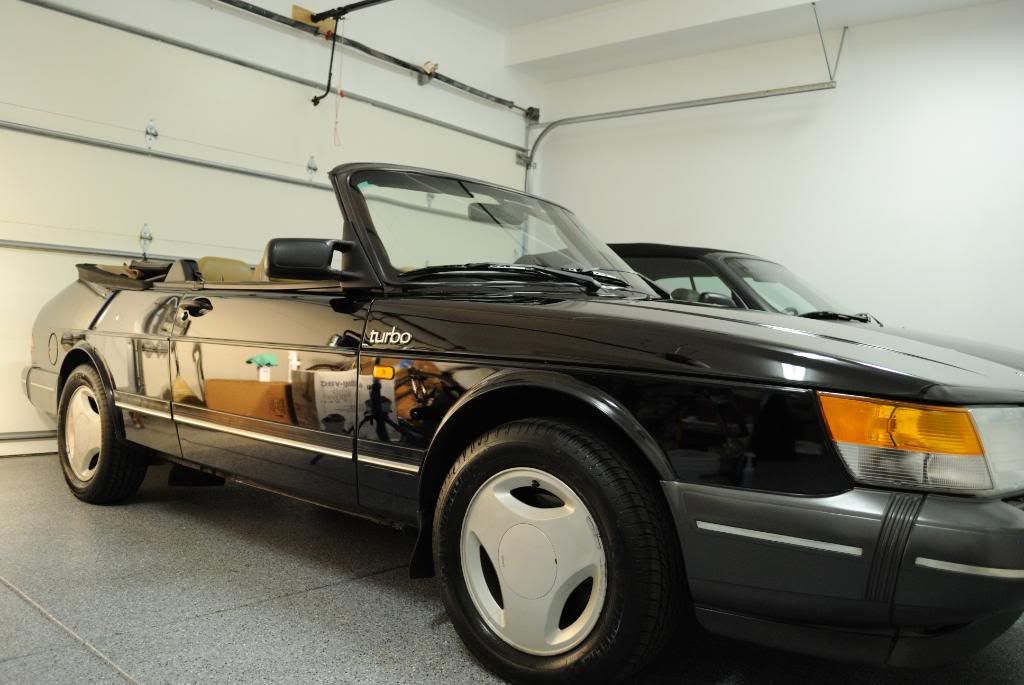
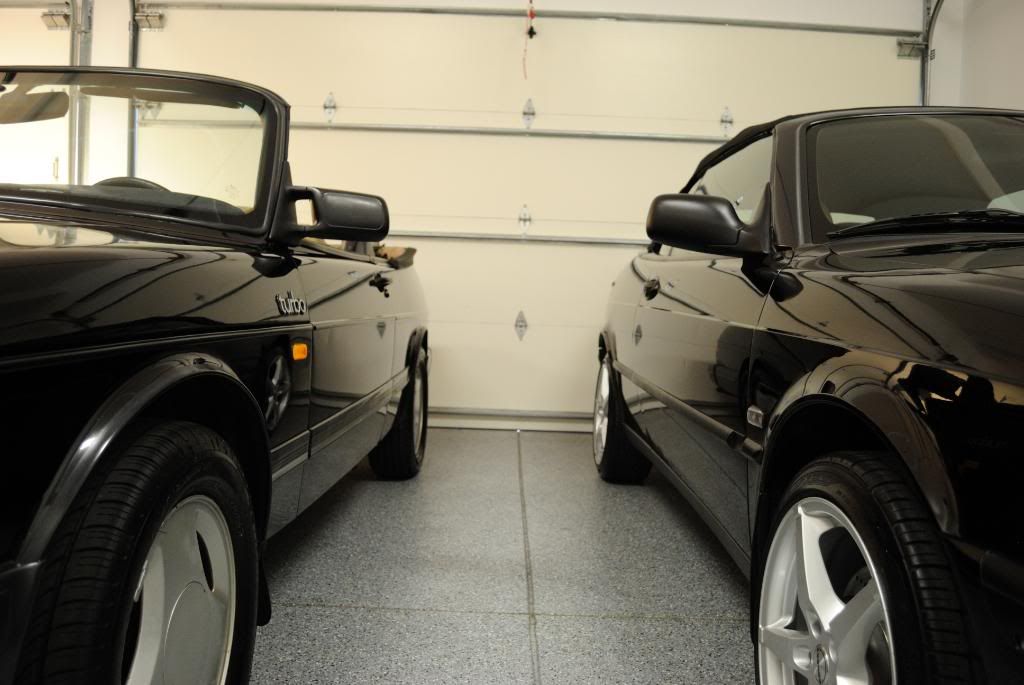
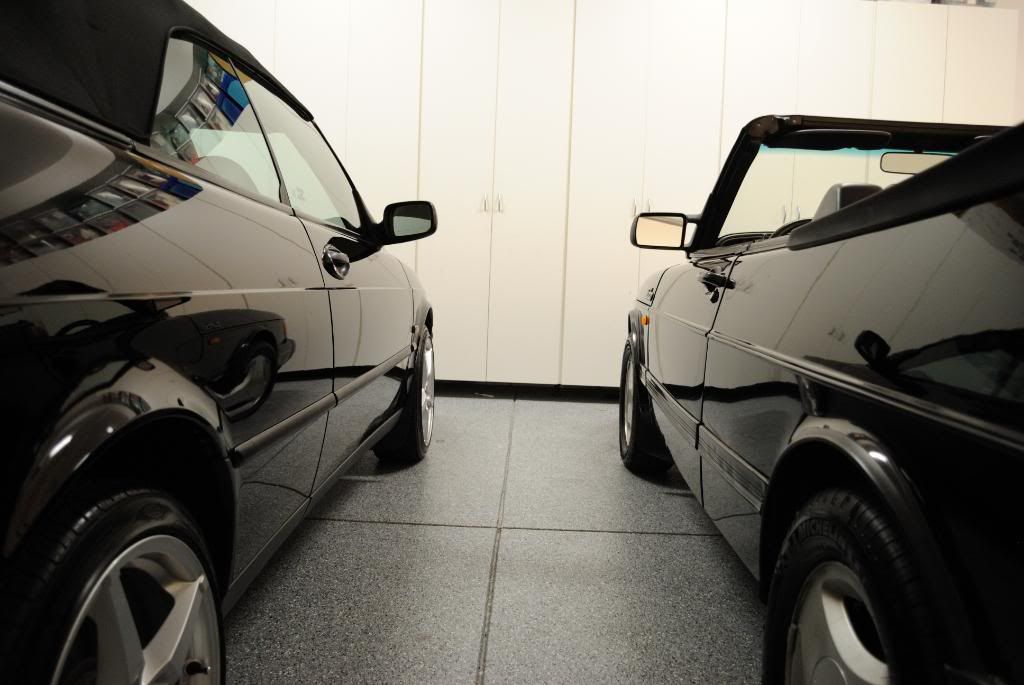
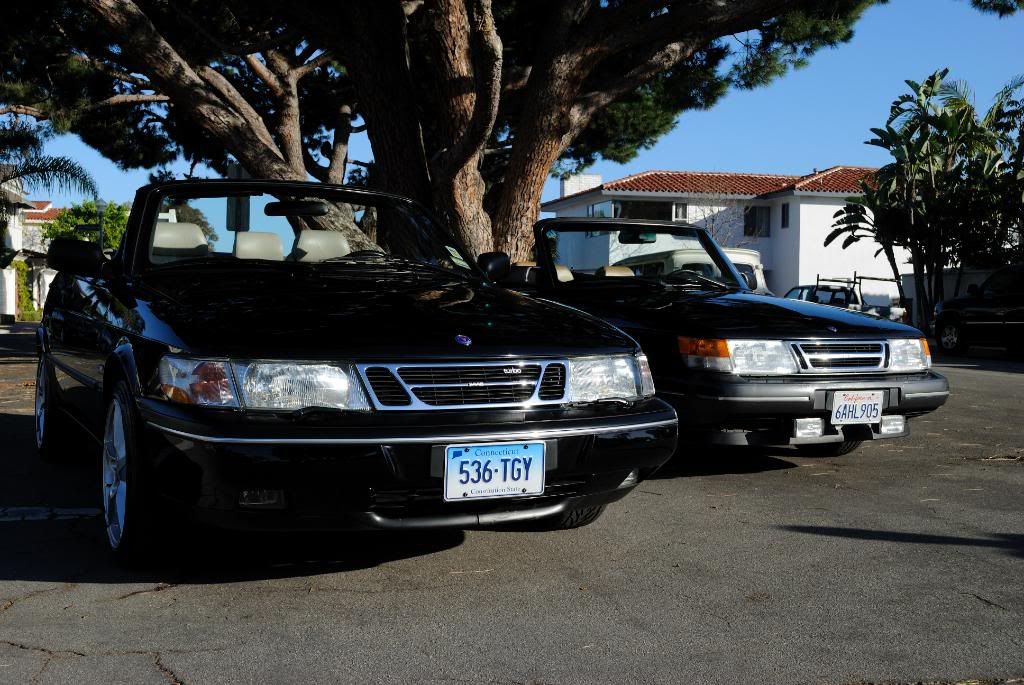
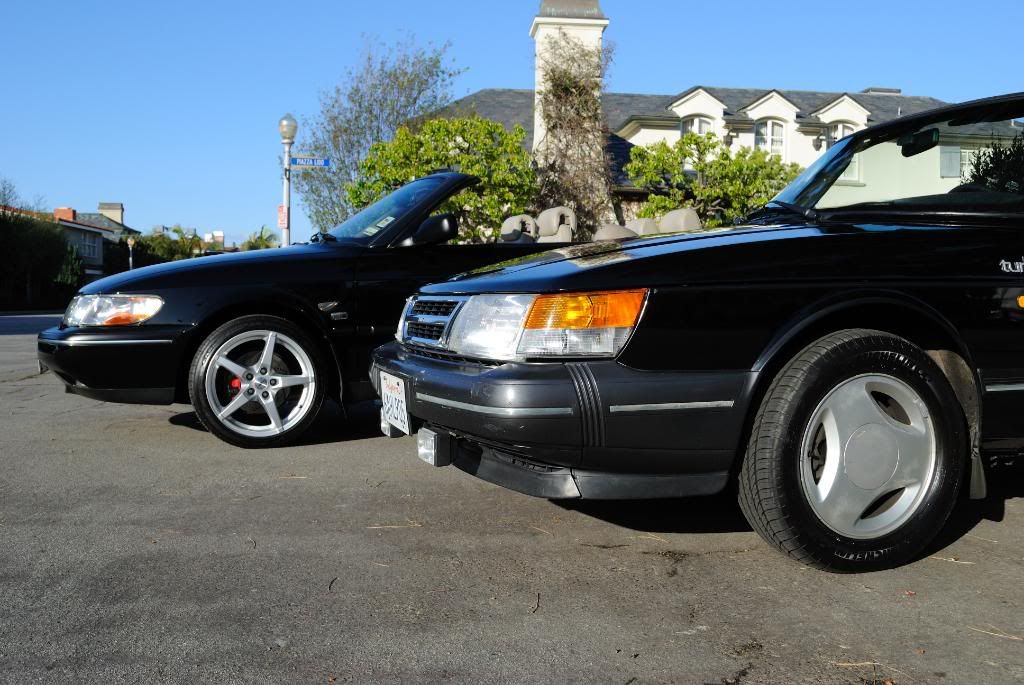
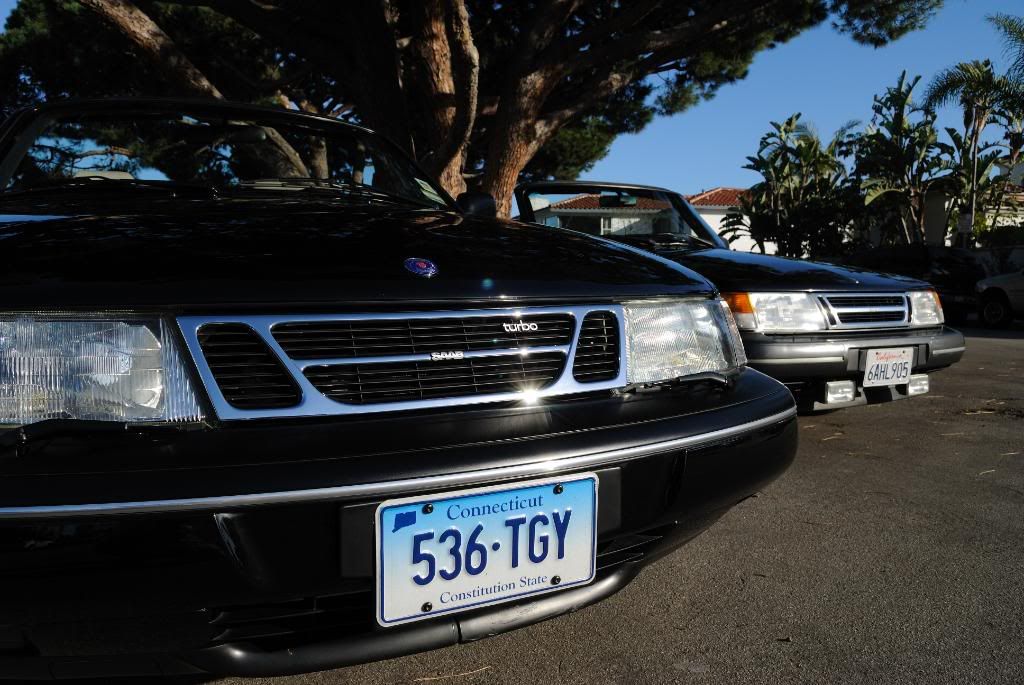
Correction on a Saab C900 convertible:
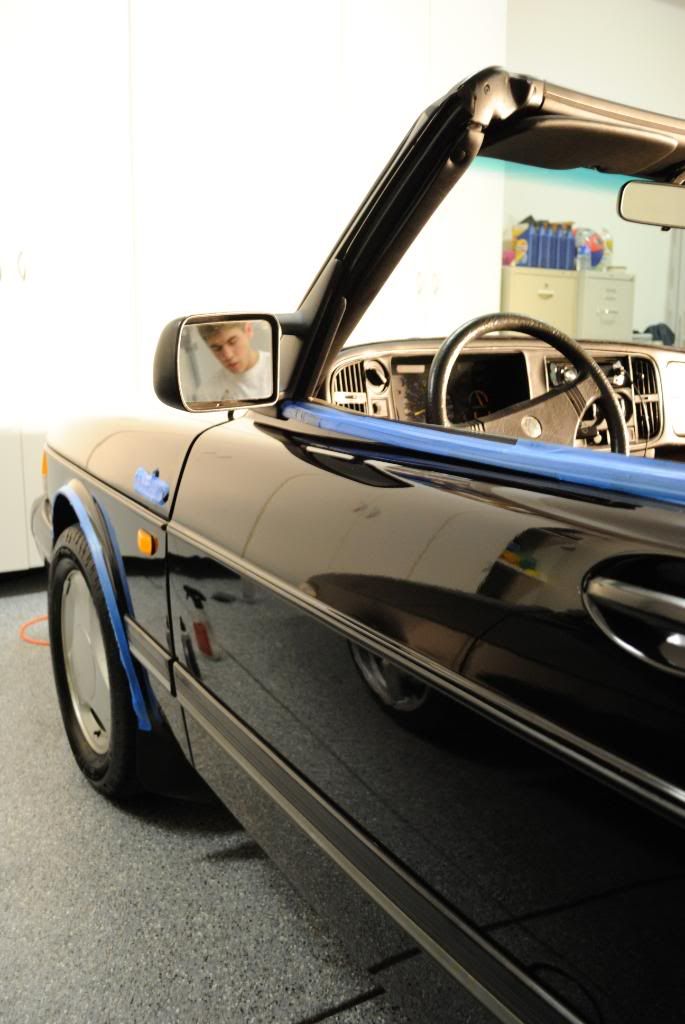
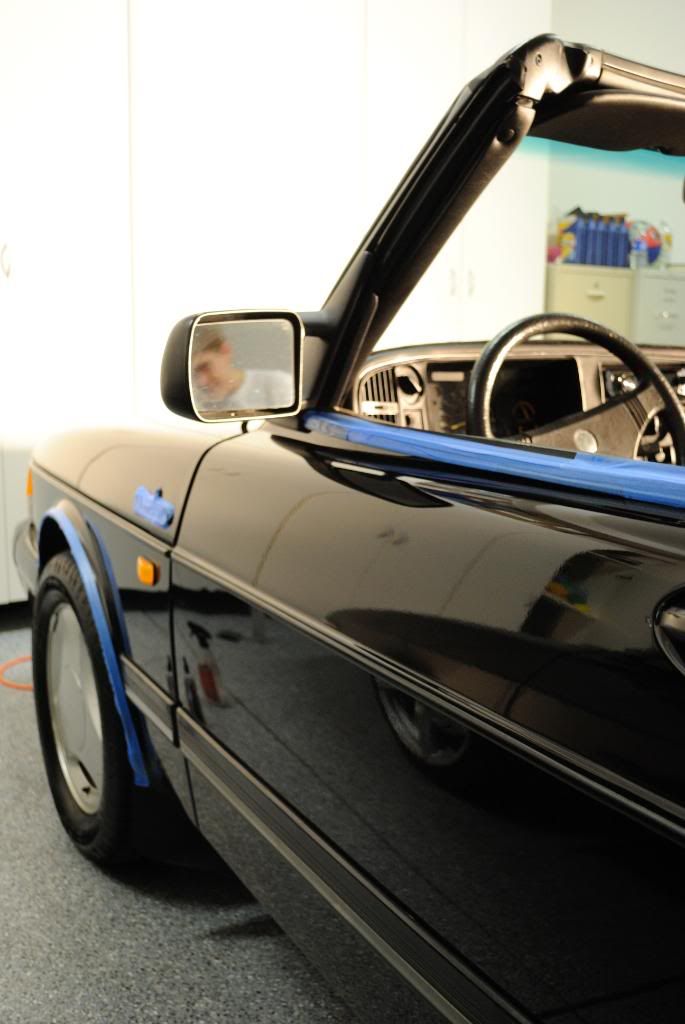
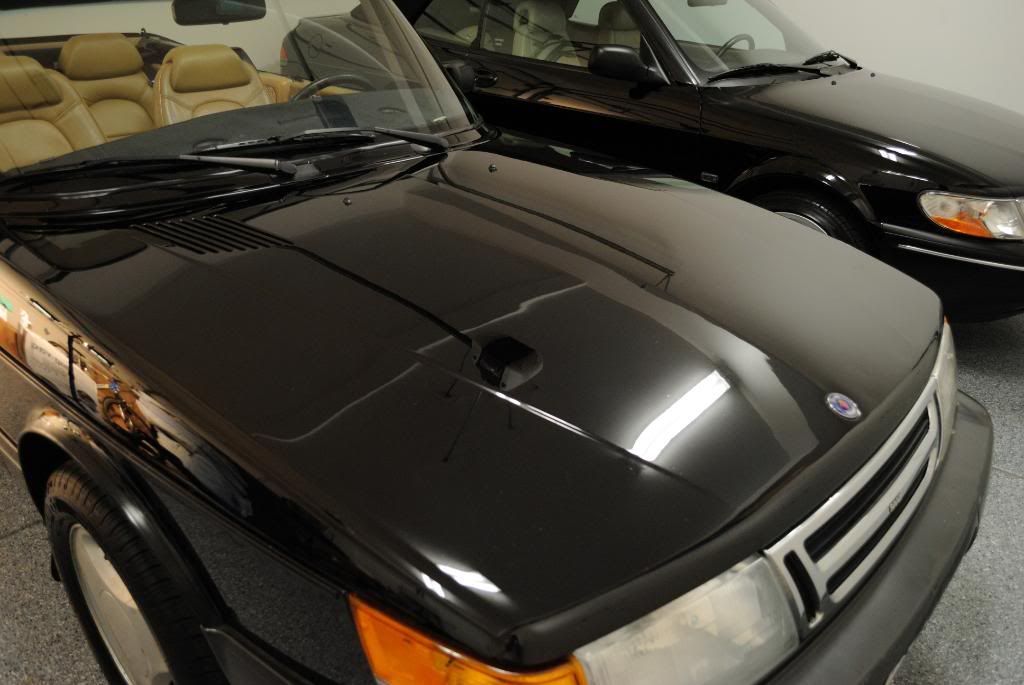
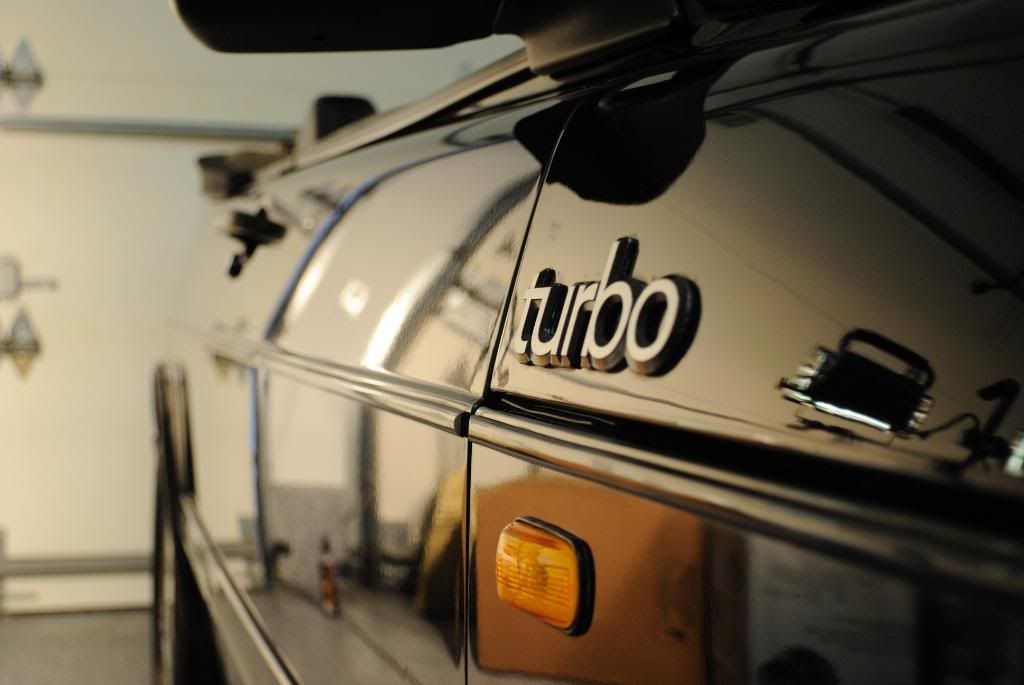
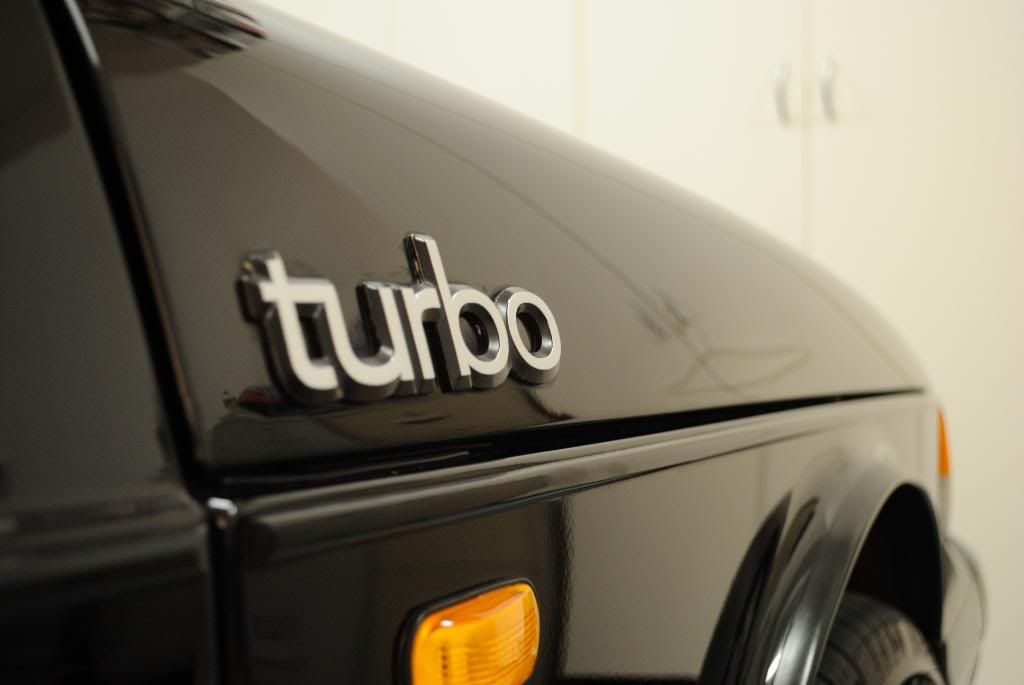
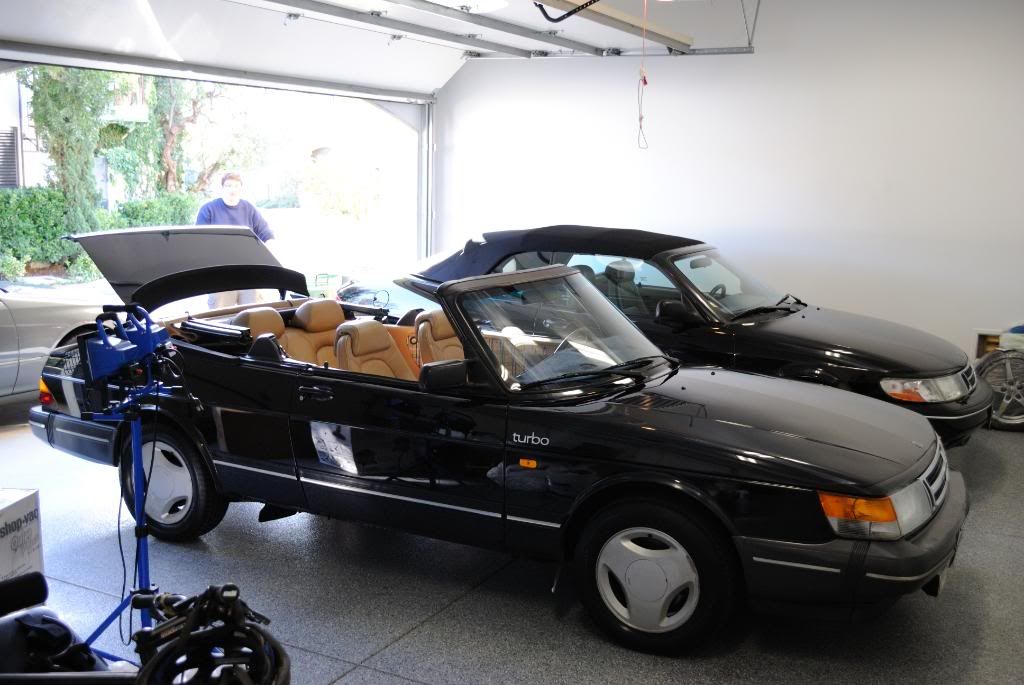
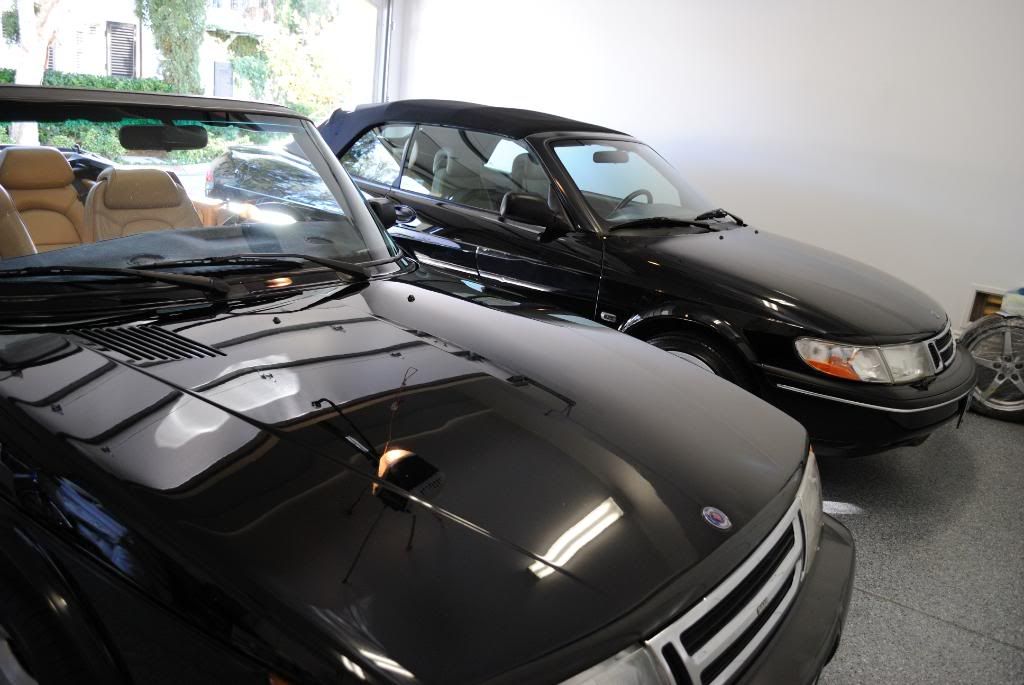
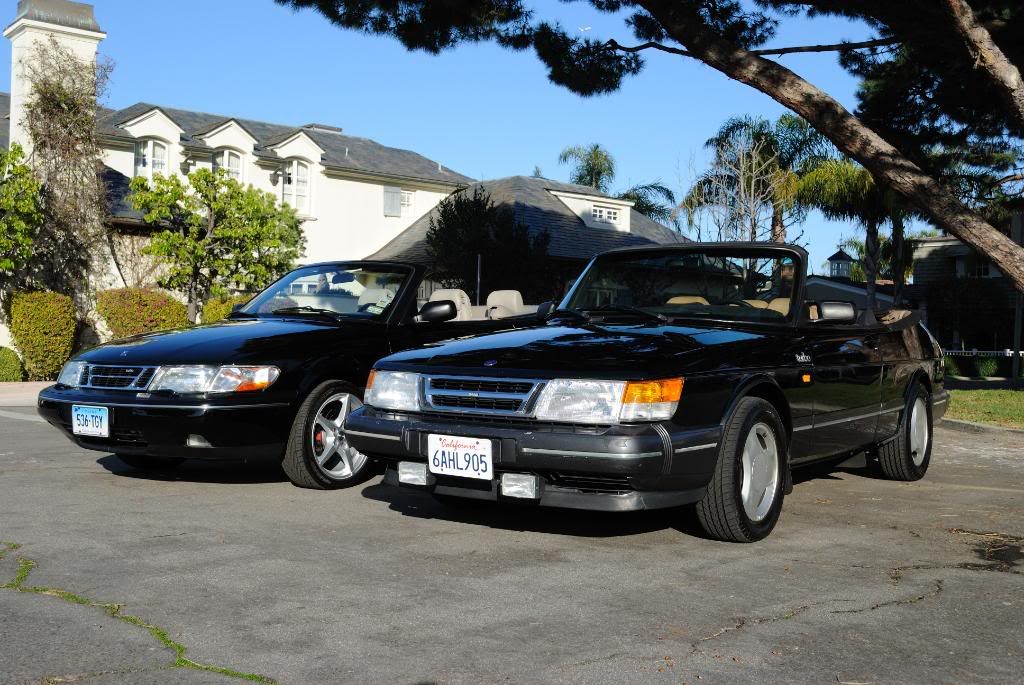
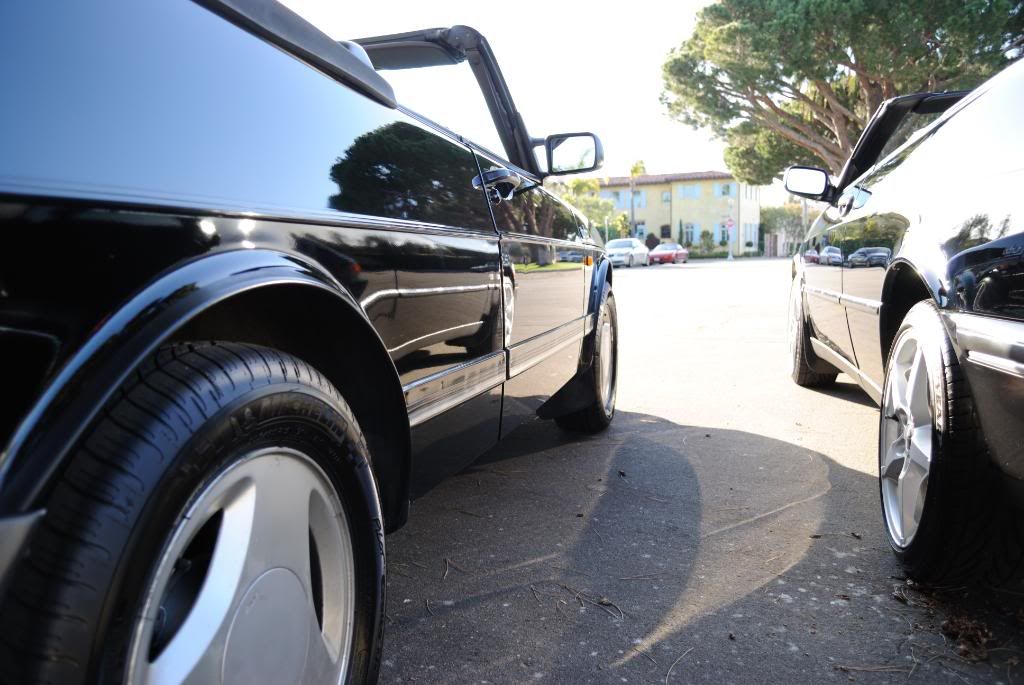
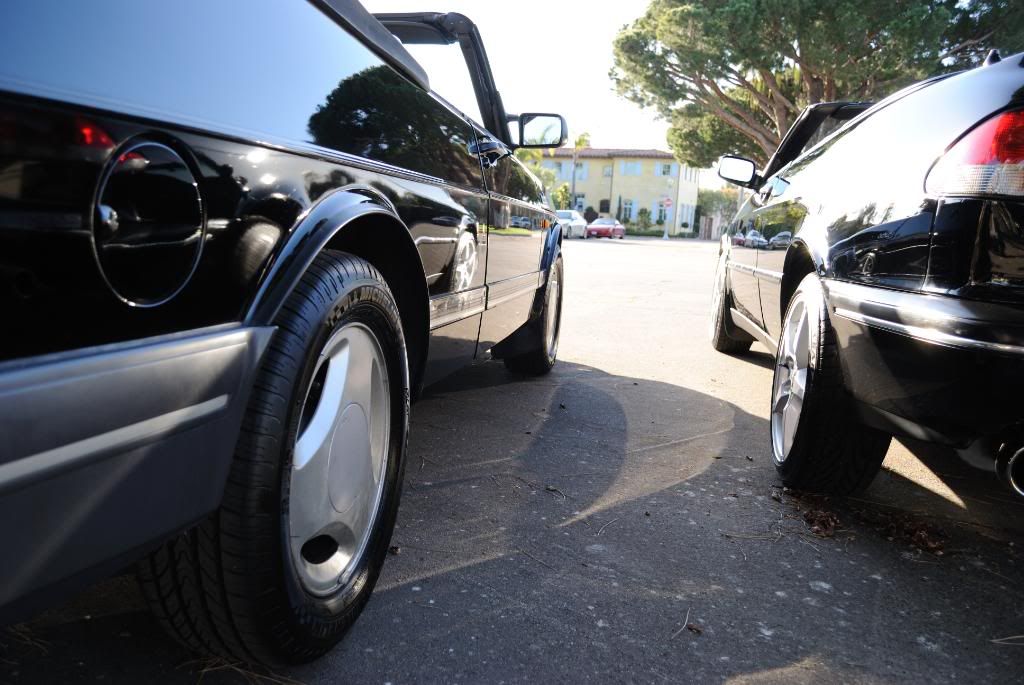
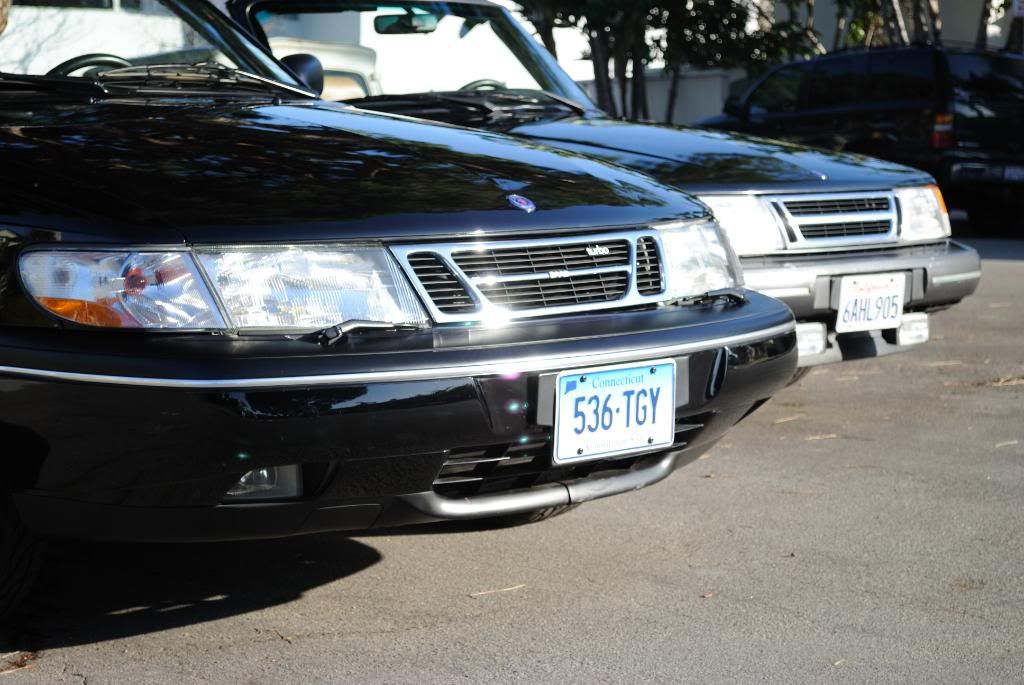
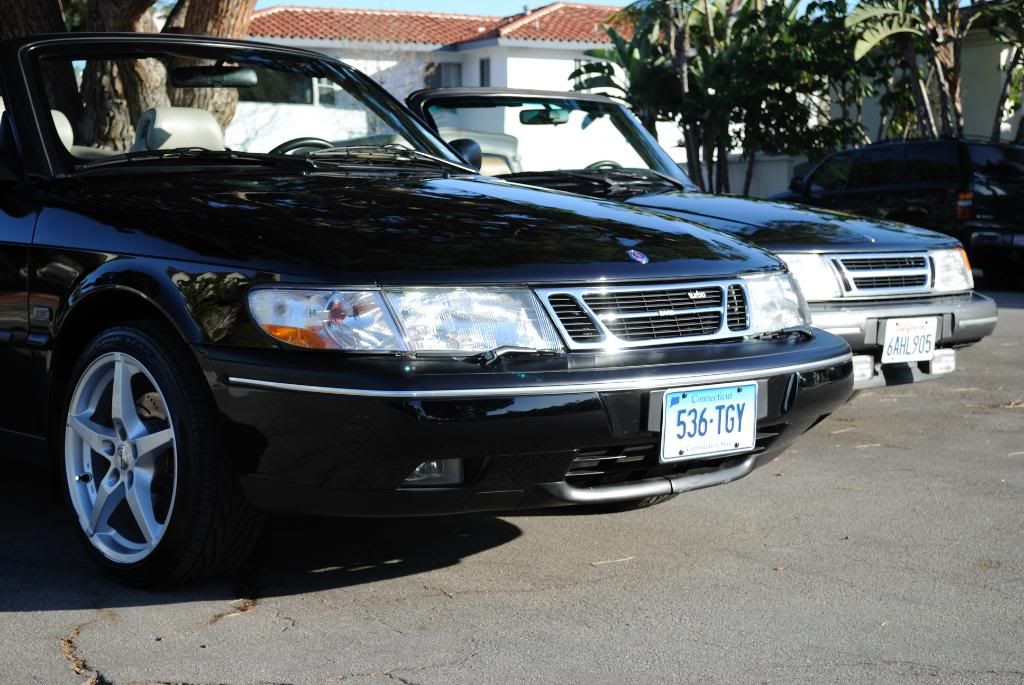
Another beautiful day in Socal, I had a fellow Saab owner ask about a tuition detail so I planned for him to come over so that I can show him the ins and outs of polishing with a DA. This was meant to be a one step polishing session with the intent that a later date would be scheduled when there was more time to address more severe defects and to allow for a jeweling stage. He had warned me that the paint was not in the best shape but I told him not to worry. The car was washed and clayed before hand, which he did a great job of. He arrived around 10:45 and we immediately began taping. This is a very important step because of all the badges and trim that are on this car. We polished for about 5 hours and finally took a nice photoshoot while the sun was still out. I hope you enjoy this writeup, it was very rewarding for me to see the car's owner smile for the afters. A 20+ year old car doesn't have to look its age!
Products and Process:
-Menzerna Power Finish (203s)
-Makita Rotary (piloted by me)
-PC7424 (used by the car's owner)
-Orange and white lake country pads
-IPA wipedown
-Z***l Concours wax
-Tires: Autosmart #9 Tire+Trim Shine
-Trim: Poorboy's Trim Restorer
-Glass: AG Fast Glass
-Previously applied by the owner: 303 Fabric Guard to the soft top per my recommendation
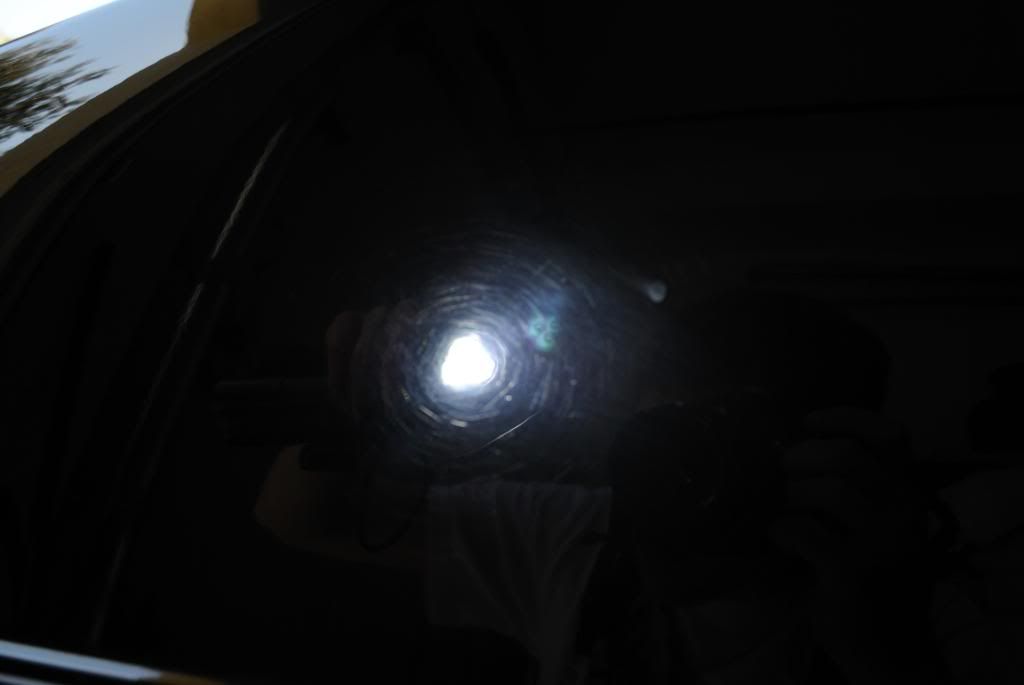
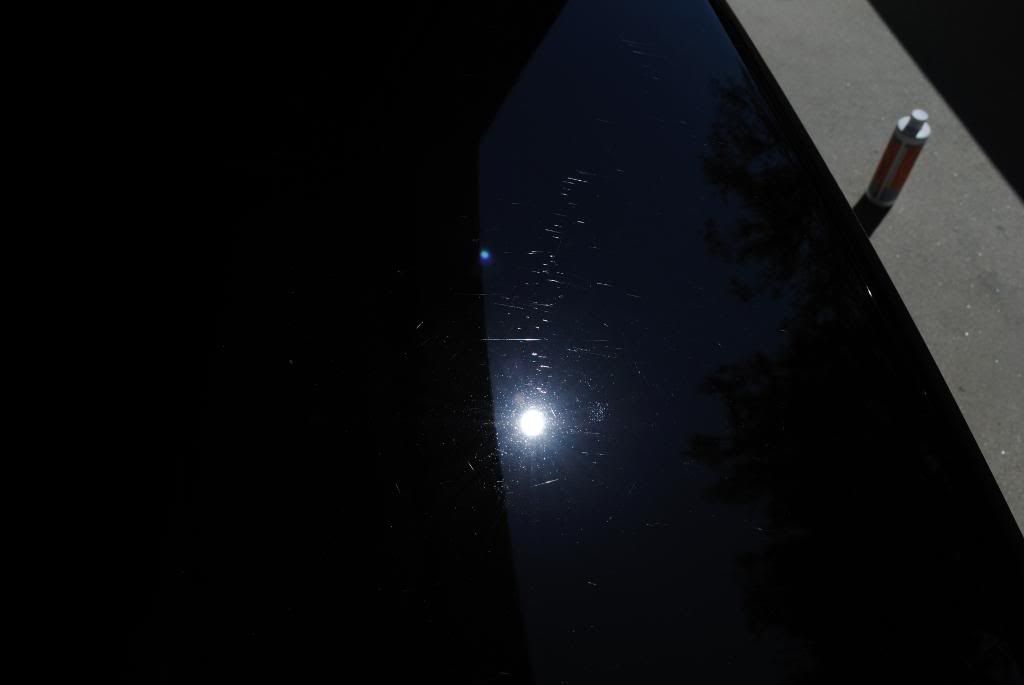
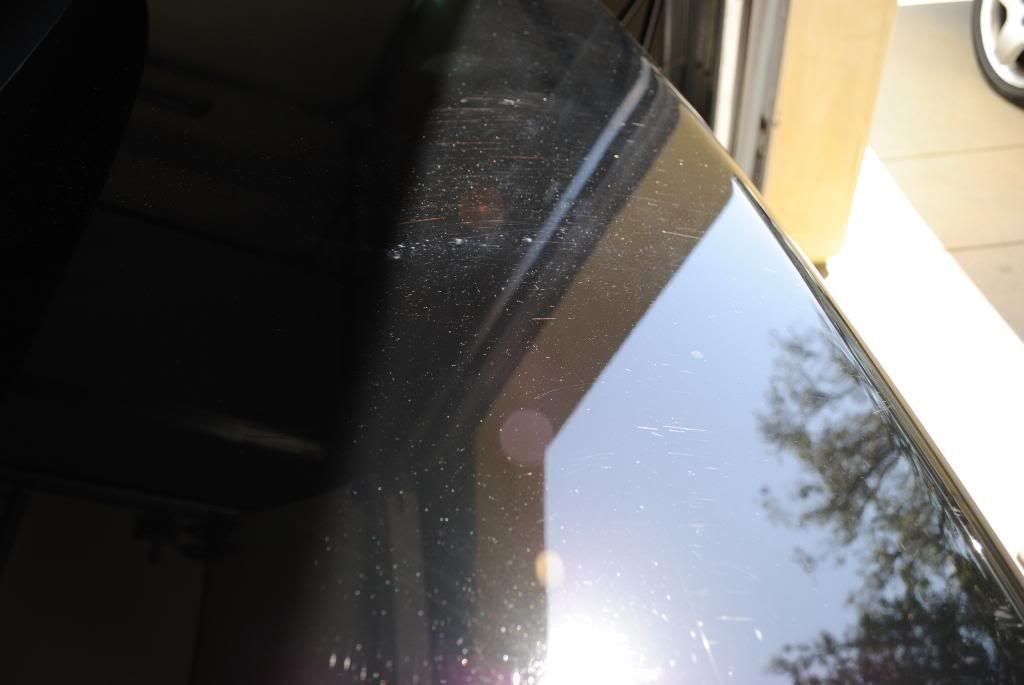
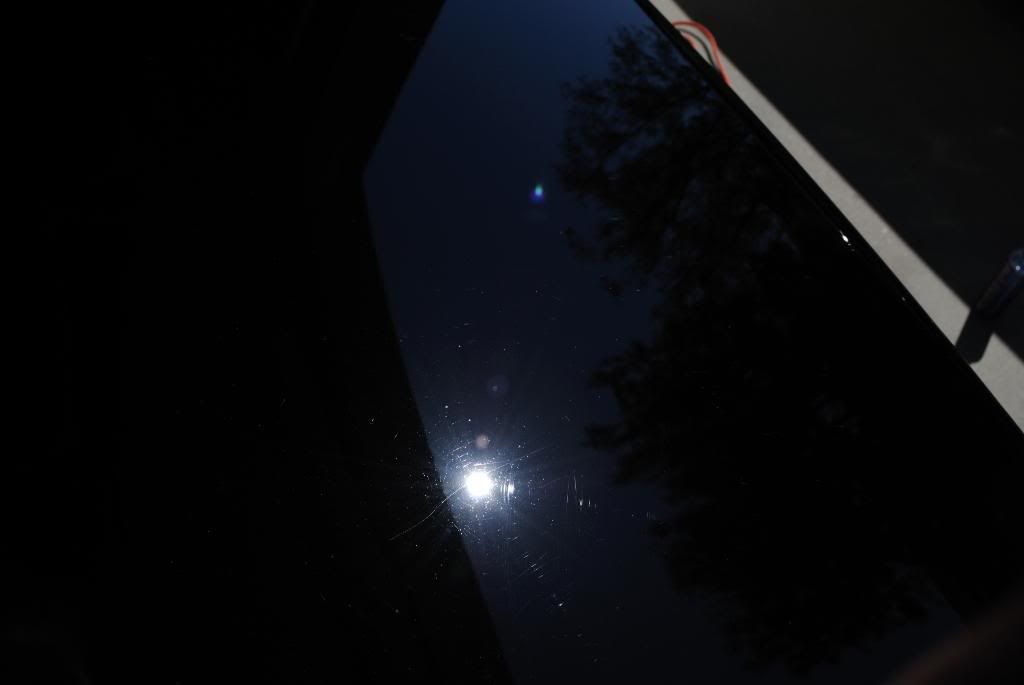
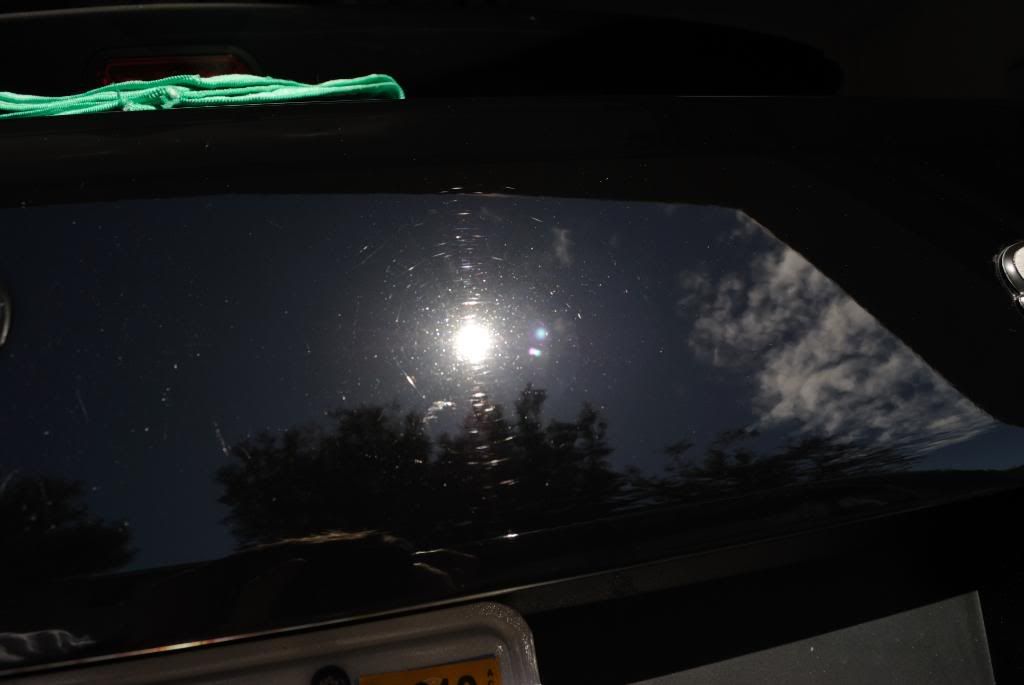
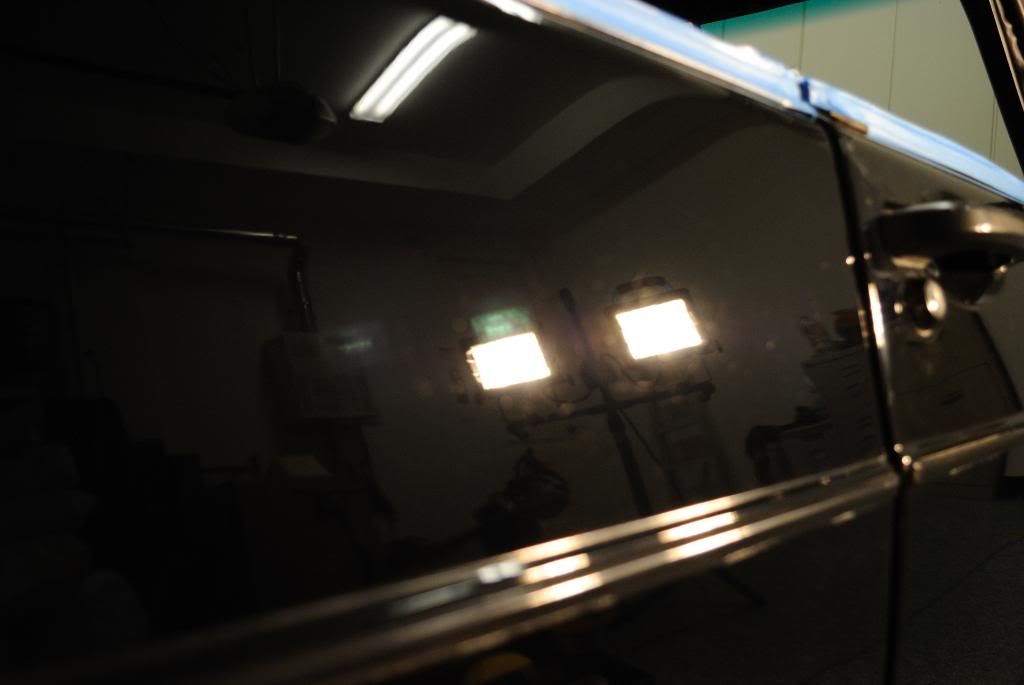
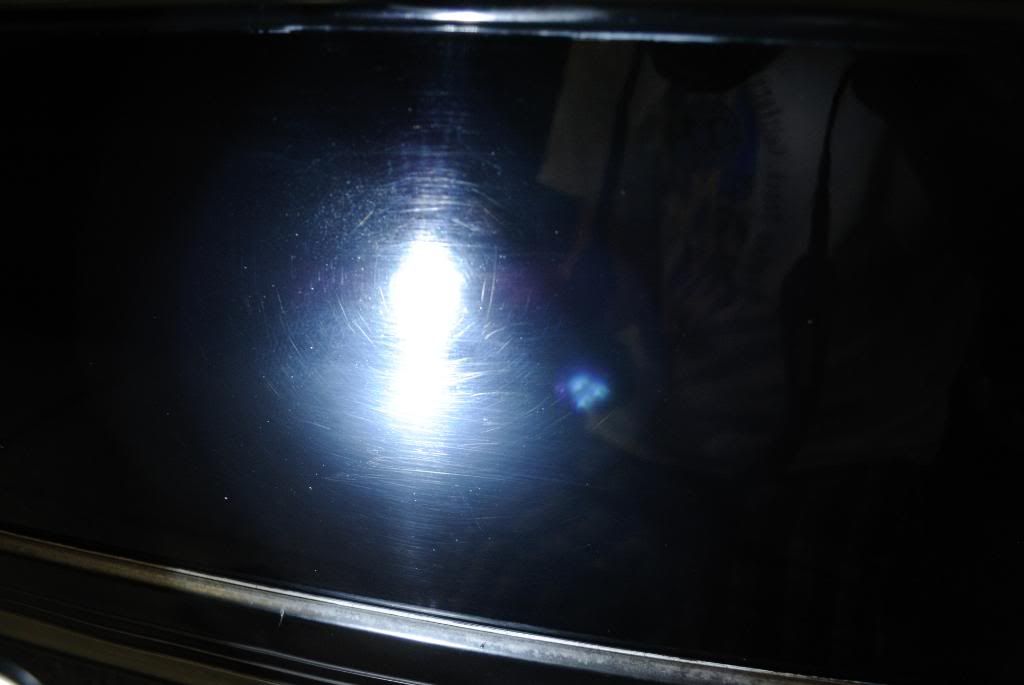
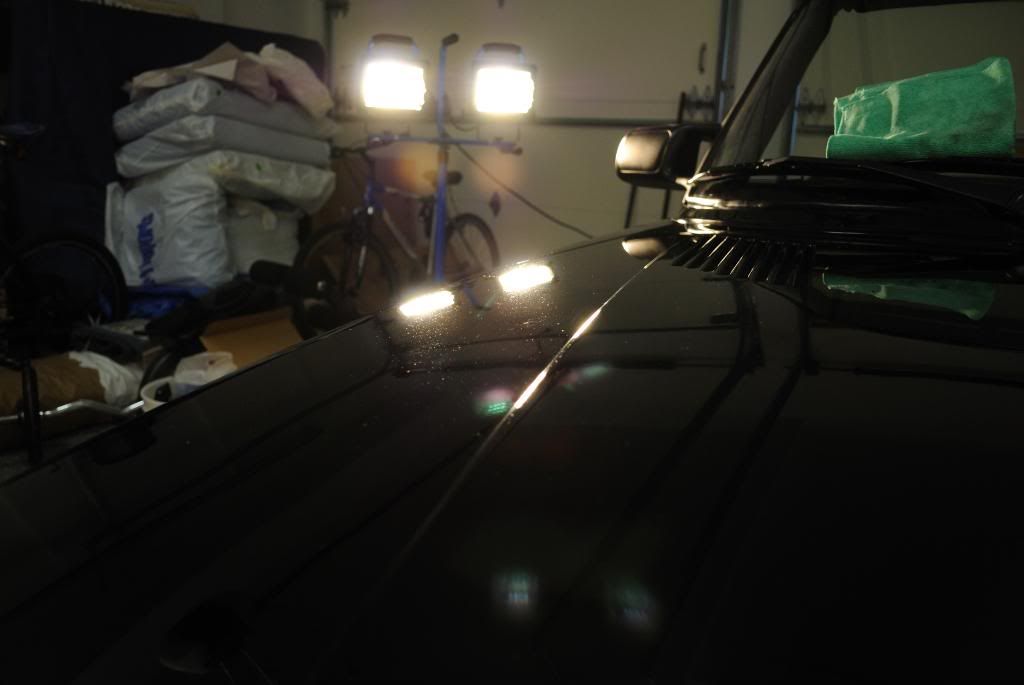
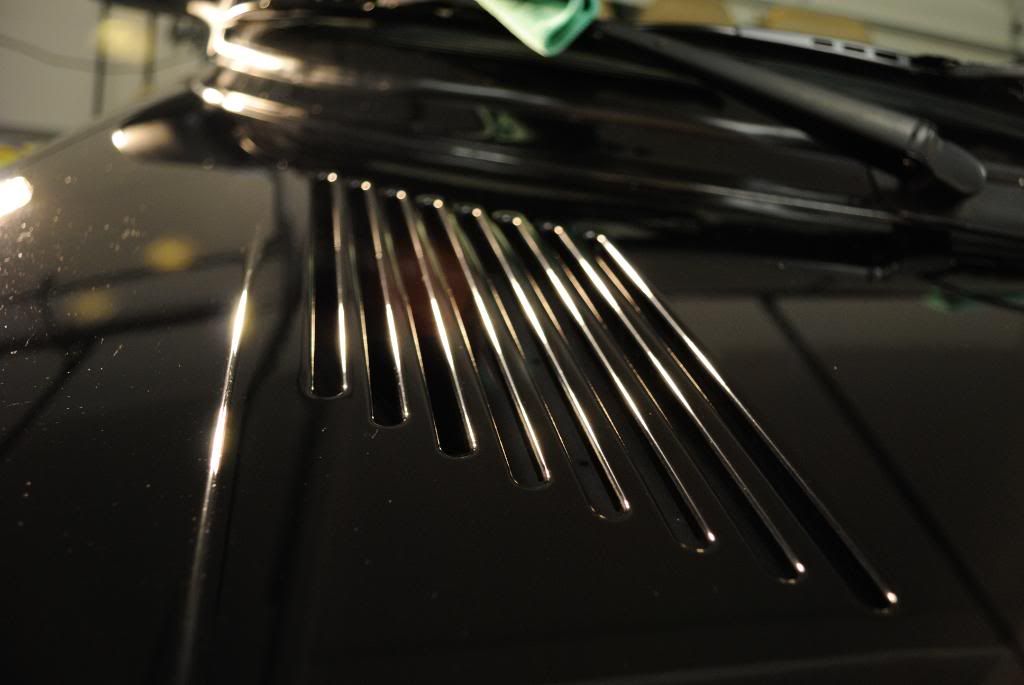
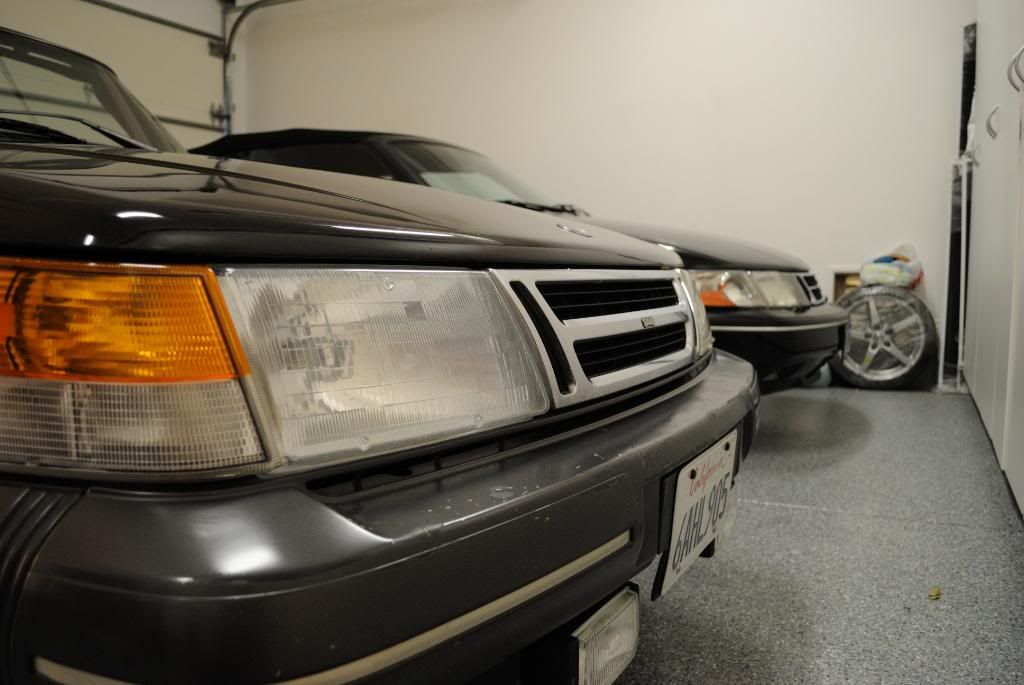
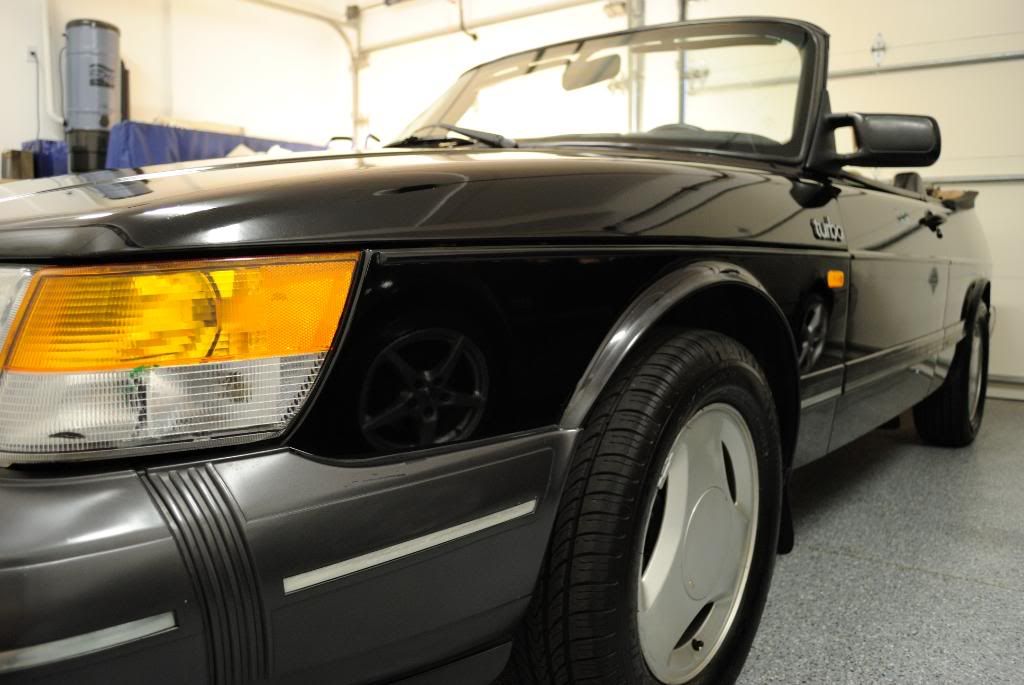
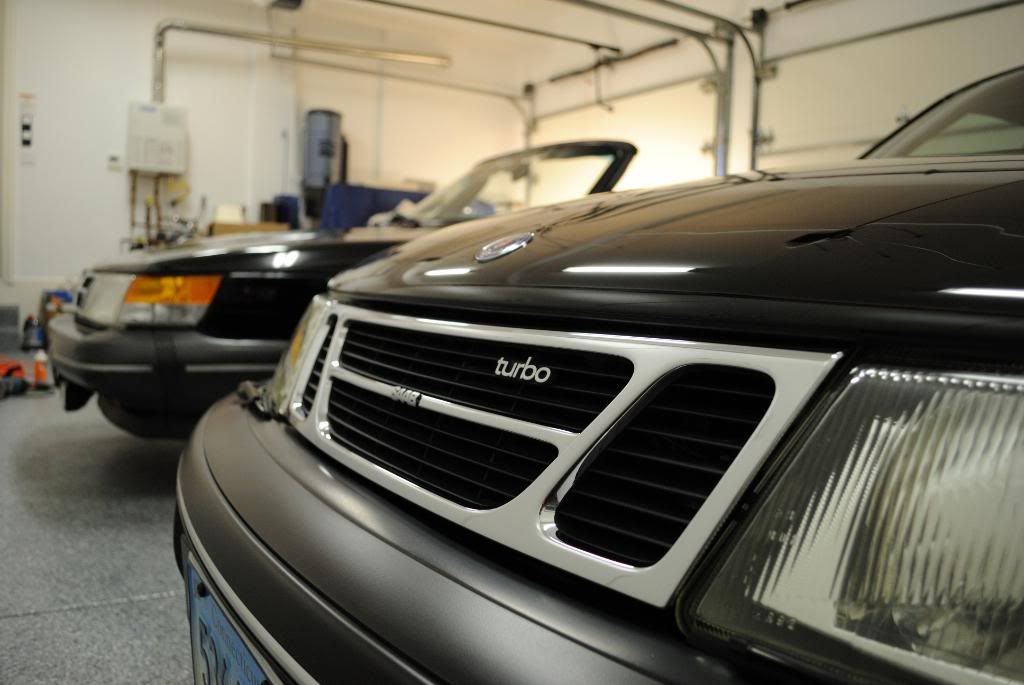
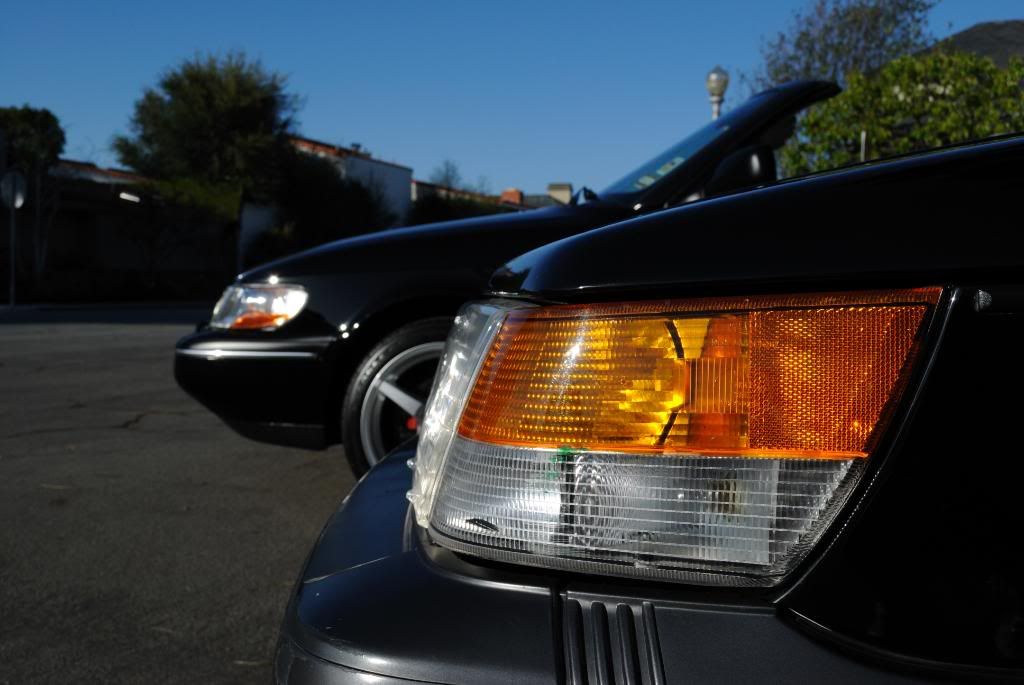
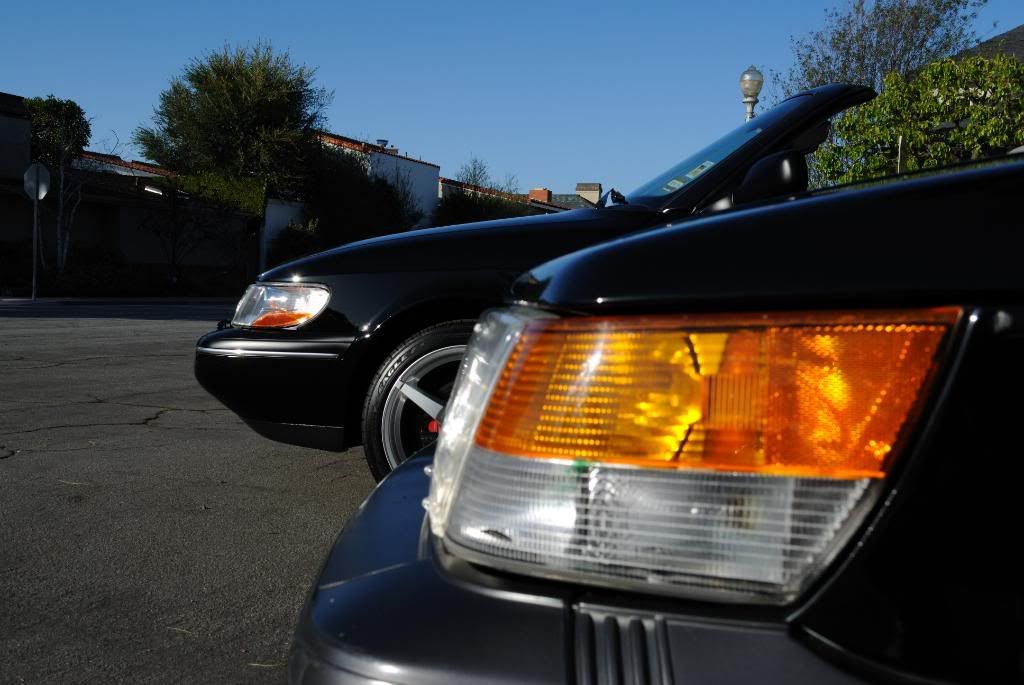
Initial Inspection: the sun is a cruel mistress
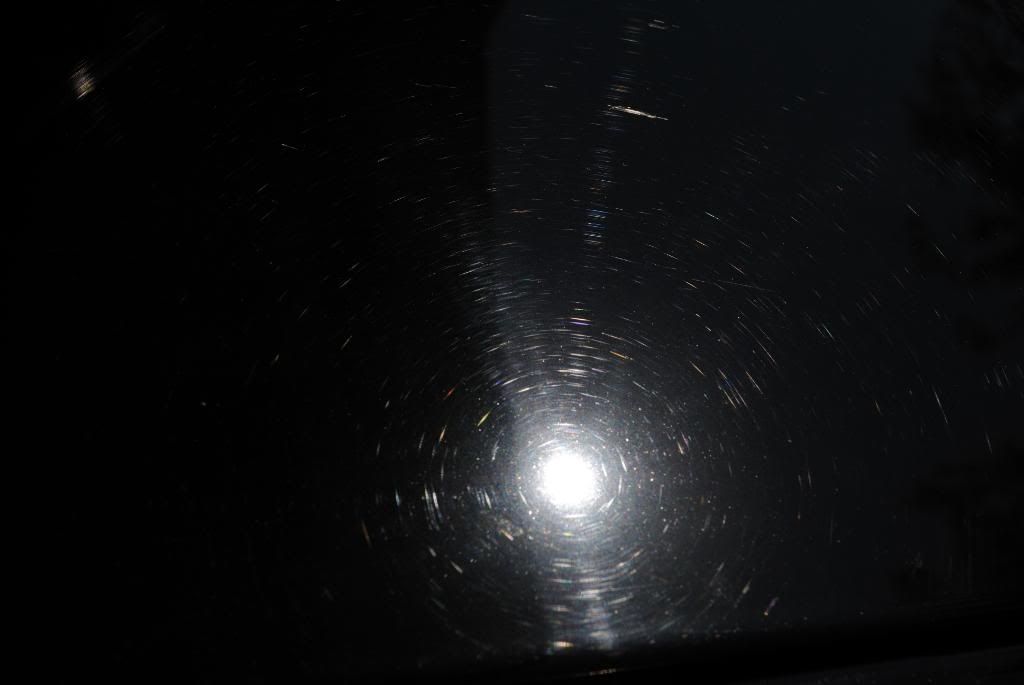
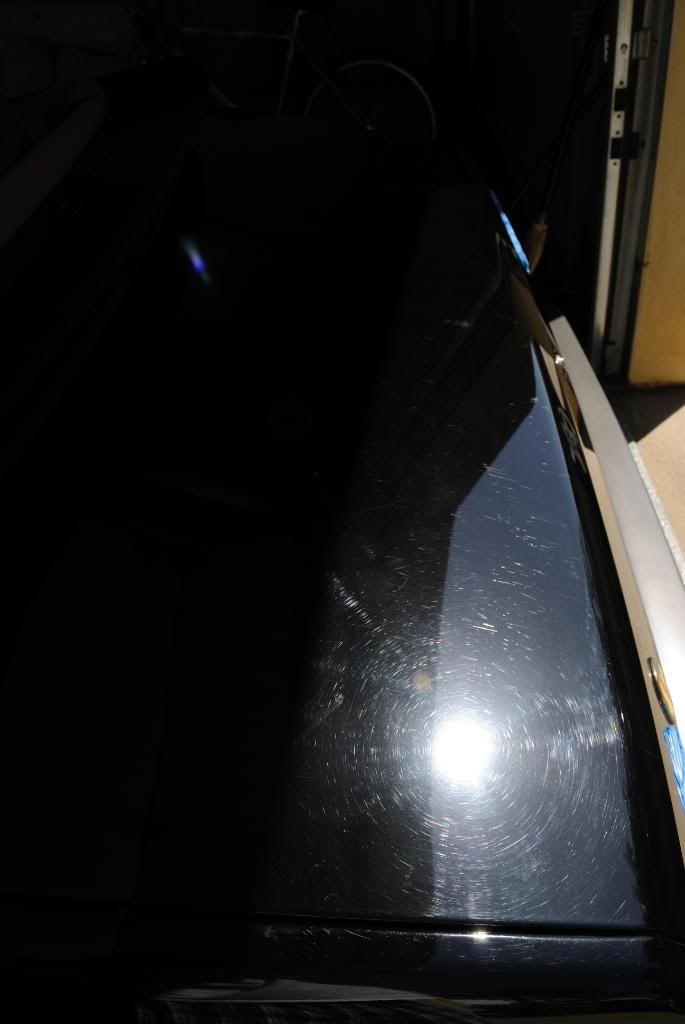
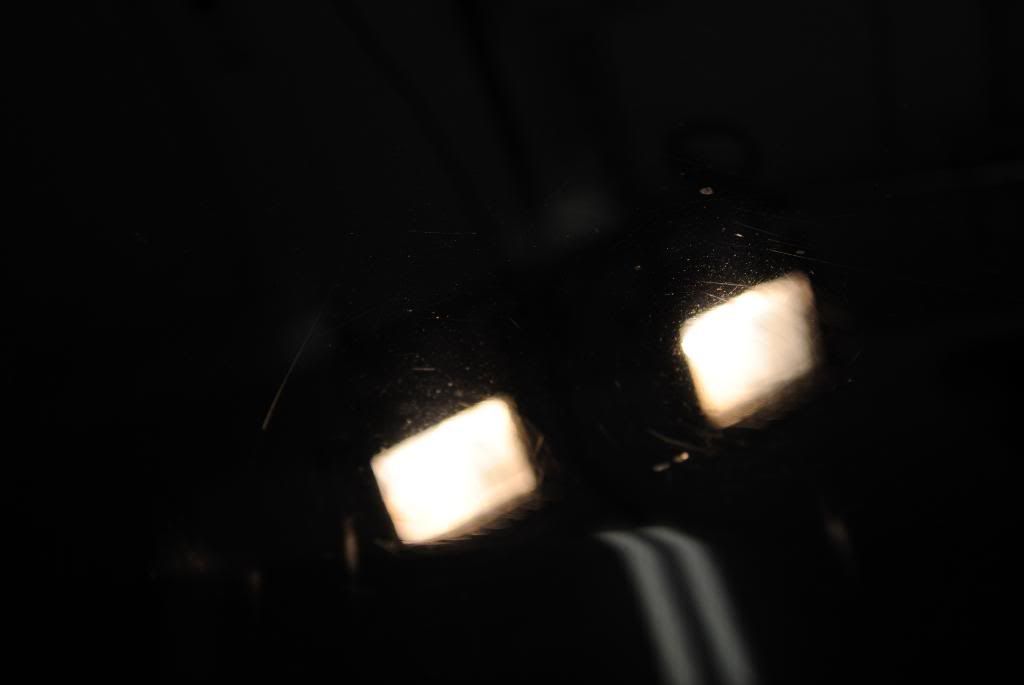
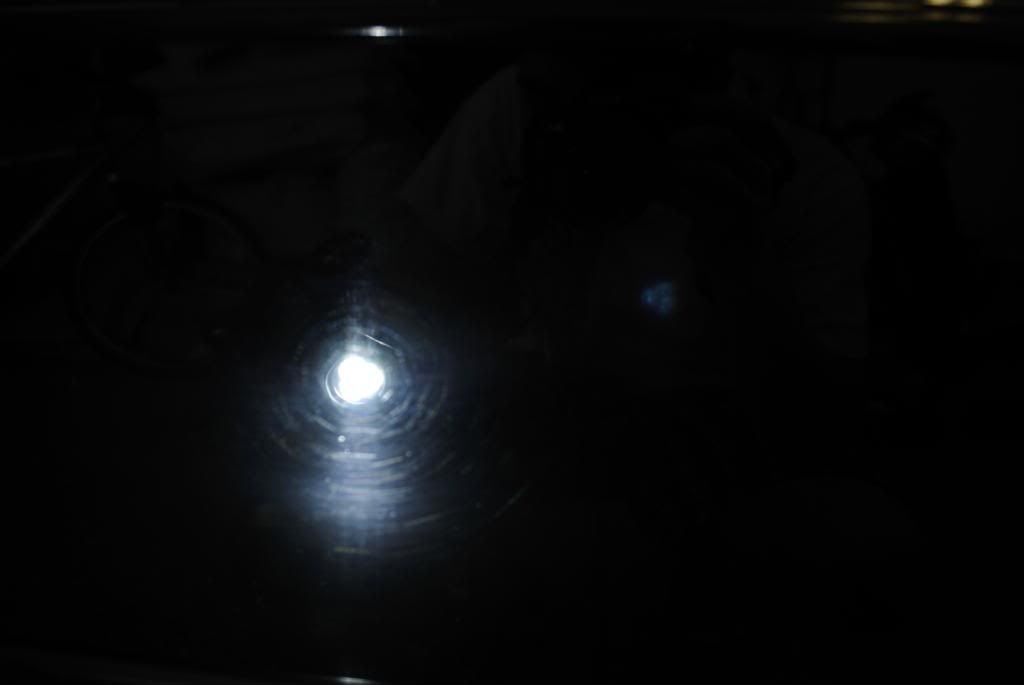
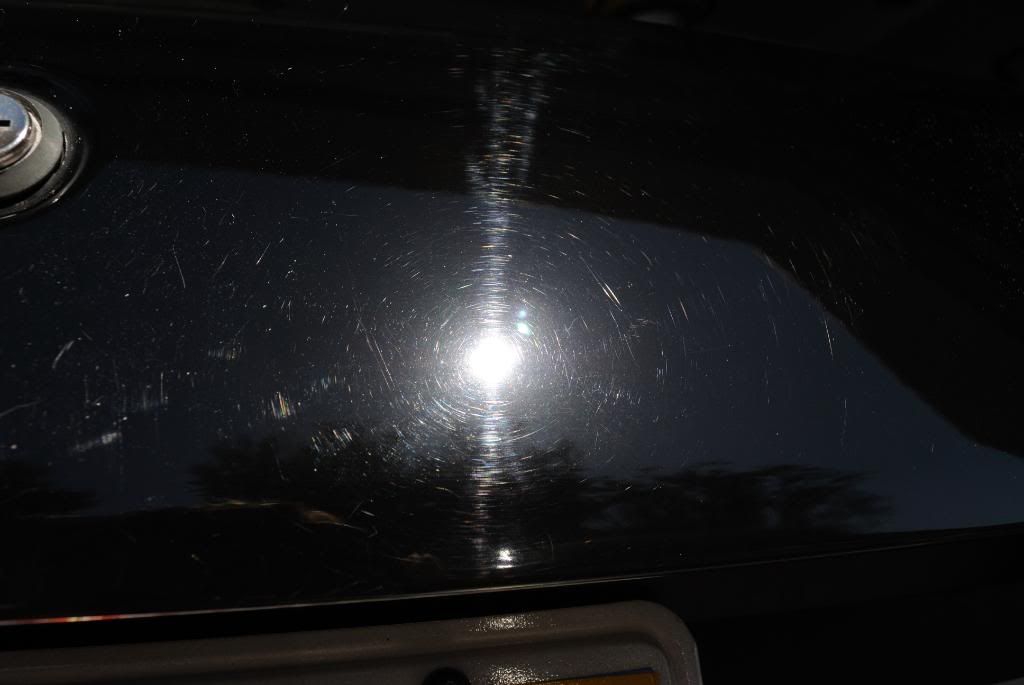
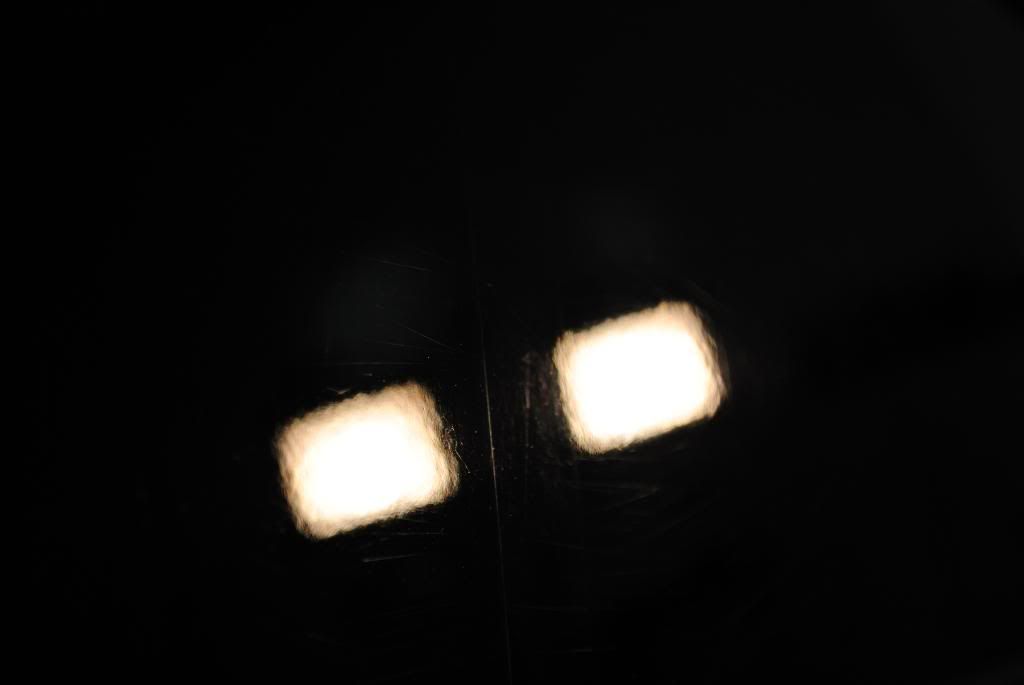
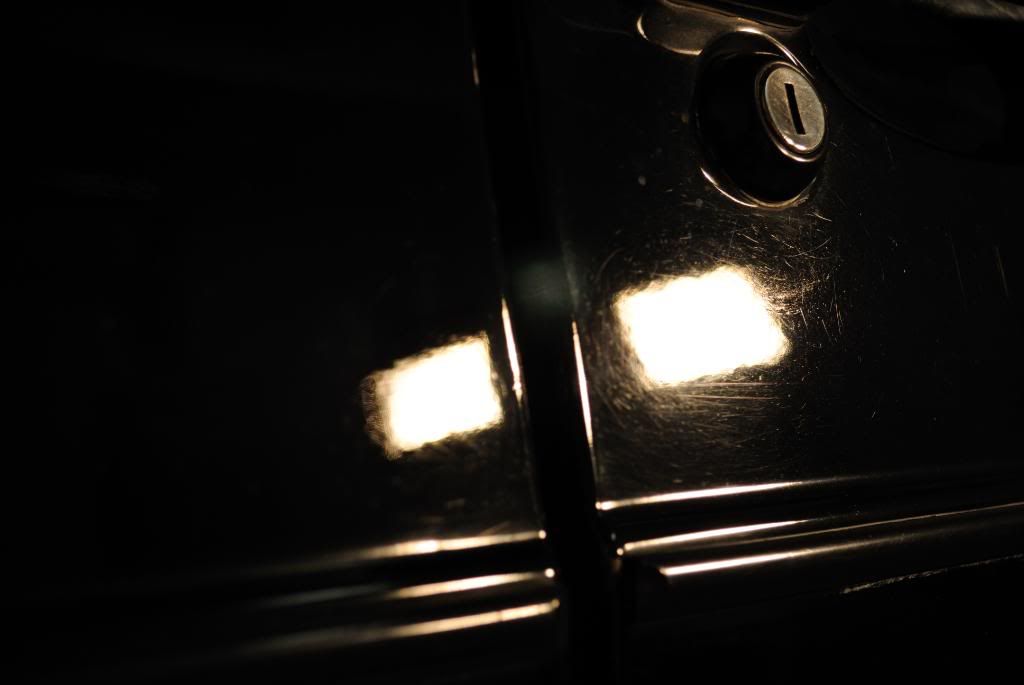
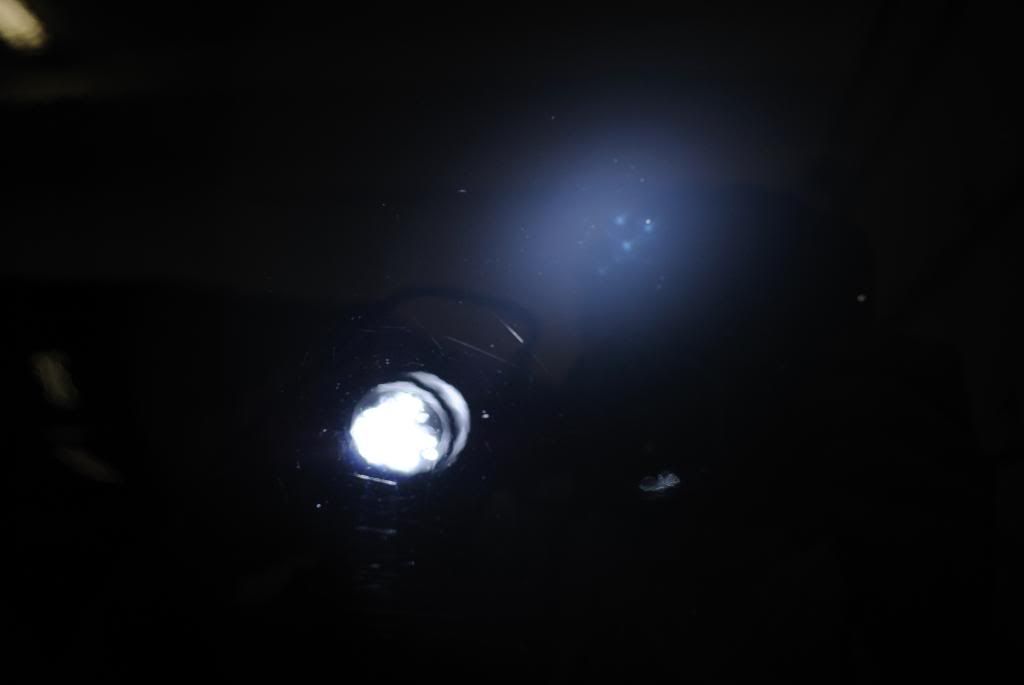
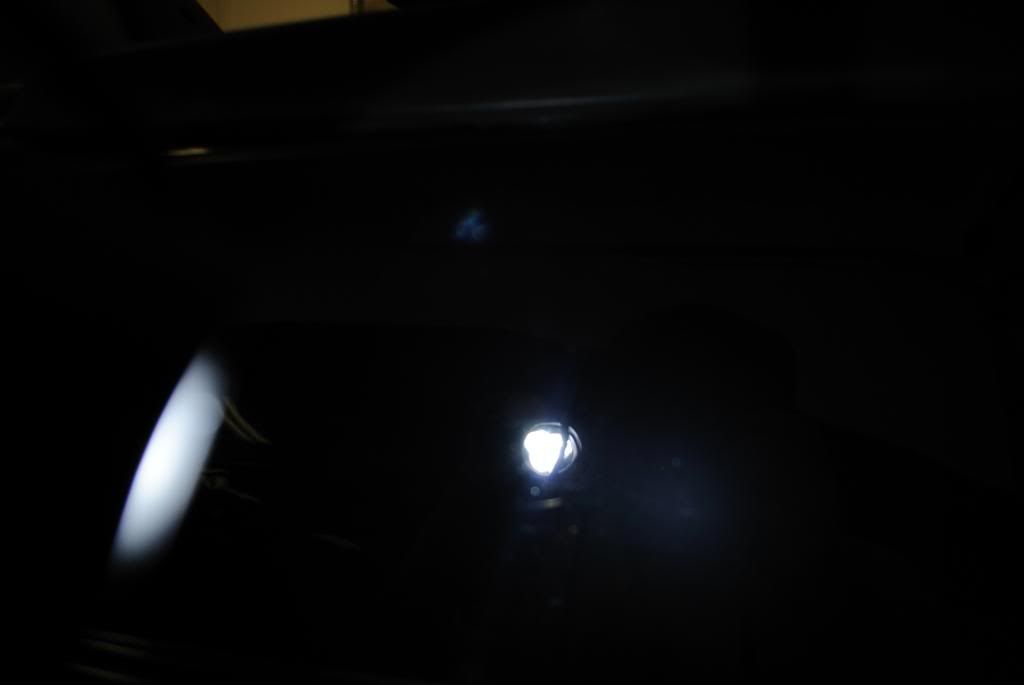
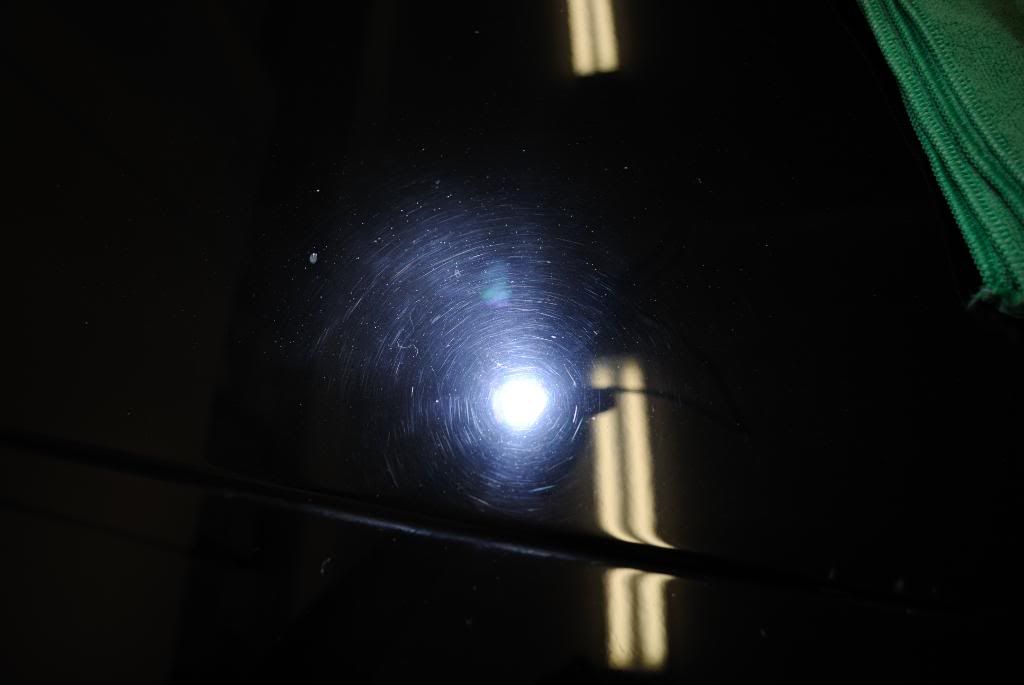
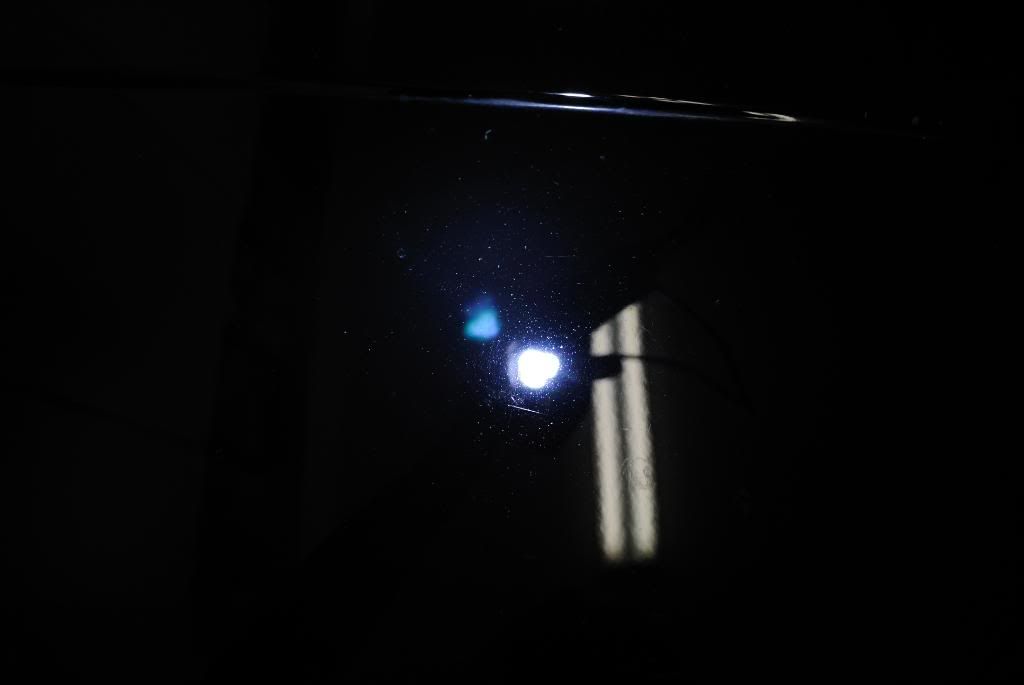
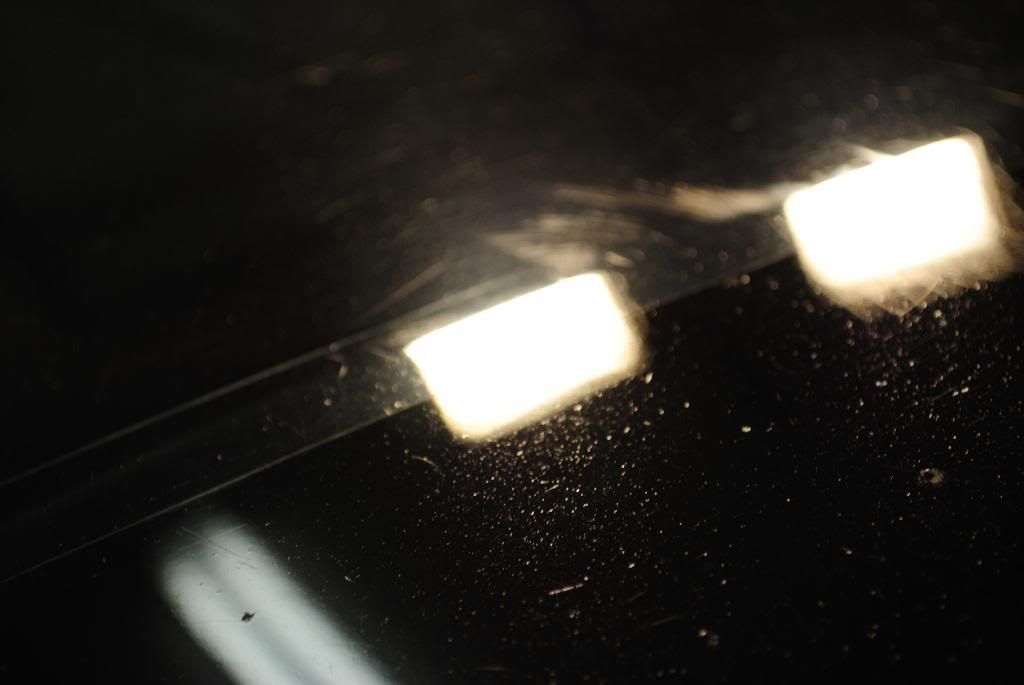
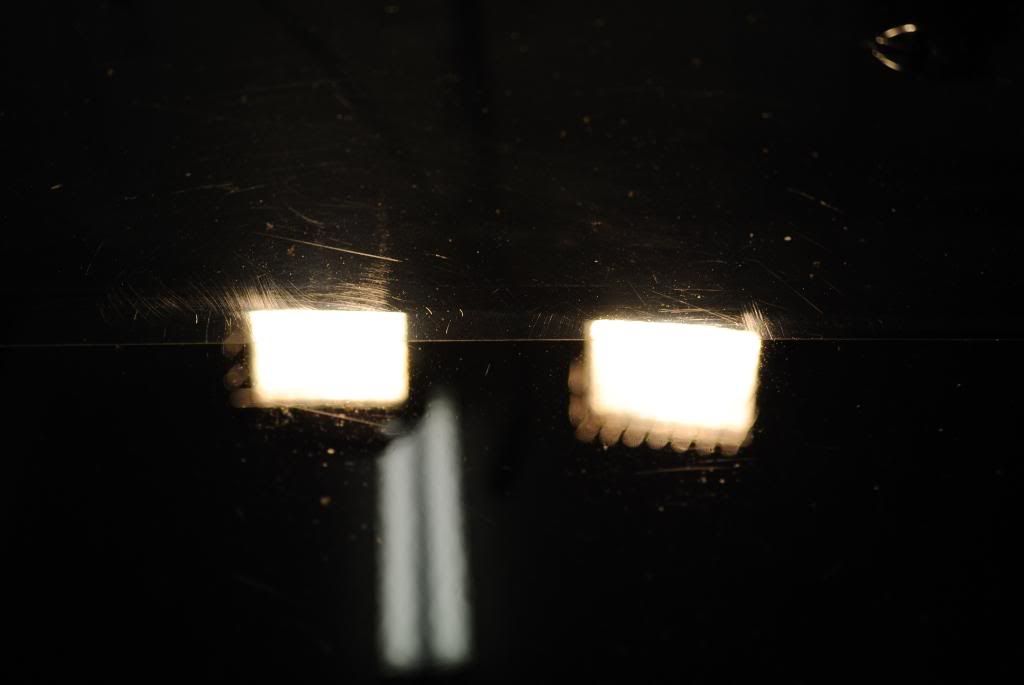
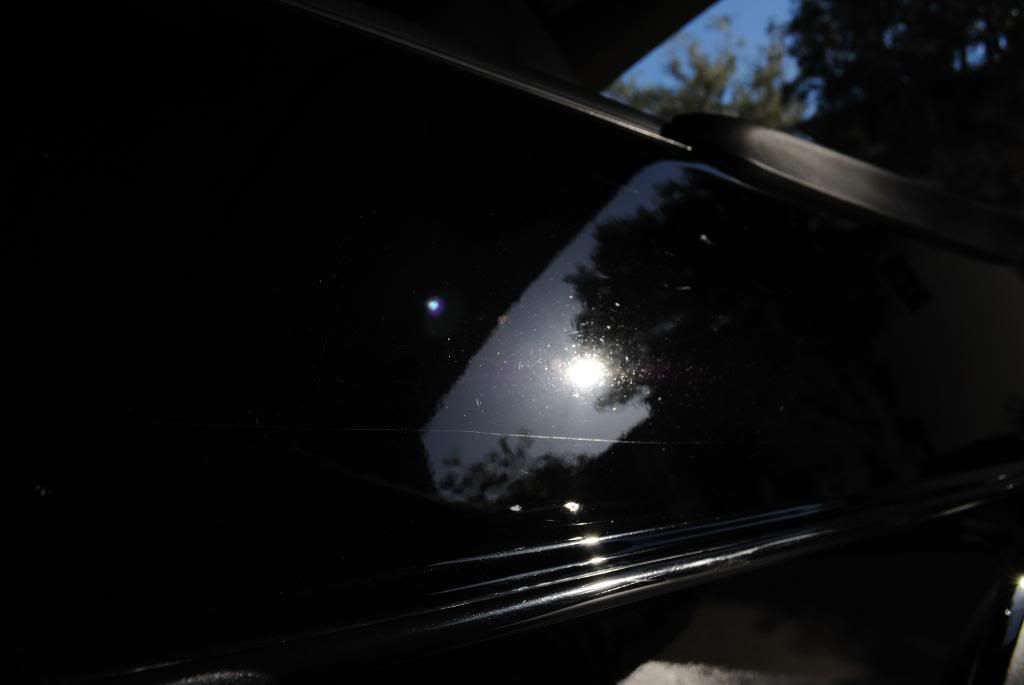
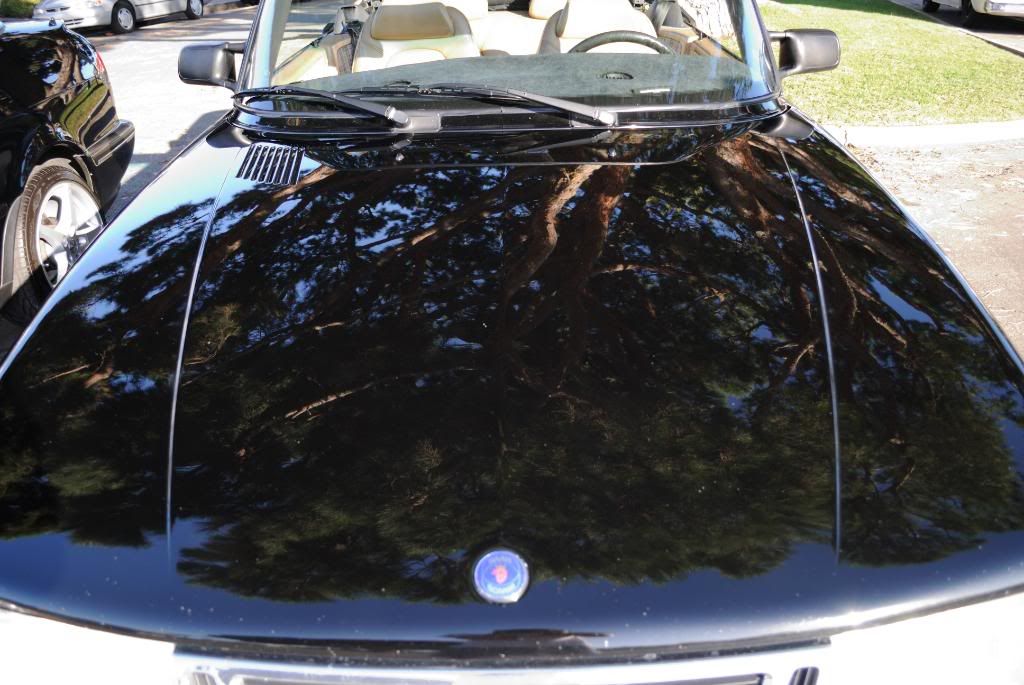
Under the halogens: lots of haze, swirl marks, and RIDs
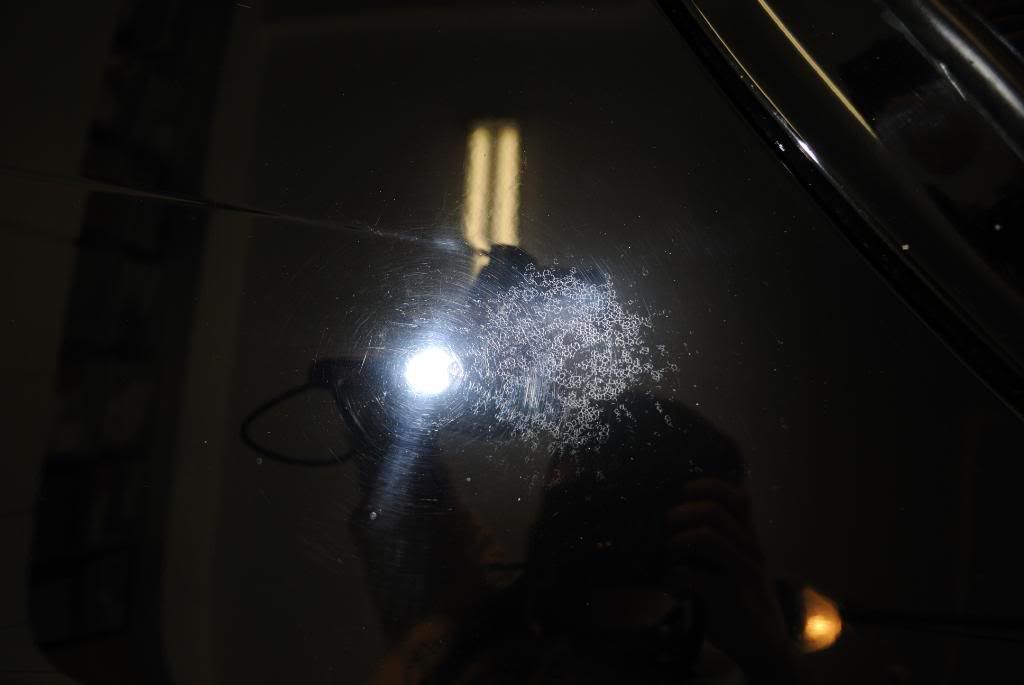
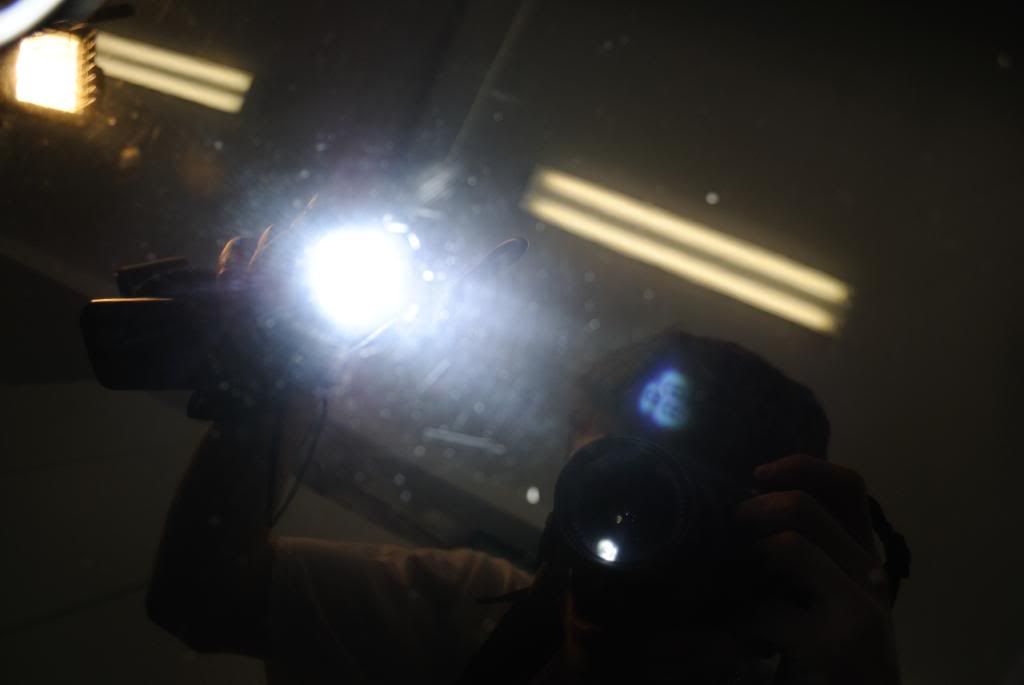
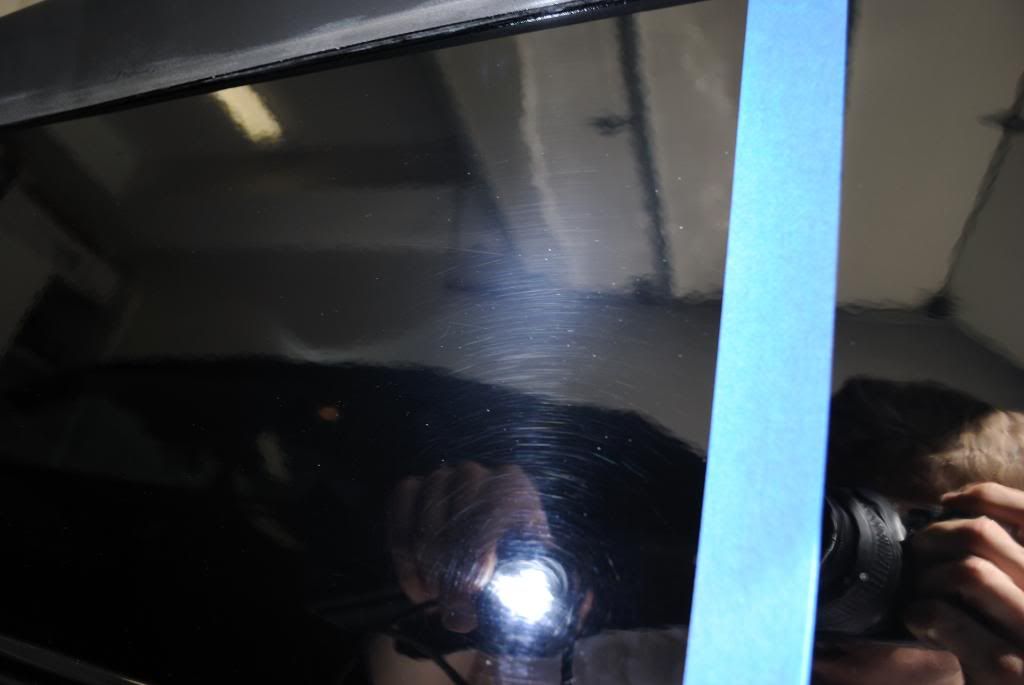
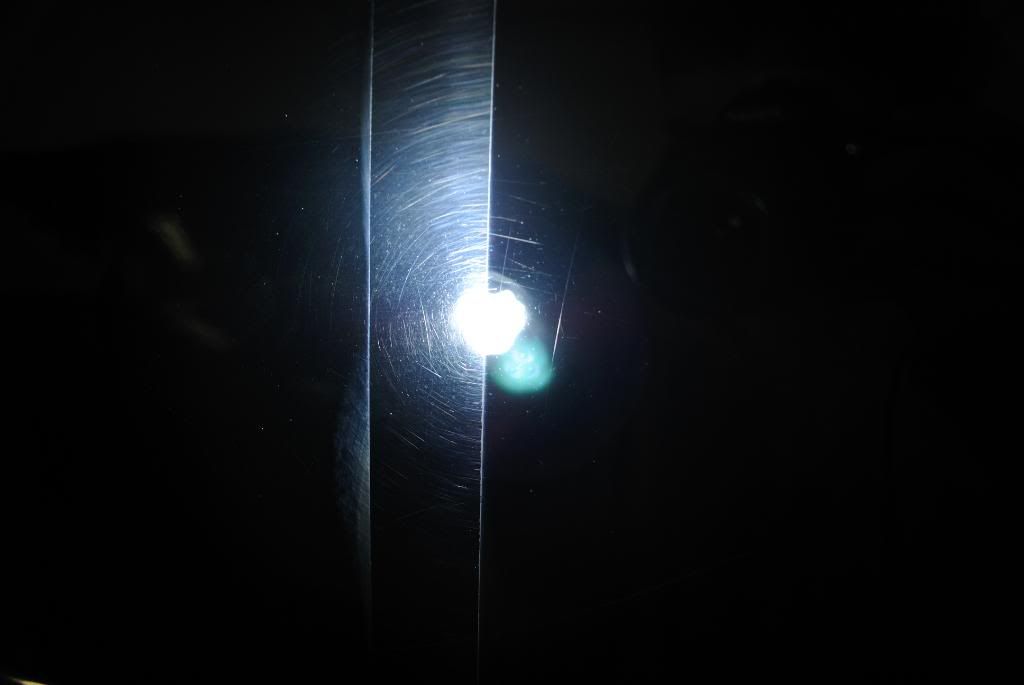
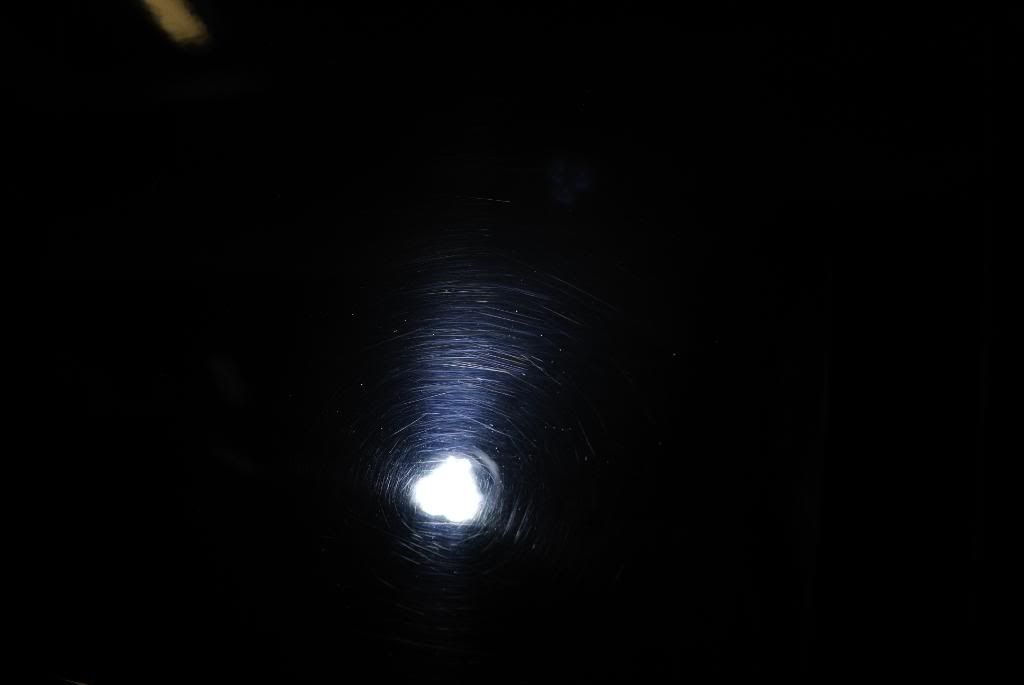
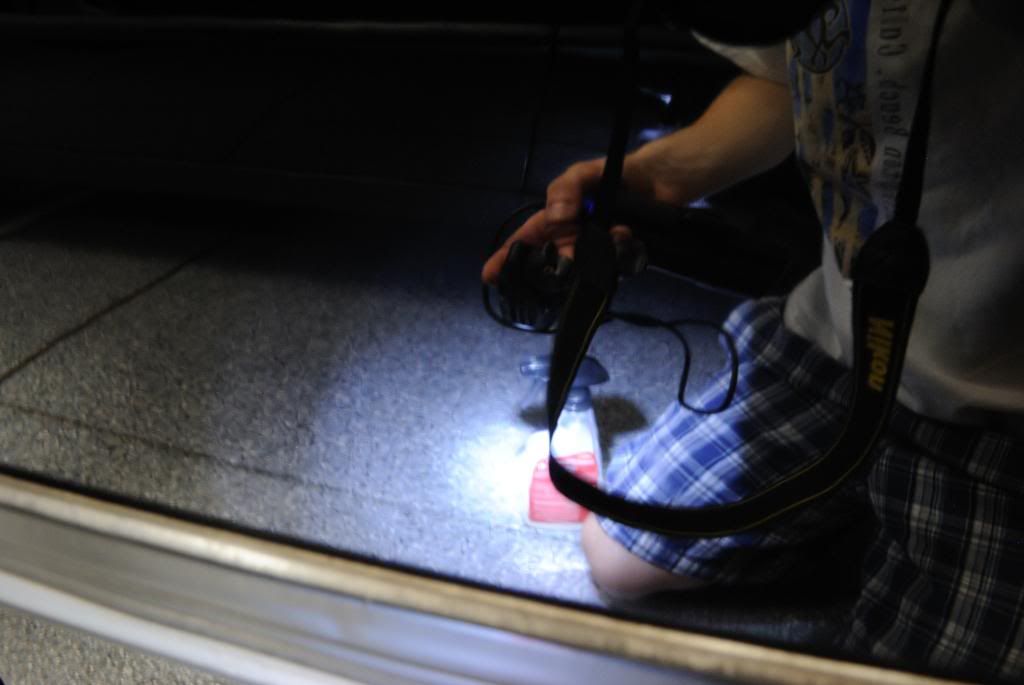
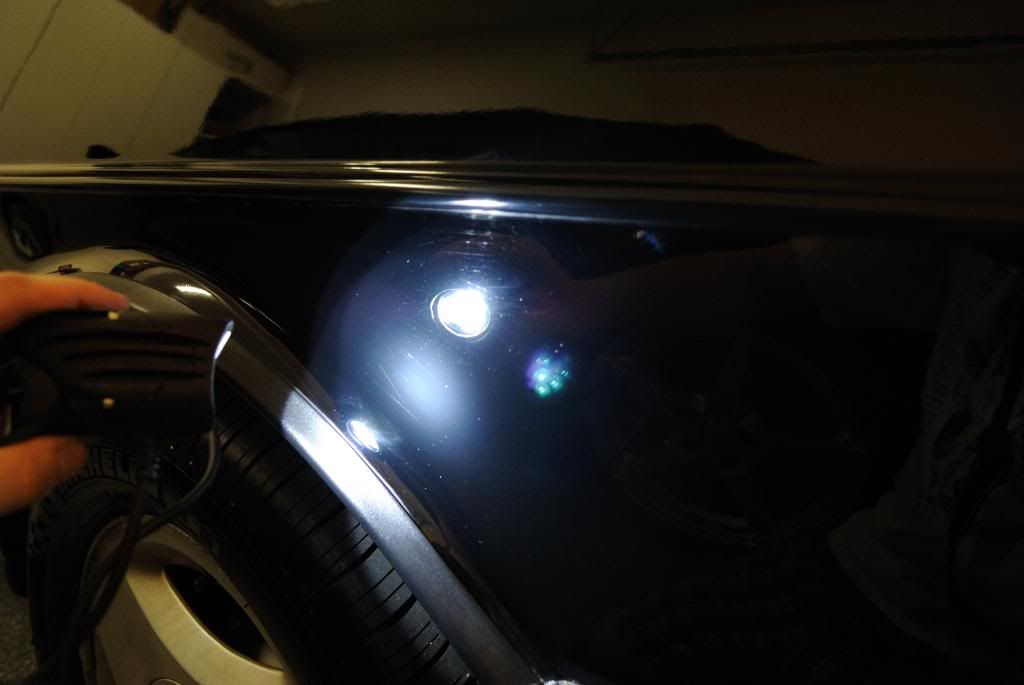
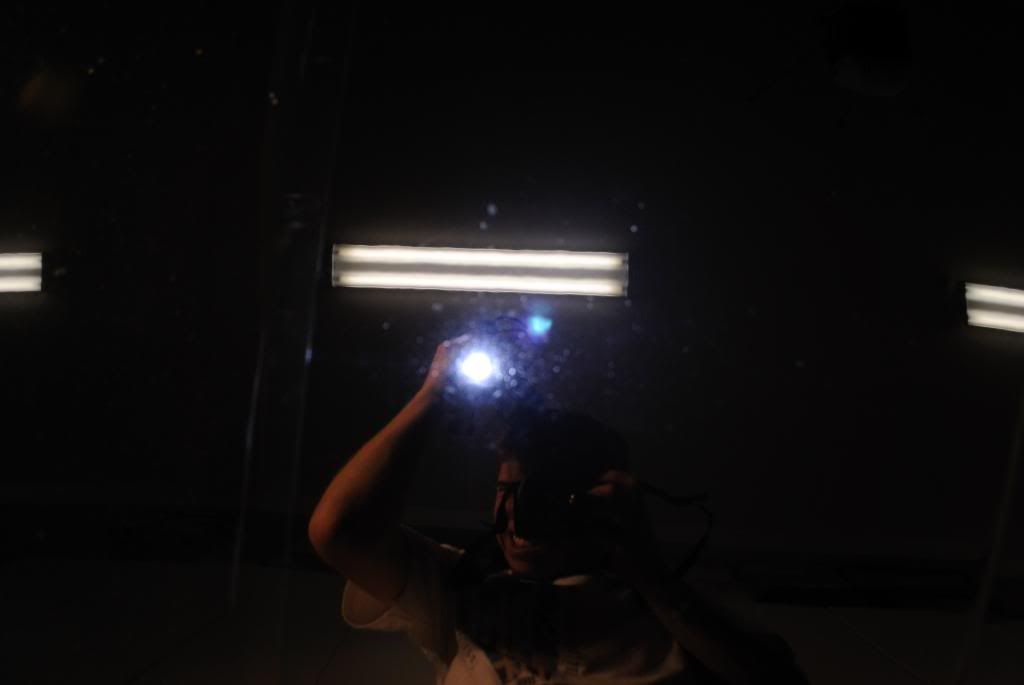
And my trusty "Swirl Finder"
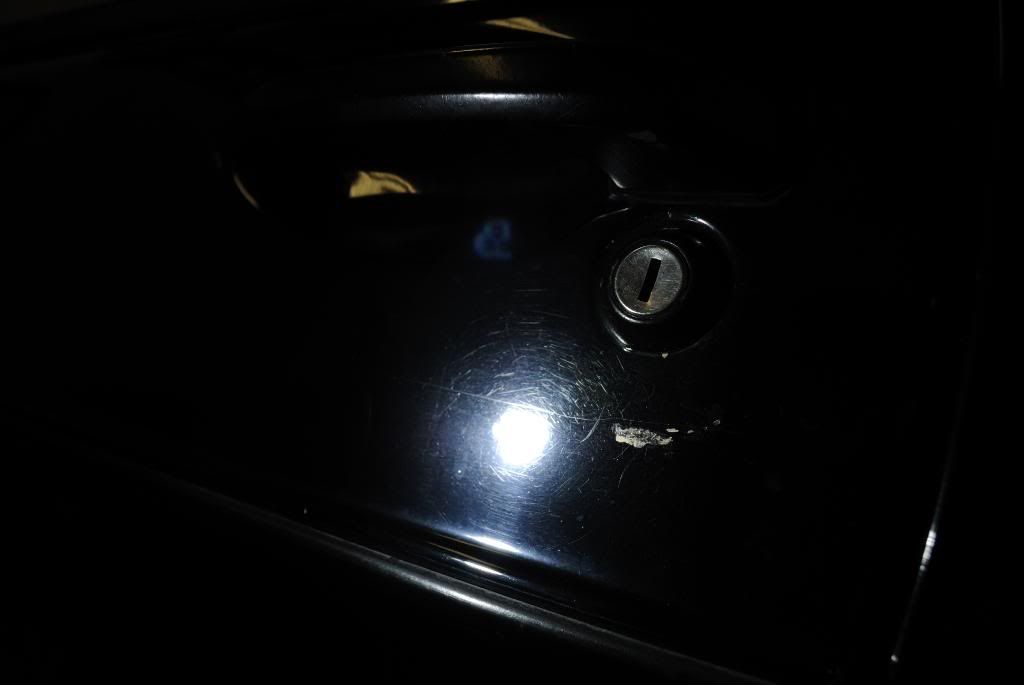
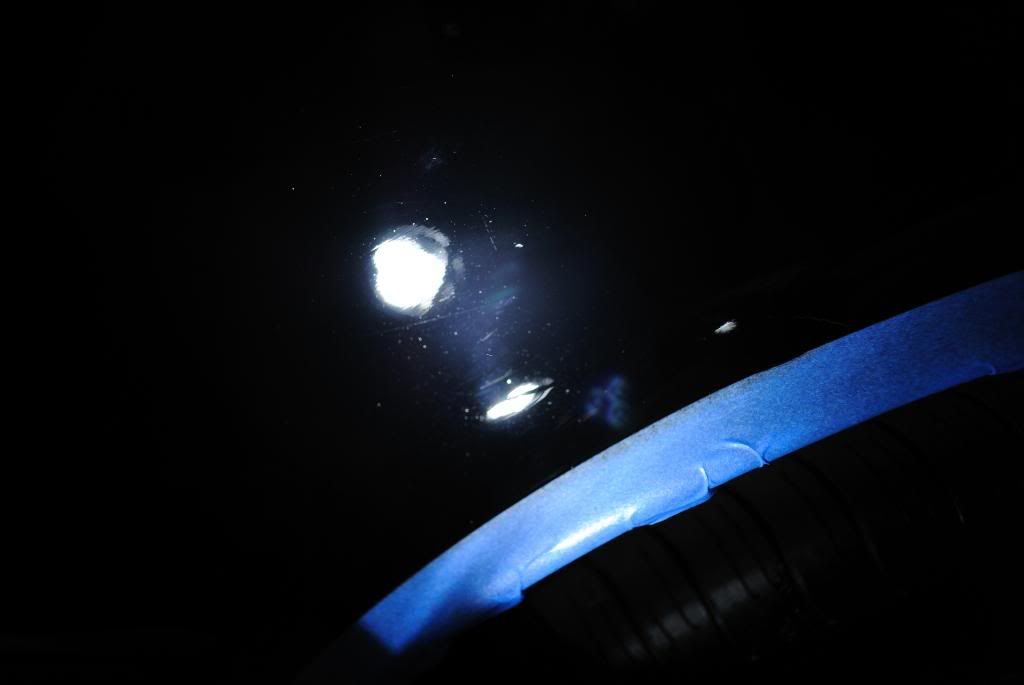
Clearcoat issues:


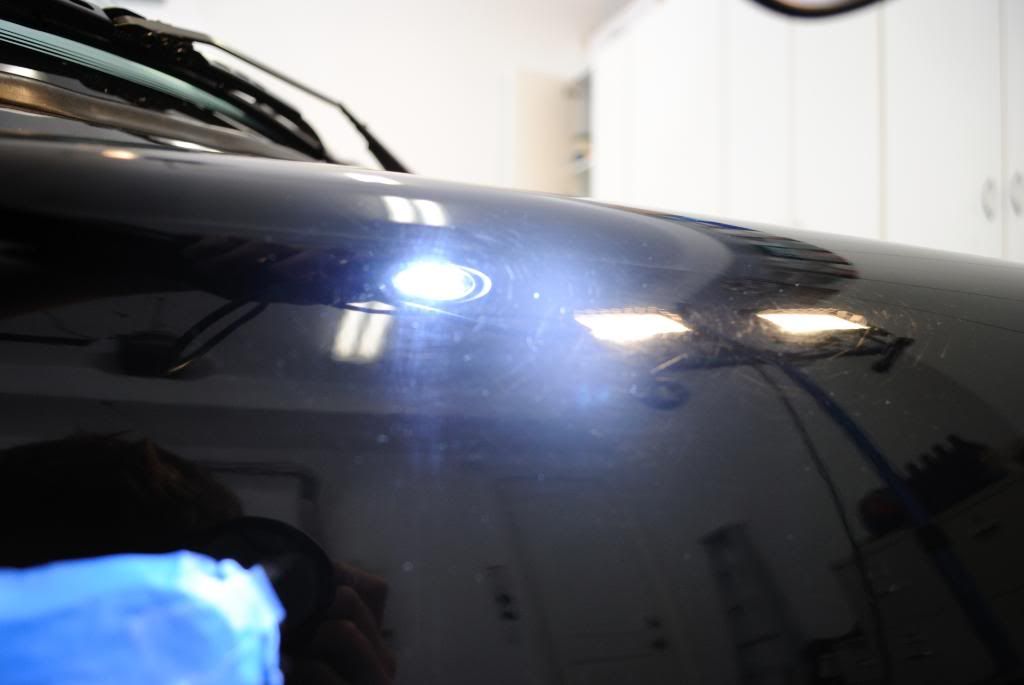
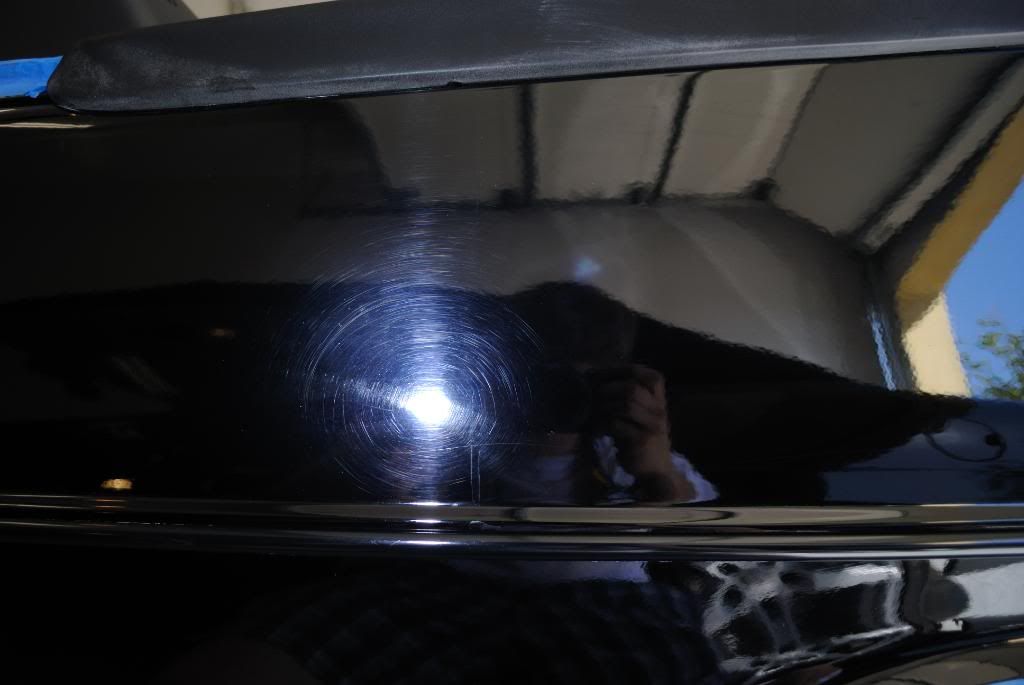
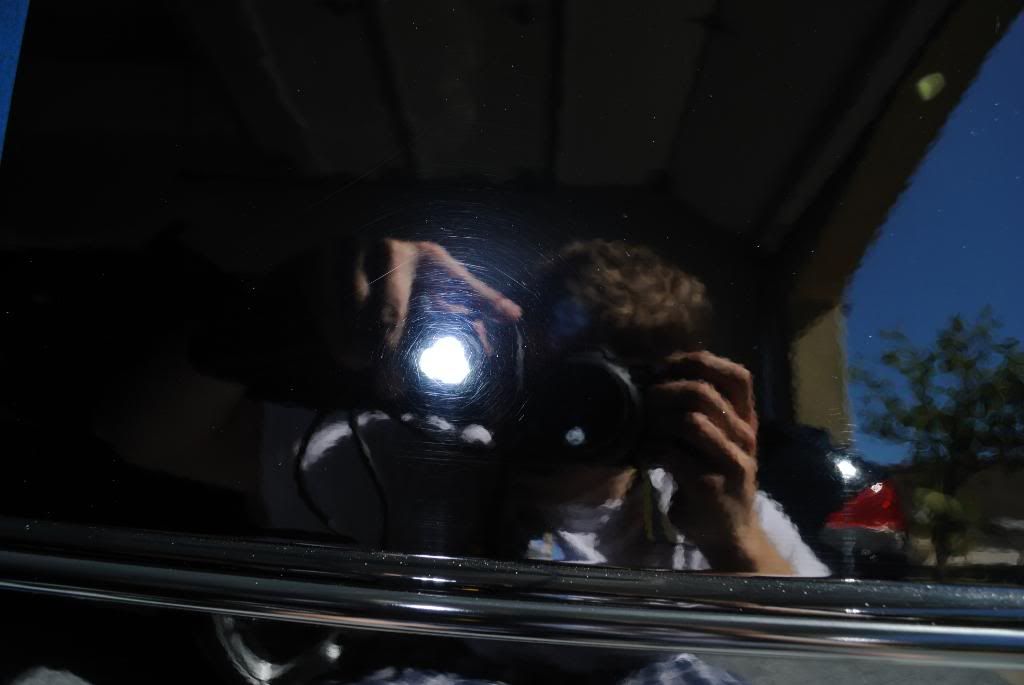
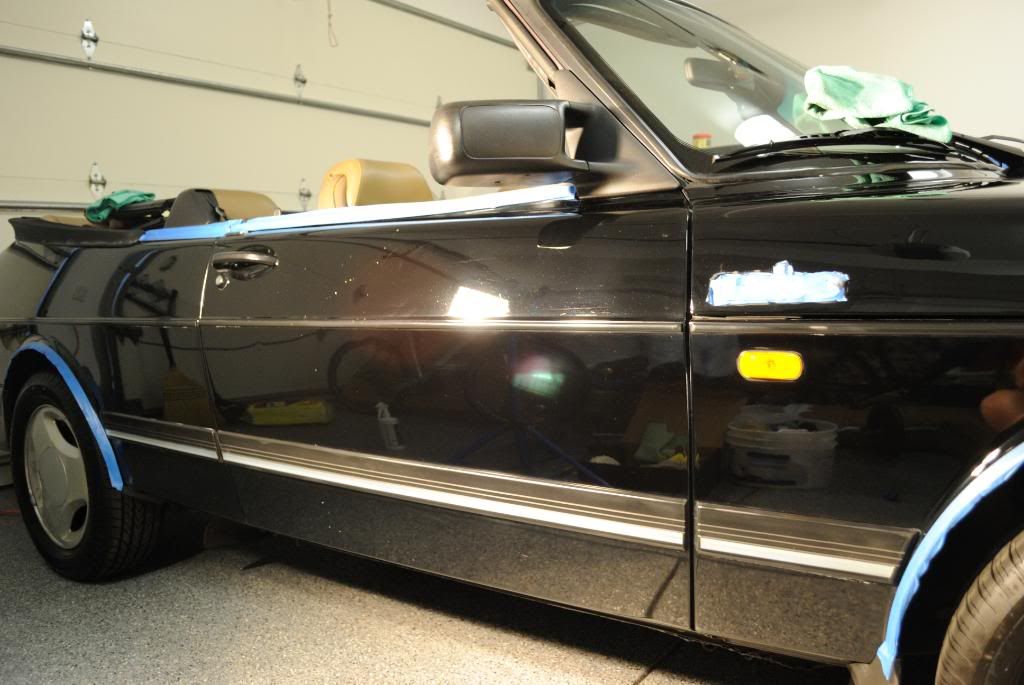
I stepped up with the rotary and went for an initial correction pass to gauge the depth of the defects and the hardness or softness of the paint. Since this was a one stepper, I used a white CCS pad with Power Finish:
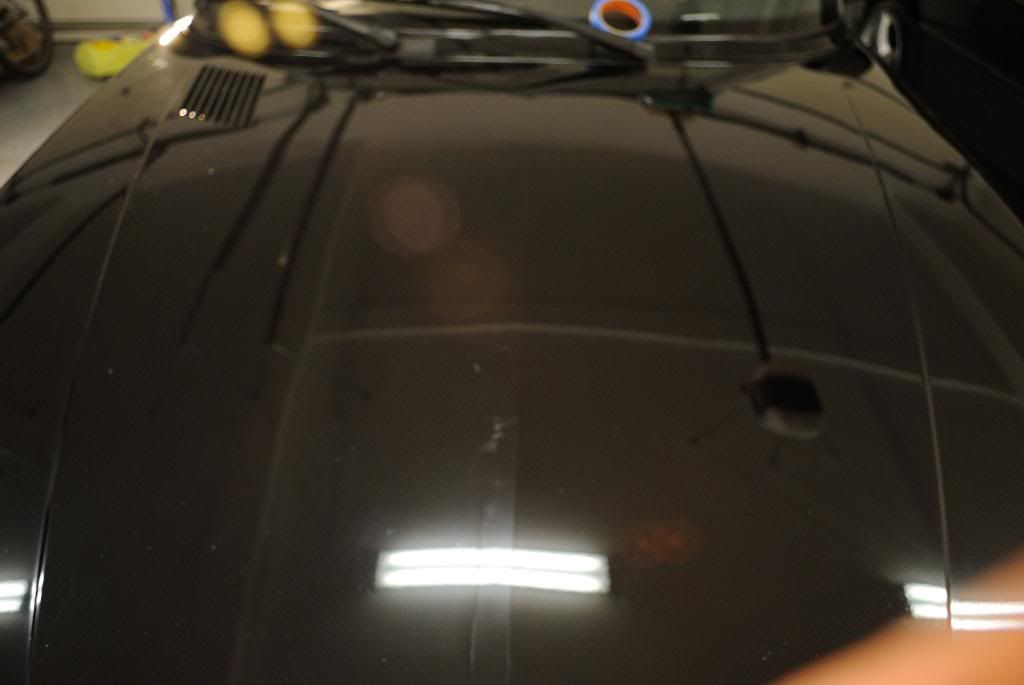
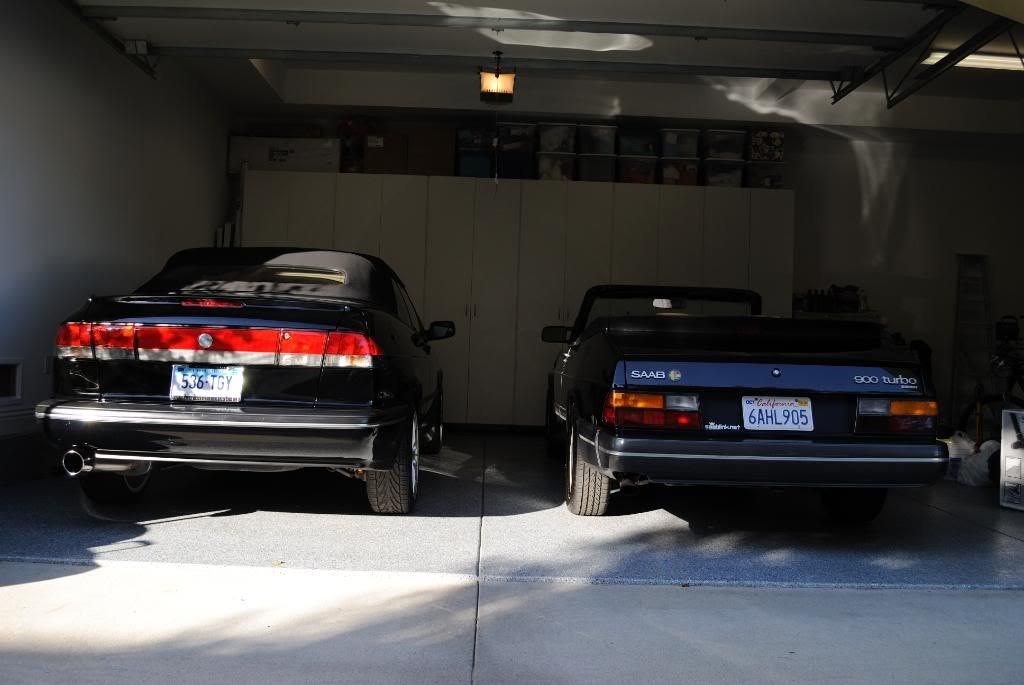
The owner's first pass with a PC: the right side was polished by him, very good results:
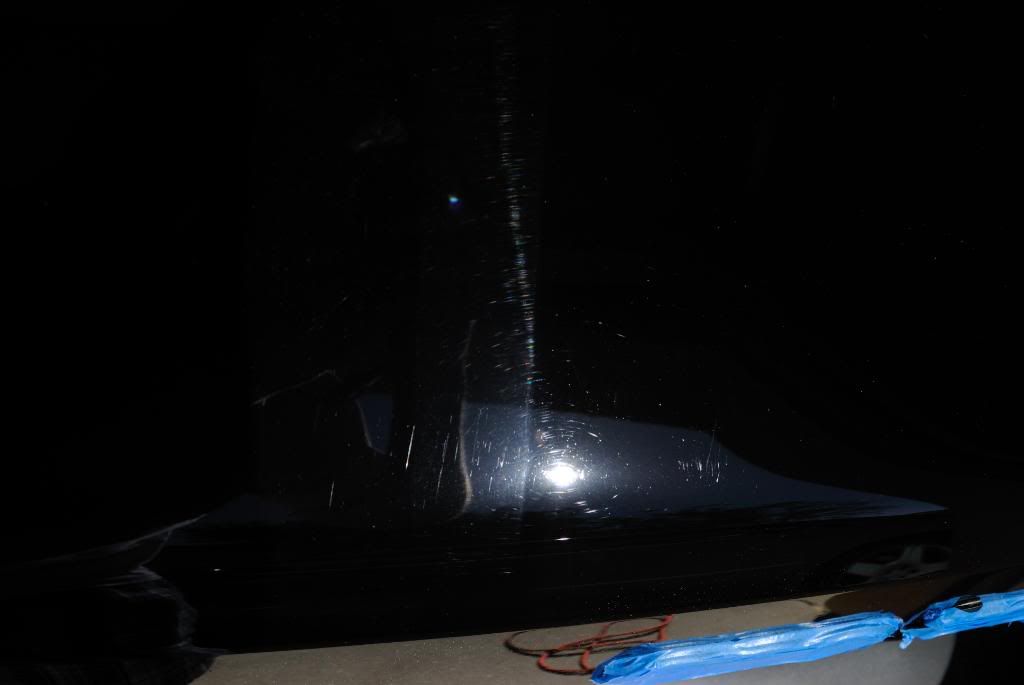
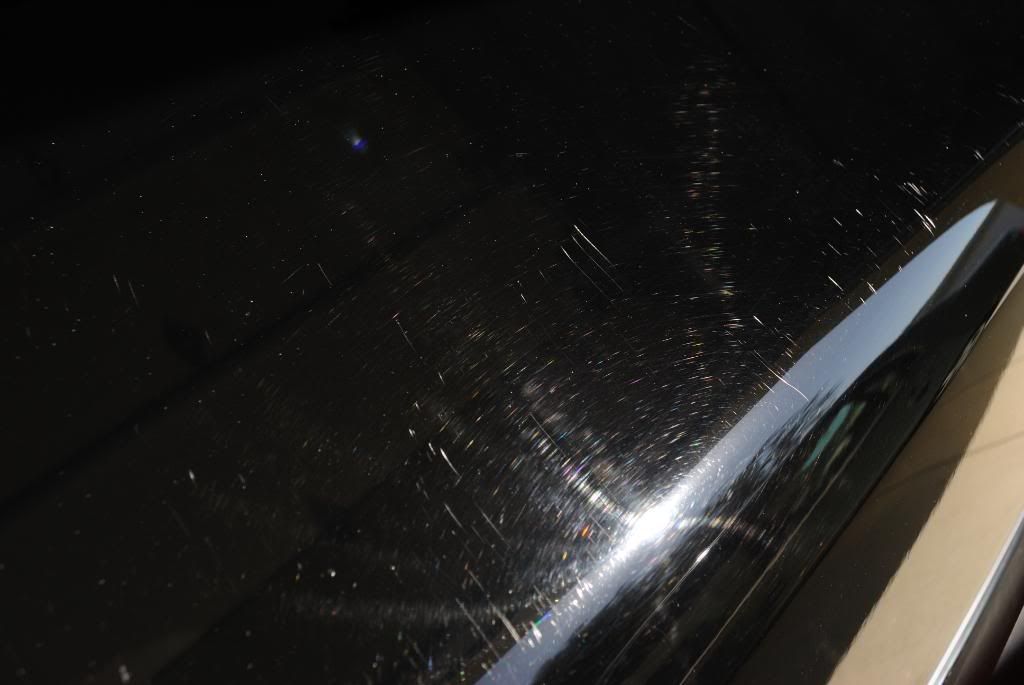
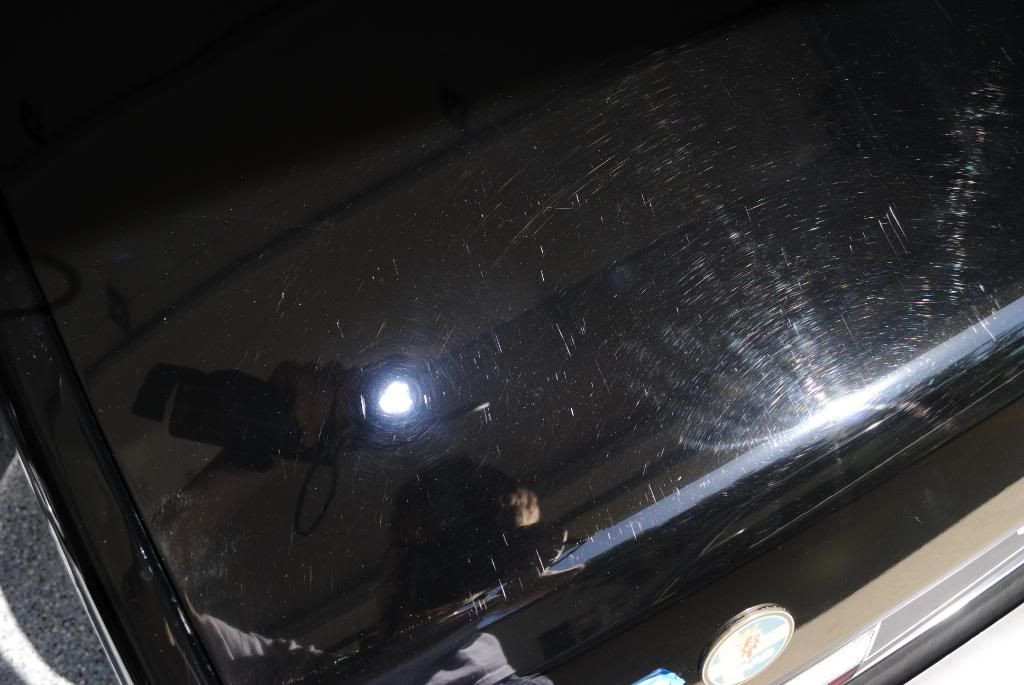
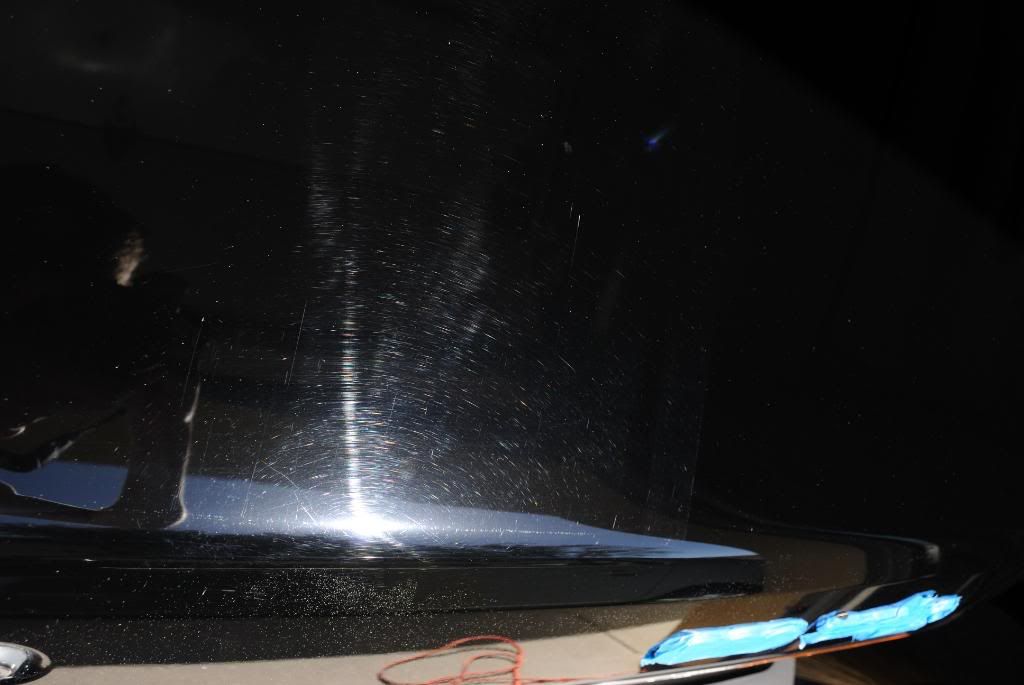
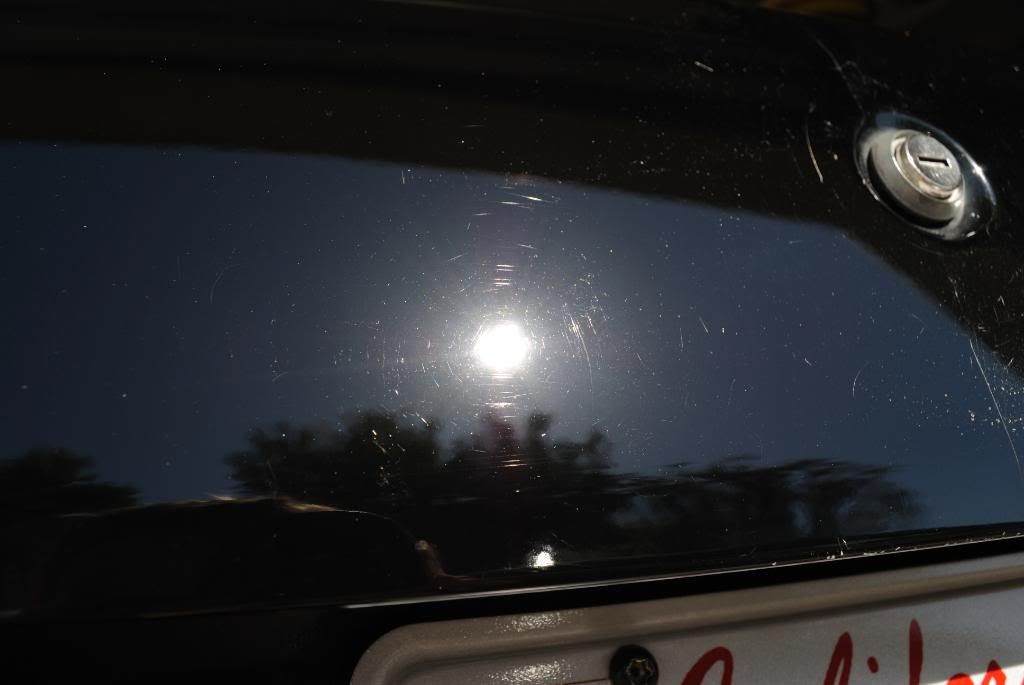
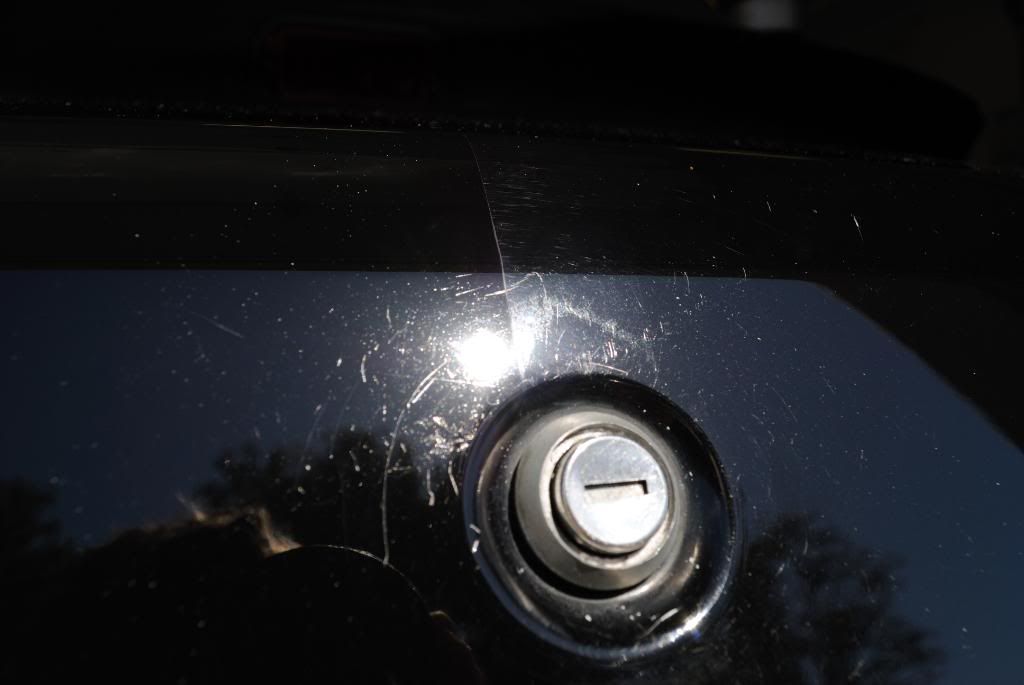
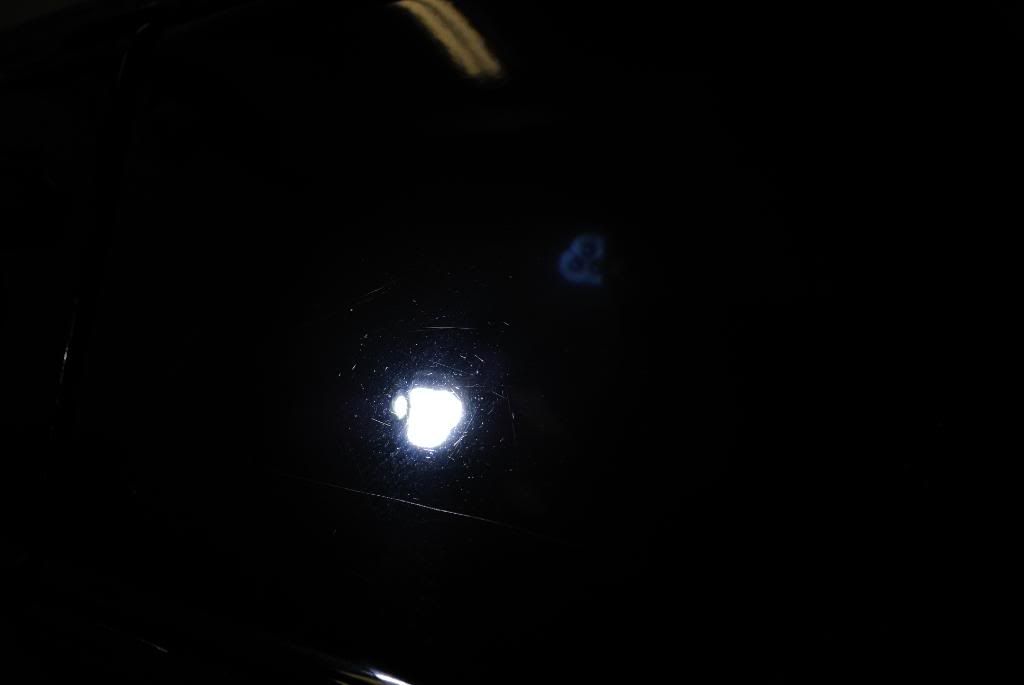
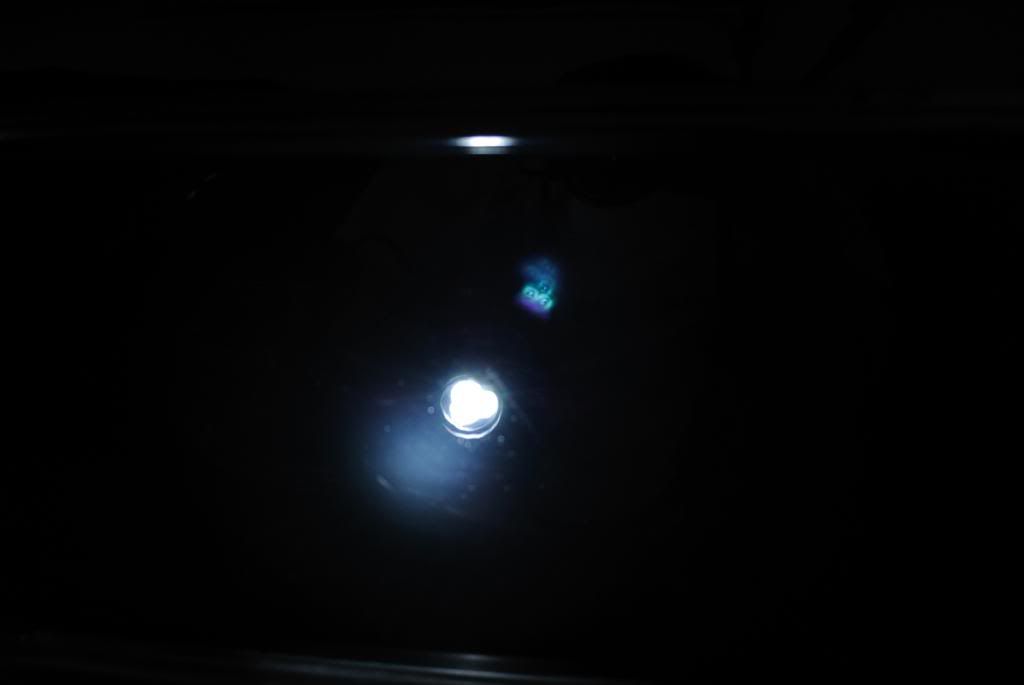
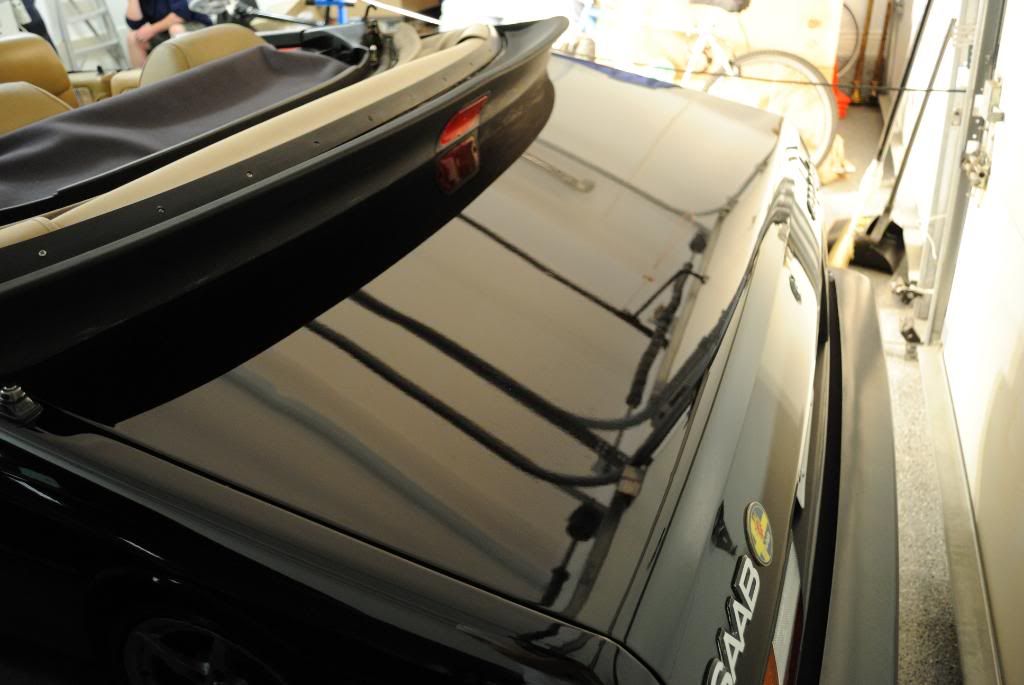
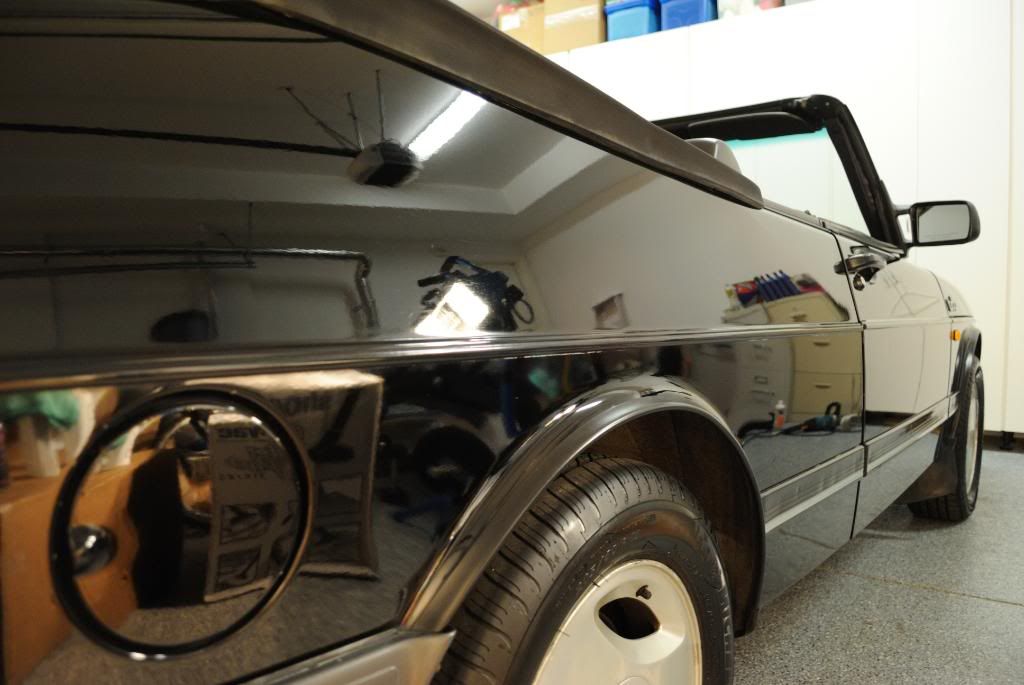
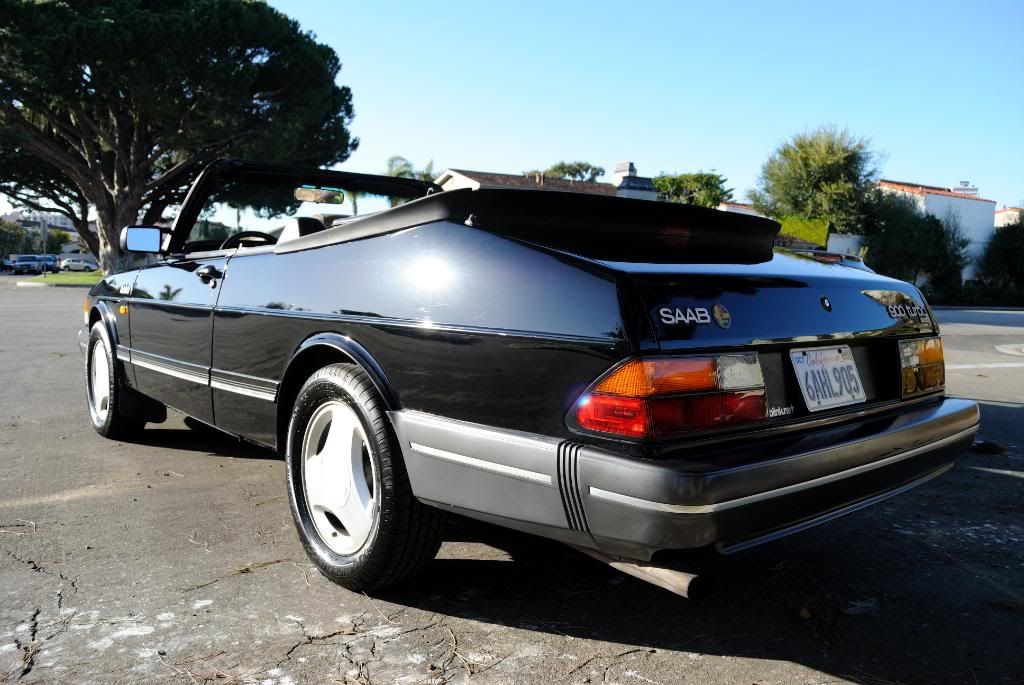
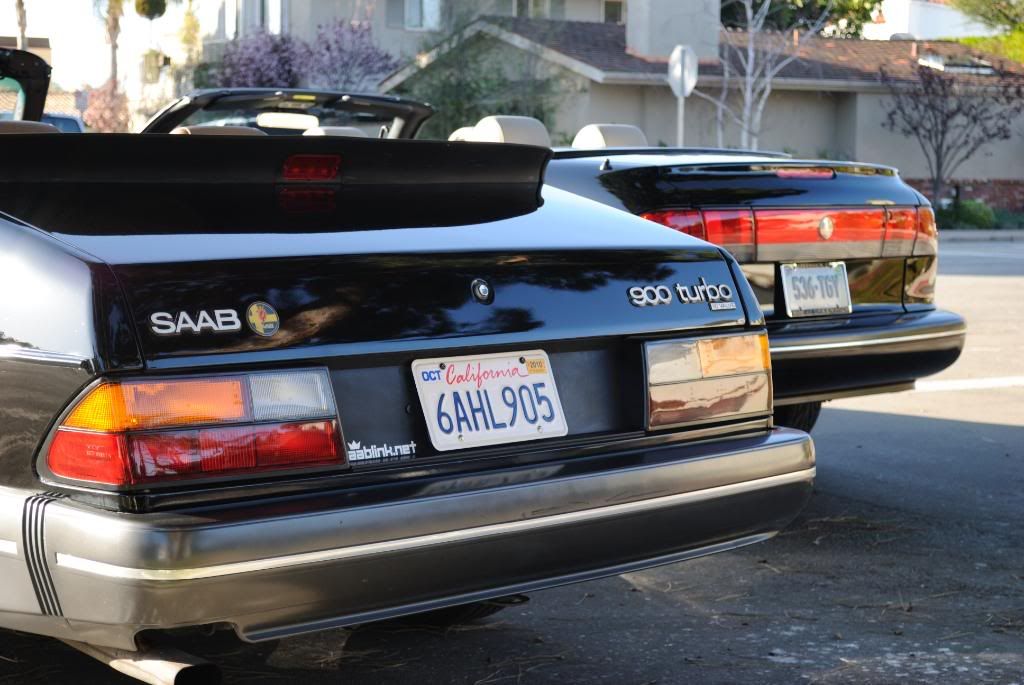
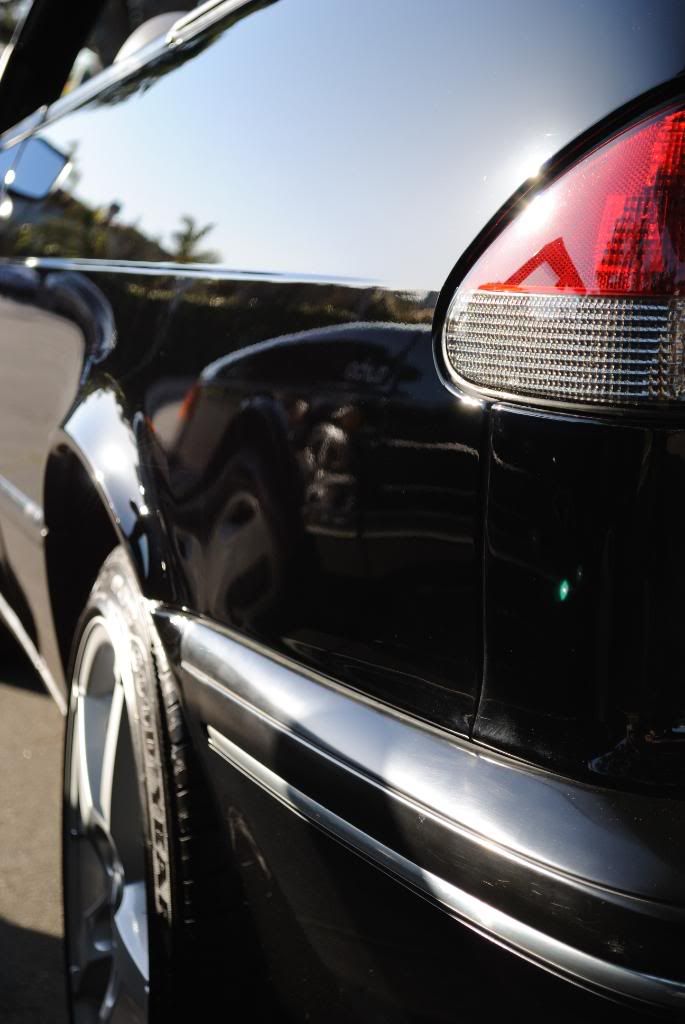
There were severe scratches in that area of the trunk, so I took another pass to knock those down just a bit further:
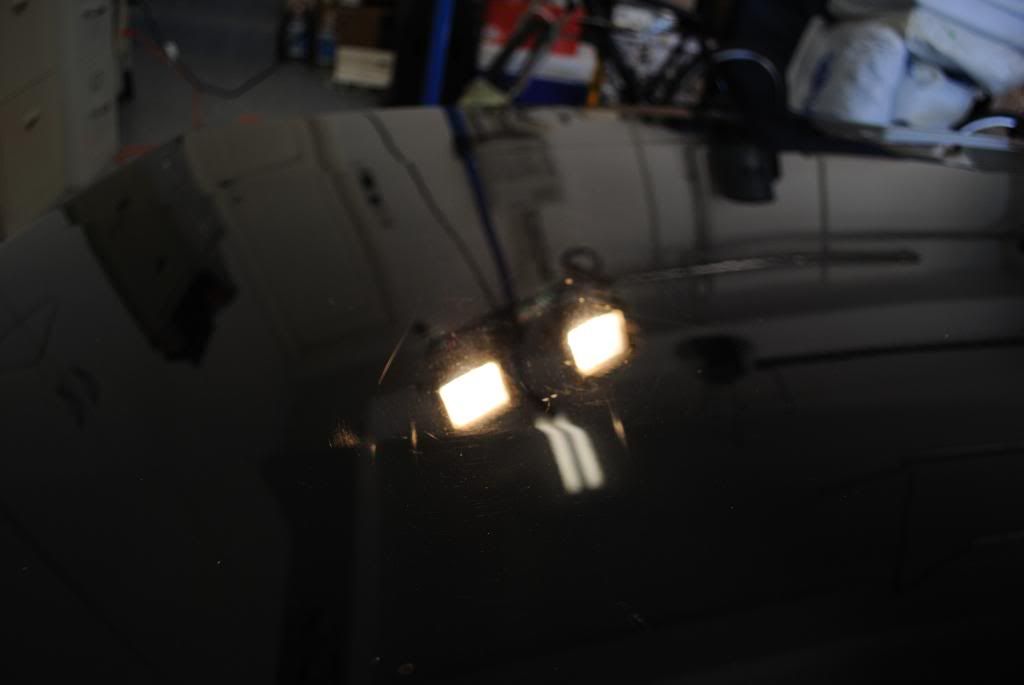
The back of the trunk: Before:
After:
Another beautiful day in Socal, I had a fellow Saab owner ask about a tuition detail so I planned for him to come over so that I can show him the ins and outs of polishing with a DA. This was meant to be a one step polishing session with the intent that a later date would be scheduled when there was more time to address more severe defects and to allow for a jeweling stage. He had warned me that the paint was not in the best shape but I told him not to worry. The car was washed and clayed before hand, which he did a great job of. He arrived around 10:45 and we immediately began taping. This is a very important step because of all the badges and trim that are on this car. We polished for about 5 hours and finally took a nice photoshoot while the sun was still out. I hope you enjoy this writeup, it was very rewarding for me to see the car's owner smile for the afters. A 20+ year old car doesn't have to look its age!
Products and Process:
-Menzerna Power Finish (203s)
-Makita Rotary (piloted by me)
-PC7424 (used by the car's owner)
-Orange and white lake country pads
-IPA wipedown
-Z***l Concours wax
-Tires: Autosmart #9 Tire+Trim Shine
-Trim: Poorboy's Trim Restorer
-Glass: AG Fast Glass
-Previously applied by the owner: 303 Fabric Guard to the soft top per my recommendation
Initial Inspection: the sun is a cruel mistress
Under the halogens: lots of haze, swirl marks, and RIDs
And my trusty "Swirl Finder"
Clearcoat issues:
I stepped up with the rotary and went for an initial correction pass to gauge the depth of the defects and the hardness or softness of the paint. Since this was a one stepper, I used a white CCS pad with Power Finish:
The owner's first pass with a PC: the right side was polished by him, very good results:
There were severe scratches in that area of the trunk, so I took another pass to knock those down just a bit further:
The back of the trunk: Before:
After:
")


")