KMG
New member
- Aug 26, 2013
- 661
- 0
The owner of this street rod was looking to have the paint cleaned up before taking the truck to a large street rod show in a few weeks. This build was finished a few years back, and after a few years of use cruising and going to shows the finish was starting to show its age. I was given a budget to work within to restore a gorgeous finish that will match this insane color.
Before Photos

This is a picture of the truck after being dropped to prior to any work being done.

Another before image from the rear.

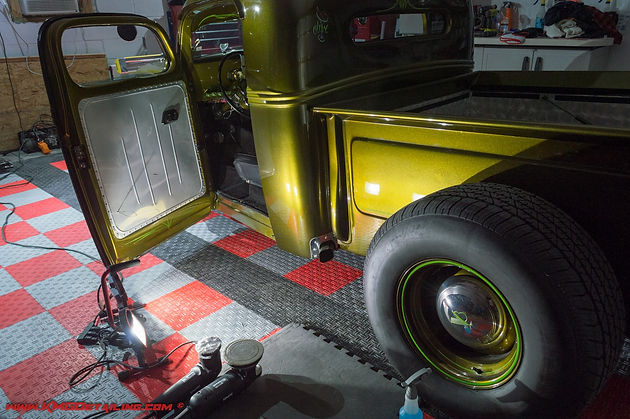
A before profile shot of this sweet looking truck before pulling it into the garage for a rinseless wash prior to starting the correction process.
Correction Process

This is the bed rail on the driver side. You can see it quite heavily swirled, as was a majority of the rest of the vehicle. The heavy metallics in the color do a great job of hiding the condition of the paint in normal lighting.

This 50/50 shot shows the results after the first stage of the correction process to remove the heavy swirling in light scratches.

This is a before photo on the driver side of the front section of the bed.
This is the same area after the first stage of the correction process.
Using various machines and pad sizes to get all the tight areas around the bed.

This is a before photo on the rear section of the bed on the driver side.

After the first stage of the correction you can notice how much more clarity and gloss, along with really bring out the metallic in the paint.

Before photo of the passenger side bed rail.

This is a closer picture showing the swirling on the paint.

The same area after the first stage of the correction leaving a nice clean finish.

Another view of the rail after being polished.

Once the first stage of the correction was finished, I went around the whole vehicle again with a high-gloss polish to really ramp up the gloss and bring out the metallic in the paint even further. The vehicle was then finished off with a sealant to keep the exterior protected.
Finished Product

This color looked absolutely amazing in the sun. Picture do not do this color any justice.

The gloss and depth was outstanding following the correction process.

Final product shot.

Final product shot.

Final product shot.

Final product shot.

A nice reflective shot down the passenger side of the truck.

Final product shot.
Before Photos
This is a picture of the truck after being dropped to prior to any work being done.
Another before image from the rear.
A before profile shot of this sweet looking truck before pulling it into the garage for a rinseless wash prior to starting the correction process.
Correction Process
This is the bed rail on the driver side. You can see it quite heavily swirled, as was a majority of the rest of the vehicle. The heavy metallics in the color do a great job of hiding the condition of the paint in normal lighting.
This 50/50 shot shows the results after the first stage of the correction process to remove the heavy swirling in light scratches.
This is a before photo on the driver side of the front section of the bed.
This is the same area after the first stage of the correction process.
Using various machines and pad sizes to get all the tight areas around the bed.
This is a before photo on the rear section of the bed on the driver side.
After the first stage of the correction you can notice how much more clarity and gloss, along with really bring out the metallic in the paint.
Before photo of the passenger side bed rail.
This is a closer picture showing the swirling on the paint.
The same area after the first stage of the correction leaving a nice clean finish.
Another view of the rail after being polished.
Once the first stage of the correction was finished, I went around the whole vehicle again with a high-gloss polish to really ramp up the gloss and bring out the metallic in the paint even further. The vehicle was then finished off with a sealant to keep the exterior protected.
Finished Product
This color looked absolutely amazing in the sun. Picture do not do this color any justice.
The gloss and depth was outstanding following the correction process.
Final product shot.
Final product shot.
Final product shot.
Final product shot.
A nice reflective shot down the passenger side of the truck.
Final product shot.