Marc08EX
New member
- May 10, 2008
- 4,108
- 0
Wheels/Tires:
Sonax Full Effect Wheel Cleaner and Meguiar's Deep Crystal on wheels
Meguiar's APC on tires
Meguiar's Hyper Dressing on tires
Swissvax Wheel Brush for the wheels
EZ Detail brush for the barrels
Wash:
Gilmour Foam Gun
Chemical Guys Citrus Wash and Gloss via Foam Gun and 2BM
Meguiar's Microfiber Wash Mitt
Swissvax Brush for Plastic Surfaces / Gas Tank
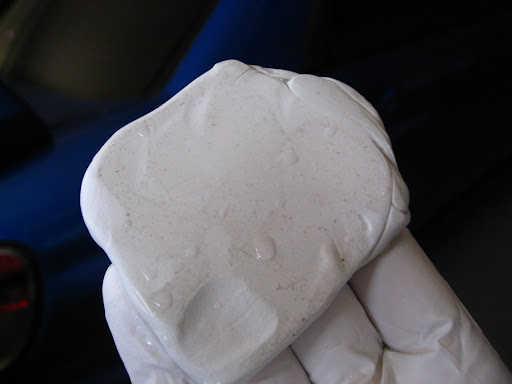
Clay:
Meguiar's OTC Clay
Meguiar's Last Touch
Paint Correction:
Flex 3401 VRG
Meguiar's G100 / 3.5" and 5" LC Backing Plates
Meguiar's M105 / LC Orange Pads
Meguiar's M205 / LC Black Pads
Craftsman 500W Halogen Lights
LSP:
Menzerna Powerlock / LC Blue Pad
Interior:
Meguiar's Quik Interior Detailer
Misc:
Poorboy's Trim Restorer
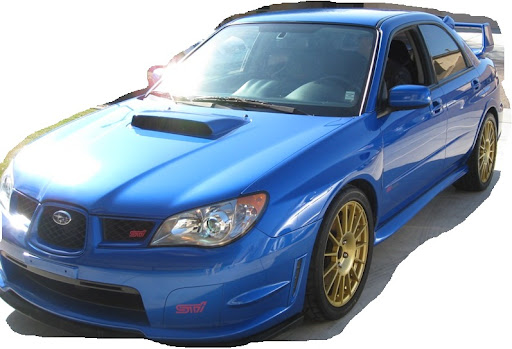
This car was brought in to have the multi-step detail process. The owner basically wanted the paint to look its best. I was preparing for the worst because I've heard that subaru paint is very soft and sticky. Some people inflict marring by wiping off polish residue and some experience the product gumming up way too quickly. Despite the feedback, I still tackled on the job because the car is just plain COOL! I will let the pictures do the talking.")
Before:


Wash:


This is the reason why you should always wax your car. No sheeting at all:


This is from claying 1/4 of the hood. The paint wasn't as contaminated. The rear section was the worst part.
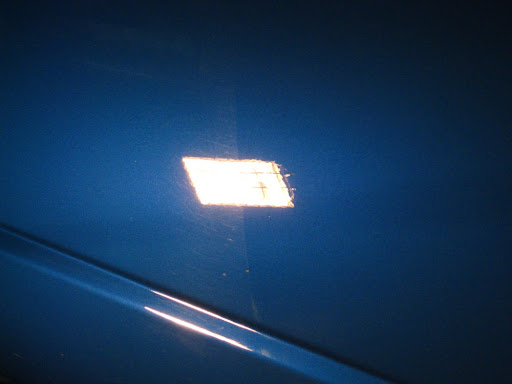
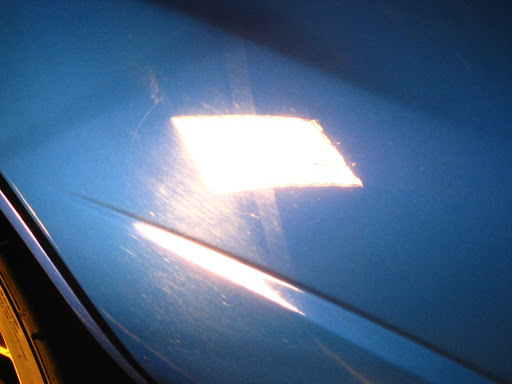
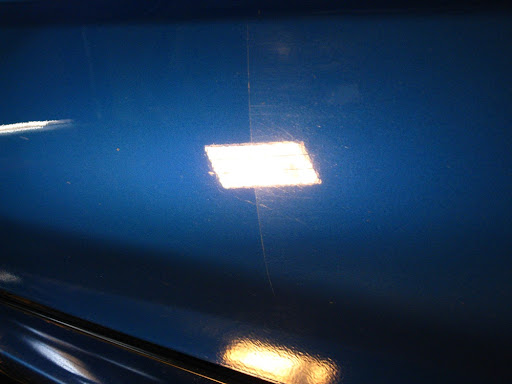
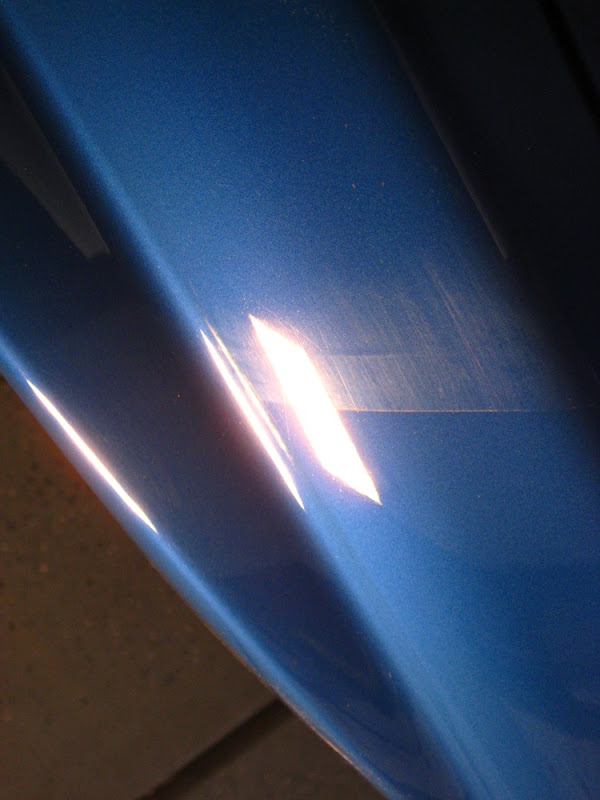
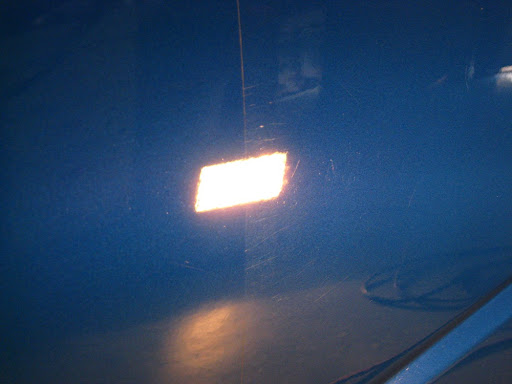
After claying the car, I performed an IPA wipe down to see the true condition of the paint. The paint had a ton of swirls... I first tried using M205 to see how the paint would react but sure enough, it didn't remove all the swirls. I had to step it up to the M105/M205 combo. Here are some 50/50 shots:
Passenger side front door:
Passenger side rear door:
Passenger side rear door lower part:
Driver side front fender:
Driver side front door:
Nasty scratches underneath the gas tank:

Viola! GONE!
All the pictures above are taken after hitting the paint with M105. The before/after picture below is taken after doing the M105/M205 combo. The M205 made the reflections more crisp, clear and deeper but it was hard to capture through the camera.
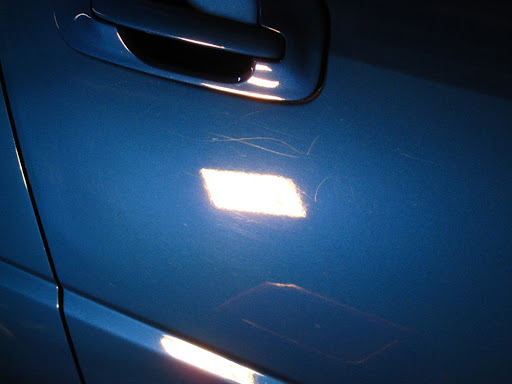
Nasty scratches under the passenger front door handle:
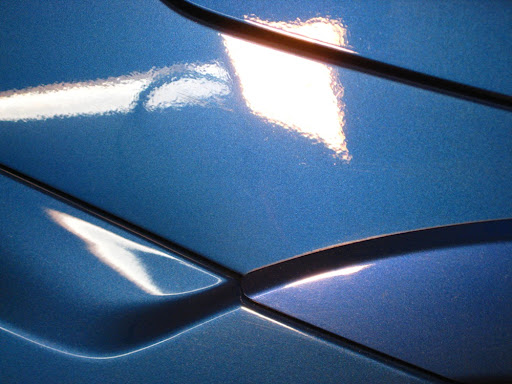
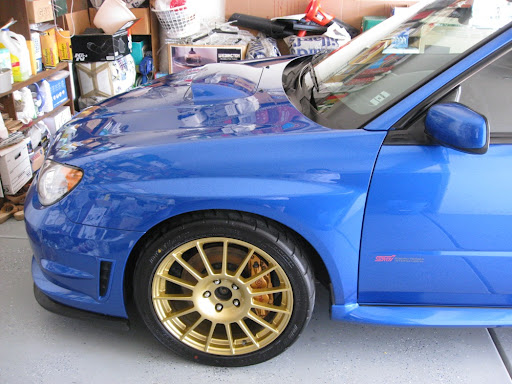
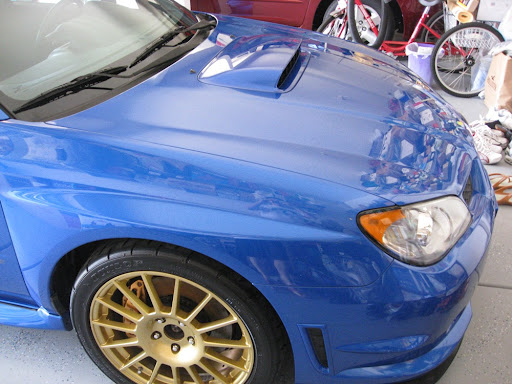
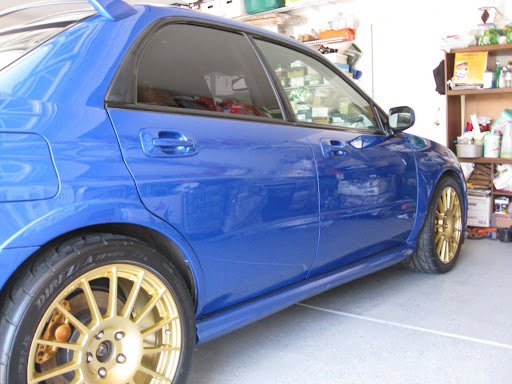
Crystal clear paint:

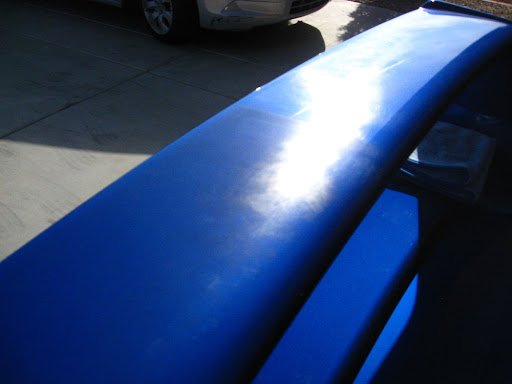
Oxidation on the rear wing: It was hard to capture it in camera but I was able to improve it a lot.
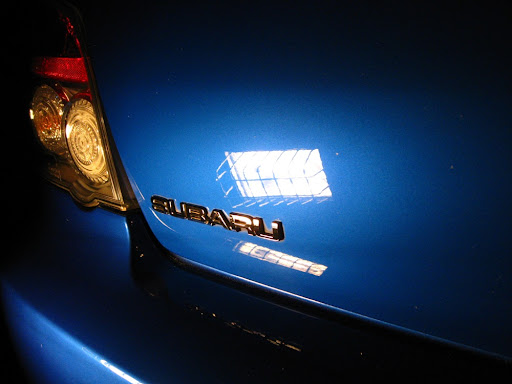
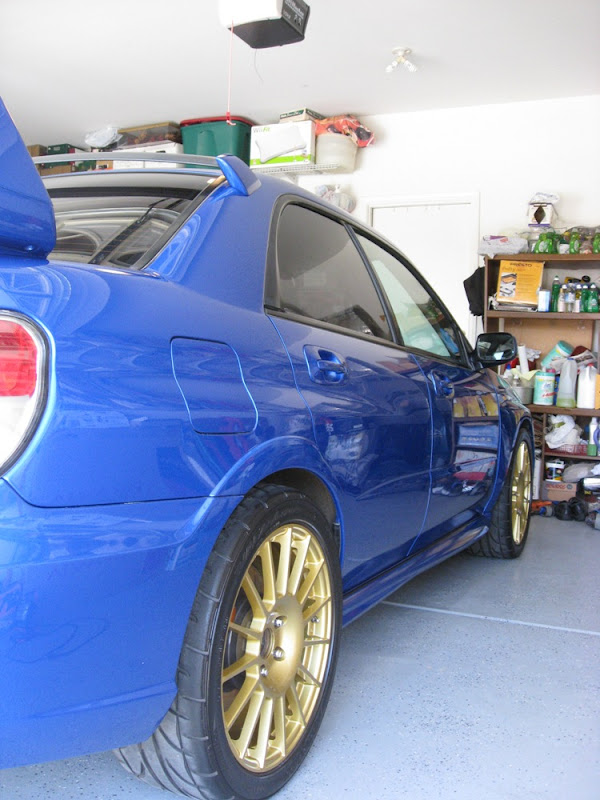
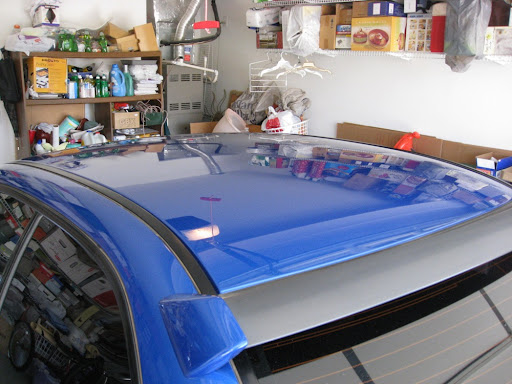
I was trying to be artistic here while capturing the swirl free finish of the trunk:
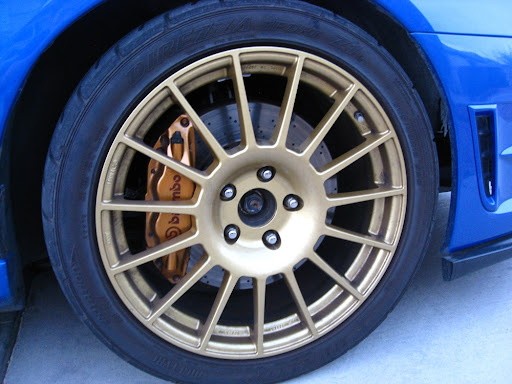
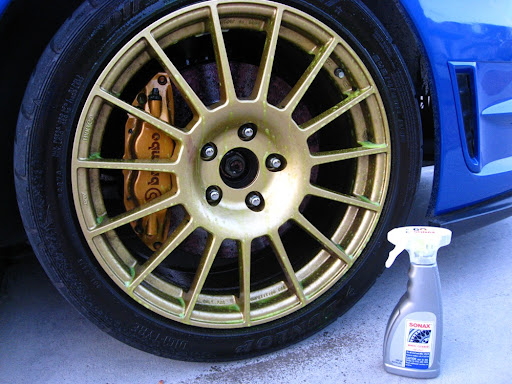
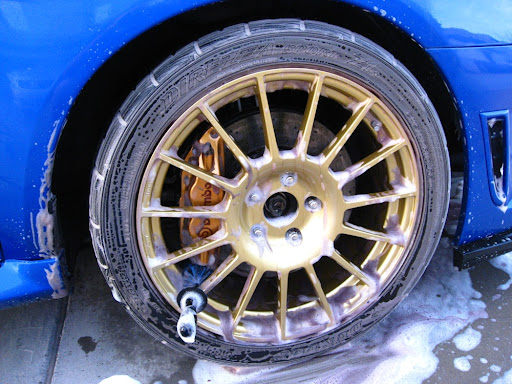
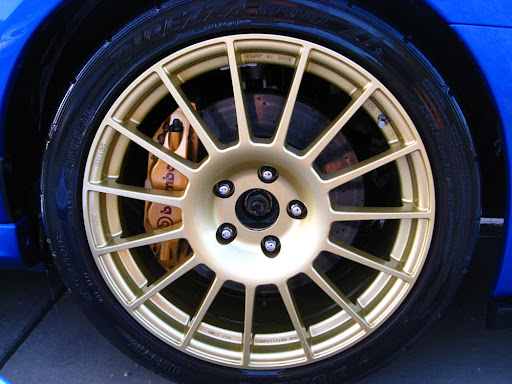
Sonax Full Effect Wheel Cleaner and Meguiar's Deep Crystal on wheels
Meguiar's APC on tires
Meguiar's Hyper Dressing on tires
Swissvax Wheel Brush for the wheels
EZ Detail brush for the barrels
Wash:
Gilmour Foam Gun
Chemical Guys Citrus Wash and Gloss via Foam Gun and 2BM
Meguiar's Microfiber Wash Mitt
Swissvax Brush for Plastic Surfaces / Gas Tank
Clay:
Meguiar's OTC Clay
Meguiar's Last Touch
Paint Correction:
Flex 3401 VRG
Meguiar's G100 / 3.5" and 5" LC Backing Plates
Meguiar's M105 / LC Orange Pads
Meguiar's M205 / LC Black Pads
Craftsman 500W Halogen Lights
LSP:
Menzerna Powerlock / LC Blue Pad
Interior:
Meguiar's Quik Interior Detailer
Misc:
Poorboy's Trim Restorer
This car was brought in to have the multi-step detail process. The owner basically wanted the paint to look its best. I was preparing for the worst because I've heard that subaru paint is very soft and sticky. Some people inflict marring by wiping off polish residue and some experience the product gumming up way too quickly. Despite the feedback, I still tackled on the job because the car is just plain COOL! I will let the pictures do the talking.
Before:
Wash:
This is the reason why you should always wax your car. No sheeting at all:
This is from claying 1/4 of the hood. The paint wasn't as contaminated. The rear section was the worst part.
After claying the car, I performed an IPA wipe down to see the true condition of the paint. The paint had a ton of swirls... I first tried using M205 to see how the paint would react but sure enough, it didn't remove all the swirls. I had to step it up to the M105/M205 combo. Here are some 50/50 shots:
Passenger side front door:
Passenger side rear door:
Passenger side rear door lower part:
Driver side front fender:
Driver side front door:
Nasty scratches underneath the gas tank:
Viola! GONE!
All the pictures above are taken after hitting the paint with M105. The before/after picture below is taken after doing the M105/M205 combo. The M205 made the reflections more crisp, clear and deeper but it was hard to capture through the camera.
Nasty scratches under the passenger front door handle:
Crystal clear paint:
Oxidation on the rear wing: It was hard to capture it in camera but I was able to improve it a lot.
I was trying to be artistic here while capturing the swirl free finish of the trunk:


 rops:
rops: . It just makes it easier when I do someone else's car.