Marc08EX
New member
- May 10, 2008
- 4,108
- 0
Wheels/Tires:
CG Citrus Wash And Gloss on wheels
Meguiar's APC on tires and wheel wells
Surf City Garage Tire Pro on tires
Swissvax Wheel brush for wheels, calipers and small crevices
Wash:
CG Citrus Wash and Gloss via Foam Gun and 2BM
Meguiar's Microfiber Wash Mitt
Meguiar's Water Magnet
Clay:
DP Clay
Meguiar's Last Touch
Paint Correction:
Meguair's G110v2 / W68DA / W67DA / 3" LC Backing Plate
Meguiar's M105
Meguiar's D300 / Meguiar's 5" Microfiber Cutting Discs
Meguiar's M205 / W8207 Pads
Pad Conditioning Brush / Air Compressor
Craftsman 500W Halogen Lights
Brinkmann Dual Xenon Lights
LSP:
Carpro Eraser
Optimum Opti-coat 2.0
Interior:
Meguiar's Quik Interior Detailer
Vacuum
The owner of this car had the recommendation of the 2013 BMW M5 I did recently (Thanks James!!!) They are buddies from the same car club. I love getting clients that are from word of mouth. It means you're doing something right.")
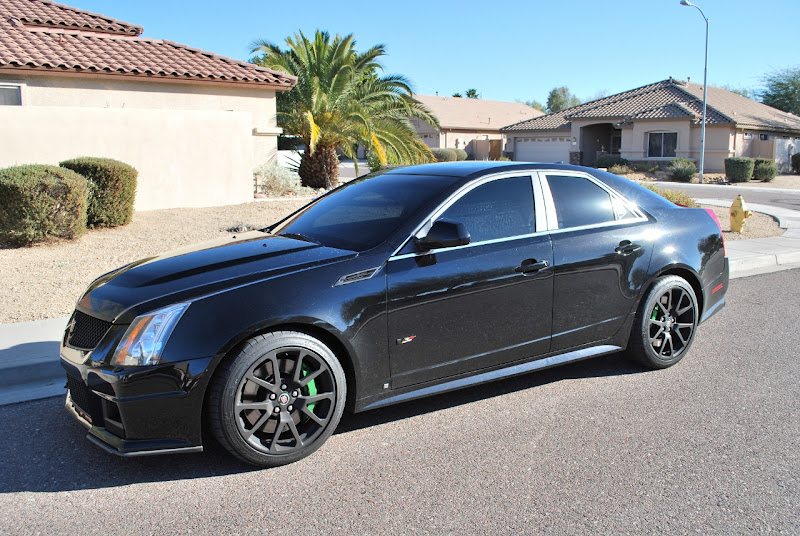
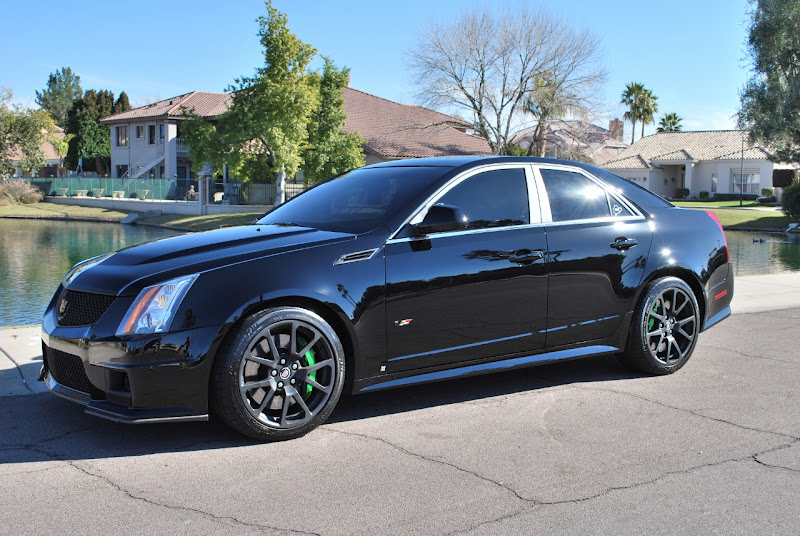
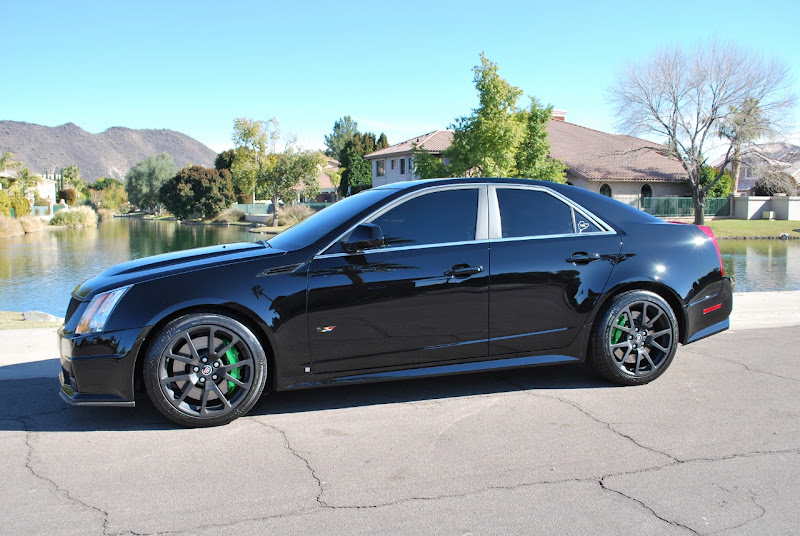
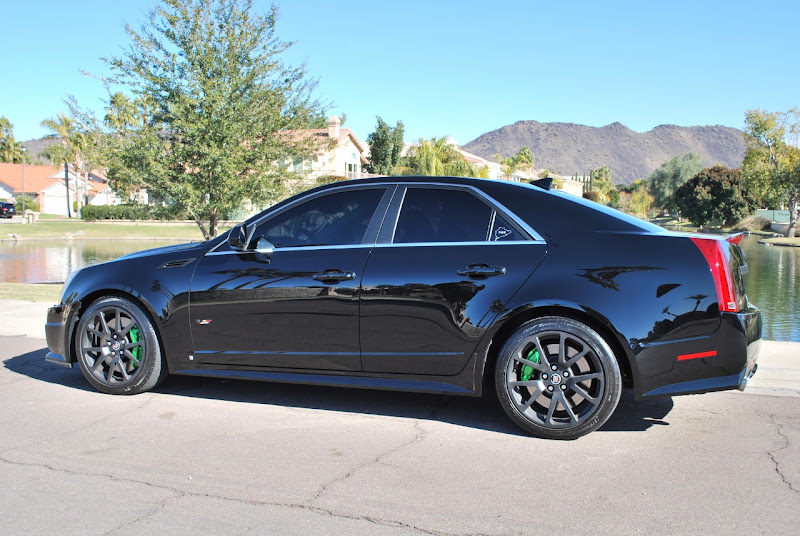
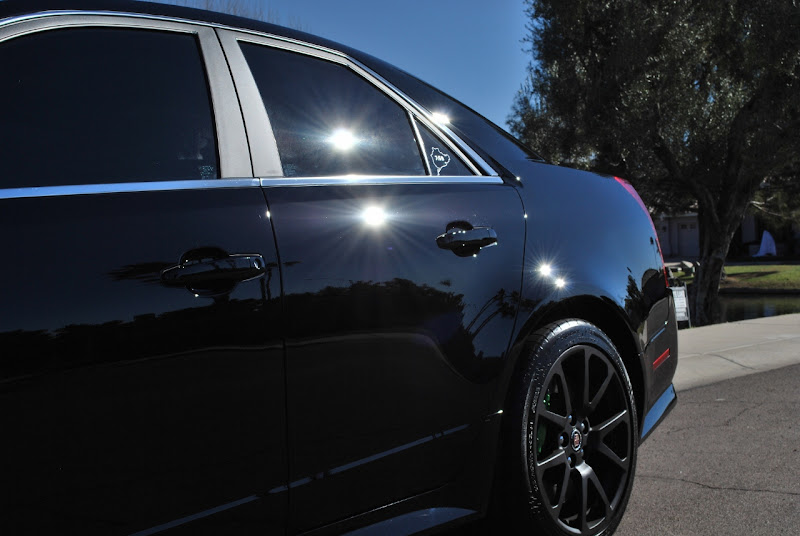
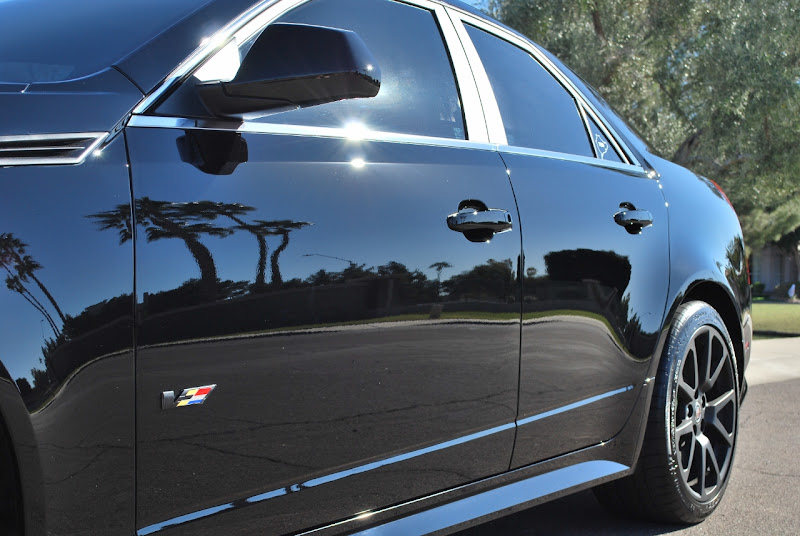
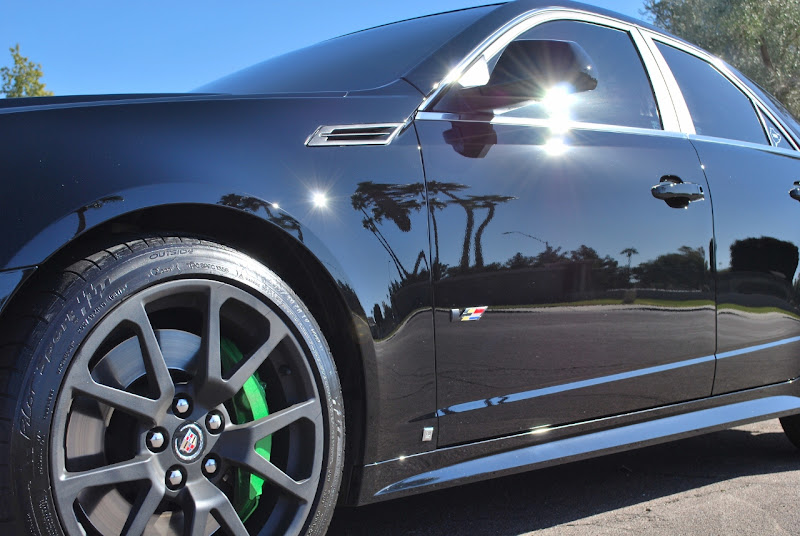
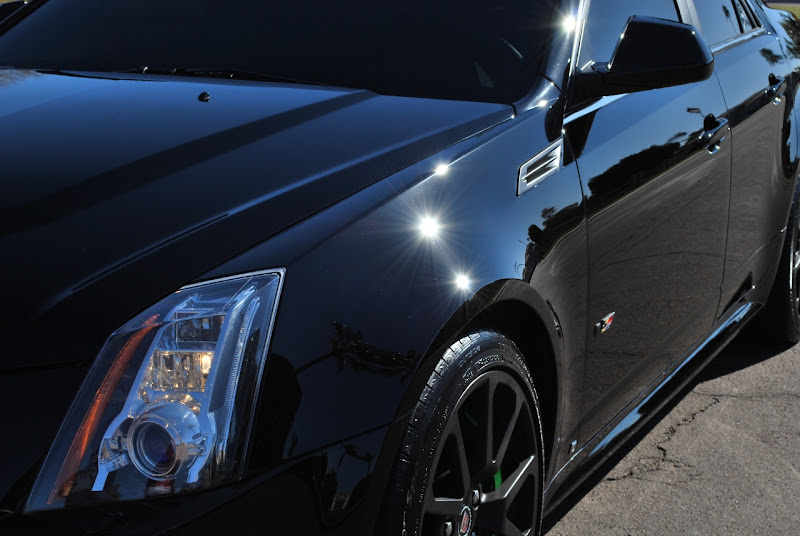
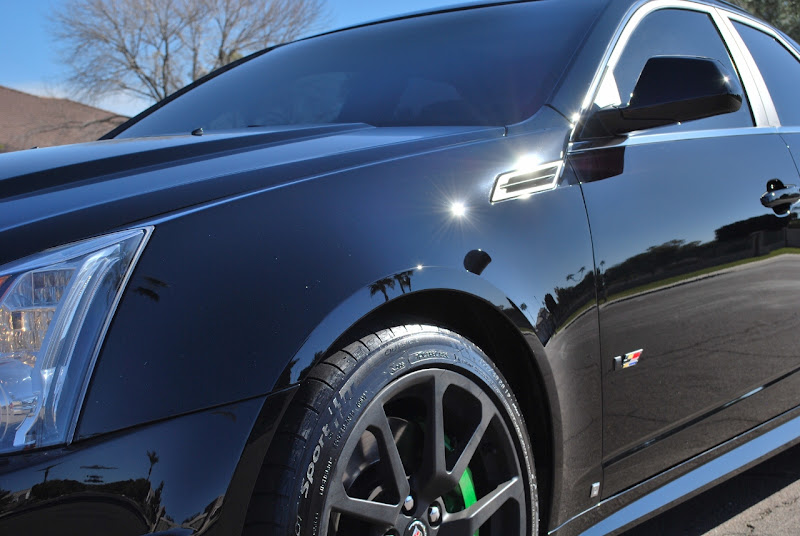
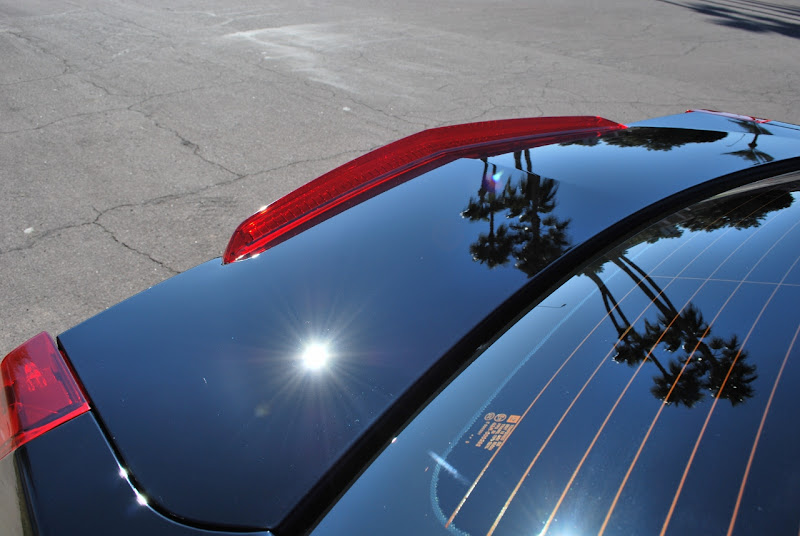
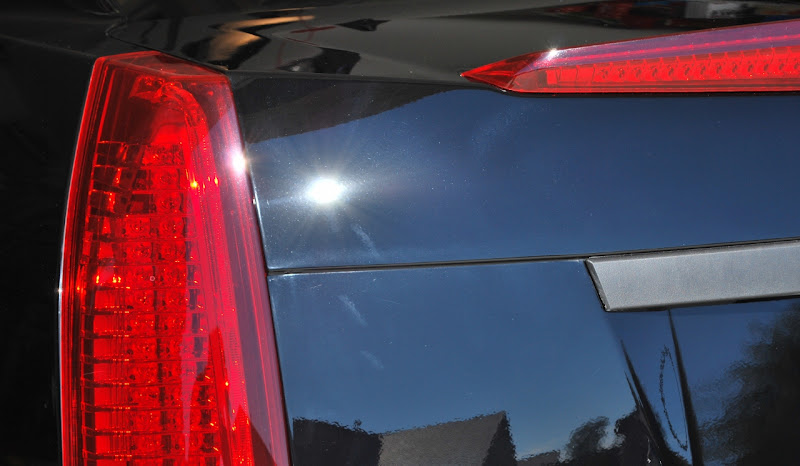
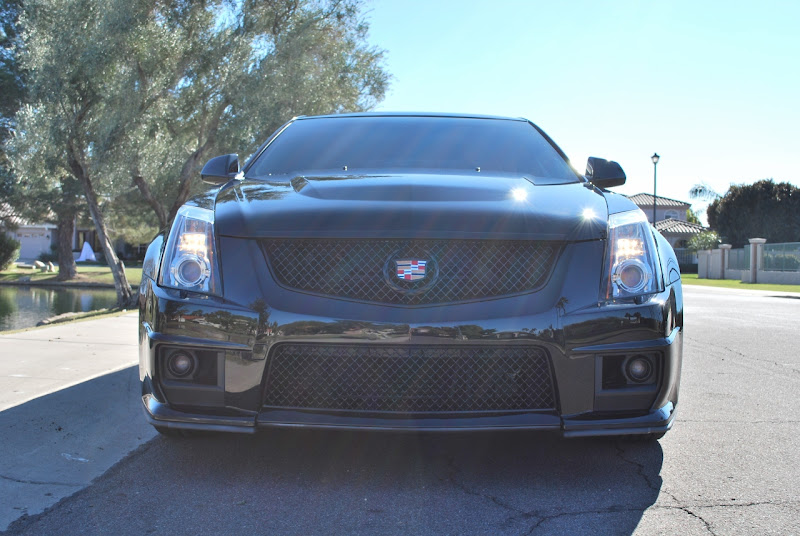
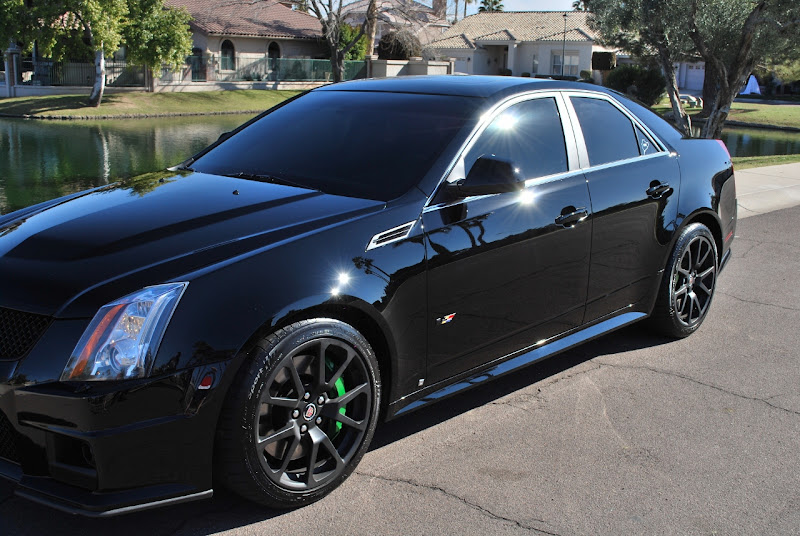
This beautiful and powerful vehicle has low miles. Only 26k miles on the clock. However, the owner purchased the vehicle from Connecticut so you know it has gone through hell during the winter months. Salt, rock chips, debris, you name it and this has it. The owner was so sick of looking at how much swirls the paint had and wanted it perfected as much as possible. He said that he knows it might not come out 100% perfect but he wants me to do what I can. It's an honor and privilege to be able to work on his car. Thanks for the opportunity!
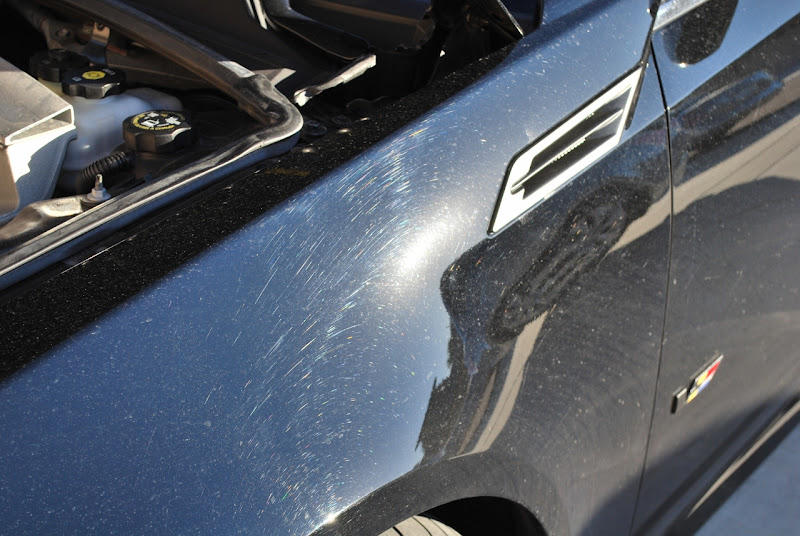
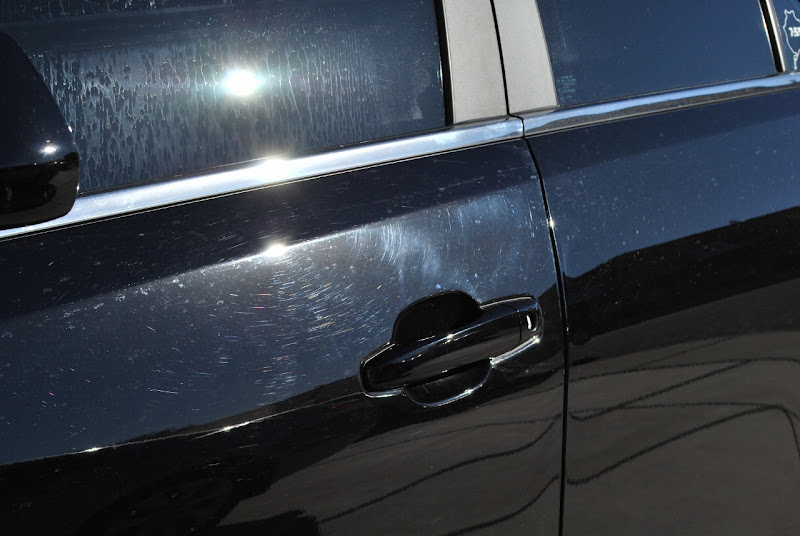
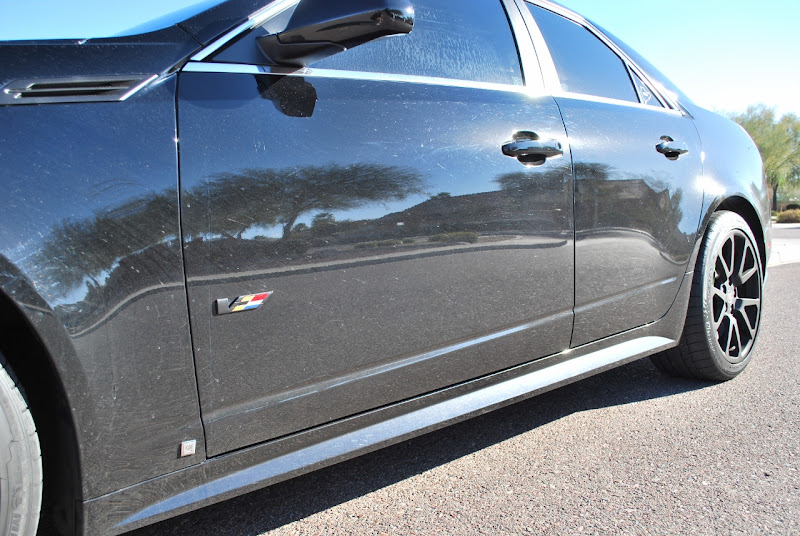
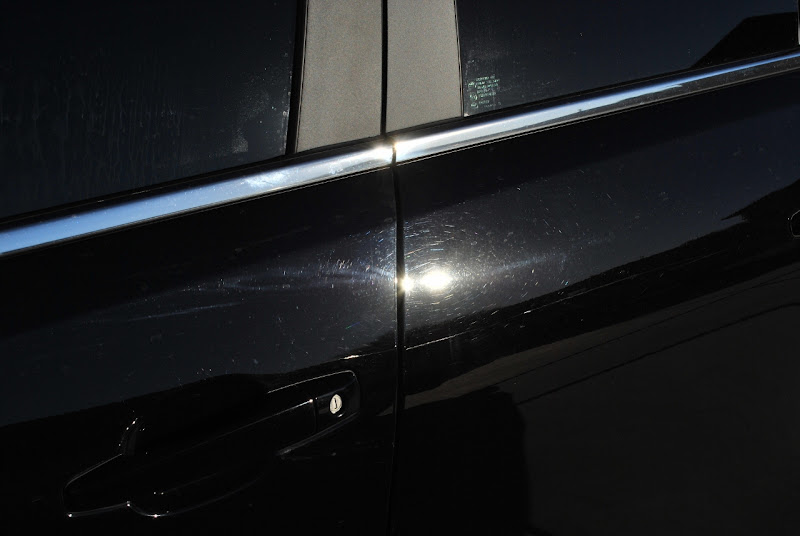
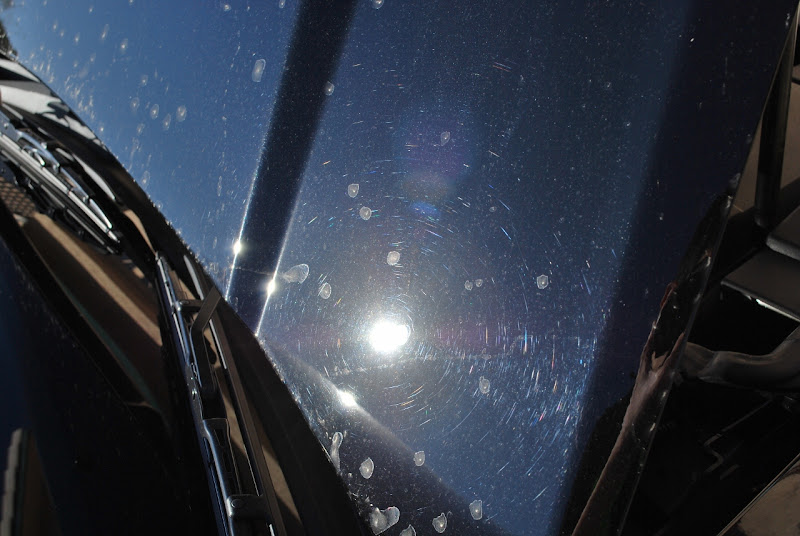
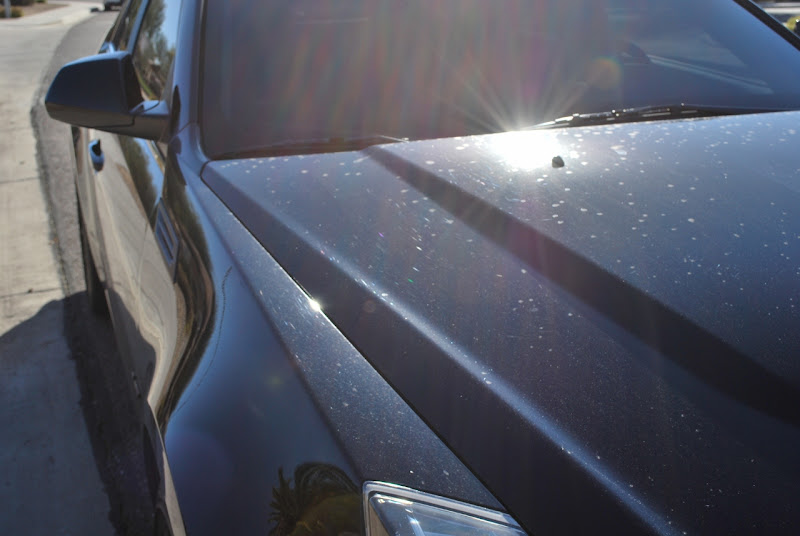
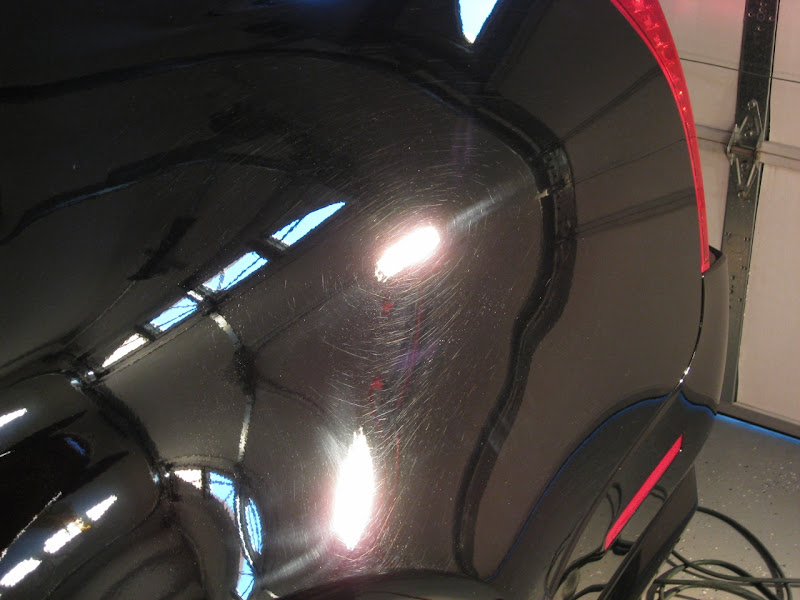
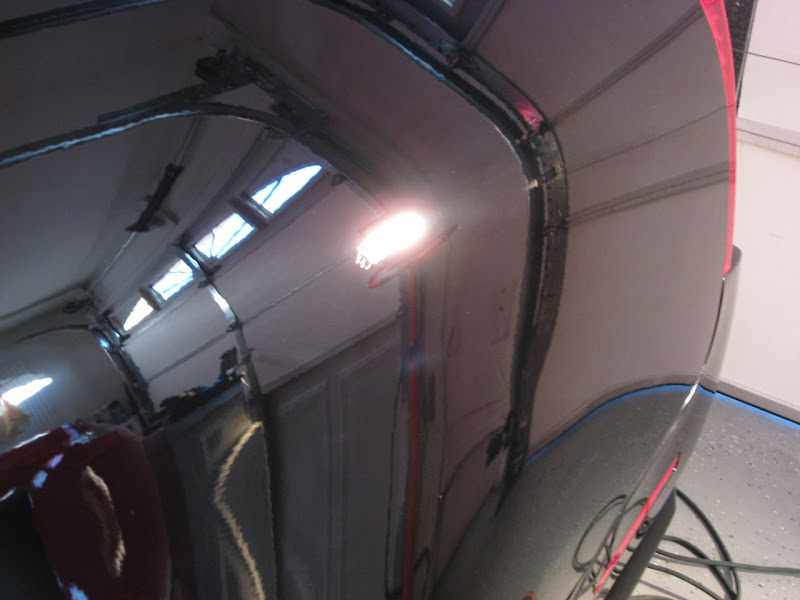
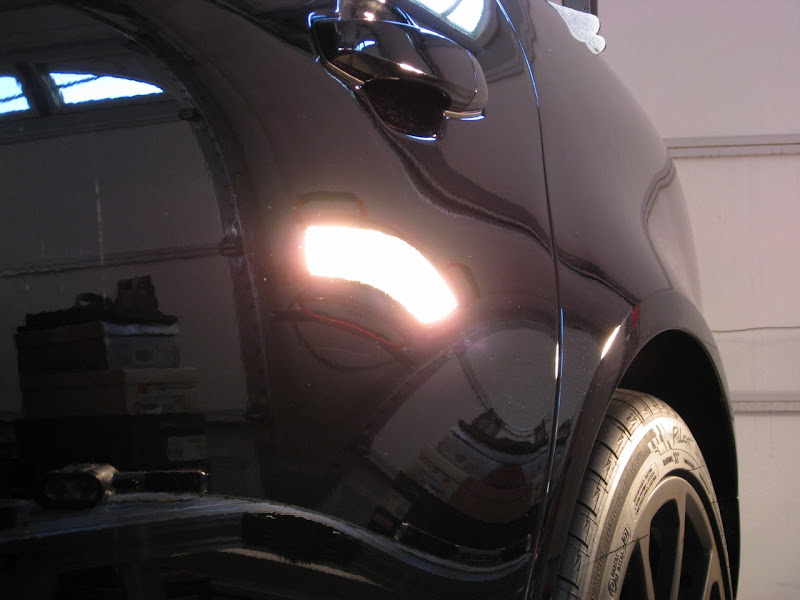
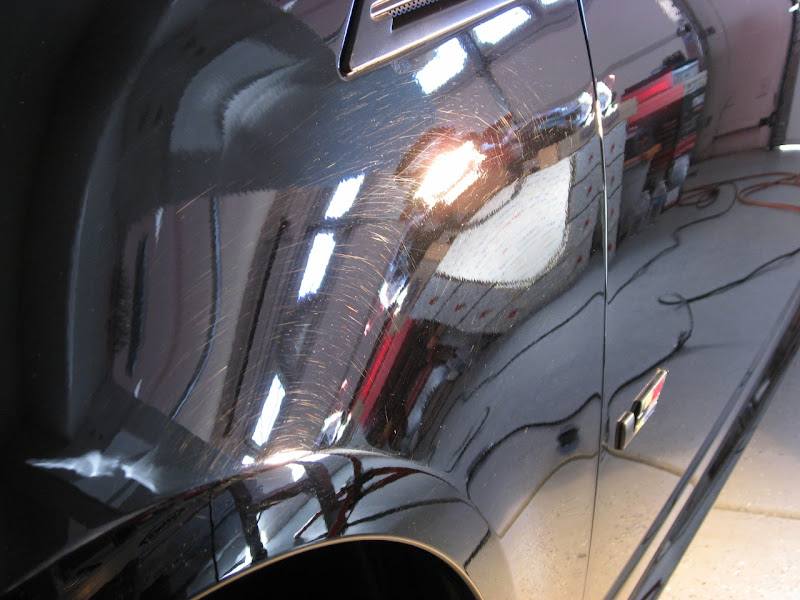
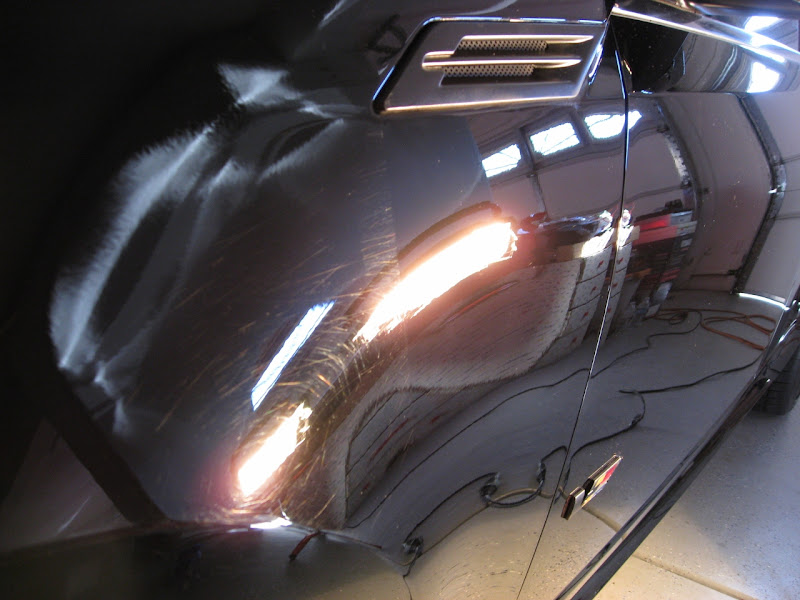
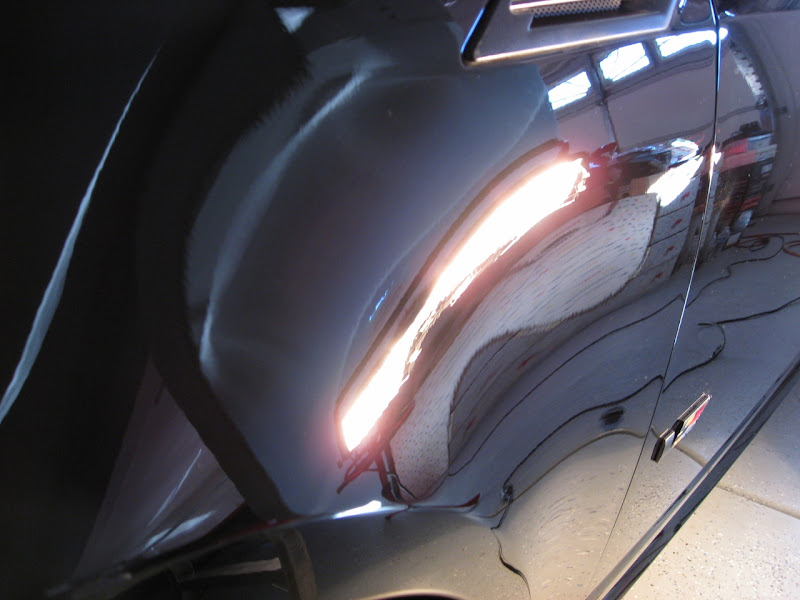
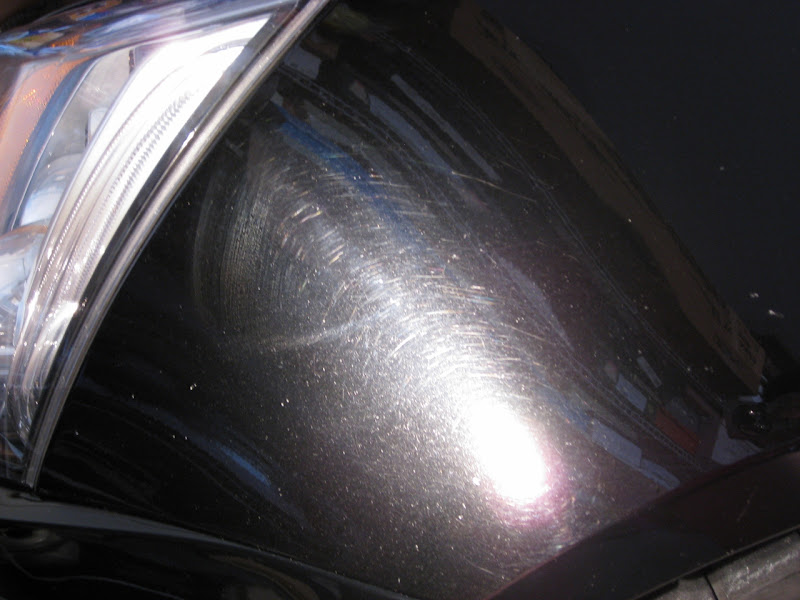
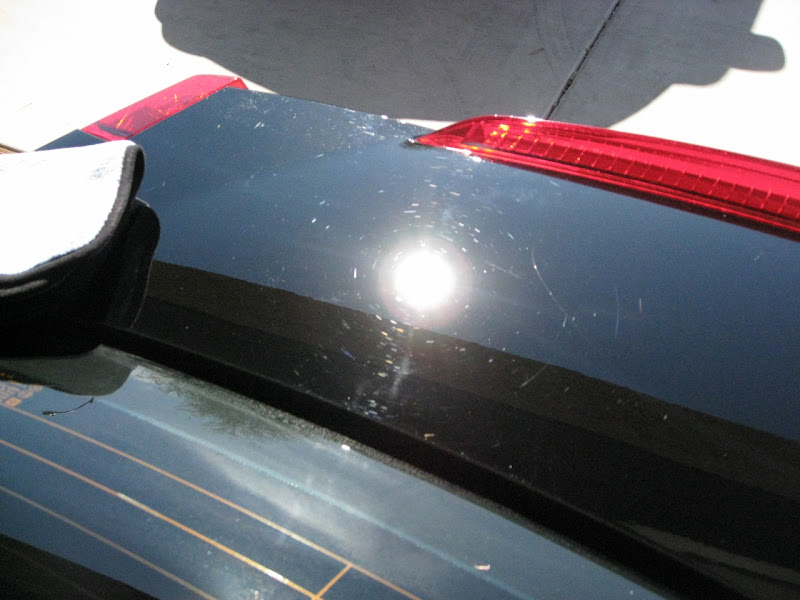
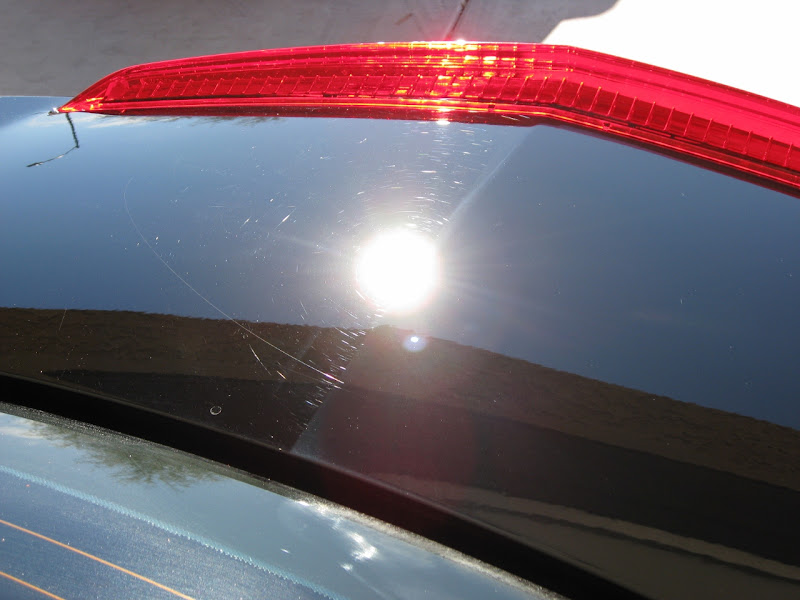
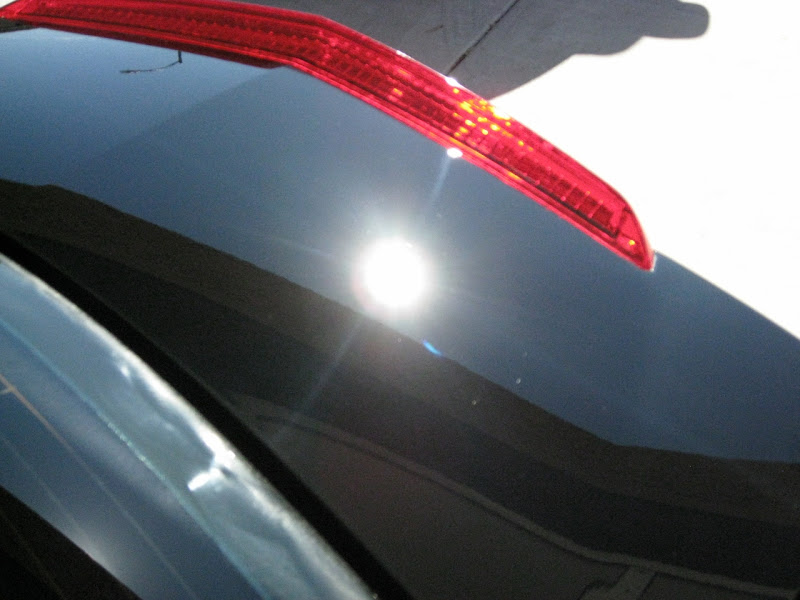
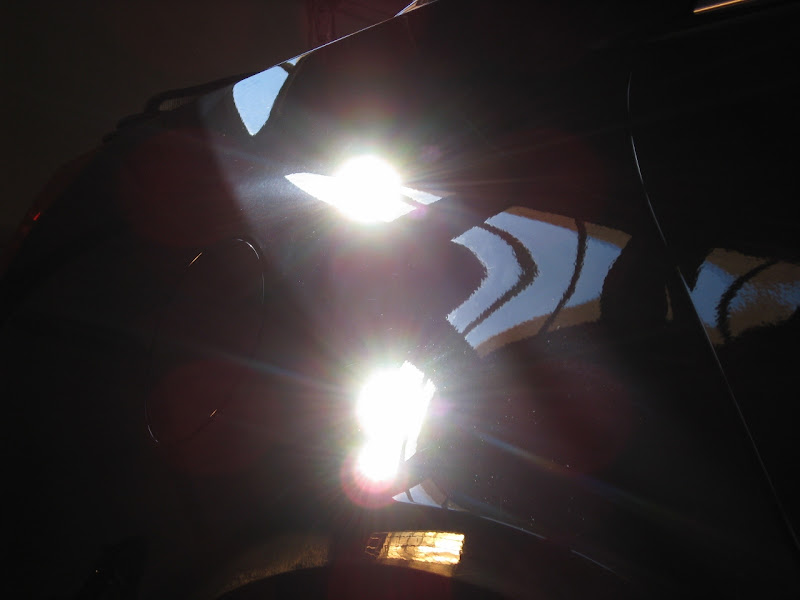
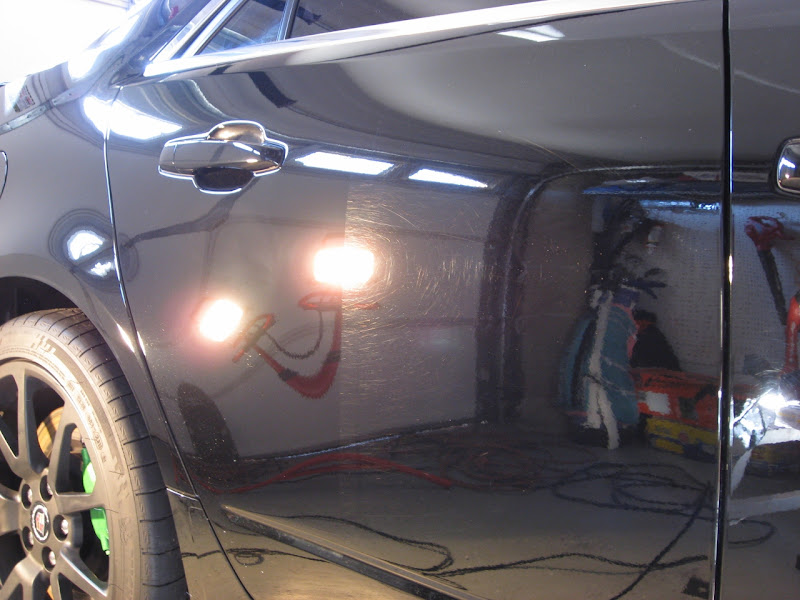
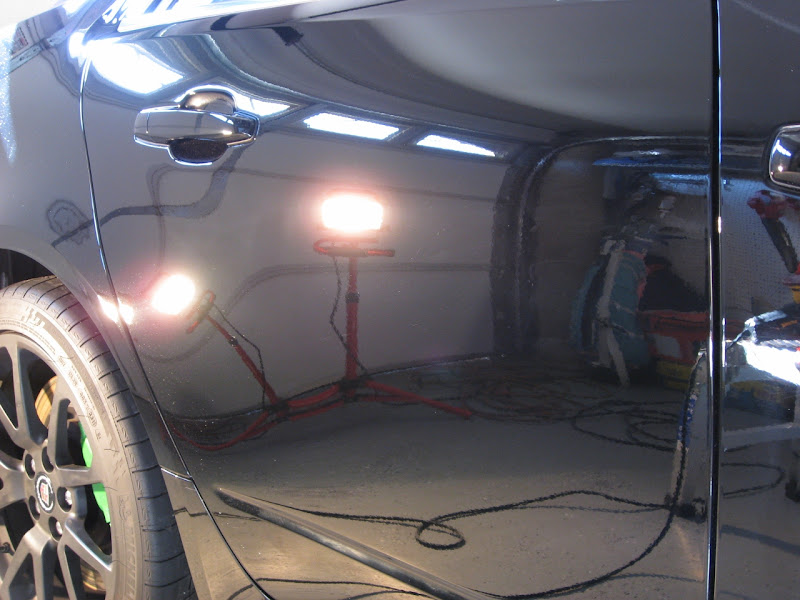
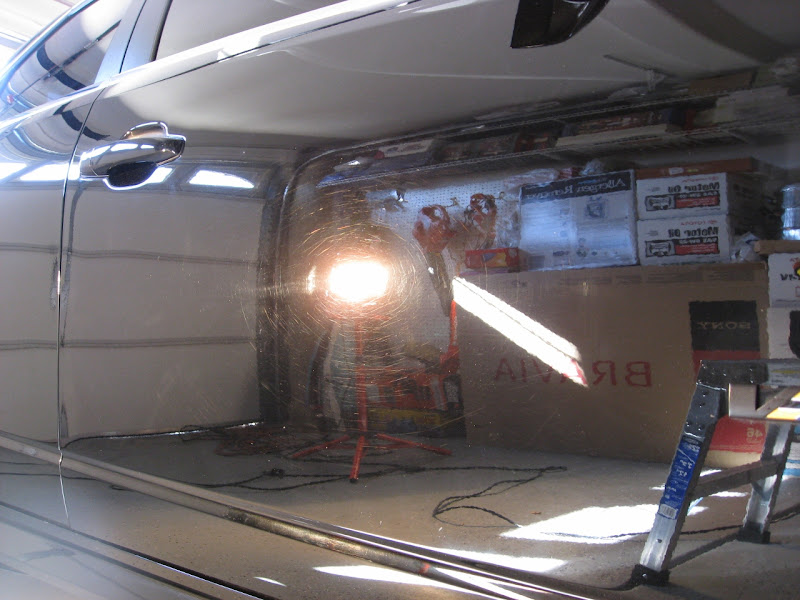
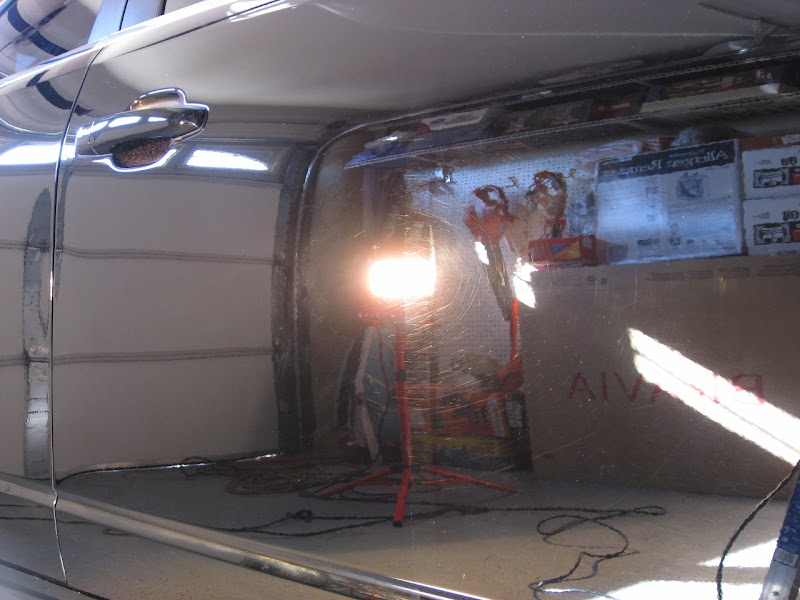
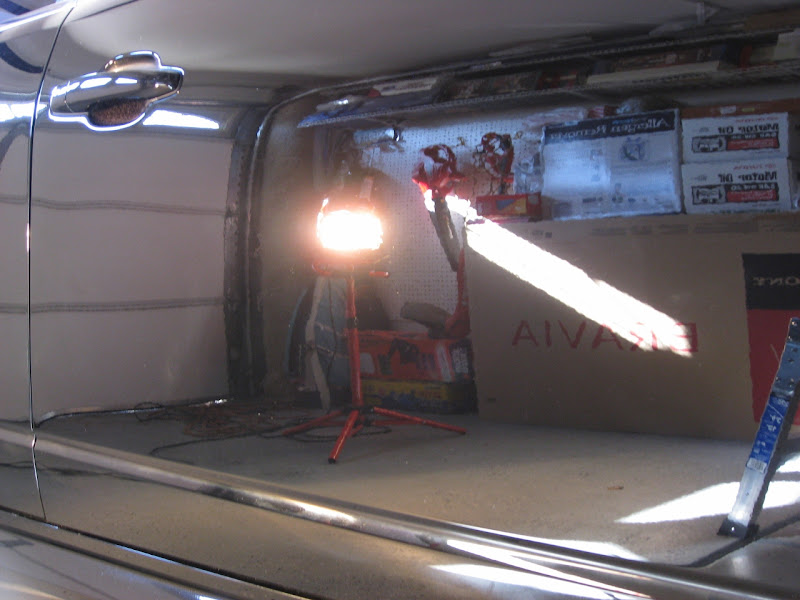
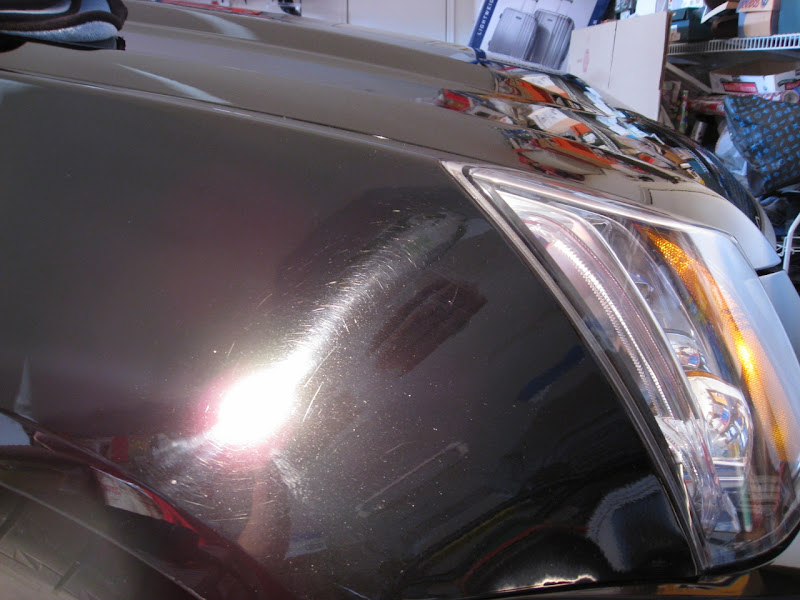
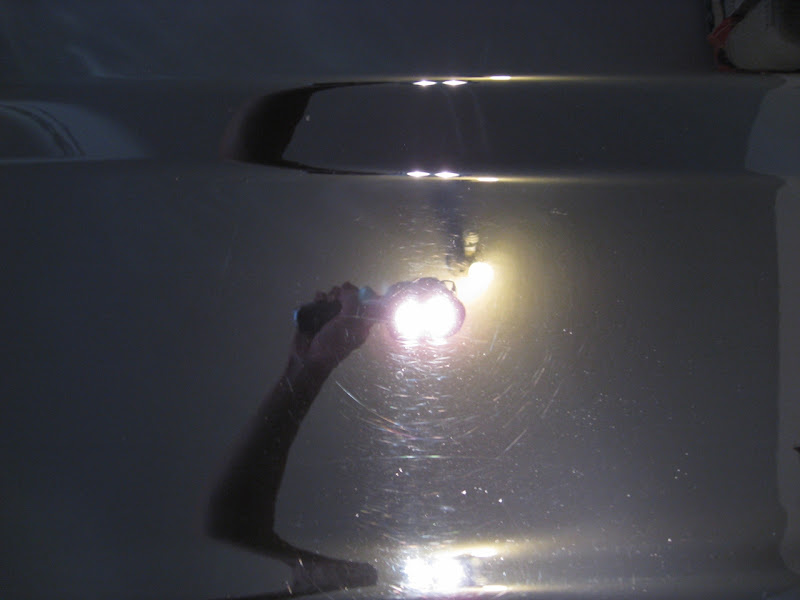
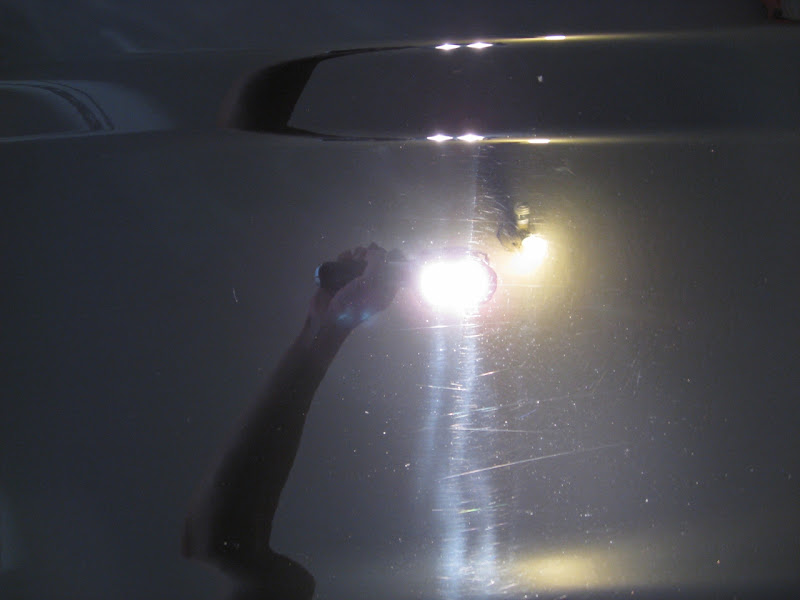
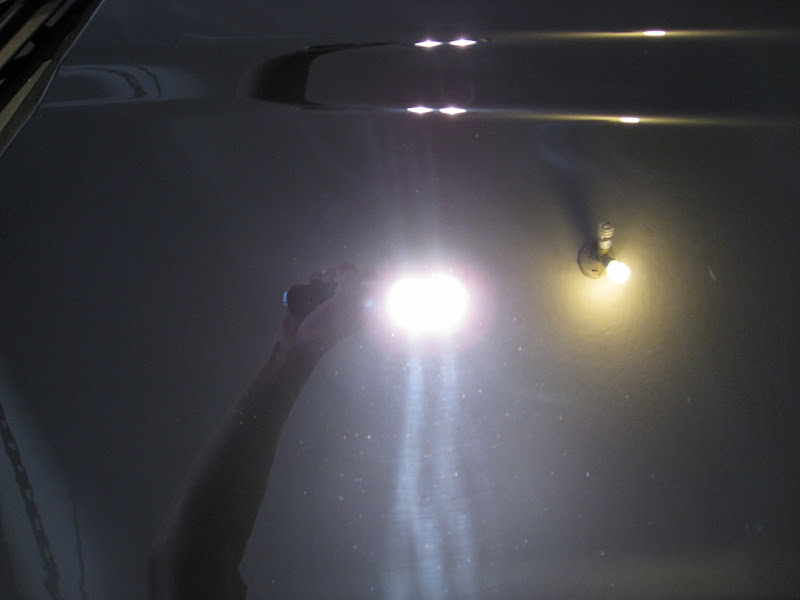
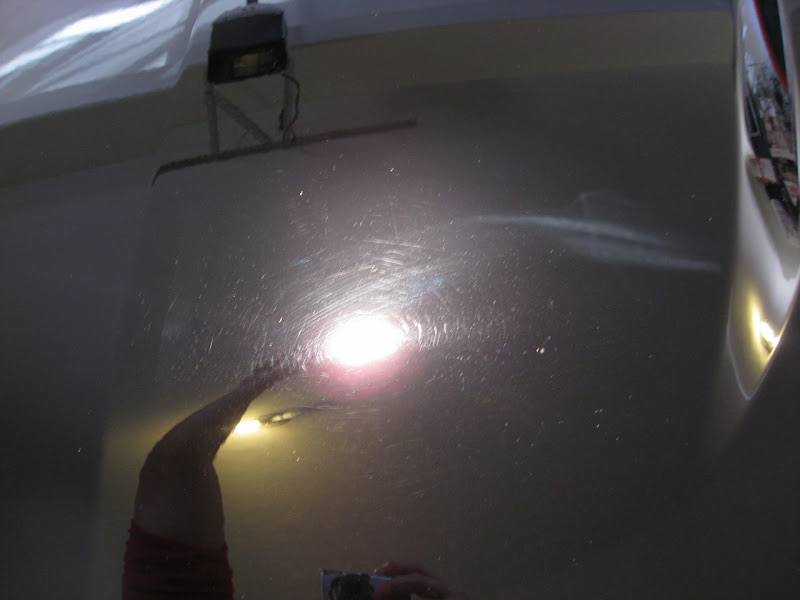
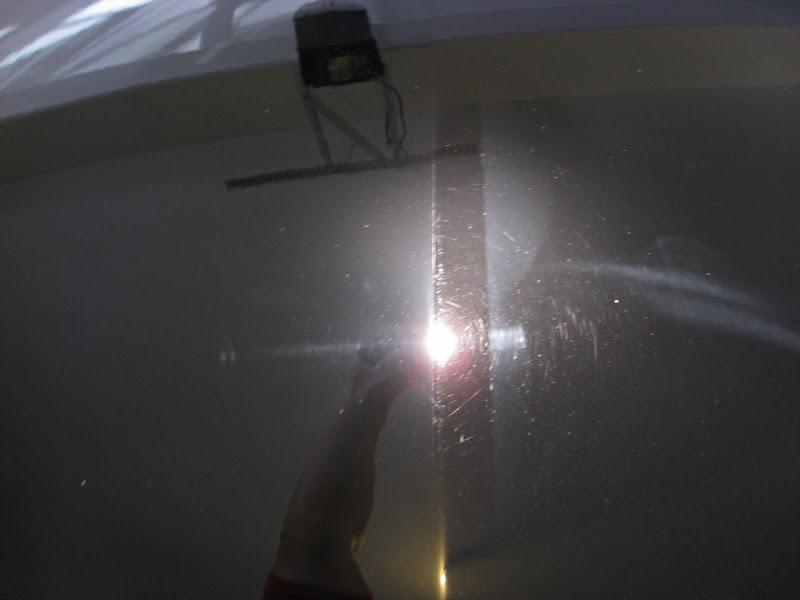
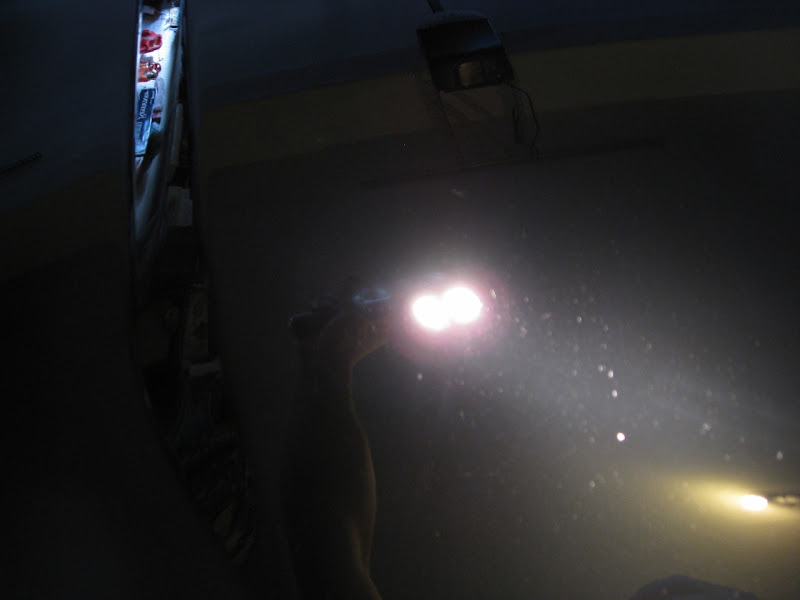
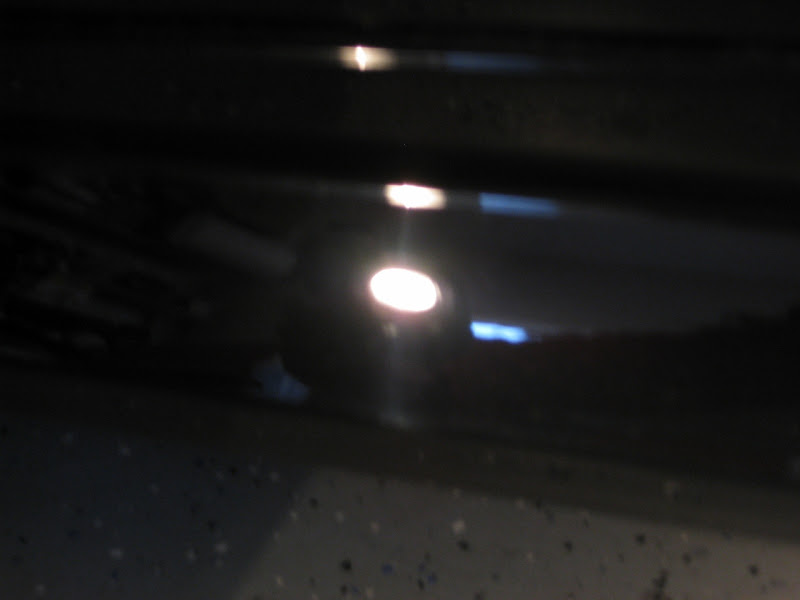
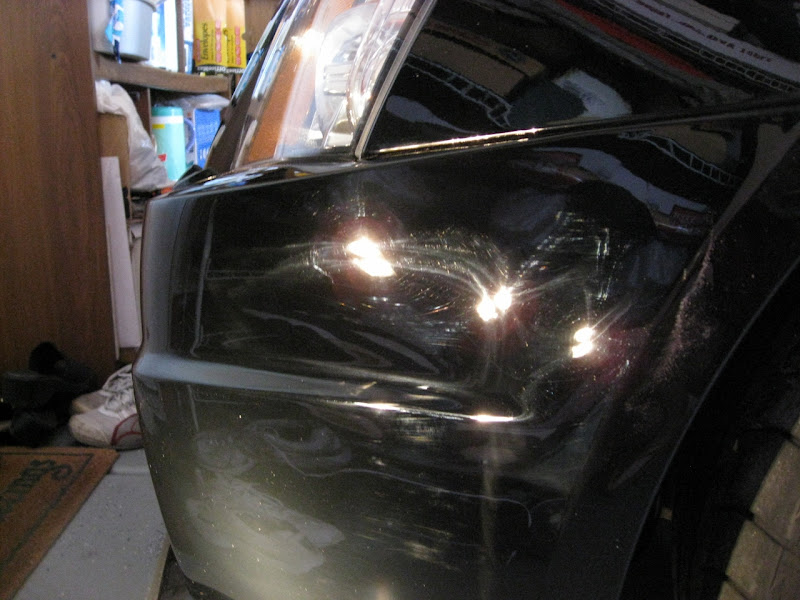
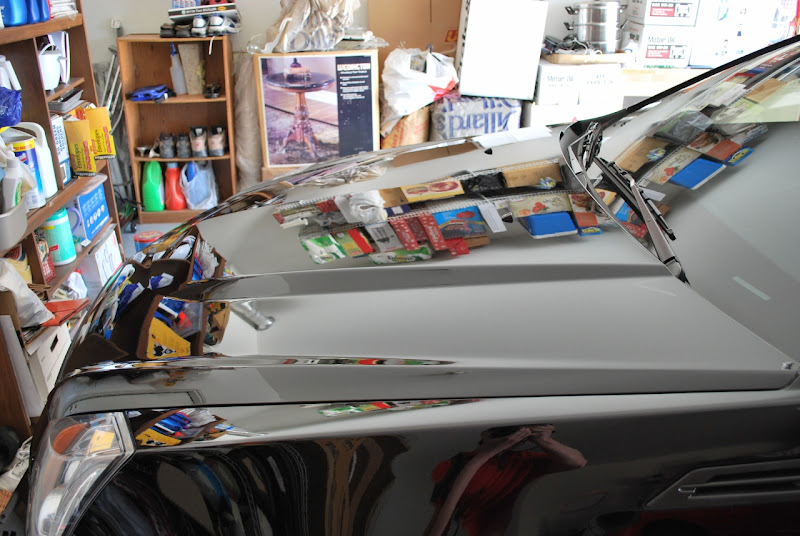
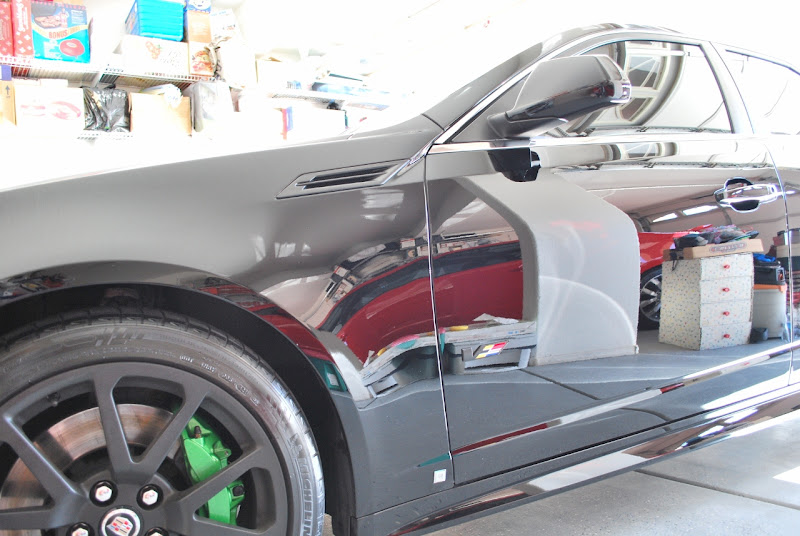
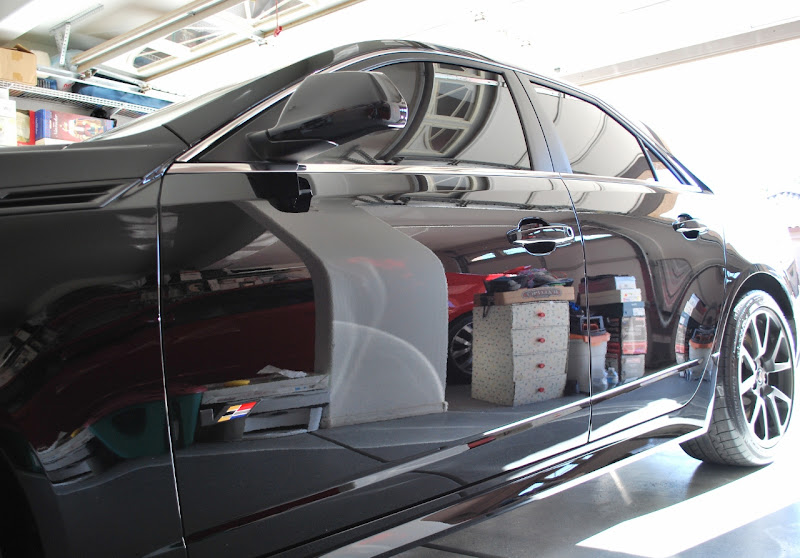
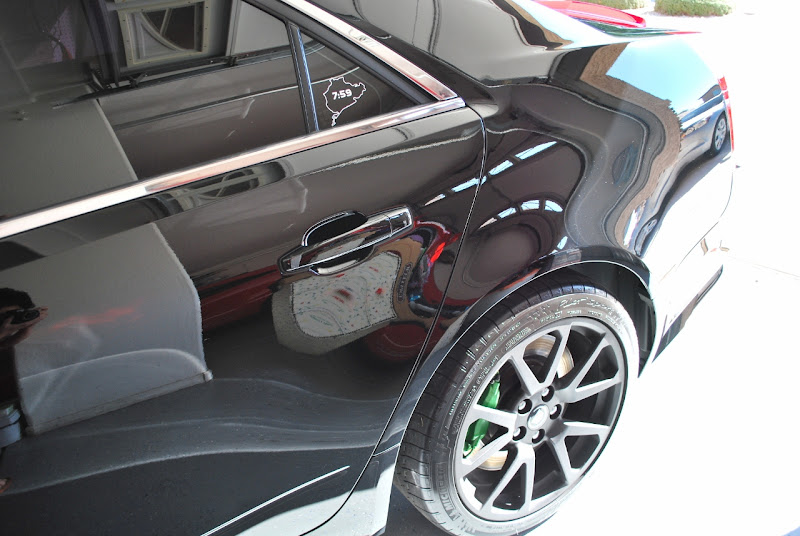
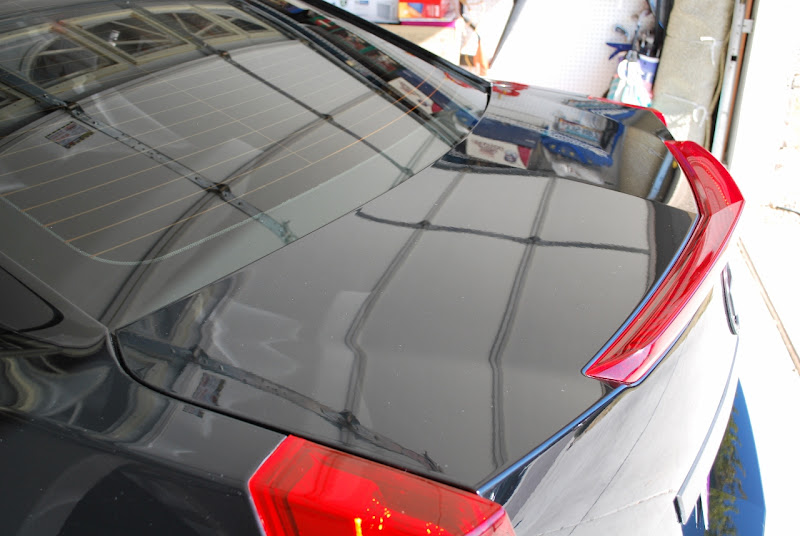
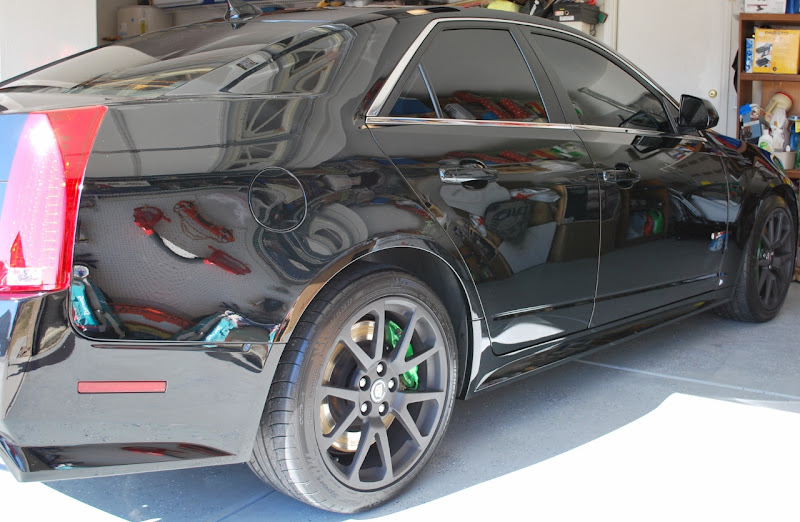
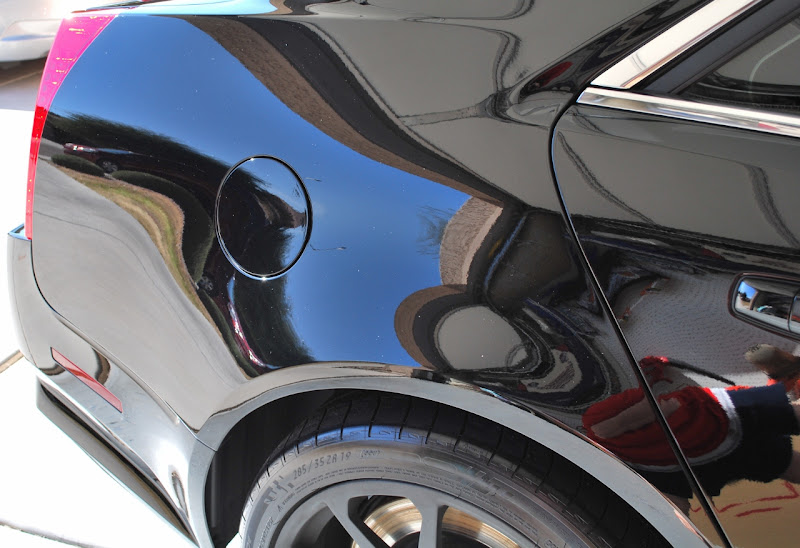
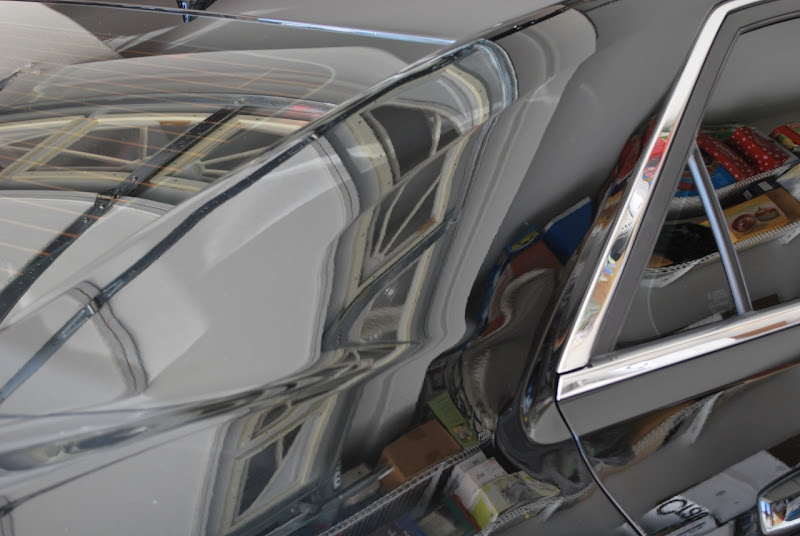
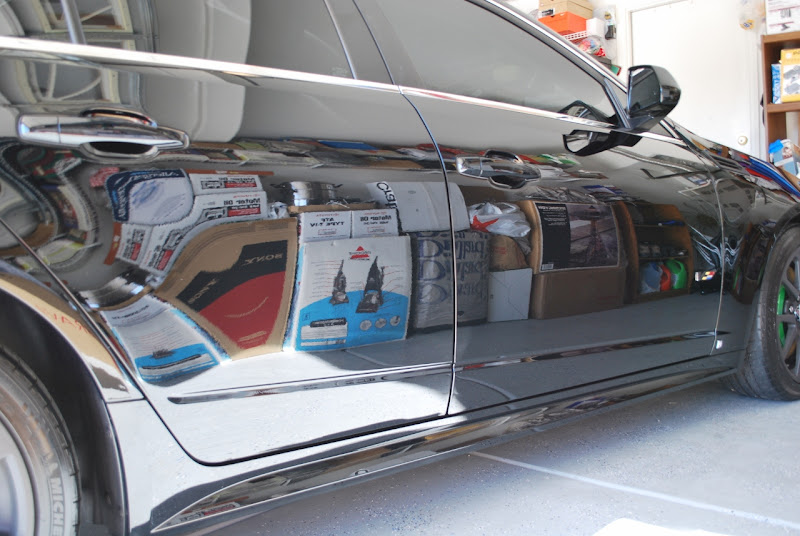
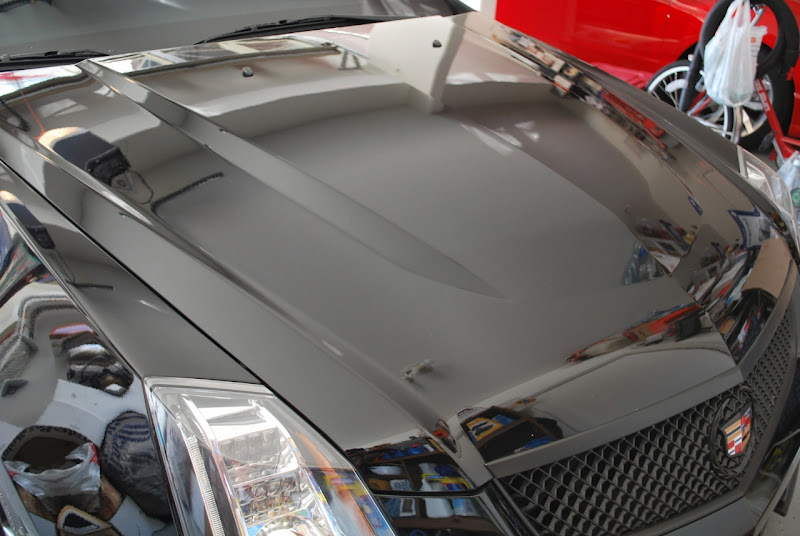
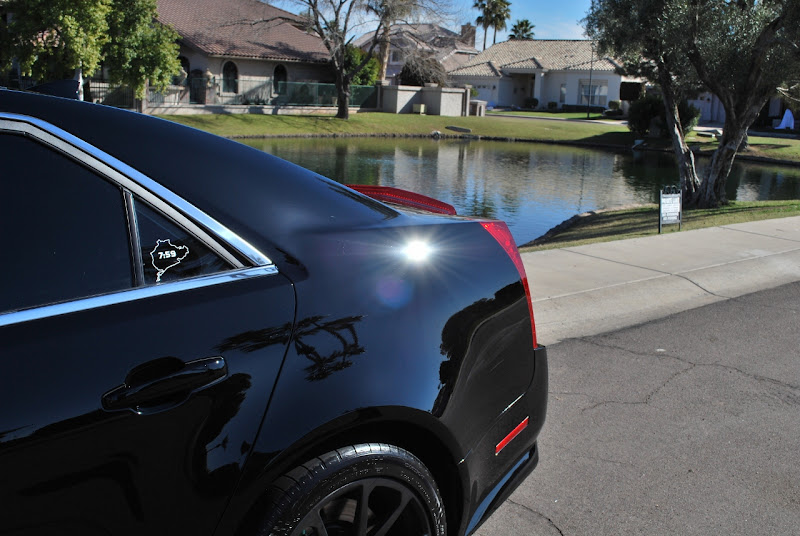
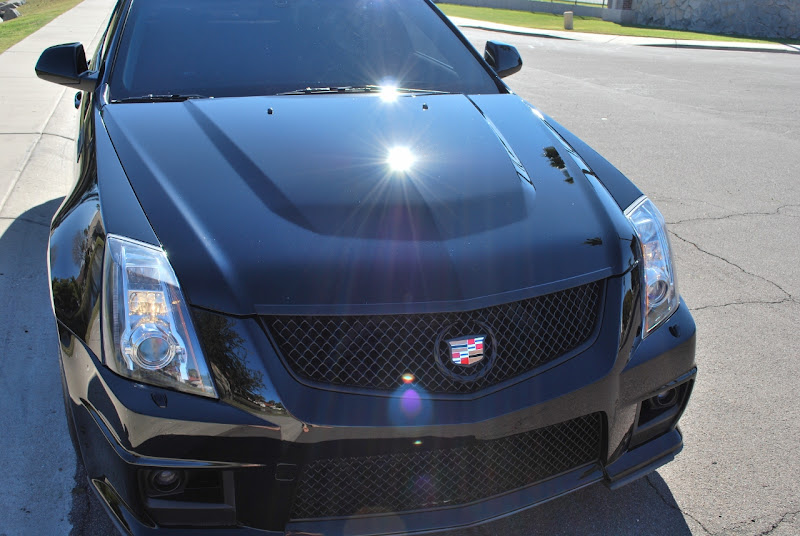
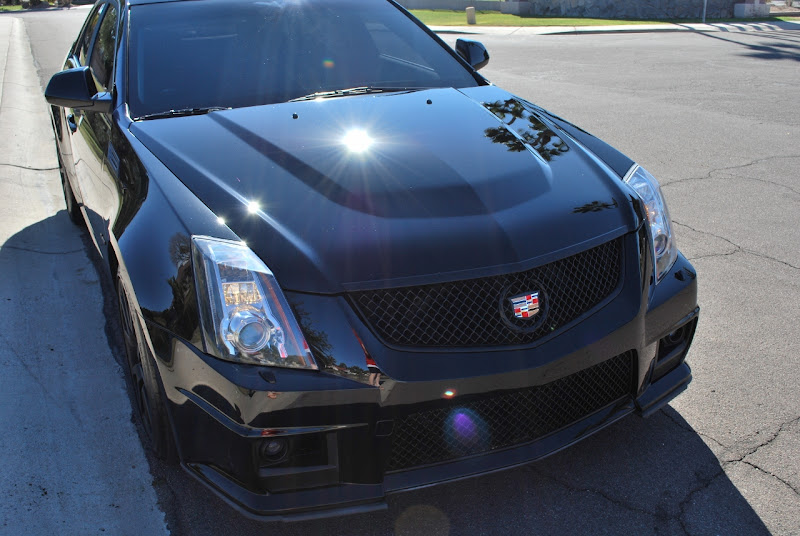
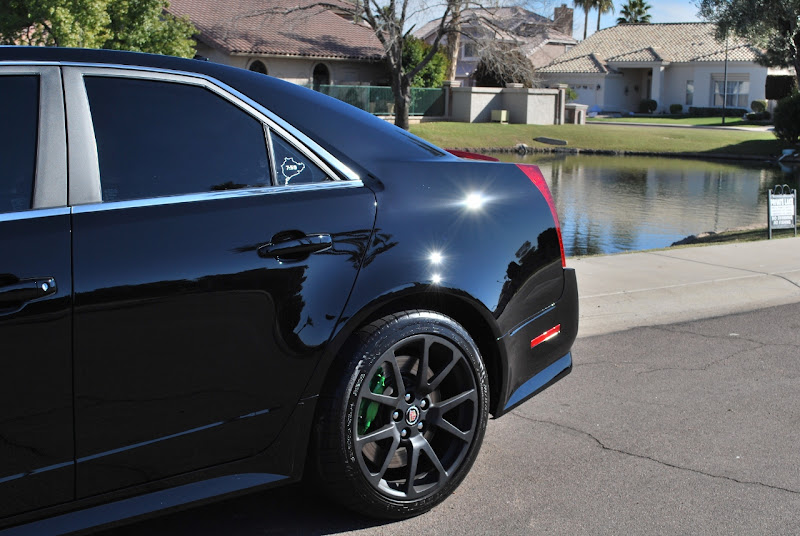
Upon the car's arrival, the heavy swirl marks were visible from a mile away. Not only did it have heavy swirl marks from the snow conditions of the north east but it also had buffer trails every where!!! I couldn't believe that a car this nice was left in such condition especially from the dealership. I guess the buffer trails could have come from the dealer :lol2. Anyway, I'll stop talking and show you the before condition of this car below:
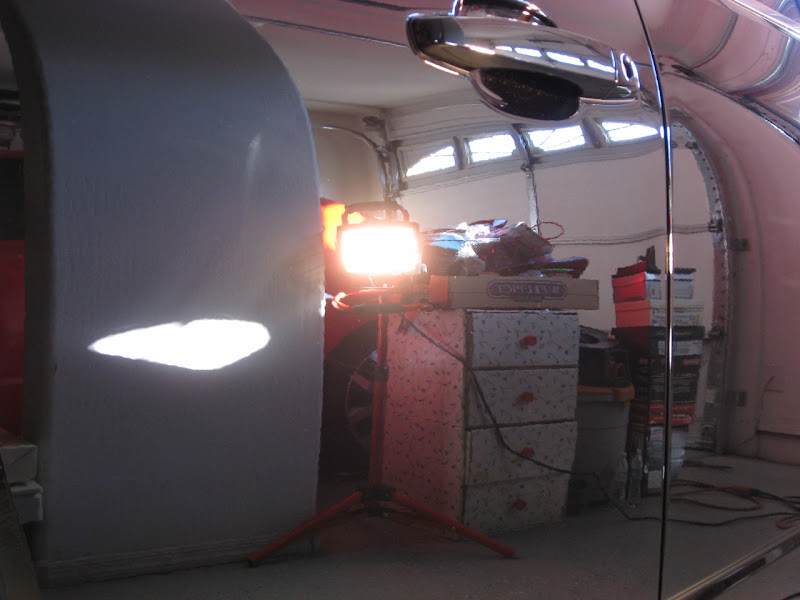
The car doesn't really look that bad from a far but once you get close and in the right angle, you'll be horrified!!!
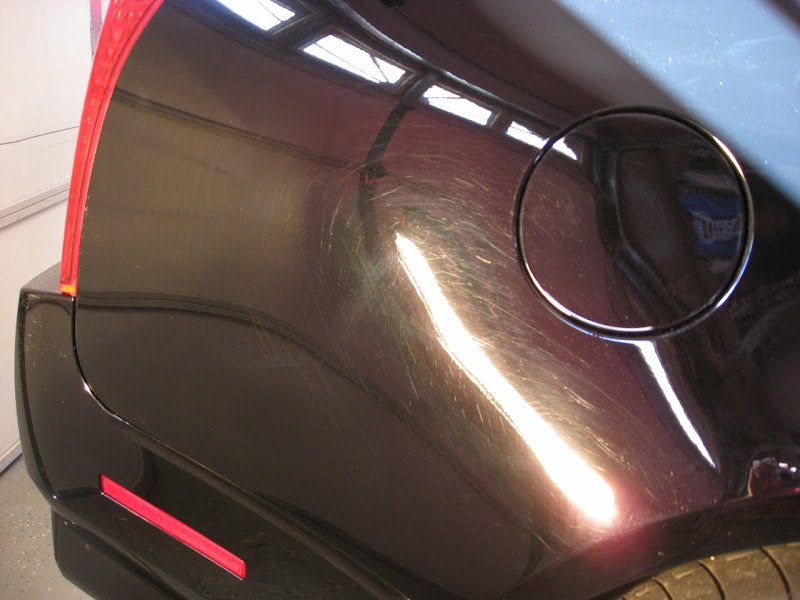
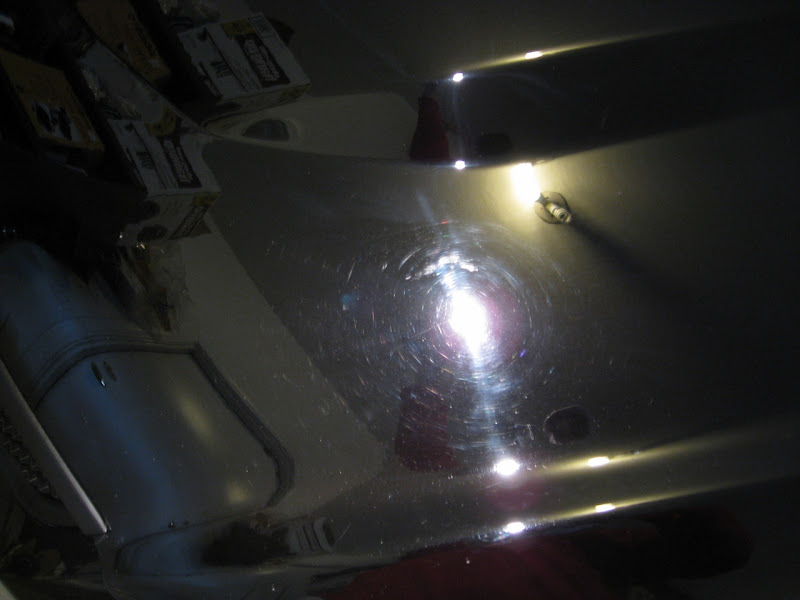
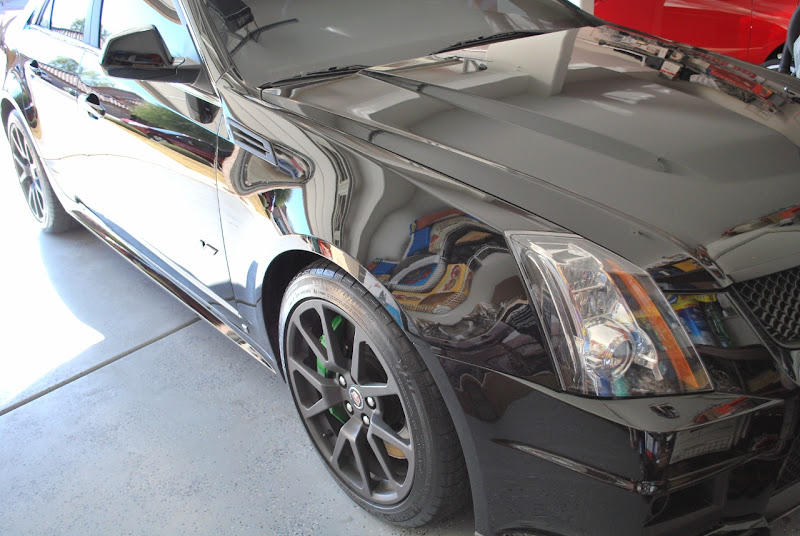
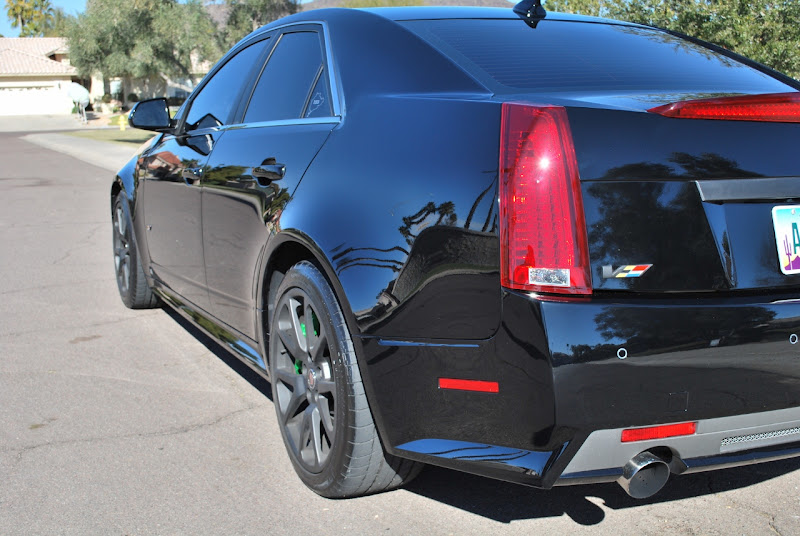
Buffer Trails:
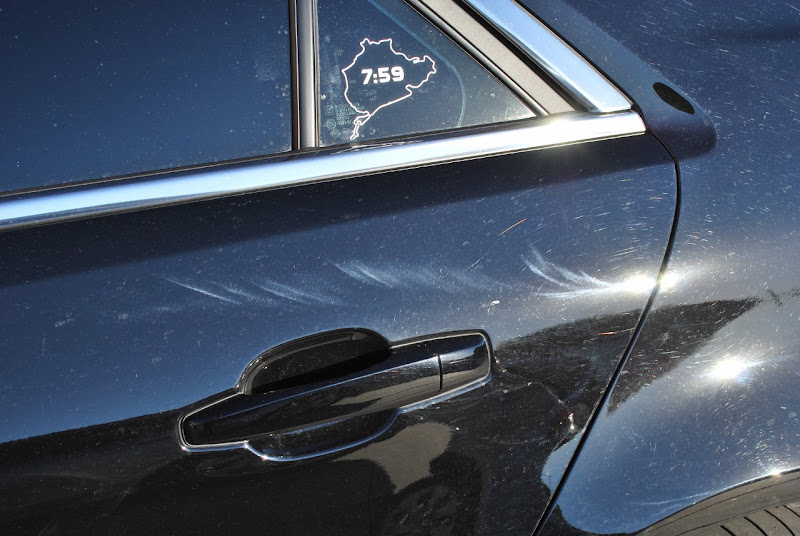


The front bumper was resprayed. I can't believe what I saw.... Unbelievable... Seriously, rotary buffer users are required to have a license to operate.

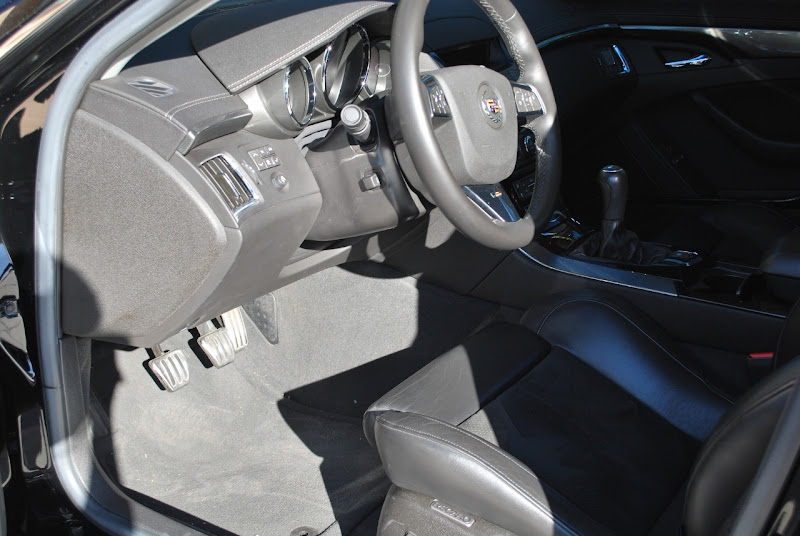
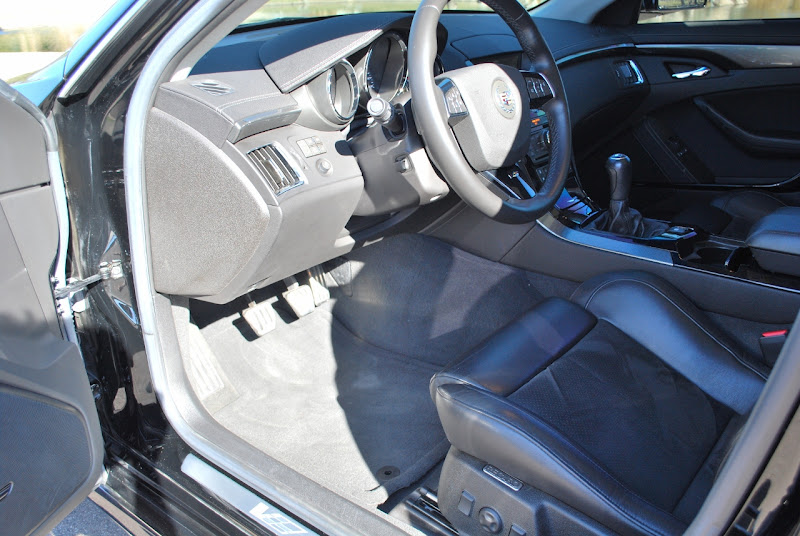
Interior Before:
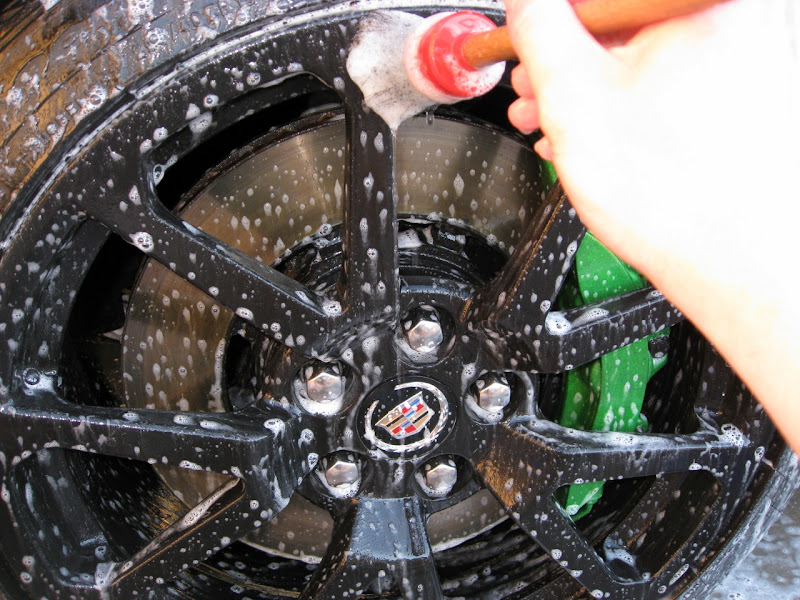
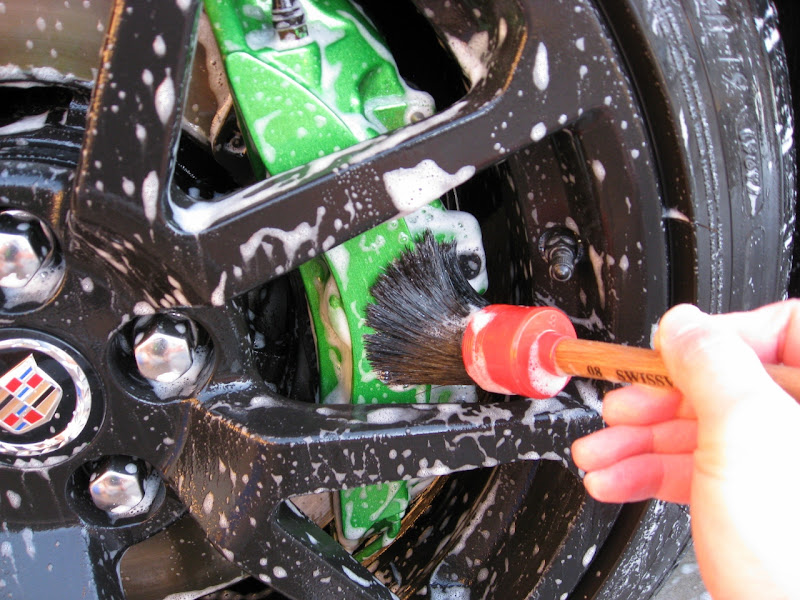
I started by washing the wheels, tires an fender liner. I normally use my Sonax Full Effect wheel cleaner. I know it's safe but the wheels are plasti-dipped (I think) therefore I wanted to be as gentle as possible. I used CG Citrus Wash and Gloss to clean the wheels and brake calipers.
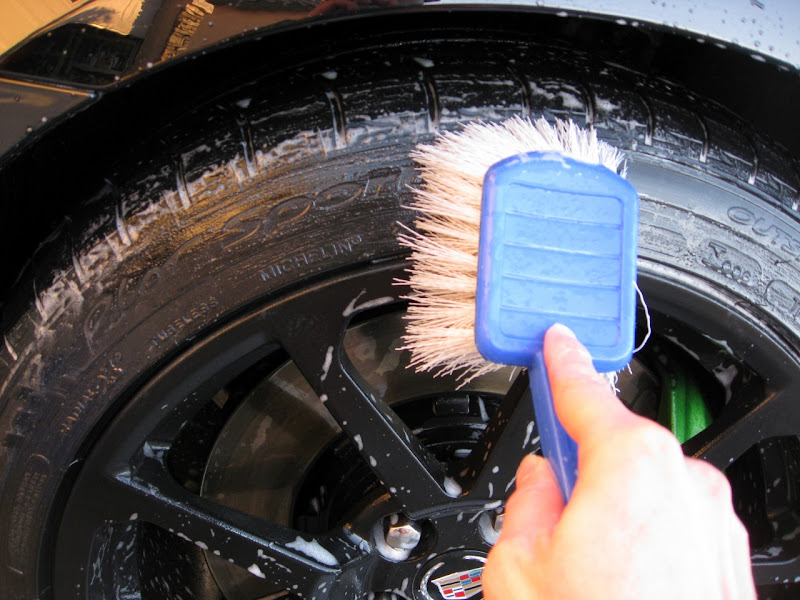
Tires being cleaned with Meguiar's APC and a generic brush:
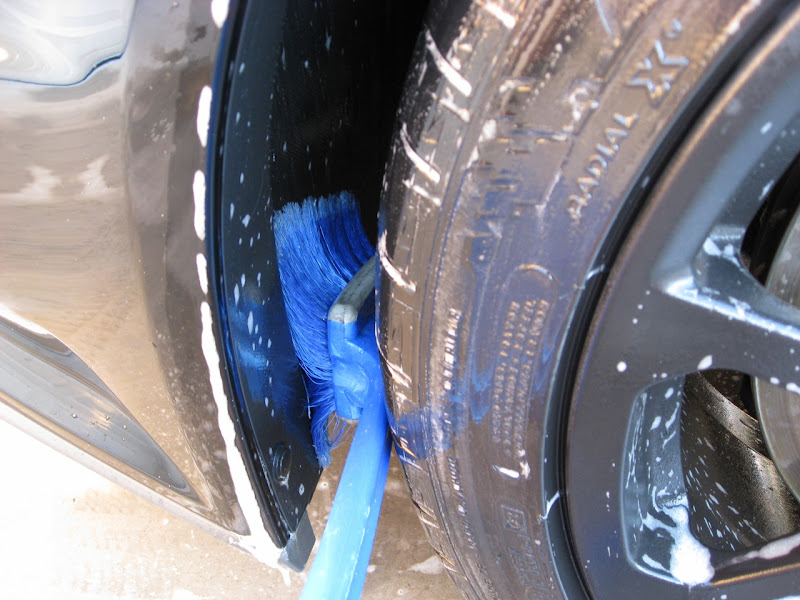
Fender wells are cleaned with Meguiar's APC and a long handled brush:
Look at all the gunk that came out of the backside of the front fender. It hasn't even been rinsed yet.

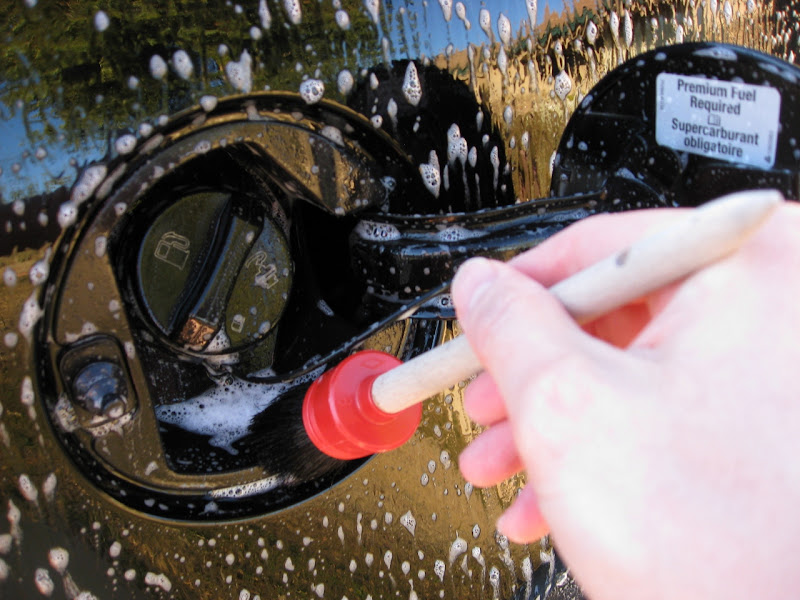
Gas tank being cleaned as well:
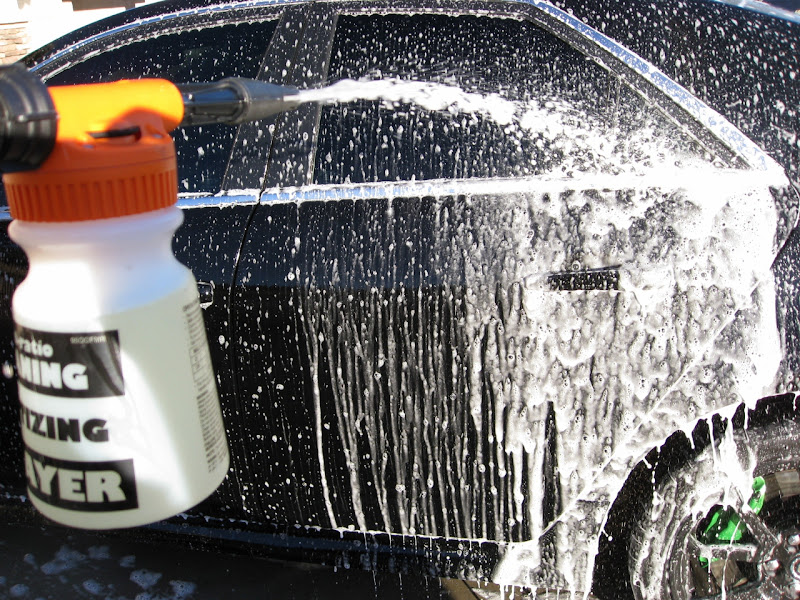
Car being foamed before the 2 bucket wash:
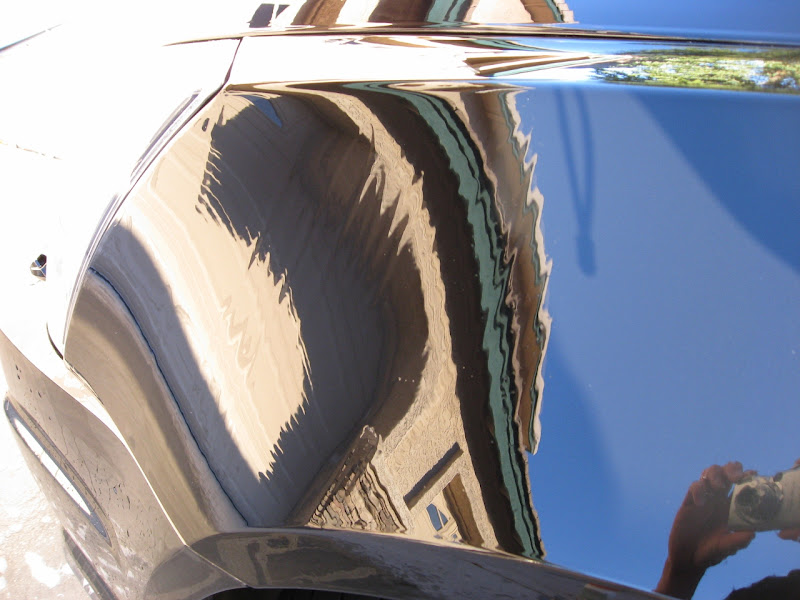
The paint was originally beading while I did the first rinse. However, look at what happened after foaming and washing the car with CG citrus wash and gloss. The paint has no beading whatsoever and it literally looks dripping wet. LOL!!!
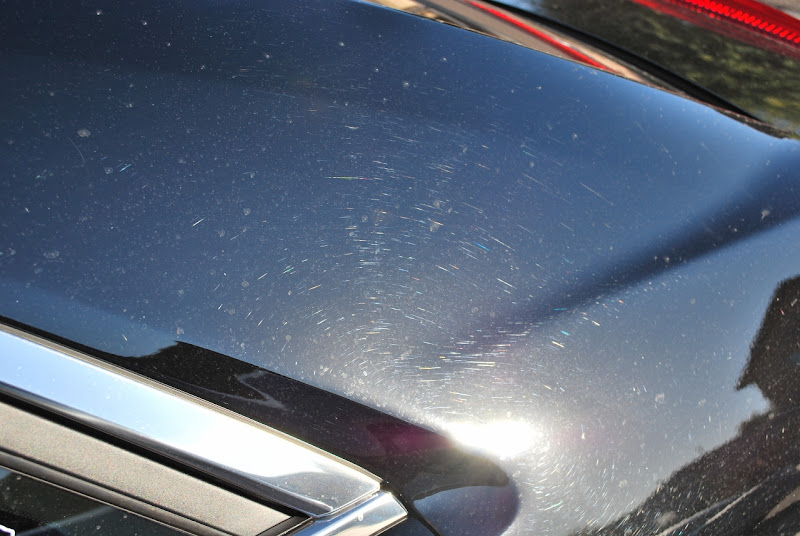
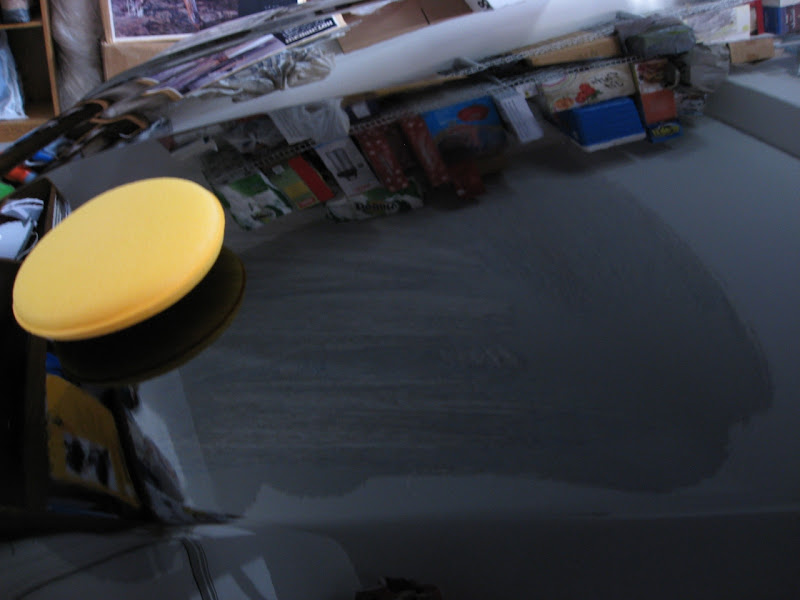
After, I clayed the entire vehicle. The picture below shows the clay after half the hood. It's still contaminated but it wasn't so bad...

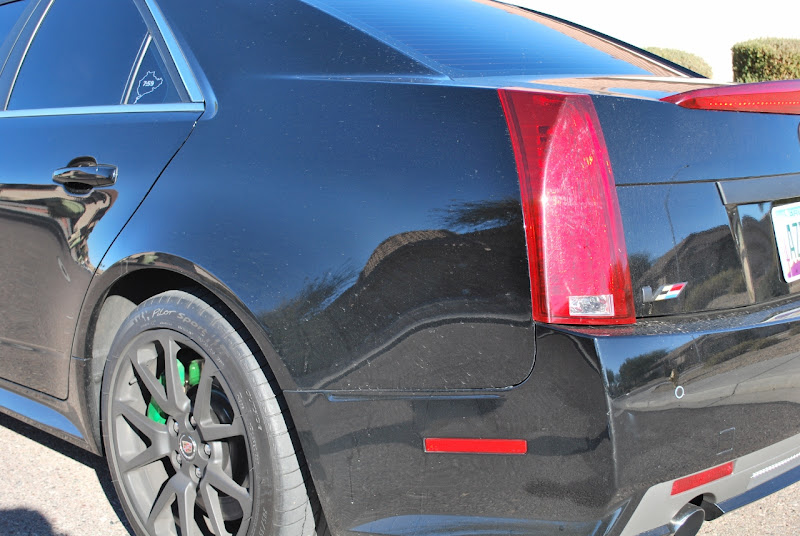
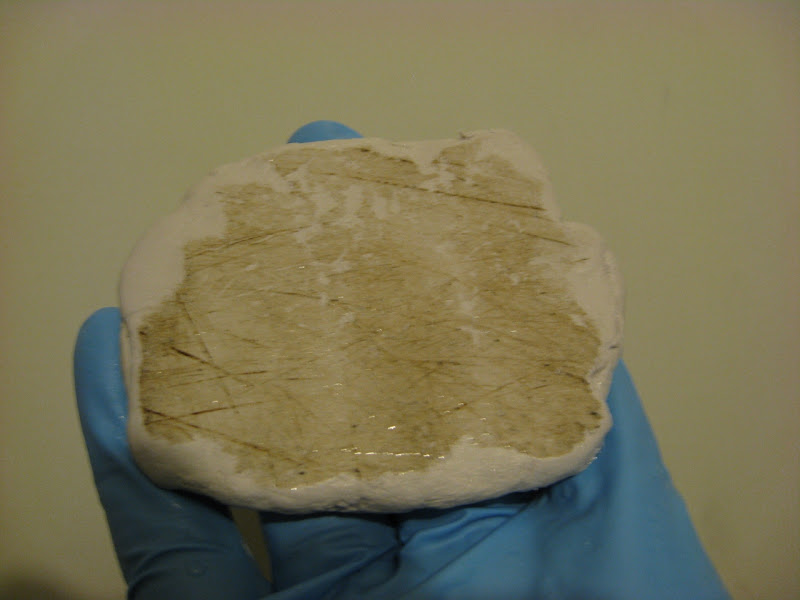
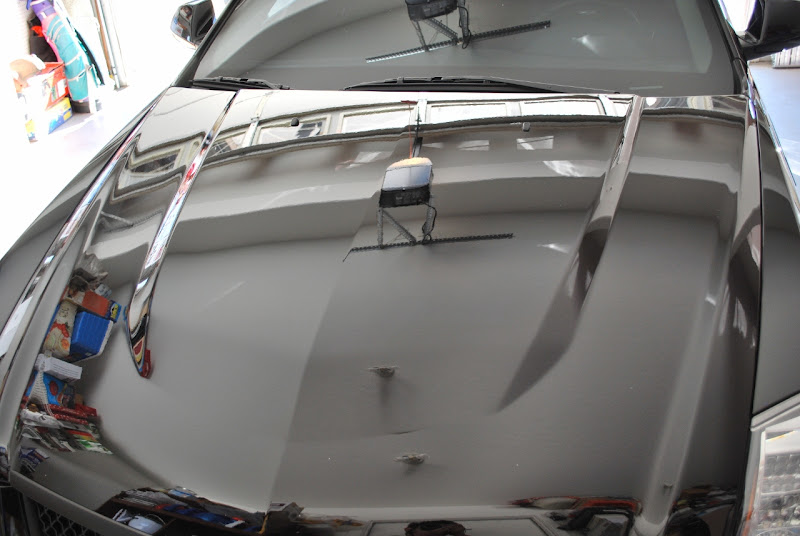
However, things got a lot worse as I went lower into the vertical panels. This is just from the lower half of the driver side front door. This is uniform all over the car.
It's pretty safe to say that the car has a lot of bonded contaminants.
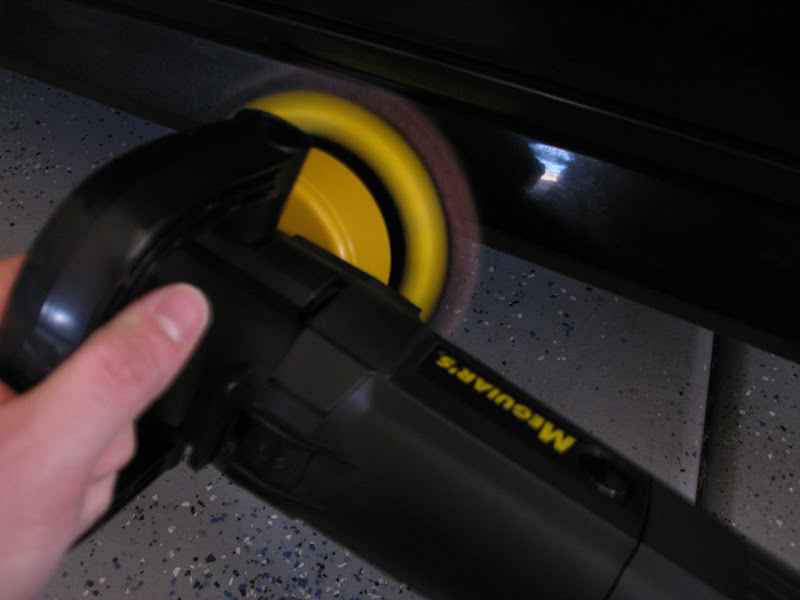
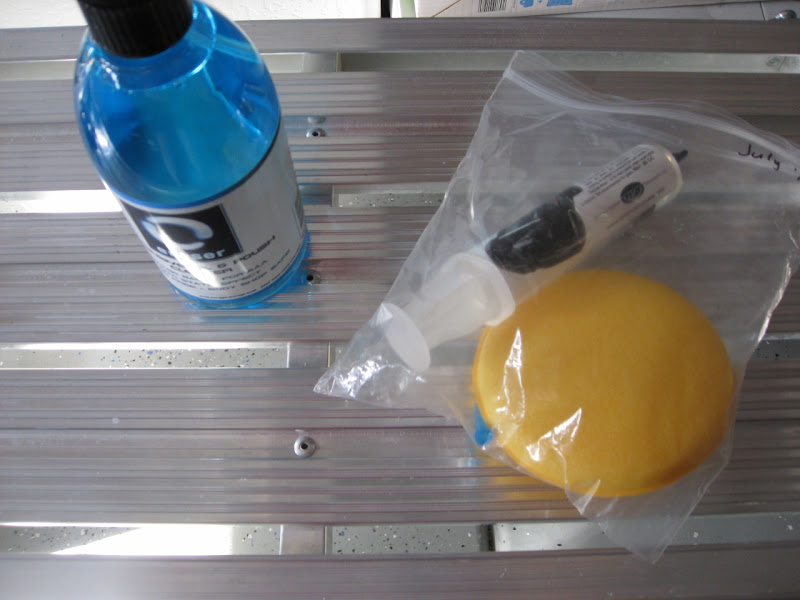
Here are the tools and products of choice for this detail. M105 isn't pictured because I brought it in in the middle of the detail.

CG Citrus Wash And Gloss on wheels
Meguiar's APC on tires and wheel wells
Surf City Garage Tire Pro on tires
Swissvax Wheel brush for wheels, calipers and small crevices
Wash:
CG Citrus Wash and Gloss via Foam Gun and 2BM
Meguiar's Microfiber Wash Mitt
Meguiar's Water Magnet
Clay:
DP Clay
Meguiar's Last Touch
Paint Correction:
Meguair's G110v2 / W68DA / W67DA / 3" LC Backing Plate
Meguiar's M105
Meguiar's D300 / Meguiar's 5" Microfiber Cutting Discs
Meguiar's M205 / W8207 Pads
Pad Conditioning Brush / Air Compressor
Craftsman 500W Halogen Lights
Brinkmann Dual Xenon Lights
LSP:
Carpro Eraser
Optimum Opti-coat 2.0
Interior:
Meguiar's Quik Interior Detailer
Vacuum
The owner of this car had the recommendation of the 2013 BMW M5 I did recently (Thanks James!!!) They are buddies from the same car club. I love getting clients that are from word of mouth. It means you're doing something right.
This beautiful and powerful vehicle has low miles. Only 26k miles on the clock. However, the owner purchased the vehicle from Connecticut so you know it has gone through hell during the winter months. Salt, rock chips, debris, you name it and this has it. The owner was so sick of looking at how much swirls the paint had and wanted it perfected as much as possible. He said that he knows it might not come out 100% perfect but he wants me to do what I can. It's an honor and privilege to be able to work on his car. Thanks for the opportunity!
Upon the car's arrival, the heavy swirl marks were visible from a mile away. Not only did it have heavy swirl marks from the snow conditions of the north east but it also had buffer trails every where!!! I couldn't believe that a car this nice was left in such condition especially from the dealership. I guess the buffer trails could have come from the dealer :lol2. Anyway, I'll stop talking and show you the before condition of this car below:
The car doesn't really look that bad from a far but once you get close and in the right angle, you'll be horrified!!!
Buffer Trails:
The front bumper was resprayed. I can't believe what I saw.... Unbelievable... Seriously, rotary buffer users are required to have a license to operate.
Interior Before:
I started by washing the wheels, tires an fender liner. I normally use my Sonax Full Effect wheel cleaner. I know it's safe but the wheels are plasti-dipped (I think) therefore I wanted to be as gentle as possible. I used CG Citrus Wash and Gloss to clean the wheels and brake calipers.
Tires being cleaned with Meguiar's APC and a generic brush:
Fender wells are cleaned with Meguiar's APC and a long handled brush:
Look at all the gunk that came out of the backside of the front fender. It hasn't even been rinsed yet.
Gas tank being cleaned as well:
Car being foamed before the 2 bucket wash:
The paint was originally beading while I did the first rinse. However, look at what happened after foaming and washing the car with CG citrus wash and gloss. The paint has no beading whatsoever and it literally looks dripping wet. LOL!!!
After, I clayed the entire vehicle. The picture below shows the clay after half the hood. It's still contaminated but it wasn't so bad...
However, things got a lot worse as I went lower into the vertical panels. This is just from the lower half of the driver side front door. This is uniform all over the car.
It's pretty safe to say that the car has a lot of bonded contaminants.
Here are the tools and products of choice for this detail. M105 isn't pictured because I brought it in in the middle of the detail.


 rops:
rops: