BeachZone
New member
- Aug 30, 2012
- 341
- 0
First off, let me apologize for having to explain nearly everything in depth, I advertise on a local forum of mine and many people don't know what true detailing is all about!
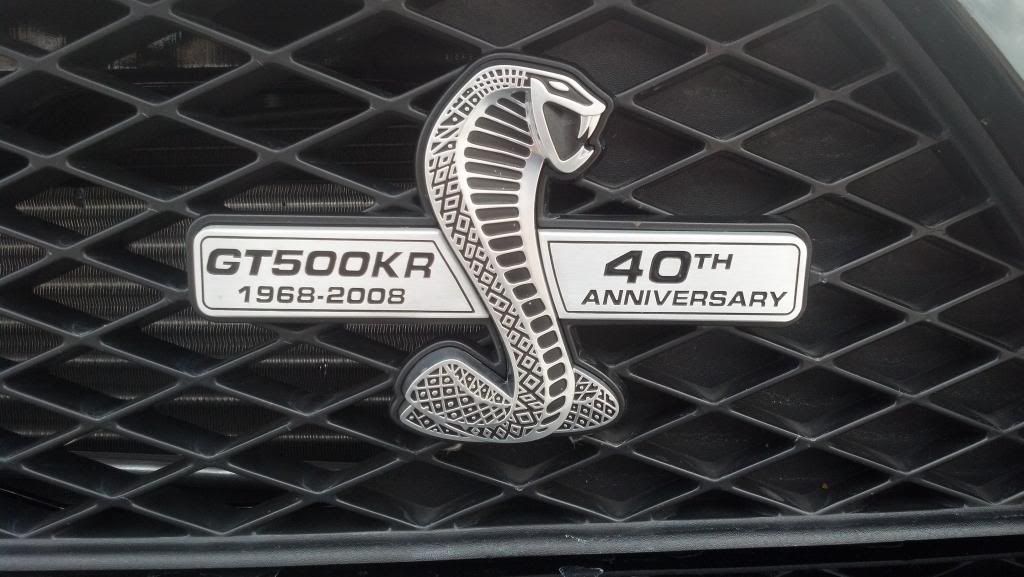
Year - 2008
Make - Ford
Model - Shelby GT500KR
Custom Detail Pkg:(Main additions to a basic detail)
- Clay bar all painted surfaces
- 2-Step Paint Correction
- Polish exhaust tips
- Exterior glass clayed & glass sealant application
- Hand polish door jambs w/synthetic spray sealant
- LSP (Last step product) = CQuartz Ceramic Nano-Coating
Primary Goal/Objective - Permanently remove 90%+ surface defects and apply semi-permanent, long-term protection to seal in the finished look
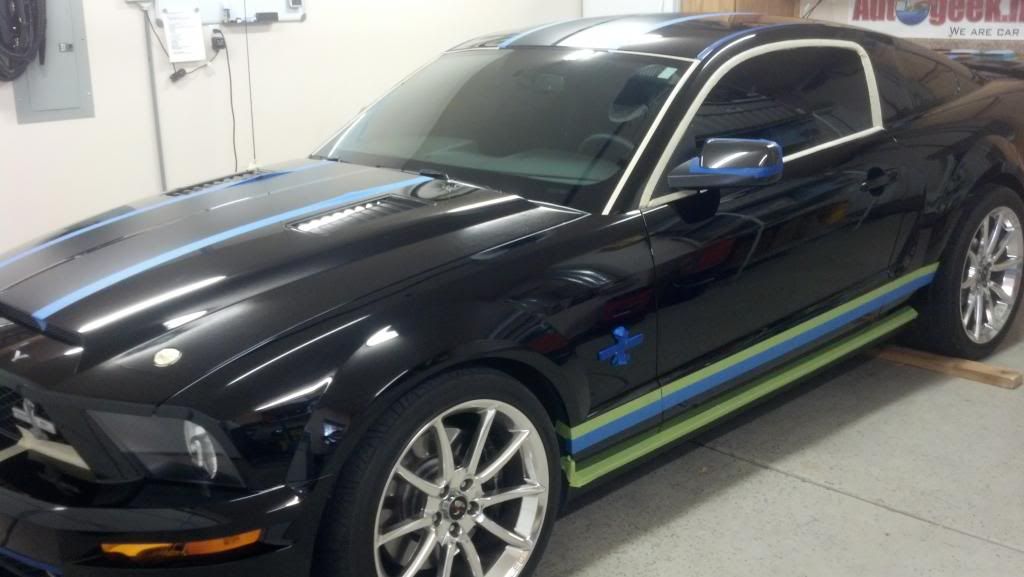
I recently completed a Paint Correction Detail on this Shelby that was in dire need of some TLC. We all know that Black is the most difficult paint to keep looking good because it simply shows every single defect in the paint extremely well! But when black paint is polished up and looking proper, hands down it is the best-looking color IMO.
After deciding on a 2-Step Paint Correction as being the best bet for this vehicle, we decided to protect it CQuartz Ceramic Nano-Coating. CQuartz is a semi-permanent coating that will protect your vehicle's finish for up to 2 years if maintained properly! You can forget about reapplying waxes or synthetic sealants over and over again, which we all know is not a quick and easy process! Unlike traditional waxes/sealants which degrade much quicker and provide decent protection, CQuartz is ~200 times thicker and will protect the surface from scratches/swirls by 50%! During the 48hrs following application, the coating bonds to the paint and as it cures it will increase surface hardness up to 2H beyond the hardness of the clearcoat! This form of protection is highly recommended for softer paints to reduce the build up of surface scratches over time, or for thin paint that has been corrected like the Shelby's. The coating acts as a sacrifical barrier between your paint and any dirt/contaminants that will come in contact with the surface, which preserves what remaining clearcoat you have on the vehicle! In addition to the durability and protection this coating offers, it is extremely hydrophobic and repels water, contaminants, and dirt, making cleaning/maintenance a breeze!
To learn more about CQuartz, check out the link below:
Car Pro Professional Car Coatings
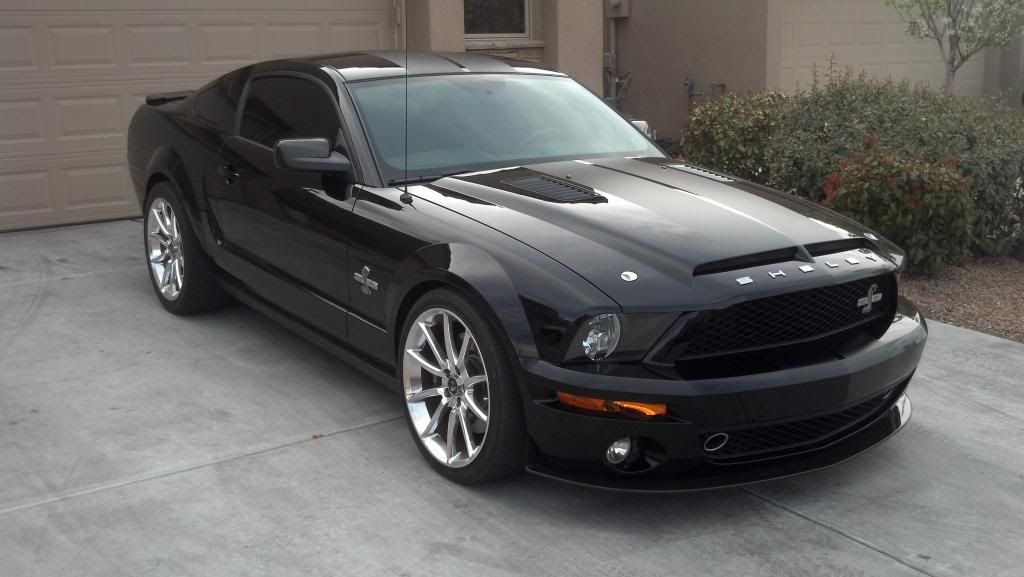
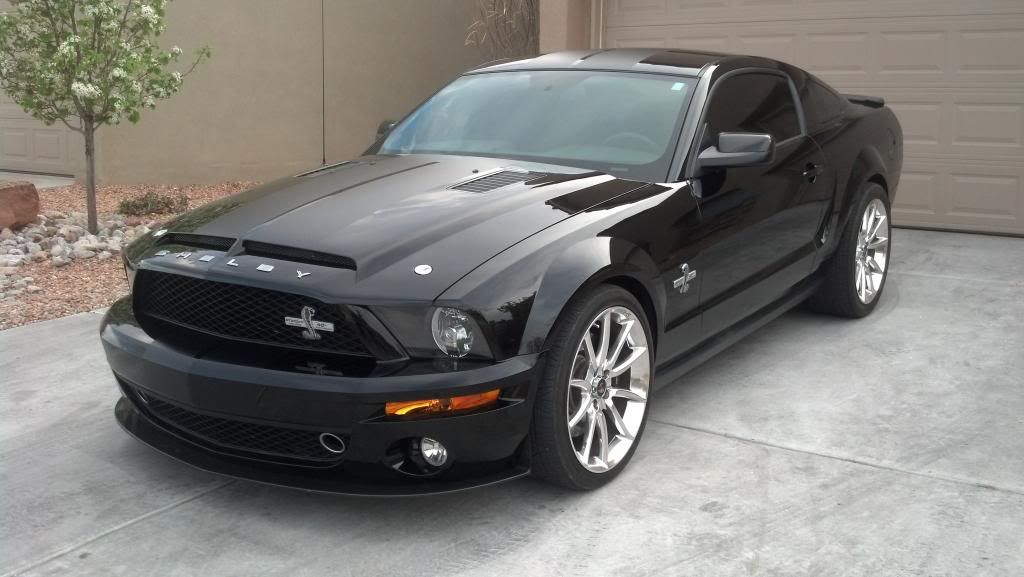
Overall, I am very pleased with how the Shelby came out! Soon I will be getting the Shelby back in for it's first maintenance wash after the detail was completed and will update the thread (hopefully with a video) to show how the coating performs! Enjoy!
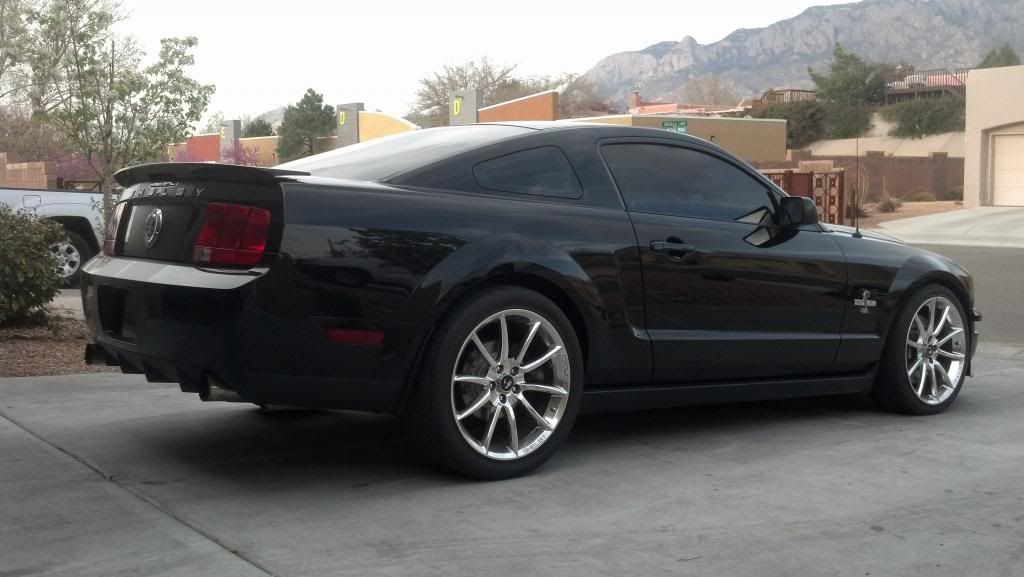
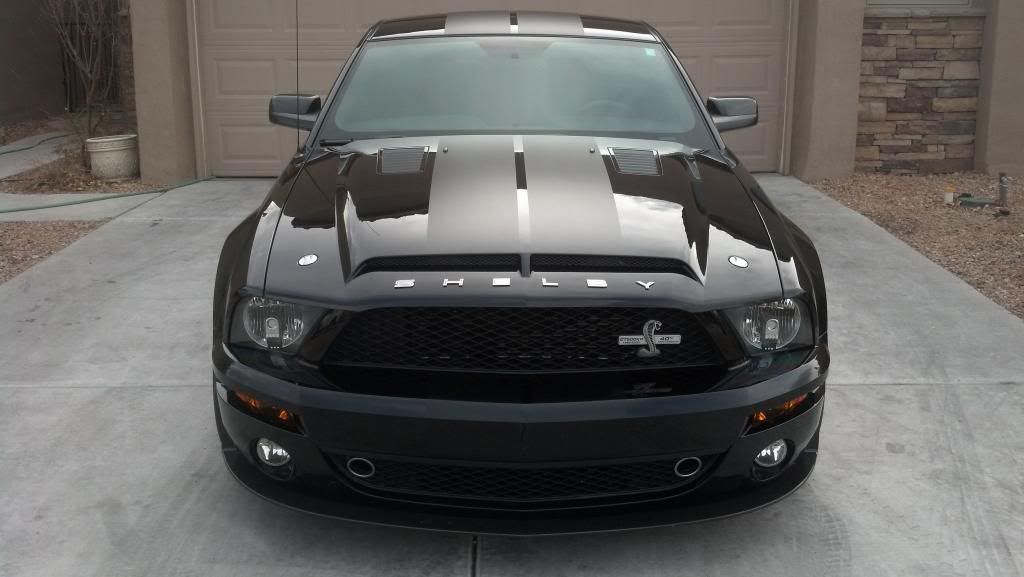
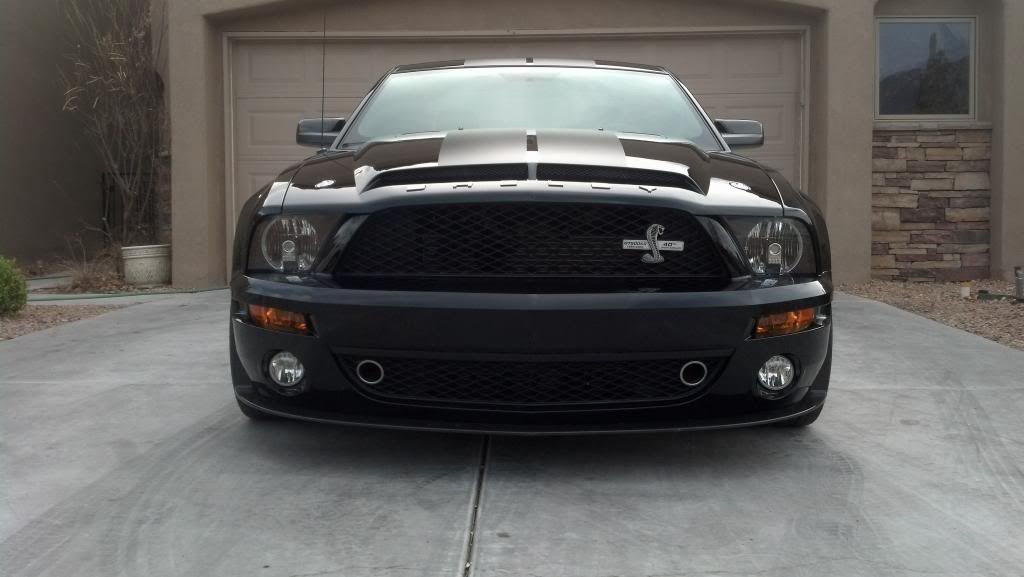
Arrival:
Unfortunately I wasn't able to snap any photos in the sun prior to polishing
The weather started to get ugly on me, so I pulled her in the garage and did a waterless wash to prep for decontamination.
Prep and Decon:
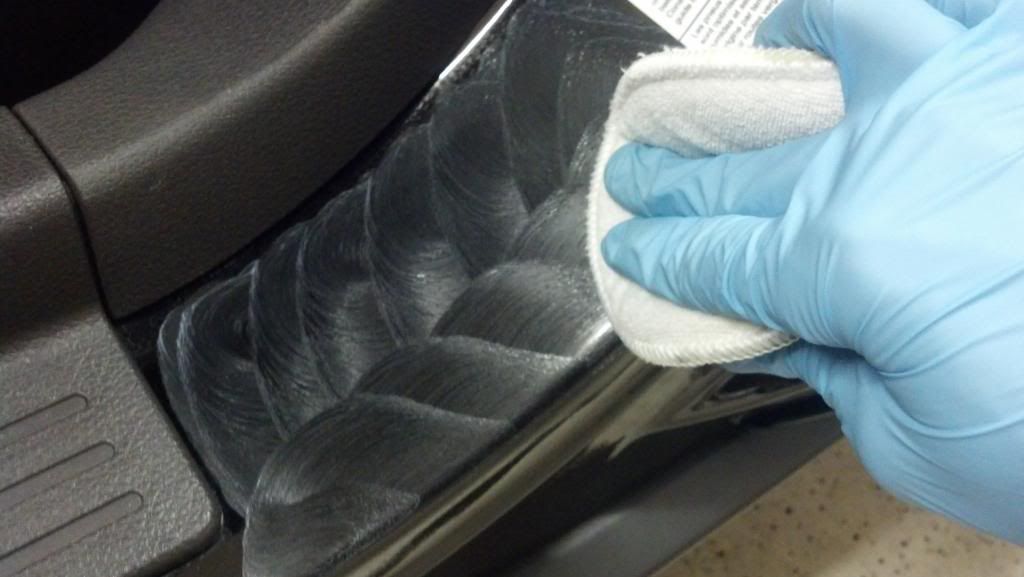
Next, the door jambs needed to be washed down
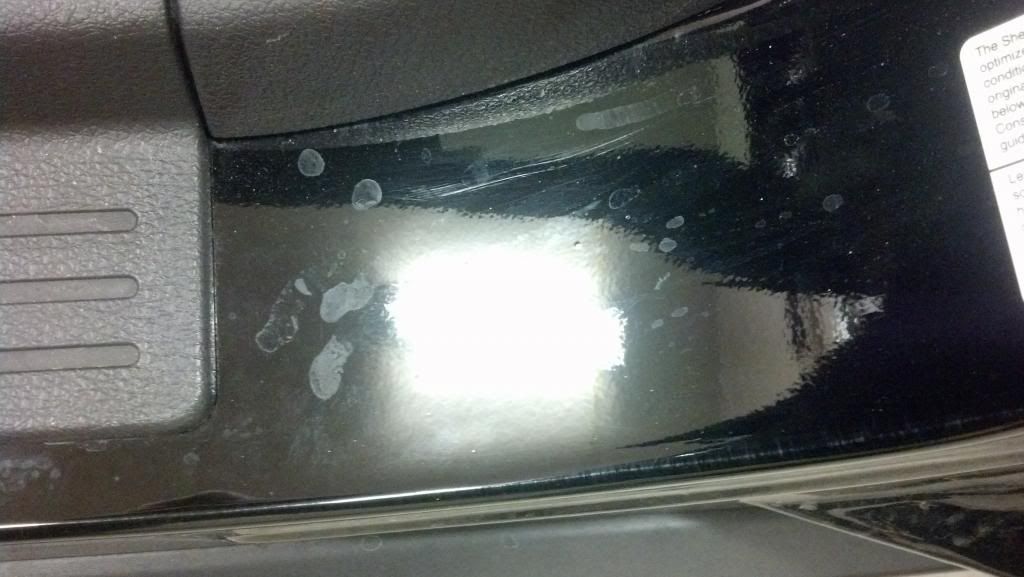
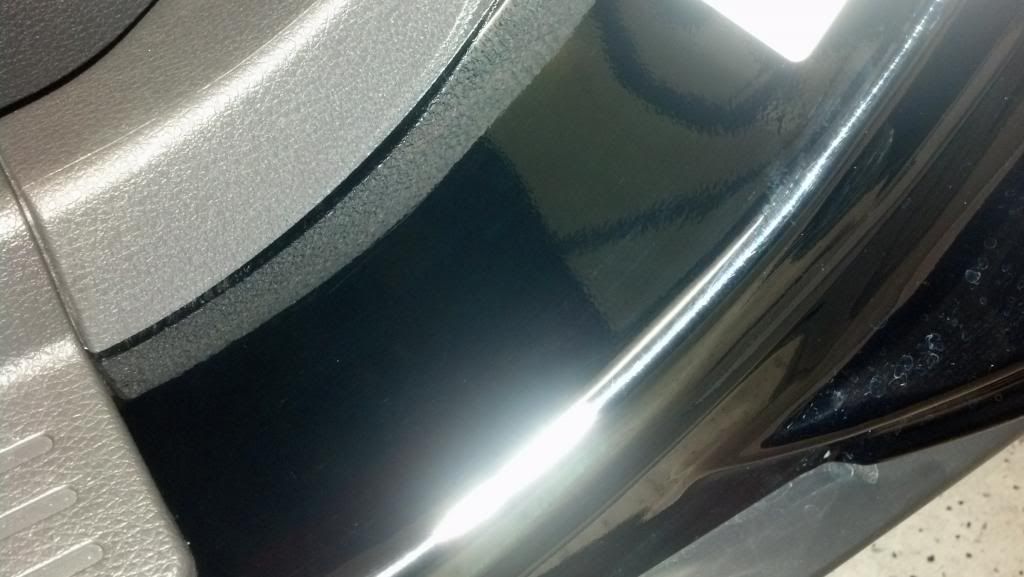
Under the trunk lid was a problem area
This is after cleaning. Waterspotting still visible
Hand polishing during
And after
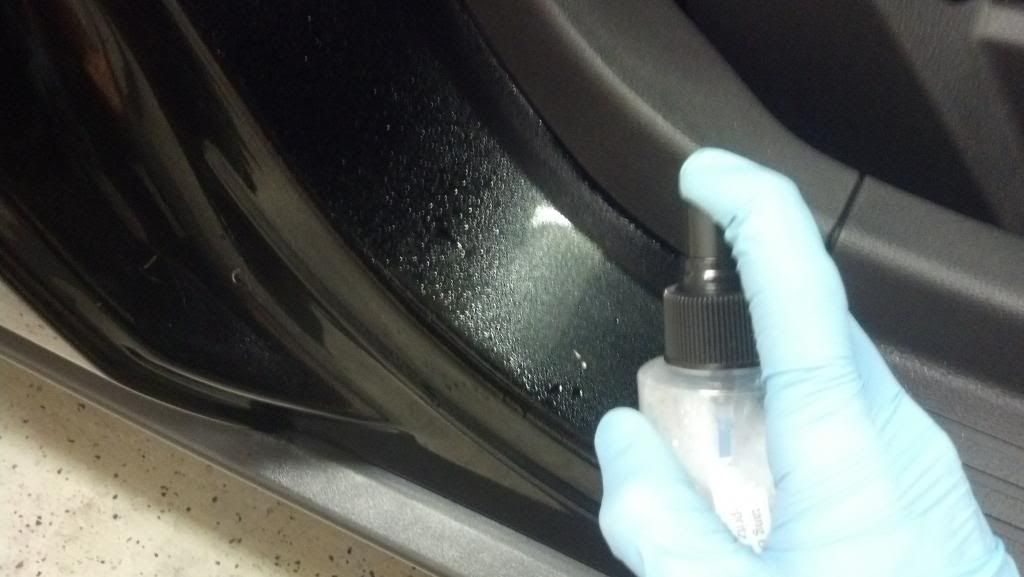
Spritz Sealant was applied to reduce any future waterspotting
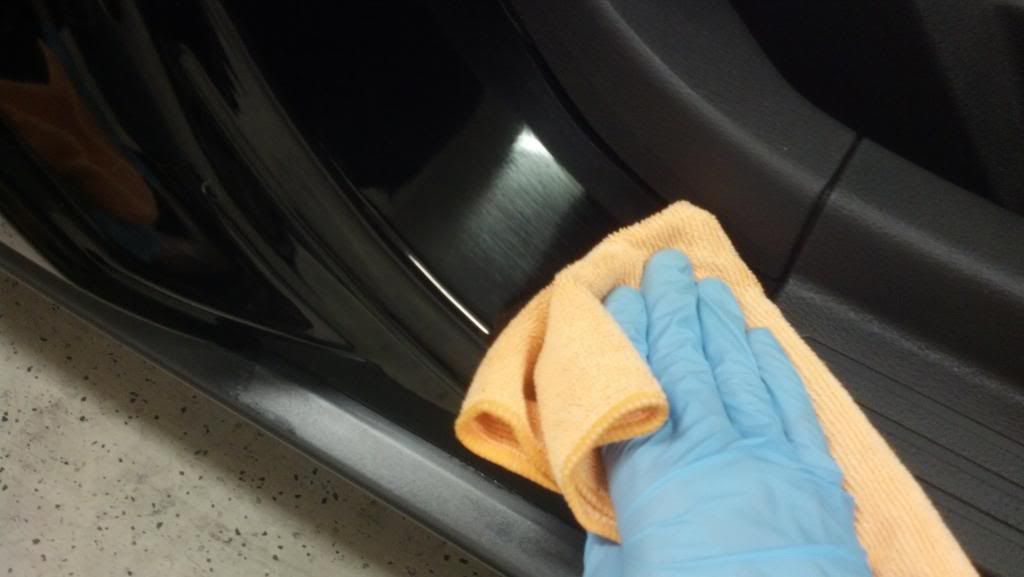
Buffing in and left to dry for an hour, then removed. Left alone for 12 hours to cure without any contact with moisture
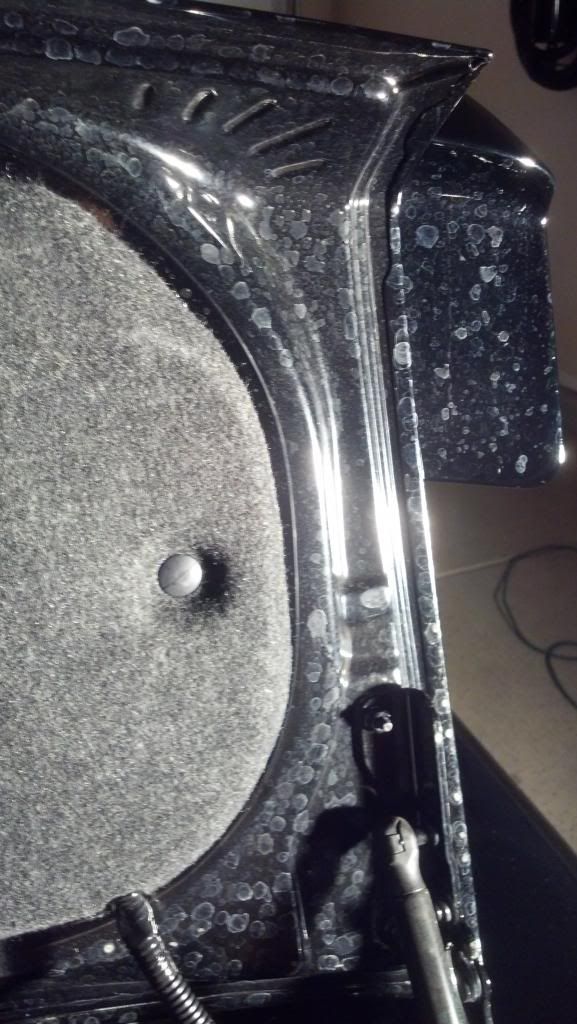
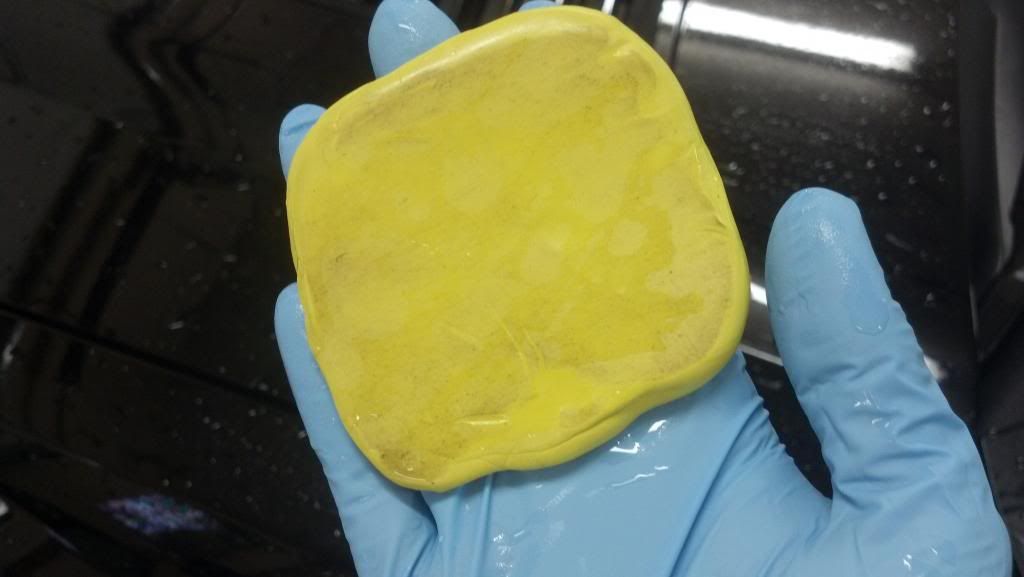
Baggie test was done to evaluate the level of contamination. Then out came the fine grade Clay Bar to remove the above surface bonded contaminates
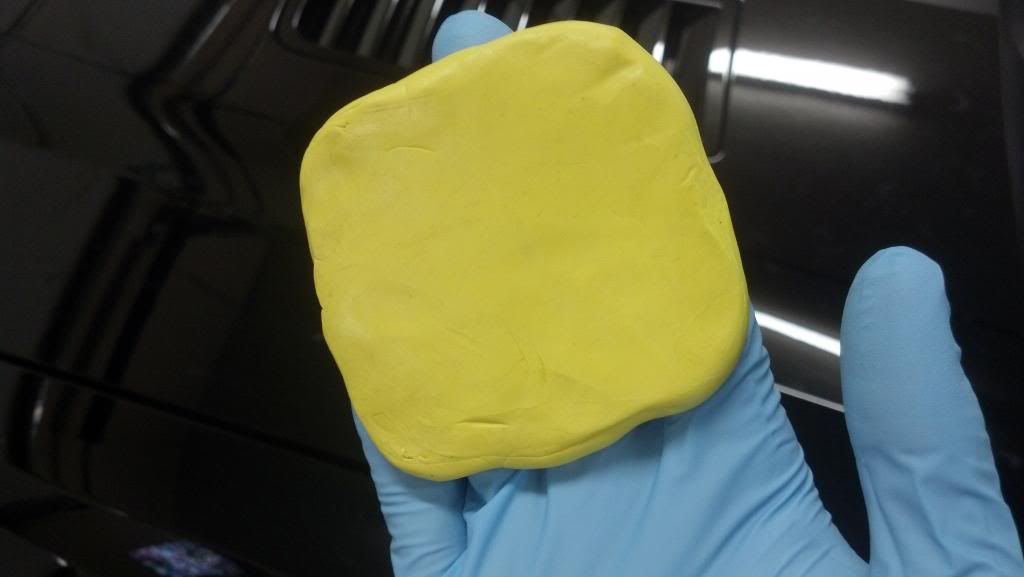
2'x2' section picked up a fairly decent amount of contaminants
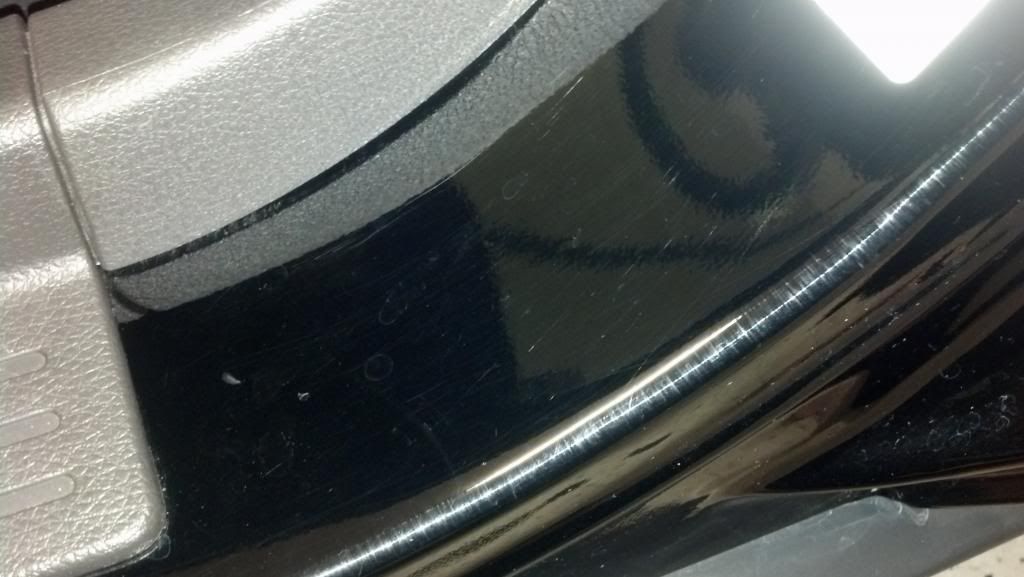
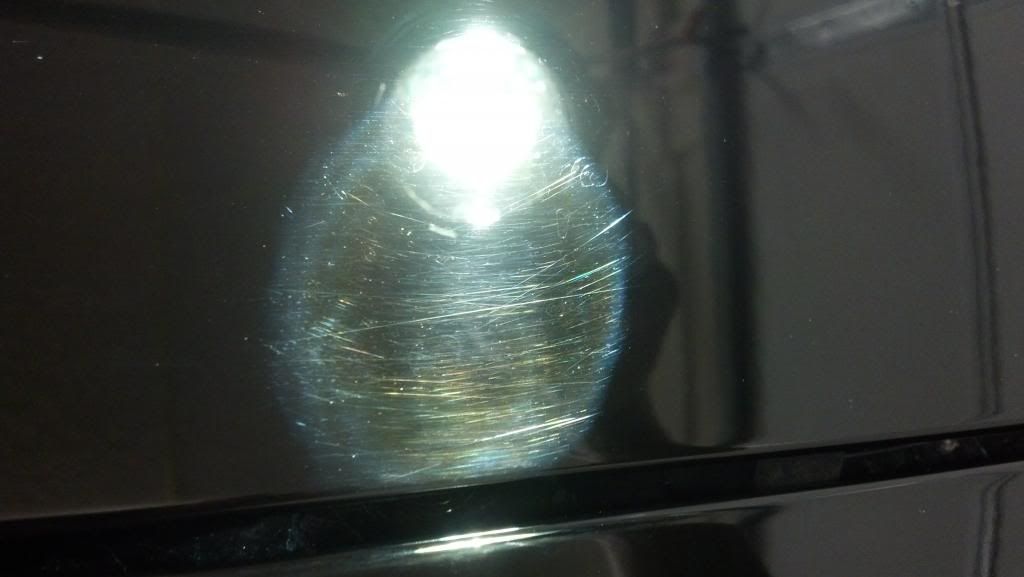
After the paint was thoroughly stripped of any old protection and all contamination, I was able to see what the true condition of the paint looked like with a high power LED light.
The entire finish looked a lot like this. Waterspots, marring, swirls, and random isolated deeper scratches
everywhere...
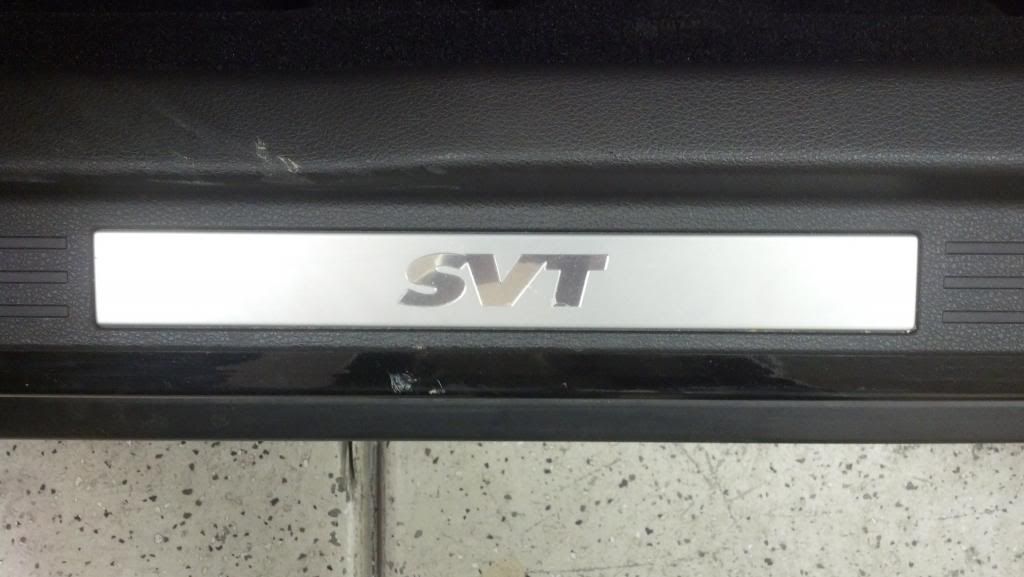
All the trim and vinyl was then taped off
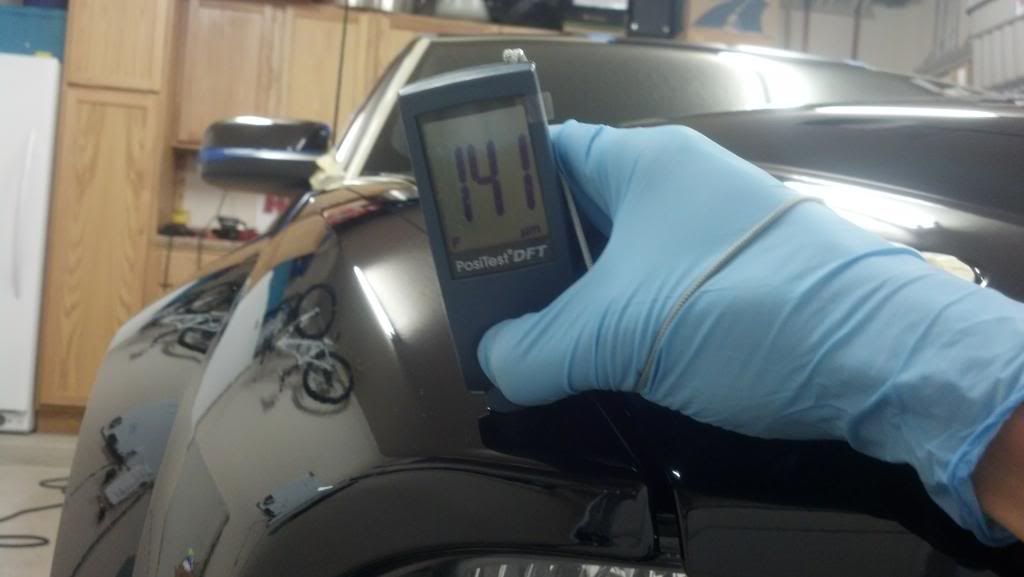
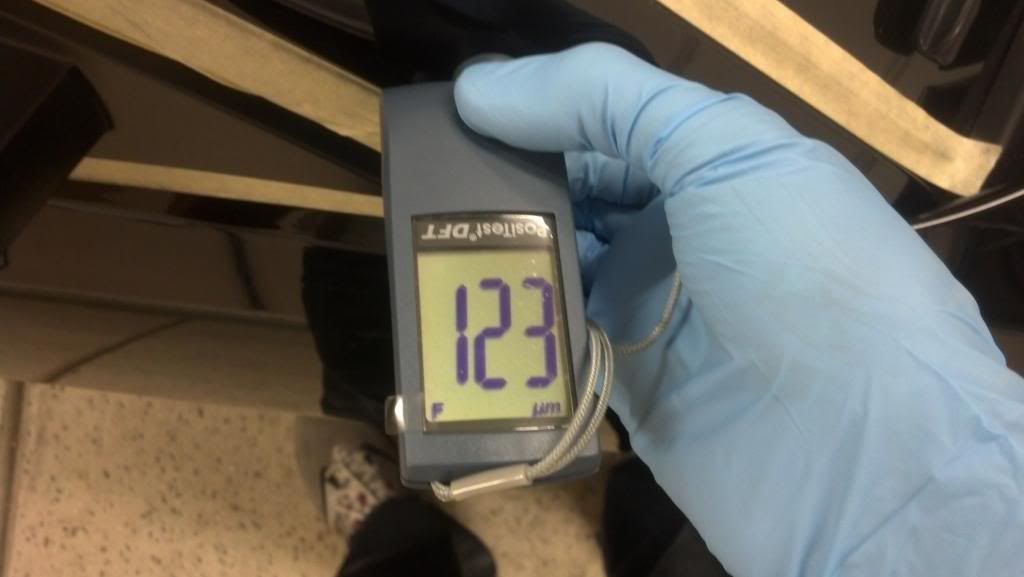
Paint Thickness Gauge showing some decent readings in some areas and extremely thin readings in others. The vehicle has never been polished since it was purchased, indicating the dealership had their on site "detailer" really shave down a lot of this paint during it's stay. Not good!
Any painted areas near seams and vinyl showed much healthier readings which proved my suspicions
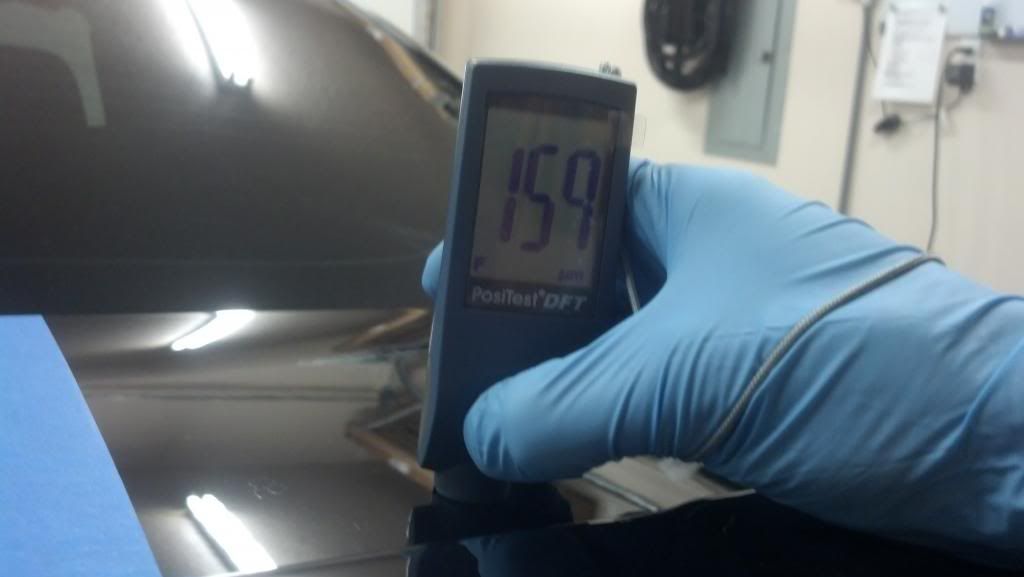
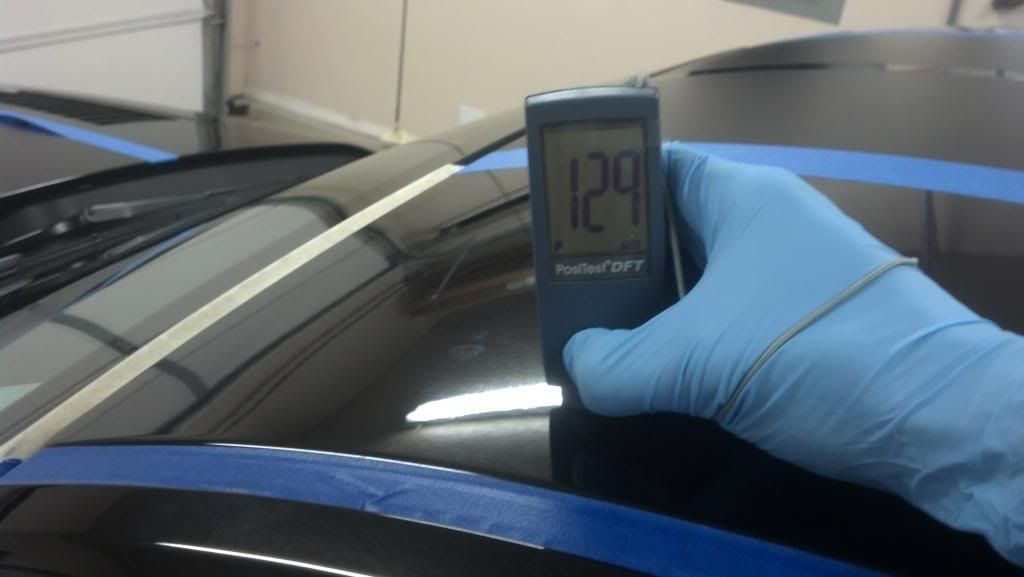
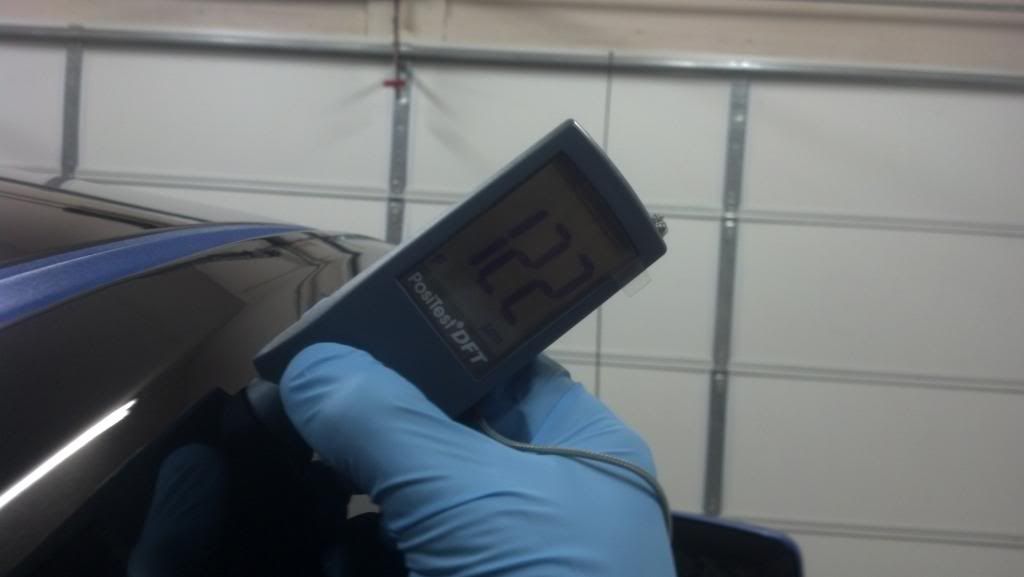
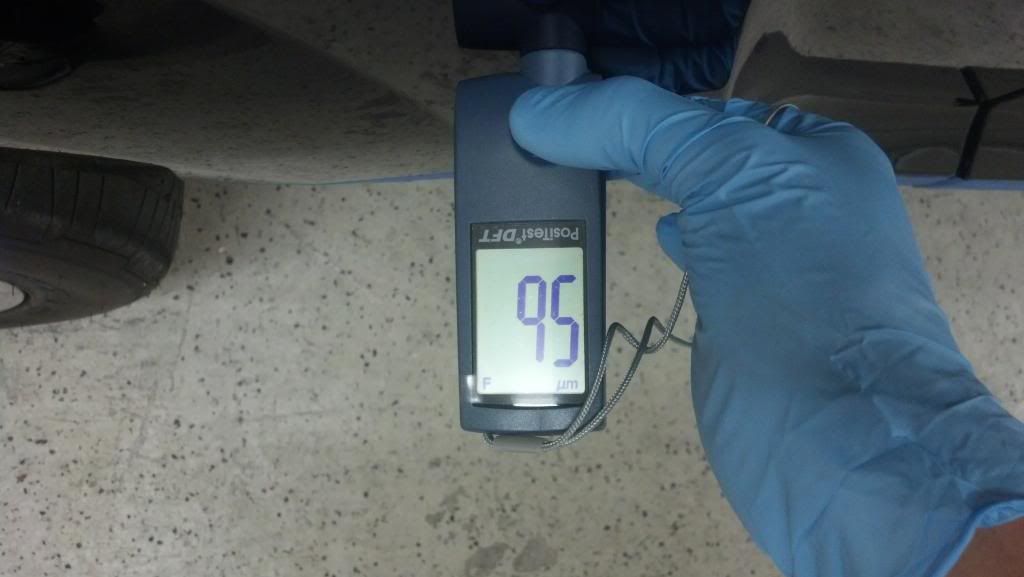
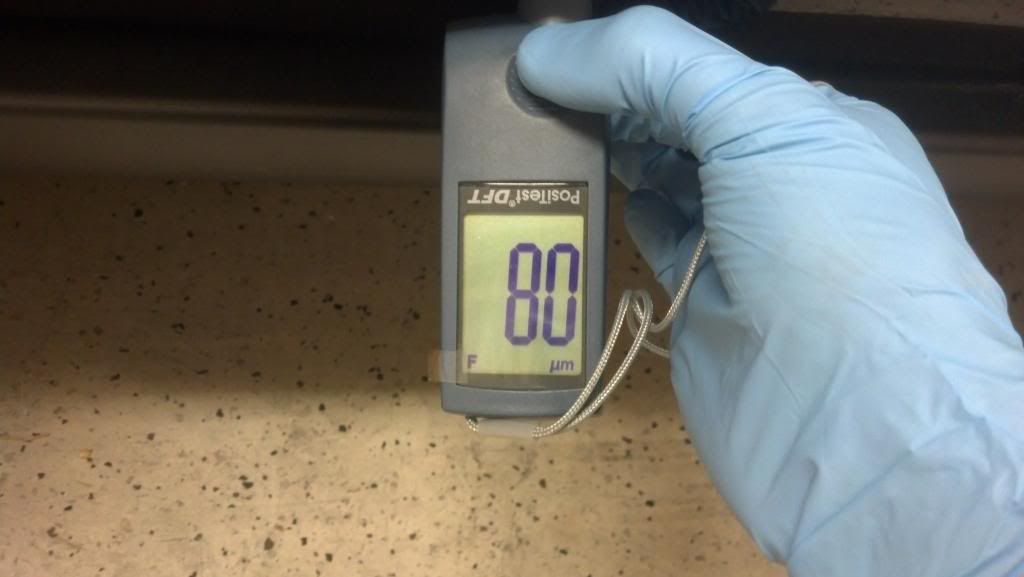
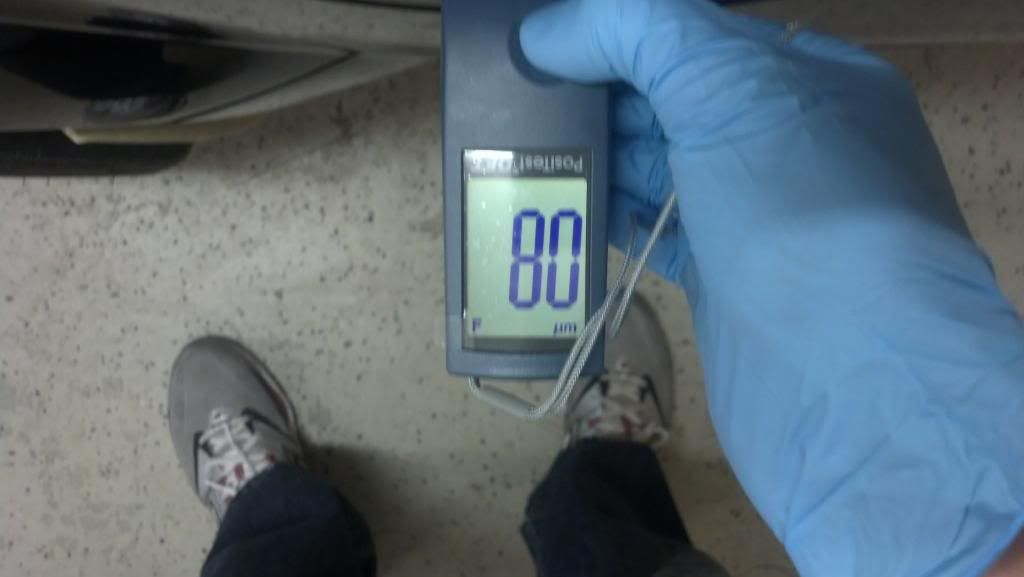
Every area tested on the vertical panels showed readings between 77 and 98 micron. Very thin
-DiamondDetail
Year - 2008
Make - Ford
Model - Shelby GT500KR
Custom Detail Pkg:(Main additions to a basic detail)
- Clay bar all painted surfaces
- 2-Step Paint Correction
- Polish exhaust tips
- Exterior glass clayed & glass sealant application
- Hand polish door jambs w/synthetic spray sealant
- LSP (Last step product) = CQuartz Ceramic Nano-Coating
Primary Goal/Objective - Permanently remove 90%+ surface defects and apply semi-permanent, long-term protection to seal in the finished look
I recently completed a Paint Correction Detail on this Shelby that was in dire need of some TLC. We all know that Black is the most difficult paint to keep looking good because it simply shows every single defect in the paint extremely well! But when black paint is polished up and looking proper, hands down it is the best-looking color IMO.
After deciding on a 2-Step Paint Correction as being the best bet for this vehicle, we decided to protect it CQuartz Ceramic Nano-Coating. CQuartz is a semi-permanent coating that will protect your vehicle's finish for up to 2 years if maintained properly! You can forget about reapplying waxes or synthetic sealants over and over again, which we all know is not a quick and easy process! Unlike traditional waxes/sealants which degrade much quicker and provide decent protection, CQuartz is ~200 times thicker and will protect the surface from scratches/swirls by 50%! During the 48hrs following application, the coating bonds to the paint and as it cures it will increase surface hardness up to 2H beyond the hardness of the clearcoat! This form of protection is highly recommended for softer paints to reduce the build up of surface scratches over time, or for thin paint that has been corrected like the Shelby's. The coating acts as a sacrifical barrier between your paint and any dirt/contaminants that will come in contact with the surface, which preserves what remaining clearcoat you have on the vehicle! In addition to the durability and protection this coating offers, it is extremely hydrophobic and repels water, contaminants, and dirt, making cleaning/maintenance a breeze!
To learn more about CQuartz, check out the link below:
Car Pro Professional Car Coatings
Overall, I am very pleased with how the Shelby came out! Soon I will be getting the Shelby back in for it's first maintenance wash after the detail was completed and will update the thread (hopefully with a video) to show how the coating performs! Enjoy!
Arrival:
Unfortunately I wasn't able to snap any photos in the sun prior to polishing


The weather started to get ugly on me, so I pulled her in the garage and did a waterless wash to prep for decontamination.
Prep and Decon:
Next, the door jambs needed to be washed down


Under the trunk lid was a problem area

This is after cleaning. Waterspotting still visible

Hand polishing during

And after

Spritz Sealant was applied to reduce any future waterspotting

Buffing in and left to dry for an hour, then removed. Left alone for 12 hours to cure without any contact with moisture

Baggie test was done to evaluate the level of contamination. Then out came the fine grade Clay Bar to remove the above surface bonded contaminates

2'x2' section picked up a fairly decent amount of contaminants

After the paint was thoroughly stripped of any old protection and all contamination, I was able to see what the true condition of the paint looked like with a high power LED light.
The entire finish looked a lot like this. Waterspots, marring, swirls, and random isolated deeper scratches
everywhere...

All the trim and vinyl was then taped off

Paint Thickness Gauge showing some decent readings in some areas and extremely thin readings in others. The vehicle has never been polished since it was purchased, indicating the dealership had their on site "detailer" really shave down a lot of this paint during it's stay. Not good!
Any painted areas near seams and vinyl showed much healthier readings which proved my suspicions


Every area tested on the vertical panels showed readings between 77 and 98 micron. Very thin


-DiamondDetail


")


") Thank you sir!
Thank you sir!