Mike Phillips
Active member
- Dec 5, 2022
- 51,004
- 7
Detailing 101 - How to clay paint - Tips & Techniques
A high gloss finish starts with a smooth surface. Over time, airborne contaminants build up on the surface of your car's paint that don't wash off. Contaminants like,
One simple method of safely removing these types of bonded contaminants to clay your car's finish using detailing clay. It's real simple and easy to do and not only will it help restore and maximize gloss it will also enable your choice of car wax or synthetic paint sealant to last longer since it removes the contaminants out of the way that can hinder bonding of the wax or sealant. A good rule of thumb is to clay our car twice a year. You can also inspect your car's paint using The Baggie Test to determine when it's time to clay your car's paint.
In order to clay your car's paint you need,
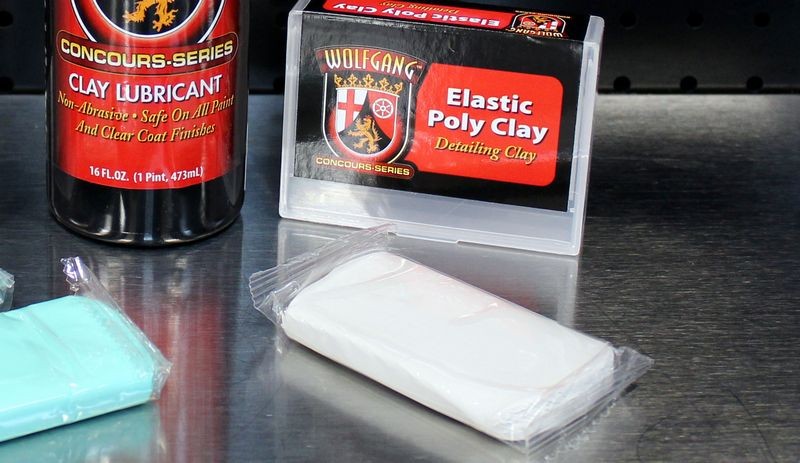
Detailing clay comes in various grades. In the below picture the clay on the left is an ultra fine grade clay and the clay on the right is a medium grade clay.

Ultra fine grade clay is perfect for newer cars or for follow-up us on cars that are regularly maintained.

The clay on the right is a medium grade clay. This clay is for neglected cars with a great build-up of contaminants.
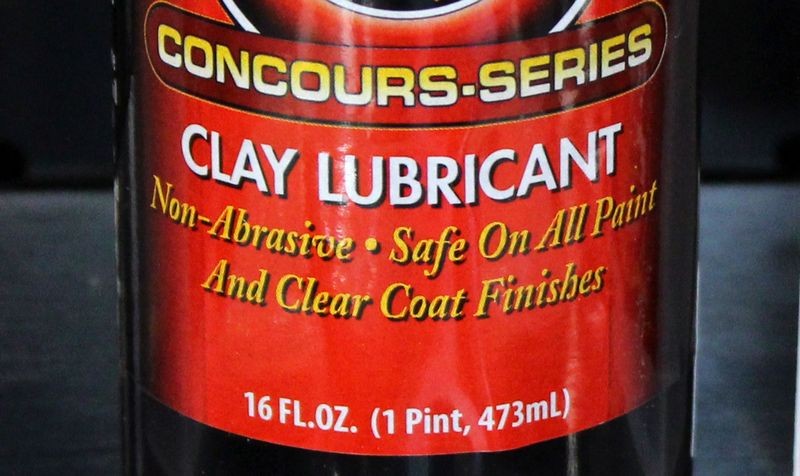
A clay lube will lubricate the surface as you rub the clay over the paint.
Step 1: Wash and dry your car. You need to remove any loose dirt before using detailing clay on our car's paint. If you don't remove the loose dirt you could grind it into the paint.
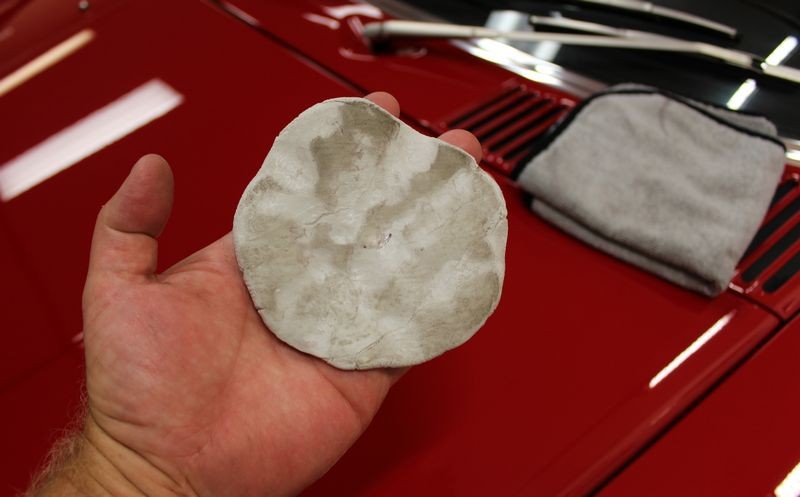
Step 2: Remove the clay out of the protective plastic wrapper and knead the clay bar into a clay patty large enough to cover the palm of your hand.

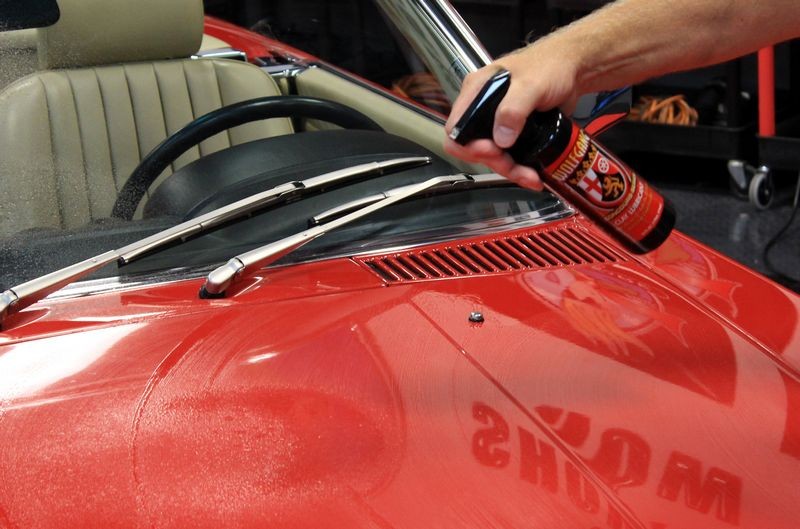
Step 3: Spray some clay lube onto a section of paint. You need enough lube to lubricate the area to be clayed.
Step 4: Place your hand on top of the clay patty and then rub the clay patty over the section of paint with light pressure. Move your hand in a side to side motion in the direction of the length of the car. If the paint has contaminants you'll feel the clay patty drag a little as you start out. After you make a few passes you'll feel the clay patty start to glide effortlessly, this is a sign that the contaminants have been removed in this area.

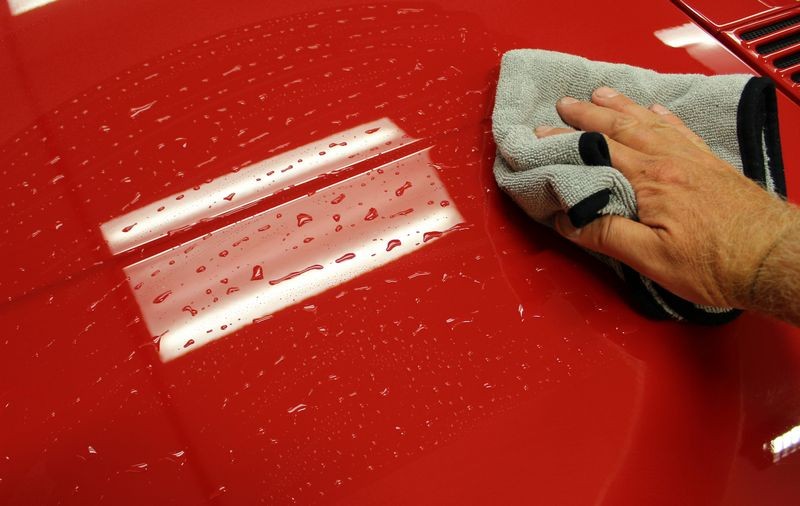
Step 5: Wipe the clay residue off using a clean microfiber towel.
Step 6: As you work around the car, re-knead the clay patty to fold the contaminants into the clay and expose a fresh clay surface.
That's all there is to it.
If you have never clayed our car before, do the baggie test as shared in this article.
How to use The Baggie Test to inspect the paint on your car
Important Tip
After claying your car's paint you should apply a fresh coat of car wax or a synthetic paint sealant to restore a layer of protection and restore that show room new appearance.
On Autogeek.com
Wolfgang Elastic Poly Clay Bar
Wolfgang Elastic Poly Clay Bar - FINE Grade
Wolfgang Clay Lubricant
")
A high gloss finish starts with a smooth surface. Over time, airborne contaminants build up on the surface of your car's paint that don't wash off. Contaminants like,
- Overspray paint
- Industrial Fallout
- Traffic pollution
- Tree sap mist
- Airborne dirt and dust
One simple method of safely removing these types of bonded contaminants to clay your car's finish using detailing clay. It's real simple and easy to do and not only will it help restore and maximize gloss it will also enable your choice of car wax or synthetic paint sealant to last longer since it removes the contaminants out of the way that can hinder bonding of the wax or sealant. A good rule of thumb is to clay our car twice a year. You can also inspect your car's paint using The Baggie Test to determine when it's time to clay your car's paint.
In order to clay your car's paint you need,
- Detailing clay
- Clay lube
- Microfiber towels
Detailing clay comes in various grades. In the below picture the clay on the left is an ultra fine grade clay and the clay on the right is a medium grade clay.
Ultra fine grade clay is perfect for newer cars or for follow-up us on cars that are regularly maintained.
The clay on the right is a medium grade clay. This clay is for neglected cars with a great build-up of contaminants.
A clay lube will lubricate the surface as you rub the clay over the paint.
Step 1: Wash and dry your car. You need to remove any loose dirt before using detailing clay on our car's paint. If you don't remove the loose dirt you could grind it into the paint.
Step 2: Remove the clay out of the protective plastic wrapper and knead the clay bar into a clay patty large enough to cover the palm of your hand.
Step 3: Spray some clay lube onto a section of paint. You need enough lube to lubricate the area to be clayed.
Step 4: Place your hand on top of the clay patty and then rub the clay patty over the section of paint with light pressure. Move your hand in a side to side motion in the direction of the length of the car. If the paint has contaminants you'll feel the clay patty drag a little as you start out. After you make a few passes you'll feel the clay patty start to glide effortlessly, this is a sign that the contaminants have been removed in this area.
Step 5: Wipe the clay residue off using a clean microfiber towel.
Step 6: As you work around the car, re-knead the clay patty to fold the contaminants into the clay and expose a fresh clay surface.
That's all there is to it.
If you have never clayed our car before, do the baggie test as shared in this article.
How to use The Baggie Test to inspect the paint on your car
Important Tip
After claying your car's paint you should apply a fresh coat of car wax or a synthetic paint sealant to restore a layer of protection and restore that show room new appearance.
On Autogeek.com
Wolfgang Elastic Poly Clay Bar
Wolfgang Elastic Poly Clay Bar - FINE Grade
Wolfgang Clay Lubricant


