Mike Phillips
Active member
- Dec 5, 2022
- 51,004
- 7
Detailing Classes Demo Cars - January 2014 at Autogeek
If you're reading this it's because you're signed up for my class this weekend and I e-mailed you the link to this thread.
IF YOU'RE NOT a MEMBER of this forum... please take a moment to register so you can "post" to the forum. I will explain why first thing on Saturday morning.
Click here to sign-up with the AutogeekOnline Discussion Forum
Now on to the meat of this thread...
If you're attending my January Detailing Boot Camp Class here is one of the car you'll be working on.
1947 Ford Convertible - January Detailing Boot Camp Class Car
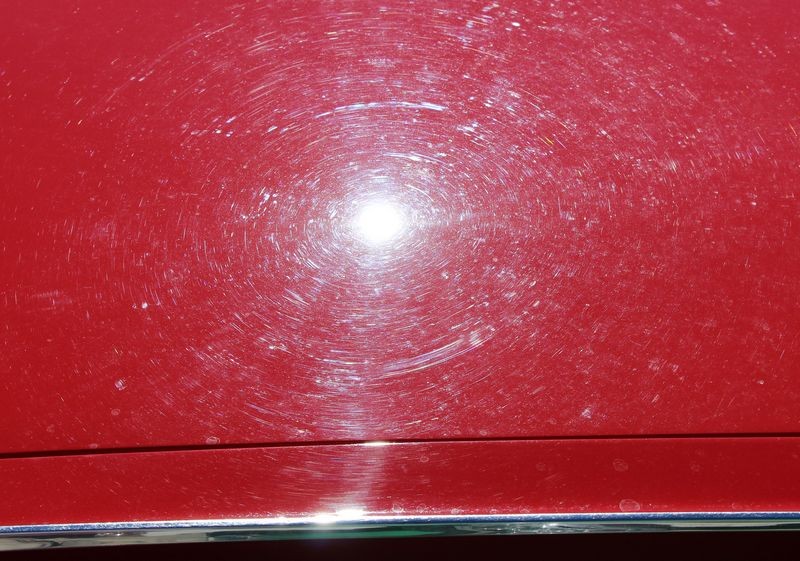
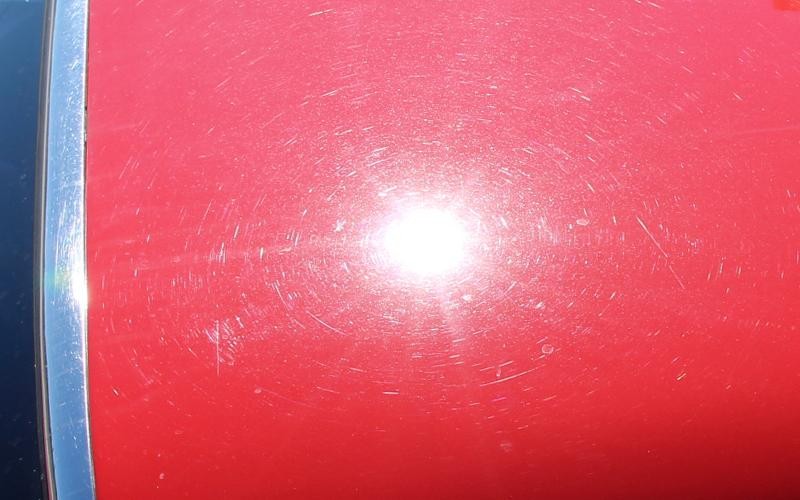
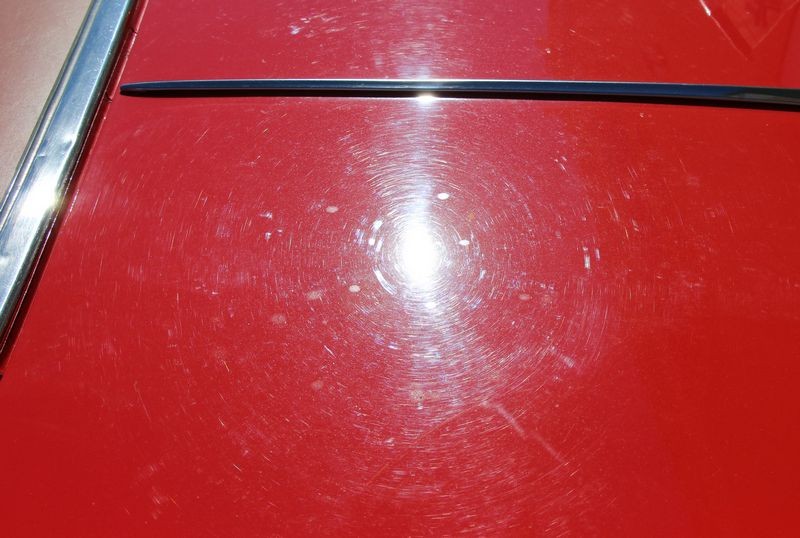
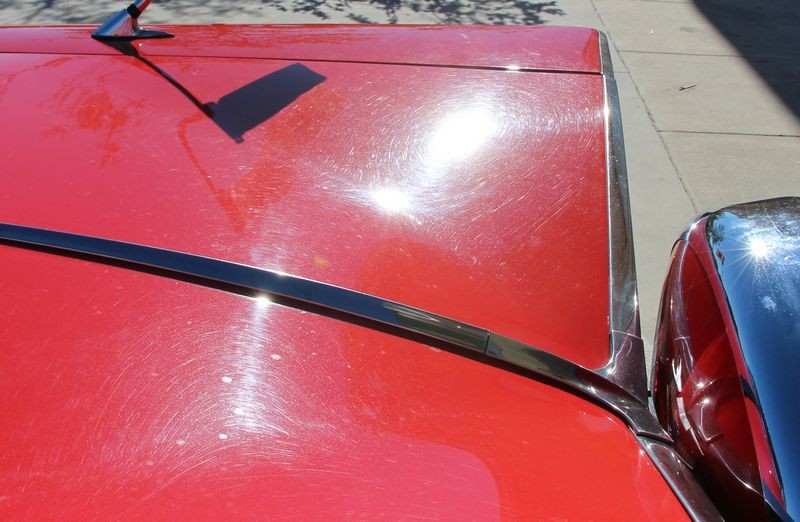
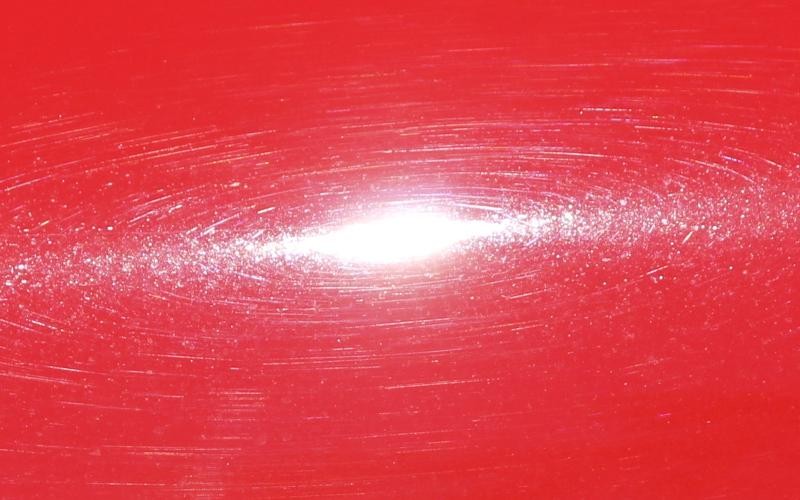
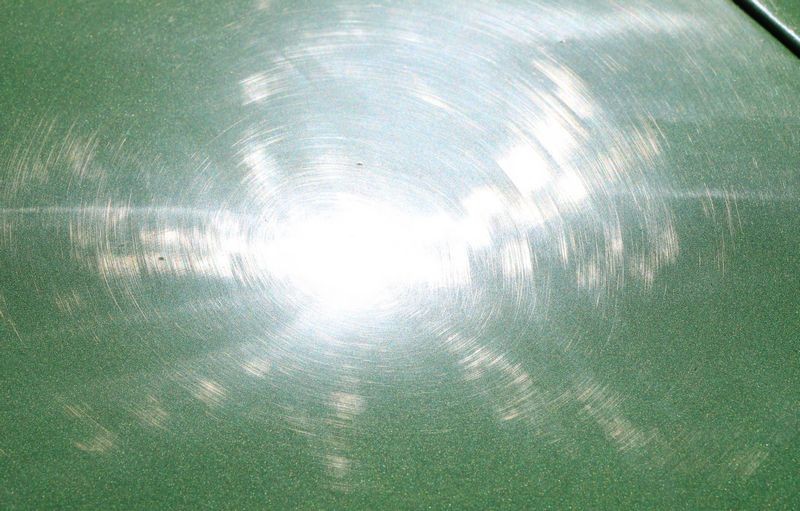
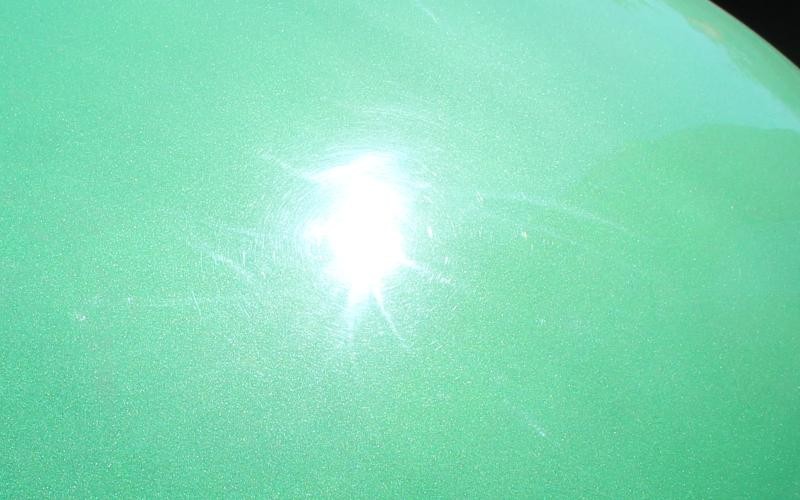
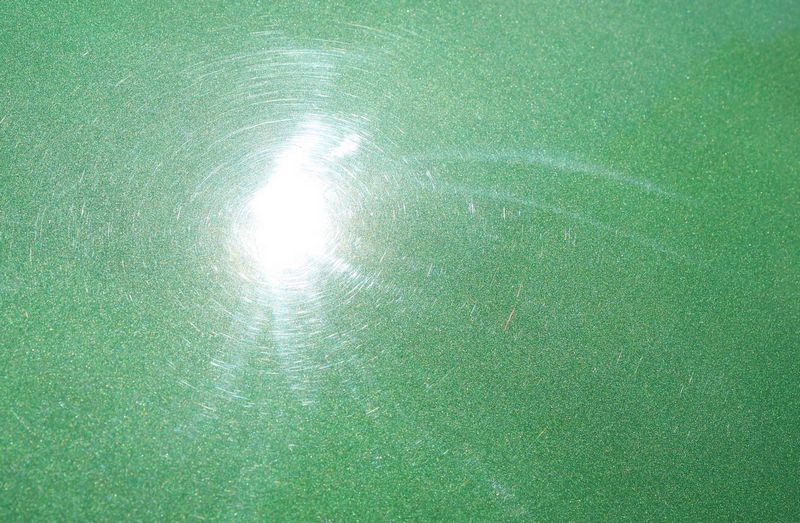
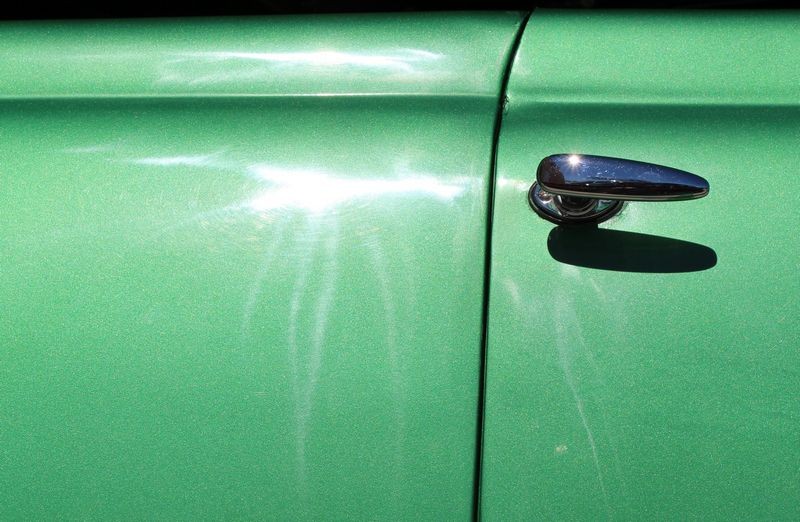
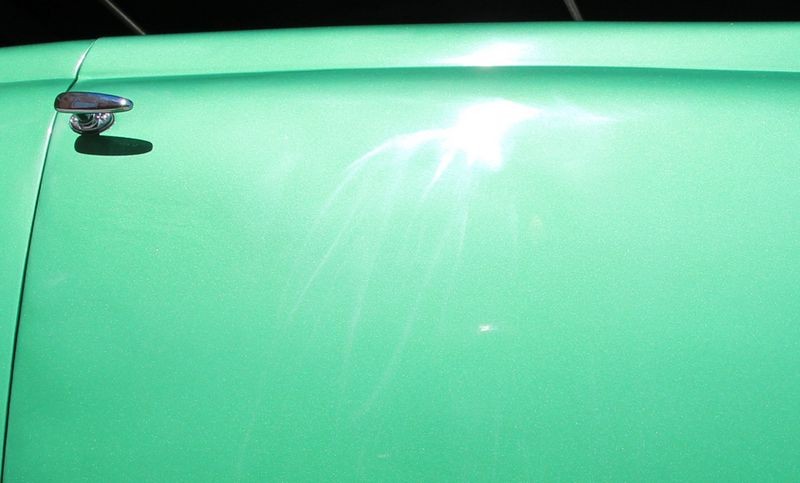
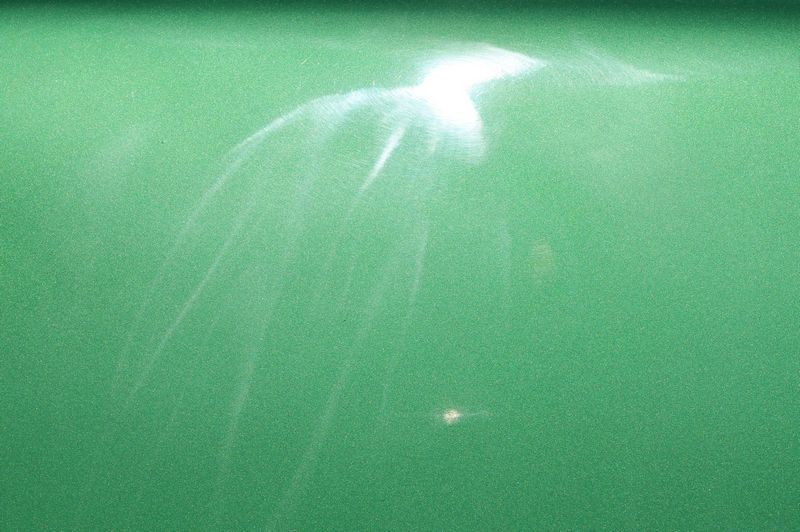
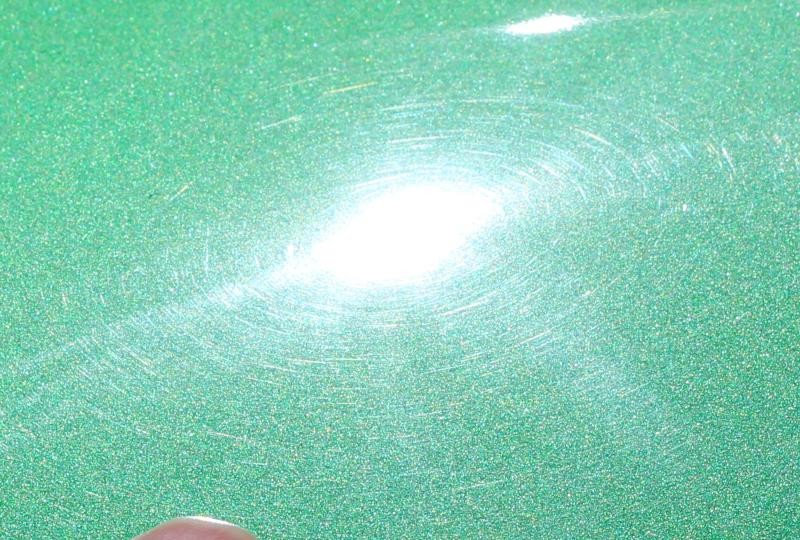
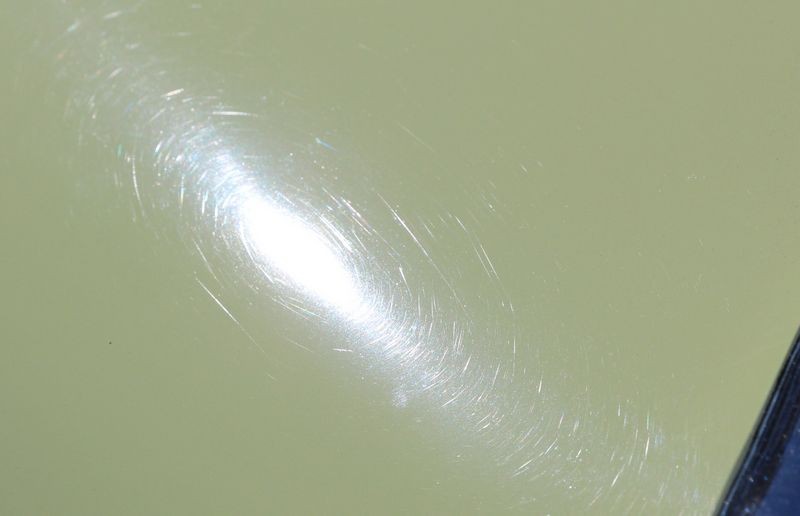
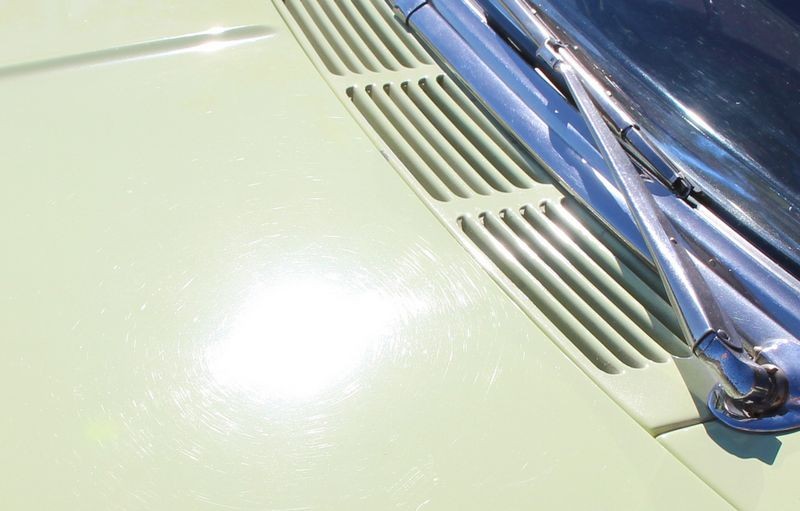
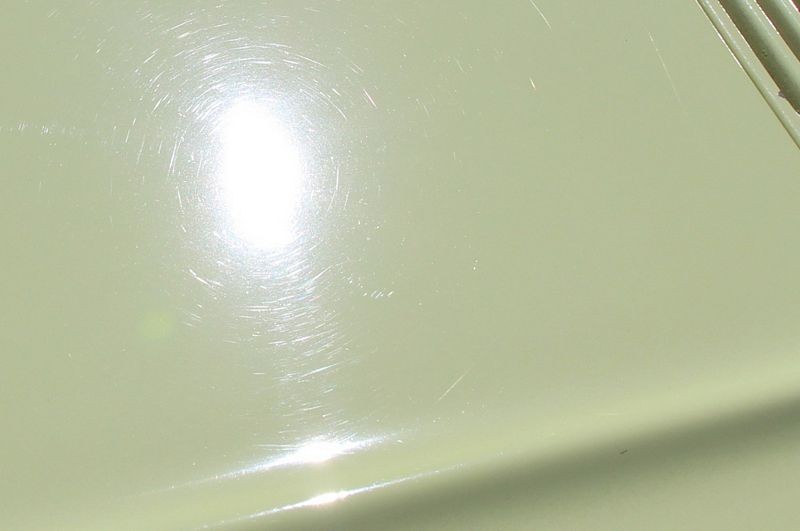
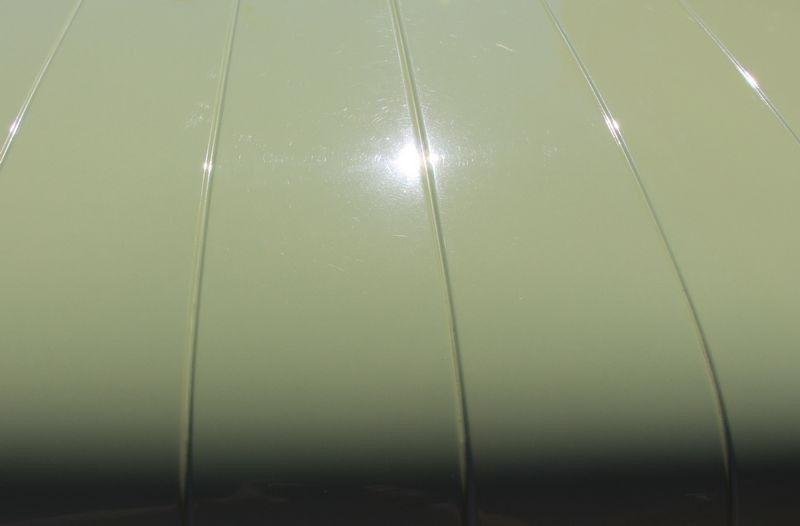
The owner says it has overspray all over it and the paint is filled with swirls and scratches...

1970 El Camino - January Detailing Boot Camp Class Car
Note: These pictures make the car look good but in person this car needs to be clayed and have the swirls removed. The vinyl top is dull and faded and we'll be restoring it too. It has a painted hard tonneau cover so overall there's a lot of real estate to cover.

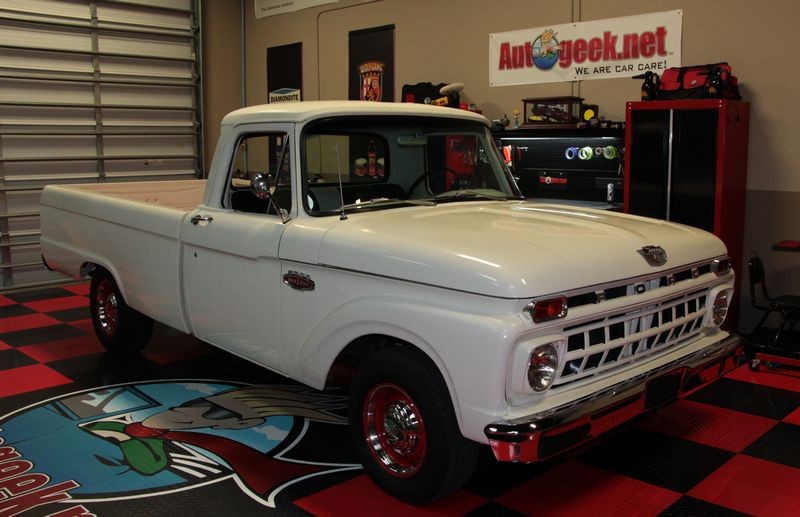
1965 Ford F100 Extreme Makeover - Detailing Class Truck
1959 Impala - January Detailing Boot Camp Class Car
I've been told it's in dire need of decontamination and machine polishing to perfect.

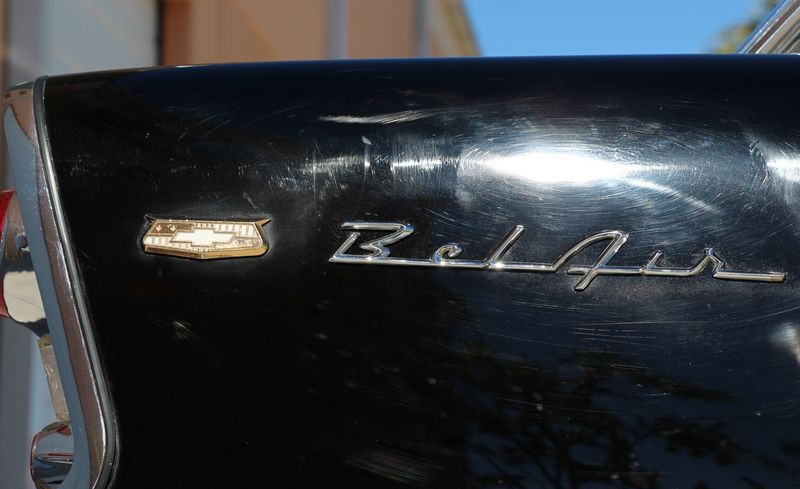
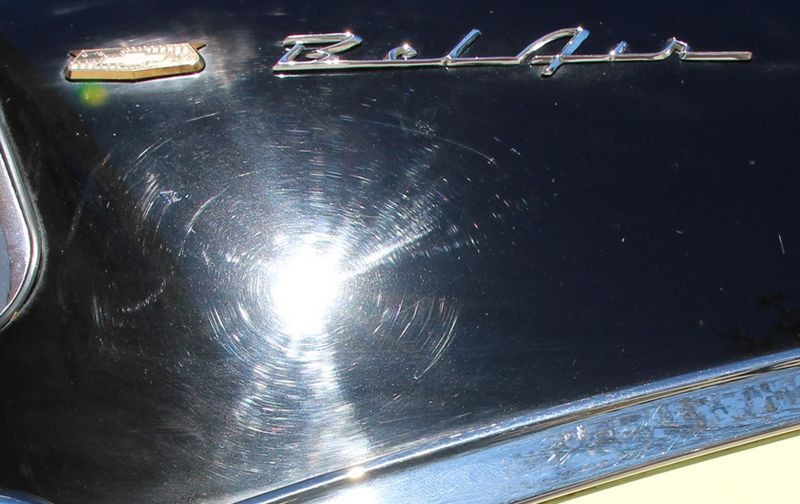
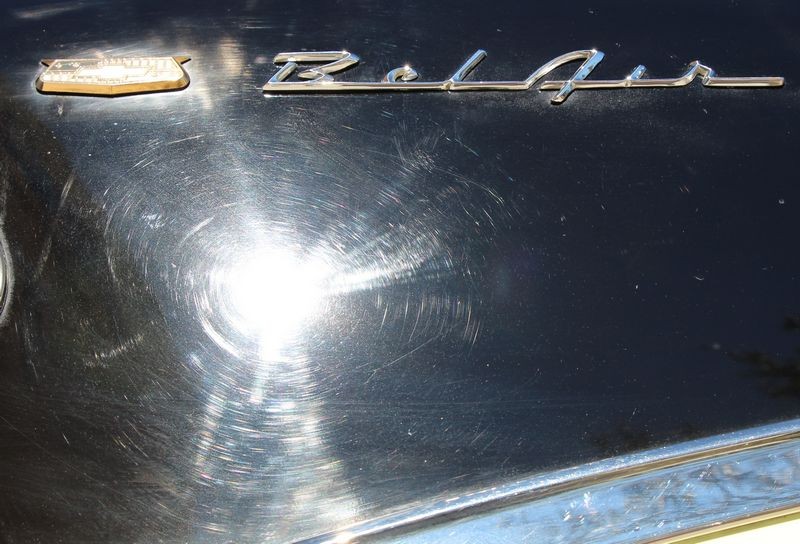
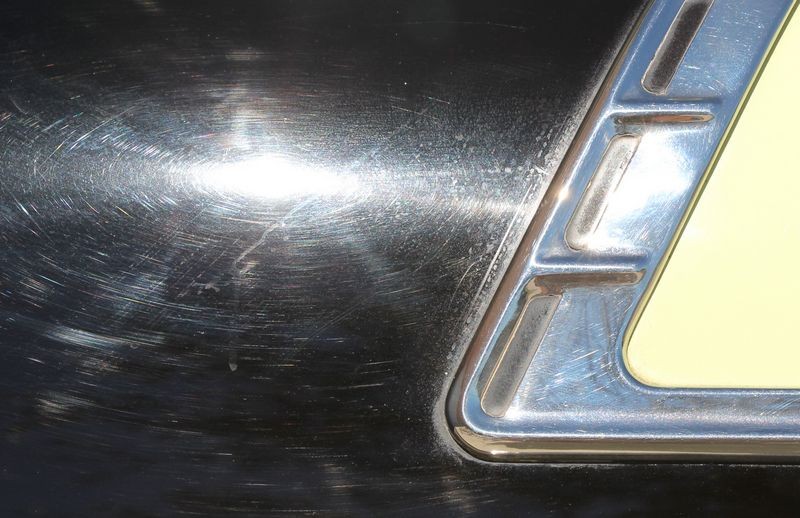
1956 Chevy Bel Air Nomad - January Detailing Boot Camp Class Car
NOTE: This is NOT the actual car, just pictures showing the type of car and color. When the car arrives I'll take the REAL pictures. Pretty cool car though and VERY RARE!

")
If you're reading this it's because you're signed up for my class this weekend and I e-mailed you the link to this thread.
IF YOU'RE NOT a MEMBER of this forum... please take a moment to register so you can "post" to the forum. I will explain why first thing on Saturday morning.
Click here to sign-up with the AutogeekOnline Discussion Forum
Now on to the meat of this thread...
If you're attending my January Detailing Boot Camp Class here is one of the car you'll be working on.
1947 Ford Convertible - January Detailing Boot Camp Class Car
The owner says it has overspray all over it and the paint is filled with swirls and scratches...
1970 El Camino - January Detailing Boot Camp Class Car
Note: These pictures make the car look good but in person this car needs to be clayed and have the swirls removed. The vinyl top is dull and faded and we'll be restoring it too. It has a painted hard tonneau cover so overall there's a lot of real estate to cover.
1965 Ford F100 Extreme Makeover - Detailing Class Truck
1959 Impala - January Detailing Boot Camp Class Car
I've been told it's in dire need of decontamination and machine polishing to perfect.
1956 Chevy Bel Air Nomad - January Detailing Boot Camp Class Car
NOTE: This is NOT the actual car, just pictures showing the type of car and color. When the car arrives I'll take the REAL pictures. Pretty cool car though and VERY RARE!