budman3
New member
- Mar 3, 2006
- 1,744
- 0
Hey guys,
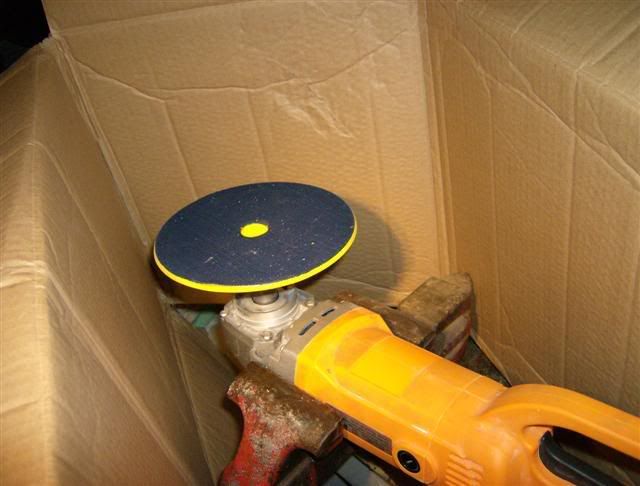
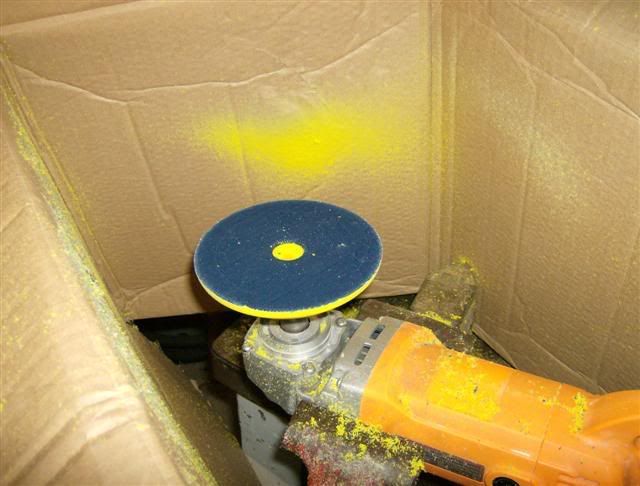
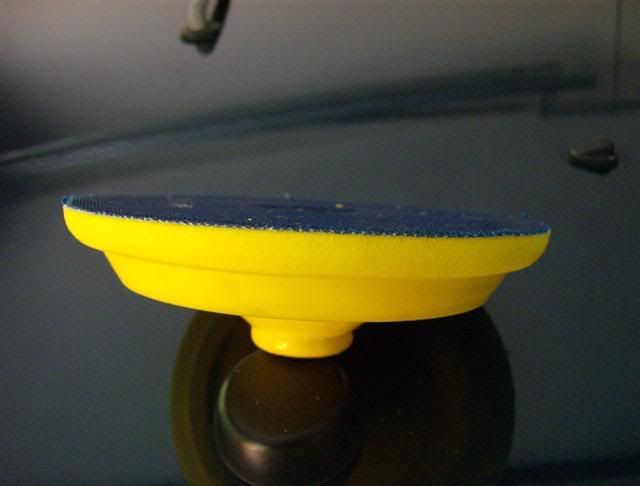
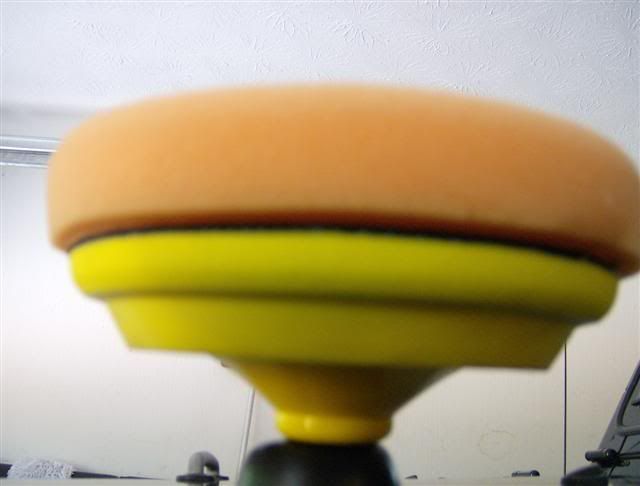
I did this project a while ago but just got around to posting the pictures. I was looking for a 5" backing plate for the Makita to use with my 5.5" pads and it is the only size BP that I have for the UDM / PC which I don't for the rotary. Instead of buying another, I found a flexible BP that I bought from AG which is 6". I originally purchased it to use with VC 7.5" pads but the BP was too big for the backing on the 7.5" pads. AG took care of the issue and sent me a 4.75" BP while the proper BP was fabricated to use with the 7.5" pads (actual diameter of 5.75"). The original 6" BP never got any use so I decided to trim it up a little. I attached the BP to my HF rotary and secured it to a vise. I turned the rotary on Speed 1 and took a Dremel with a drill bit on it and trimmed the BP. When I got the desired diameter, I took some 80 grit sandpaper to smooth it out. The results are below, perfect for 5.5" pads. This wasn't my first time, I trimmed down the 4.75" to use with 4" pads a few months ago with the same technique. Pics:
Boxed up to contain the shavings:
Trimmed:
End results:
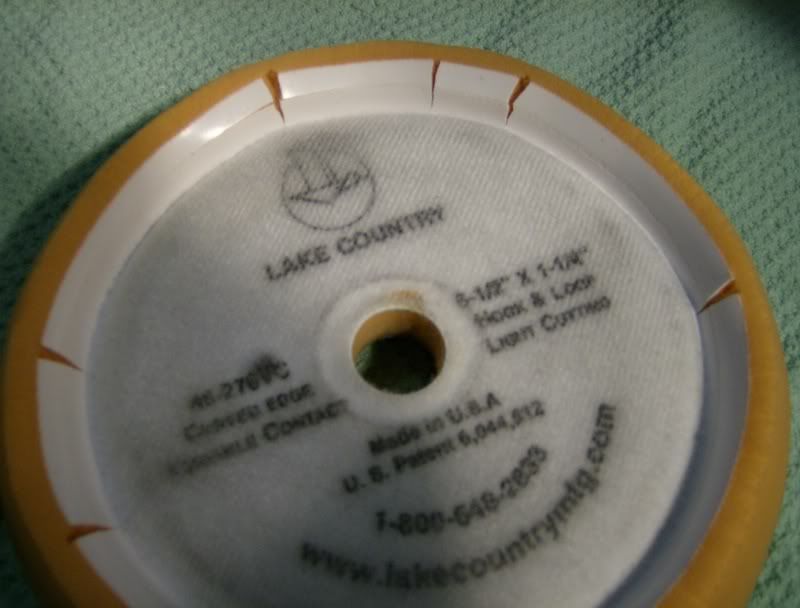
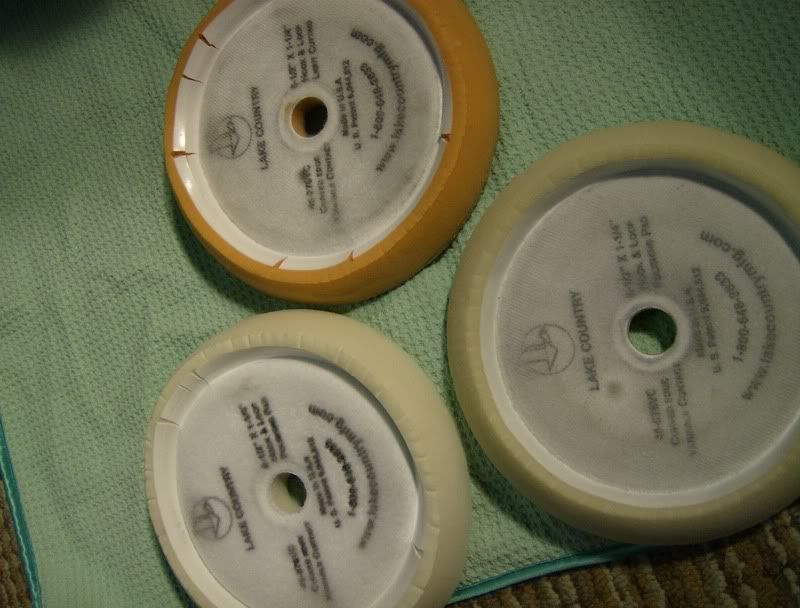
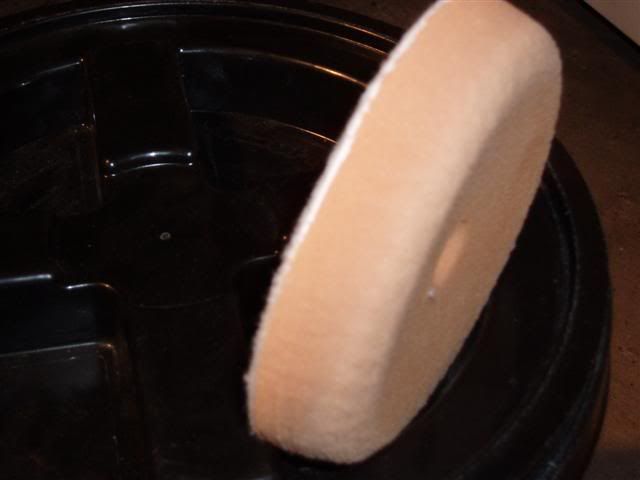
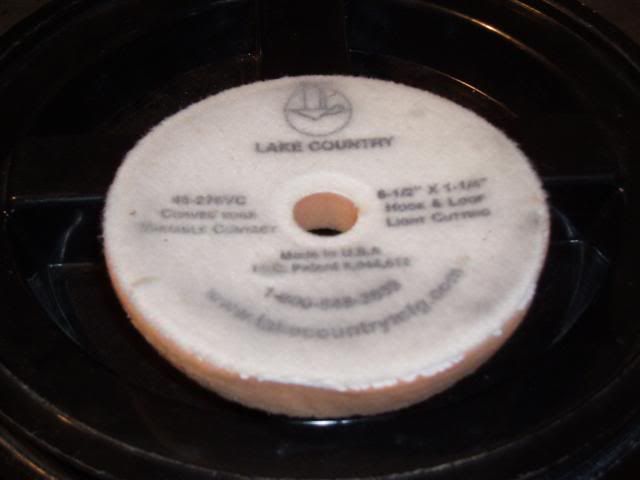
Next up were some defective Lake Country pads. This was the only issue I've ever had with these pads and they occurred on the first and second use, so I believe it was a defective batch or something strange. The plastic molding cracked and with the centrifugal force that the PC and rotary exert wouldn't allow the pad to stay attached to the BP, making them useless. I received replacement pads from the vendor and had 6 unusable pads. Luckily I saved them and was able to experiment with them. Unfortunately I ruined all of the white polishing pads leaving one light cut pad that may be usable. I basically used the same technique as above except I used a razor knife and a pad spur (with the cheese grater things on it). While it doesn't look all that great, I think it is still usable. Overall, this wasn't really worth the effort, IMO, and was much more difficult that the BP. However, it was a good experience and now I have a one of a kind pad :cheers:.
The defective pads:
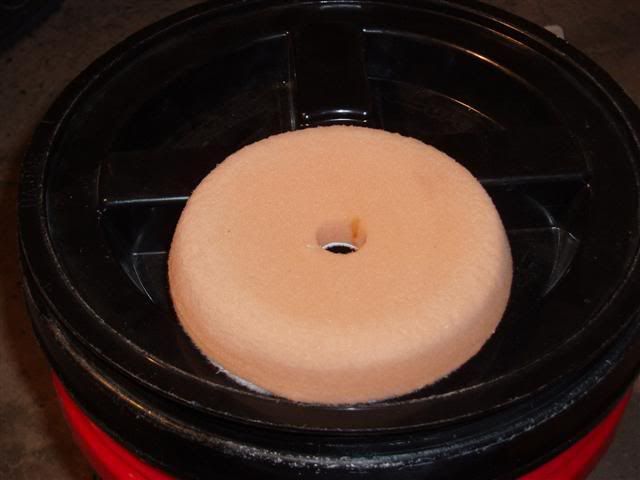
I did this project a while ago but just got around to posting the pictures. I was looking for a 5" backing plate for the Makita to use with my 5.5" pads and it is the only size BP that I have for the UDM / PC which I don't for the rotary. Instead of buying another, I found a flexible BP that I bought from AG which is 6". I originally purchased it to use with VC 7.5" pads but the BP was too big for the backing on the 7.5" pads. AG took care of the issue and sent me a 4.75" BP while the proper BP was fabricated to use with the 7.5" pads (actual diameter of 5.75"). The original 6" BP never got any use so I decided to trim it up a little. I attached the BP to my HF rotary and secured it to a vise. I turned the rotary on Speed 1 and took a Dremel with a drill bit on it and trimmed the BP. When I got the desired diameter, I took some 80 grit sandpaper to smooth it out. The results are below, perfect for 5.5" pads. This wasn't my first time, I trimmed down the 4.75" to use with 4" pads a few months ago with the same technique. Pics:
Boxed up to contain the shavings:
Trimmed:
End results:
Next up were some defective Lake Country pads. This was the only issue I've ever had with these pads and they occurred on the first and second use, so I believe it was a defective batch or something strange. The plastic molding cracked and with the centrifugal force that the PC and rotary exert wouldn't allow the pad to stay attached to the BP, making them useless. I received replacement pads from the vendor and had 6 unusable pads. Luckily I saved them and was able to experiment with them. Unfortunately I ruined all of the white polishing pads leaving one light cut pad that may be usable. I basically used the same technique as above except I used a razor knife and a pad spur (with the cheese grater things on it). While it doesn't look all that great, I think it is still usable. Overall, this wasn't really worth the effort, IMO, and was much more difficult that the BP. However, it was a good experience and now I have a one of a kind pad :cheers:.
The defective pads:
Last edited:
