I also explain in detail the topic of embedded dirt in this article, which I wrote in 1997...
The Lesson White Paint Teaches Us
History
Near as I can remember, I wrote this article around 1997, which was actually a chapter in a book I wrote called "The Art of Polishing Paint". It was first posted to my original forum by the same name, (TheArtofPolishingPaint.com), around 2003 and then later posted to the Autopia Discussion Forum sometime in 2004 in exchange for hosting the
original ShowCarGarage.com forum which no longer exists.
My comment
Over the years I've received a lot of e-mails and PM's from car enthusiasts about this article and while most people get the point of the article, a few think it's about white paint. It's not, it's just a way of explaining that the paint on daily drivers exposed to the elements gets dirty but if you car is a medium to dark color you might not see the dirt build up, if your car has white paint then you can see the build-up.
Regardless of the color of your car, if it's a daily driver, exposed to the elements, i.e. driven daily and parked outside for any length of time, then the paint can become stained with embedded dirt and road grime.
The point is if your car is a daily driver, regardless of whether you can see any dirt-build up or staining on the paint, the paint on daily drivers needs to be periodically cleaned and polished to restore clarity to a clear coat to reveal the true color of the paint under the clear layer and in the case of a single stage paint to restore the full richness of the color.
It was never meant to be an article that states I don't like white cars, it was meant to help people understand that periodically they either need to use a cleaner/wax on their car's paint or a dedicated paint cleaner, compound or some type of cleaning polish and then apply a wax or paint sealant.
Anyway, the article is now at least 13 years old but I think you'll find it interesting and I'm not going to change it from it's original form as it would change the article too much. Do note that in one section it talks about product that have the ability to remove defects using diminishing abrasives and since this article was written there has been new advances and improvements in abrasive technology as it relates to paint care products.
Purpose
The follow-up to this article will be a listing of all the waxes that Autogeek carries so anyone reading this will better understand how to choose the best wax or paint sealant for their needs
and the condition of their car's paint.
") ~~~~~~~~~~~~~~~~~
The Lesson White Paint Teaches Us
~~~~~~~~~~~~~~~~~
The Lesson White Paint Teaches Us
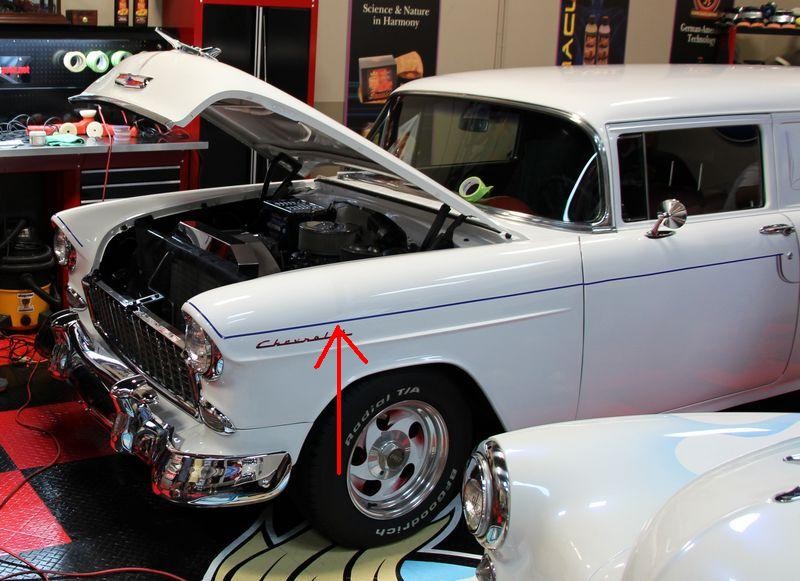
When I first met my wife, she was driving a 1989 Honda Prelude with a single stage, white finish. After a year of dating and watching me polish other people’s cars, she demanded I do that
polishing thing to her car. I knew I would never hear the end of it, so I reluctantly polished her Honda Prelude.
Don’t get me wrong, there isn’t anything I won’t do for my wife. My reluctance is a personal dislike for white paint. I don’t like polishing cars with white paint and given a choice I usually won’t. There are two reasons I don’t like white paint. First, I find white paint boring. Second, and probably most important, is because white paint is normally a single stage paint system (no clear coat), and therefore extremely hard. When paint is hard, defect removal is at best difficult.
White Paint Is Boring!
From a visual point of view, most people cannot see the difference in the results you get after doing a multiple-step polish and wax process versus a one-step process when working on white paint. The exception would be a white car with a neglected finish that has
heavy oxidation or stains. White finishes in neglected condition will visually benefit from a multi-step polish and wax process and even from a one-step process if you use a quality cleaner/wax.
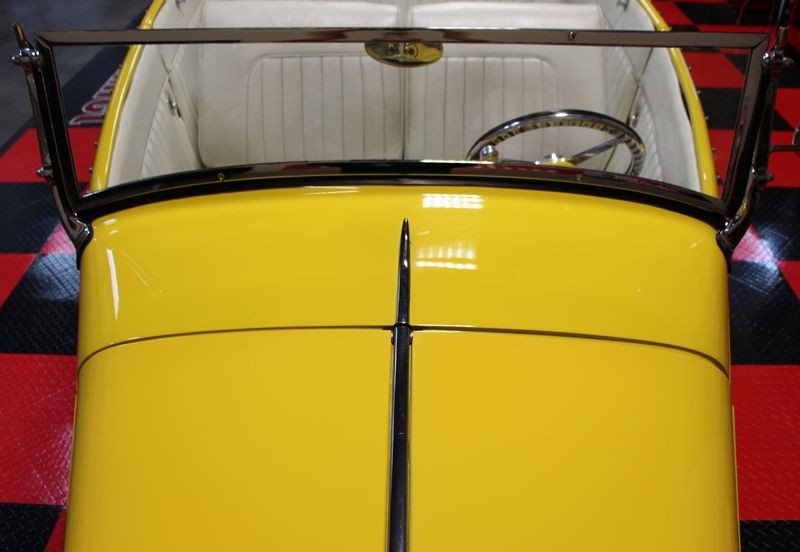
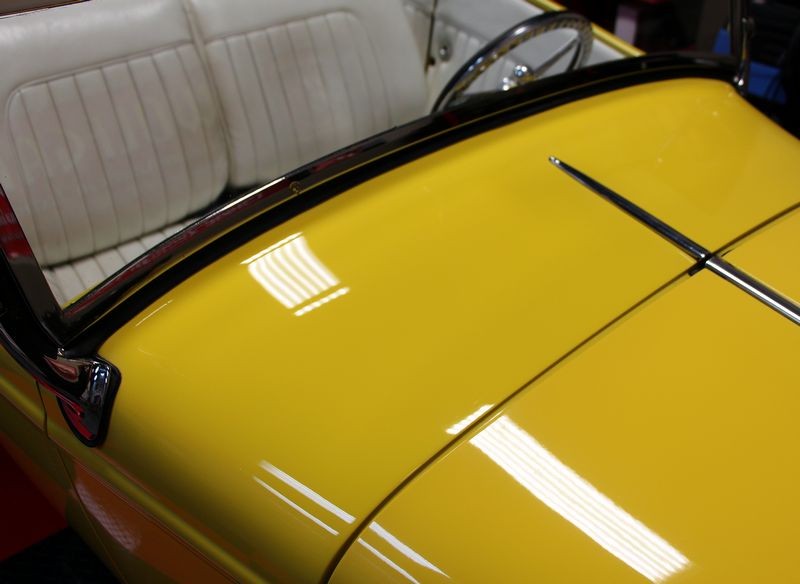
My wife and I purchased an all original 1959 Cadillac whose finish was stained and oxidized from neglect after being stored outside without a cover. We used a multiple-step cleaning and polishing process to restore the finish and because the car was special to us, this particular white paint job was both a challenge and fun to restore.
Our 1959 Cadillac with only 56,000 original miles still has its original factory paint. It was stored inside most of its life. Unfortunately, it was not properly maintained over the years and had been parked outside for at least one full year before we bought it. It had heavy oxidation throughout and rust stains on the vertical panels below anywhere trim was attached. We meticulously massaged the paint back to show room condition.
At the Golden Oldies Car Show in Lebanon, Oregon circa 2001
The characteristic of white paint that makes it so boring to work on is that it offers no visual depth or reflectivity. Because of this, it is difficult to see your reflection, or the reflection of an object, even when the finish is brand new and in a highly polished condition. Conversely, dark colors like black paint, if properly polished, reflect images like a mirror.
You can work all day on a white finish, throw every kind of cleaner, polish and wax you have at it, but in the end your results will be only slightly better than what you can achieve from a thorough application of a quality, one-step cleaner/wax. For someone such as myself who enjoys the process as much as the results, working on most cars with white paint is just too boring; it doesn’t challenge me as a detailer or stir my passion for the craft.
Single-stage White Paint Is Hard
Generally speaking, single-stage, white paint is the hardest paint you will ever work on. By that I mean, the paint itself, (its physical make-up), is very hard. There are numerous factors that determine the hardness of paint; in the case of white paint,
Titanium Dioxide Powder is used as the pigmentation, which is a very hard material in and of itself.
In order to remove a defect that is in the paint, for example a scratch, you must remove all of the paint surrounding the scratch until the surface is level with the lowest depth of the scratch. You could look at removing below surface defects as a
leveling process. The problem with removing below surface defects in single-stage white paint is two-fold: Single-stage white paint is hard and automotive paints tend to be very thin.
Horizontal View of a Paint Scratch To remove a scratch the surrounding paint must be reduced to the depth of the scratch. Removal of the paint around the scratch removes the scratch and restores the appearance of the paint finish.
Workable Paint is a Blessing
If a paint finish is too hard it may not be workable. A workable paint finish makes scratch and blemish repair easy. Hard paints, like single-stage white paints, are not very workable. Soft paints like single-stage, black paints are noticeably more workable and it's easy to remove swirls and scratches out of them.
Workable means you can remove small particles of paint
easily using some sort of abrading process. Hard paints, like single stage white paints, are so hard that when you abrade them with the intention of removing a scratch, (i.e. removing small particles of paint), you often end up putting in more, smaller scratches surrounding the scratch while potentially only marginally removing the original scratch itself. The process becomes self-defeating and in some cases dangerous in that you risk going through to the primer.
The hardness of paint determines what you can or cannot do when it comes to removing defects. This is especially true in the context of working on paint using only your hands.
When dealing with single-stage white paint, it is almost impossible to remove defects by hand or machine which are below the surface. Below surface defects can include:
- Rotary Buffer Swirls also called Holograms or Buffer Trails. These types of swirls are instilled by the aggressive pads and abrasive products via the direct drive rotating action of the rotary buffer.
- Cobweb-Effect - Random scratches distributed throughout the finish that appear in a circular pattern when a single point of light is focused and viewed on a panel.
- RIDS - Random, Isolated Deep Scratches. RIDS are caused by normal wear and tear to the car’s finish in the normal course of day-in and day-out use. RIDS show up after a neglected finish is either machine cleaned or hand cleaned using a compound or swirl mark remover and the majority of light or shallow swirls and scratches are removed exposing only the remaining deeper scratches, which will now show up like as Sore Thumb. These remaining deeper scratches are refereed to as RIDS.
- Tracers - Straight-line scratches instilled during wet-sanding by hand. Tracers are actually deeper scratches left in the paint after the majority of sanding marks are removed via compounding with a rotary buffer. Usually Tracers are instilled when some type of abrasive particulate is trapped between the surface of the paint and the sandpaper and ground into the paint leaving a deeper scratch than what the abrasives on the paper are leaving in the paint. Thus after the uniform sanding marks are removed, the deeper scratches or Tracers are left behind and like RIDS stand out like a Sore Thumb.
- Acid and Alkaline rain/water spots that have etched into the finish. There are 3 different types of water spots, Type I, Type II and Type III, Acid and Alkaline water spots are Type II and this means they are actually etching below the surface and the only way to remove these types of water spots is to abrade the surface and level the surface with the lowest depth of the water spots or etching.
- Industrial pollution and chemical fallout that has settled onto and etched into the finish. These are kind of like a Type II Water Spot except they may not look like round spots but instead randomly shaped mottled etchings.
- Bird droppings that have etched into the finish. Bird Droppings contain Uric Acid and if not removed quickly the paint will be eaten away and a below surface etching will be the result.
Simply put, a below surface defect is any damage where paint is missing due to abrasion or chemical attack. The reason it is difficult to repair below surface defects in white paint is because you must remove the paint surrounding the scratch to
feather it in to the surrounding area. This means you must remove portions of the paint without causing further damage.
Removing below surface defects requires
controlled paint removal. This is where it becomes difficult. Removing small particles of paint using controlled and measured products and procedures on a soft paint is easy because they are easy to abrade. By controlled products and procedures, I am referring to compounds, paint cleaners, and cleaner/polishes that rely on diminishing abrasives, buffered, or cushioned in a rich, lubricating oil film. Even when you resort to using an aggressive compound, (by hand or machine), you risk, removing so much film-build (paint) that you expose the primer below the top coat and creating finer scratches surrounding the defect in your removal process.
The Mohs Scale of Hardness
In 1822, an Austrian scientist by the name of Fredrick Mohs created a scale from 1 to 10, for measuring and determining hardness. Hardness refers to the measure of resistance a surfaces has to abrasion. Talc is rated at 1 while a diamond is rated at 10.
Titanium dioxide, the substance used as pigmentation in white paint, is rated at 7 on the Mohs scale. As far as pigments go, titanium dioxide is very hard. By contrast, black paints, (single-stage), are soft. The pigment used to make paint black is Carbon black, which has a Mohs hardness rating of 2.
While some will argue the Mohs Hardness Scale isn't the best way to explain paint hardness, in this example I'm only using it as an indicator of the hardness of different substances used as pigments or colorants used in automotive paints and when it comes to a single stage paint the type of pigment used WILL effect the hardness or softness of the resin/paint and this will affect how easy or hard it is for someone to work on the paint.
Film-Build
Automotive paints in general, tend to be very thin. The most crucial and deciding factor that will determine your ability to successfully remove a below surface defect from any automotive paint is the thickness (film-build) of the paint. Because you have limited amount of film-build that you can safely remove, the depth of a scratch you can safely remove is limited. Simply put, you don’t have a lot of room for error when removing defects, (removing paint), from the finish on your car’s painted panels. Paint is thin, we’re talking anywhere from 2 mils (.002 inch) to 8 mils thick.
The word thick as it is used to describe the film-build of your car’s finish is a little misleading. A better word would be thin, because the film-build on your car is anywhere from 2 to 8 mils thin. As a relative comparison, the average business card has a thickness of about 12 mil, whereas standard copy paper is about 3.5 mils.
The typical new car has a paint coating that’s 6 to 8 mils
thin. Film build includes the entire film-build, not just the working film-build of the topcoat. The working film-build averages around 2 mils thin but can be thinner. Are you starting to get the idea here?
Paint is thin!
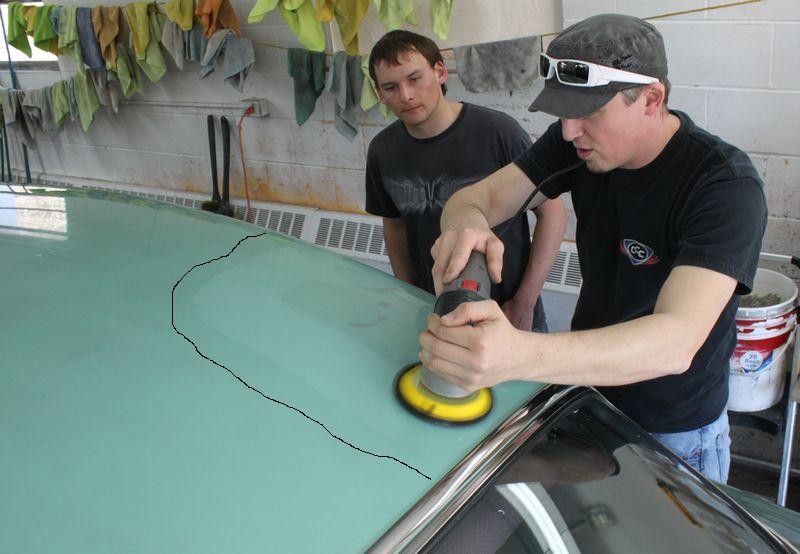
Most professionals and serious car enthusiasts use a rotary buffer to remove paint defects. With good polishes and the right buffing pad, the rotary buffer makes paint defect removal easy,
except on single stage white paint. The reason for this is that the rotary buffers creates heat between the pad and the paint surface. If heat build-up becomes excessive, you can burn the paint. The hardness of white paint requires more pad pressure, which creates more heat and increases the chances of burning the paint.
That said, most, if not all the white cars I had worked on prior to my wife’s car would fall into the general category of what I call
special interest cars, that is classics and antiques. For this reason, none of these cars were exposed repeatedly to inclement weather or long term outside exposure and thusly had no staining or oxidation to speak of.
Dirty White Paint
About the time I polished out my wife’s Honda Prelude, I also polished out another white Honda for a friend. Both of these cars were daily drivers, exposed to lots of rain and highway driving. Another item these cars had in common was a protective bra on the front of the car.
While restoring the finish on these two cars, I discovered something very important as it pertains to daily drivers. Daily drivers get dirty. I know that sounds pretty obvious, but it’s not. I’m not talking about the kind of dirt you can wash off the surface with a wash mitt and car soap. I’m talking about deep down into the pores road grime that build up on the paint and in the paint.
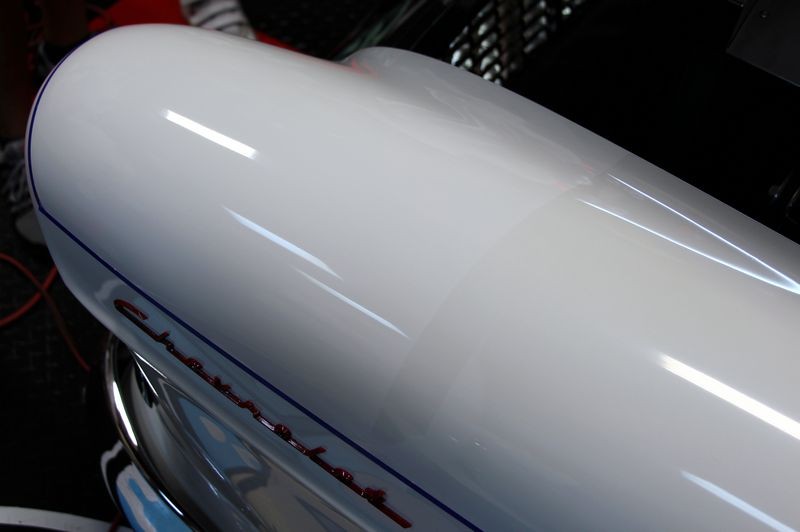
The paint on both of the white cars was so dirty they had what I can only describe as a dingy,
gray finish. It was a translucent
gray cloudiness on all of the top surfaces of the paint. It was very apparent if you worked a little paint cleaner into a small area in the middle of a large panel like the hood and then removed it. After wiping the worked area clean, you would see very bright, white paint, surrounded by the dingy gray colored paint.
When I first looked at these cars,
I didn’t notice the staining right off because it was evenly dispersed throughout the finish. The contrast of clean and dirty paint hit me like a ton of bricks when I removed the bras. The paint beneath the bras was a clean, bright white. The paint not covered by the bras was gray. It was a dramatic contrast. This drove home the point that paint exposed to the elements over time becomes grayed with embedded dirt on and in the paint.
This dirt revelation caught me somewhat by surprise. I know all about dirt build-up and paint staining. I just never paid much attention to it since it was never so apparent to me before polishing these two white cars and again, that's because in my detailing career I always tended to avoid working on white cars.
Detailing these two white cars taught me something very important. The paint on ALL cars becomes stained and dirty when continually exposed to outdoor environments and inclement weather, it's just on medium to dark colored cars the average person won't see the gray build-up.
Dirt and pollution, both in the air, and the water in the form of road spray on wet roads, accumulates in the pores of the paint. The paint on all cars used as daily drivers becomes cloudy and gray from exposure to outdoor environments and inclement weather, not just cars with white paint (it’s just more apparent on white paint).
The average person cannot see this staining taking place because it happens
slowly over time, and builds-up
evenly over the entire surface, so in most cases, there is never a contrasting section to tip-off the owner that their paint is becoming more cloudy and less clear. This staining effect grays your finish and hides the true color and beauty of the finish. This is especially true on cars with medium to dark colored finishes.
Dirt Is Not Selective
Dirt builds-up, embeds and attaches itself to all exterior paint regardless of color. In the above example, it was just more apparent to me on these two cars with white paint because they both had protective bras covering and protecting a section of paint that showed the dramatic difference after approximately 6-months of exposure to outdoor conditions and wet weather. (I had detailed them before winter, and then detailed them again in the spring, thus removing the bras and exposing the staining-effect)
If the white paint on my wife’s Honda Prelude acquired a gray cloudiness or unsightly staining-effect because of continual exposure to outdoor environments and inclement weather, then
all paint is susceptible to dirt build-up and the resulting gray, staining or clouding effect. Color is not the factor. White paint simply made it possible to see what's taking place to the surface over time.
If your car is a daily driver, even if you park it in a garage or under cover, then the paint gets a blackish, grayish cloudy film that builds-up
on the surface and
in the microscopic pores and surface imperfections of the paint over time.
This comes from the airborne dirt, dust, and chemical contaminants that settle over your car’s finish and if not removed in a reasonable amount of time will penetrate into the microscopic pores and surface imperfections where they will eventually bond to the paint and won't wash off using a normal car wash. This cloudy film also builds with repeated exposure to road grime during inclement weather. Using a non-cleaning wax will trap this dirt build-up in the paint and seal over it.
If your daily driver has anything but white paint, especially medium to darker colors, both clear coats and single stage finishes, it will be harder to see this dirt build up
on and
in the paint.
The reason it is hard to see against a medium to dark colored finish is because when you look at your finish
you see through it. That is your eyes will focus on the big picture, the color of the paint, not the dark cloudy build-up on the surface. This dark, gray/black cloudiness is translucent and against a solid color, it is transparent.
You see past it, to the color underneath. And because it builds up slowly over time, it’s very hard to notice through the normal course of your daily activities and even normal car washing. That doesn't mean it isn't there, in fact, I will guarantee you it is, you just can’t see it.
If you are a serious car enthusiast, and it’s important to you to keep your car’s finish in tip top shape, then it’s important that you understand that dirt is building-up on your car’s finish. This is not a problem, per se, you simply need to use a paint cleaner or gentle polish to clean the paint surface and remove the build up. A paint cleaner, (also referred to as a pre-wax cleaner), or a quality
cleaner/wax are products you can use and should use for good regular maintenance of your car’s finish if your car is a daily driver.
Dedicated paint cleaners and the chemical cleaners used in cleaner/waxes, remove the dirt build-up off and out of your finish. This restores clarity to your paint enabling your eyes to clearly see the true color without any contaminant blocking your view.
The slow build of dirt in paint explains why the majority of car waxes you find on the shelves of your local auto parts stores are usually some type of cleaner/wax. If you merely wash a car whose paint has accumulated dirt build-up on both the surface and in the pores, then apply a pure wax, or at least a wax with little or no cleaning ability, you will in essence be sealing or locking the dirt into the paint. This will exacerbate the clouding-effect and it will also accelerate the deterioration of the paint itself.
Here's the lesson...
If your car is a daily driver, exposed to the environment for at least some portion of each day, then your paint becomes dirty over time and you need to either use a dedicated paint cleaner of some type to remove the dirt build-up and then afterwards apply a finishing wax or finishing sealant. The other option is to use a one-step, cleaner/wax, which will clean, polish and seal the paint in one step.
Don't use a finishing wax on dirty paint as this will just trap and seal the dirt build-up and gray your car's finish.