Velocitybts
New member
- Apr 11, 2013
- 178
- 0
This is a very important area of the vehicle for appearance reasons. Those of you who have aftermarket wheels tend to totally cover the well area so it is not as important to you, however when those front wheels turn you can see inside there. Nothing ruins a vehicles appearance worse than faded, splotched, worn looking or even dirty wheel wells.
Typically people spray them with tire dressings or silicone after cleaning their cars to make them black again, which only lasts till the next rain or dust in the road. A lot of Detailers also spray them with some type of black spray paint to accomplish this too. That doesn't really look good due to high and low spots, rough and smooth areas and the overspray issues. There are plastic restorers that can be purchased for all plastic parts on the outside of the cars, then those can be treated to keep them nice. However with a car that is not new, then the liners are worn for sure and anything other than a coating to mask flaws won't work, except to bale and shine them up. Lets go for the clean new fresh look that won't grab up dirt.
I am very OCD when it comes to my personal cars. I do paint corrections for stress relief and when it comes to this area there are no real solutions that don't attract dirt, messy, and make the liners appear new. I thought about replacing all liners with new ones, but they are about 100$ each well. So rethought it and I know there are spray coatings that are applied to cars underneath so looked into that. Most of them put a rubberized clumpy coating similar to the coatings used up North for rust prevention on the bottom of the cars. What I really wanted was something that would make them look new, smooth and not like something was just sprayed on and made to work.
I recently sprayed my grille with Plasti Dip matte and was quite surprised how smooth it laid down. Also have been through some traffic with debris and figured I would have chips out of it, but no, it is still smooth. (I originally was going to paint the grille, but shading it down would be a nightmare, so went this route to see if I liked it) I wanted the liners to have some type of gloss to it and not be matte, so I looked into the Plasti Dip Gloss enhancer and said why not. Take out the liners, clean them perfectly, then spray with PD and then the GE. Even if there is a few nicks or scrapes on liners it should lay down pretty flat and hold up pretty well. Can always re-spray easily to make them perfect again.
This is the process of what I did to achieve stellar results.
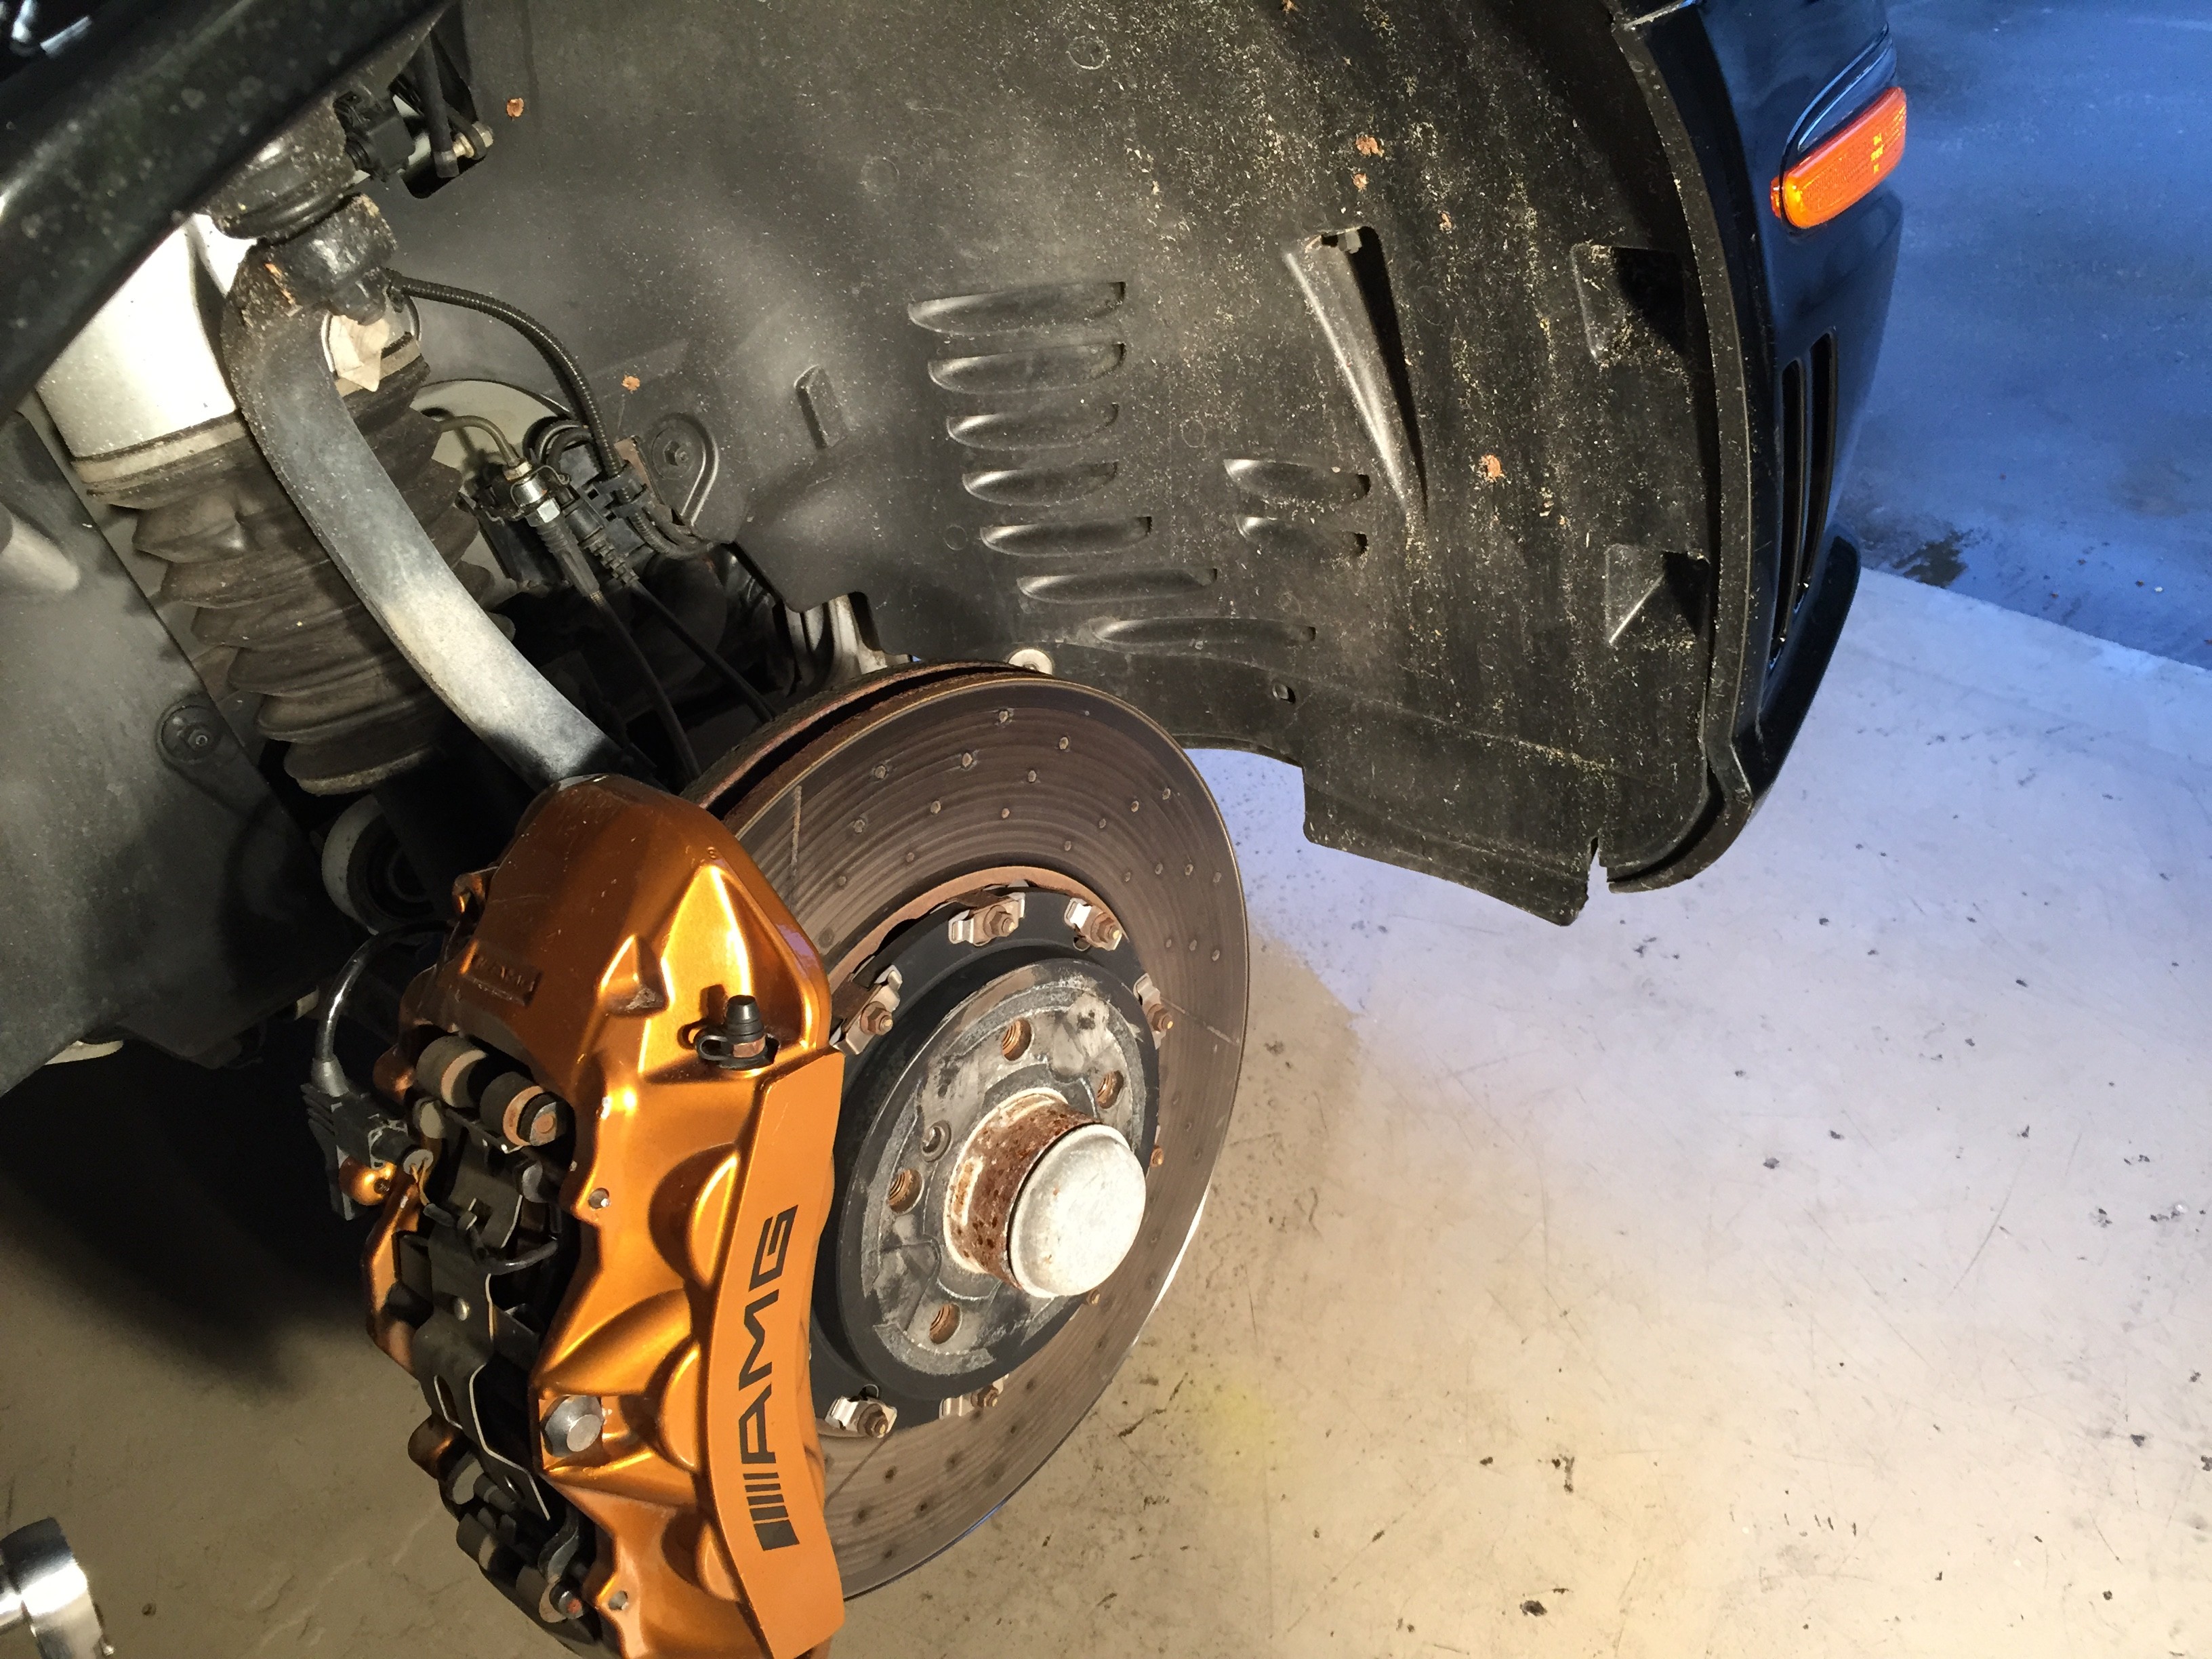
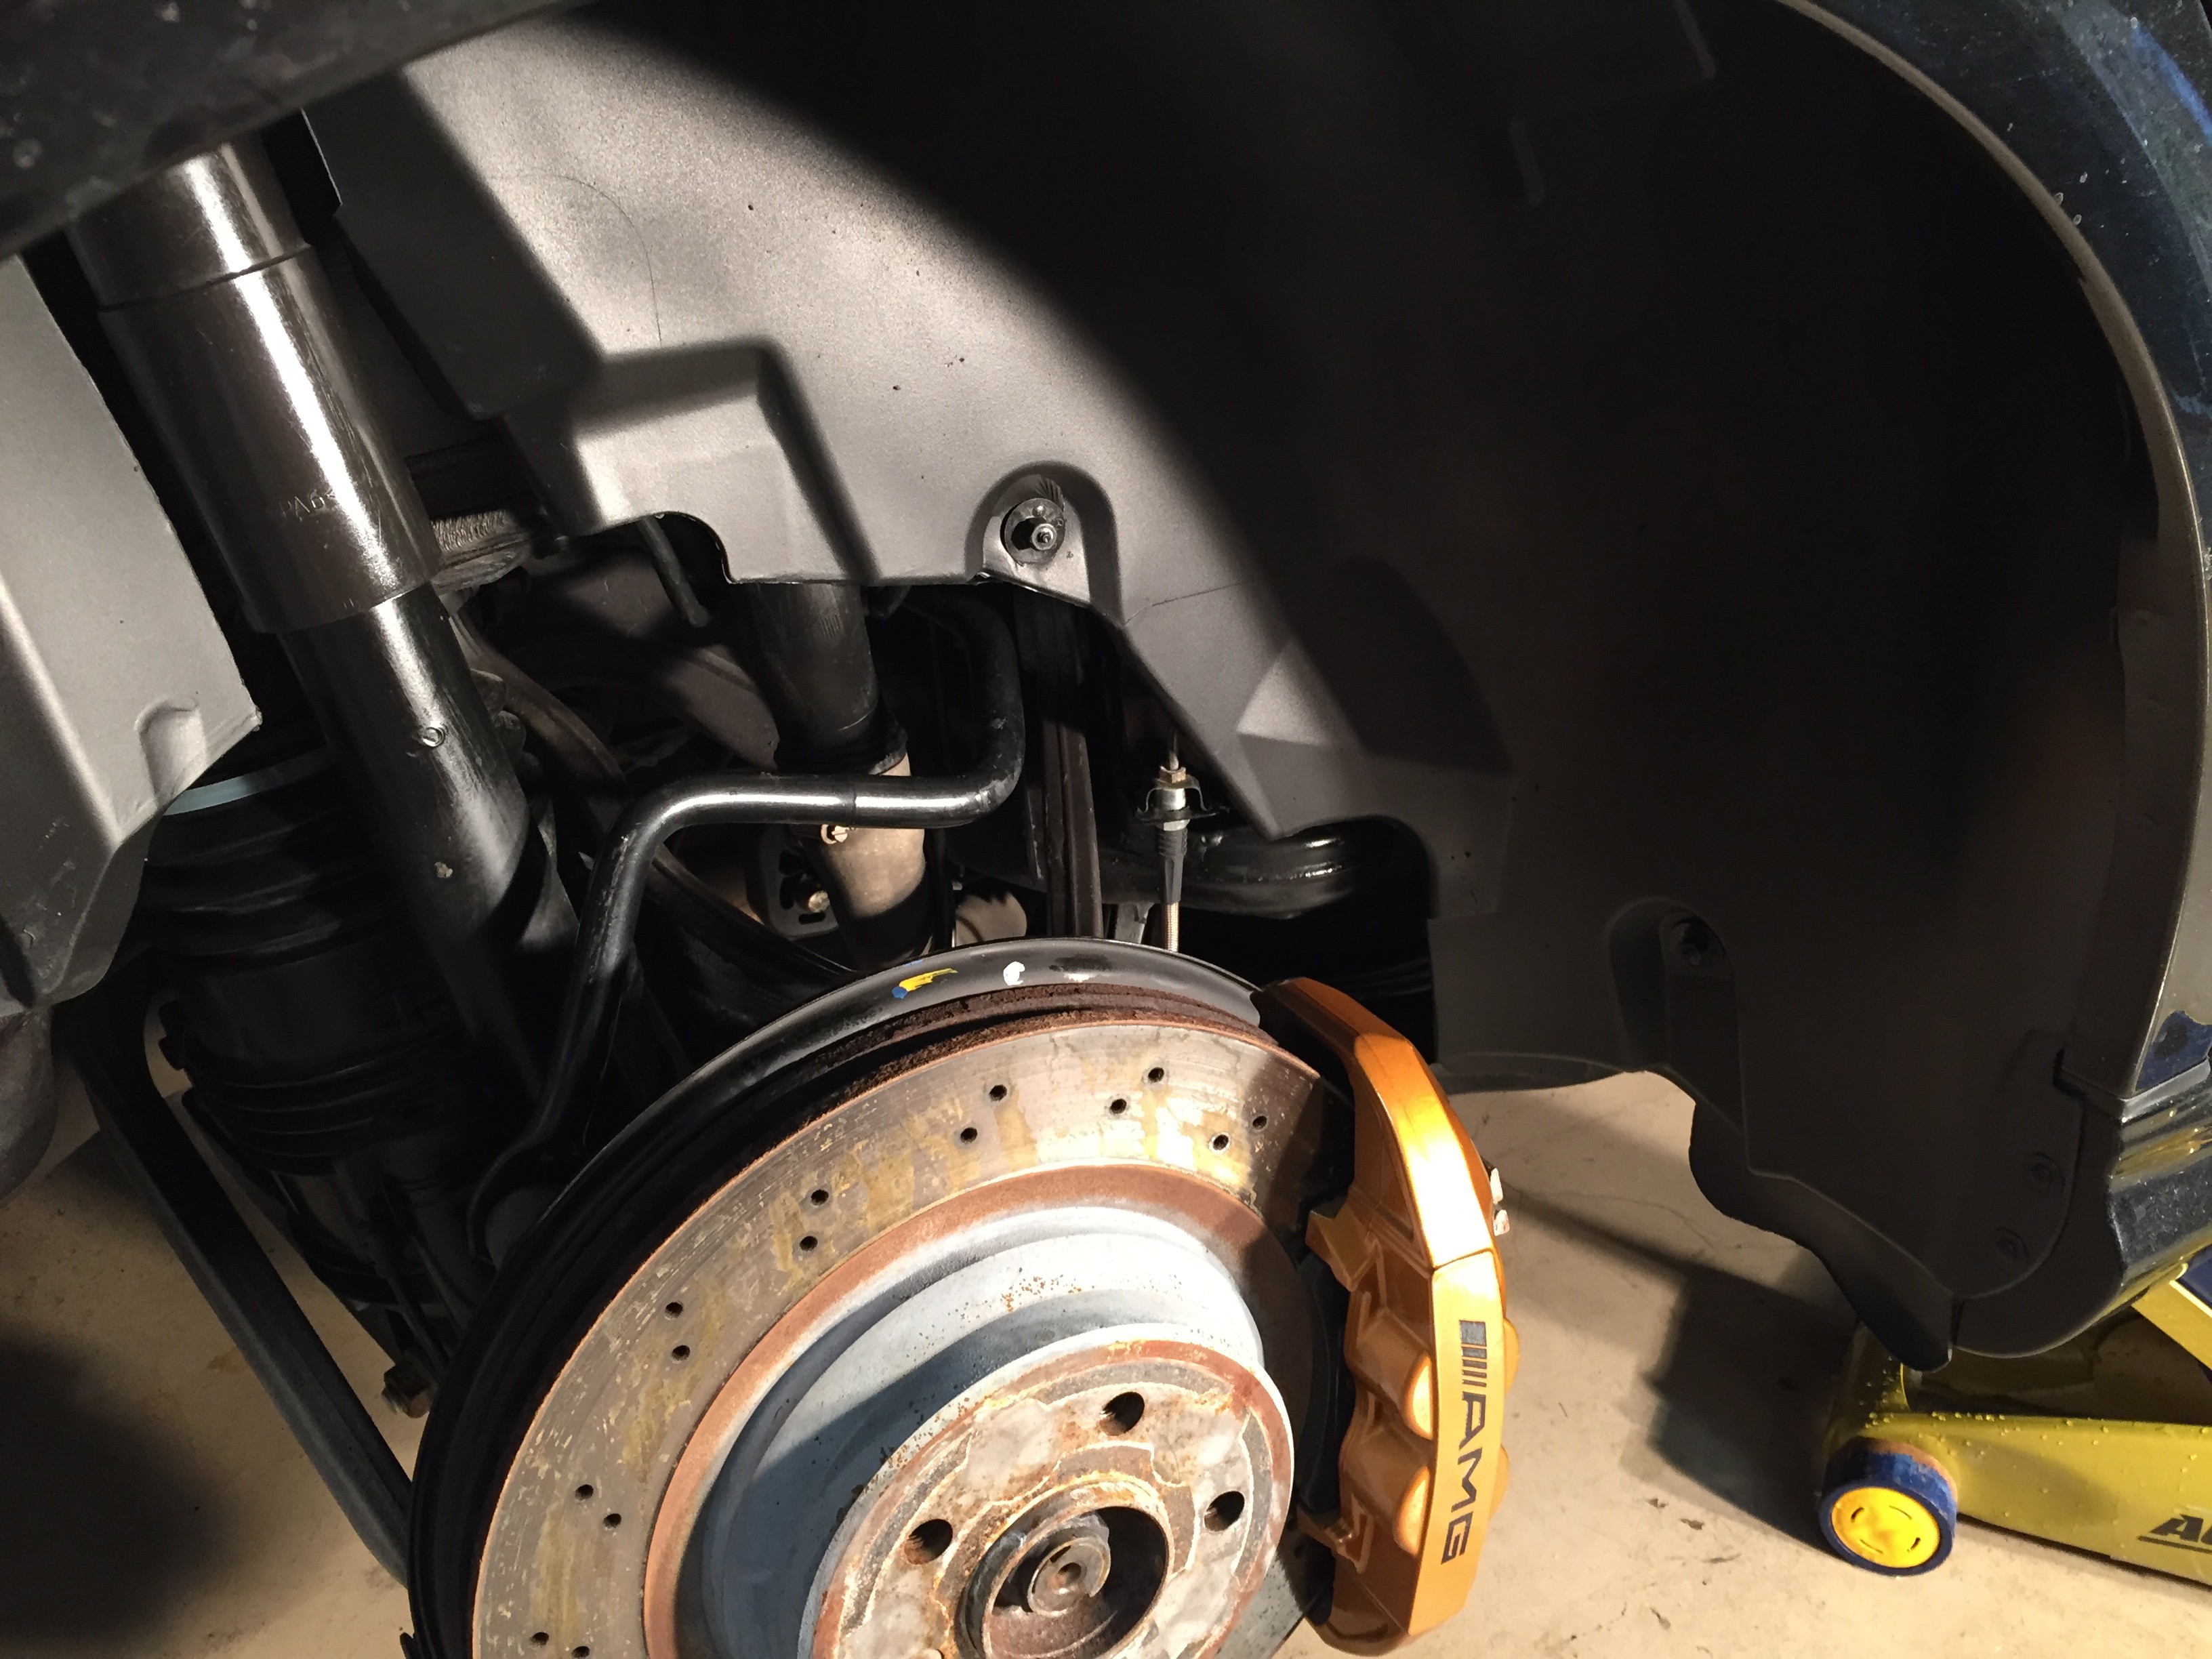
This is what the liners looked like before removal and cleaning.
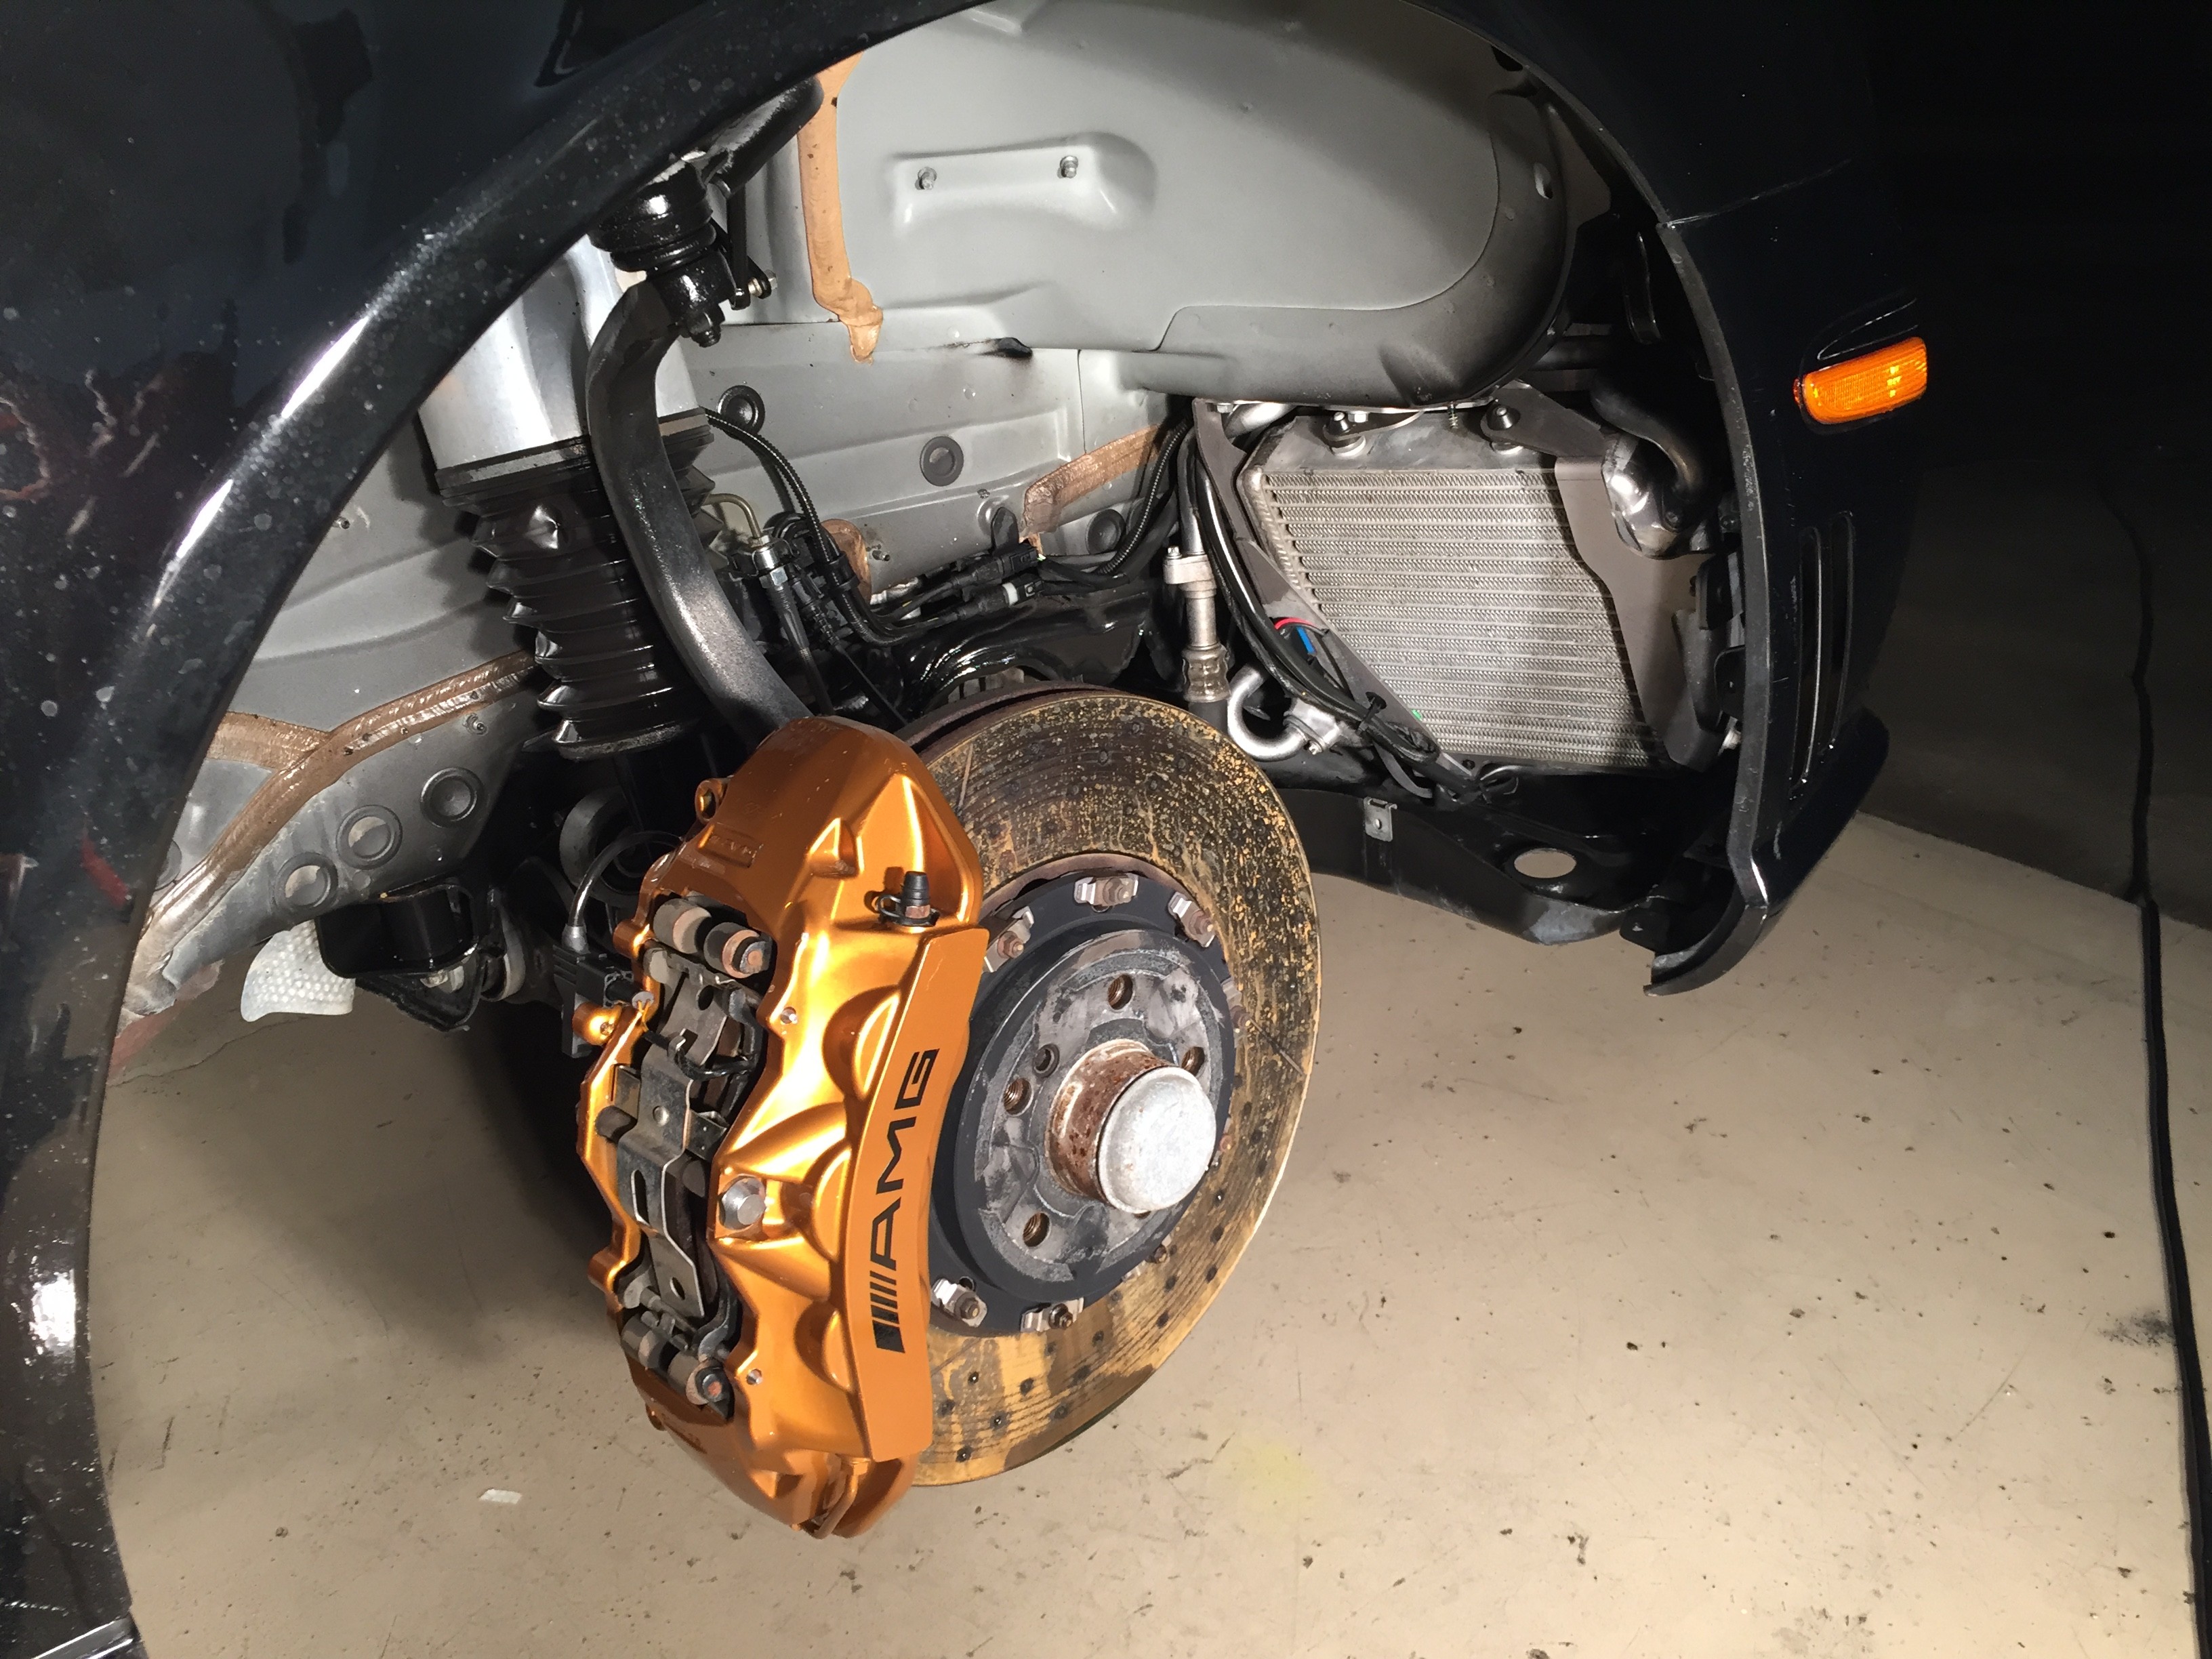
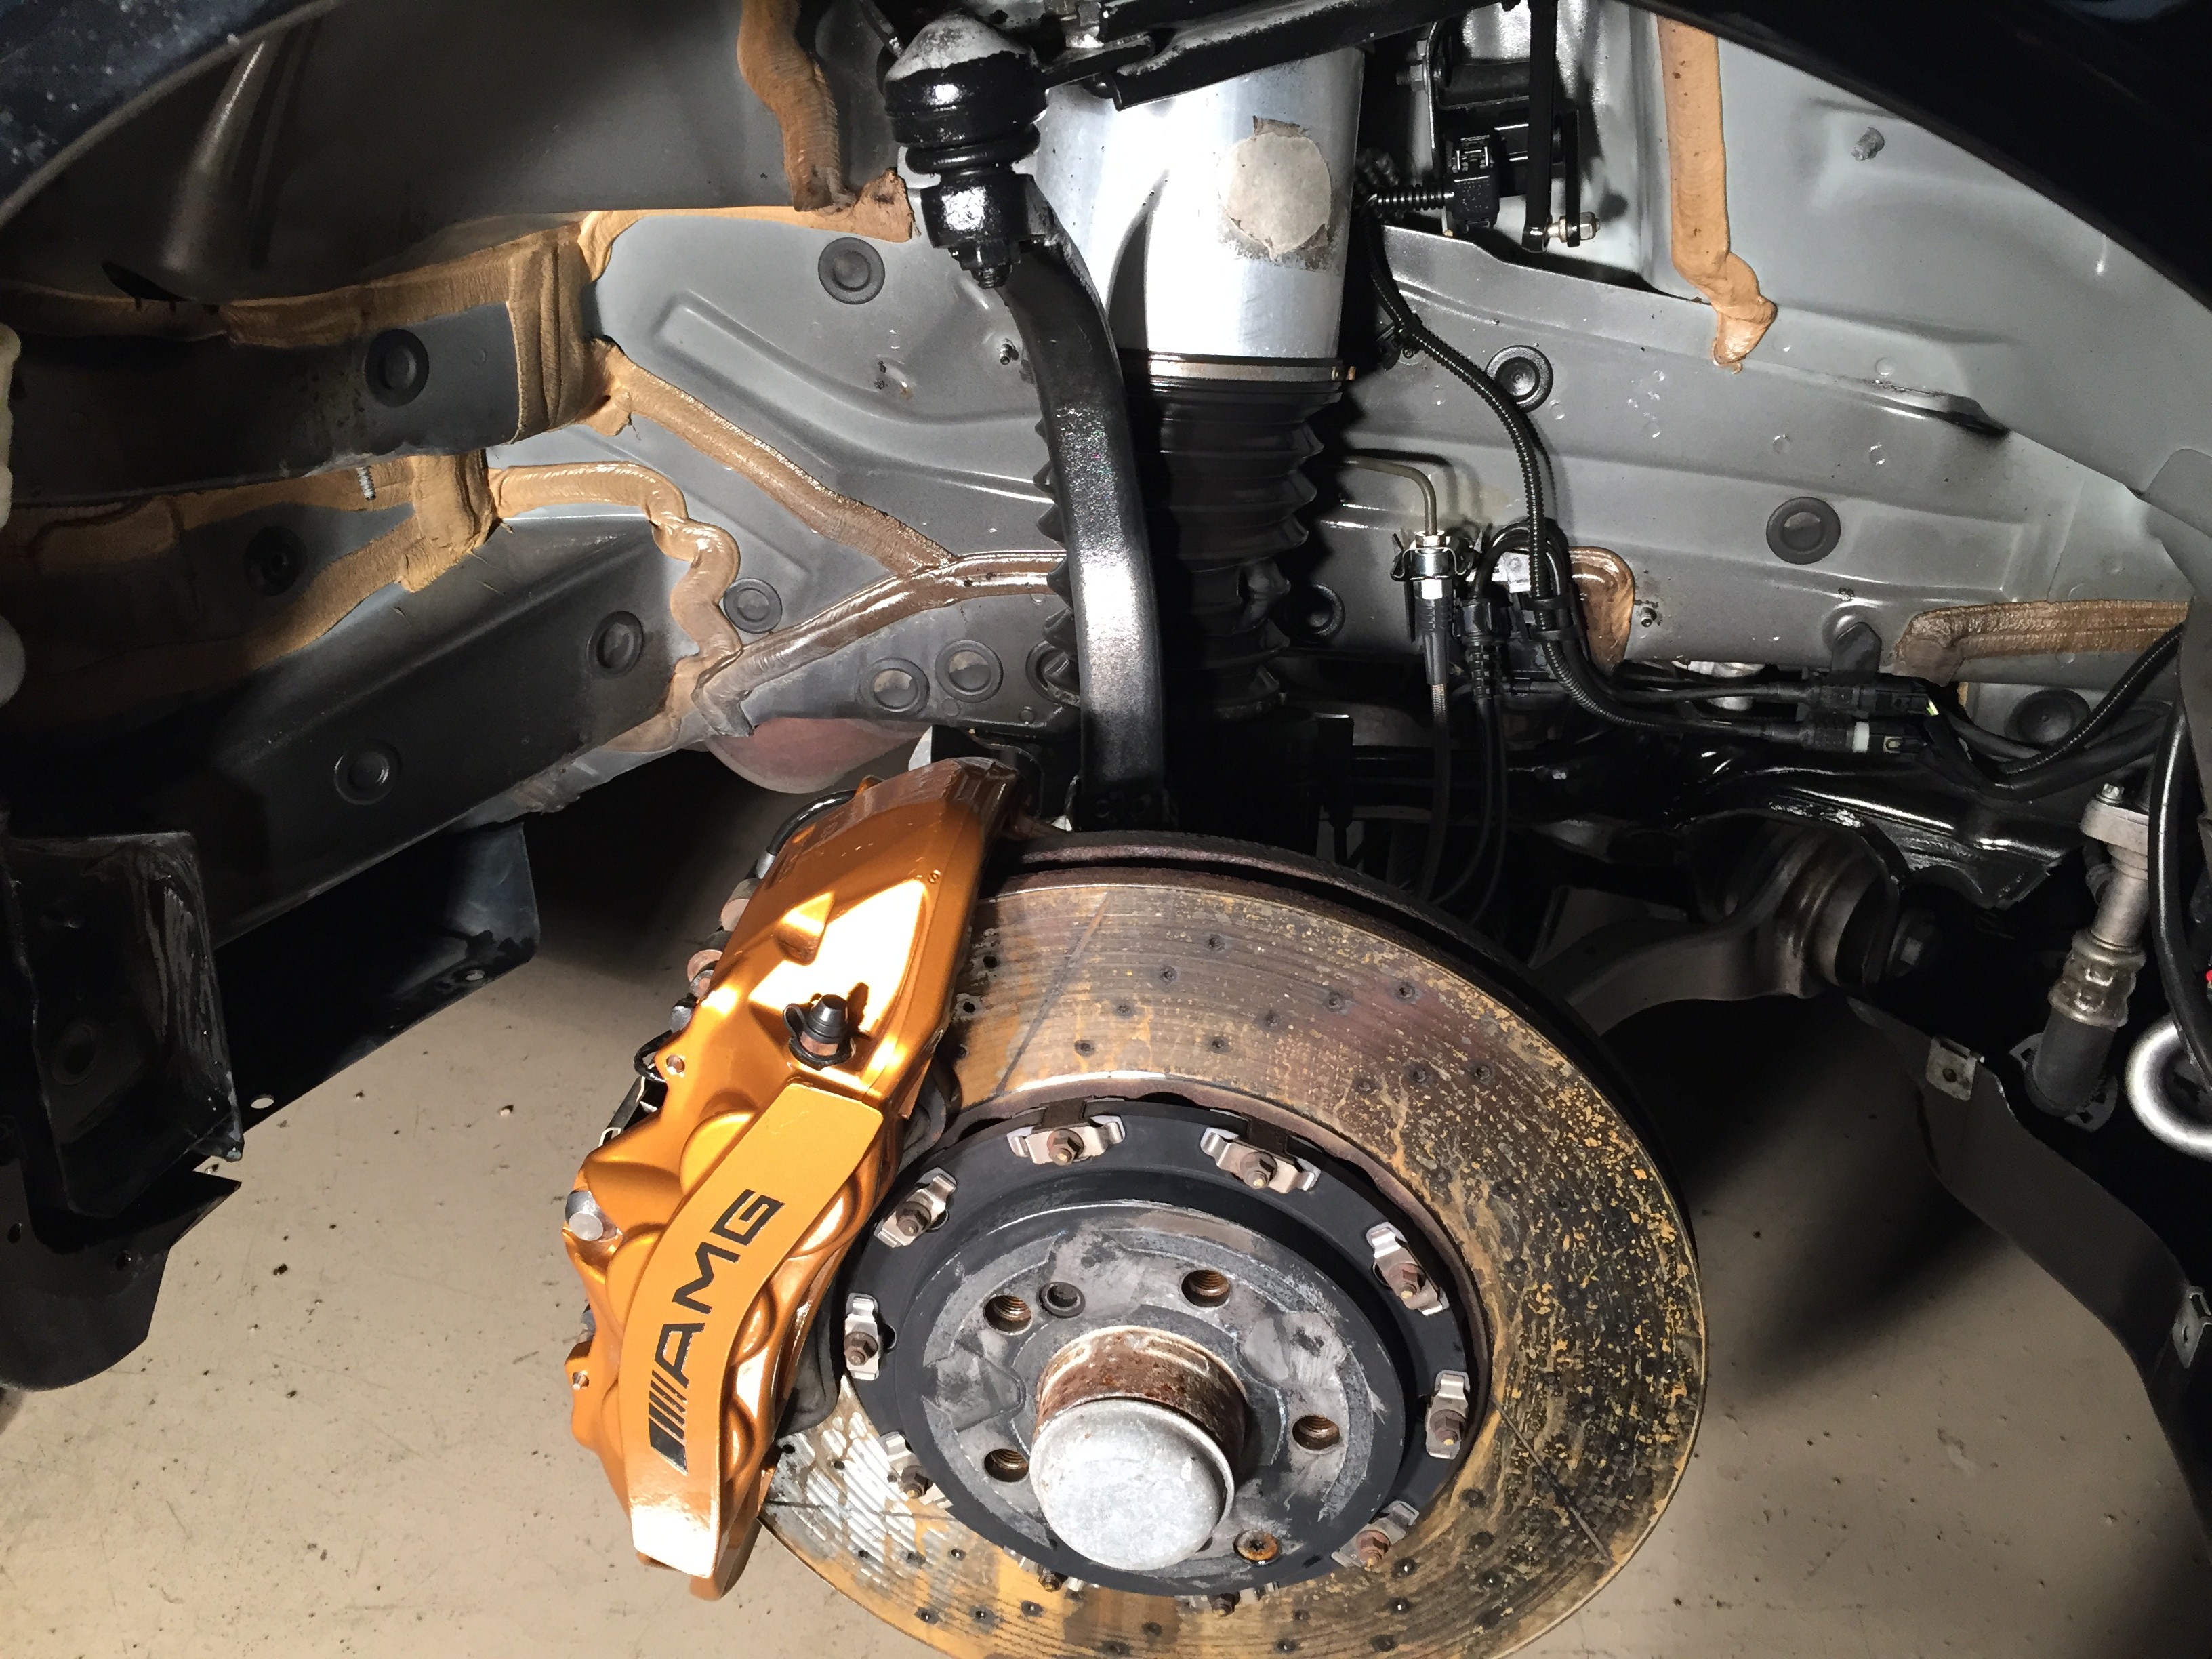
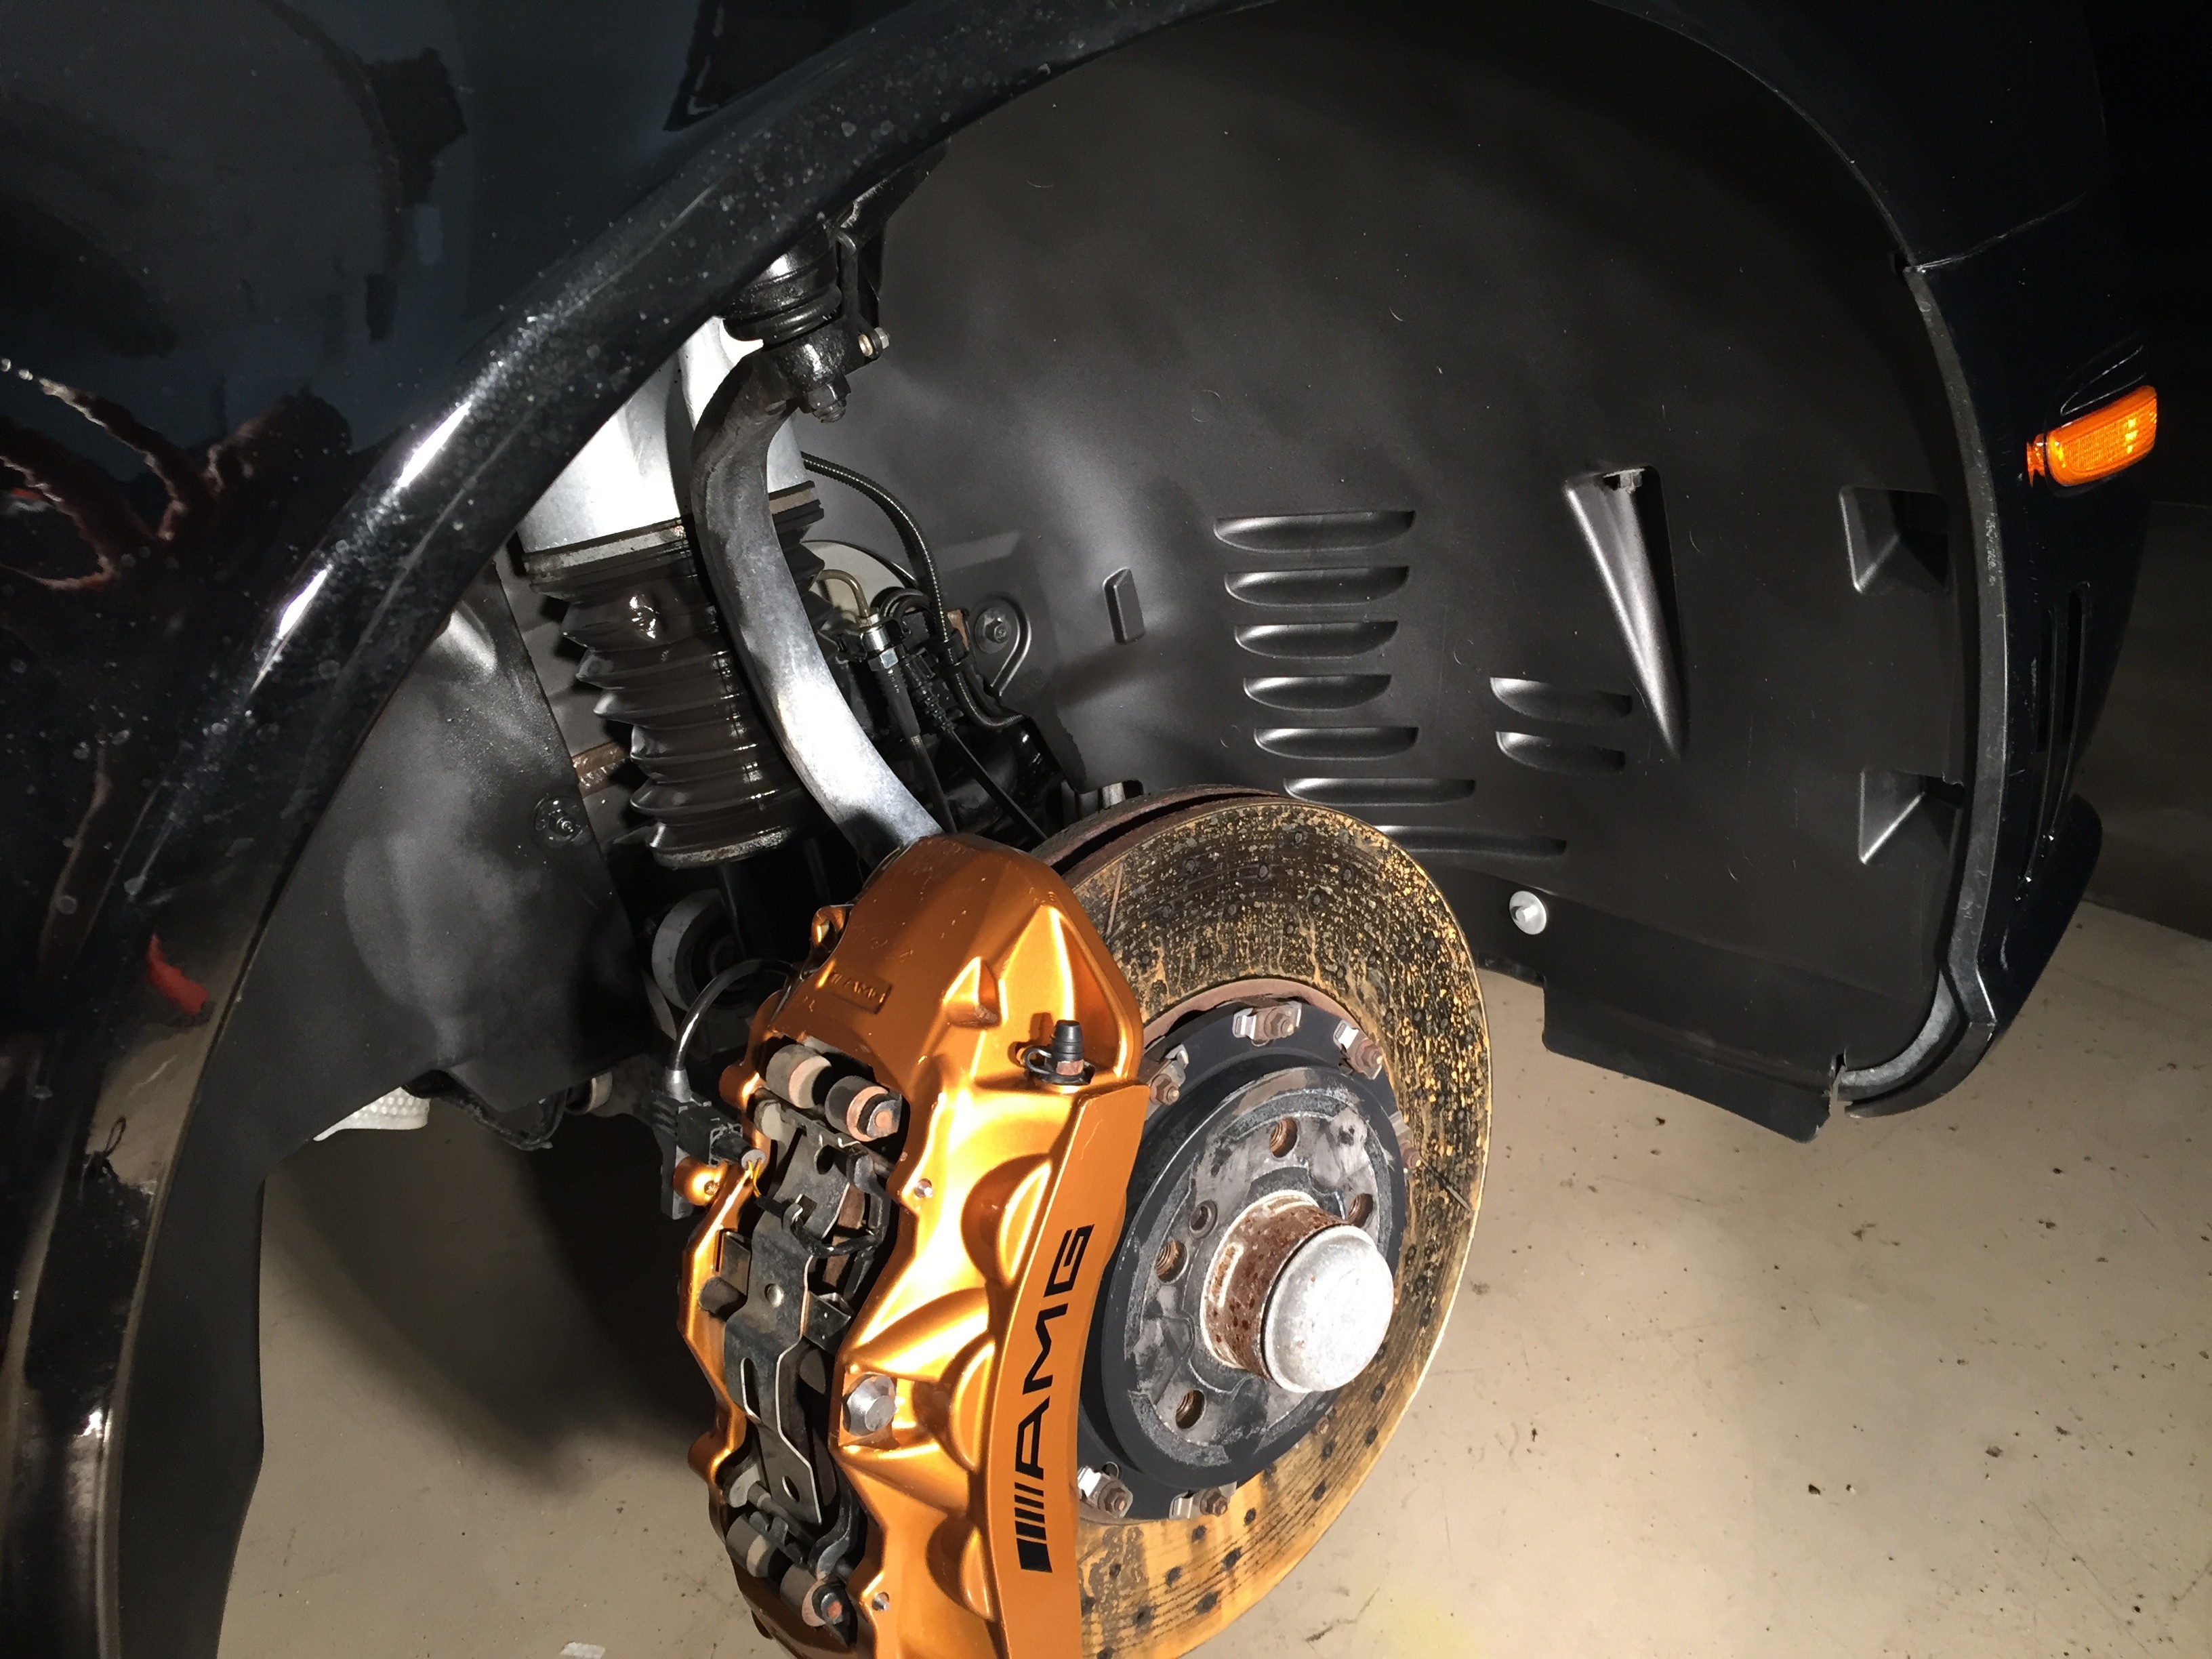
I removed the liners one by one and thoroughly cleaned the suspension, and all the plastic parts under them, along with anything that had dirt, dust and especially the trays on the front up by the strut which hold tons of pebbles and road sand. After thoroughly cleaning the well area, I blew it off using the Metro Sidekick blower, then dressed all areas with a spray on sealant. This will lessen the amount of dust that collects under the liners also. Also protects the rubber and plastic from weathering. This is what the finished well area looks like before the liners were re-installed.

The liners were sprayed with degreaser and washed on all sides with a brush till they were perfectly cleaned. Dried with the blower. Then I sprayed a healthy coat of Plasti Dip Black on the inside portions and any areas that would be seen. I let that dry and then sprayed the PD Gloss Enhancer on top of that to give it a shine. One pic the GE was not totally dry. I sprayed the pieces in a field near the house to prevent any type of overspray. I do not suggest doing this near a car. I took all bolts and plastic plugs and nuts and washed them by hand with a brush to clean them up. Re-installed the liners and they looked amazing. Here are some pictures of what they will look like. When outside in the sun, the wells look totally clean like they are supposed to and really helps the appearance of the car.
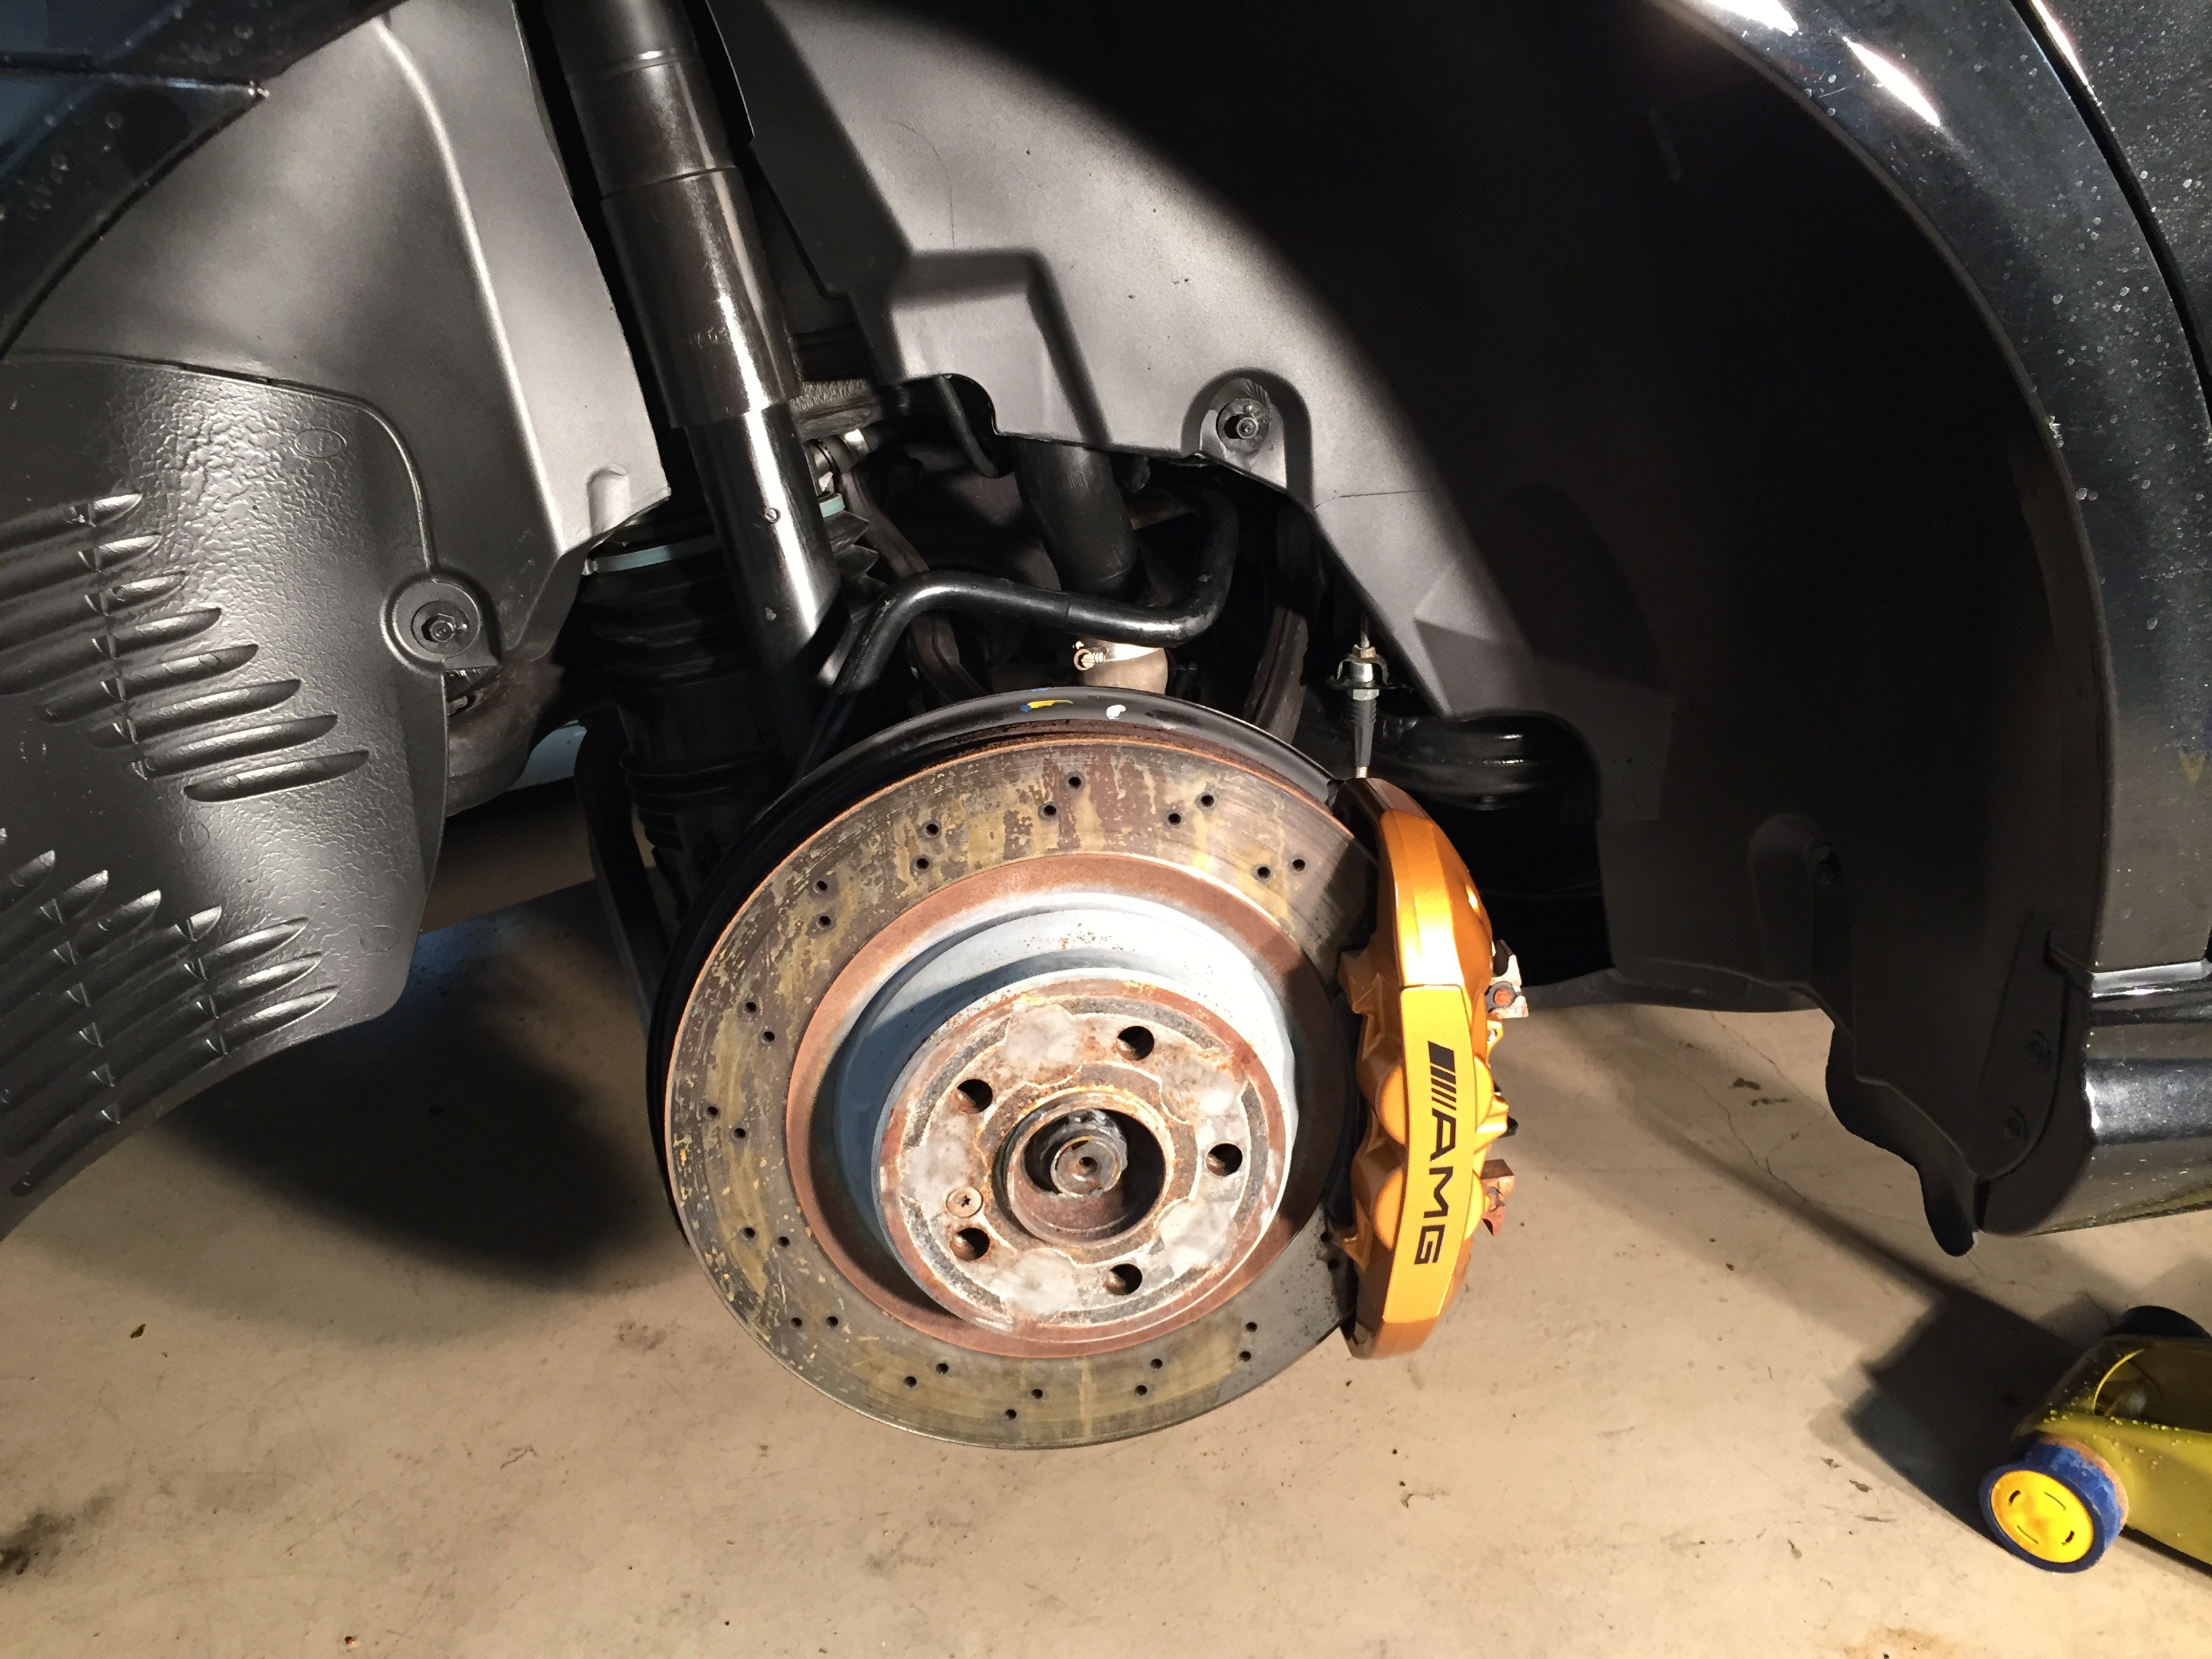
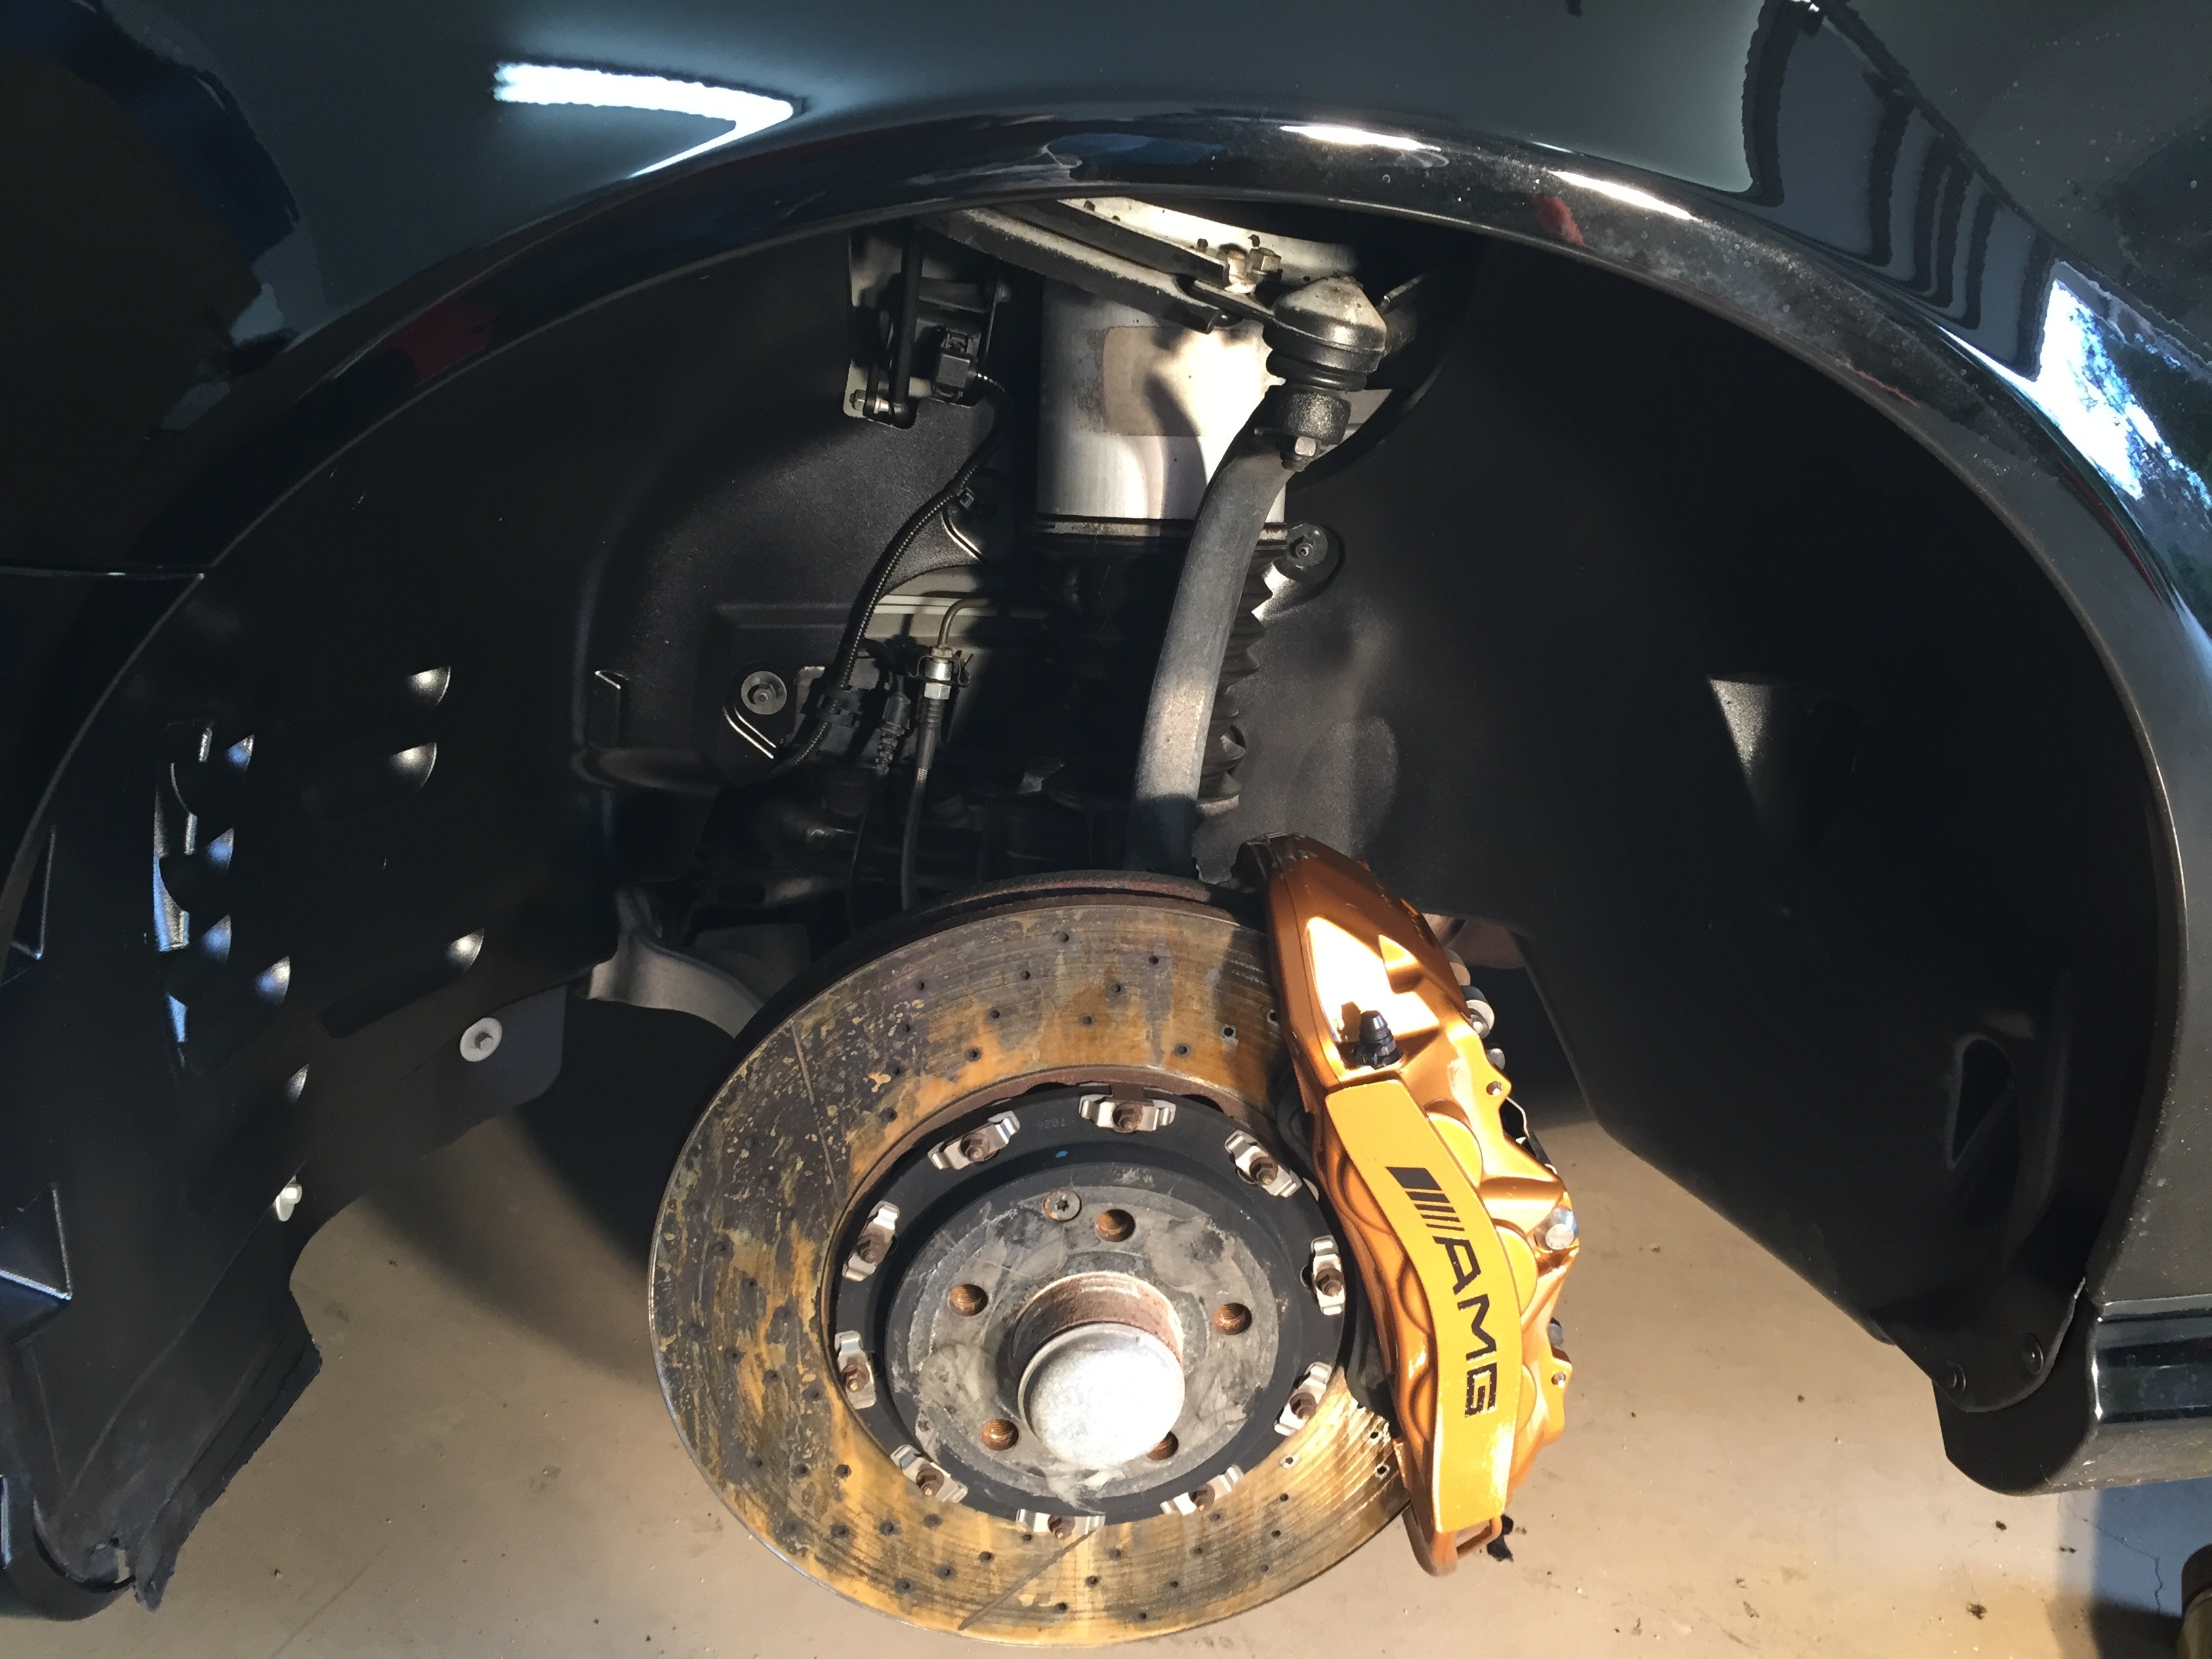
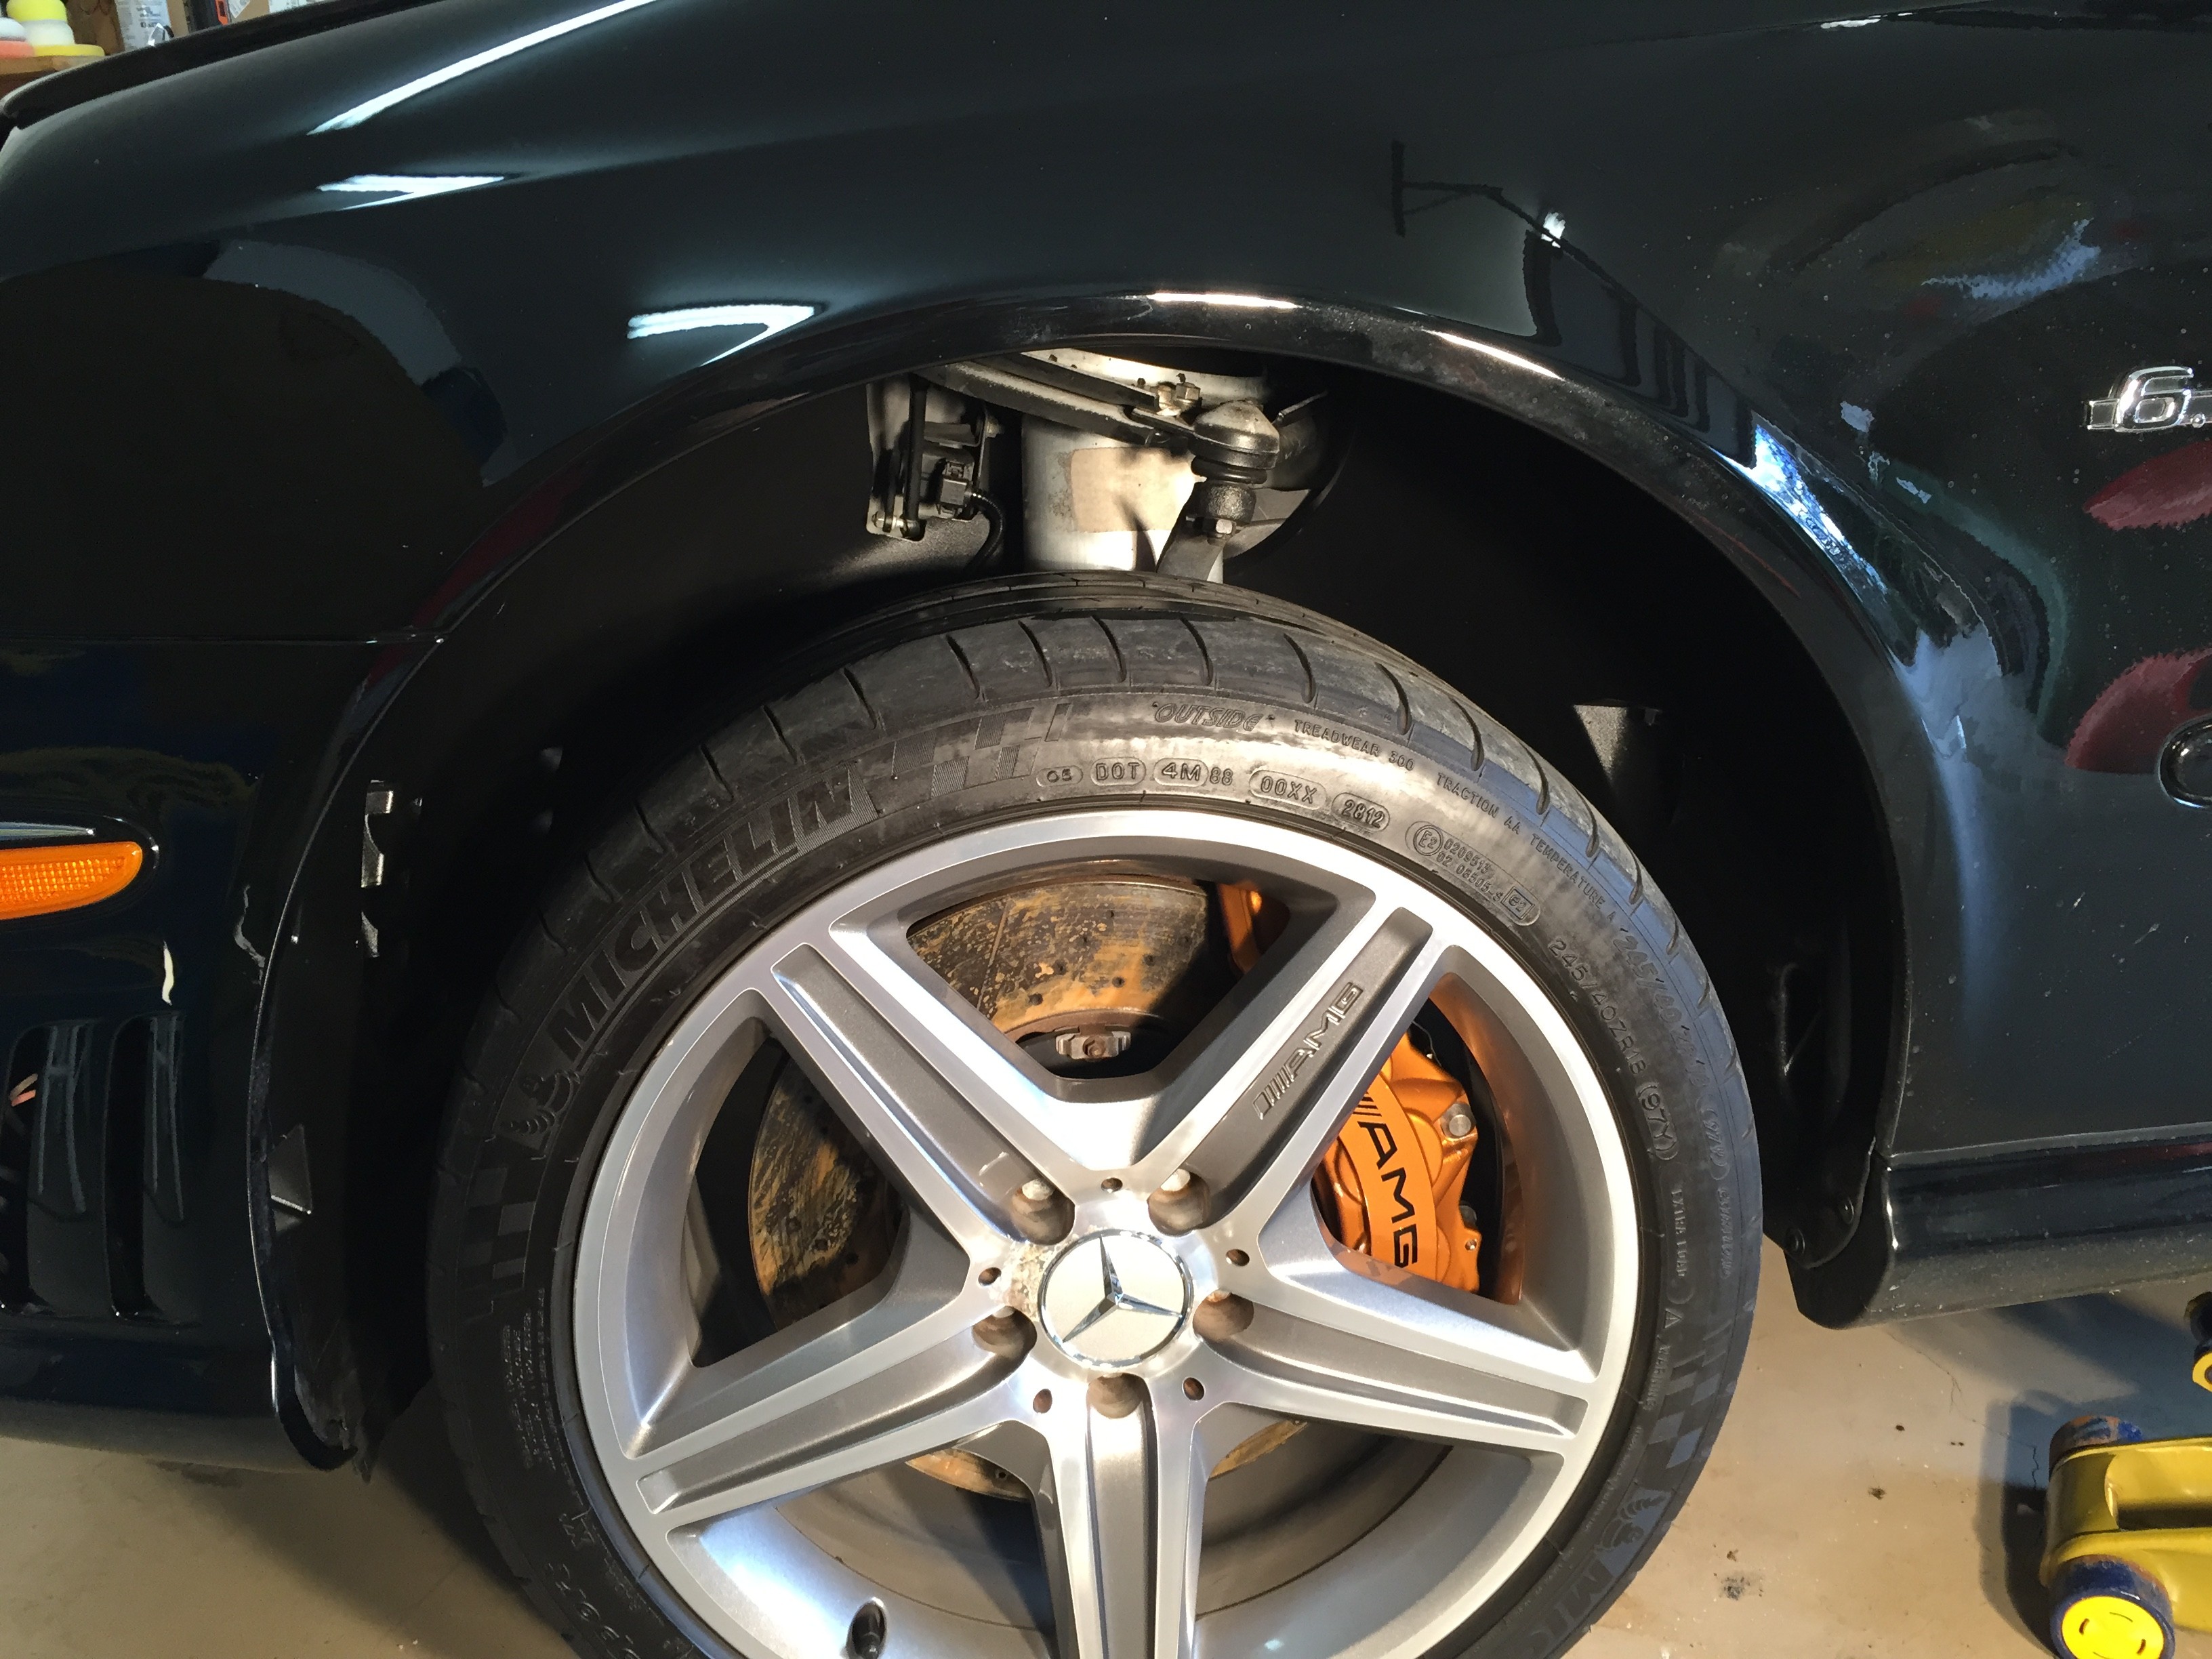
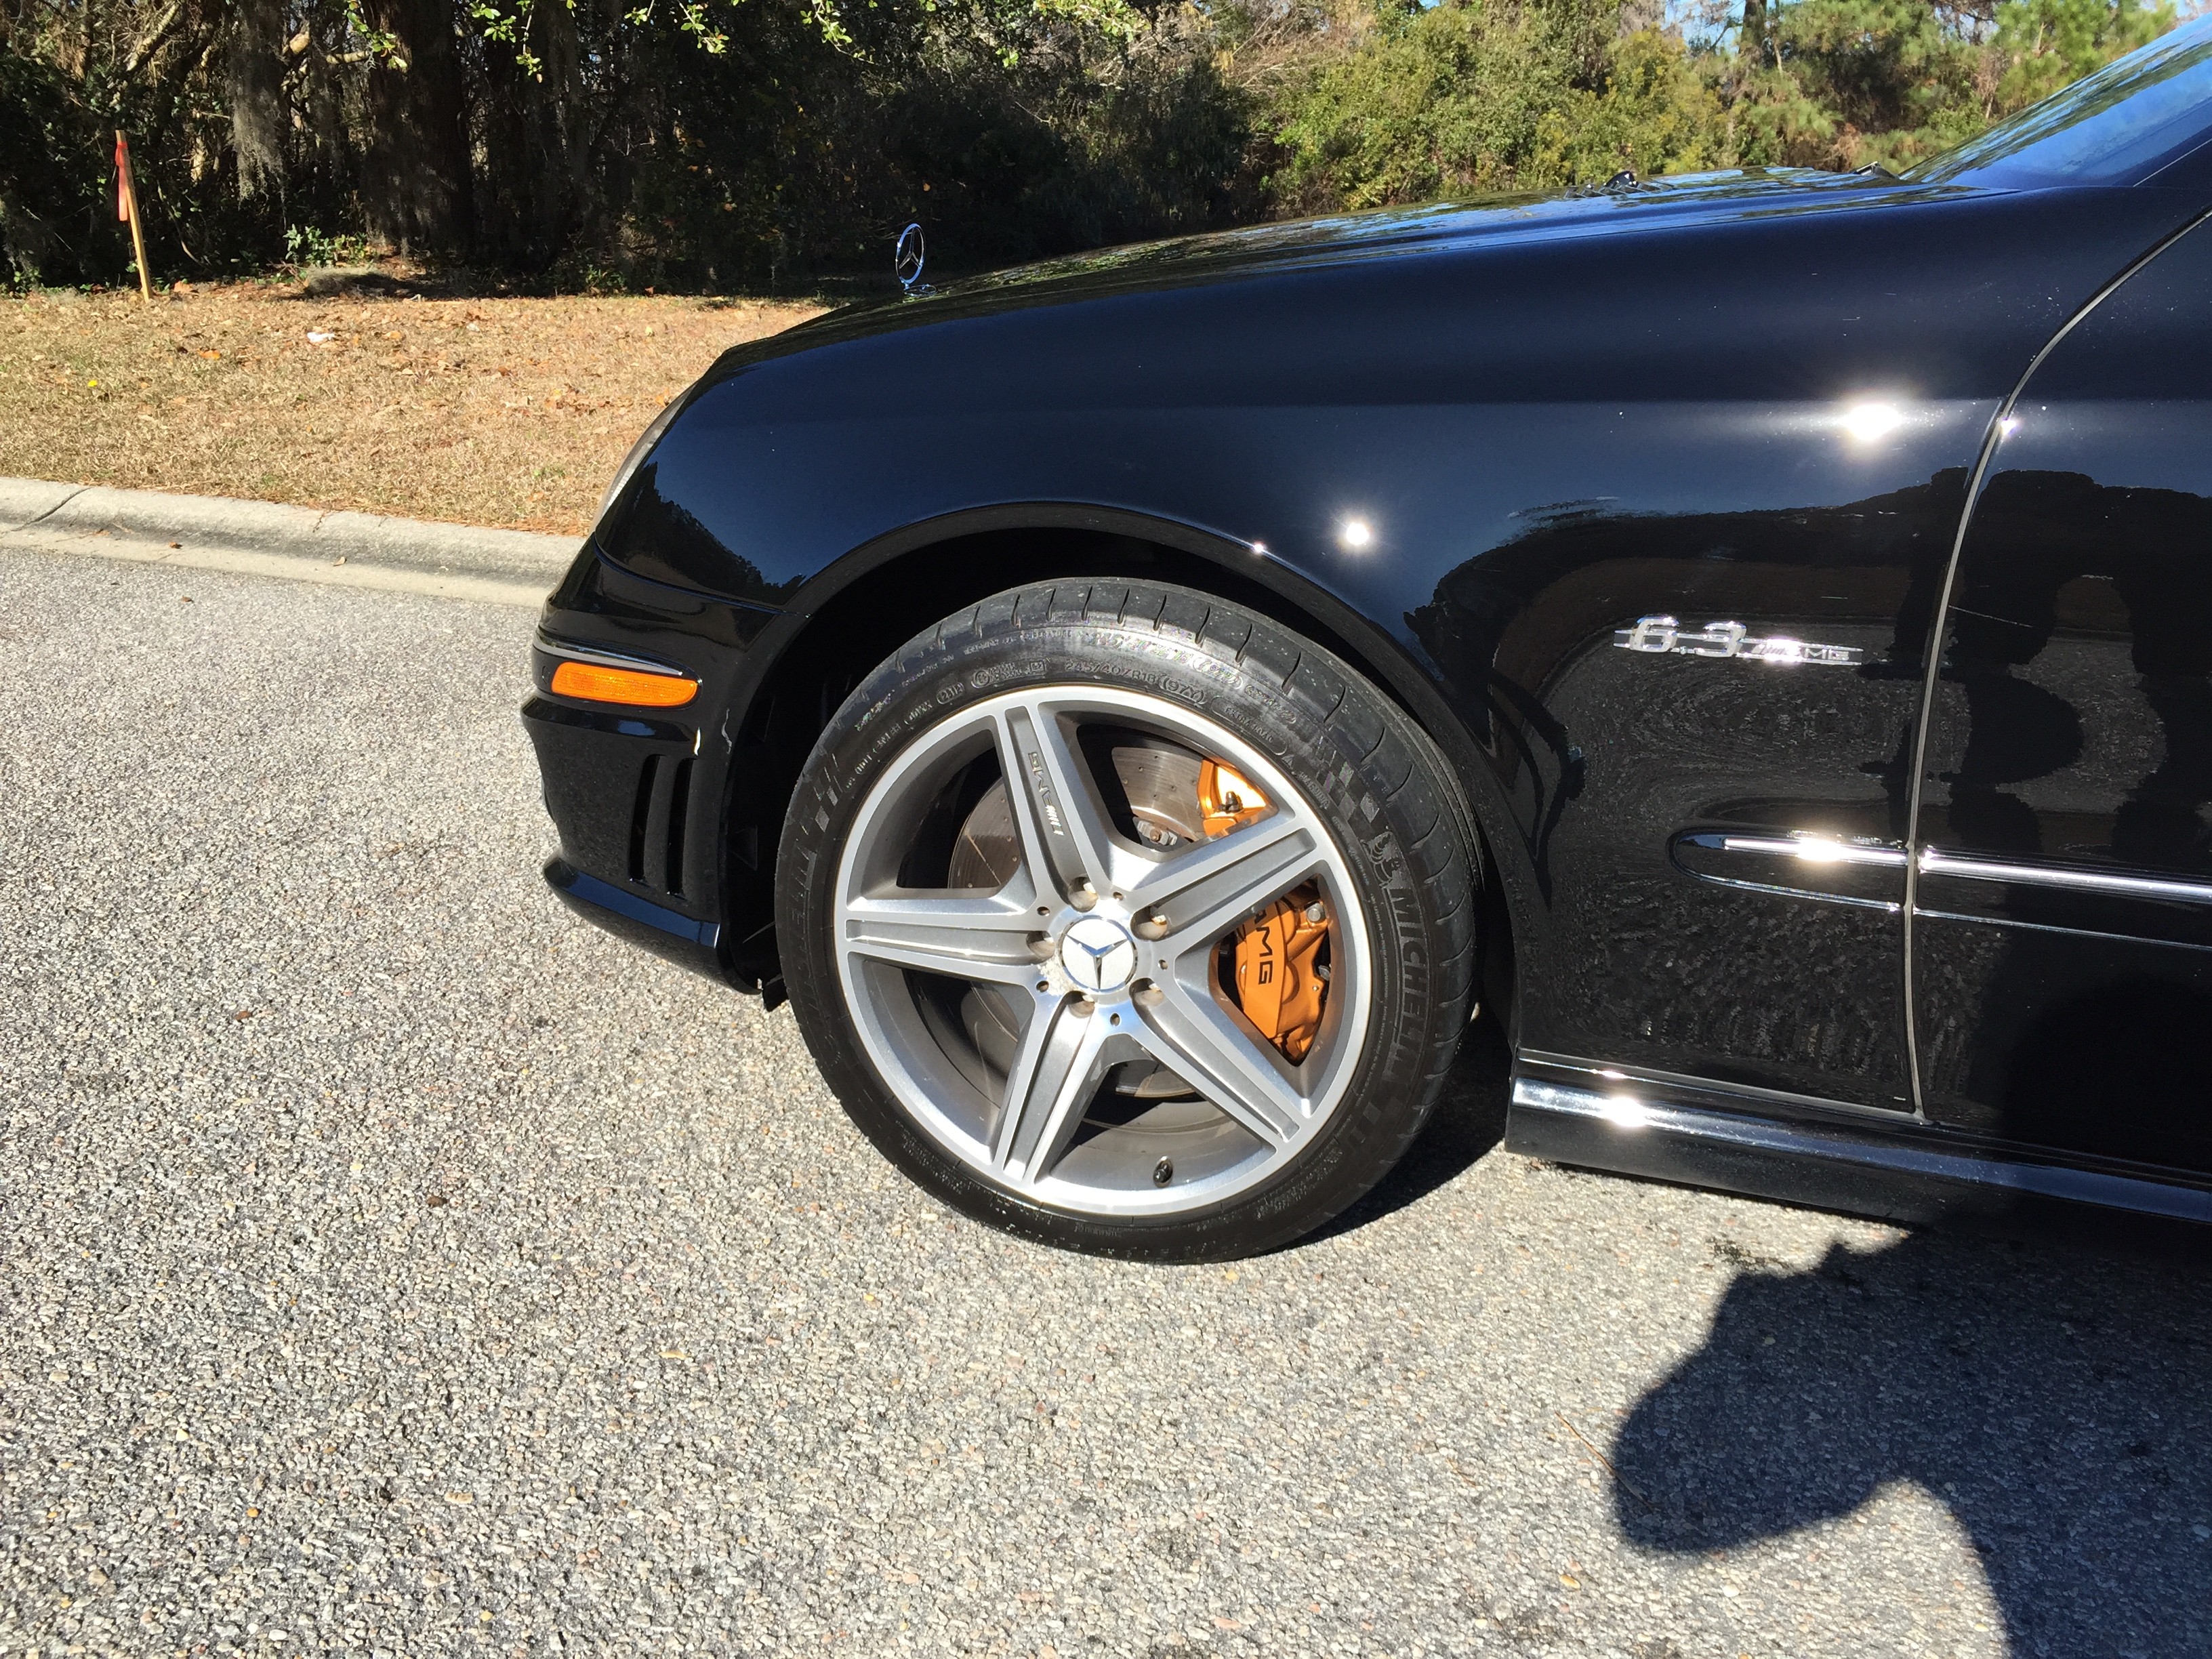
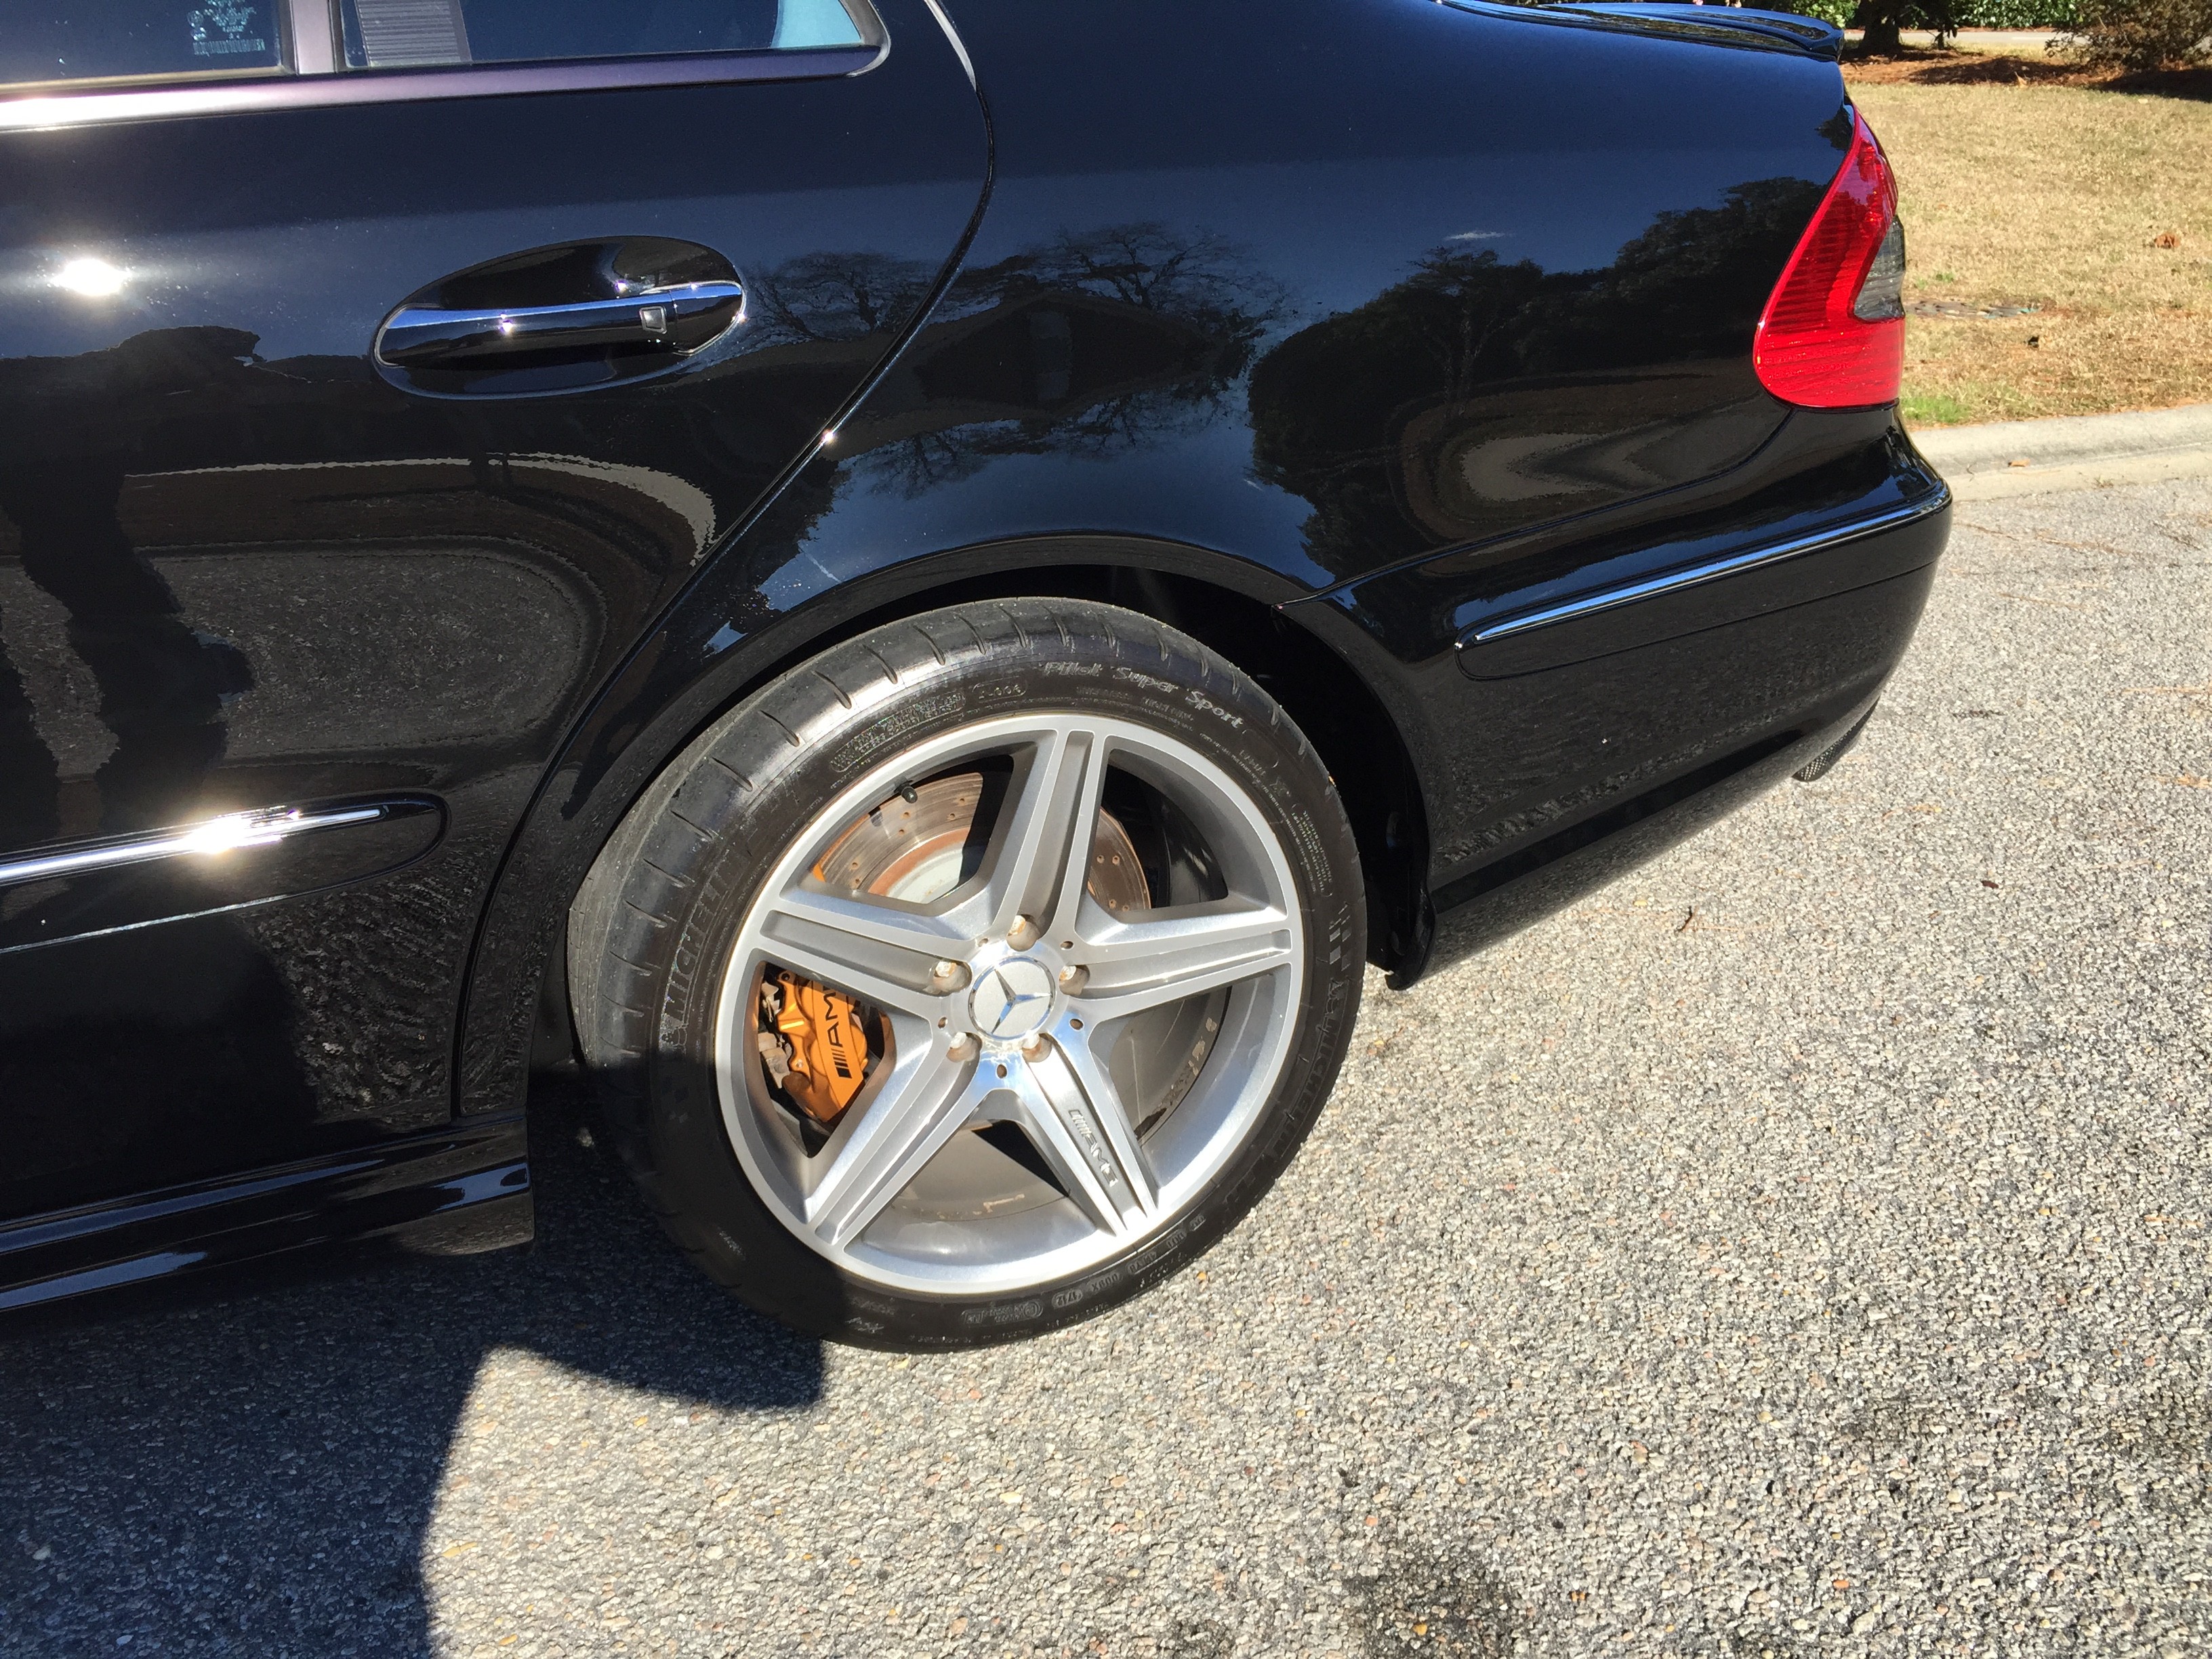
As you can see in the next two pictures the well areas are extremely difficult to tell anything other than a dark space. That is what you want in the end. These pictures were taken two weeks after apply the coating. The wells have just washed clean with water at this point. I am sure I will have to take soap and a sponge to them soon. I have eliminated using all APC on this car except the tires themselves, and I use AMMO Mud for dressing and typically just a wipe with a spare mitt and soap and they come clean, so no APC yeah........ Hope this helps some of you in cleaning up the appearance of your vehicle.
Typically people spray them with tire dressings or silicone after cleaning their cars to make them black again, which only lasts till the next rain or dust in the road. A lot of Detailers also spray them with some type of black spray paint to accomplish this too. That doesn't really look good due to high and low spots, rough and smooth areas and the overspray issues. There are plastic restorers that can be purchased for all plastic parts on the outside of the cars, then those can be treated to keep them nice. However with a car that is not new, then the liners are worn for sure and anything other than a coating to mask flaws won't work, except to bale and shine them up. Lets go for the clean new fresh look that won't grab up dirt.
I am very OCD when it comes to my personal cars. I do paint corrections for stress relief and when it comes to this area there are no real solutions that don't attract dirt, messy, and make the liners appear new. I thought about replacing all liners with new ones, but they are about 100$ each well. So rethought it and I know there are spray coatings that are applied to cars underneath so looked into that. Most of them put a rubberized clumpy coating similar to the coatings used up North for rust prevention on the bottom of the cars. What I really wanted was something that would make them look new, smooth and not like something was just sprayed on and made to work.
I recently sprayed my grille with Plasti Dip matte and was quite surprised how smooth it laid down. Also have been through some traffic with debris and figured I would have chips out of it, but no, it is still smooth. (I originally was going to paint the grille, but shading it down would be a nightmare, so went this route to see if I liked it) I wanted the liners to have some type of gloss to it and not be matte, so I looked into the Plasti Dip Gloss enhancer and said why not. Take out the liners, clean them perfectly, then spray with PD and then the GE. Even if there is a few nicks or scrapes on liners it should lay down pretty flat and hold up pretty well. Can always re-spray easily to make them perfect again.
This is the process of what I did to achieve stellar results.
This is what the liners looked like before removal and cleaning.
I removed the liners one by one and thoroughly cleaned the suspension, and all the plastic parts under them, along with anything that had dirt, dust and especially the trays on the front up by the strut which hold tons of pebbles and road sand. After thoroughly cleaning the well area, I blew it off using the Metro Sidekick blower, then dressed all areas with a spray on sealant. This will lessen the amount of dust that collects under the liners also. Also protects the rubber and plastic from weathering. This is what the finished well area looks like before the liners were re-installed.
The liners were sprayed with degreaser and washed on all sides with a brush till they were perfectly cleaned. Dried with the blower. Then I sprayed a healthy coat of Plasti Dip Black on the inside portions and any areas that would be seen. I let that dry and then sprayed the PD Gloss Enhancer on top of that to give it a shine. One pic the GE was not totally dry. I sprayed the pieces in a field near the house to prevent any type of overspray. I do not suggest doing this near a car. I took all bolts and plastic plugs and nuts and washed them by hand with a brush to clean them up. Re-installed the liners and they looked amazing. Here are some pictures of what they will look like. When outside in the sun, the wells look totally clean like they are supposed to and really helps the appearance of the car.
As you can see in the next two pictures the well areas are extremely difficult to tell anything other than a dark space. That is what you want in the end. These pictures were taken two weeks after apply the coating. The wells have just washed clean with water at this point. I am sure I will have to take soap and a sponge to them soon. I have eliminated using all APC on this car except the tires themselves, and I use AMMO Mud for dressing and typically just a wipe with a spare mitt and soap and they come clean, so no APC yeah........ Hope this helps some of you in cleaning up the appearance of your vehicle.
")