here is a post of mine from several years ago on a chip i did.
http://www.autogeekonline.net/forum...ail-polish-top-chip-base-fill.html#post369225
while i still use that brush if necessary (mainly for clear), nowadays i find myself using the ez dabbers if the chip is large OR the ez dabber stick with the little white thing pulled off. that is great for really precise application of base. not so much for clear though.
and i still do the base then clear method. the clear i'm using nowadays is the little 1 oz bottle from Paintscratch. i switched because the other clear in that old post from 2010 seems to gel up too easily in the bottle and i'm not sure what happens to it if i would keep thinning it. and if it's not thinned right, it will leave little strings when i pull the applicator away. that really sucks. one thing i've learned though is that even if the base matches perfectly...once you put clear in the chip over the base...all bets are off. it could lighten up or darken up. in my experiences, the center will get dark and the edges, because they are more glossy now, will lighten up. hard to explain but anyone who has done it knows what i mean.
i'm working on a chip right now on my MB that is really skinny and pretty difficult to get right so i'm relenting and just making sure it's filled somewhat, matched pretty well and protected. and, because i'm trying to spare the Ceramiclear, i don't wanna get too nuts sanding and stuff. so, no sanding. just a bummer because it's the only chip i've incurred over the past year and a half of having the car. oh well.
right now it has the last layer of clear on it. once that is dry, i need to polish the whole hood, including this repair and re-coat everything.
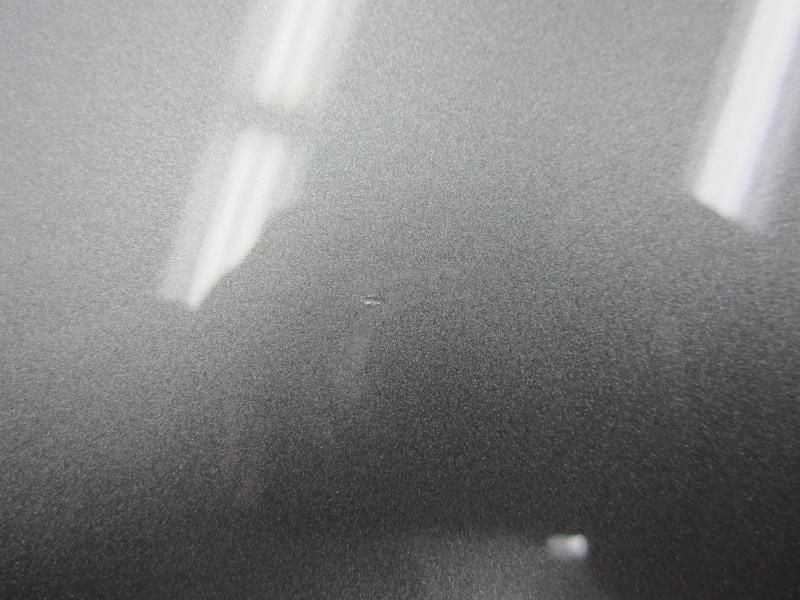
right on top - a couple inches
a couple inches, directly in overhead light reflection to give full idea of damage
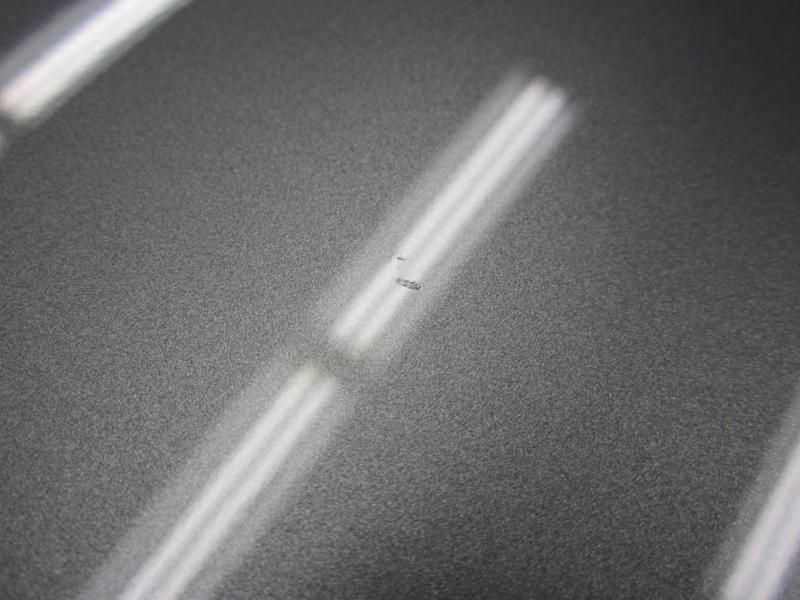
with camera lens about 6" away..had a hard time seeing it in the camera unless i had an edge catch the light
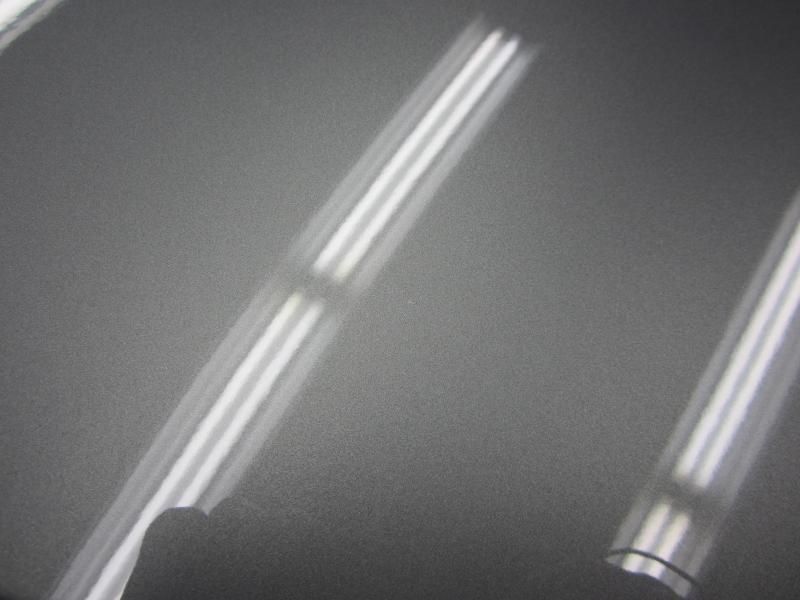
with camera lens about 1.5' away