LSNAutoDetailing
Active member
- Jun 21, 2014
- 3,373
- 21
So the saga of my Mustang continues. When I picked up the car they swirled the heck out it... Which I spent 4 days fixing (all documented in another thread).
Car is back to 100% show car condition. Actually it's better, because I even spent time getting the little stuff I've been living with for years.
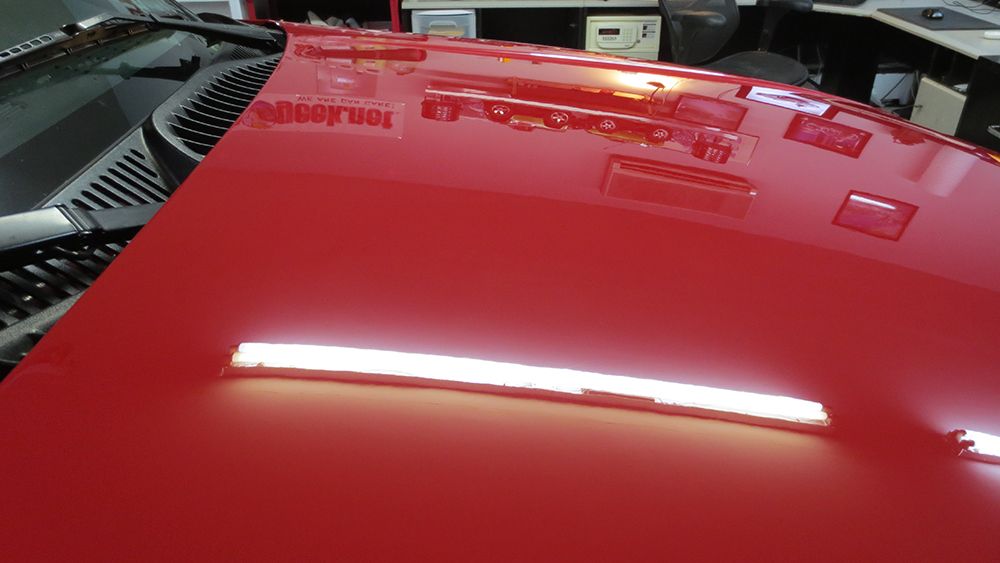
No the car is ready for clear-bra, and the manager of the shop (who wasn't thrilled with the work his guy did), found two little spots on the bumper cover that has shop dust that dried in the clear coat. He said he will fix that before the clear-bra goes on, otherwise it will bubble the clear-bra.

The Circle area is the dust trapped in the clear-coat. The other specs are just specs of dust and are on the surface...
I asked how he was going to fix it, and he stated, 1500 to 3000 sand paper then compound....
Here are my options, let them do the work (probably WILL NOT be surgical) and I've already detailed the entire car.... Or I do it myself... and here is where I need some help (as I've never done this before).
If wet sanding is the proper resolution, this is what I had in mind for a more surgical approach.
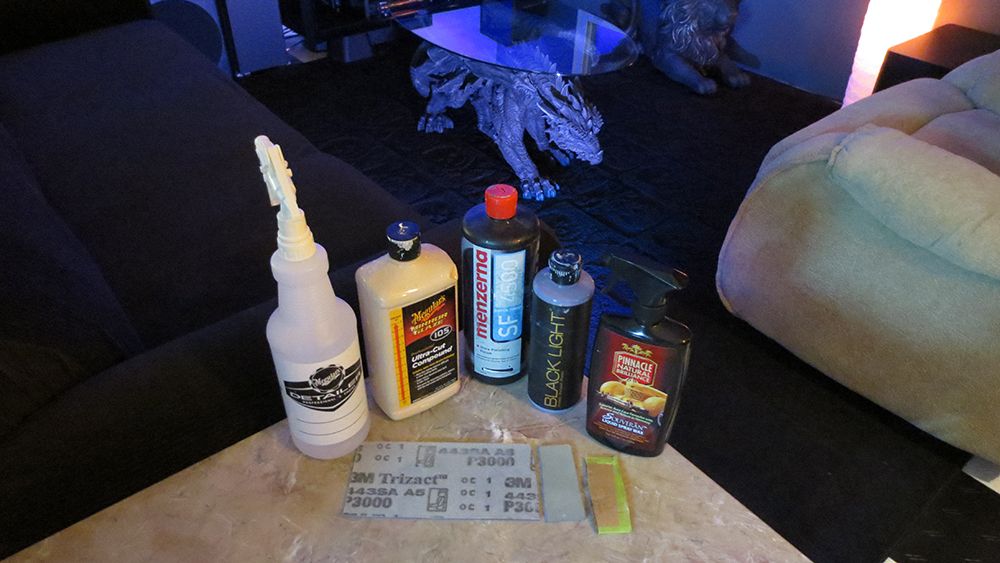
1.) Get a #2 Pencil a whole punch, crazy glue and start with 3000 grit sand paper.
2.) Whole punch the 3000 sand paper and adhere it to the pencil eraser with crazy glue. Let it dry.
3.) Place the tip of the pencil (with the sandpaper) on the actual spot and carefully twist the pencil so it rotates back and forth. (Kind of like a very miniaturized buffer).
4.) Wipe and inspect. If the spec is gone, proceed to 5.
5.) Compound with Pinnacle Advance Compound and then Advanced Finishing Polish (either with DA or by hand applicator).
Please let me know if I'm on the right track or if there is a better way to do this. I'd rather do it then let the body shop do it.
Car is back to 100% show car condition. Actually it's better, because I even spent time getting the little stuff I've been living with for years.
No the car is ready for clear-bra, and the manager of the shop (who wasn't thrilled with the work his guy did), found two little spots on the bumper cover that has shop dust that dried in the clear coat. He said he will fix that before the clear-bra goes on, otherwise it will bubble the clear-bra.

The Circle area is the dust trapped in the clear-coat. The other specs are just specs of dust and are on the surface...
I asked how he was going to fix it, and he stated, 1500 to 3000 sand paper then compound....
Here are my options, let them do the work (probably WILL NOT be surgical) and I've already detailed the entire car.... Or I do it myself... and here is where I need some help (as I've never done this before).
If wet sanding is the proper resolution, this is what I had in mind for a more surgical approach.
1.) Get a #2 Pencil a whole punch, crazy glue and start with 3000 grit sand paper.
2.) Whole punch the 3000 sand paper and adhere it to the pencil eraser with crazy glue. Let it dry.
3.) Place the tip of the pencil (with the sandpaper) on the actual spot and carefully twist the pencil so it rotates back and forth. (Kind of like a very miniaturized buffer).
4.) Wipe and inspect. If the spec is gone, proceed to 5.
5.) Compound with Pinnacle Advance Compound and then Advanced Finishing Polish (either with DA or by hand applicator).
Please let me know if I'm on the right track or if there is a better way to do this. I'd rather do it then let the body shop do it.