Mike Phillips
Active member
- Dec 5, 2022
- 51,004
- 6
FLEX 3401 Bail Handle Bolts - Installation and Tightening
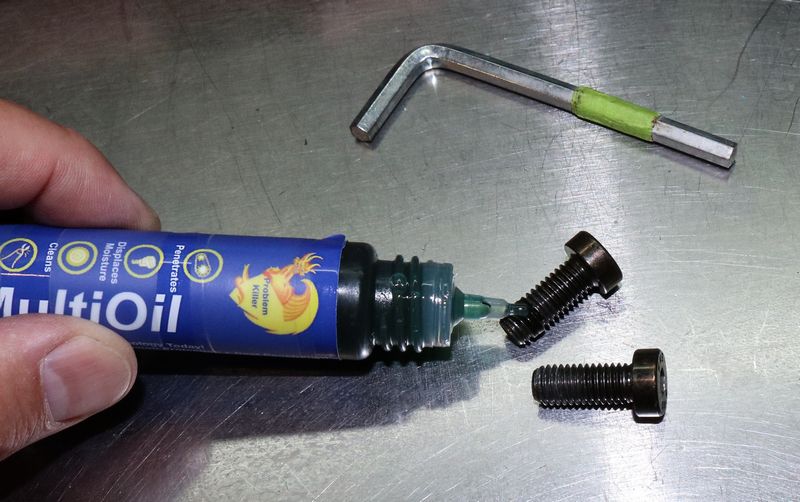
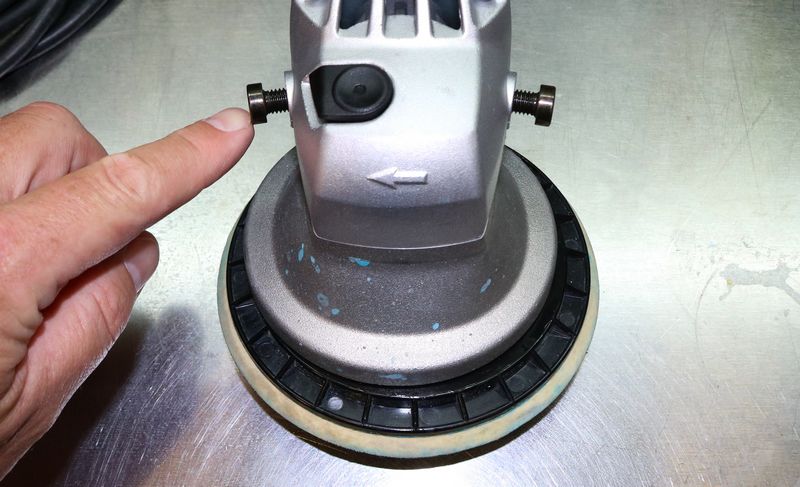
The two metric hex head bolts that attach the bail handle to the head of the FLEX 3401
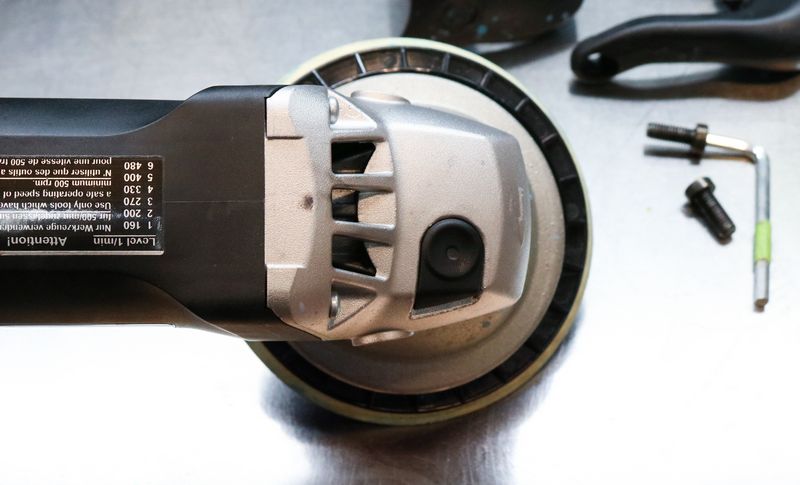
There are two bolts that attach the forward bail handle onto the head of the FLEX 3401. When correctly installed, you will not see them sticking out past the outside of the handle.
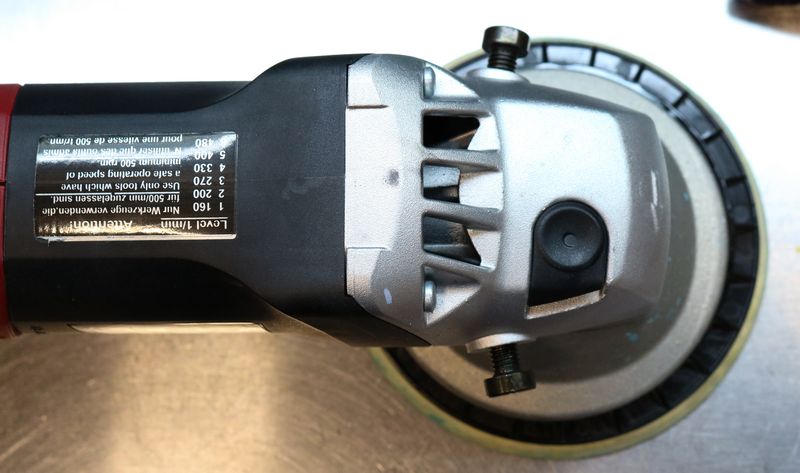
Also note, the head of the FLEX 3401 is tapered or angled, it get's thinner towards the end of the tool. This is important to take into consideration anytime you have removed the bolts and are going to re-install them.

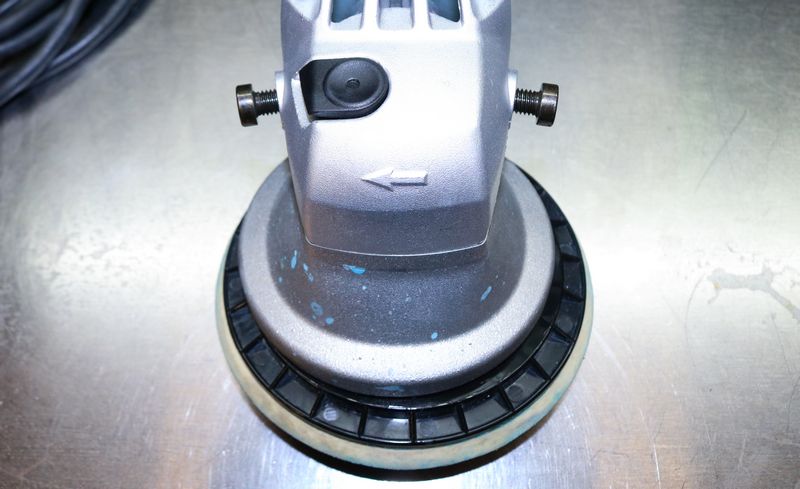
With the plastic head cover removed, you can better see the tapered design of the head of the tool.
See how the threaded hole for the bolts are at an angle?

See the taper?
Before re-installing the handle and bolts to the head of the polisher, make sure the threads are clean and then apply a few drops of oil to the threads.
Test to make sure the bolts spin in freely as you thread them into the head unit.

Look inside the slot for the bolts to make sure the handle is positioned so that it is aligned with the threaded hole.

Insert the bolts and start them using only your fingers. Be sure the bolts thread in easily and do not bind. After you are confident the bolts are threaded in correctly, tighten the bolts using the hex wrench that came with the FLEX 3401.

Periodically re-check and tighten the bolts to make sure the handle is snug to the body of the tool.

Your BEAST is now ready to devour your next car detailing project!!!!!
Flex XC 3401 VRG Dual Action Orbital Polisher
")
The two metric hex head bolts that attach the bail handle to the head of the FLEX 3401
There are two bolts that attach the forward bail handle onto the head of the FLEX 3401. When correctly installed, you will not see them sticking out past the outside of the handle.
Also note, the head of the FLEX 3401 is tapered or angled, it get's thinner towards the end of the tool. This is important to take into consideration anytime you have removed the bolts and are going to re-install them.
With the plastic head cover removed, you can better see the tapered design of the head of the tool.
See how the threaded hole for the bolts are at an angle?
See the taper?
Before re-installing the handle and bolts to the head of the polisher, make sure the threads are clean and then apply a few drops of oil to the threads.
Test to make sure the bolts spin in freely as you thread them into the head unit.
Look inside the slot for the bolts to make sure the handle is positioned so that it is aligned with the threaded hole.
Insert the bolts and start them using only your fingers. Be sure the bolts thread in easily and do not bind. After you are confident the bolts are threaded in correctly, tighten the bolts using the hex wrench that came with the FLEX 3401.
Periodically re-check and tighten the bolts to make sure the handle is snug to the body of the tool.
Your BEAST is now ready to devour your next car detailing project!!!!!
Flex XC 3401 VRG Dual Action Orbital Polisher