zmcgovern45
New member
- Sep 5, 2012
- 3,443
- 0
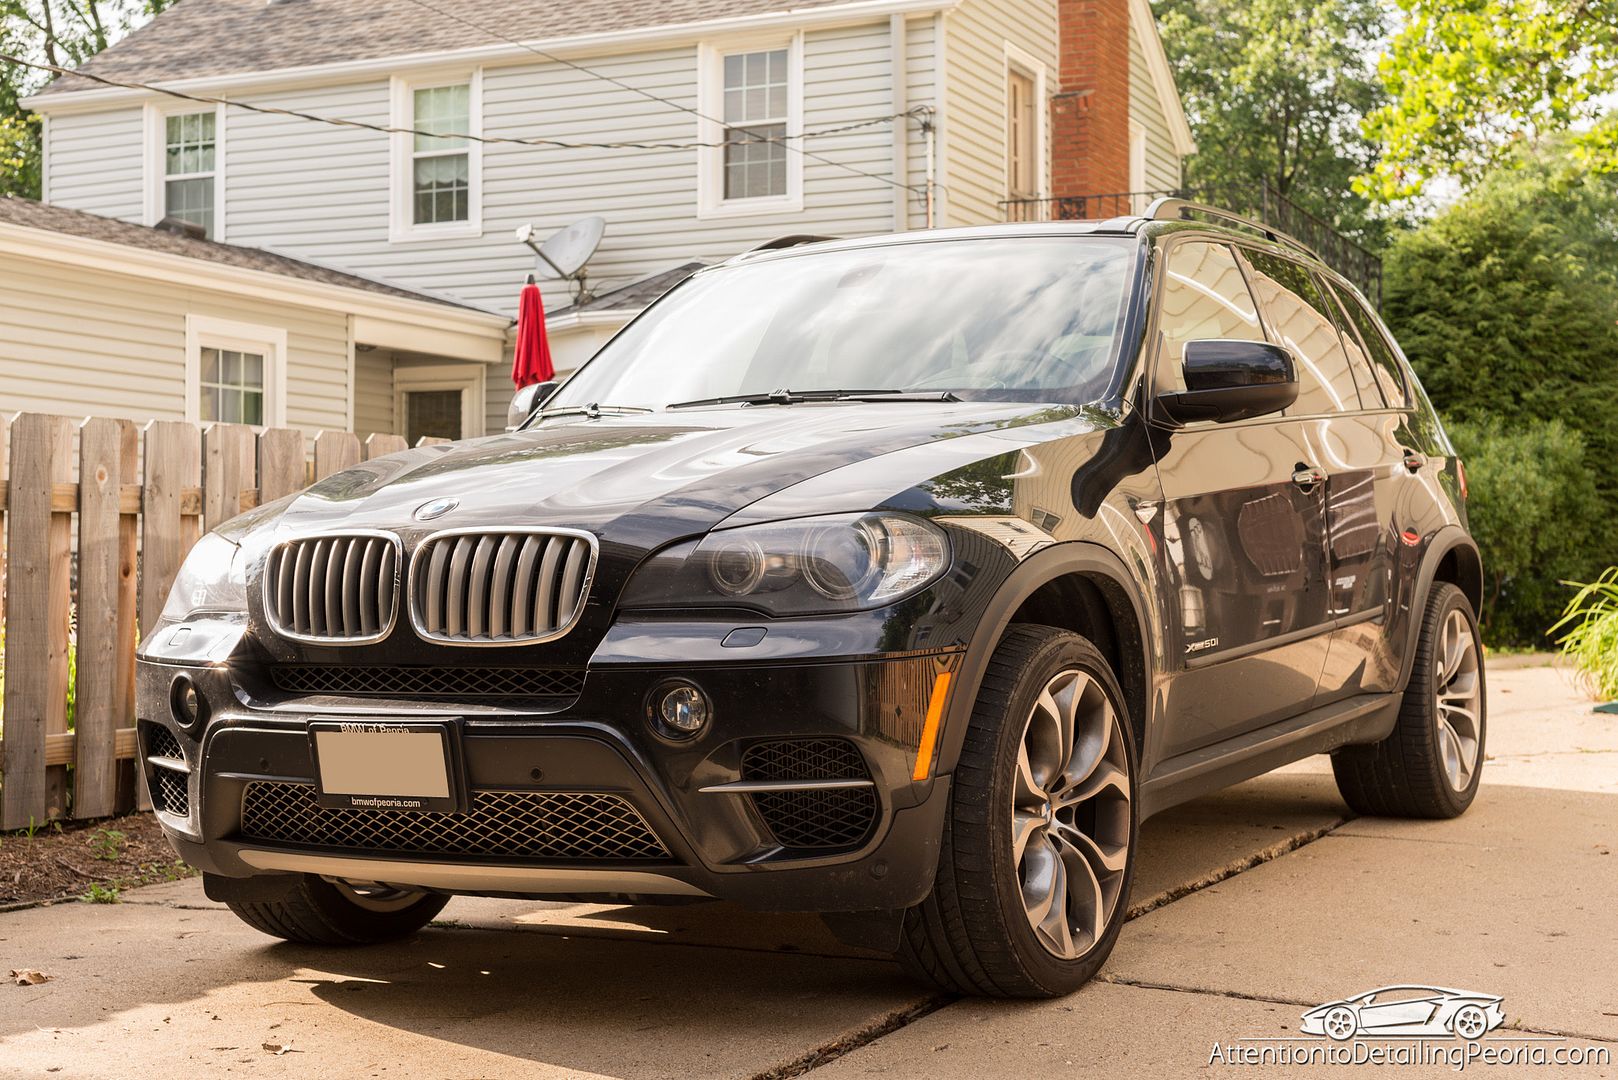
The owner of this vehicle contacted us because she was unhappy with the current condition of the vehicle. The paint didn't look quite right to her, and she noticed that it looked more grey than black in some cases. During our initial consultation, we noted the large amount of surface defects and damage from previous detailers (dealership) that caused a dull and lifeless looking finish. The owners were honest in that they do not always have the time to properly hand wash the car, and do prefer to take it through a car wash for convenience. With that in mind, we settled on our Premium Service for a thorough cleaning, one-step correction process, and ceramic paint coating to provide easier maintenance and gloss that lasts. The car turned out great, and is now back to a deep, dark black with a tremendous shine!
Process
Tires: Tuf Shine Tire Cleaner and Tire Brush
Wheels: Sonax FE, Wheel Woolies, EZ Detail Brush & other brushes
Foam Pre-Soak: CarPro Iron X Snow Soap via DI Foam Lance
Wash: CarPro Iron X Snow Soap
Chemical Decon: CarPro Iron X
Mechanical Decon: Medium Grade Speedy Prep Towel with Glide for lubrication
Paint Thickness Readings Taken
Masked off delicate areas
Correction: Meguiar's D300 on MF Cutting Discs and very quick polishing pass with M205 on White LC Pad via Griot's BOSS 21, Rupes LHR21ES, and Rupes LHR75e
Eraser Wipe Down
Paint Coating: Optimum Gloss Coat
Wheel Sealant: CarPro HydrO2
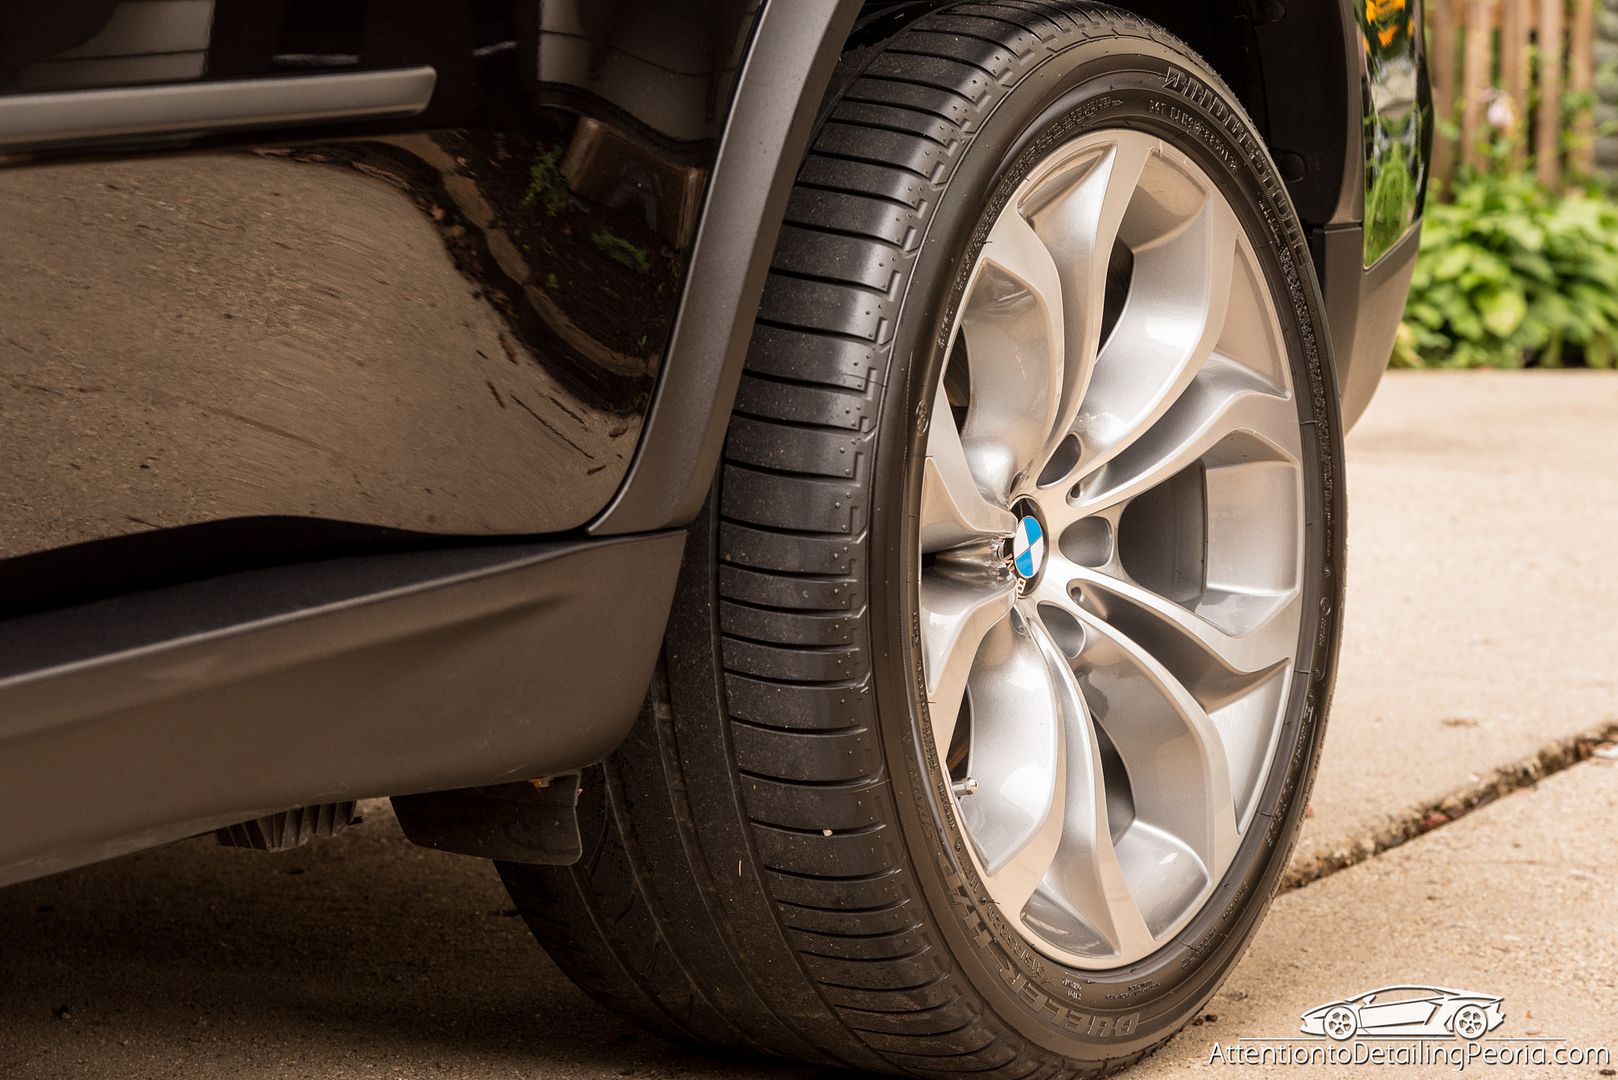
Tires: CarPro PERL
Exhaust Tips: CG Metal Polish via #0000 Steel Wool and MF Towel
Glass: CarPro Fast Glass Towels
Interior: Vacuum, Glass cleaned, all surfaces cleaned with Einszett Plastic Cleaner or Quik Interior Detailer, Protected with 303
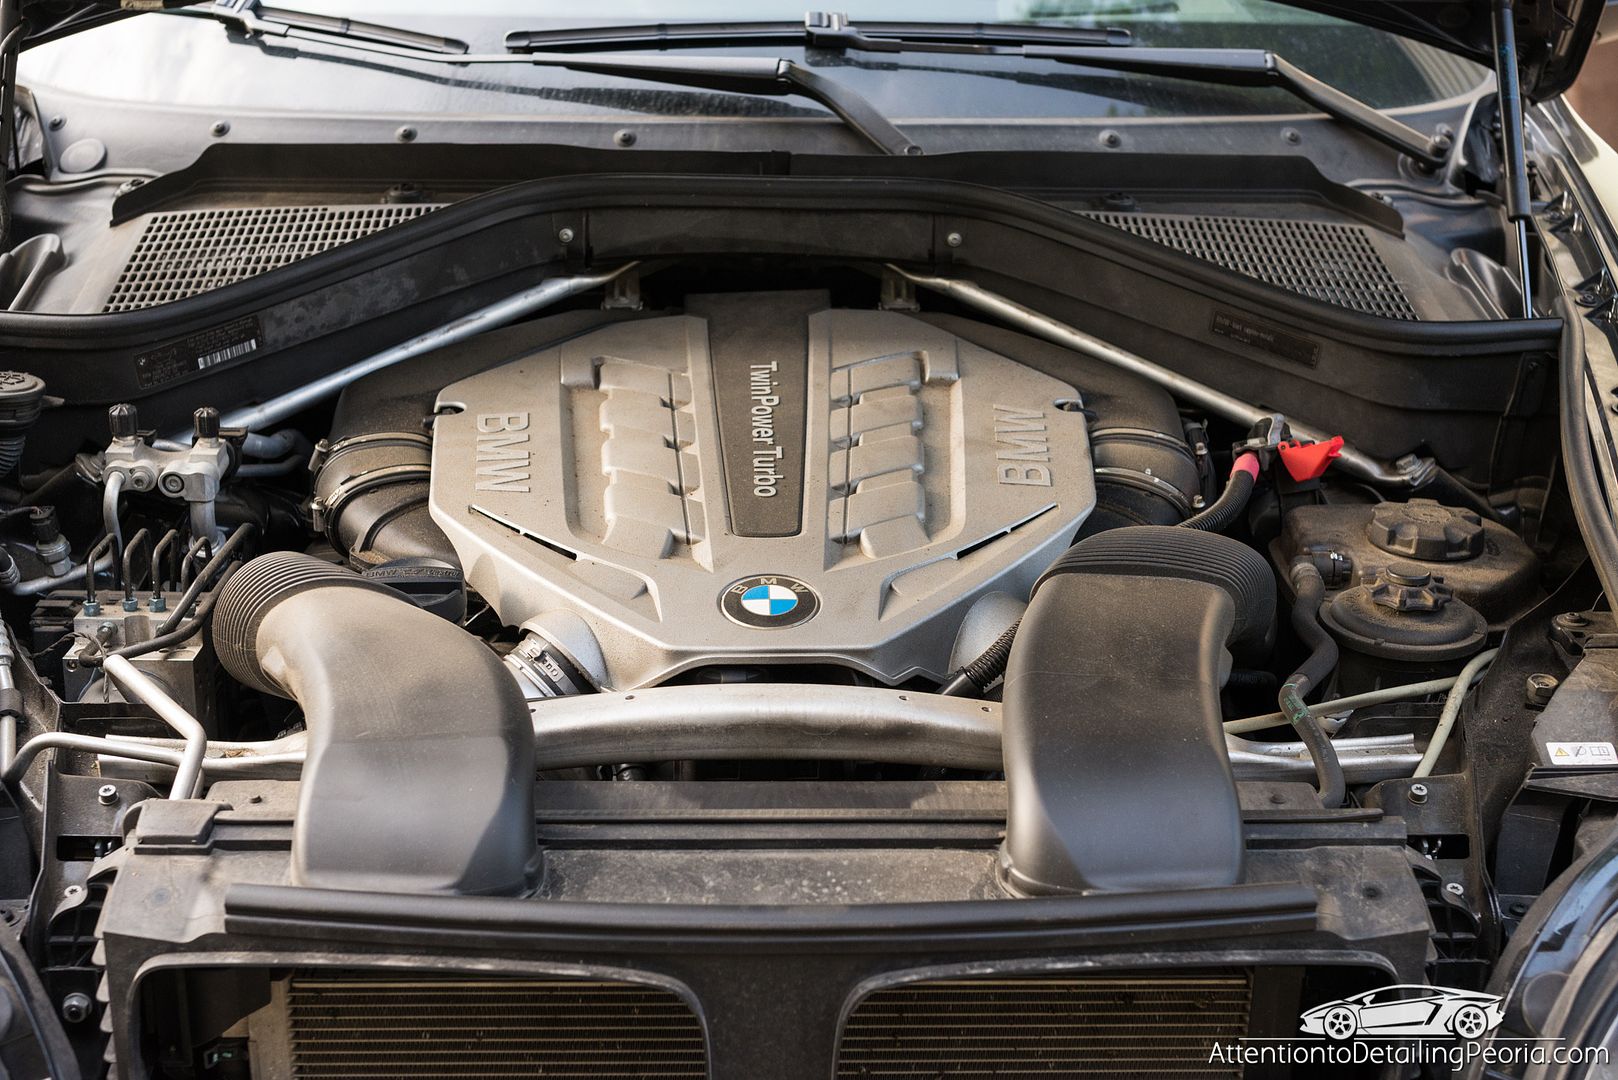
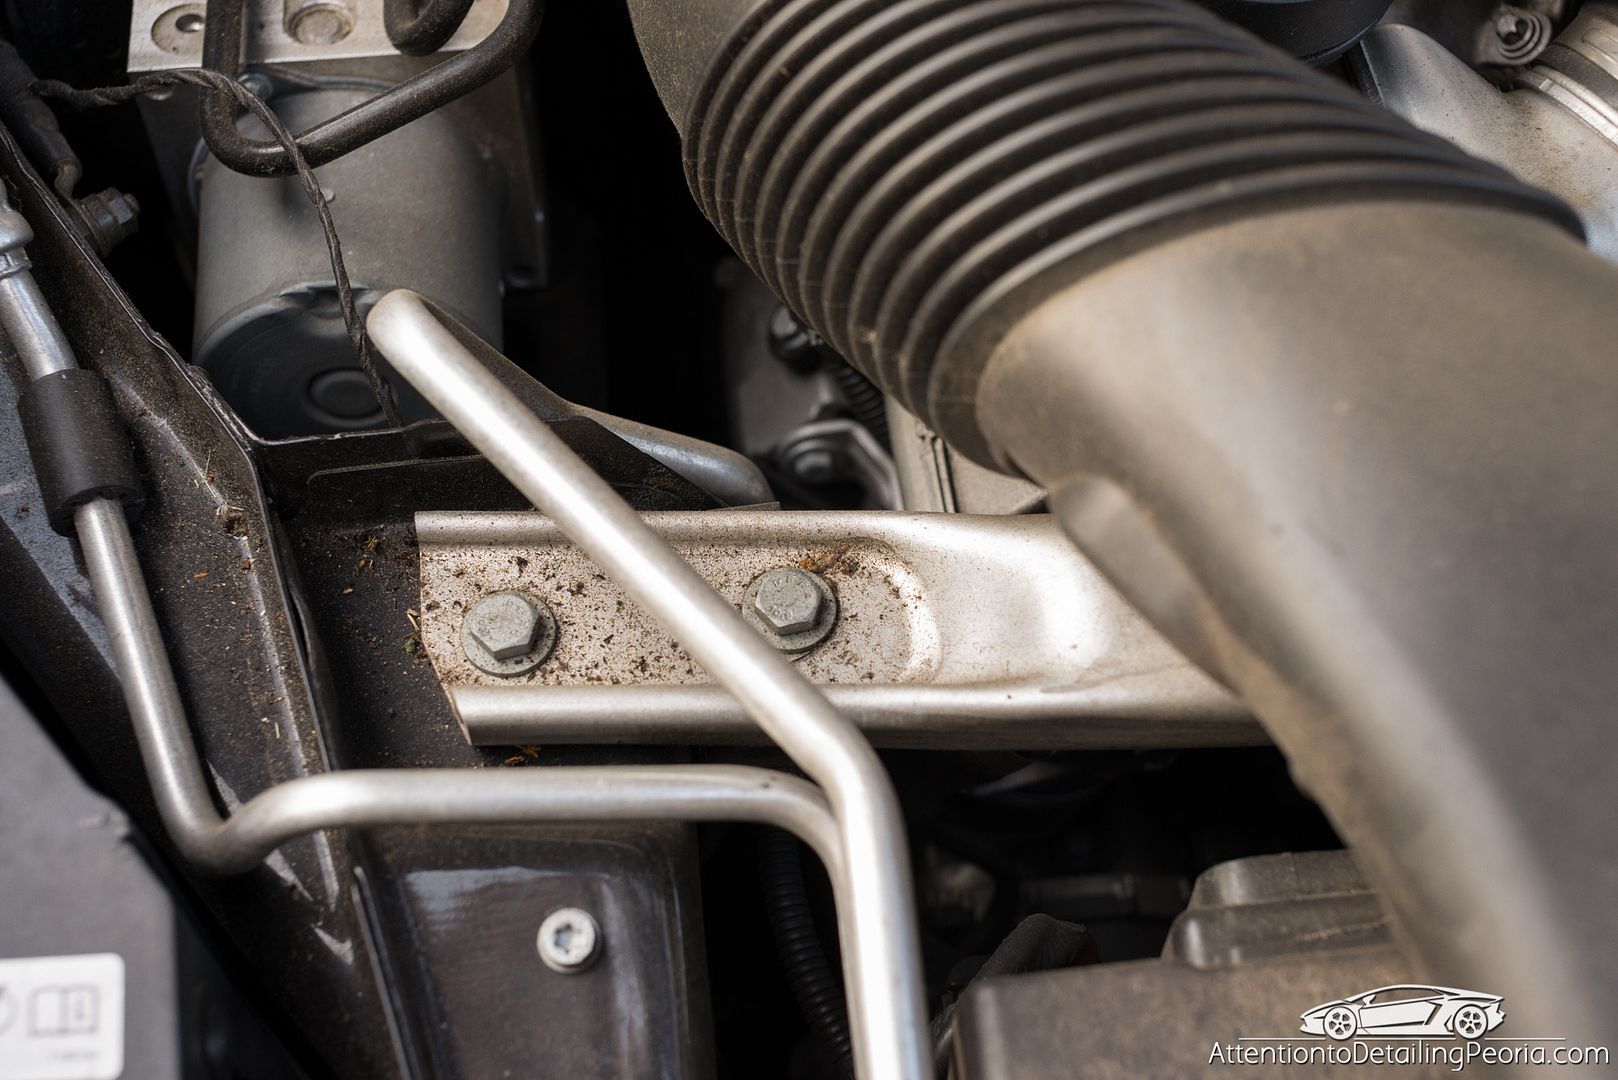
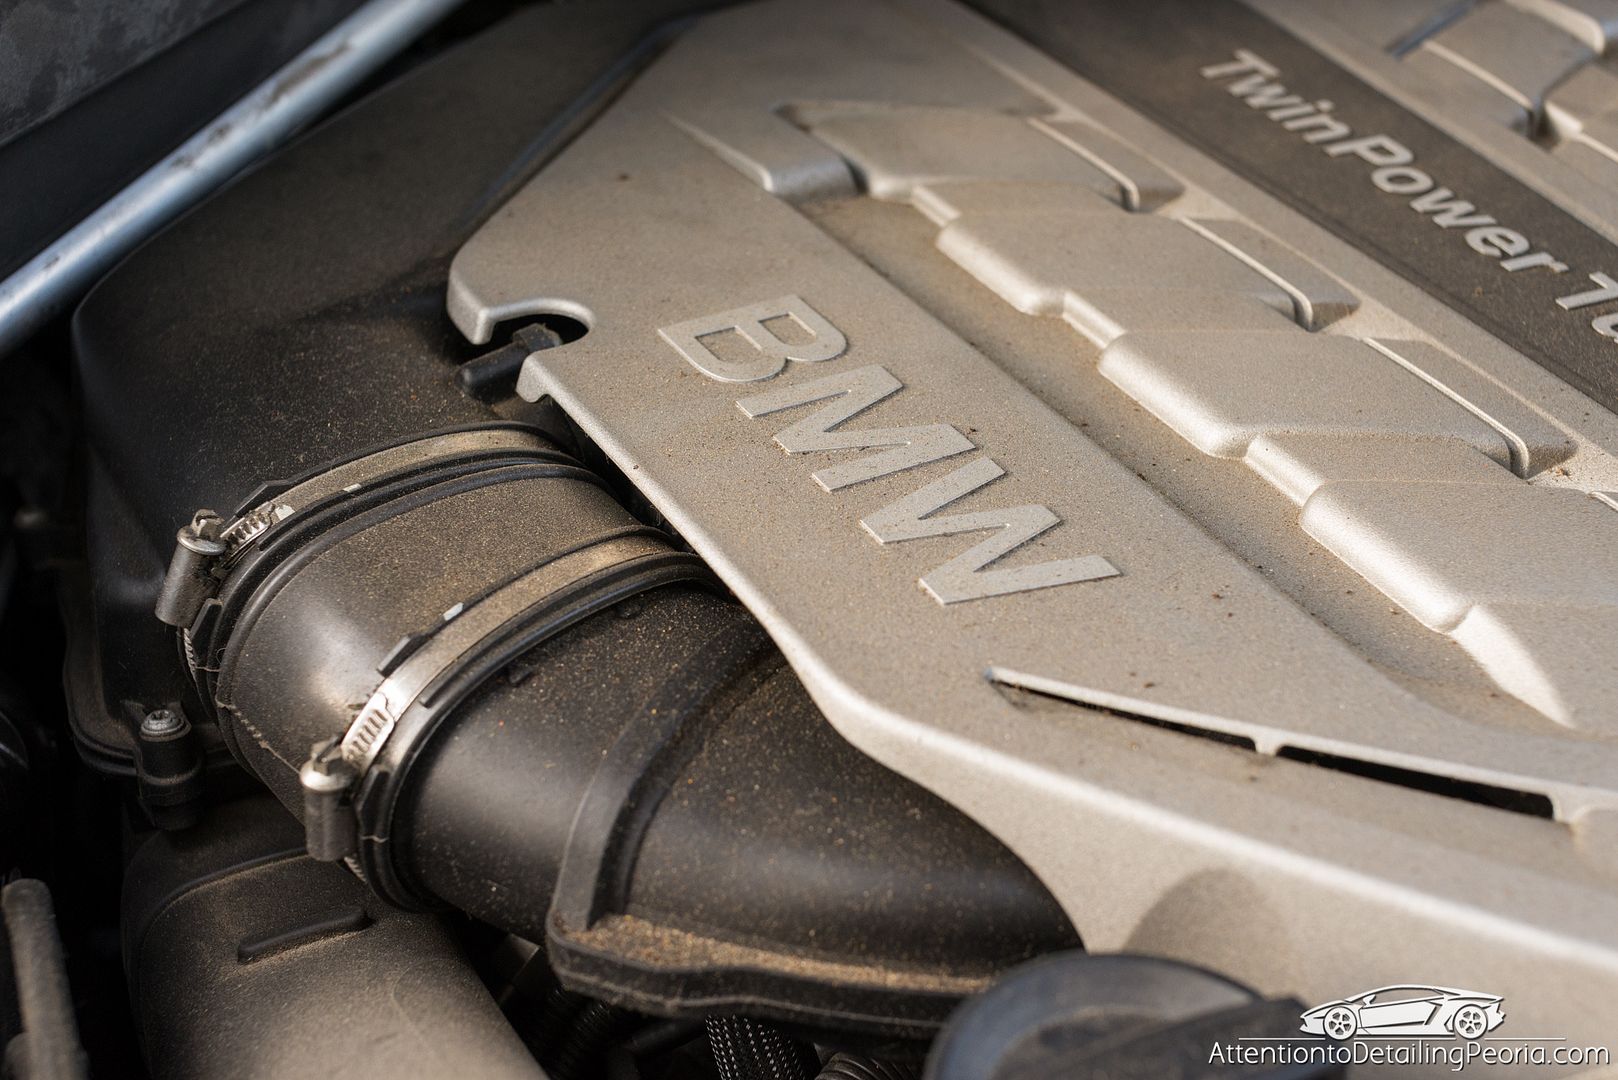
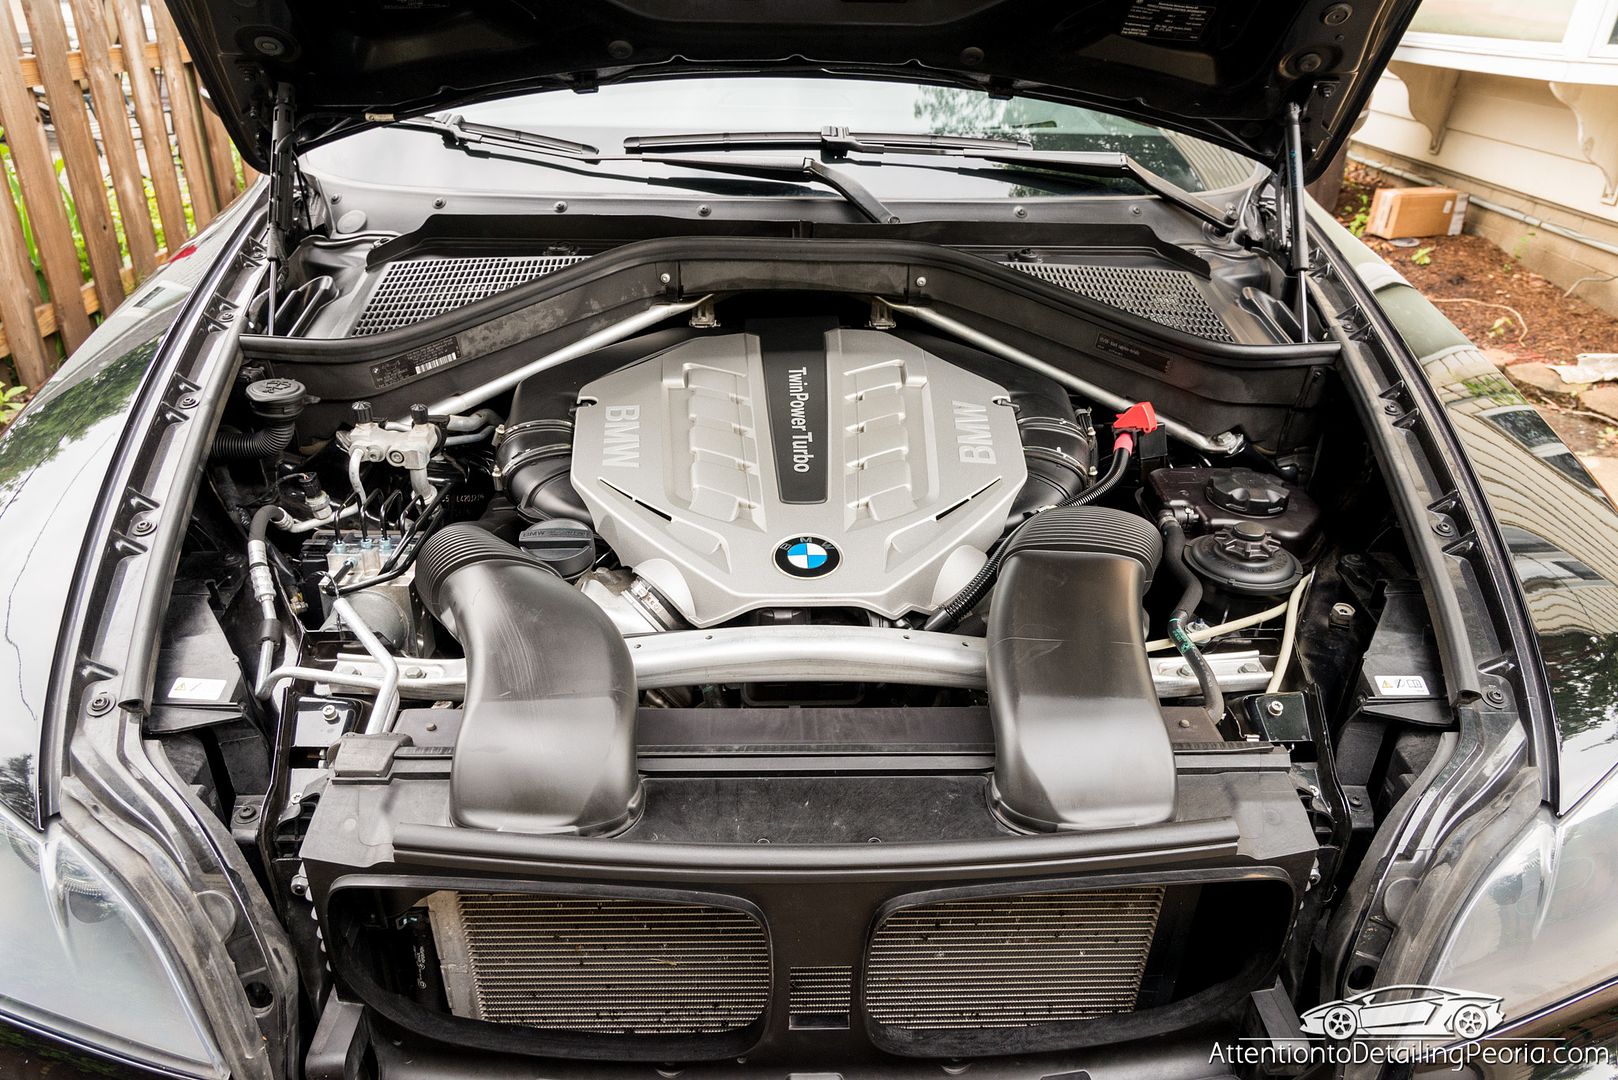
Engine: Rinsed, cleaned with Meguiar's D108 & Various Brushes, Blown Dry with Master Blaster, dressed with 303
The car was dropped off and was quite dirty
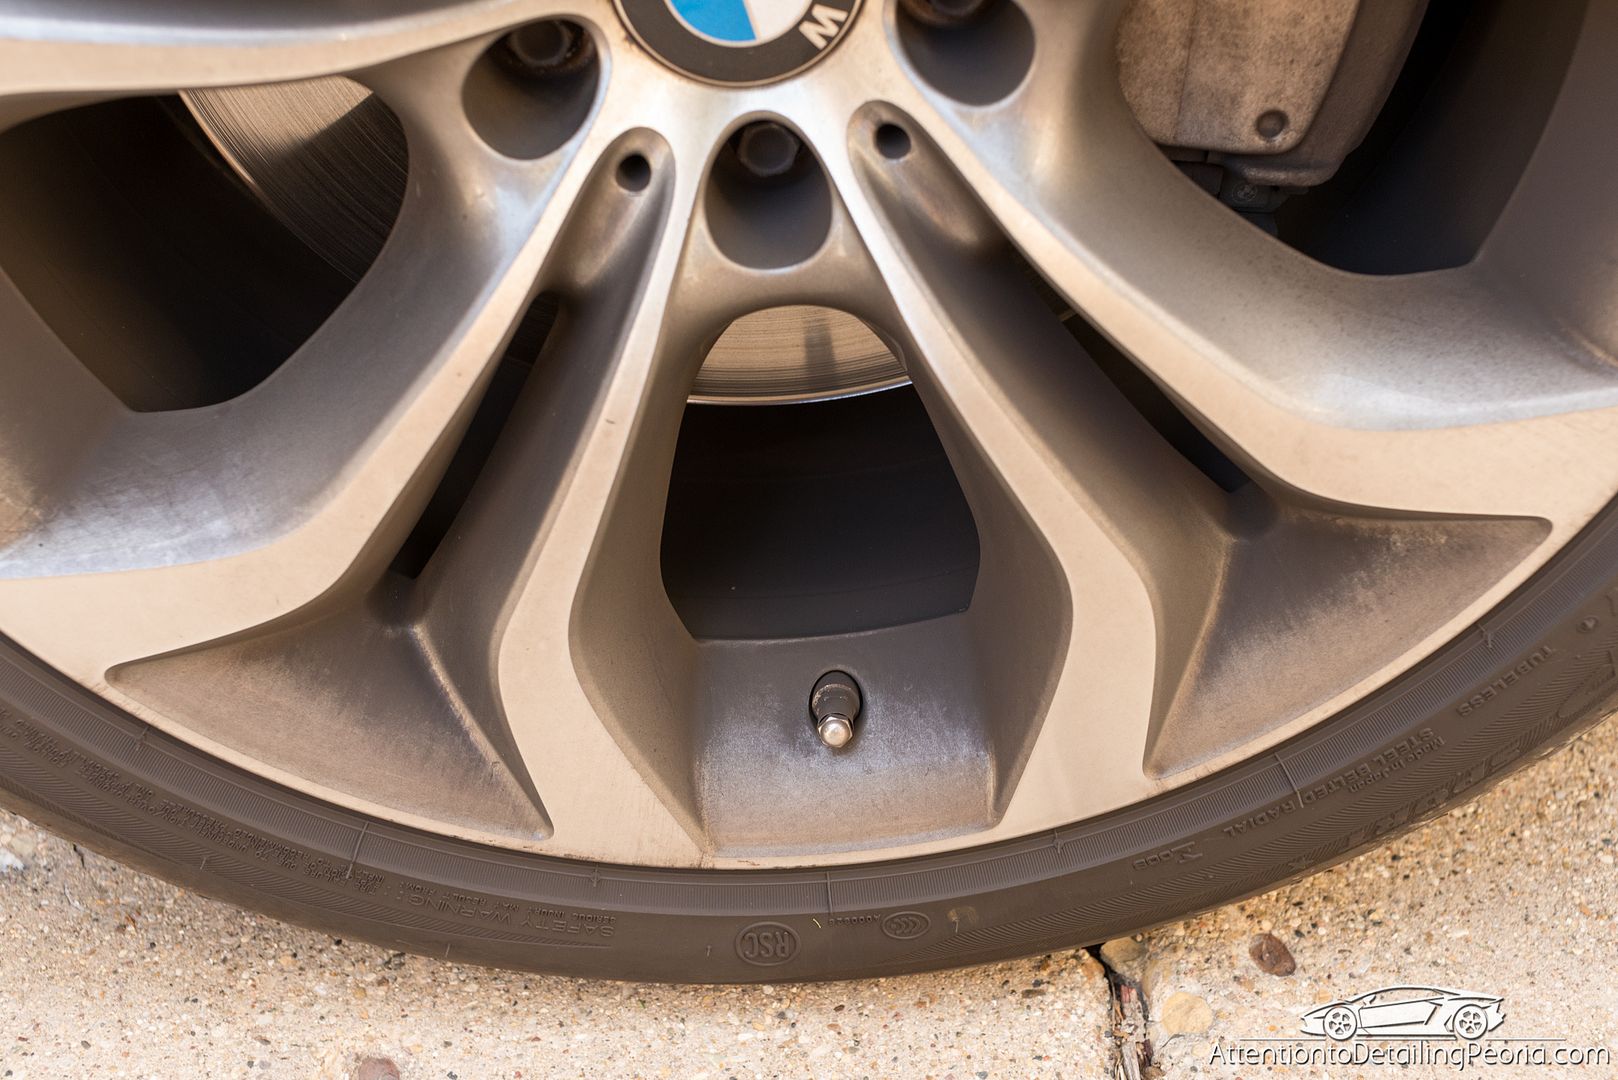
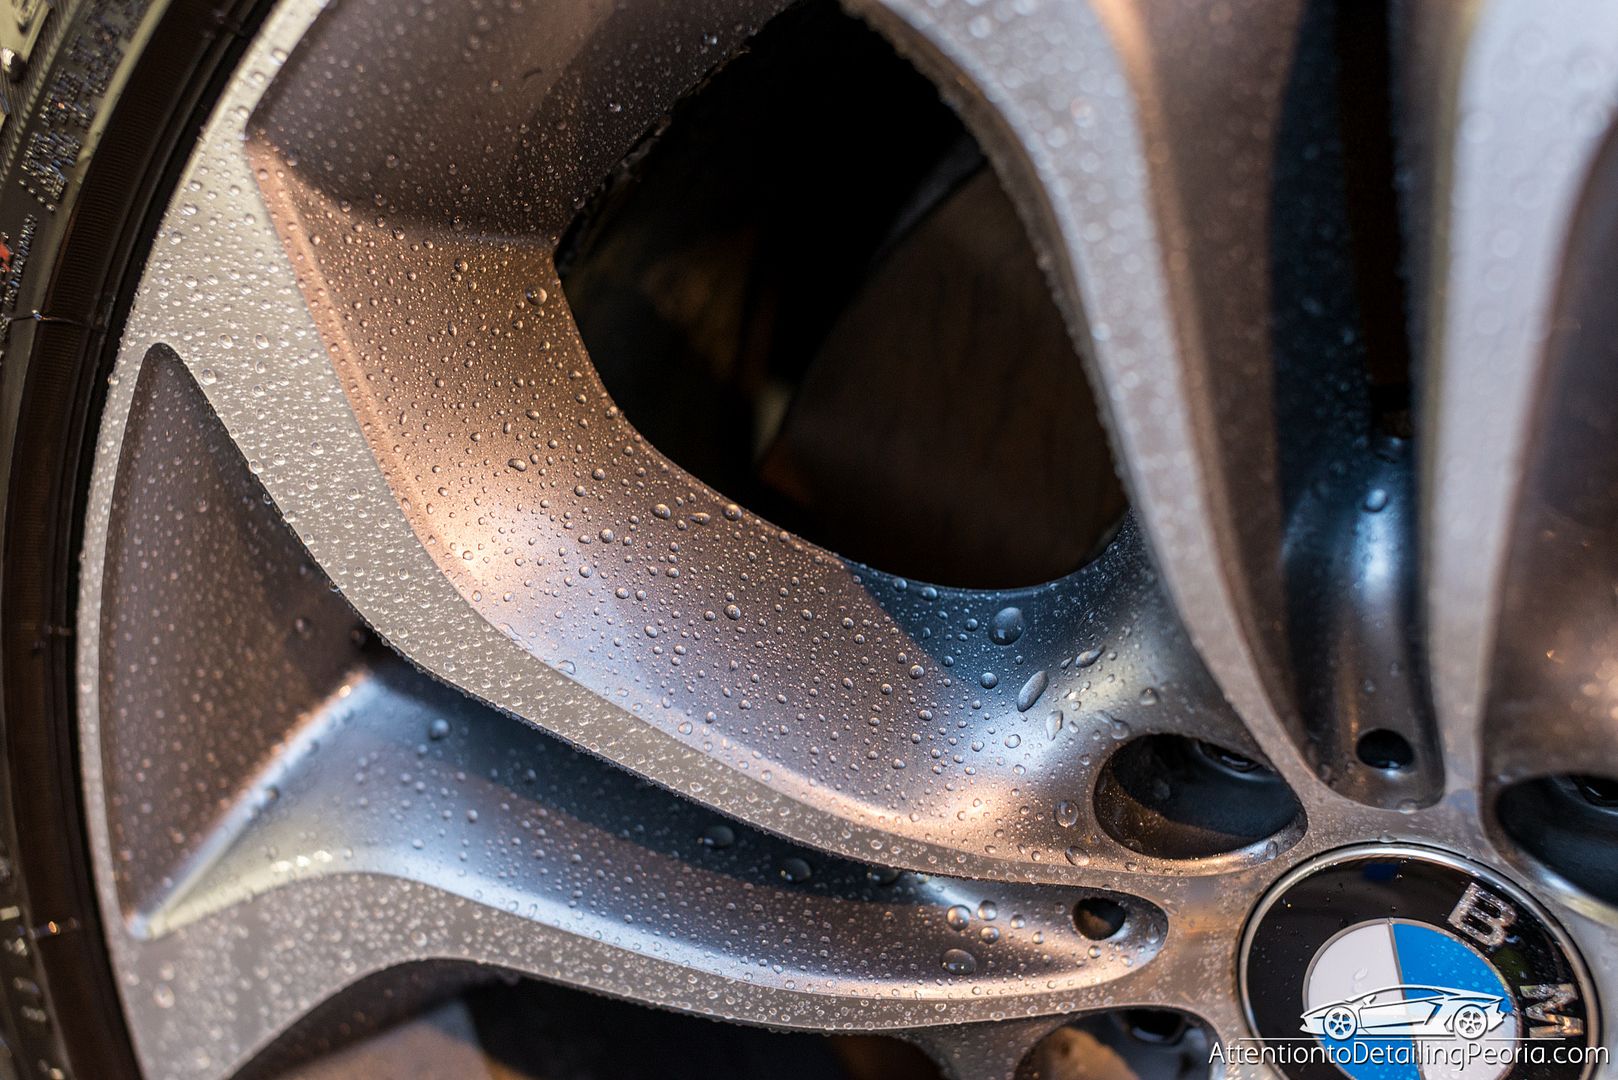
Wheels were very dirty
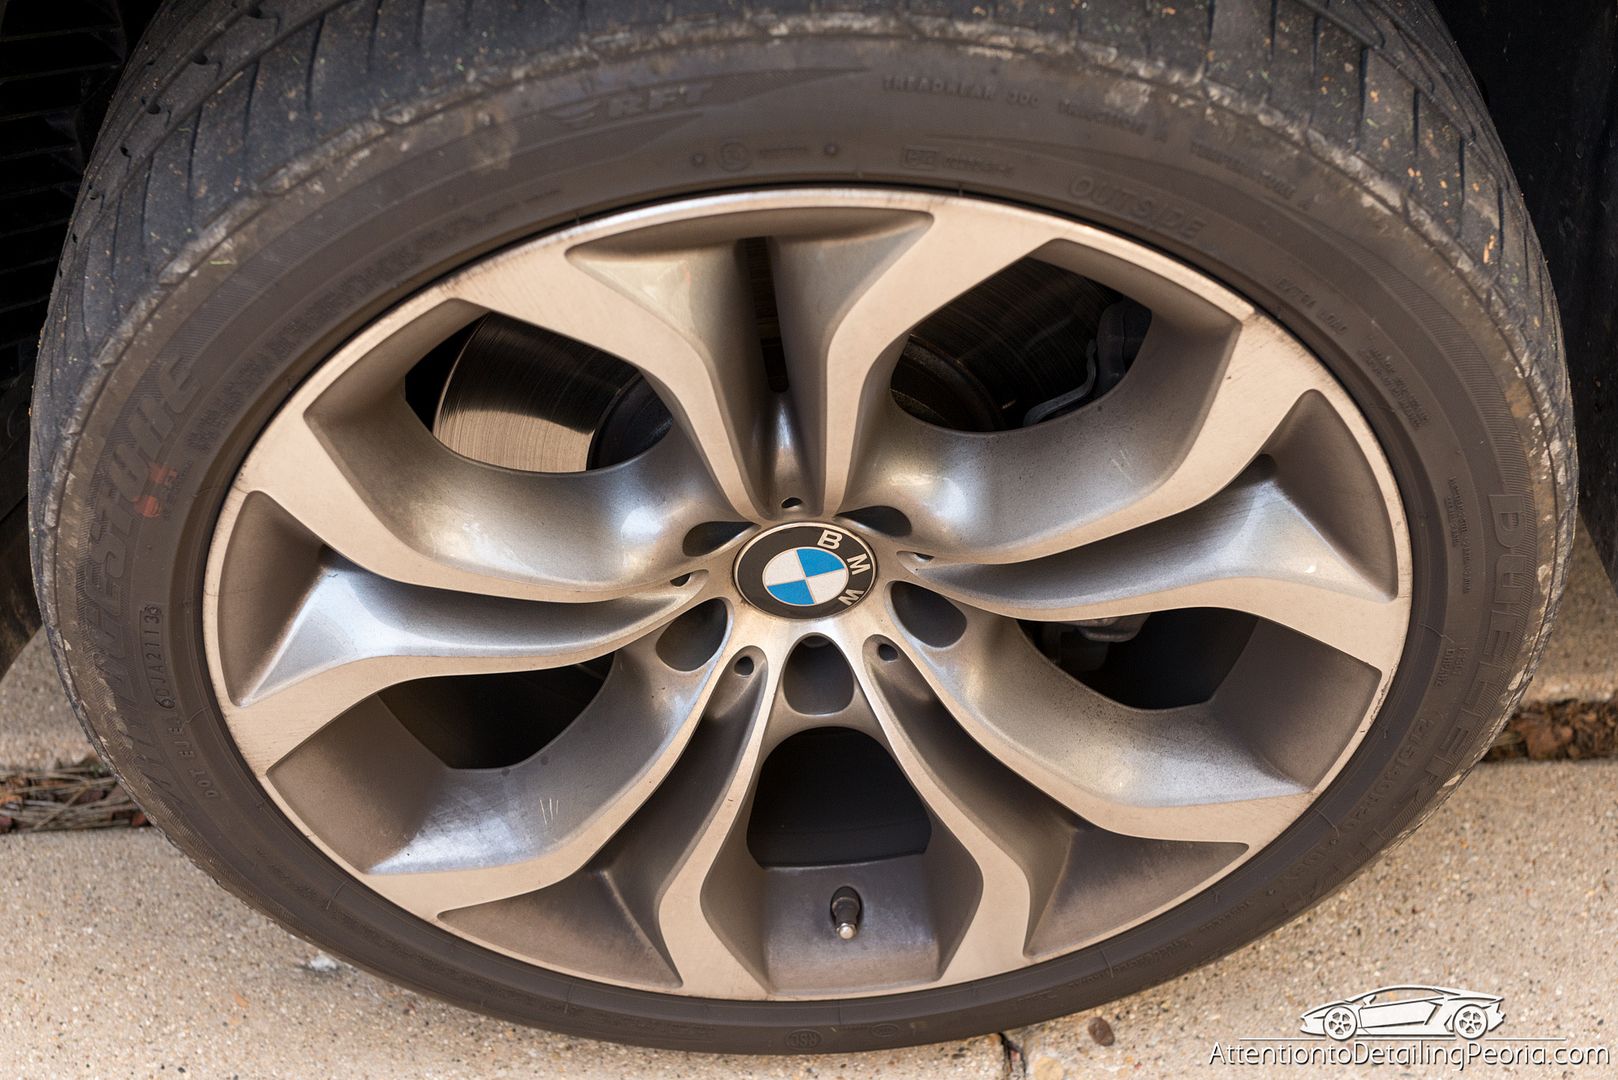
The dirt and grime left these wheels looking dull and lifeless.
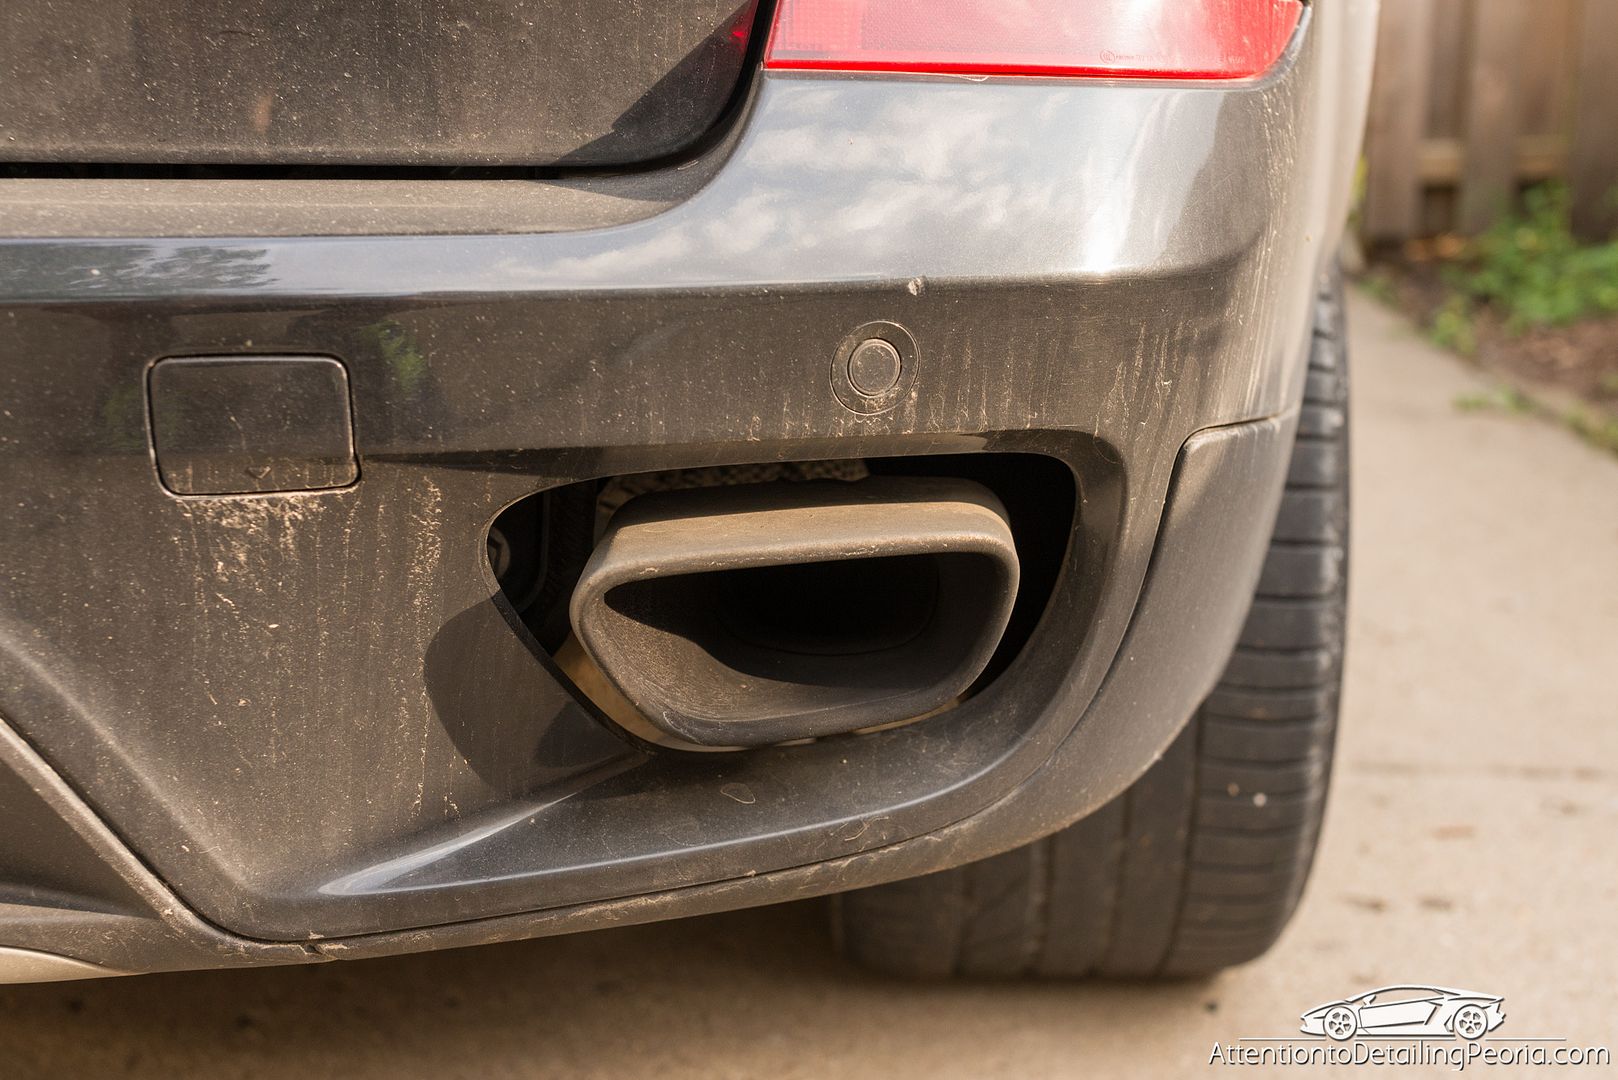
Exhaust tips had clearly never been polished and had an incredible amount of carbon buildup on them.
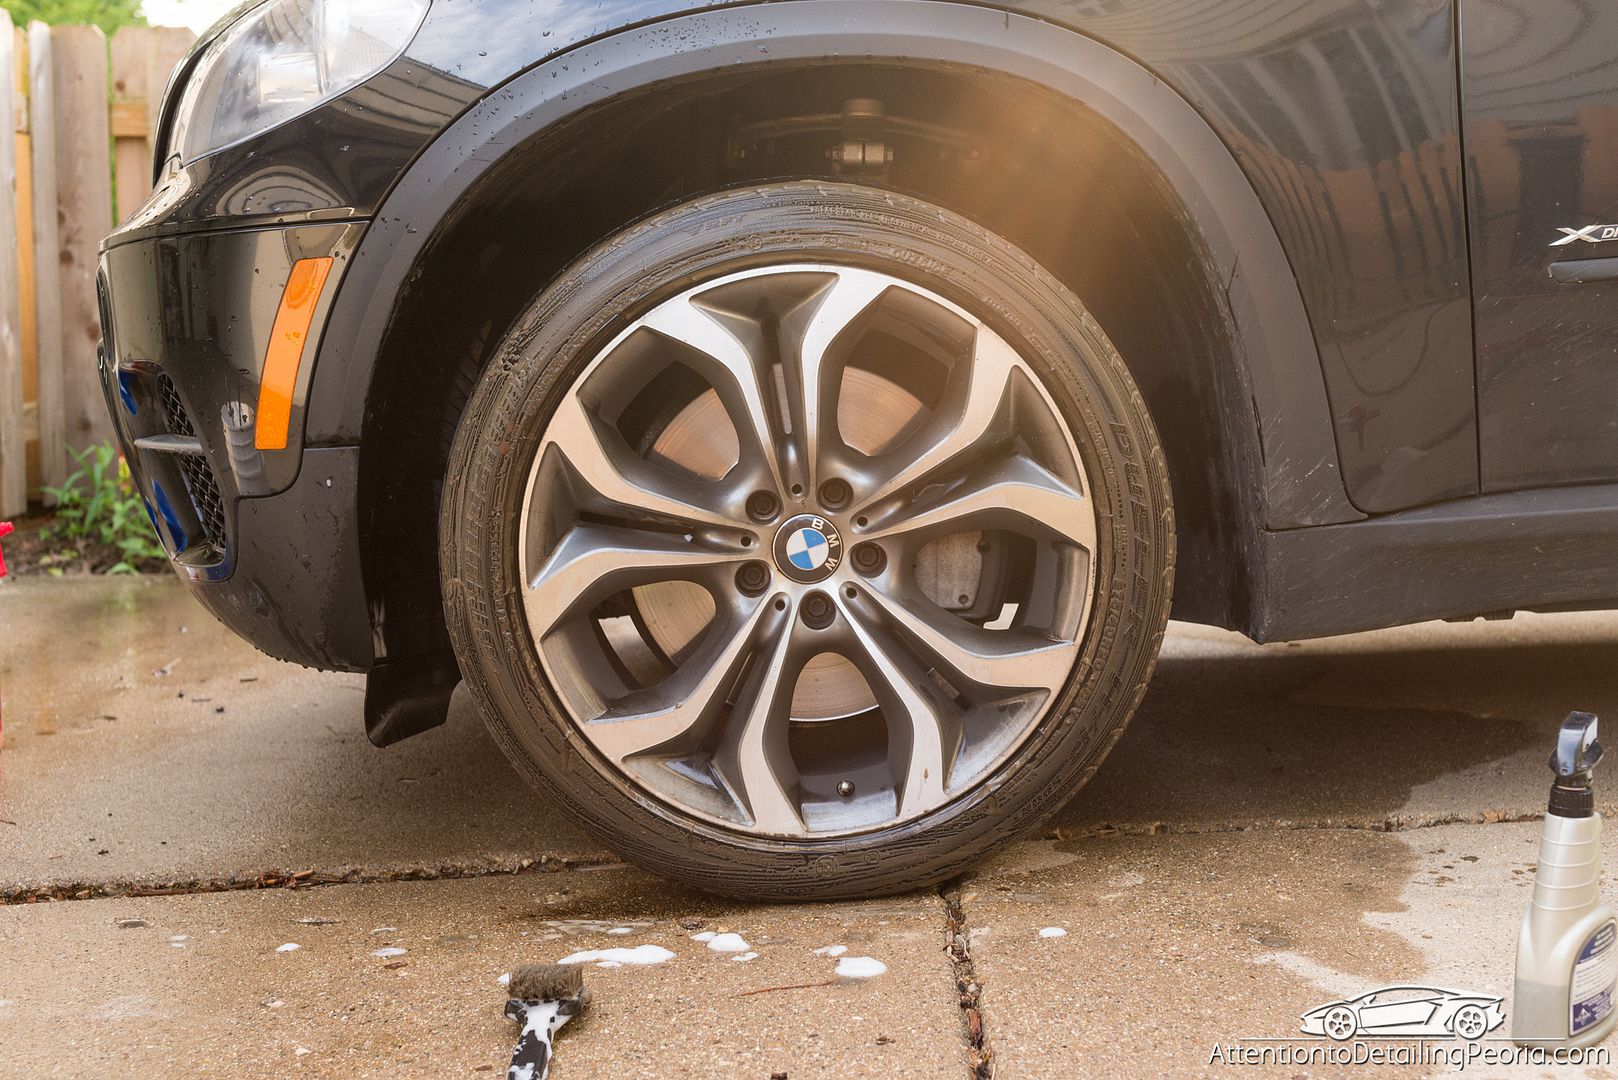
As always, we begin by cleaning the wheels and tires. The tires were scrubbed several times to remove the dirt that had accumulated on them
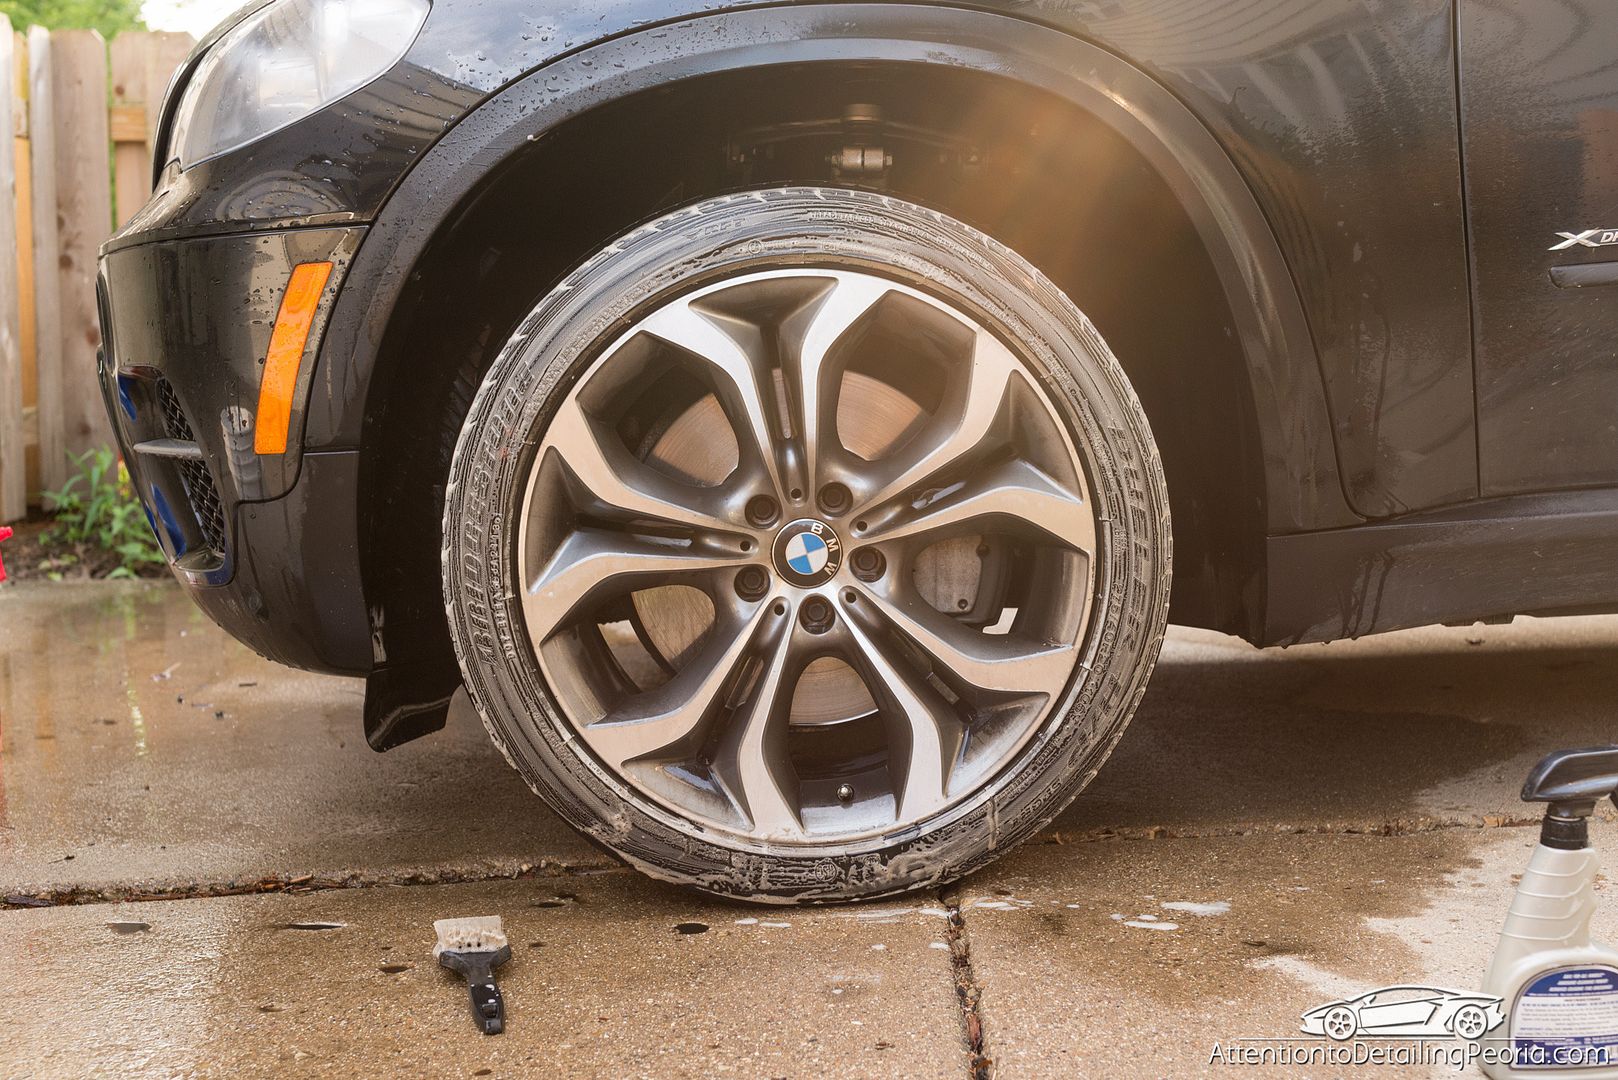
The tire cleaner stays white once all of the dirt has been removed.
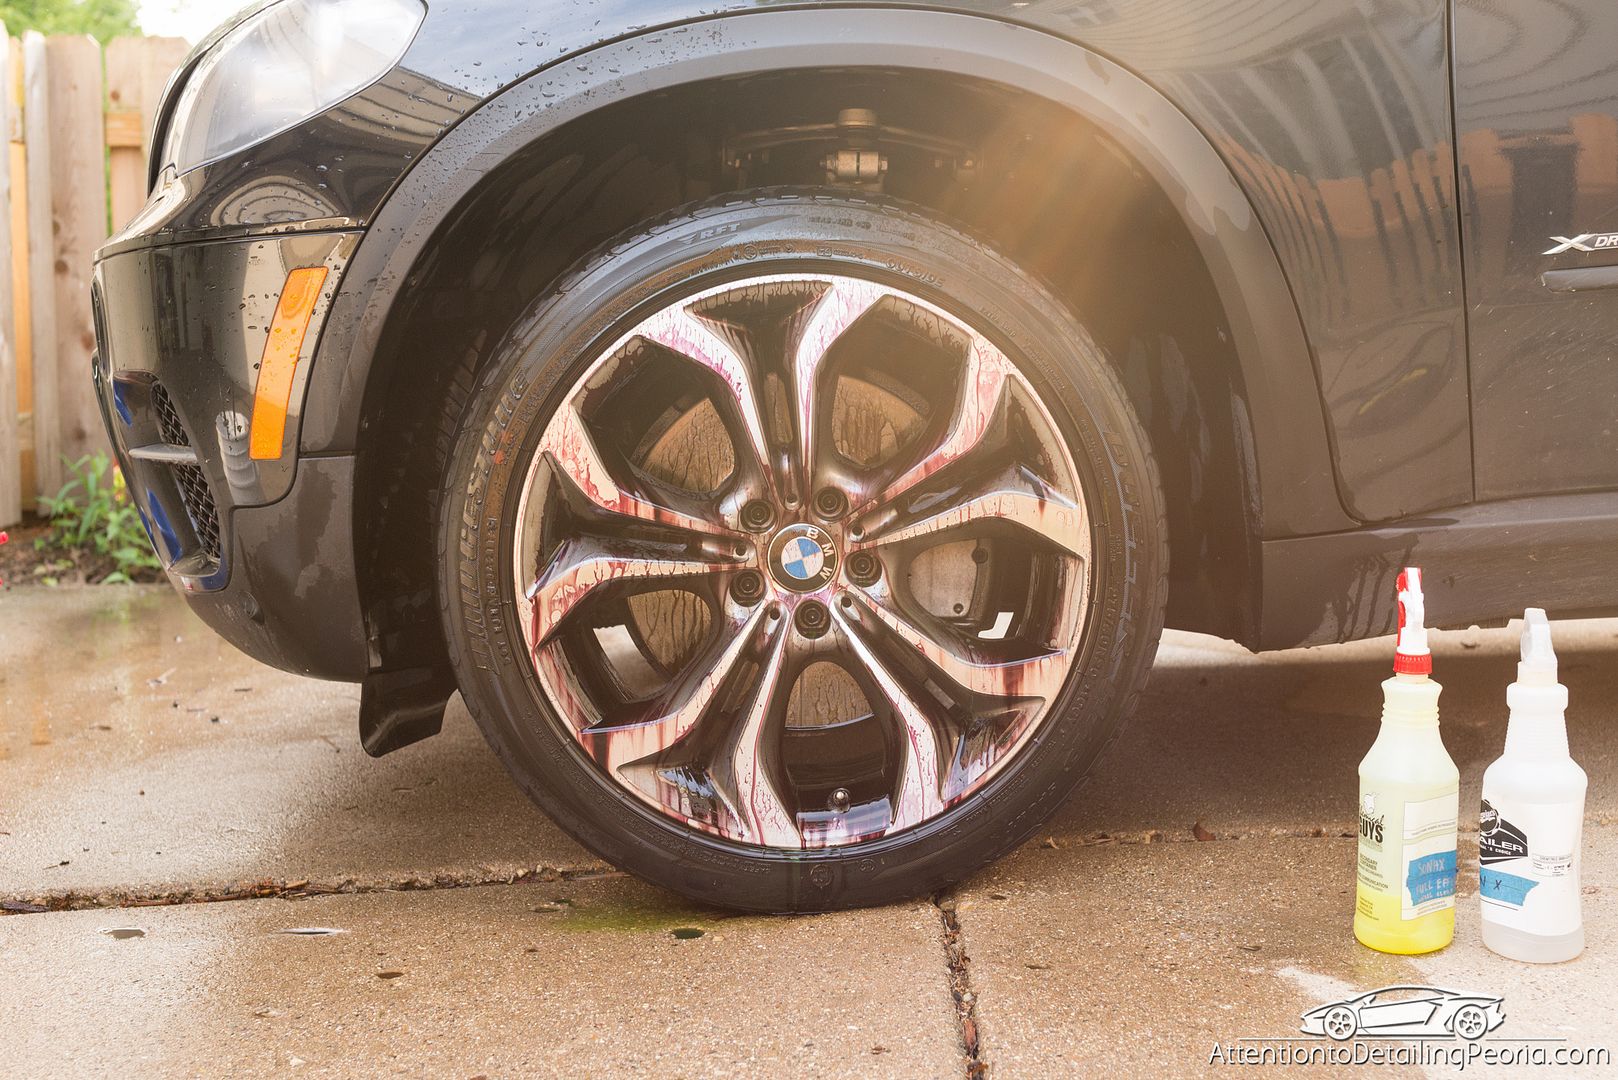
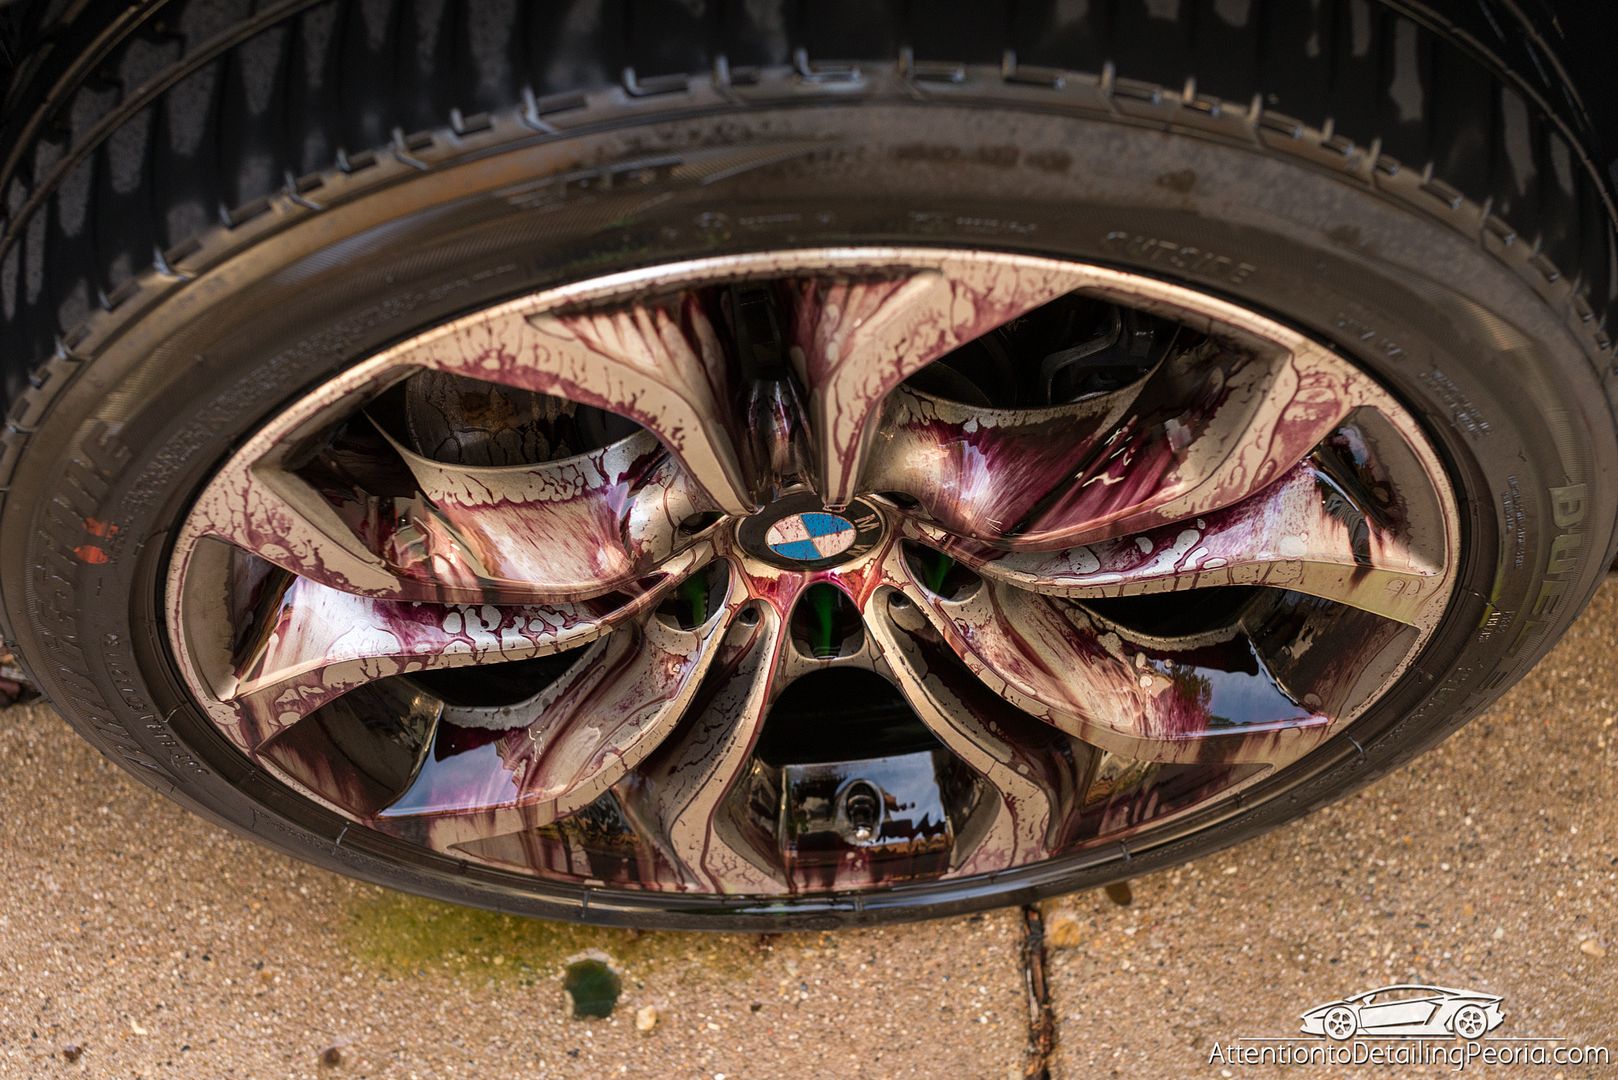
A liberal amount of wheel cleaner was sprayed onto each wheel and left to dwell.
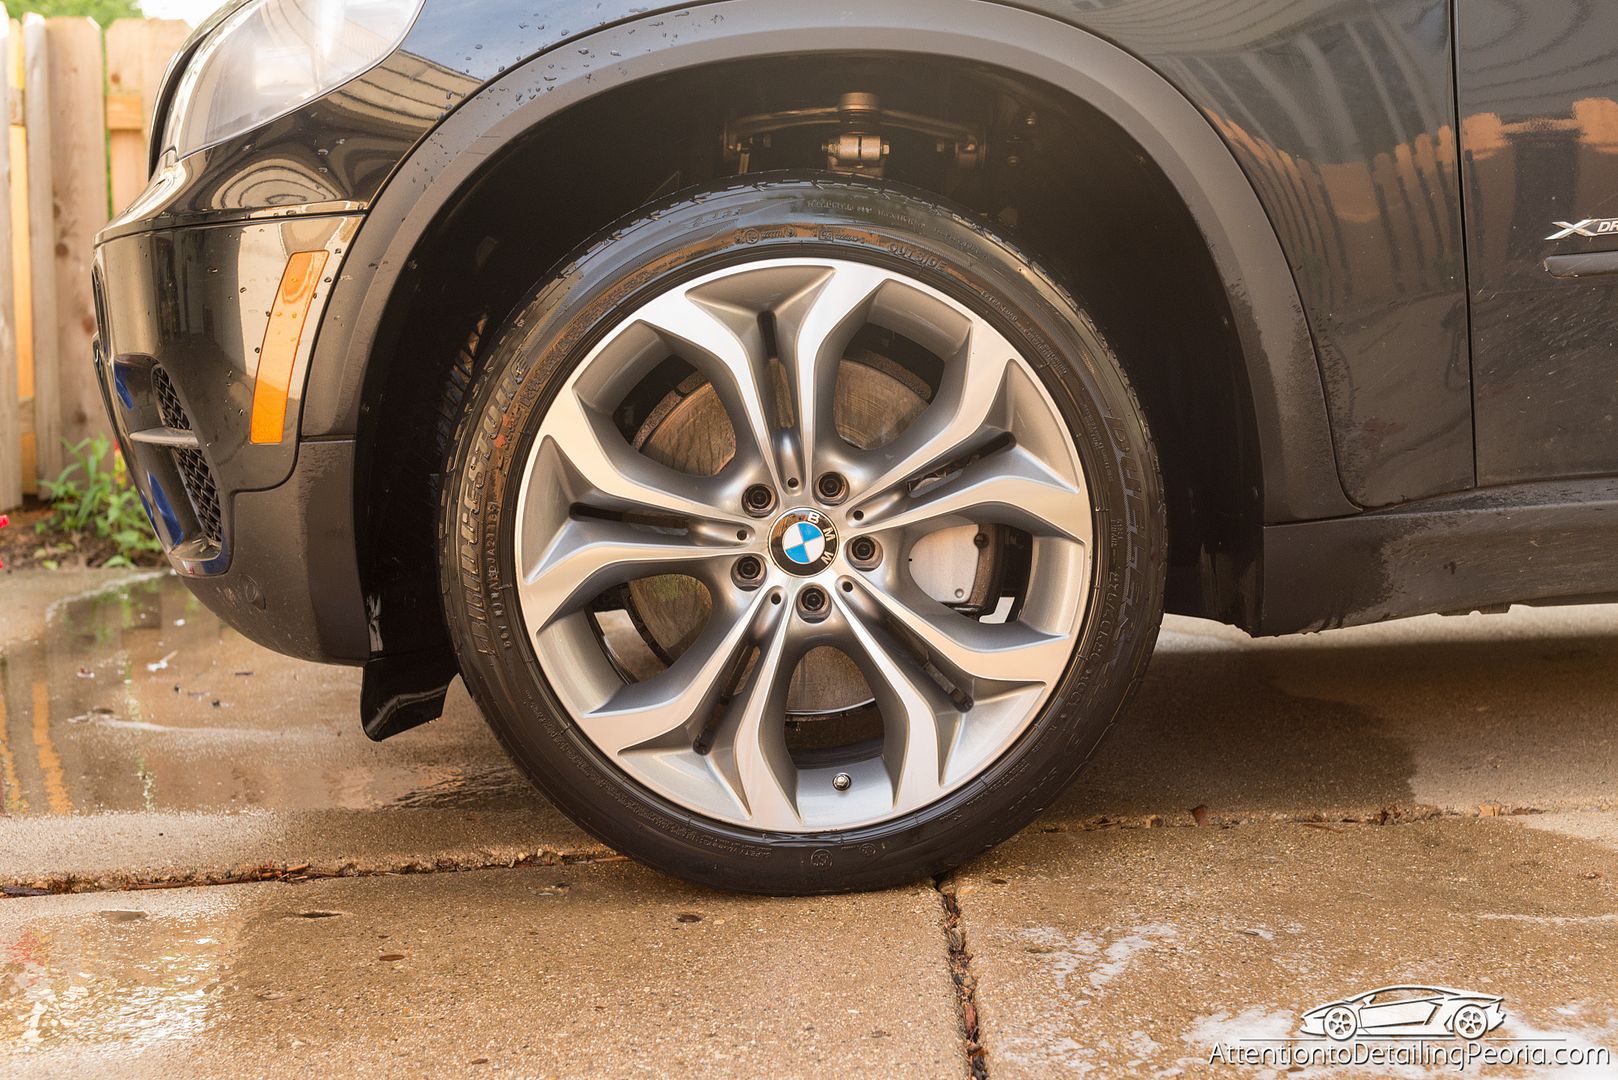
Looking much better!
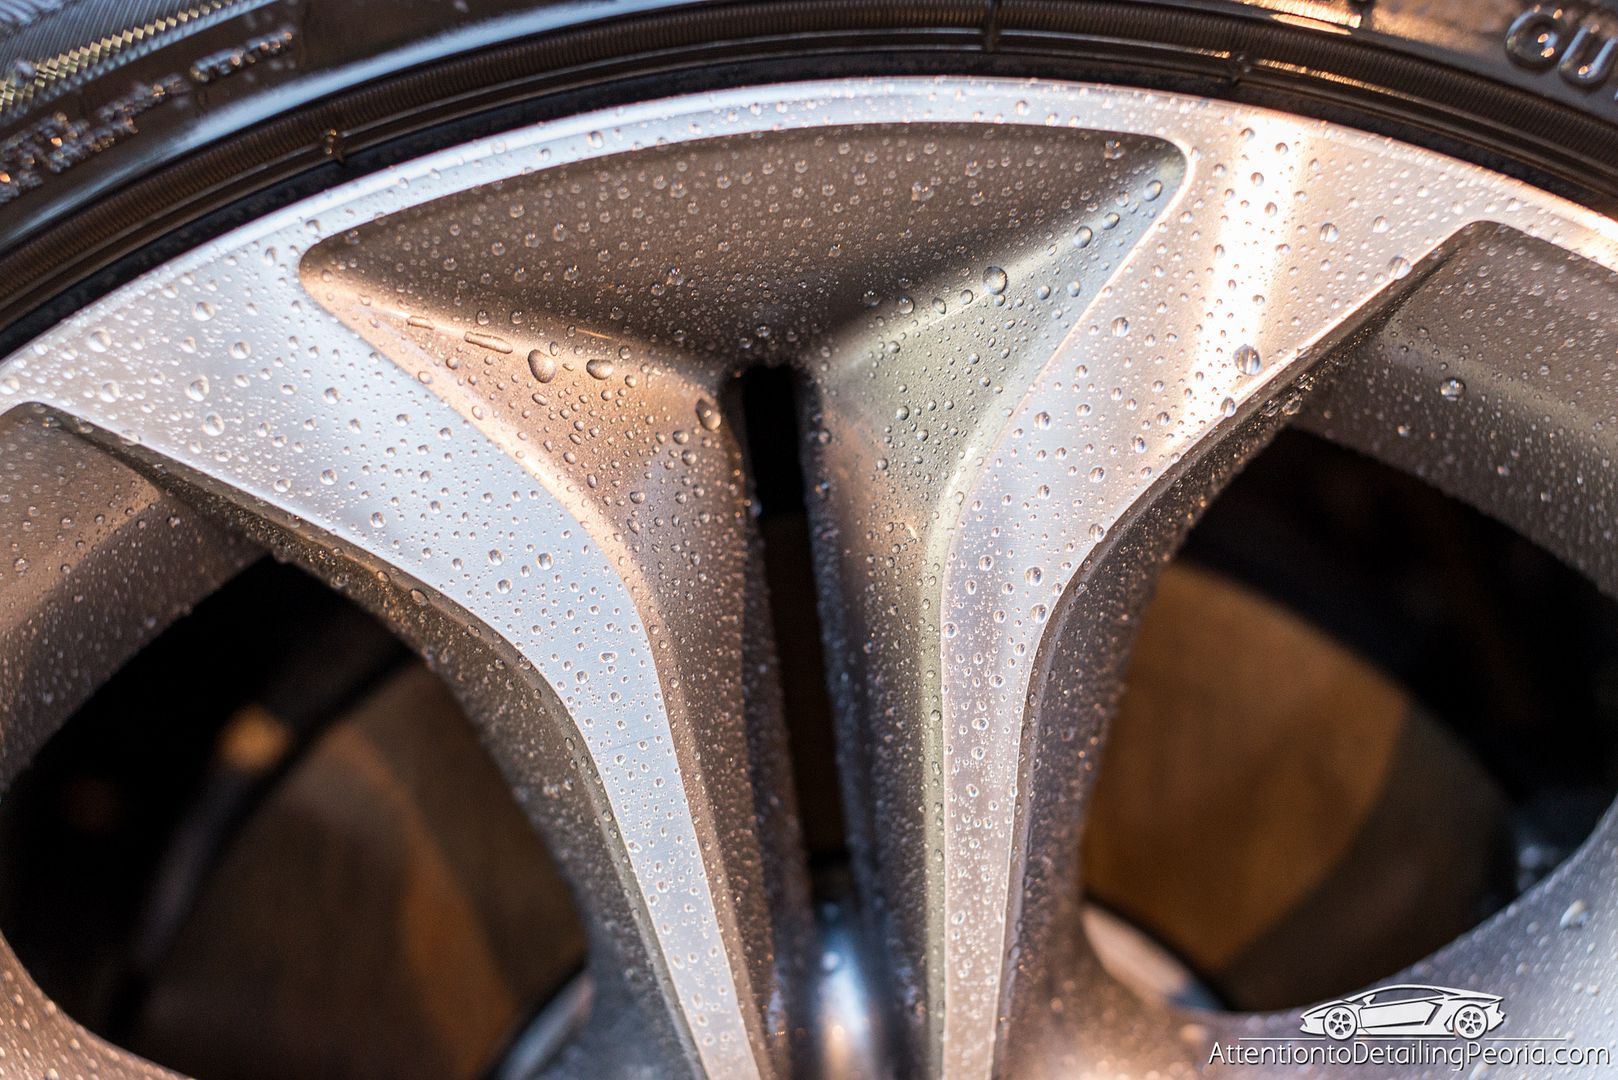
The wheels were then sealed for added protection
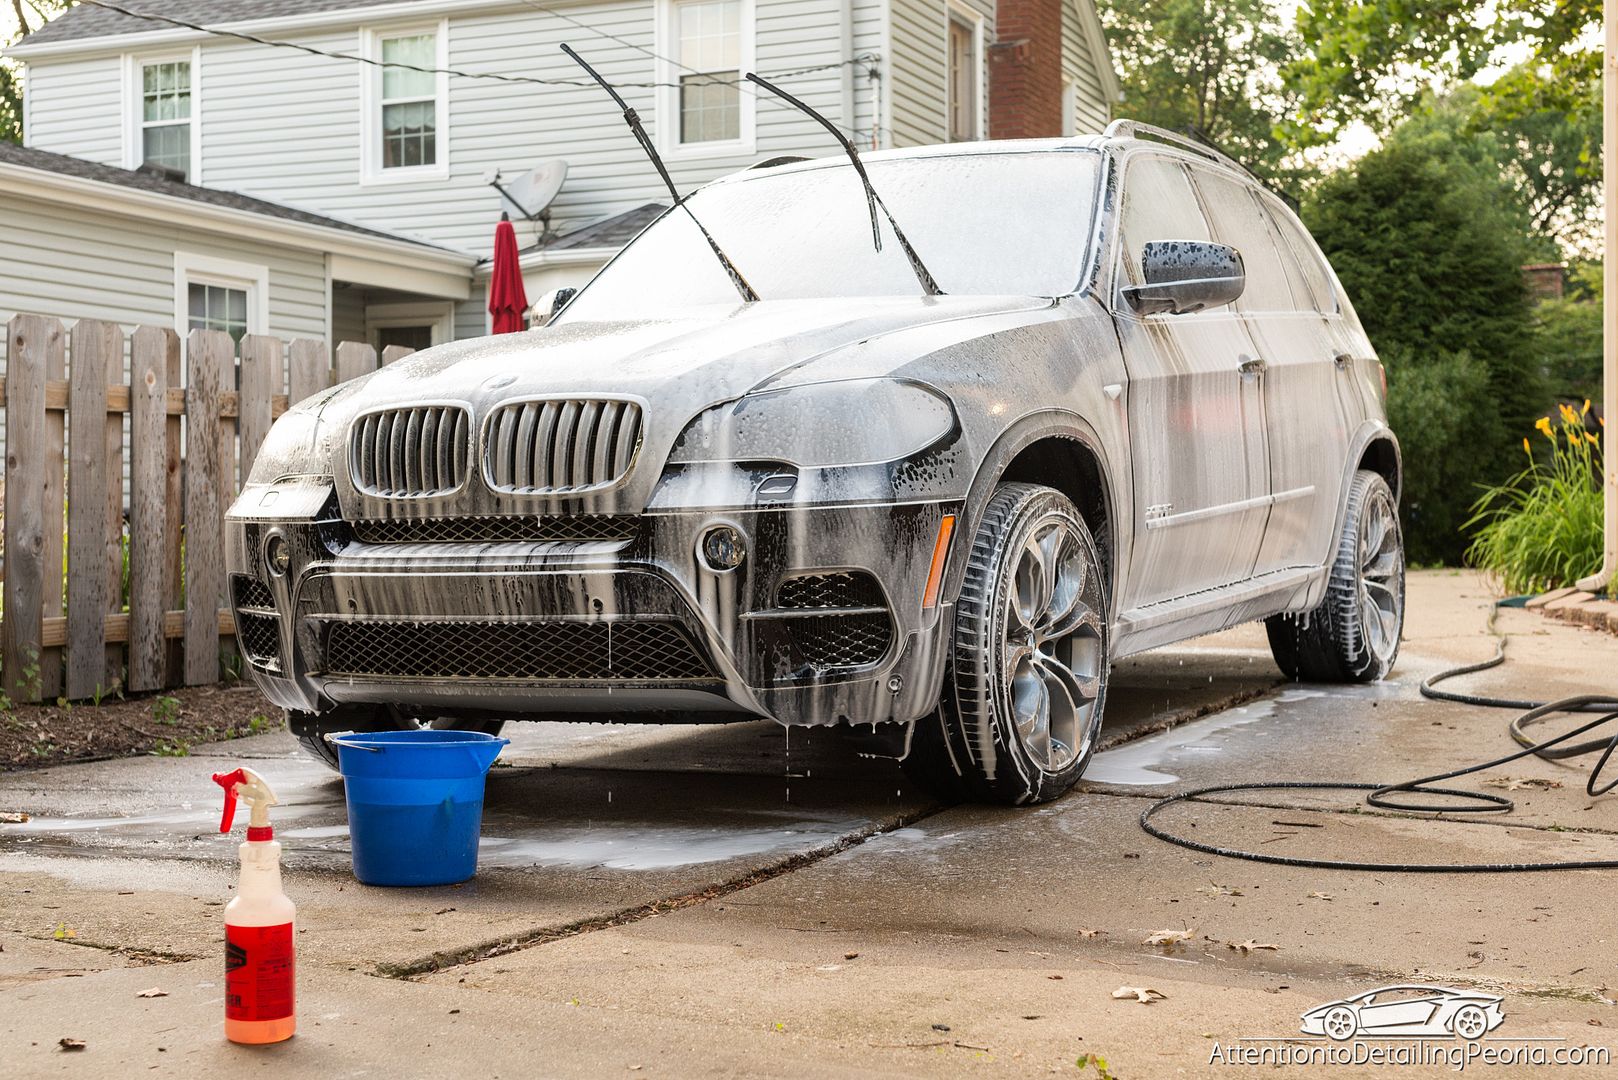
We then turned our attention to the paint. The vehicle was covered in a thick layer of degreasing soap and all-purpose cleaner to help break through the thick layer of grime that had built up on the surface. The car was then carefully washed to remove any remaining loose dirt.
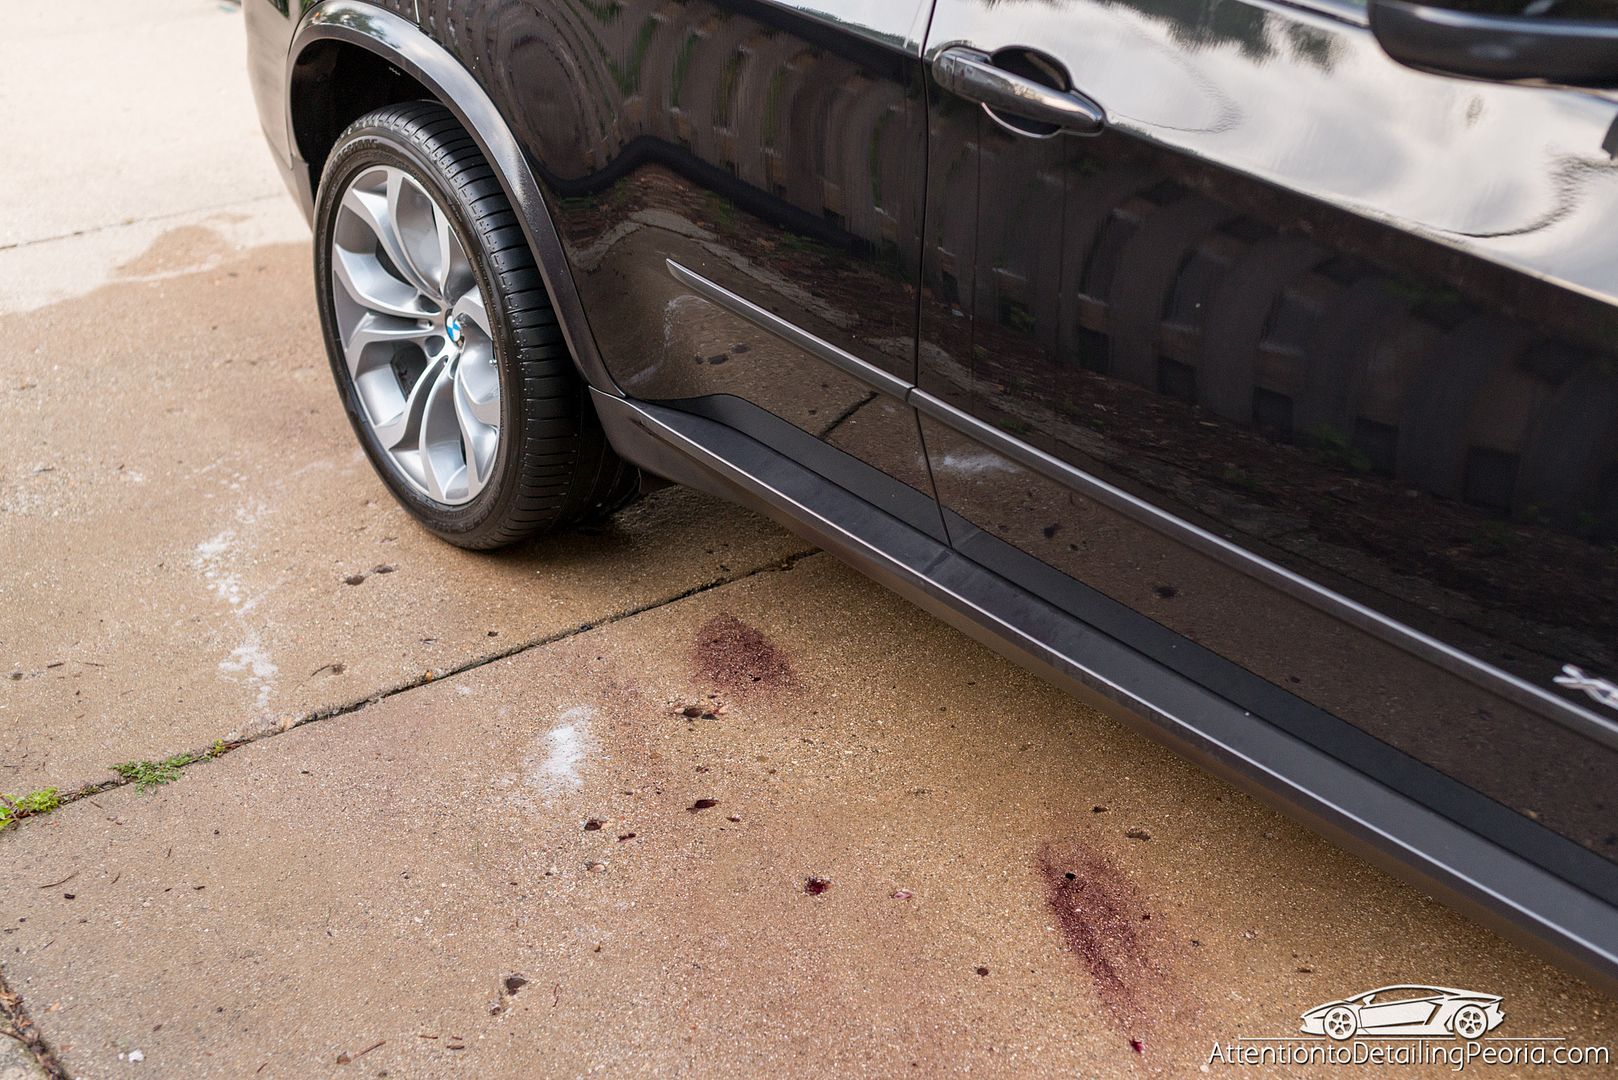
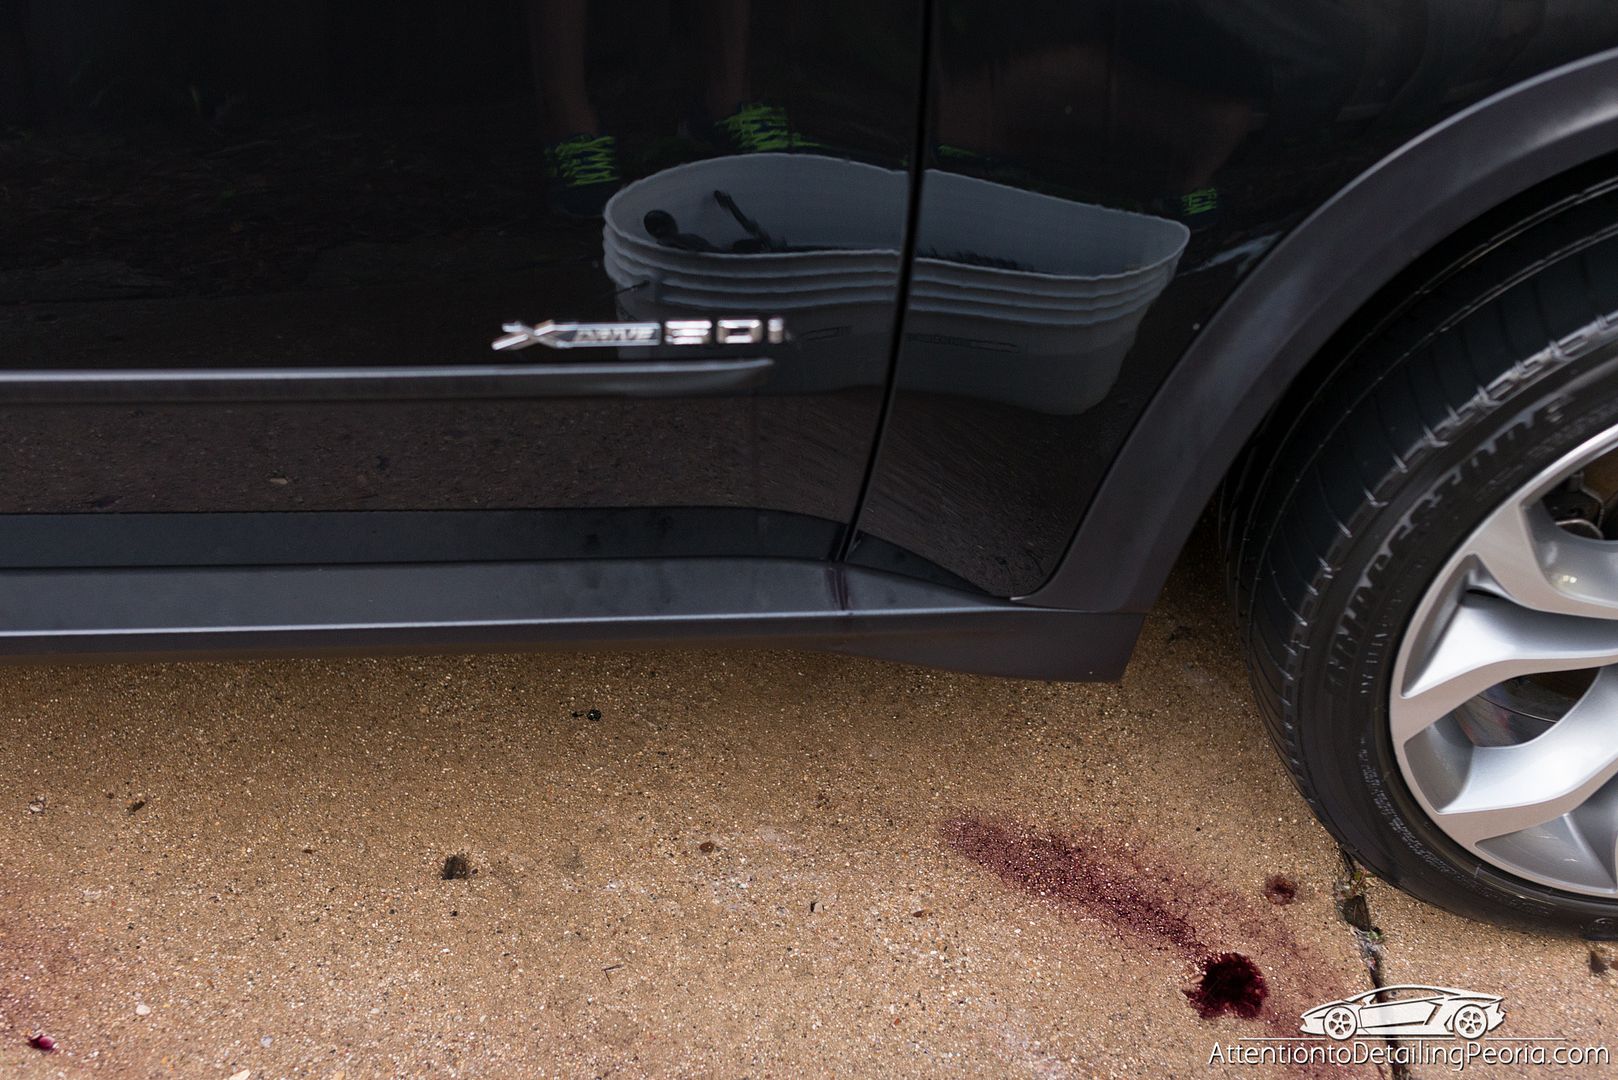
The vehicle was then soaked in Iron X to remove any bonded iron particles from the paint. The chemical transforms from clear to purple as it reacts with iron and starts to dissolve it from the paint. You can see the chemical dripping from the paint. This vehicle was very contaminated. After the iron x treatment, the entire vehicle was clayed to ensure all bonded contaminates were removed.
We then began with the paint correction process to remove the majority of light to moderate defects in order to enhance the gloss and color of the paint.
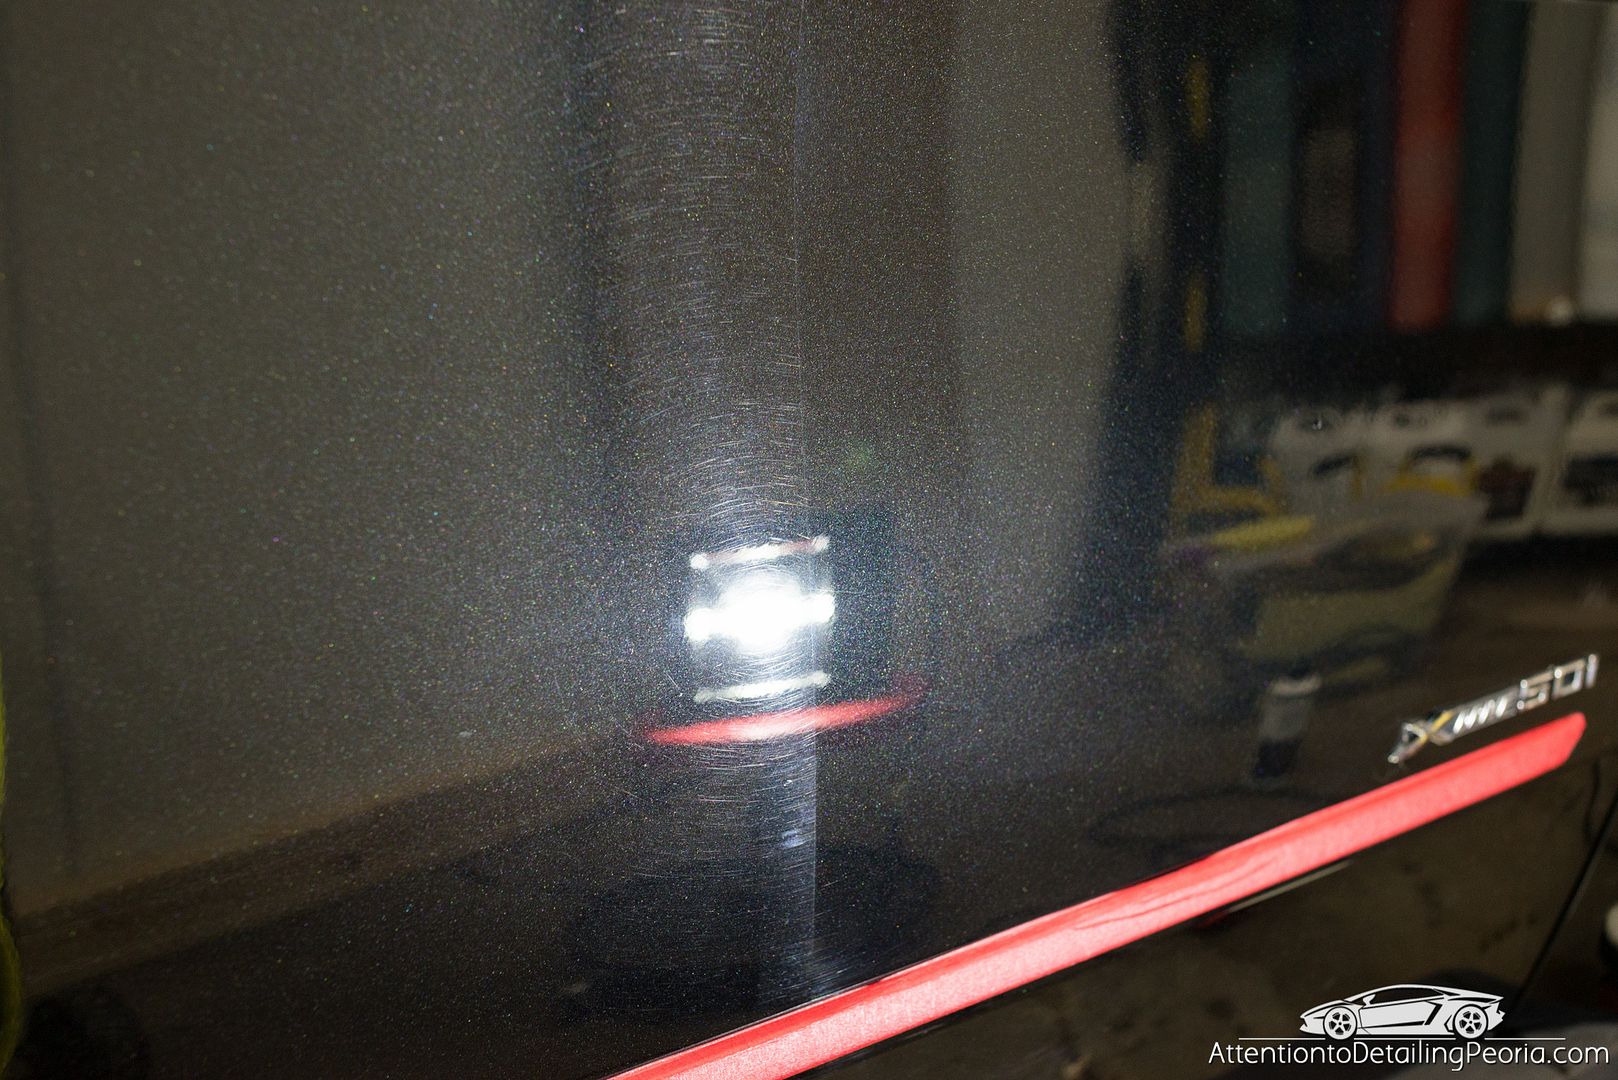
Door before correction. Notice the complete lack of reflection near the lights.
Door after correction. Notice you can now see the lights and the stool. The reflection was dramatically improved.
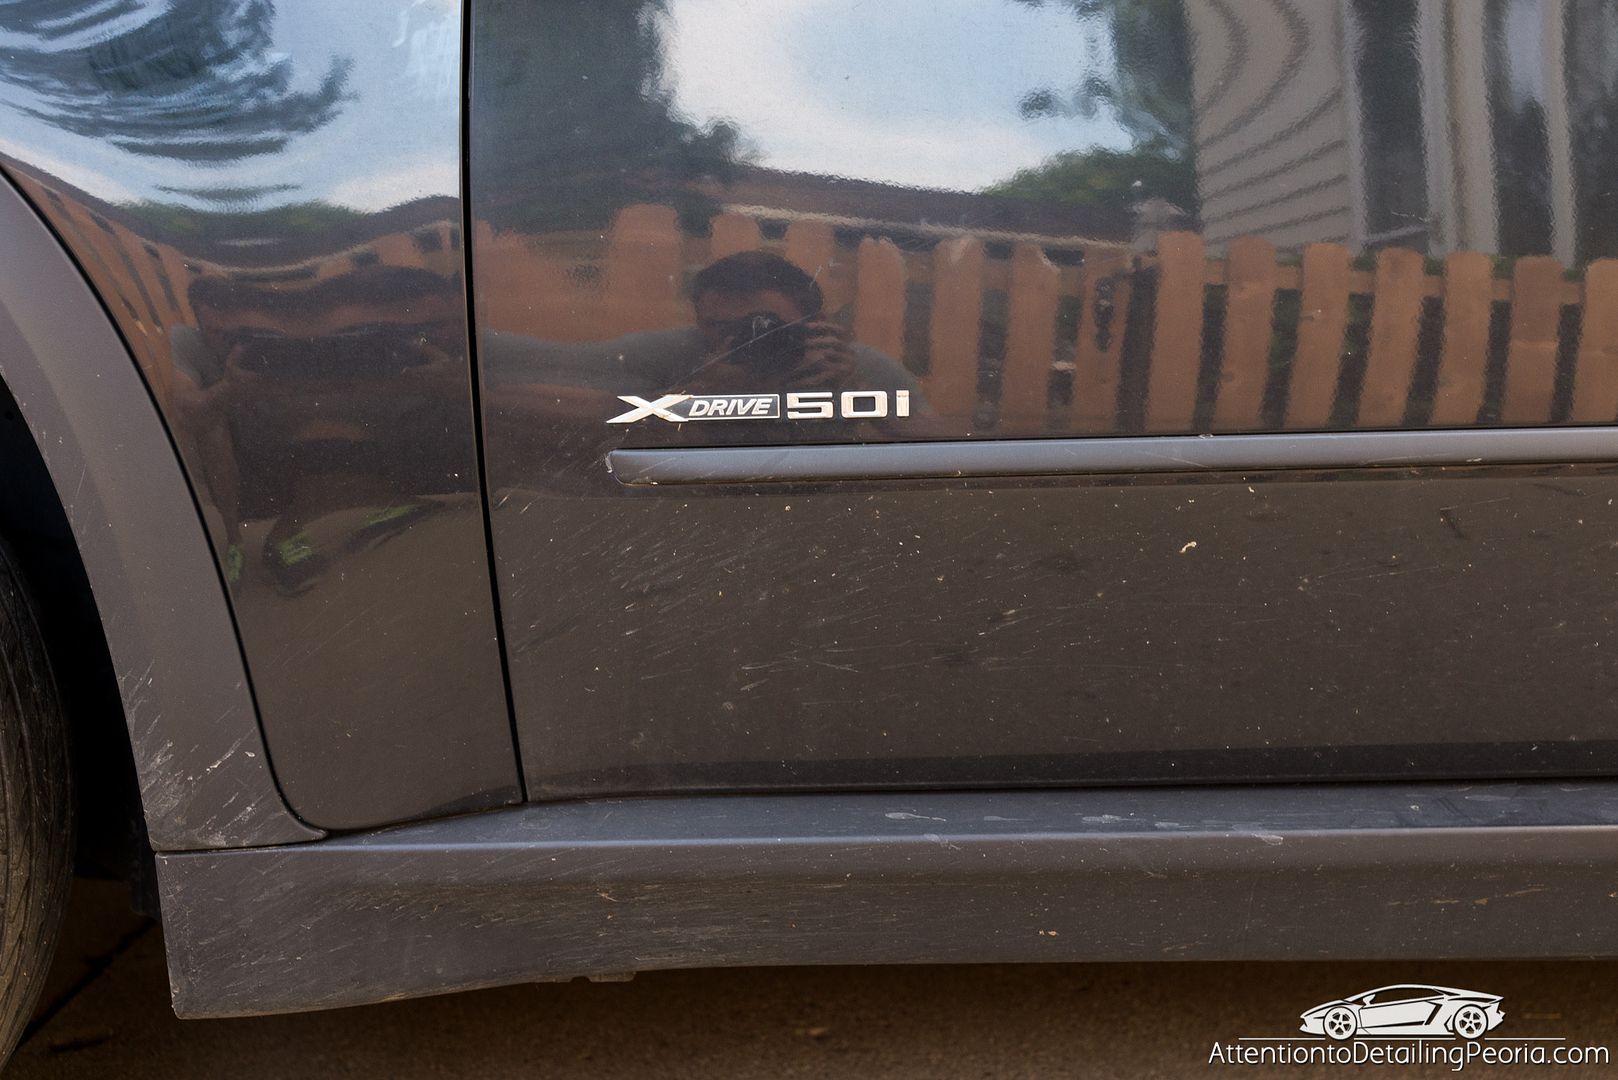
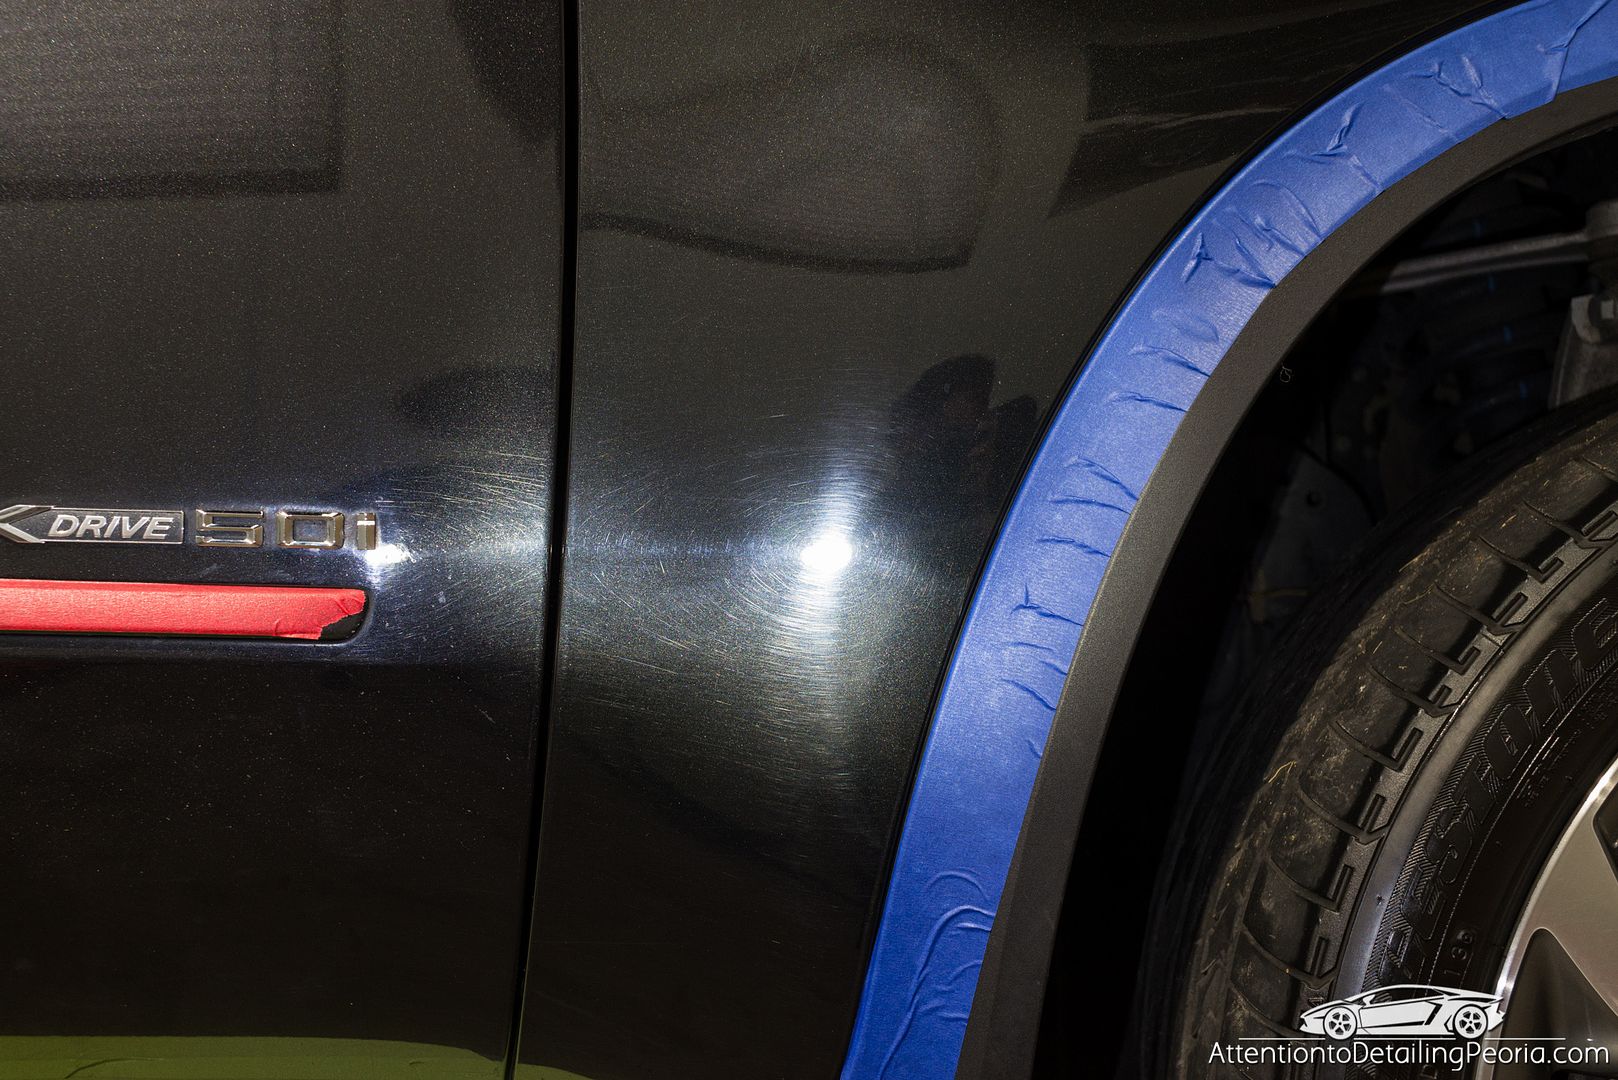
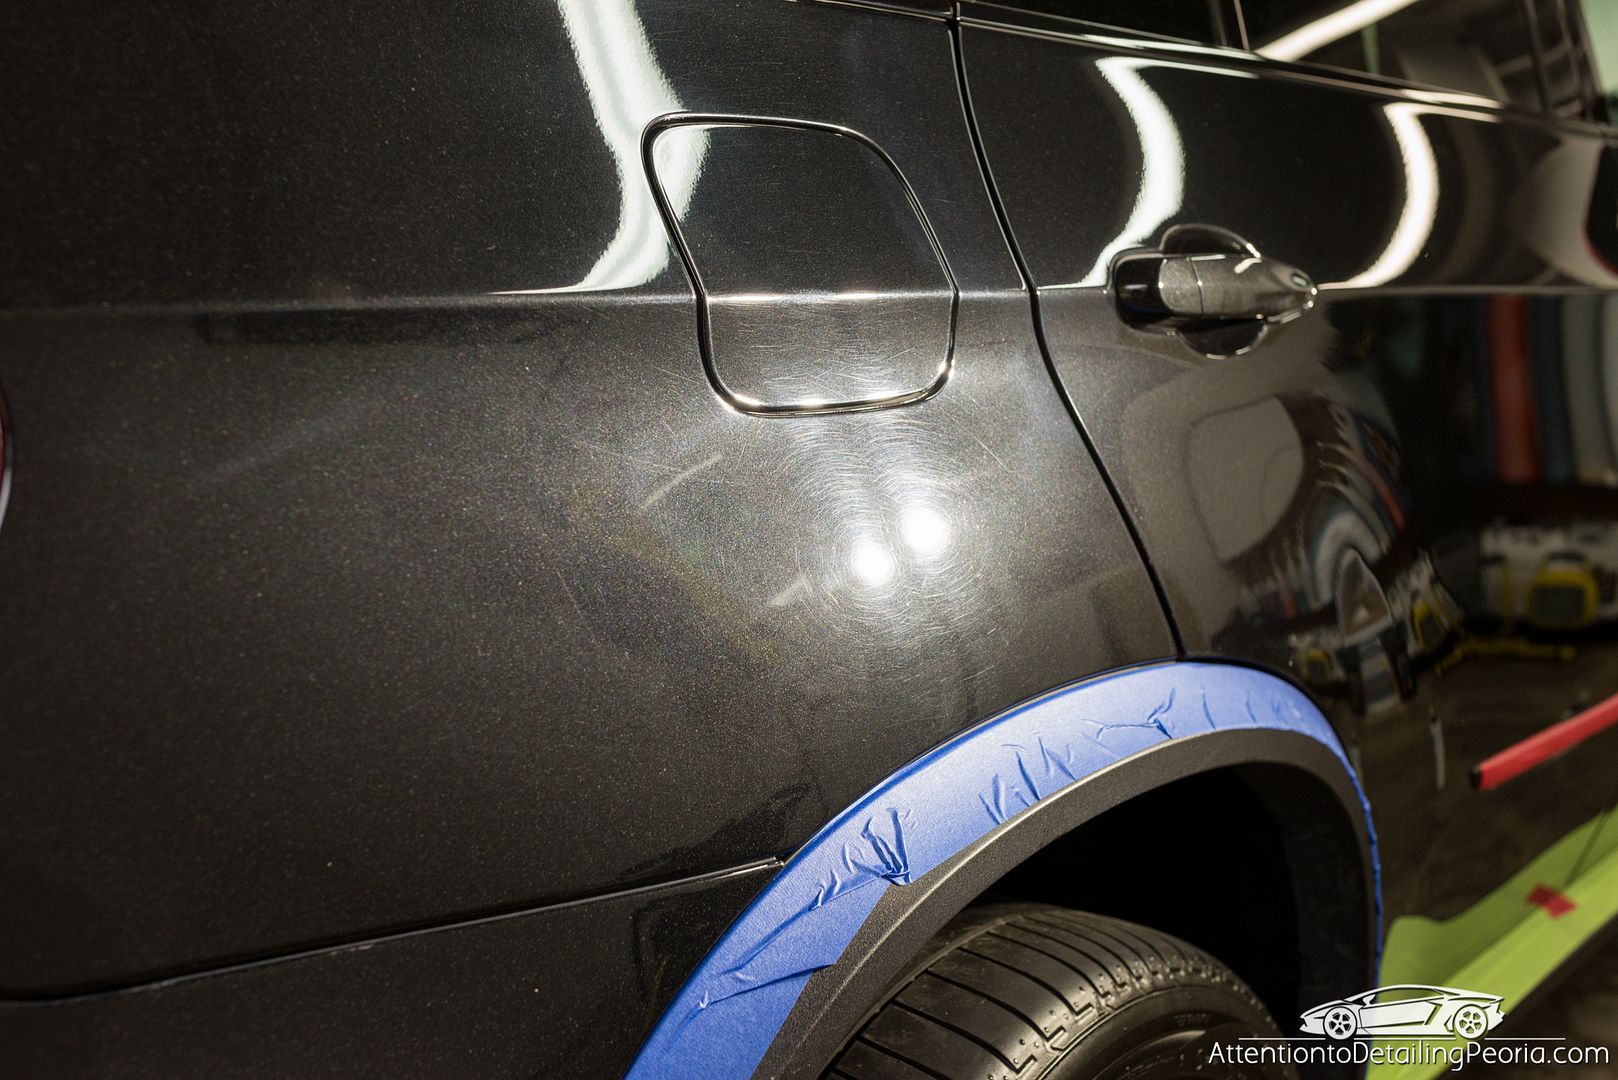
Fender before correction.
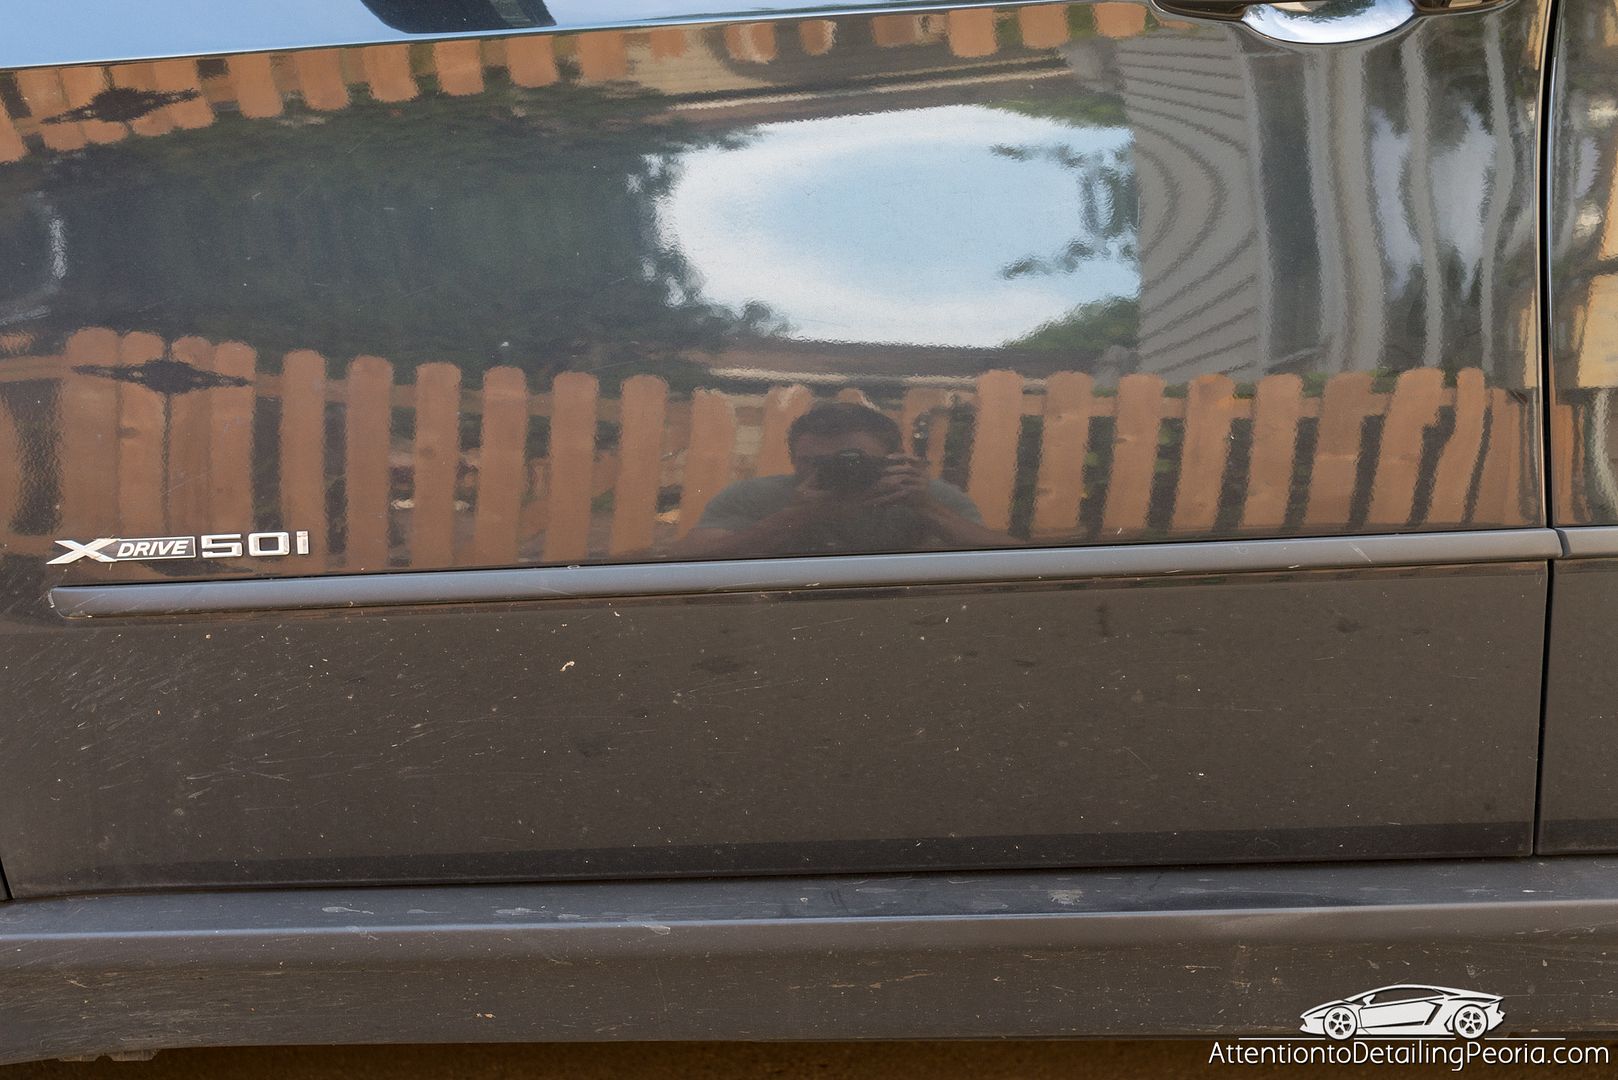
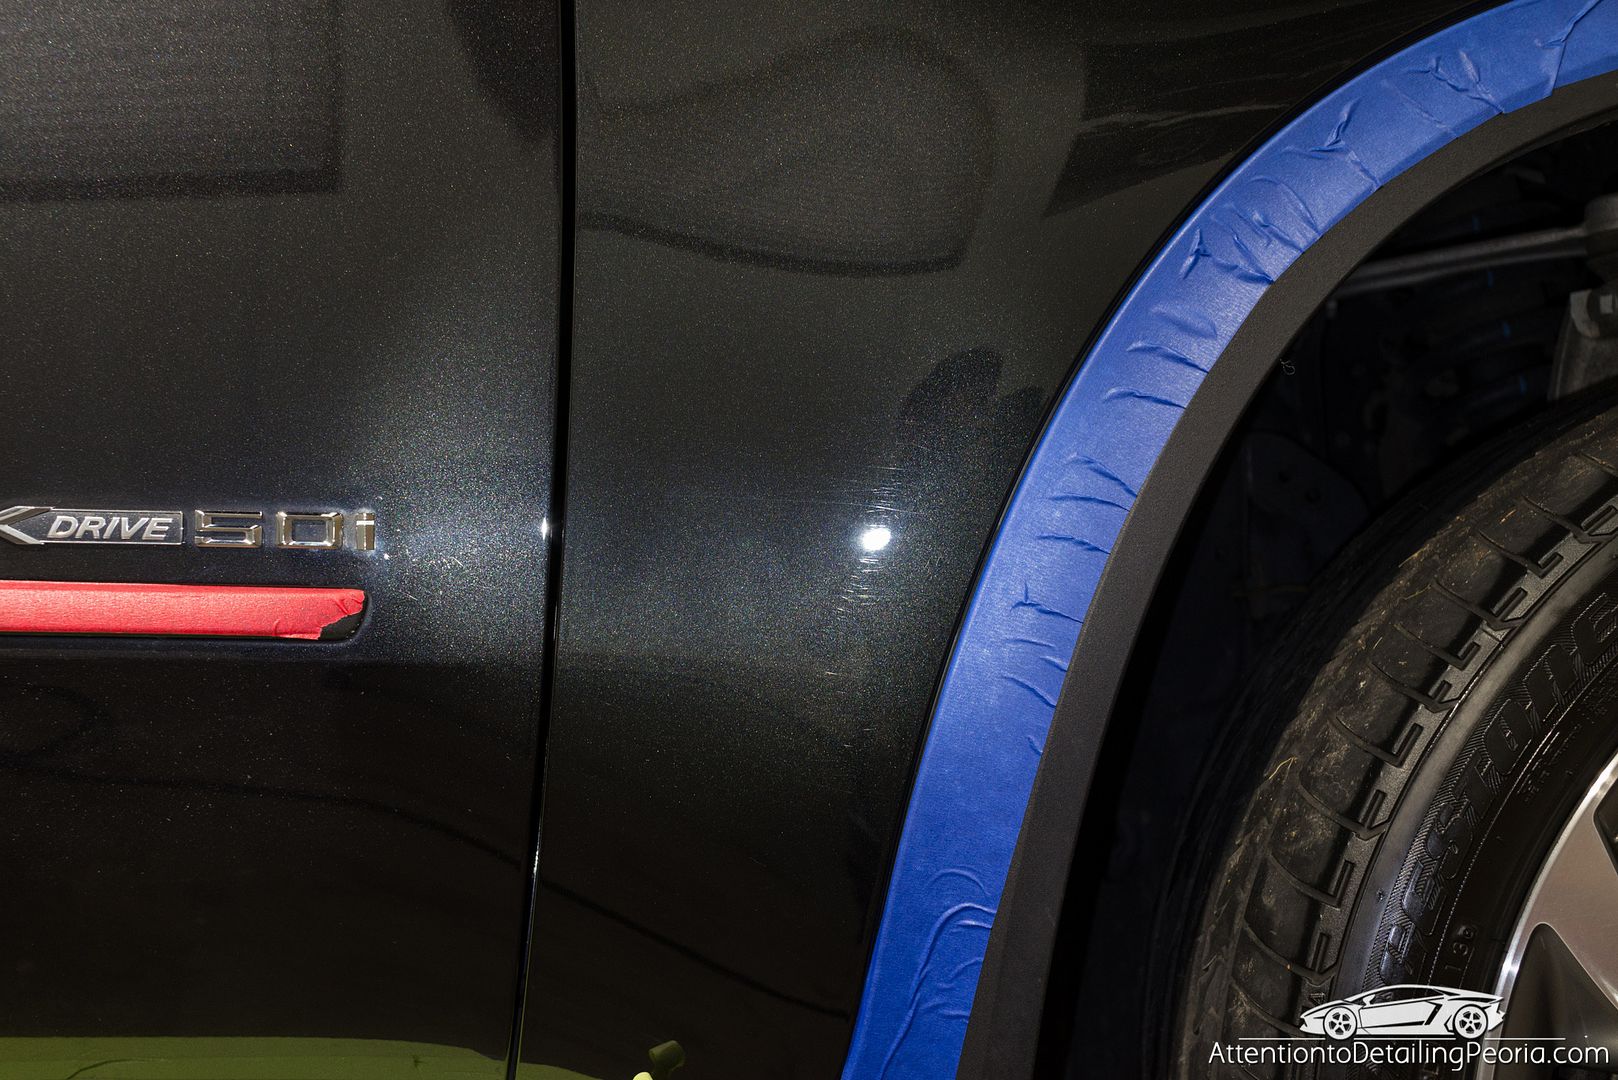
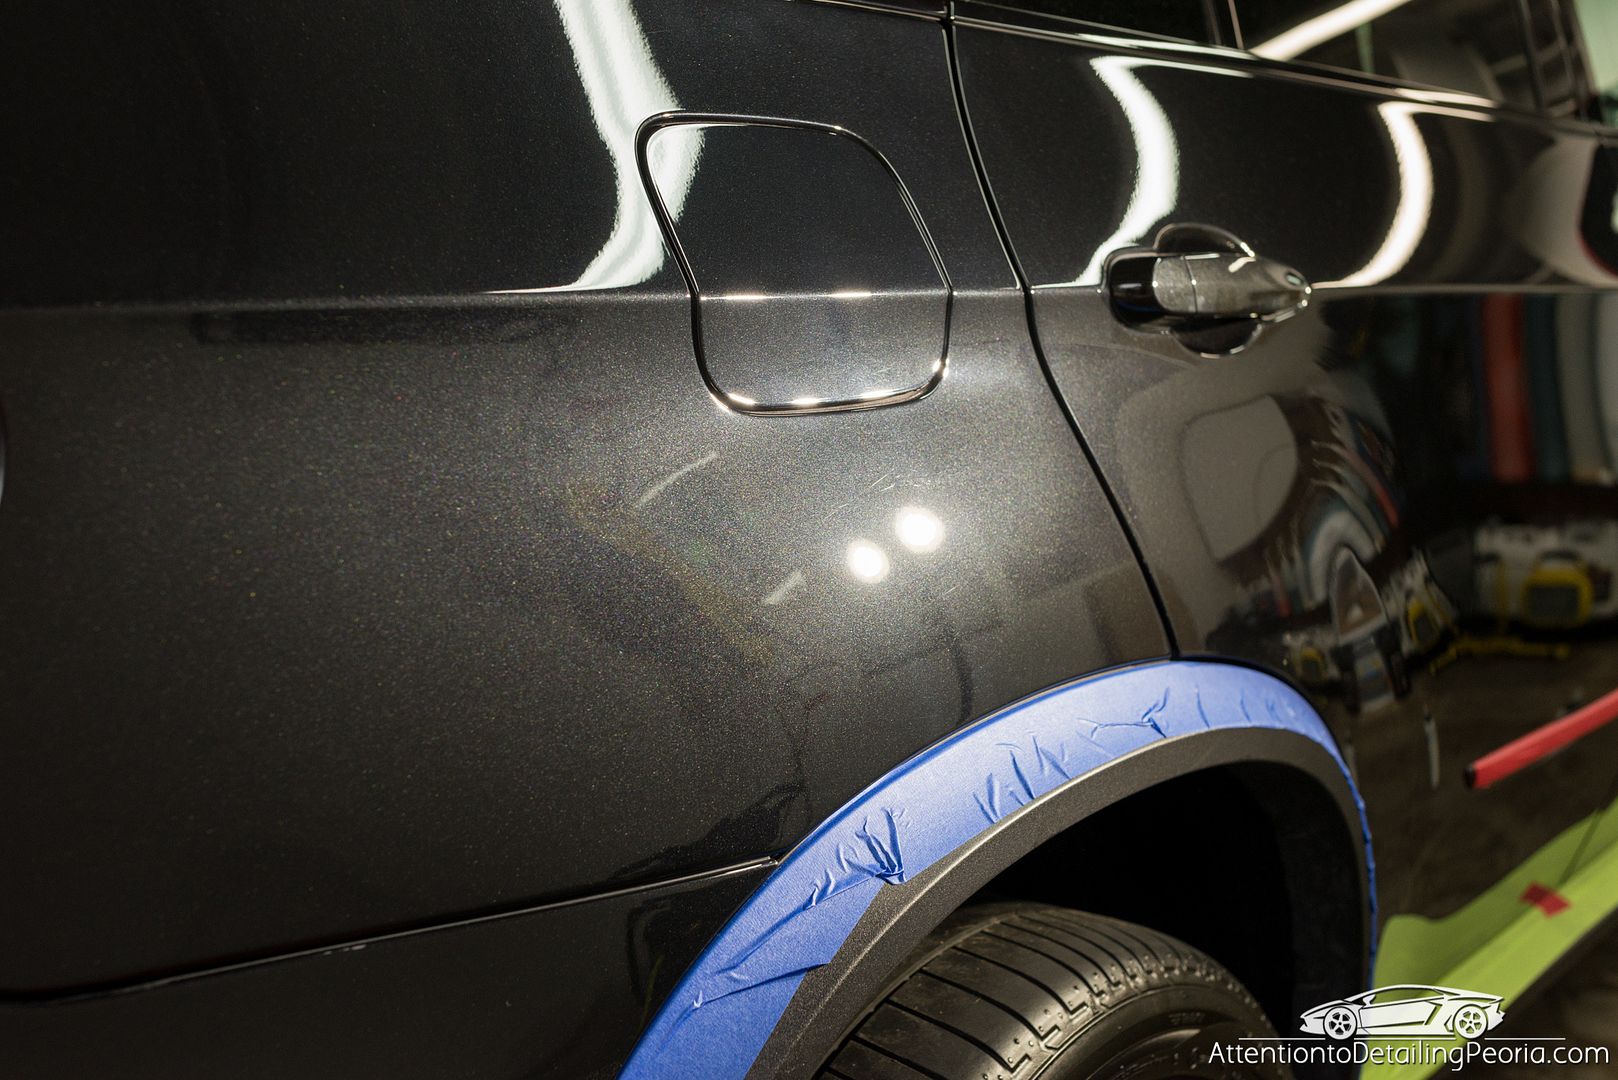
Fender after correction.
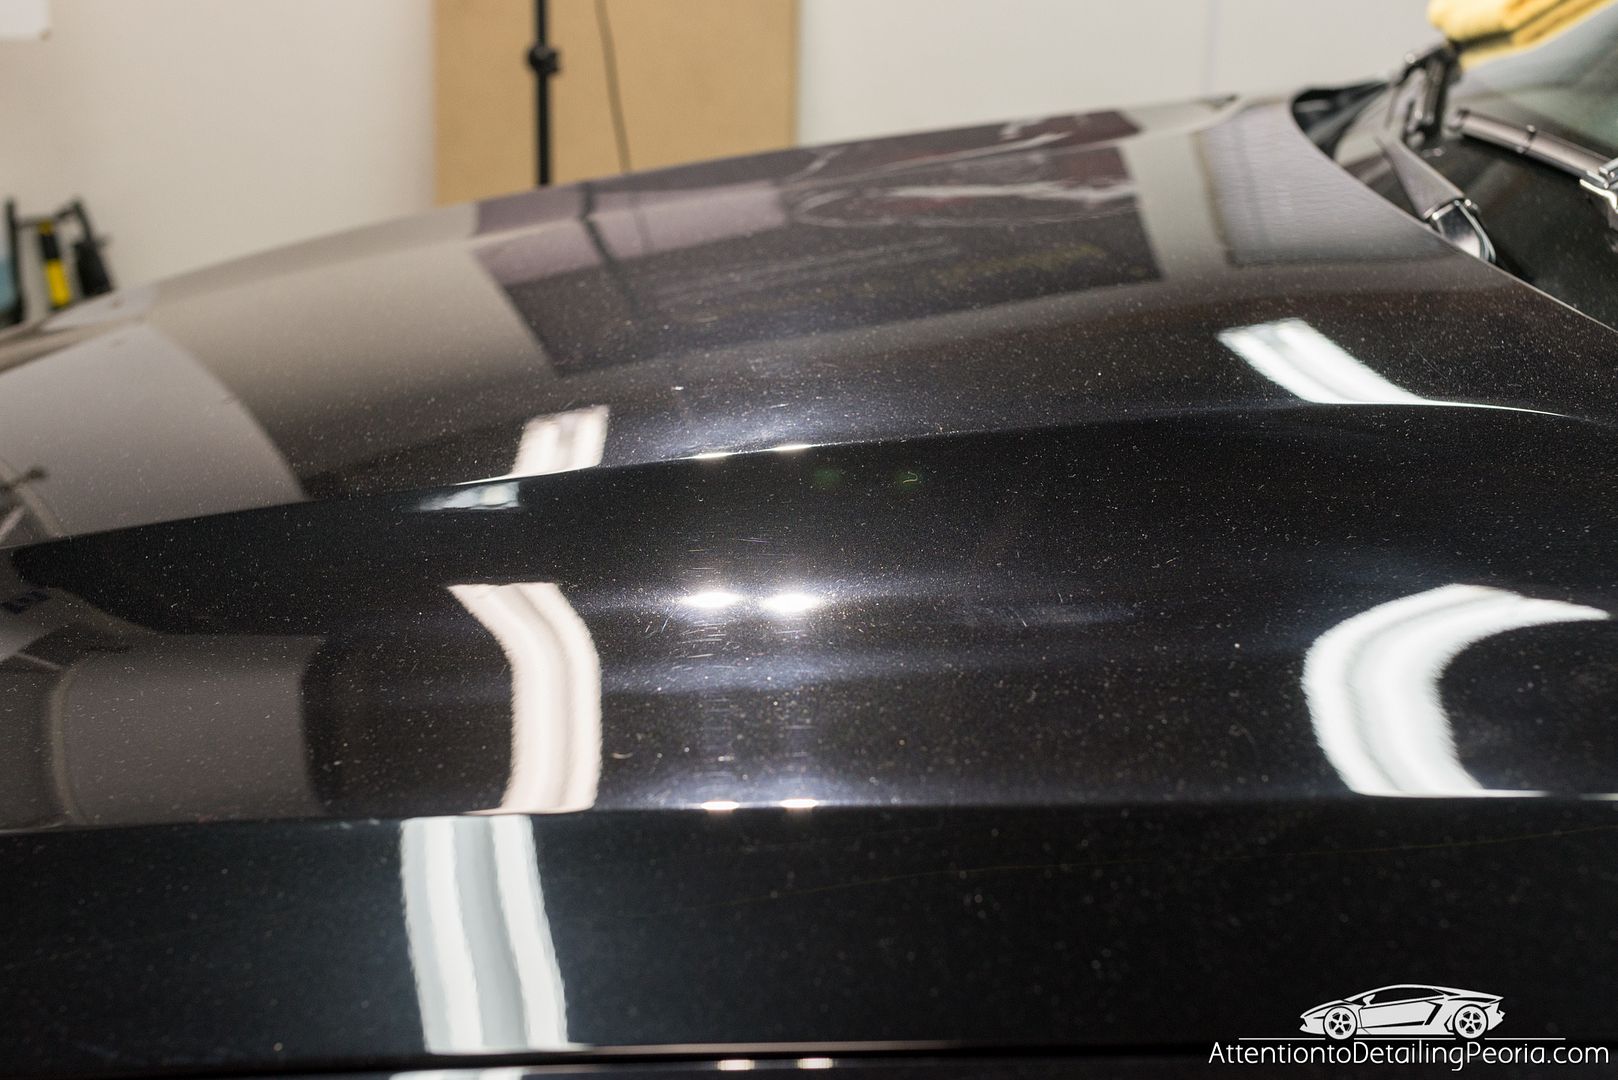
Hood before correction - very dull due to improper buffing by the dealership detailer
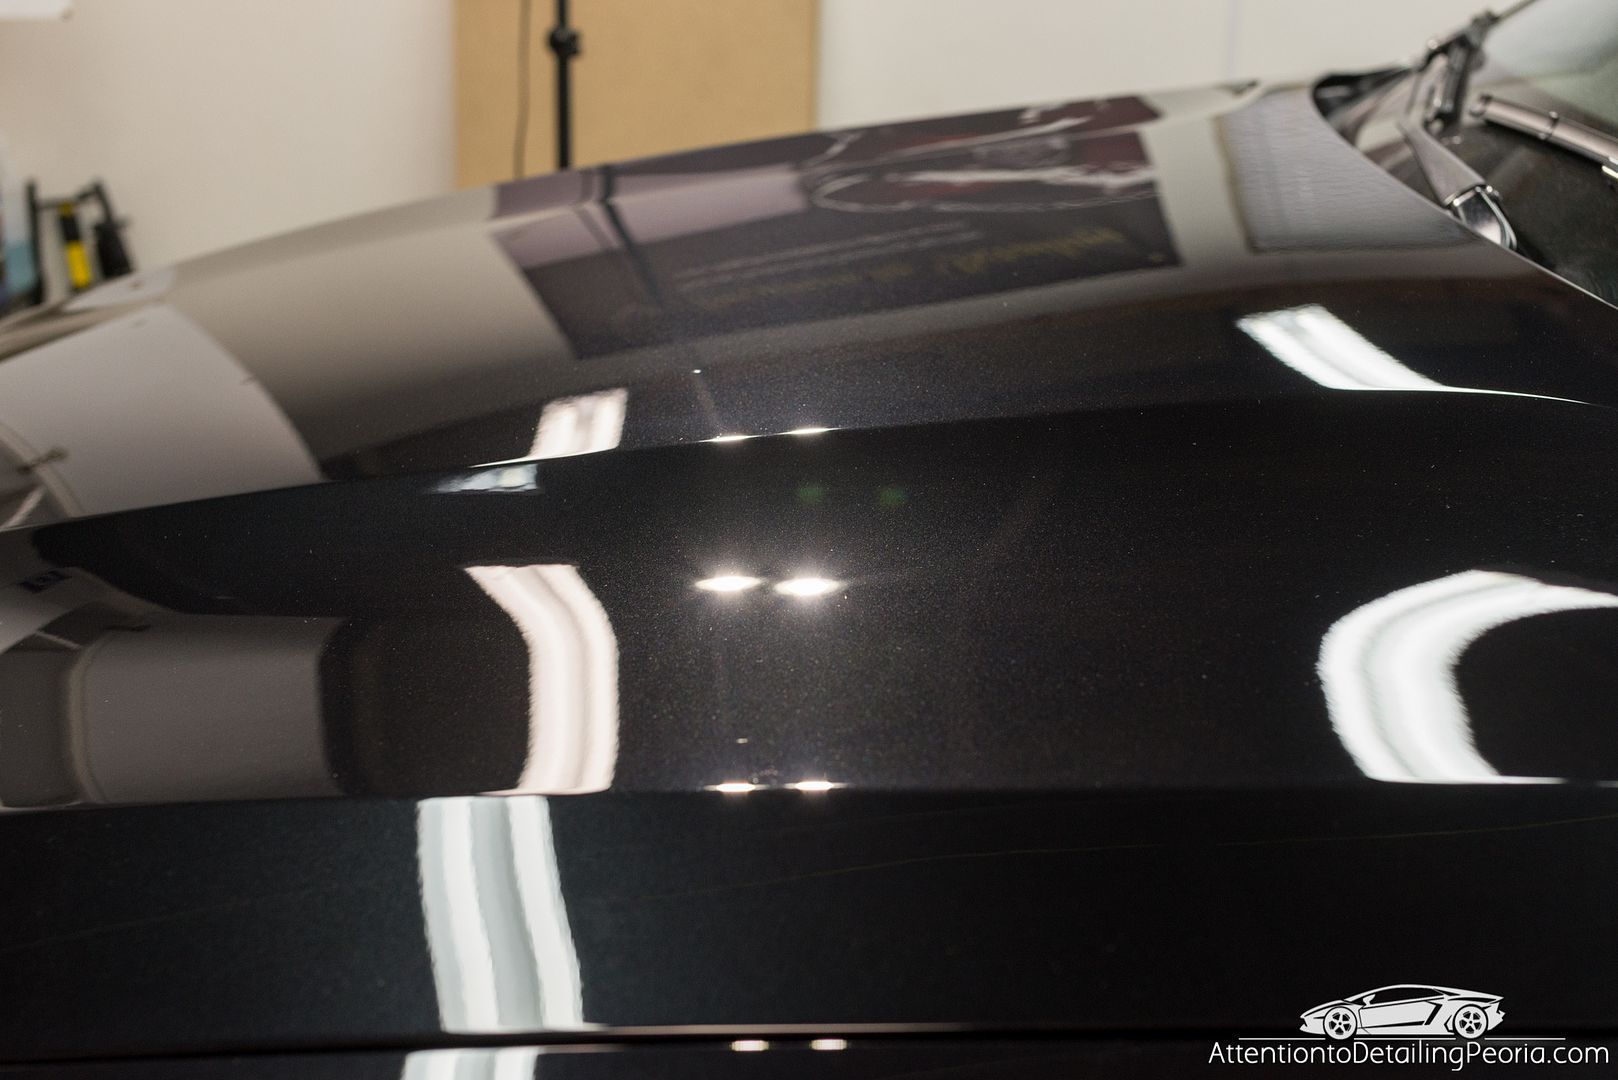
Hood after correction. Clarity and color have been restored.
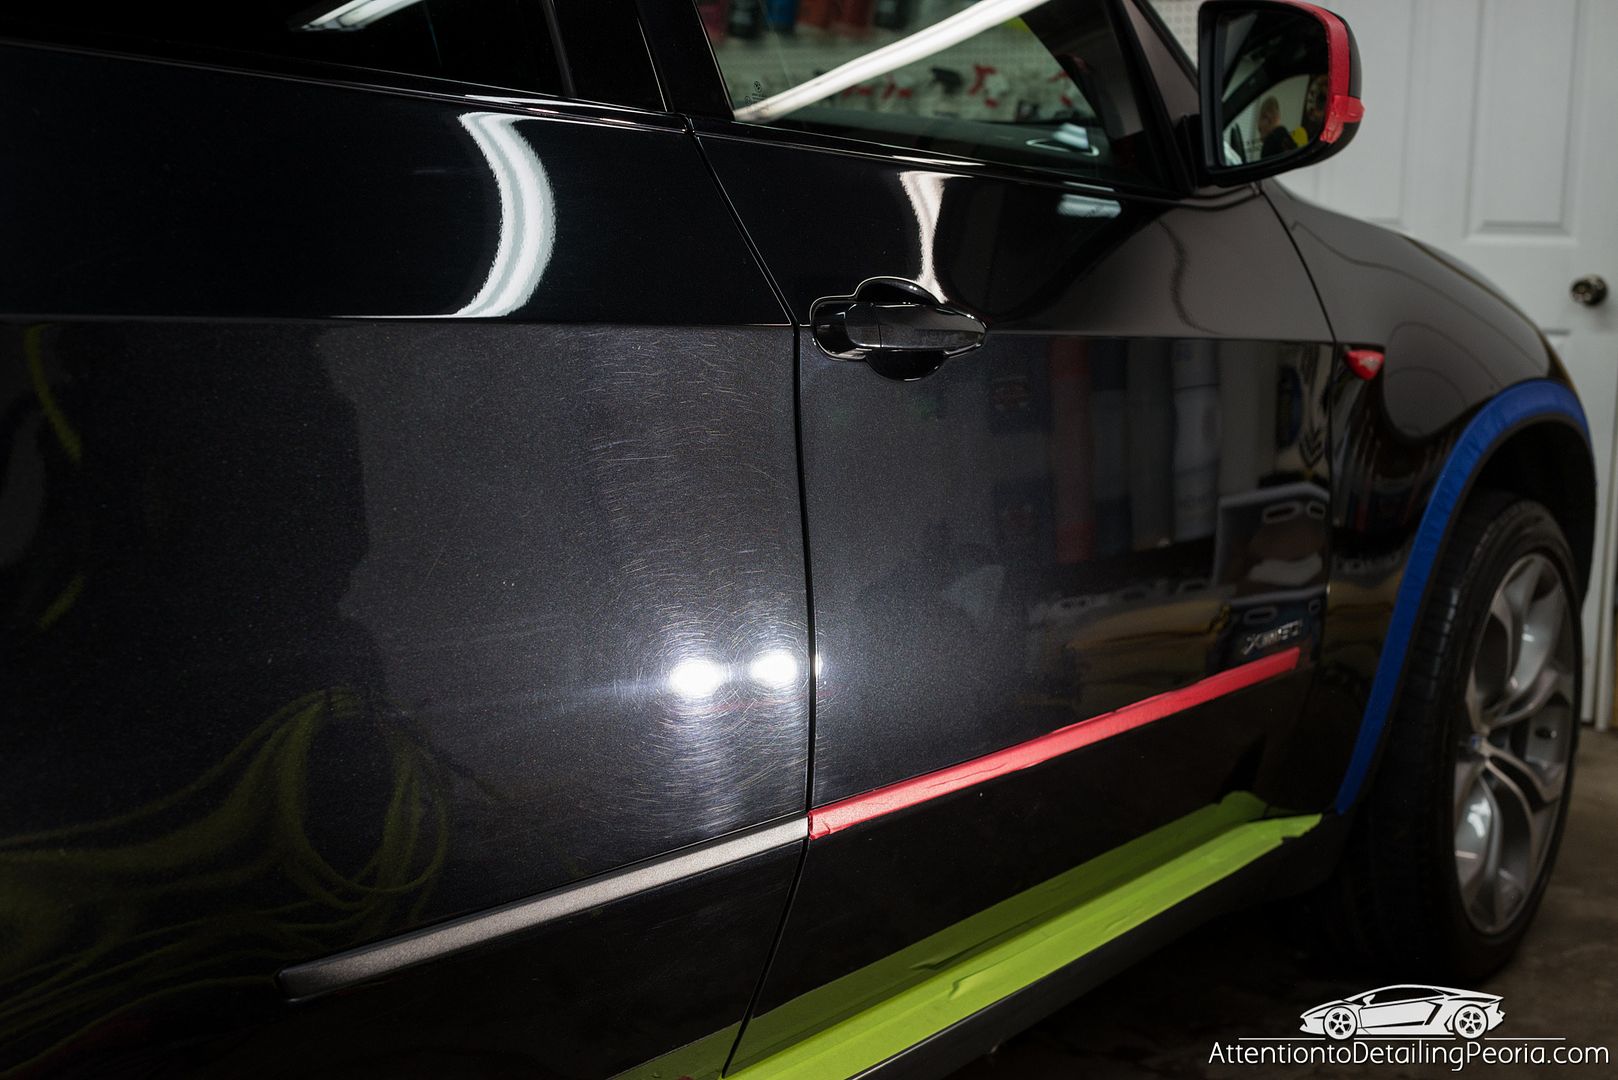
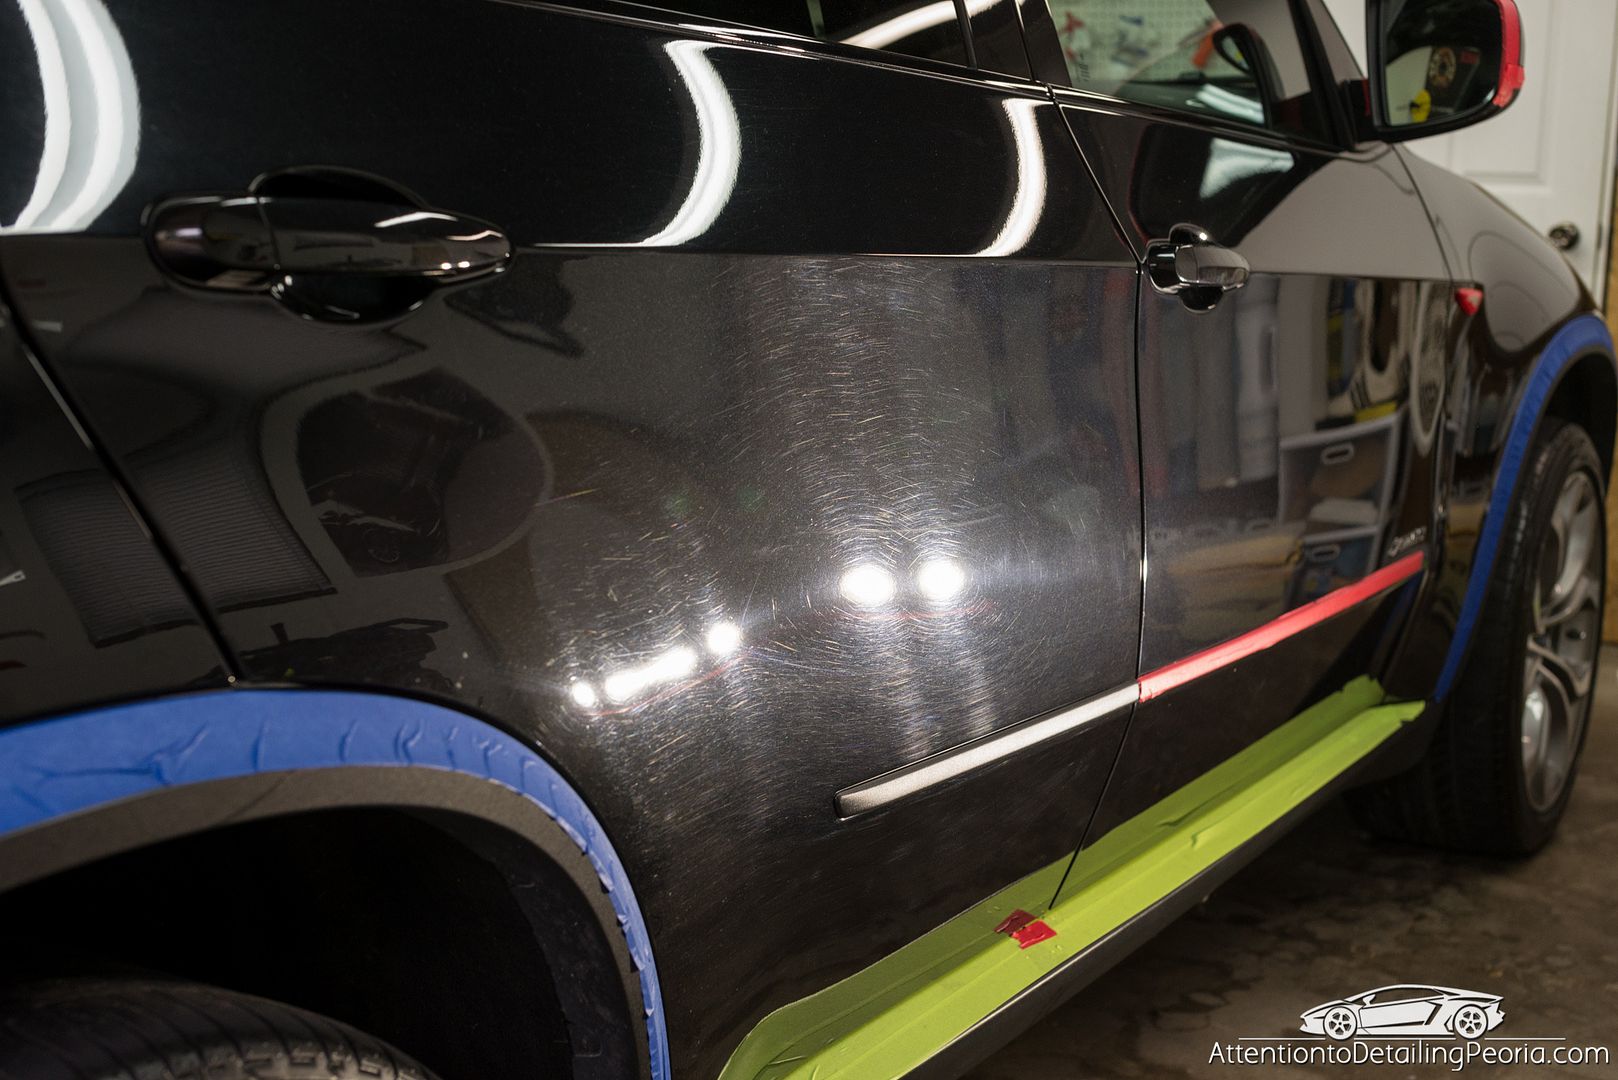
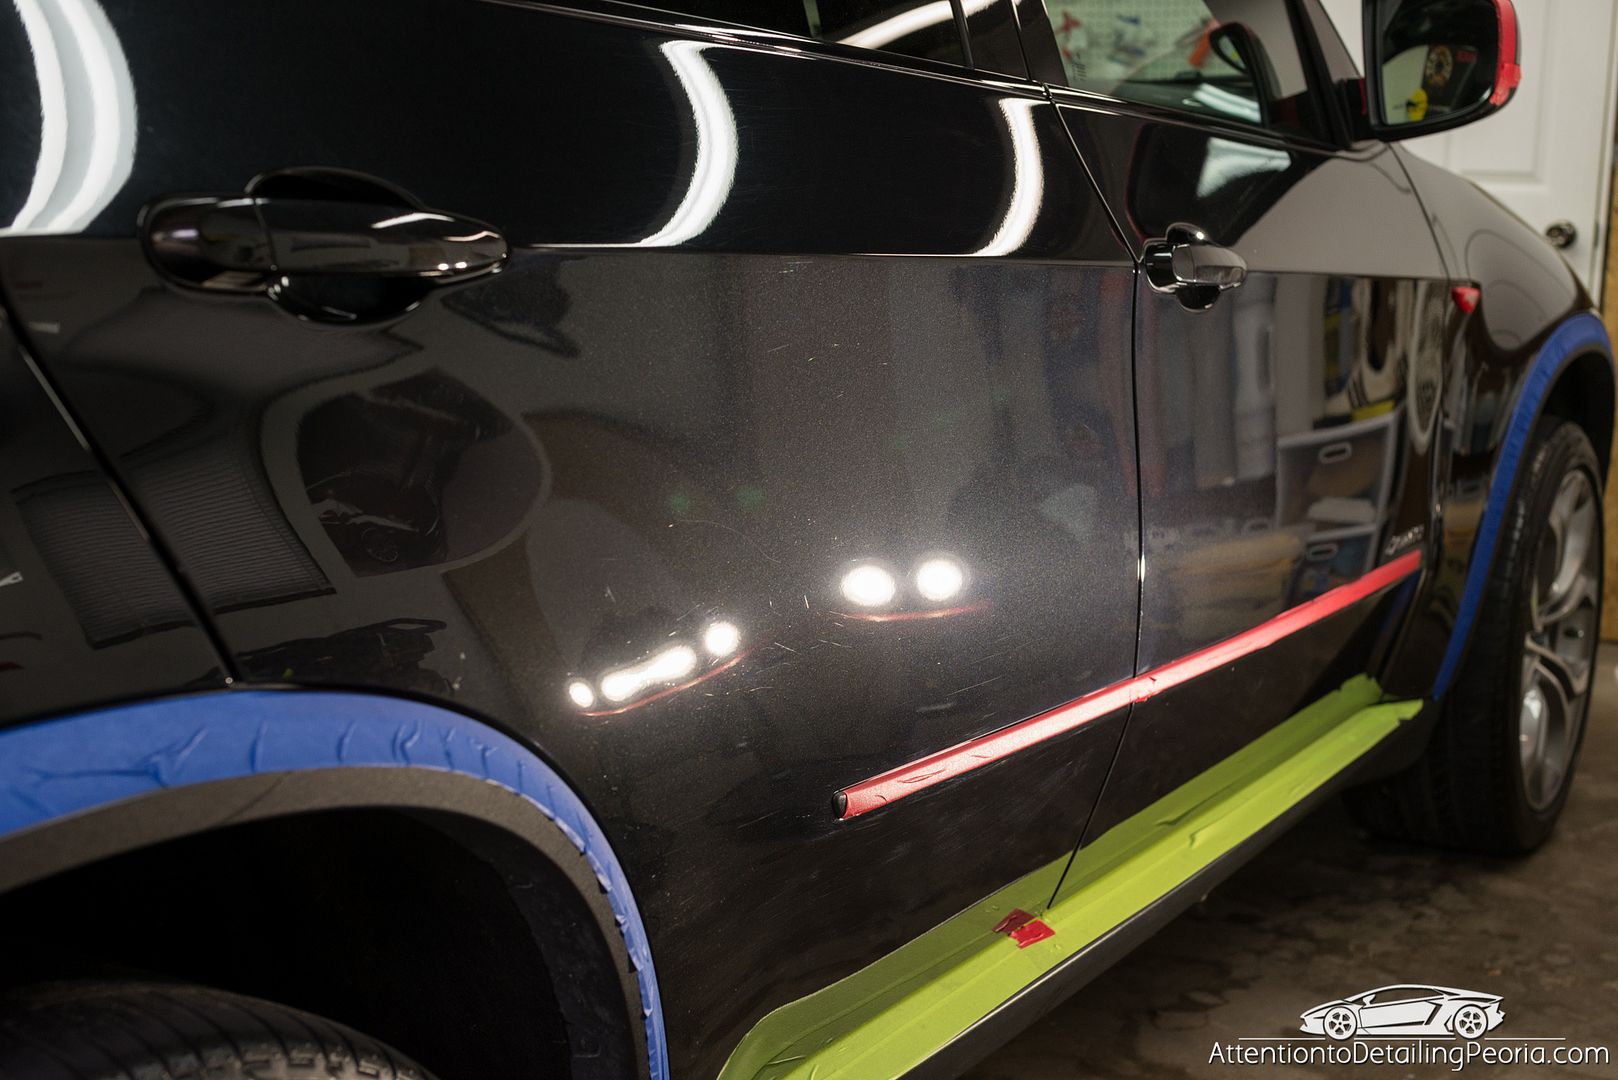
Rear quarter before correction. Again notice the dull reflection near the lights.
After correction. Big improvement in clarity.
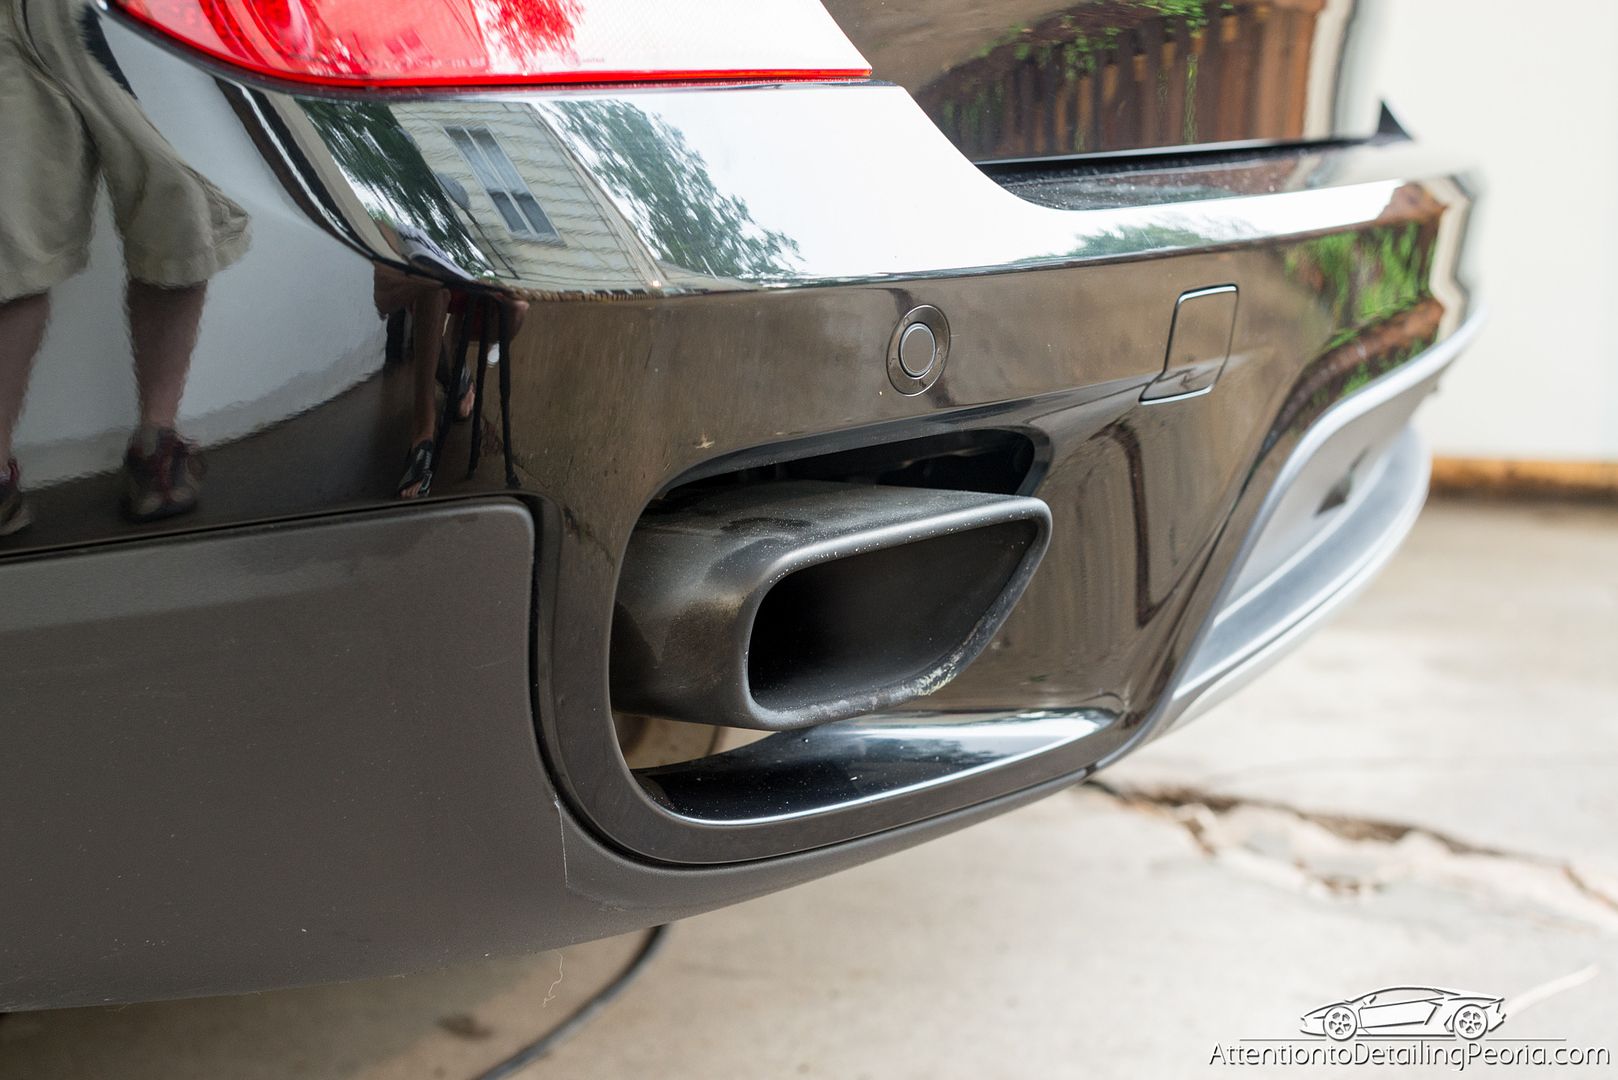
Exhaust tip before polishing
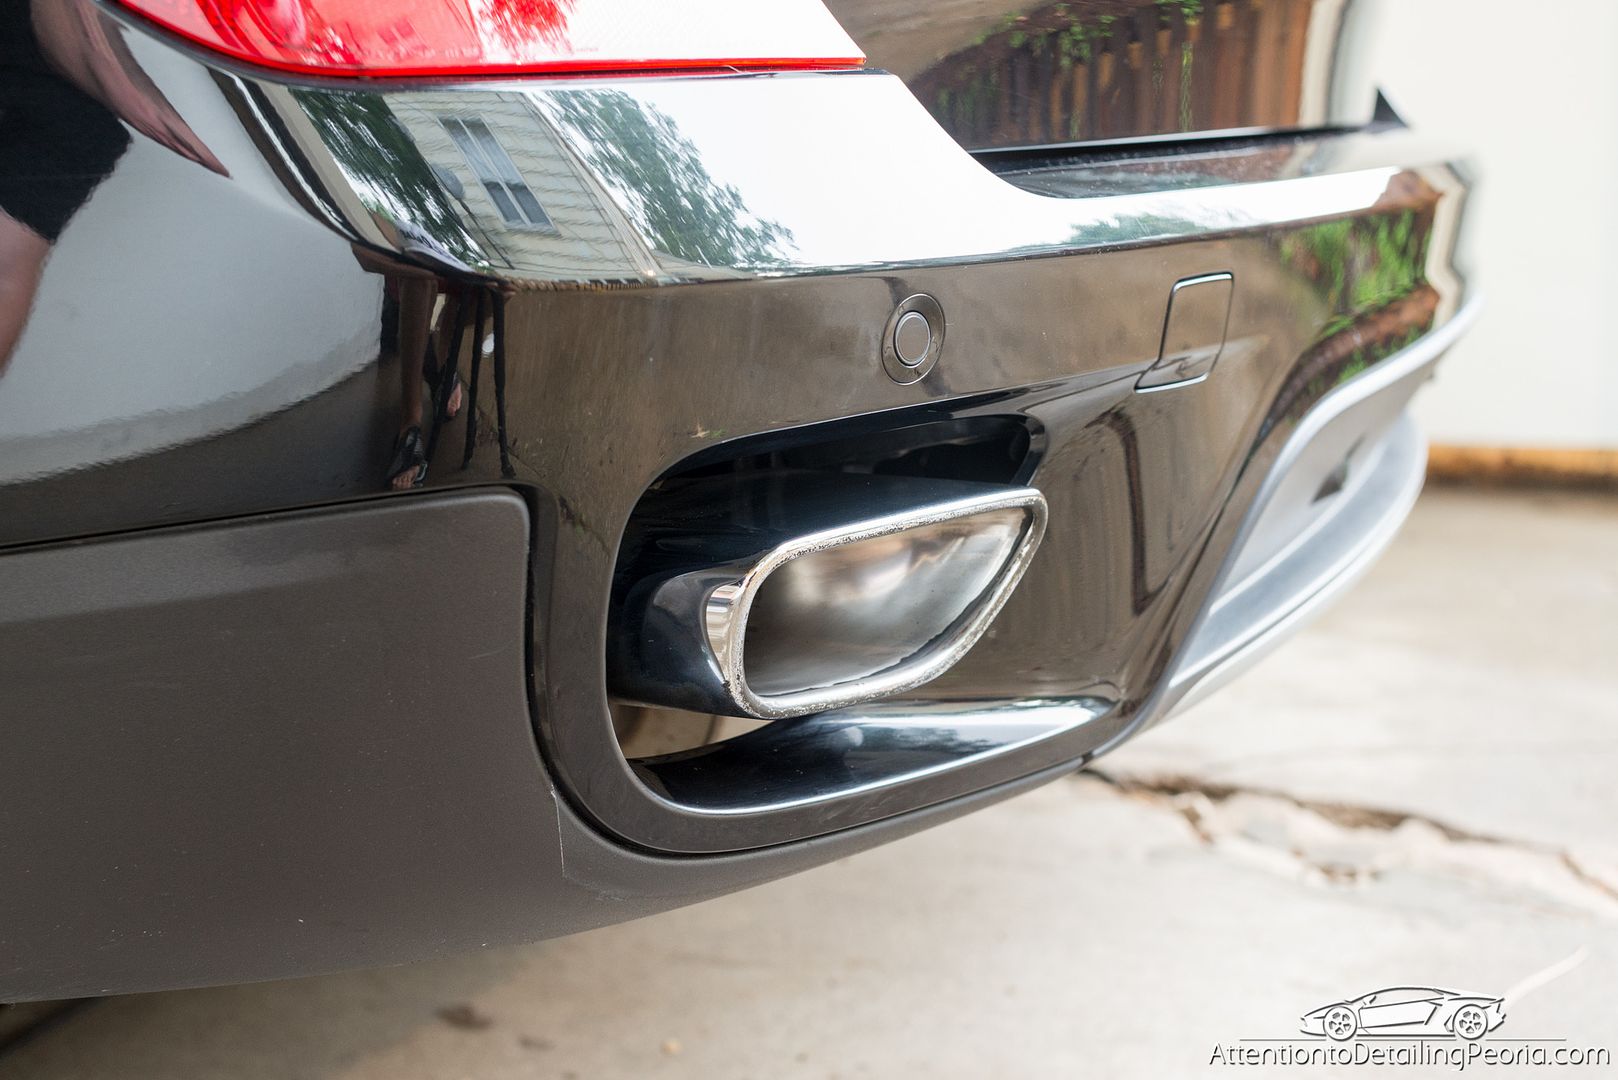
Exhaust tip after polishing. Unfortunately some of the metal was completely pitted and rusting, but still a great improvement overall.
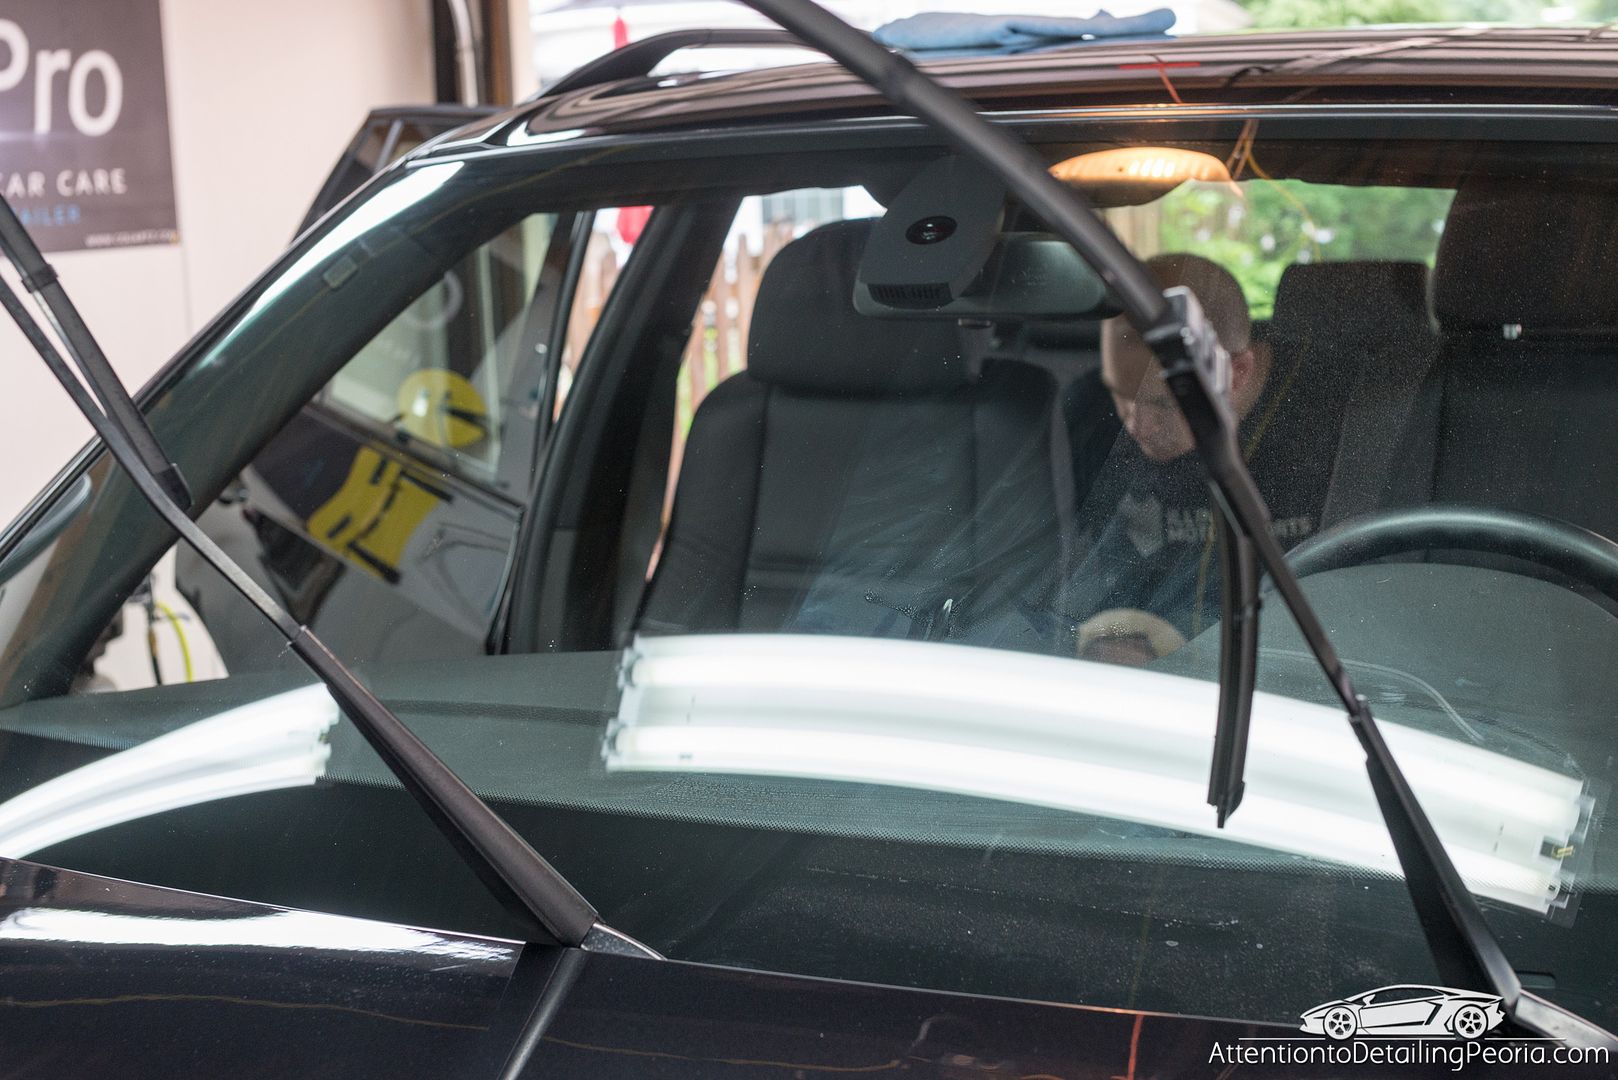
The glass was very dirty inside and out, you can see the passenger side is clean while the driver side has a thick film inside.
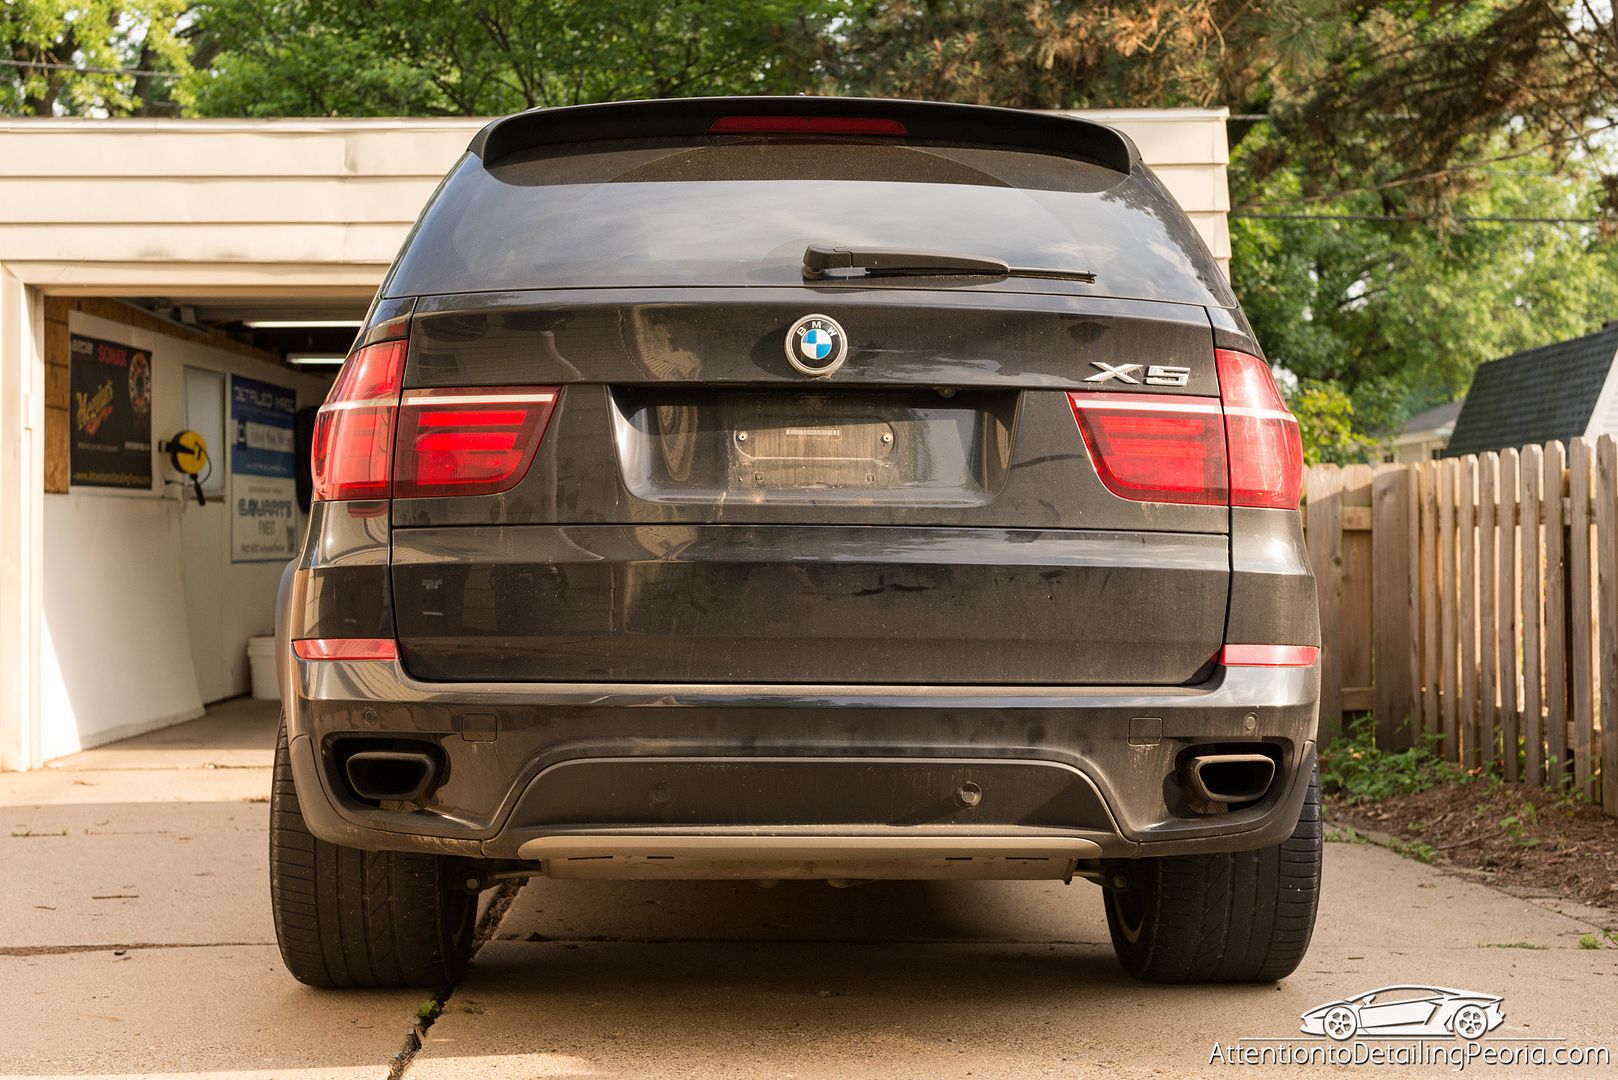
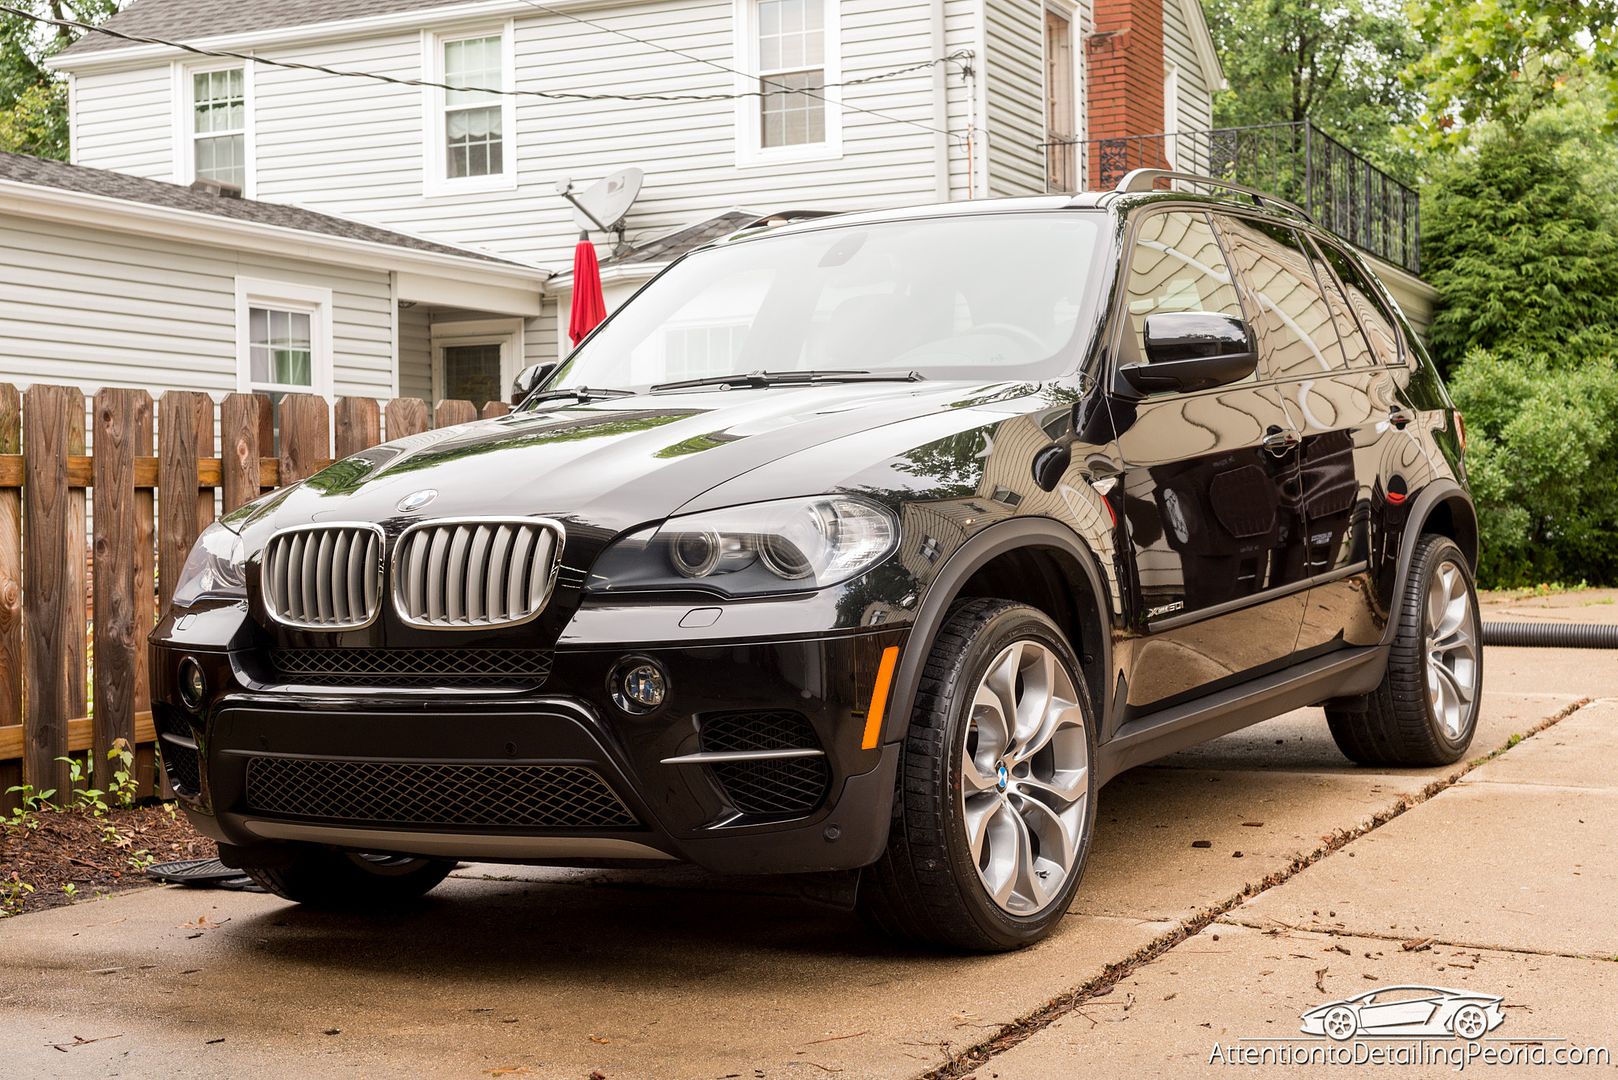
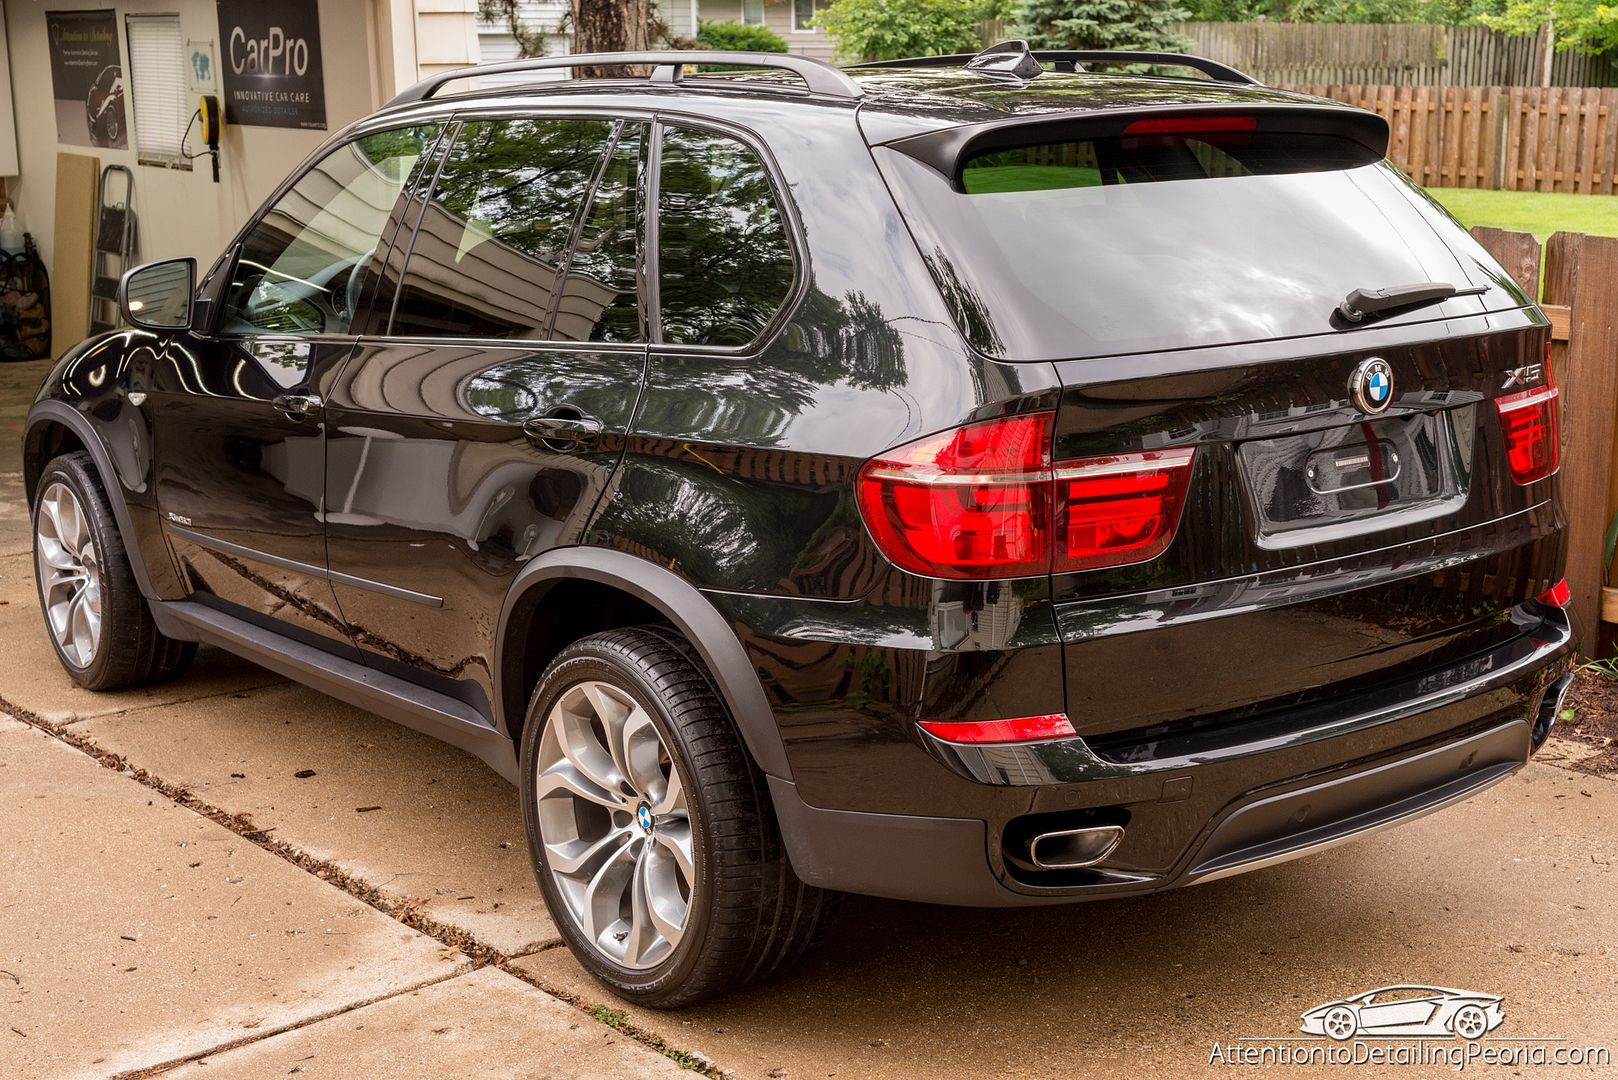
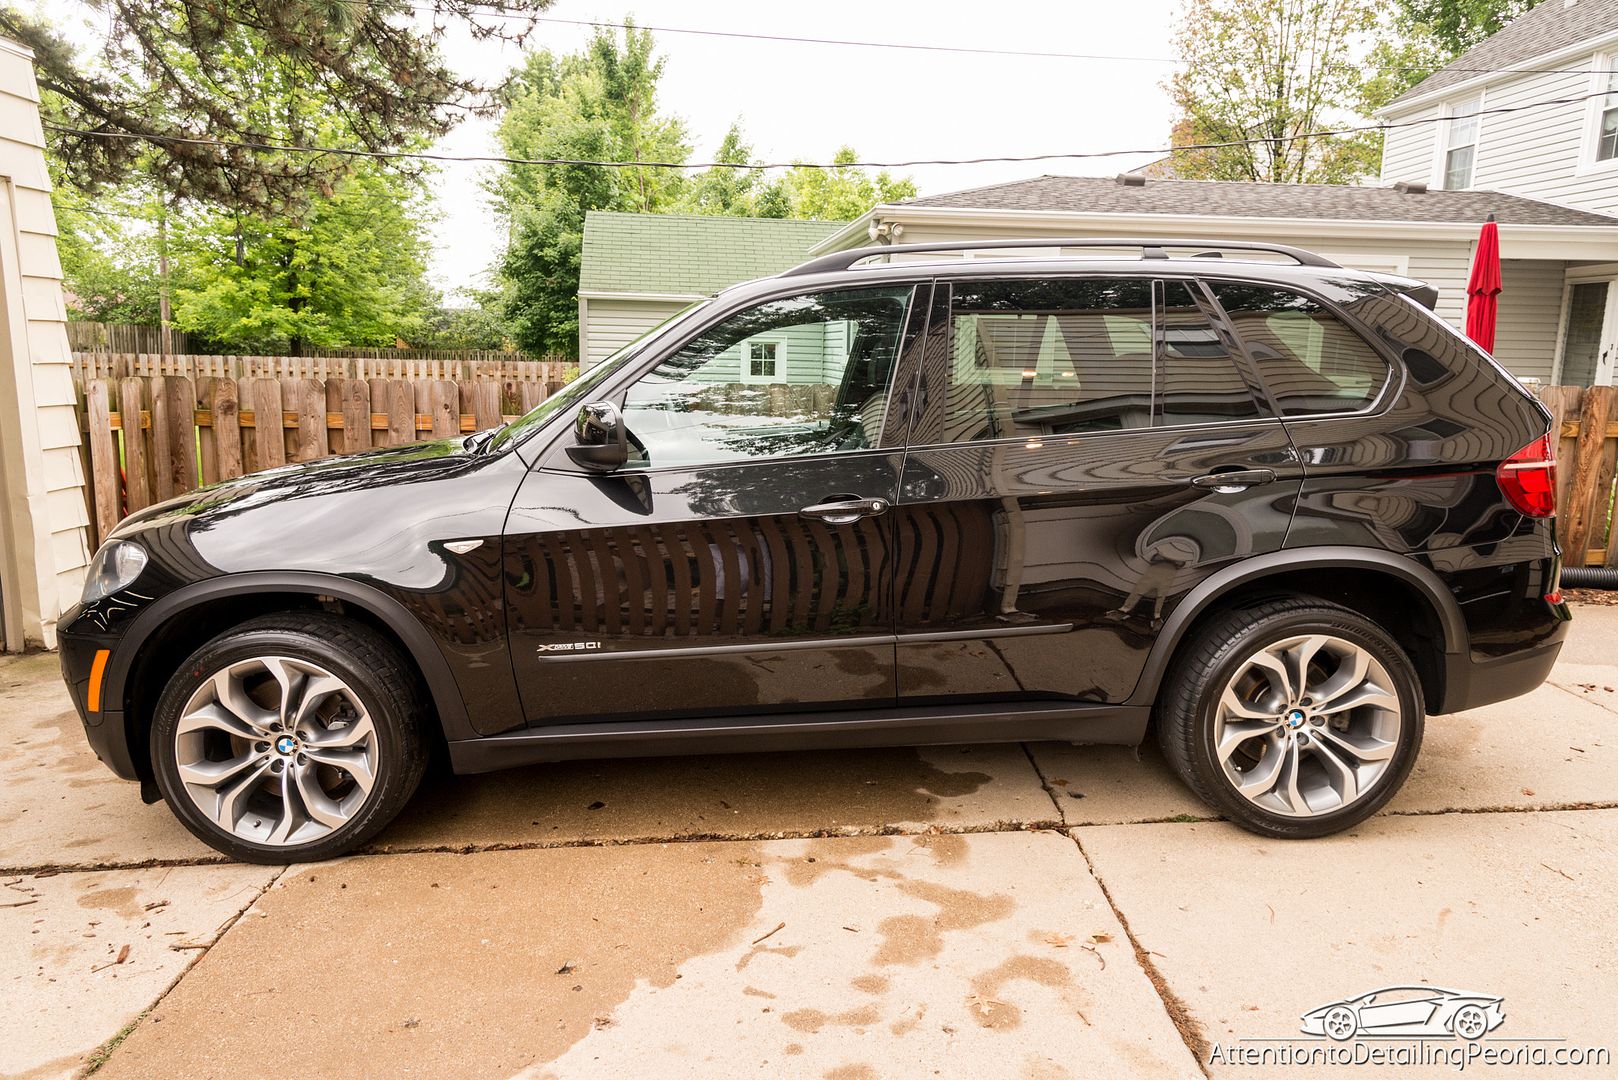
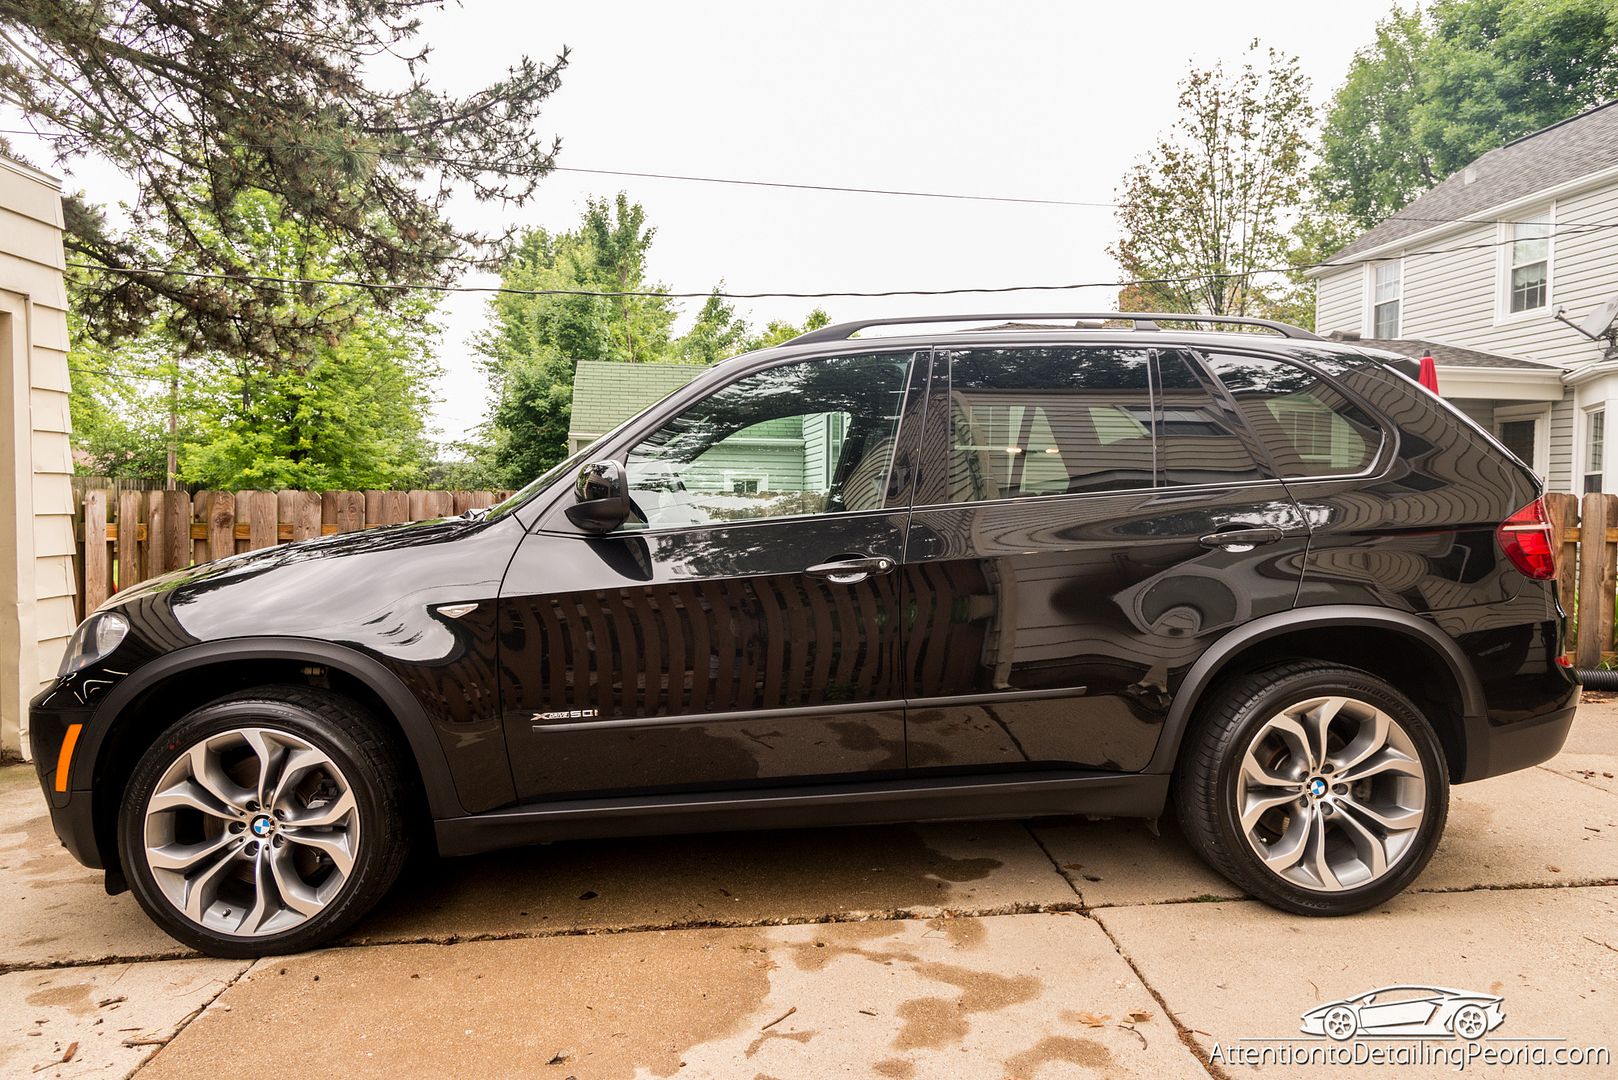
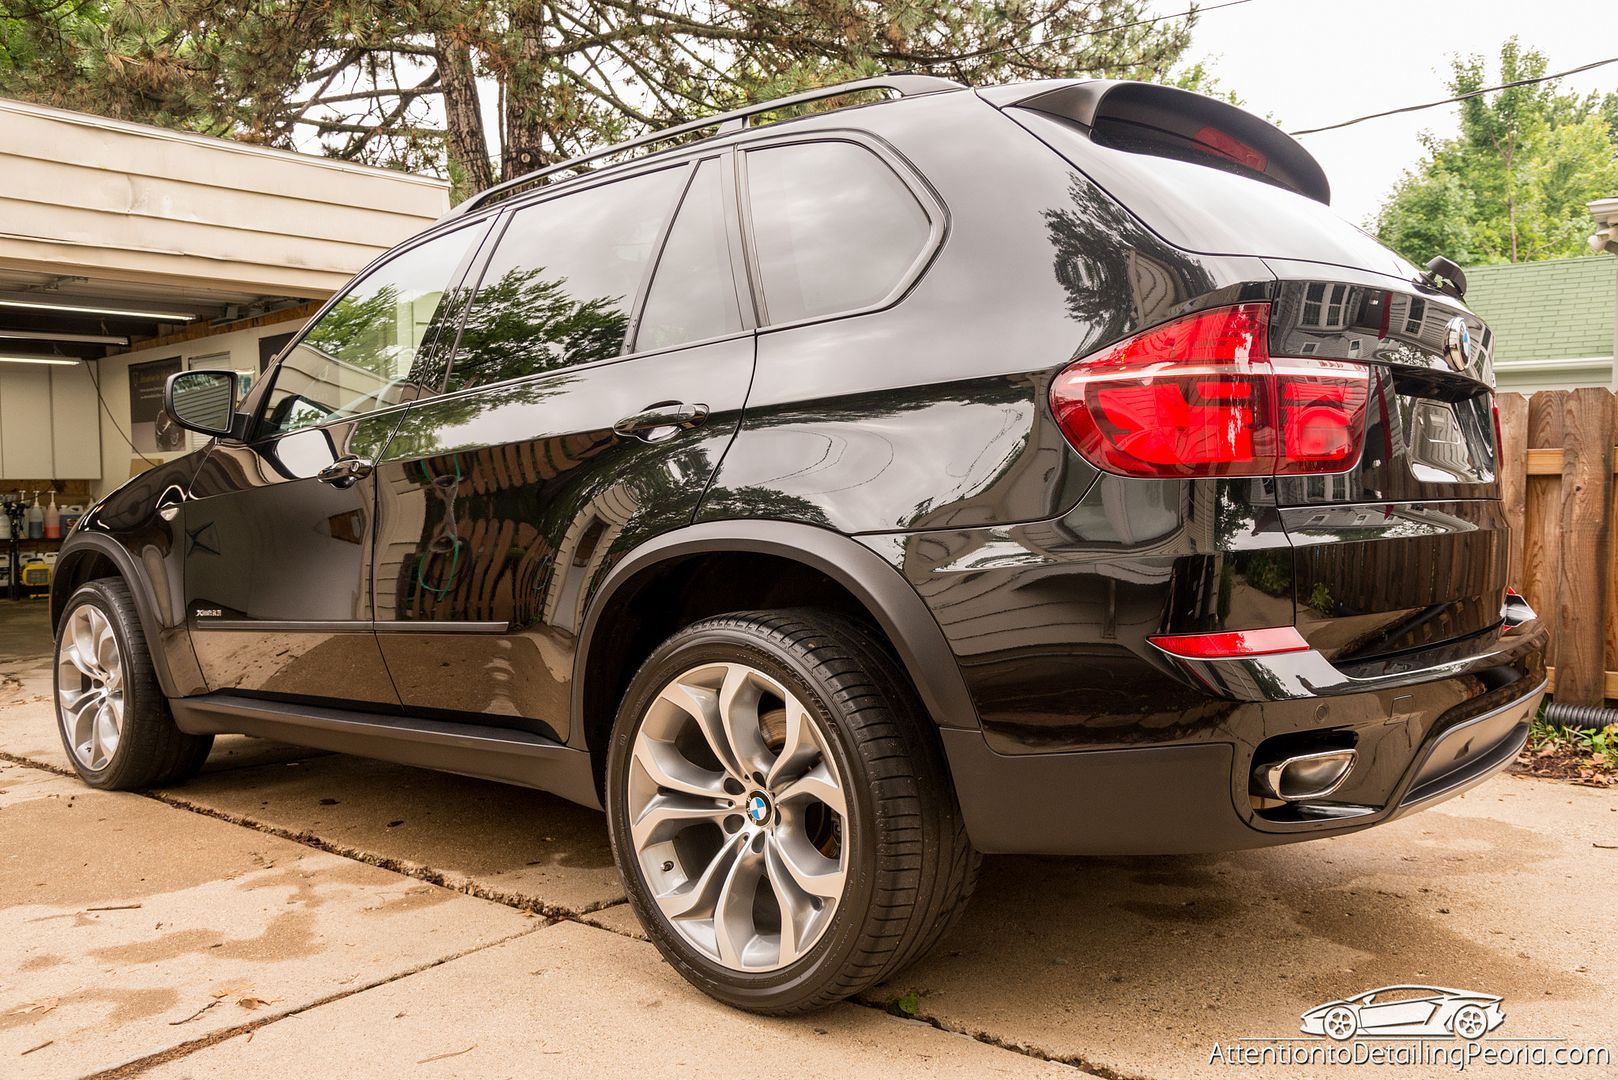
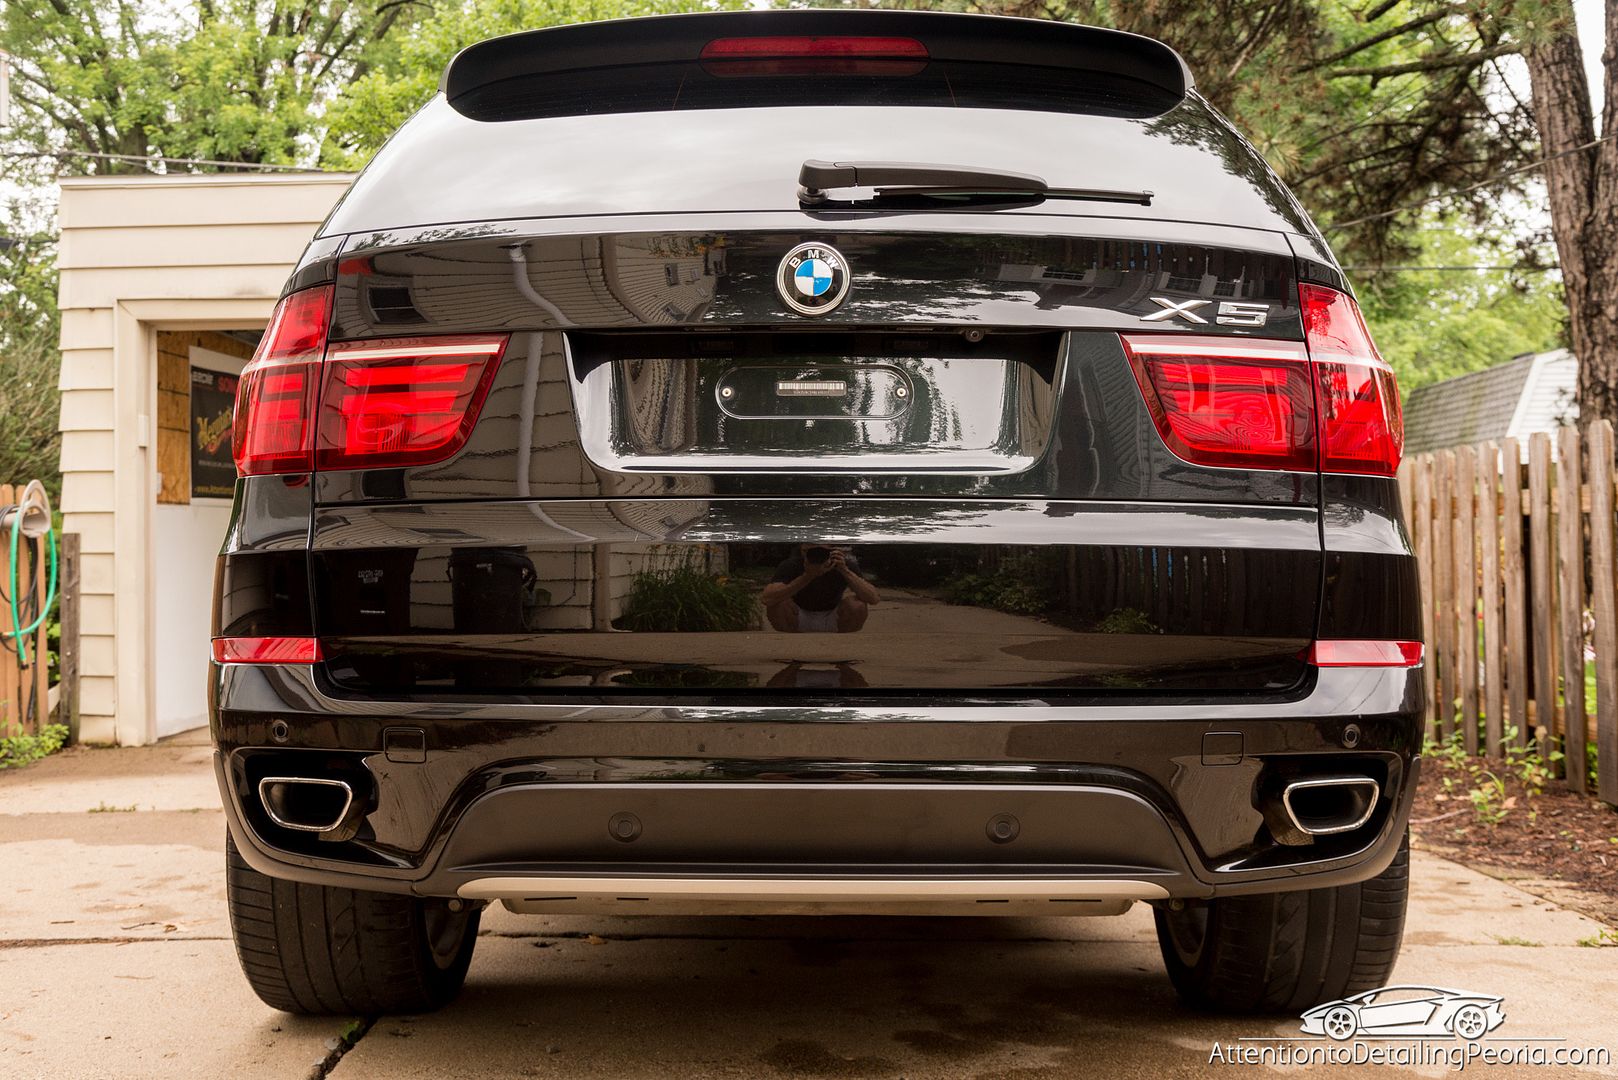
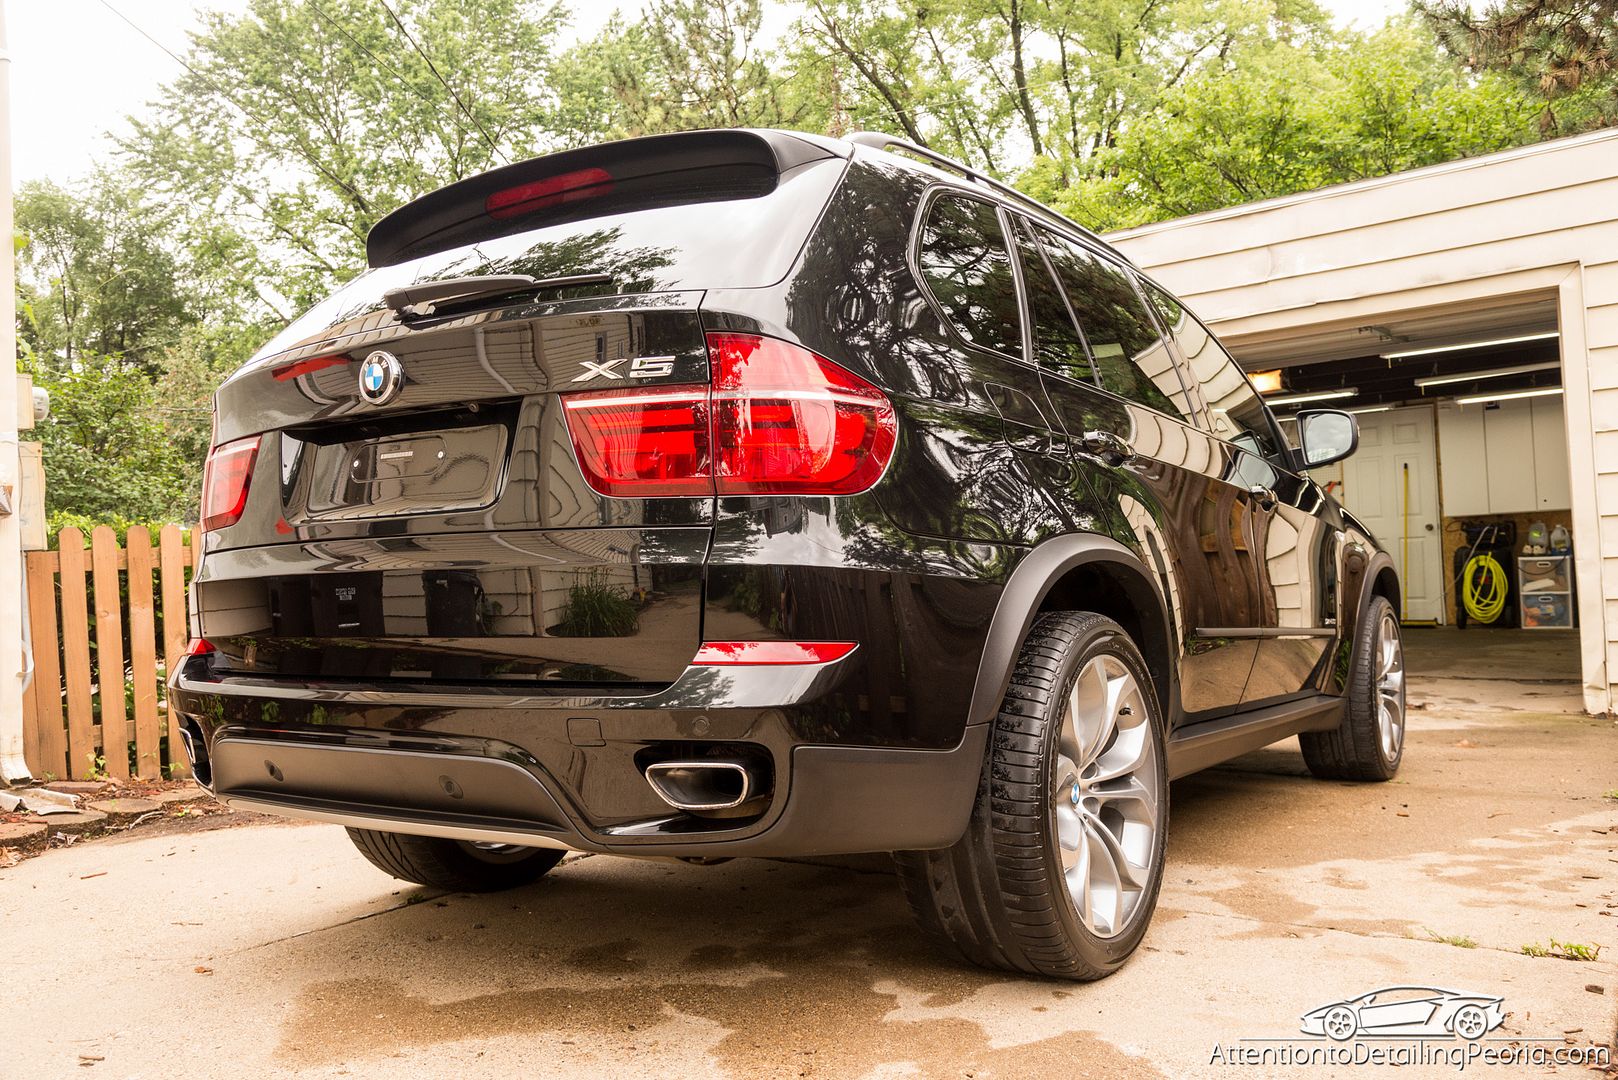
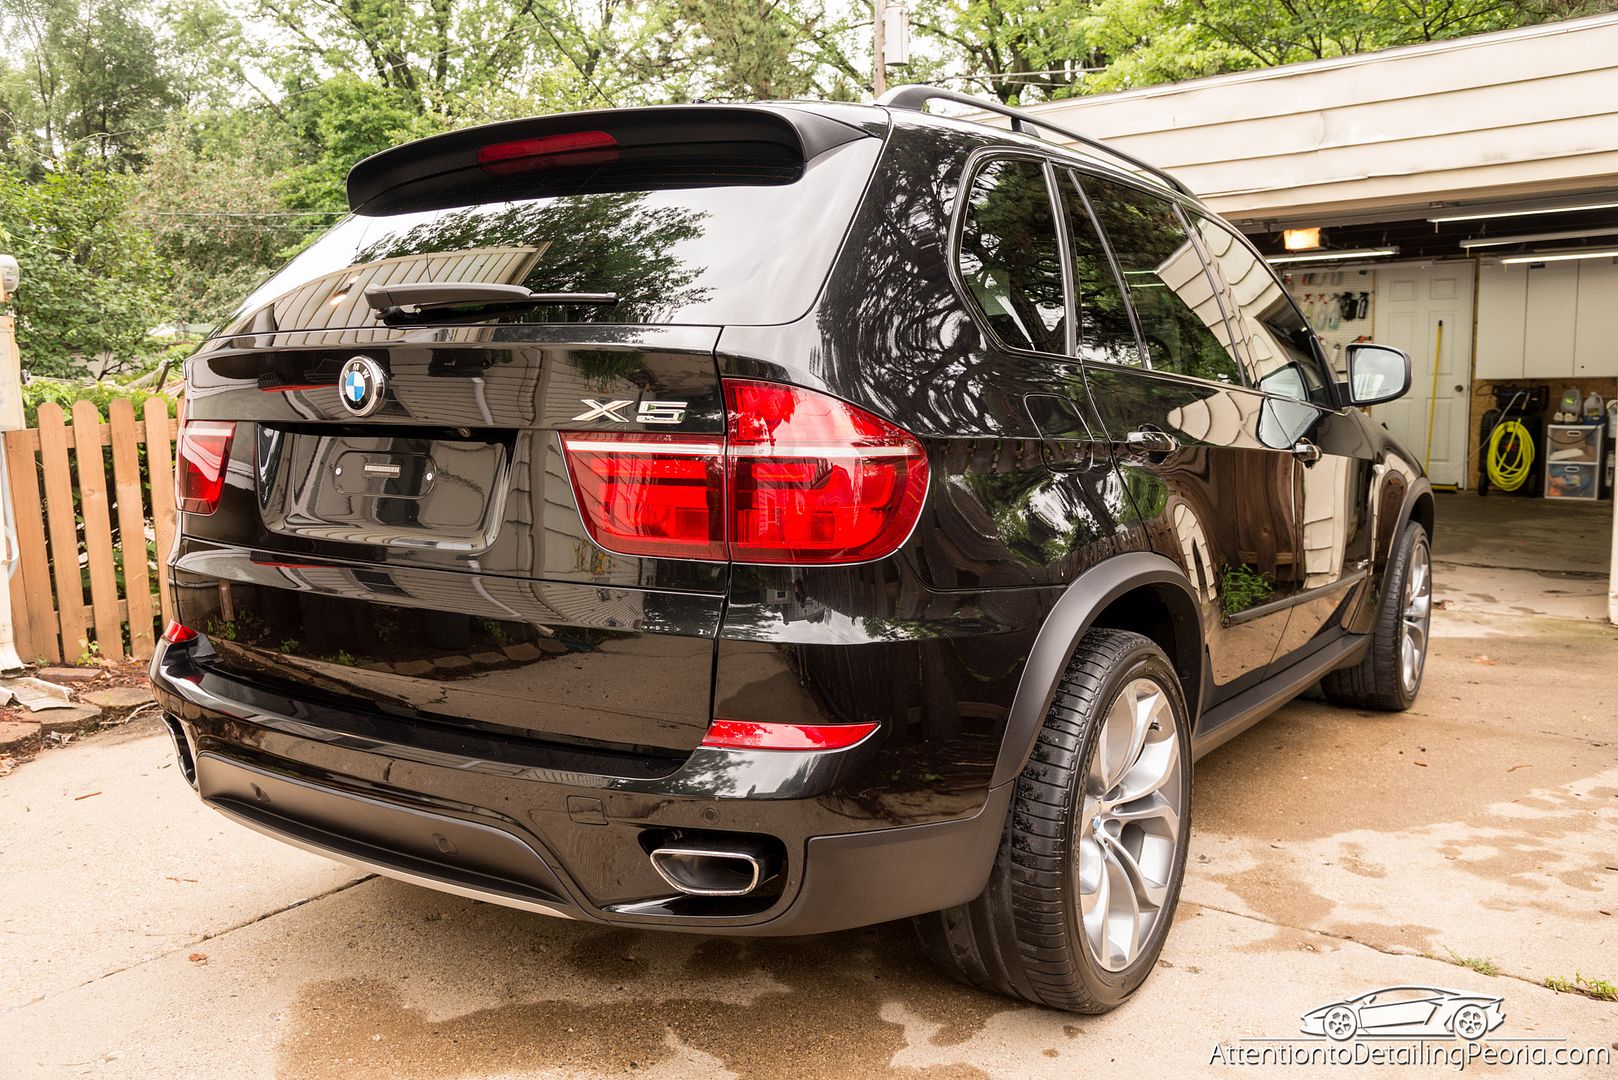
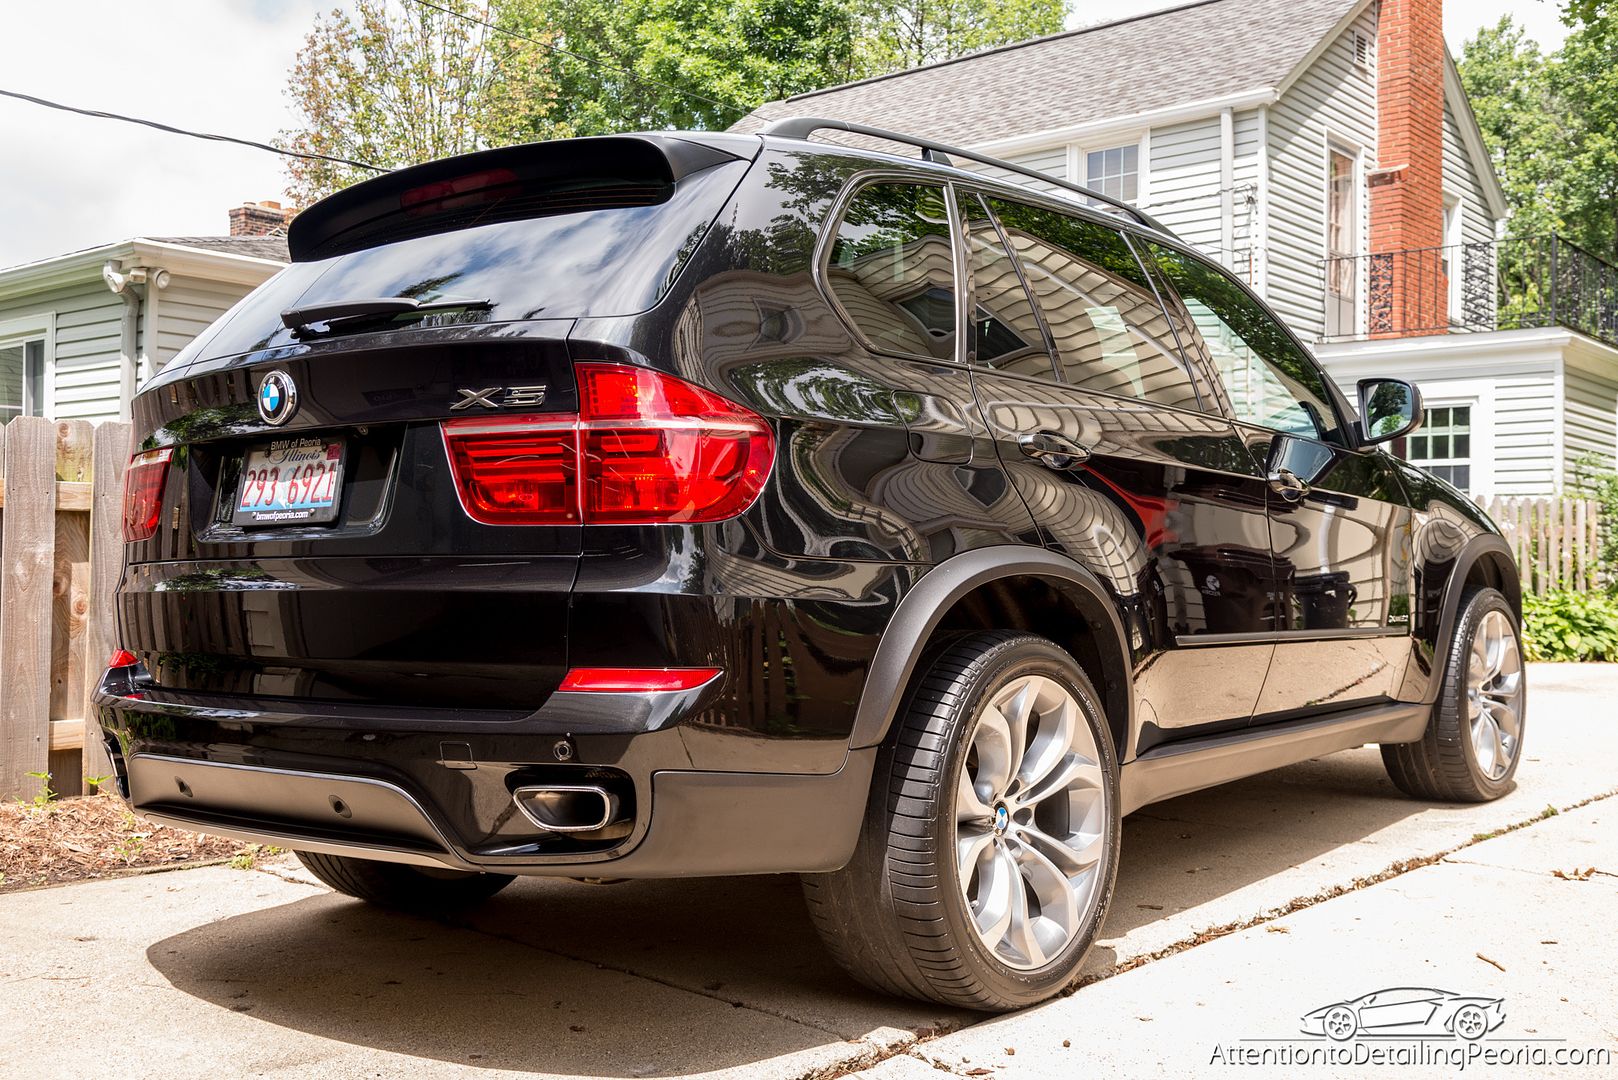
The paint looked great afterwards
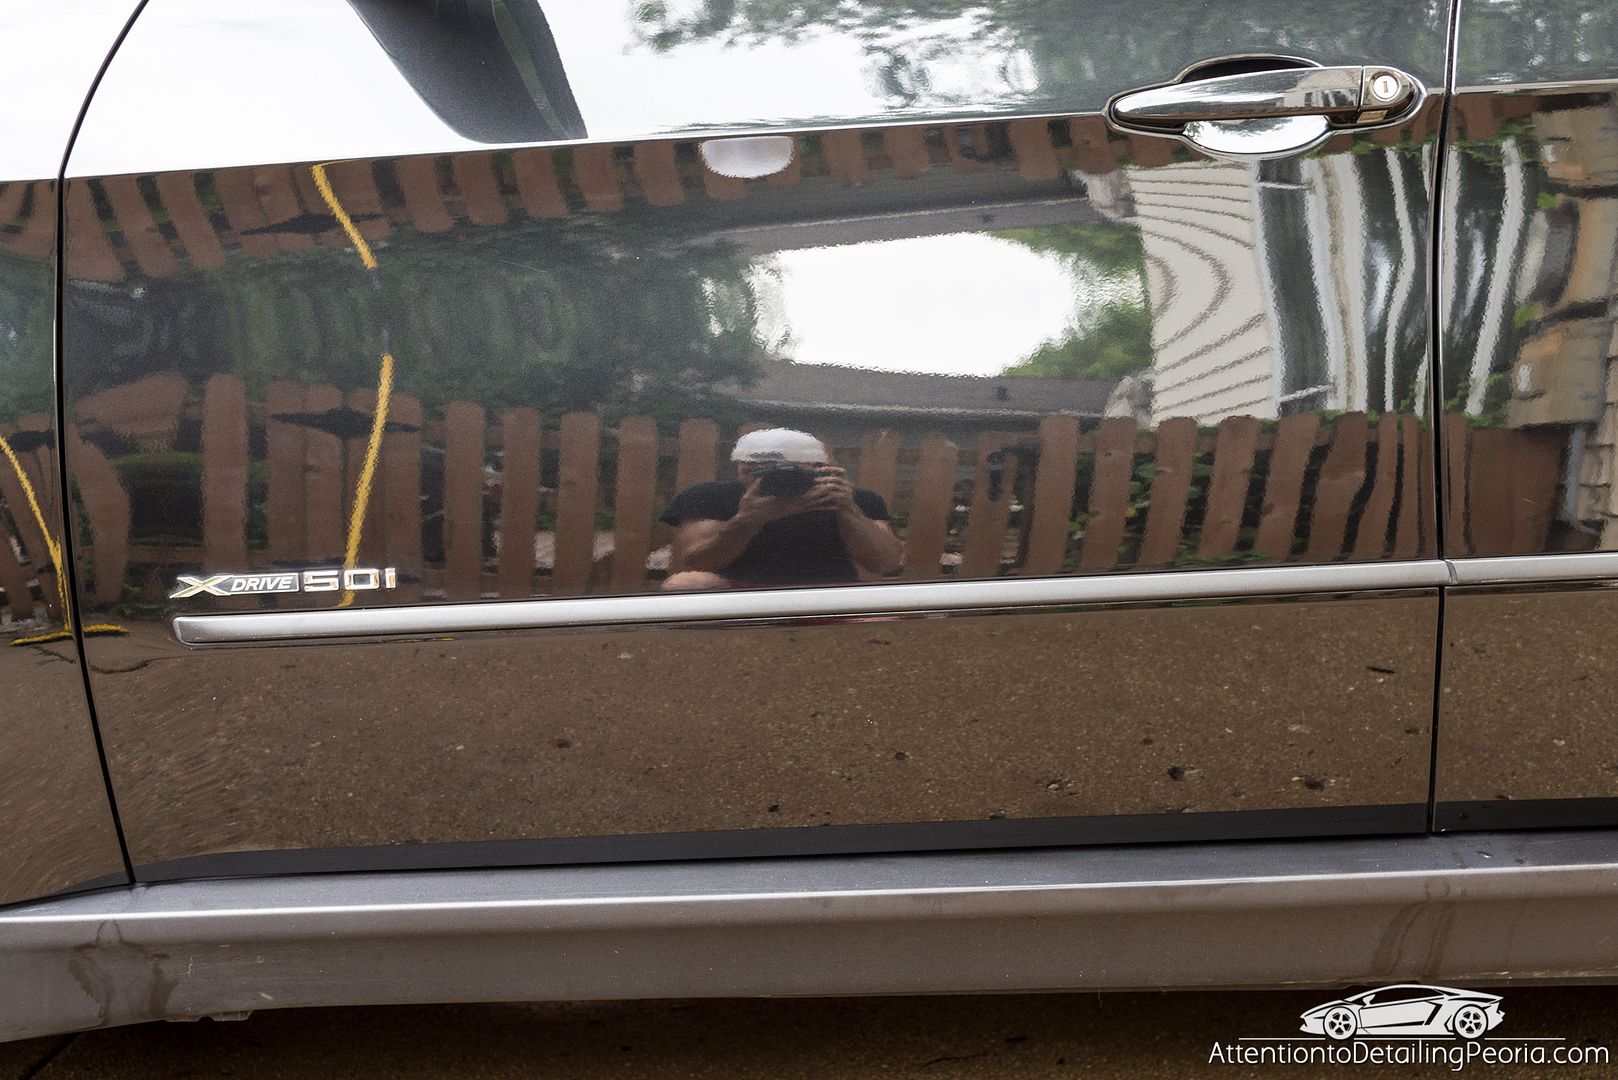
Reflections were now clear and crisp
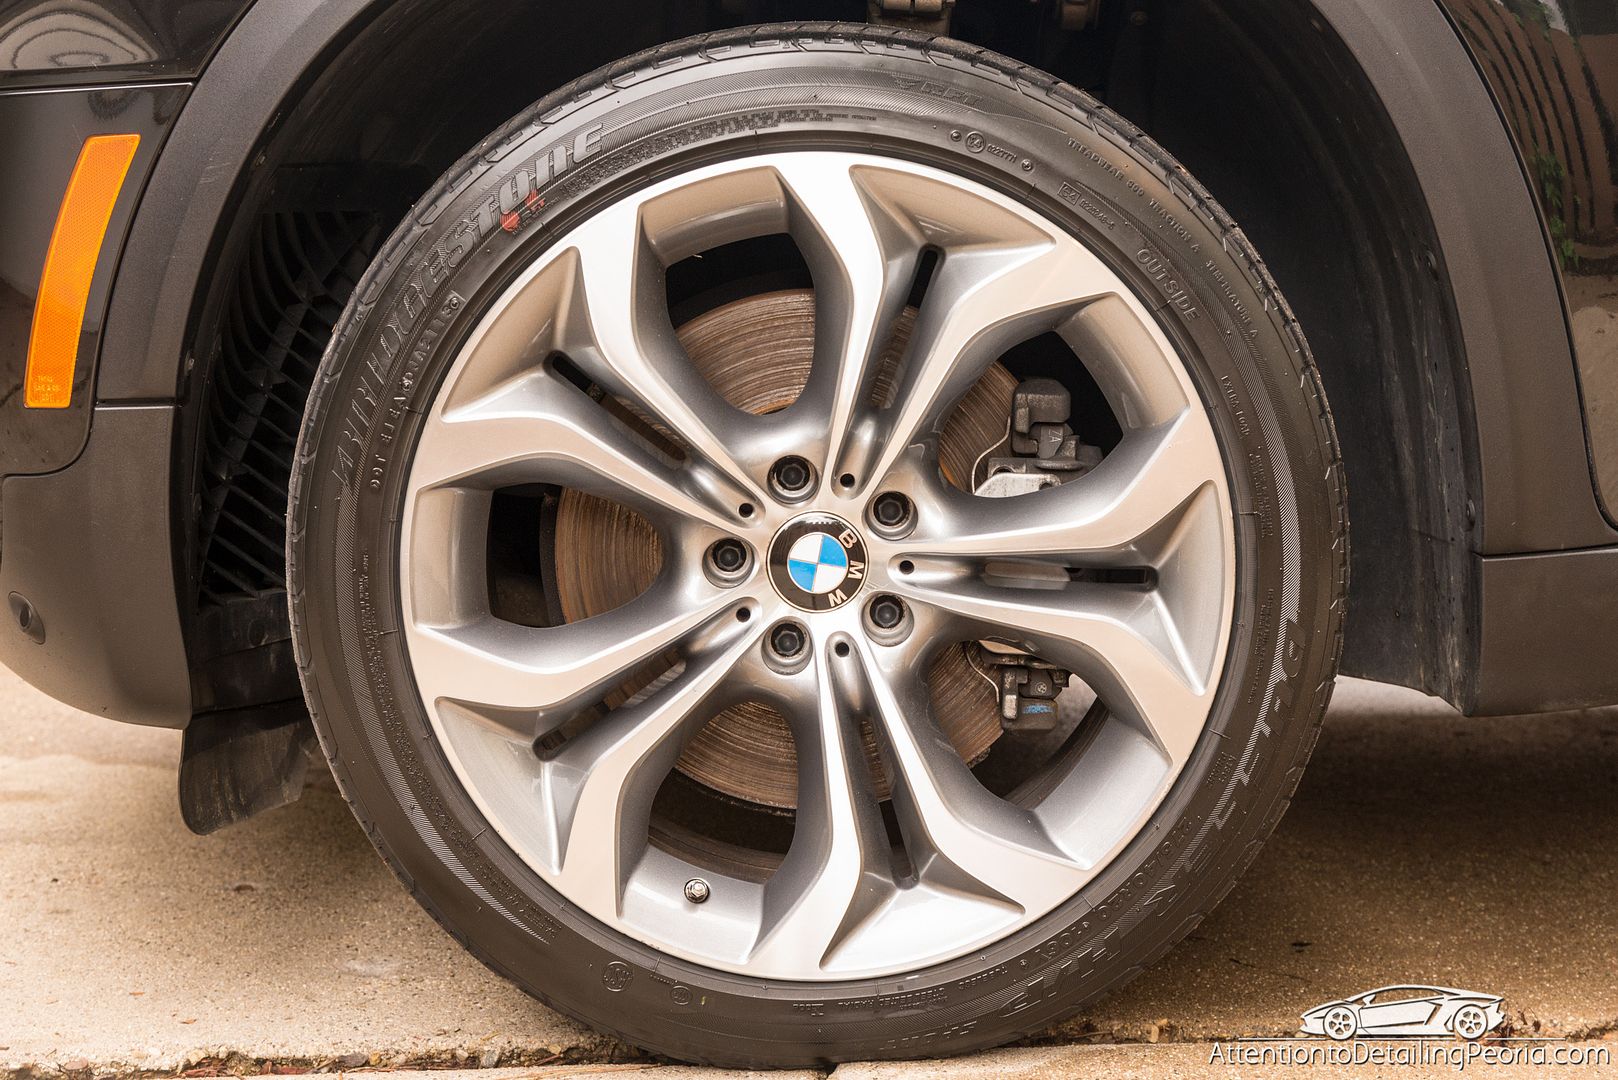
Wheels and tires look great
Engine cleaned up well with just a quick cleaning
The paint is deep and glossy
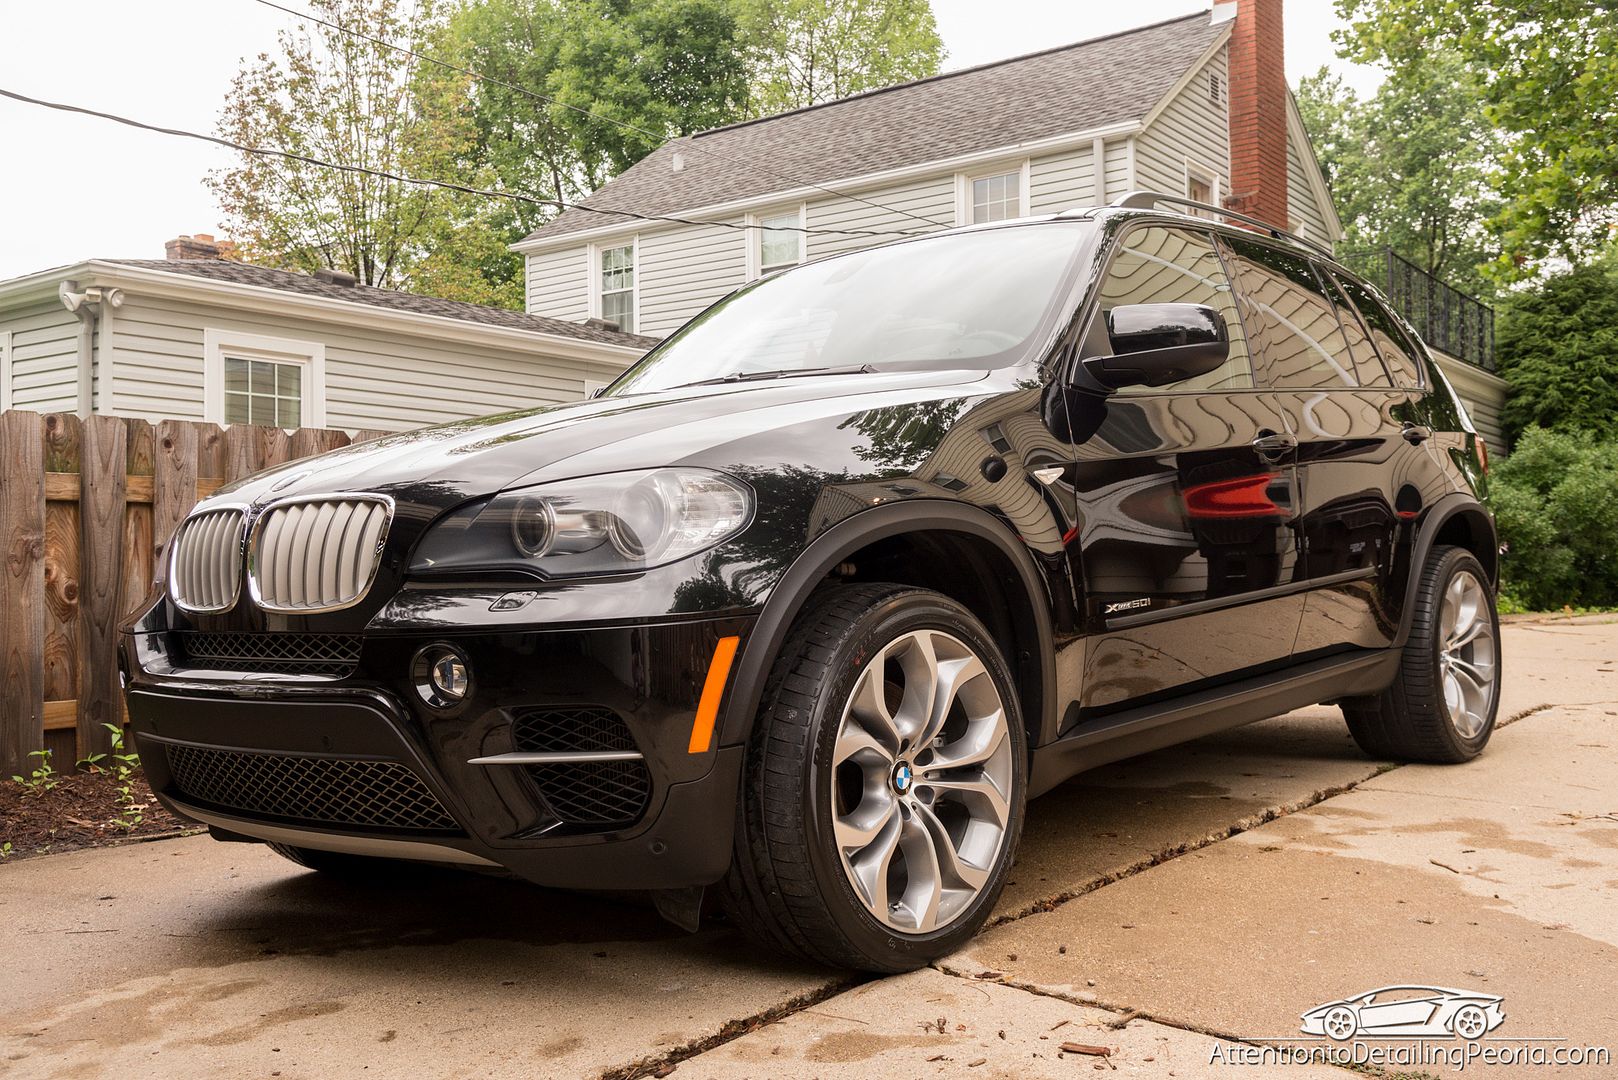
The sun popped out right before the owners arrived
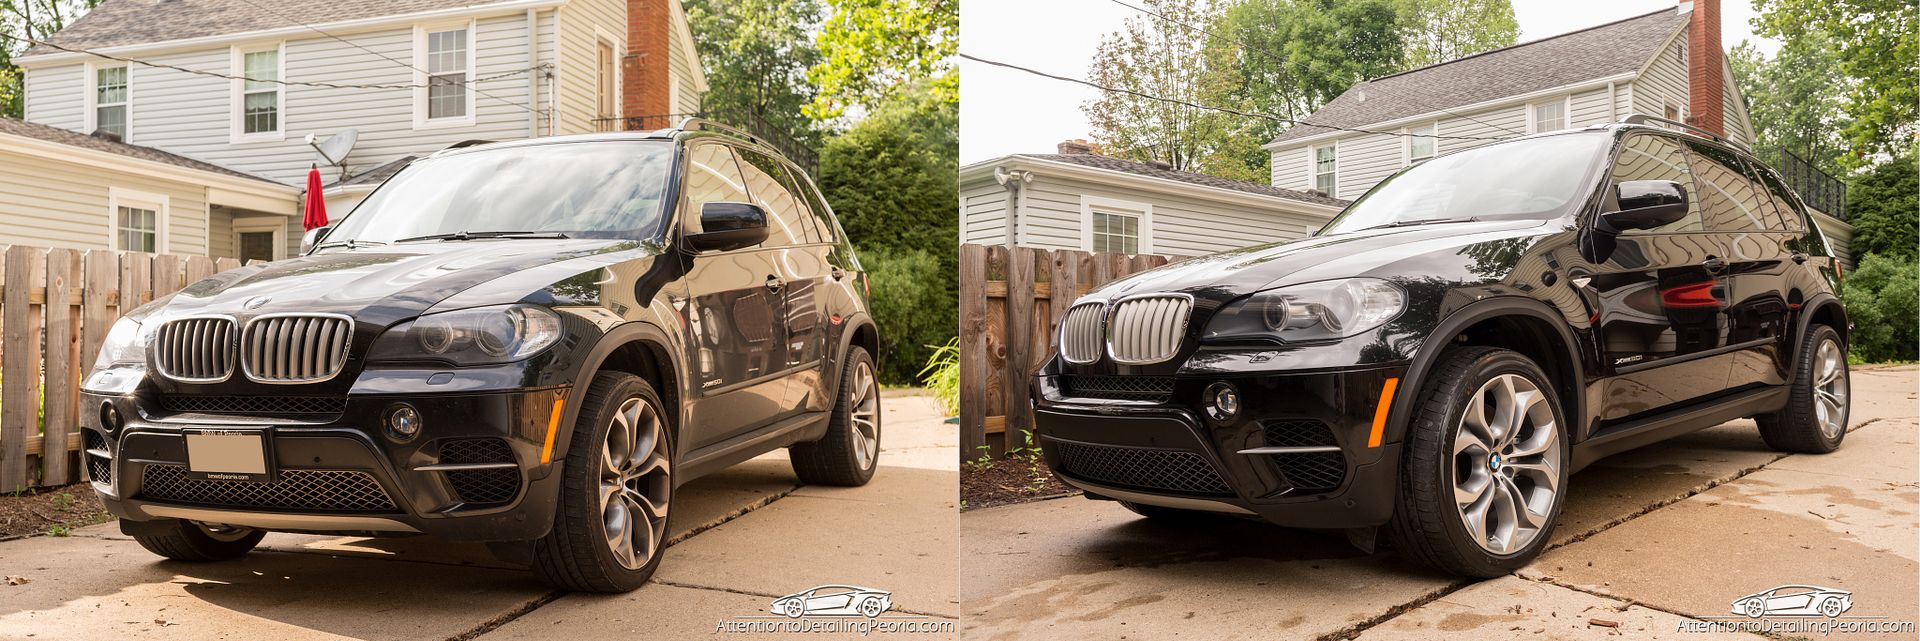
Before / After
Process
Tires: Tuf Shine Tire Cleaner and Tire Brush
Wheels: Sonax FE, Wheel Woolies, EZ Detail Brush & other brushes
Foam Pre-Soak: CarPro Iron X Snow Soap via DI Foam Lance
Wash: CarPro Iron X Snow Soap
Chemical Decon: CarPro Iron X
Mechanical Decon: Medium Grade Speedy Prep Towel with Glide for lubrication
Paint Thickness Readings Taken
Masked off delicate areas
Correction: Meguiar's D300 on MF Cutting Discs and very quick polishing pass with M205 on White LC Pad via Griot's BOSS 21, Rupes LHR21ES, and Rupes LHR75e
Eraser Wipe Down
Paint Coating: Optimum Gloss Coat
Wheel Sealant: CarPro HydrO2
Tires: CarPro PERL
Exhaust Tips: CG Metal Polish via #0000 Steel Wool and MF Towel
Glass: CarPro Fast Glass Towels
Interior: Vacuum, Glass cleaned, all surfaces cleaned with Einszett Plastic Cleaner or Quik Interior Detailer, Protected with 303
Engine: Rinsed, cleaned with Meguiar's D108 & Various Brushes, Blown Dry with Master Blaster, dressed with 303
The car was dropped off and was quite dirty
Wheels were very dirty
The dirt and grime left these wheels looking dull and lifeless.
Exhaust tips had clearly never been polished and had an incredible amount of carbon buildup on them.
As always, we begin by cleaning the wheels and tires. The tires were scrubbed several times to remove the dirt that had accumulated on them
The tire cleaner stays white once all of the dirt has been removed.
A liberal amount of wheel cleaner was sprayed onto each wheel and left to dwell.
Looking much better!
The wheels were then sealed for added protection
We then turned our attention to the paint. The vehicle was covered in a thick layer of degreasing soap and all-purpose cleaner to help break through the thick layer of grime that had built up on the surface. The car was then carefully washed to remove any remaining loose dirt.
The vehicle was then soaked in Iron X to remove any bonded iron particles from the paint. The chemical transforms from clear to purple as it reacts with iron and starts to dissolve it from the paint. You can see the chemical dripping from the paint. This vehicle was very contaminated. After the iron x treatment, the entire vehicle was clayed to ensure all bonded contaminates were removed.
We then began with the paint correction process to remove the majority of light to moderate defects in order to enhance the gloss and color of the paint.
Door before correction. Notice the complete lack of reflection near the lights.
Door after correction. Notice you can now see the lights and the stool. The reflection was dramatically improved.
Fender before correction.
Fender after correction.
Hood before correction - very dull due to improper buffing by the dealership detailer
Hood after correction. Clarity and color have been restored.
Rear quarter before correction. Again notice the dull reflection near the lights.
After correction. Big improvement in clarity.
Exhaust tip before polishing
Exhaust tip after polishing. Unfortunately some of the metal was completely pitted and rusting, but still a great improvement overall.
The glass was very dirty inside and out, you can see the passenger side is clean while the driver side has a thick film inside.
The paint looked great afterwards
Reflections were now clear and crisp
Wheels and tires look great
Engine cleaned up well with just a quick cleaning
The paint is deep and glossy
The sun popped out right before the owners arrived
Before / After
")