Mike Phillips
Active member
- Dec 5, 2022
- 51,004
- 6
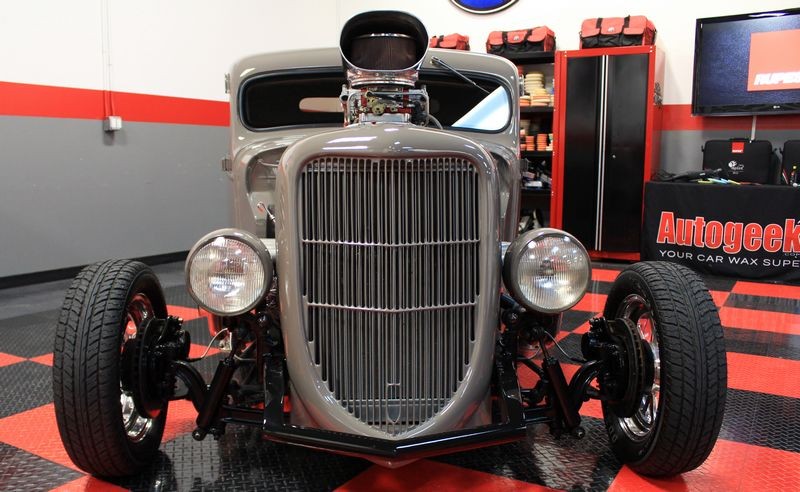
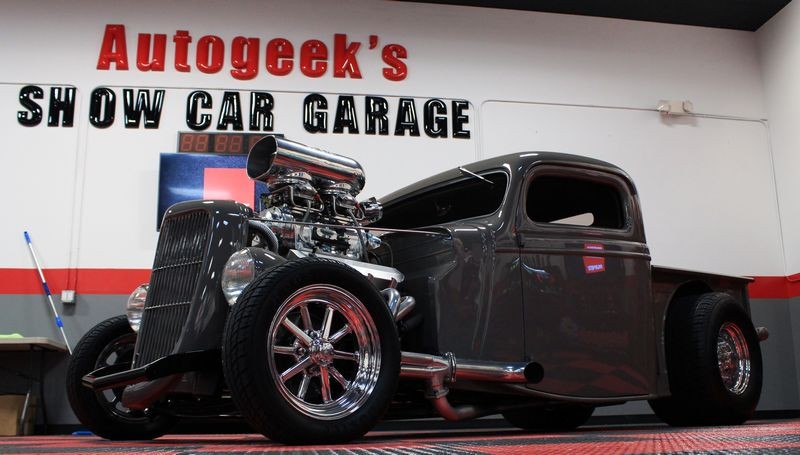
Full BLOWN RUPES Show Car Detailing on a Full Blown 1936 Ford Streetrod by Mike Phillips
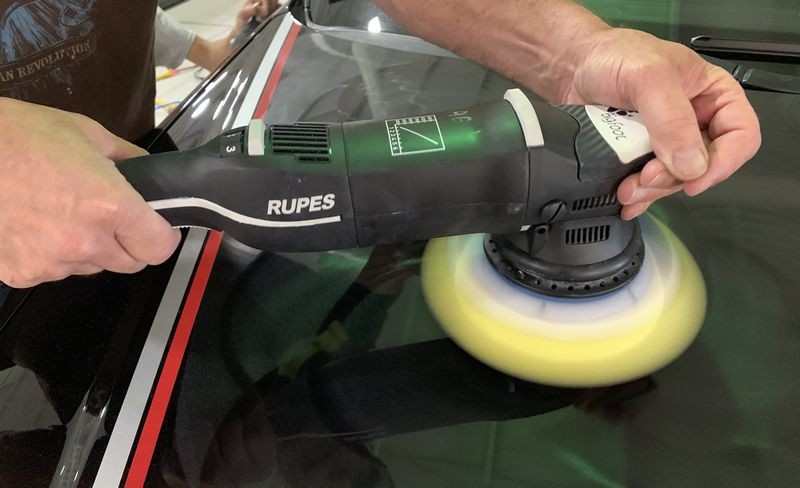
Last week we shot a new series of videos showing the various RUPE tools, pads and products. Part of the project was getting a cool car for the video.
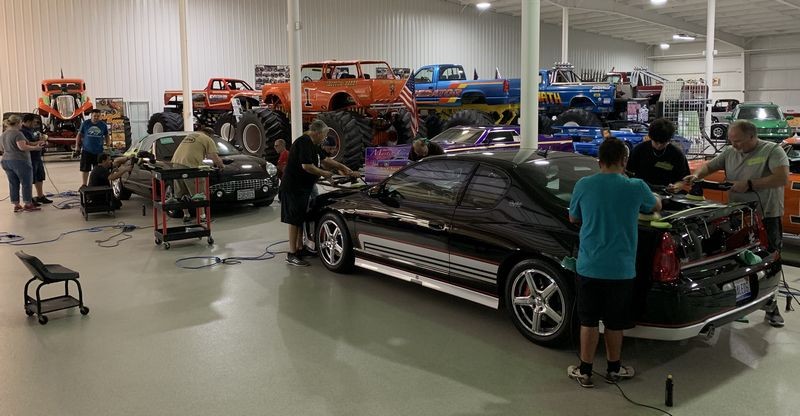
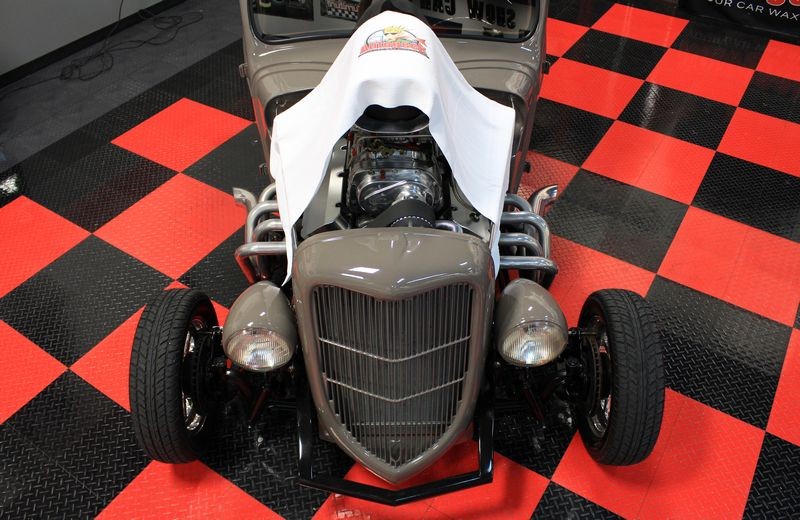
Blown 1936 Ford Streetrod
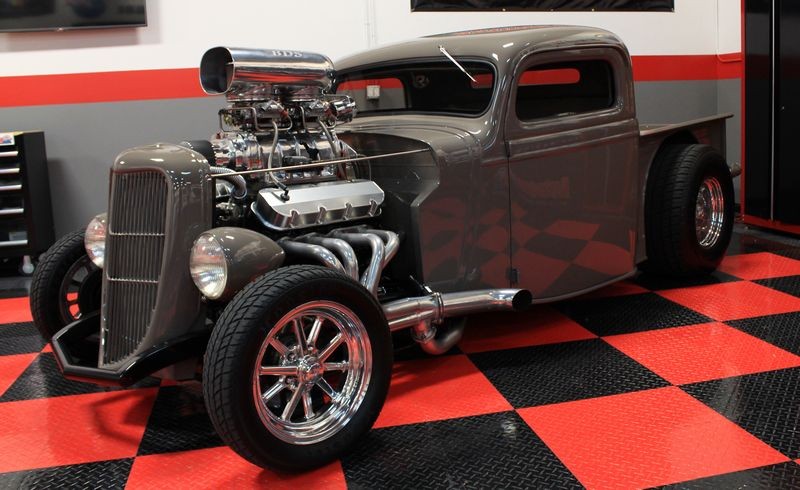
Still shot while shooting the video...

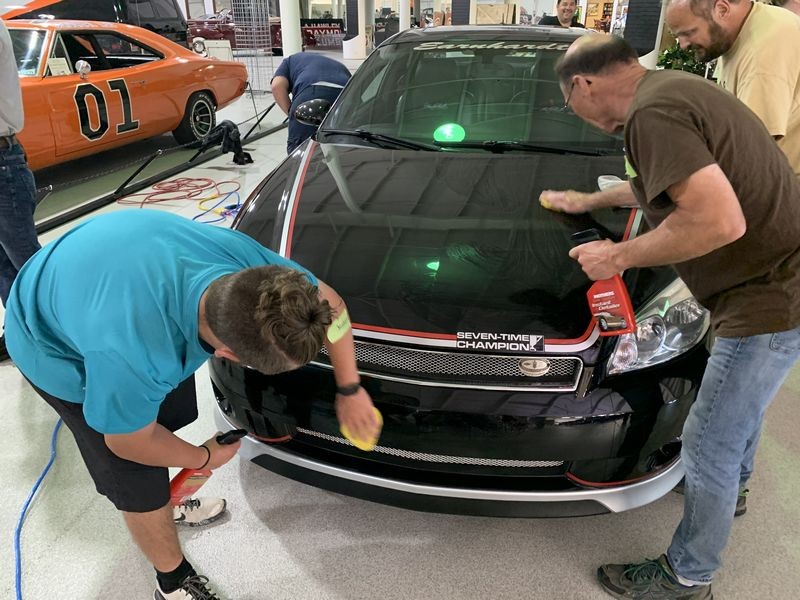
When doing these types of products you end up with a car that has a few sections buffed but not the entire vehicle. We can't just buff on a few sections and then kick it out the door so I did a full-meal deal show car detail to this old 2-door Ford and as a part of the process took some pictures to show you how to use the Autogeek Cover-up Towel. In this case it was to protect the blower and all the other engine jewelry from getting any compound or polish splatter dots.
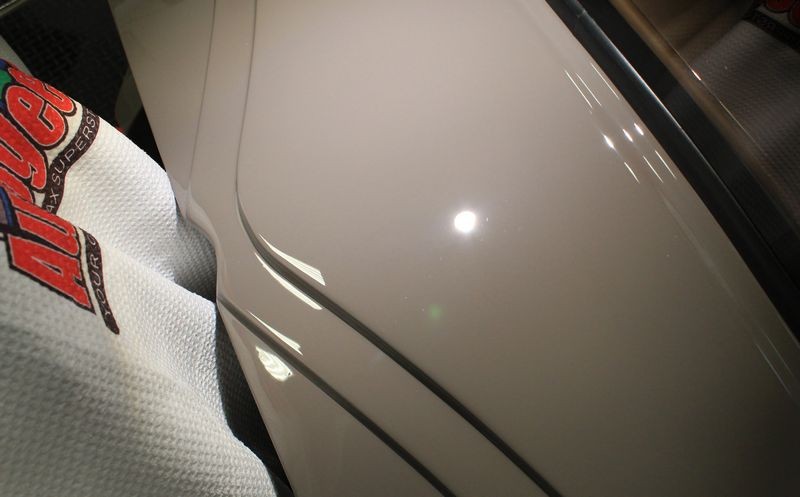
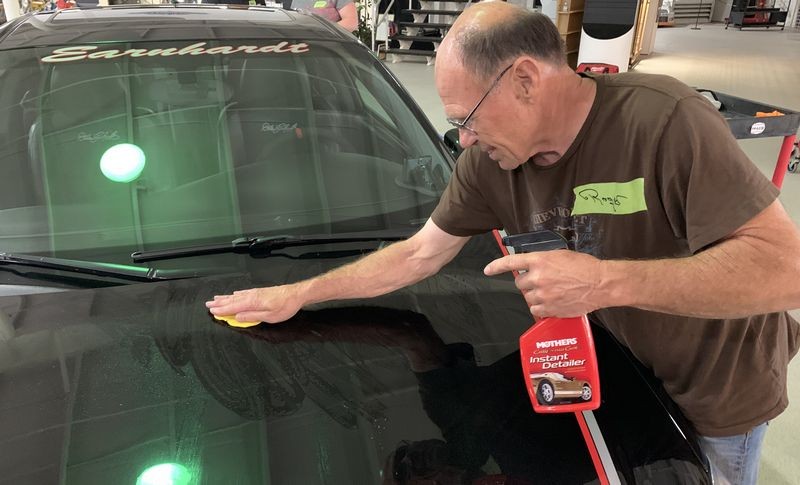
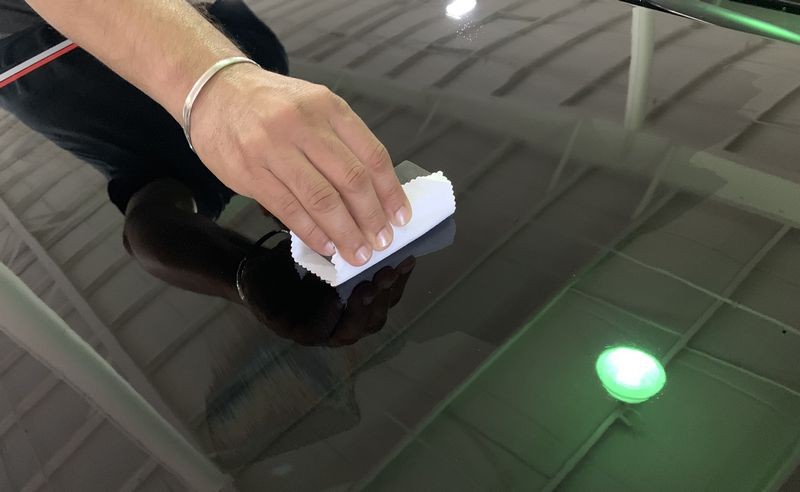
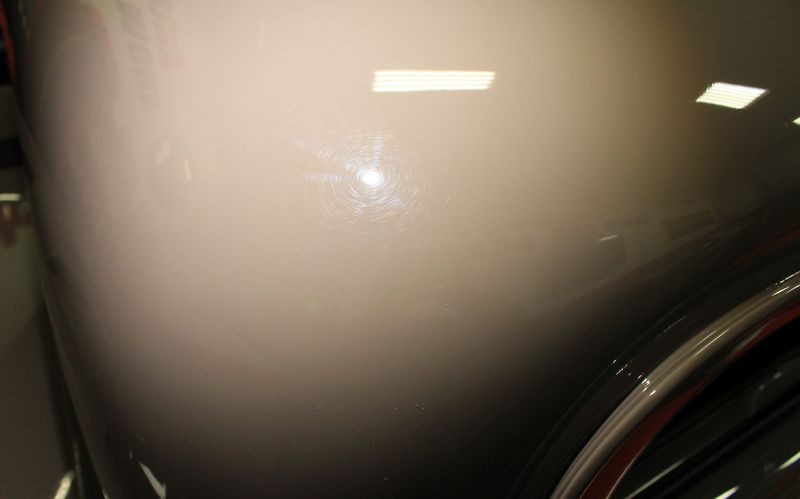
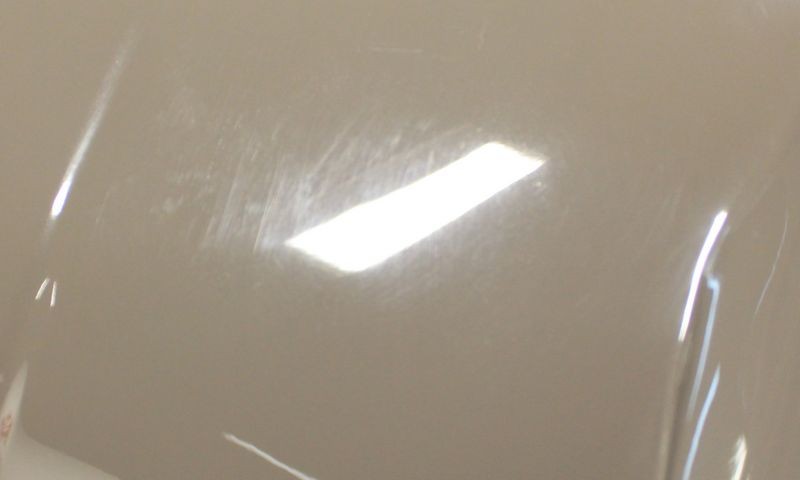
Visual inspection
So after the videos were all shot I documented the current condition of the finish... so I whip out my handy-dandy SCANGRIP Sunmatch and inspect the paint...


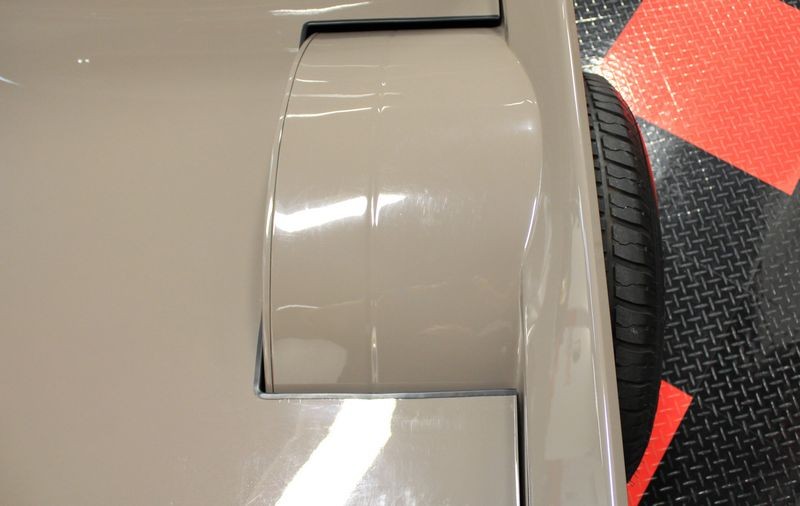
The current owner thinks the previous owners used this truck like a truck and now a show car and did things like place lawn chairs and coolers in the back? I don't know but there were lots of deep scratches in the pickup bed and I didn't get them all out 100% as I think some were pretty deep.

These pictures of the fenderwell tubs didn't come out good but you get the idea...
Physical inspection
After inspecting visually with the swirl finder light I then felt the paint using the Baggie Test and "yep" something on the paint.

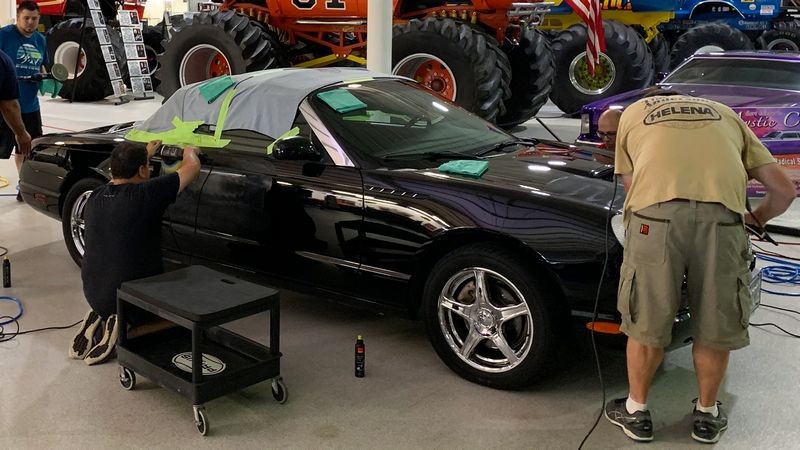
The Autogeek Cover-up Towels
These are the Autogeek version of a beach towel only they are larger and softer.
I use these all the time for various areas of a project that I don't want to get compound, polish or splatter dots on when machine buffing. They save you a TON of time from having to go back at the end of the project, (at the end of the day when you're tired), and use a toothbrush to try to remove all the little annoying splatter dots.
Here's how you use them...


I use a few pieces of tape to secure the towels in place...
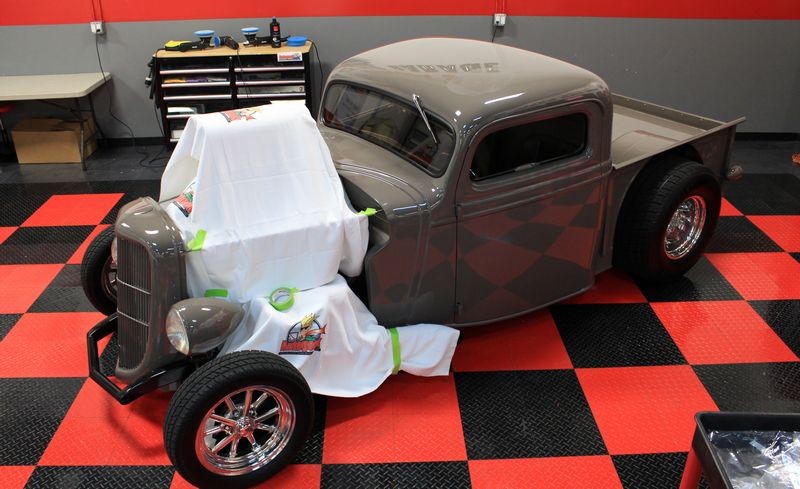
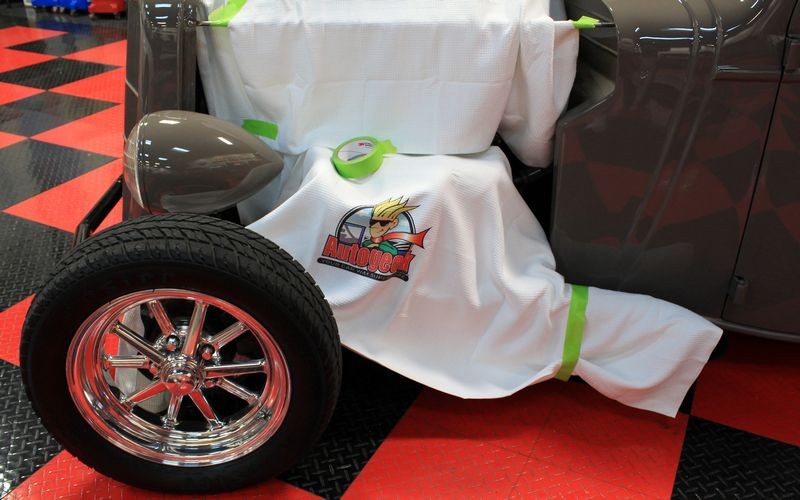
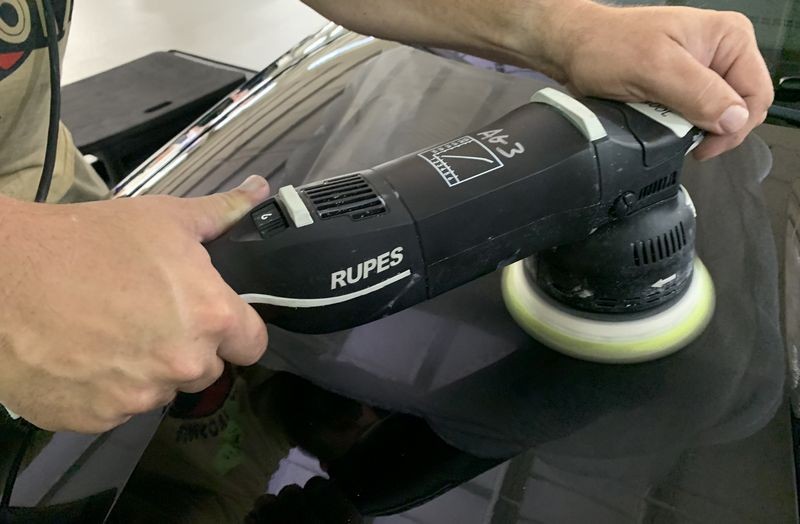
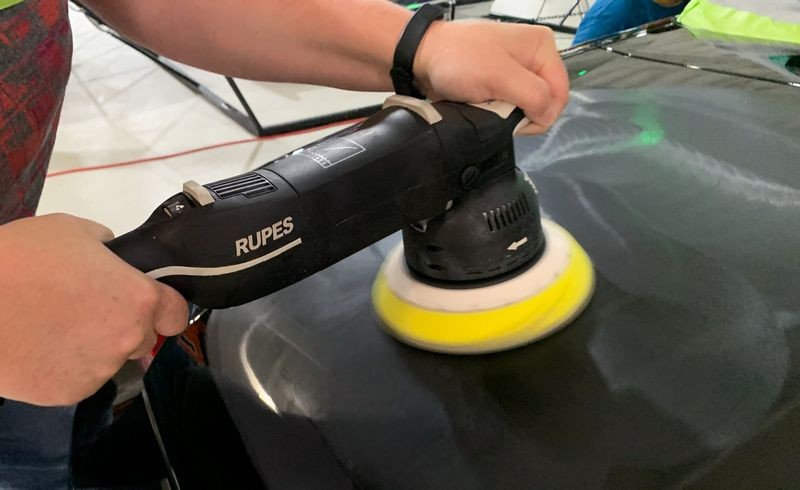
Ready for heavy buffing....

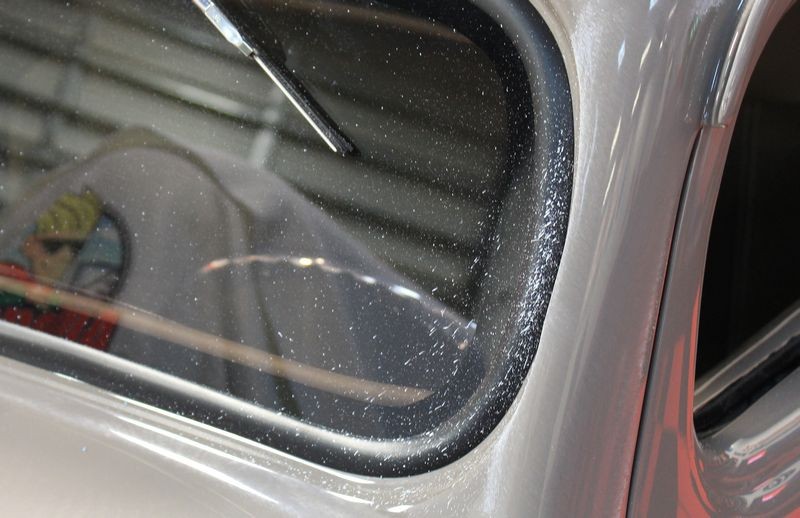
Compound Splatter Dots
Here's an example of what you're preventing from getting on the engine, blower or whatever it is you cover-up...
See the compound splatter?
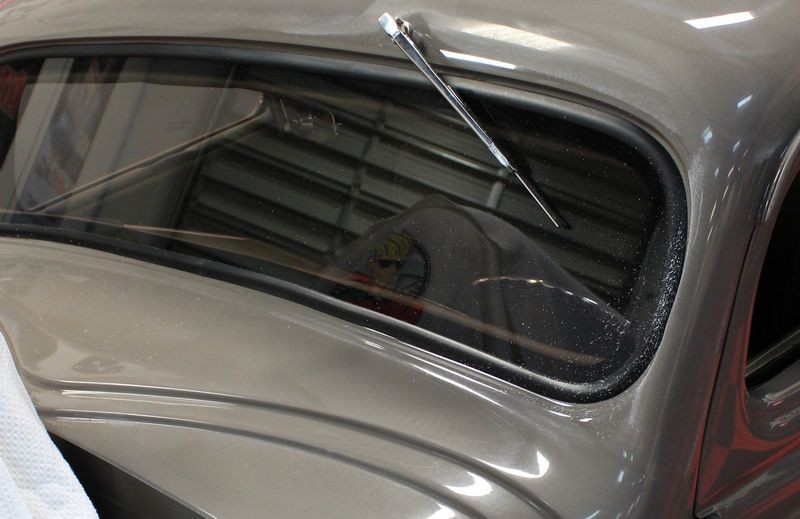
Lets get a little closer.... now see what a mess you can make?
")
Last week we shot a new series of videos showing the various RUPE tools, pads and products. Part of the project was getting a cool car for the video.
Blown 1936 Ford Streetrod
Still shot while shooting the video...
When doing these types of products you end up with a car that has a few sections buffed but not the entire vehicle. We can't just buff on a few sections and then kick it out the door so I did a full-meal deal show car detail to this old 2-door Ford and as a part of the process took some pictures to show you how to use the Autogeek Cover-up Towel. In this case it was to protect the blower and all the other engine jewelry from getting any compound or polish splatter dots.
Visual inspection
So after the videos were all shot I documented the current condition of the finish... so I whip out my handy-dandy SCANGRIP Sunmatch and inspect the paint...
The current owner thinks the previous owners used this truck like a truck and now a show car and did things like place lawn chairs and coolers in the back? I don't know but there were lots of deep scratches in the pickup bed and I didn't get them all out 100% as I think some were pretty deep.
These pictures of the fenderwell tubs didn't come out good but you get the idea...
Physical inspection
After inspecting visually with the swirl finder light I then felt the paint using the Baggie Test and "yep" something on the paint.
The Autogeek Cover-up Towels
These are the Autogeek version of a beach towel only they are larger and softer.
I use these all the time for various areas of a project that I don't want to get compound, polish or splatter dots on when machine buffing. They save you a TON of time from having to go back at the end of the project, (at the end of the day when you're tired), and use a toothbrush to try to remove all the little annoying splatter dots.
Here's how you use them...
I use a few pieces of tape to secure the towels in place...
Ready for heavy buffing....
Compound Splatter Dots
Here's an example of what you're preventing from getting on the engine, blower or whatever it is you cover-up...
See the compound splatter?
Lets get a little closer.... now see what a mess you can make?