Mike Phillips
Active member
- Dec 5, 2022
- 51,004
- 6
Griot's Garage 3" Mini Polisher - Extreme Demo - Warning!
Warning! Please don't try this on your own car.
I've had a number of people ask me about the power offered by the new Generation II Griot's Garage 3" Mini Polisher and so after scratching my head and trying to think of some kind of demonstration I could do and then share the pictures from I came up with the below Extreme Demo.
Please understand, it's only common sense that this 3" Mini Polisher is not made for or intended to be used to remove sanding marks out of clear coat paints. In a best "worst case" scenario, you would finish out with #3000 or #4000 grit paper. I chose #2000 to make it extreme.
This 3" polisher definitely has more power than the first generation offered by Griot's Garage but it's not for removing sanding marks, it's for removing light surface defects with an emphasis on the word LIGHT. It can also be used for applying wax or paint sealant to small or thin panels or for things like Motorcycles.
Note: There are more aggressive products you can use and it's possible to make a more aggressive 3" pad but in my life I've noticed when working with small pads like this there's a tendency for increased potential for haze and micro-marring when getting small. It is important to keep the surface slippery for this kind of defect removal.
And for what it's worth... I've been doing this for a few years and sometimes a little experience in the craft of polishing paint can go a long ways...
Without further ado...
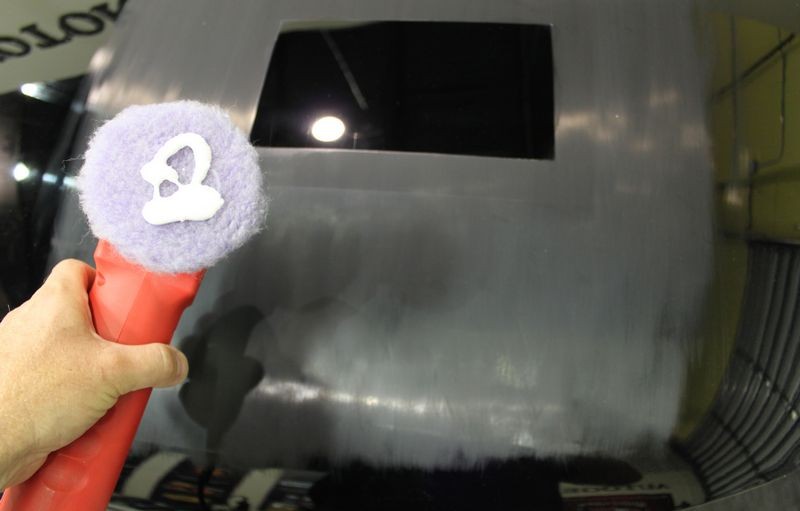
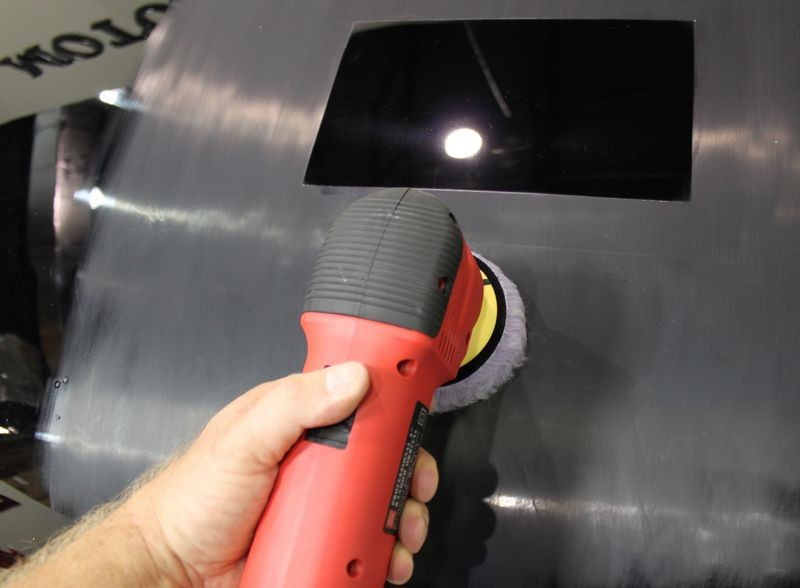
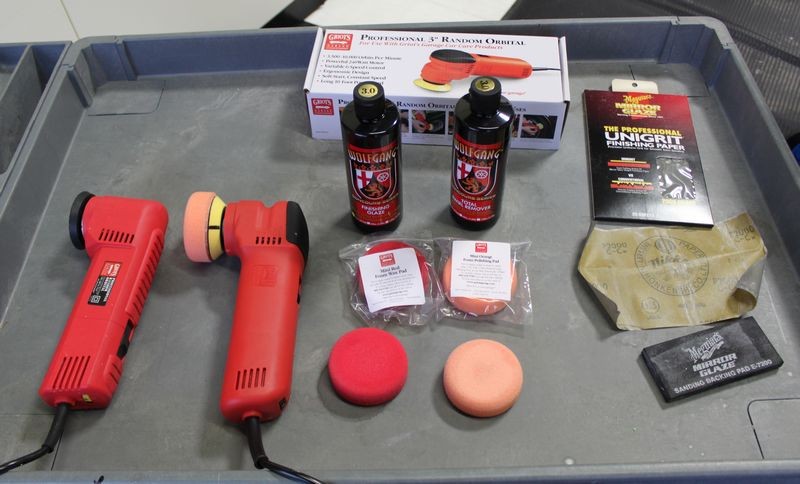
The polisher on the left is the first generation, the polisher on the right is the new Generation II Griot's Garage 3" Mini Polisher. I chose the Wolfgang Twins because they are both very wet products and you need hyper-lubricity to help aid in pad rotation when removing below surface defects, or in other words to remove a little paint.
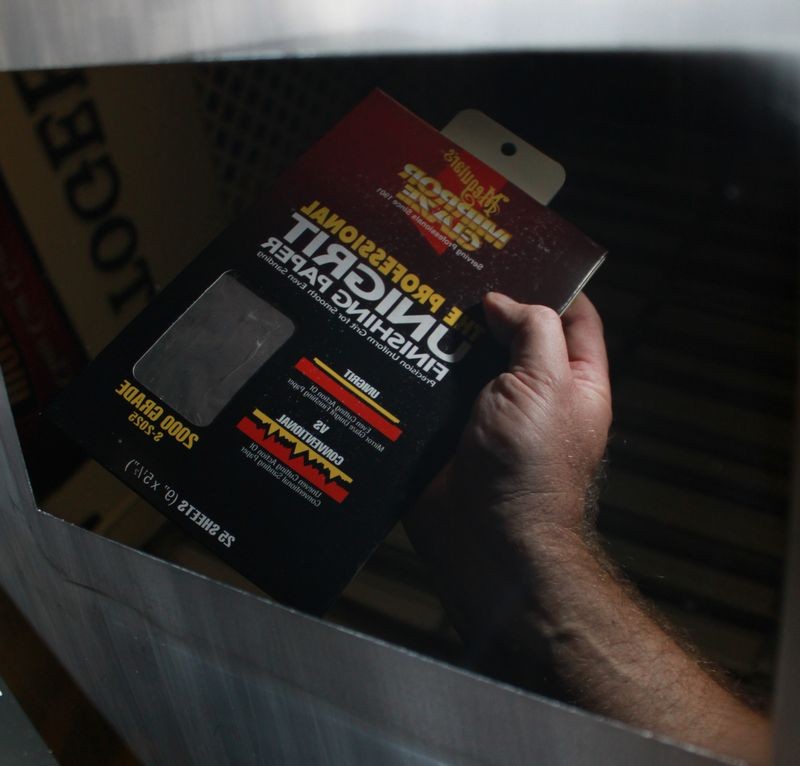
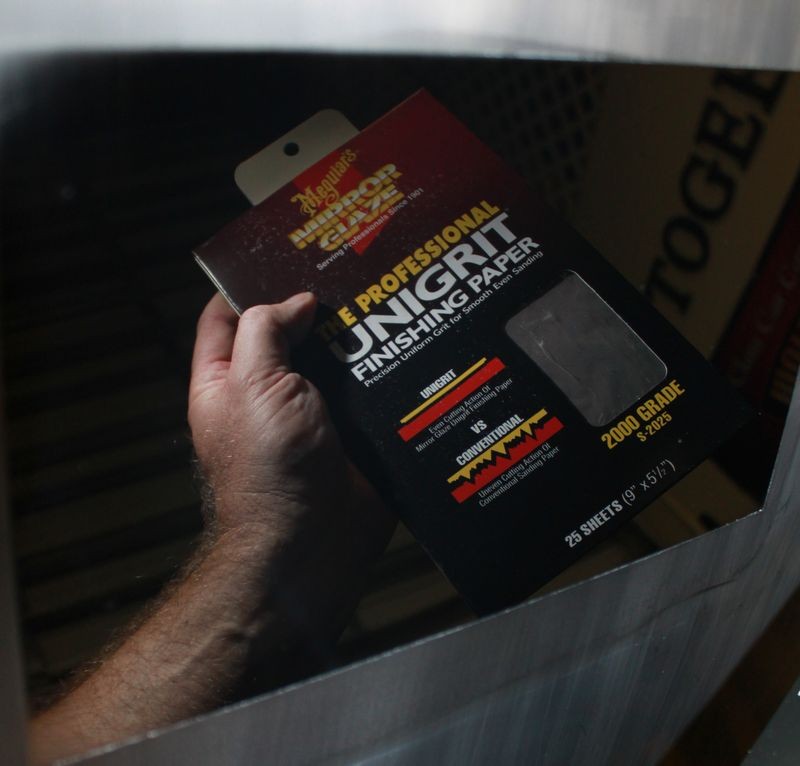
Meguiar's #2000 Nikken Finishing Papers were used to give me an extreme test section and I used the Griot's Garage foam polishing and waxing pads for sanding mark removal and final polishing.
Not pictured is the Detailers Pride Max Wax which I applied after polishing

One section of the test hood was thoroughly wet-sanded using Nikken #2000 Finishing Papers

If you look closely you can see a few very light tracers, in the REAL World, anytime you're doing sanding you would remove the sanding marks using a rotary buffer and/or a DA Polisher if you have the knowledge and skill to use these two types of tools for this type of work. You would not use nor expect these kinds of dramatic results from the tool I used but I'll let the results speak for themselves.
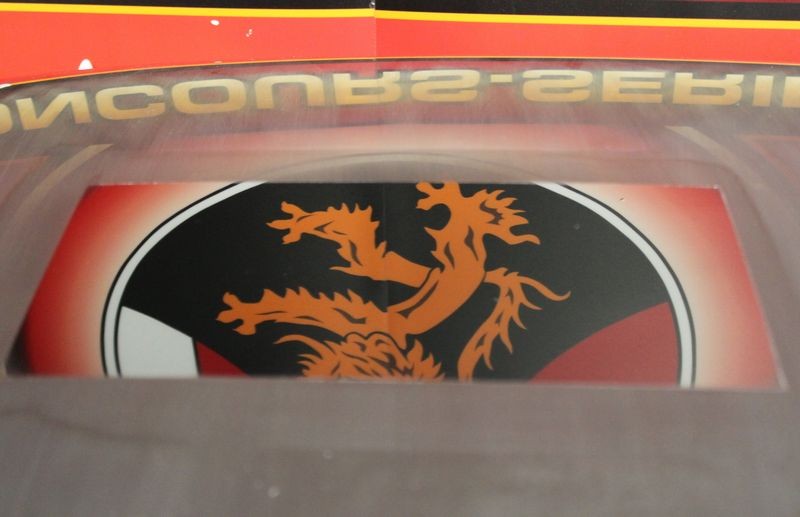
After results
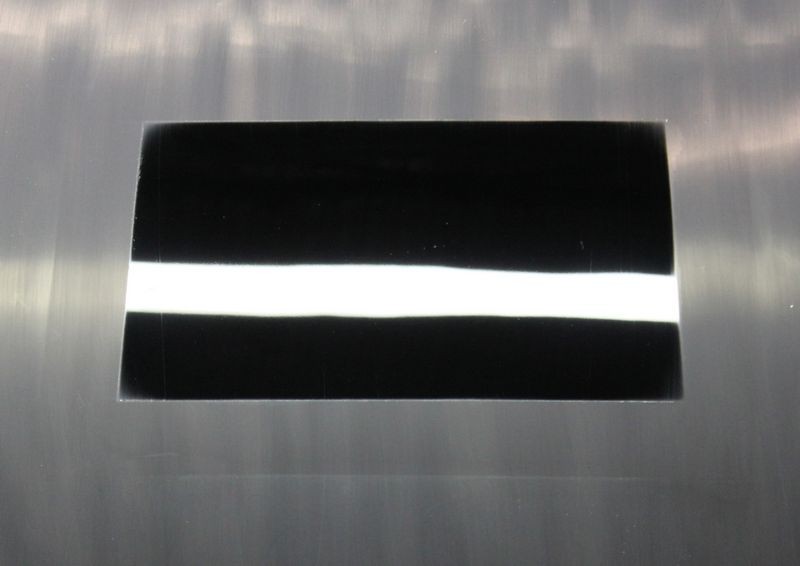
Nikken reflection shot
Flipped horizontally...
In this shot I'm actually focusing on the sanding marks between the wall poster and the reflection of the wall poster.

In this shot I'm focusing on the reflected image...

In this shot you can see the subtle distinction between the seam in the poster in the reflected image.
And a self-portraight...

Question: Does the new Griot's Garage 3" Mini Polisher have more power?
Answer: You betcha!
Should it be the only polisher in your detailing arsenal? No not at all. It's a nice complimentary tool for thin panels, small components, motorcycle detailing and anything else you can find a use for it.
Products shown
Griot's Garage 3" Mini Polisher
3-Pack of 3" Polishing Pads - You want lots of these, 2-3 packs
3" Waxing Pads
Wolfgang Total Swirl Remover 3.0
Wolfgang Finishing Glaze
Nikken Finishing Papers
Meguiar's E-7200 Backing Pad
Not shown
Detailer's Pride Max Wax
Cobra Supreme 530 Microfiber Towel 6 Pack
I use to live life on the edge of the razor blade... now I live life on the blade of the butter knife - Mike Phillips
Had to throw that last quote in there, I made it up years ago and after doing this extreme demo it seemed fitting...
")
Warning! Please don't try this on your own car.
I've had a number of people ask me about the power offered by the new Generation II Griot's Garage 3" Mini Polisher and so after scratching my head and trying to think of some kind of demonstration I could do and then share the pictures from I came up with the below Extreme Demo.
Please understand, it's only common sense that this 3" Mini Polisher is not made for or intended to be used to remove sanding marks out of clear coat paints. In a best "worst case" scenario, you would finish out with #3000 or #4000 grit paper. I chose #2000 to make it extreme.
This 3" polisher definitely has more power than the first generation offered by Griot's Garage but it's not for removing sanding marks, it's for removing light surface defects with an emphasis on the word LIGHT. It can also be used for applying wax or paint sealant to small or thin panels or for things like Motorcycles.
Note: There are more aggressive products you can use and it's possible to make a more aggressive 3" pad but in my life I've noticed when working with small pads like this there's a tendency for increased potential for haze and micro-marring when getting small. It is important to keep the surface slippery for this kind of defect removal.
And for what it's worth... I've been doing this for a few years and sometimes a little experience in the craft of polishing paint can go a long ways...
Without further ado...
The polisher on the left is the first generation, the polisher on the right is the new Generation II Griot's Garage 3" Mini Polisher. I chose the Wolfgang Twins because they are both very wet products and you need hyper-lubricity to help aid in pad rotation when removing below surface defects, or in other words to remove a little paint.
Meguiar's #2000 Nikken Finishing Papers were used to give me an extreme test section and I used the Griot's Garage foam polishing and waxing pads for sanding mark removal and final polishing.
Not pictured is the Detailers Pride Max Wax which I applied after polishing
One section of the test hood was thoroughly wet-sanded using Nikken #2000 Finishing Papers
If you look closely you can see a few very light tracers, in the REAL World, anytime you're doing sanding you would remove the sanding marks using a rotary buffer and/or a DA Polisher if you have the knowledge and skill to use these two types of tools for this type of work. You would not use nor expect these kinds of dramatic results from the tool I used but I'll let the results speak for themselves.
After results
Nikken reflection shot
Flipped horizontally...
In this shot I'm actually focusing on the sanding marks between the wall poster and the reflection of the wall poster.
In this shot I'm focusing on the reflected image...
In this shot you can see the subtle distinction between the seam in the poster in the reflected image.
And a self-portraight...
Question: Does the new Griot's Garage 3" Mini Polisher have more power?
Answer: You betcha!
Should it be the only polisher in your detailing arsenal? No not at all. It's a nice complimentary tool for thin panels, small components, motorcycle detailing and anything else you can find a use for it.
Products shown
Griot's Garage 3" Mini Polisher
3-Pack of 3" Polishing Pads - You want lots of these, 2-3 packs
3" Waxing Pads
Wolfgang Total Swirl Remover 3.0
Wolfgang Finishing Glaze
Nikken Finishing Papers
Meguiar's E-7200 Backing Pad
Not shown
Detailer's Pride Max Wax
Cobra Supreme 530 Microfiber Towel 6 Pack
I use to live life on the edge of the razor blade... now I live life on the blade of the butter knife - Mike Phillips
Had to throw that last quote in there, I made it up years ago and after doing this extreme demo it seemed fitting...
Copyright ©PBMA - Autogeekonline.net® All Rights Reserved