Mike Phillips
Active member
- Dec 5, 2022
- 51,004
- 8
Grit Guard Universal Detailing Cart - Packing back into box
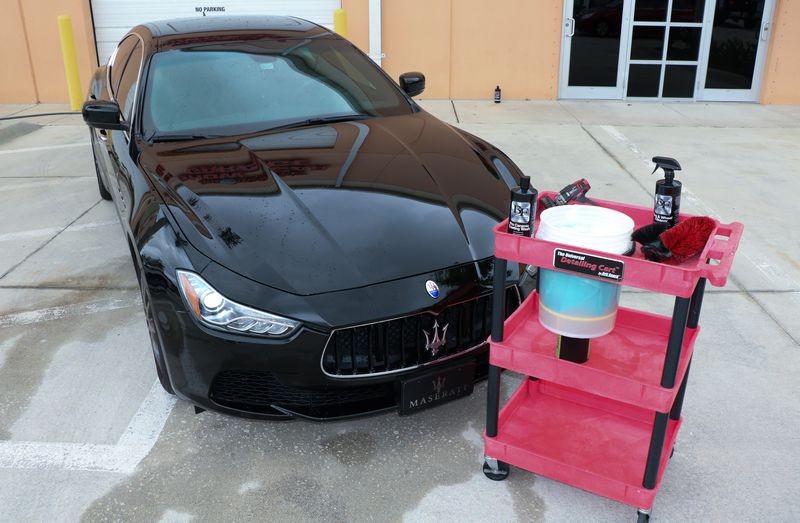
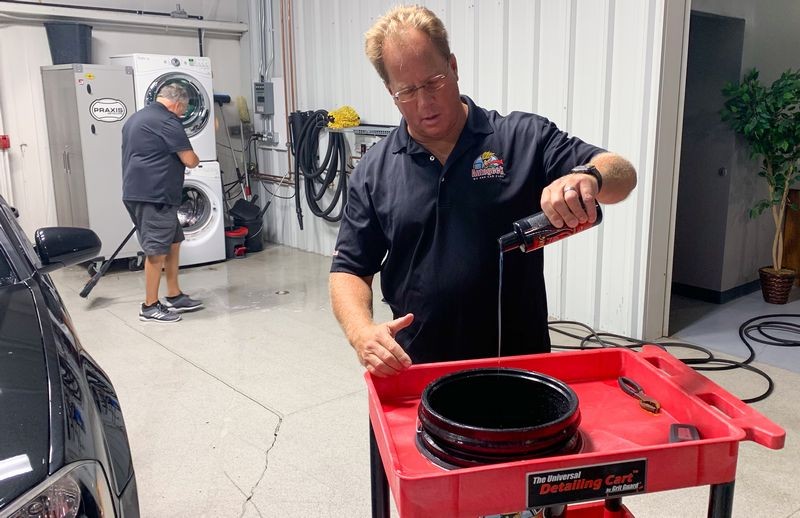
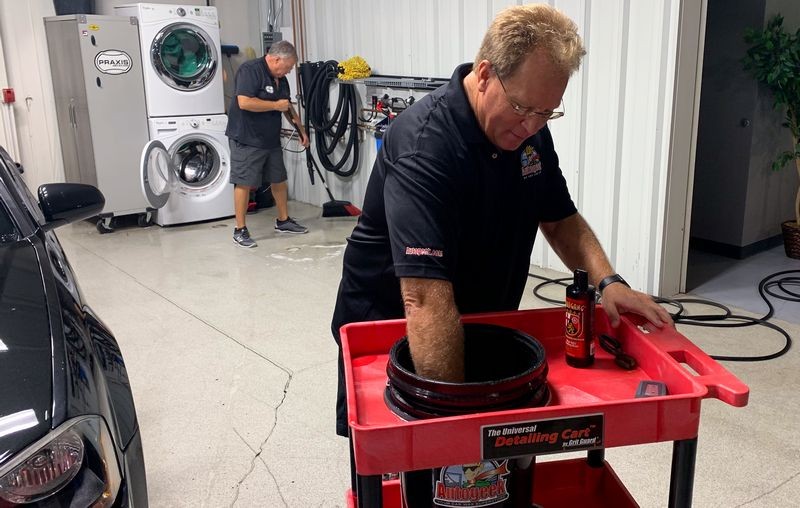
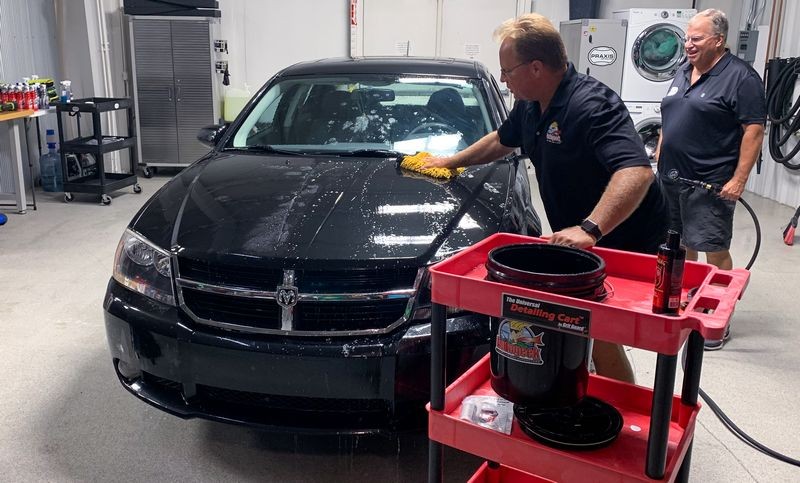
The Grit Guard Universal Detailing Cart
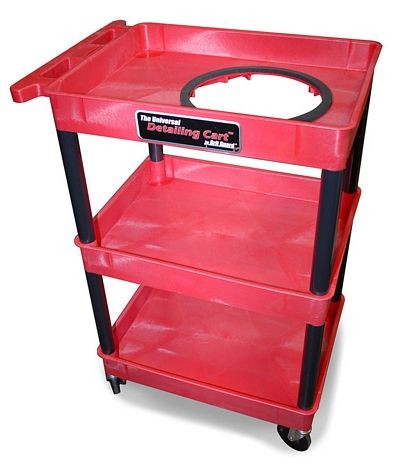
The Grit Guard Universal Detailing Cart - don't leave home without it!
This is really just a pictorial how-to article for me. Seems like it's always a mystery to figure out EXACTLY how to put the Grit Guard Universal Detailing Cart back into it's original box the correct way. When placed back into the box the way it comes from the factory it fits PERFECTLY inside it's original shipping box. If you don't get the trays in the exact order and the correct side placed upside down or upside right, then it won't fit.
Meghan actually helped me to figure this out one day and to make it easy for the future, I took these pictures. I found the pictures today while working on a new product review so instead of putting this off I'm creating this thread so anytime I'm at an offsite location I can simply reference this thread to figure it out.
I know it can seem stupid simple but the truth is - at the end of a roadshow class with 6-8 other people helping me to pack-up - we've all tried to get just right, and not a single person there, including me can figure it out. YES we feel stupid. :dig: And I know it can seem like child's play - but I'm telling you straight-up, I've watched educated, super smart people try to put the pieces of the car back into the box and get the lids of the box to fold down flat and they can't do it. And I haven't' been able to do it. :bolt:
So after Meghan figured it out one day while I was packing for a roadshow class I took these pictures.
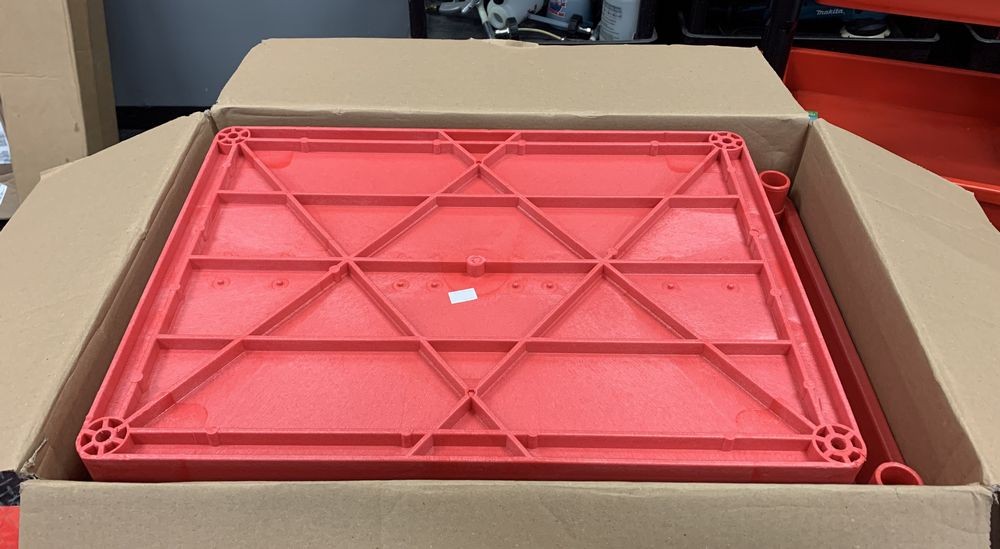
Looking at the box from this point of view, the first tray to go in is the TOP tray and it goes in upside down with the handle to the left. This is key.

Next the MIDDLE tray goes in upside down and it's positioned to the right hand side of the box. It's not as wide as the top tray due to the top tray has the HANDLE. The legs can go in on this tray as well as the wheels. And also the rubber hammer I pack to pound it apart and together on location.

Lastly - the BOTTOM tray goes in upside down and it's positioned to the far left side of the box. See how the bottom of the tray is flush and actually just a tick below the top of the box where the lids fold in?
ANY other combo of how the trays are placed into the box and the last tray stick ABOVE the sides of the box and then you have to bend and warp the side flaps in order to close-up the box.
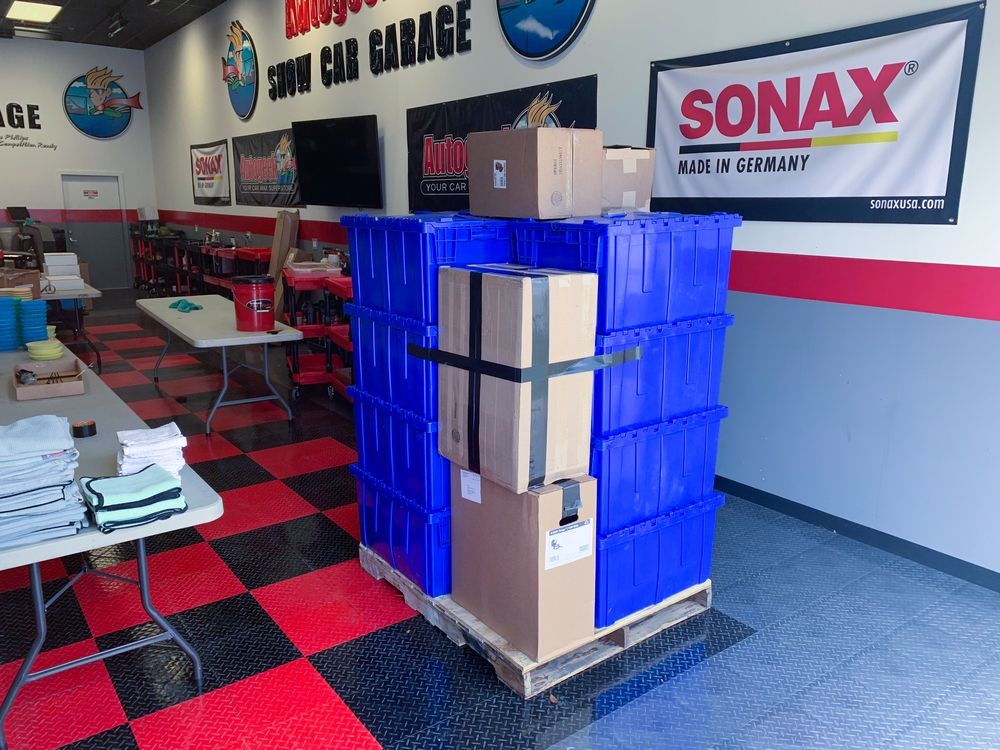
Then I stand it on end on the edge of the pallet next to the totes. That's a MyTee Hot Water Extractor below it. These pallets weigh up to 1000 pounds when fully loaded for a roadshow car detailing class and everything has to be perfectly and compactly packed.
That's my story and I'm sticking to it...
Thanks for your help that day out in the garage Meghan. :xyxthumbs:

The Grit Guard Universal Detailing Cart
The Grit Guard Universal Detailing Cart - don't leave home without it!
This is really just a pictorial how-to article for me. Seems like it's always a mystery to figure out EXACTLY how to put the Grit Guard Universal Detailing Cart back into it's original box the correct way. When placed back into the box the way it comes from the factory it fits PERFECTLY inside it's original shipping box. If you don't get the trays in the exact order and the correct side placed upside down or upside right, then it won't fit.
Meghan actually helped me to figure this out one day and to make it easy for the future, I took these pictures. I found the pictures today while working on a new product review so instead of putting this off I'm creating this thread so anytime I'm at an offsite location I can simply reference this thread to figure it out.
I know it can seem stupid simple but the truth is - at the end of a roadshow class with 6-8 other people helping me to pack-up - we've all tried to get just right, and not a single person there, including me can figure it out. YES we feel stupid. :dig: And I know it can seem like child's play - but I'm telling you straight-up, I've watched educated, super smart people try to put the pieces of the car back into the box and get the lids of the box to fold down flat and they can't do it. And I haven't' been able to do it. :bolt:
So after Meghan figured it out one day while I was packing for a roadshow class I took these pictures.
Looking at the box from this point of view, the first tray to go in is the TOP tray and it goes in upside down with the handle to the left. This is key.
Next the MIDDLE tray goes in upside down and it's positioned to the right hand side of the box. It's not as wide as the top tray due to the top tray has the HANDLE. The legs can go in on this tray as well as the wheels. And also the rubber hammer I pack to pound it apart and together on location.
Lastly - the BOTTOM tray goes in upside down and it's positioned to the far left side of the box. See how the bottom of the tray is flush and actually just a tick below the top of the box where the lids fold in?
ANY other combo of how the trays are placed into the box and the last tray stick ABOVE the sides of the box and then you have to bend and warp the side flaps in order to close-up the box.
Then I stand it on end on the edge of the pallet next to the totes. That's a MyTee Hot Water Extractor below it. These pallets weigh up to 1000 pounds when fully loaded for a roadshow car detailing class and everything has to be perfectly and compactly packed.
That's my story and I'm sticking to it...
Thanks for your help that day out in the garage Meghan. :xyxthumbs: