10secdream
New member
- Aug 17, 2013
- 334
- 0
This weekend I had the opportunity to detail a local forum members 2007 Subaru Forester XT in Obsidian Black. I inspected the paint previously and I realized that the paint needed some work but when I got into the detail I realized that the paint was truly hammered.
We decided to do a 1 step correction as it provides a good balance between removing defects and bringing back some gloss to the paint. Once the correction was completed a paint coating was chosen as it provides a 2-3 years or protection and acts as a sacrificial barrier between the elements and the clear-coat.
This detail ended up to be one of the most challenging ones I have done yet. The combination of really soft subaru paint made it very difficult to find a combo that would finish out nicely without leaving behind a haze. On top of this problem the Obsidian Black paint proved to be very sticky. When I was completing my test spots all of my polish and pad combinations would leave the polish sticking to the paint like glue. I eventually tried mixing a little bit of AIO with my polish and this helped make the removal easier.
Process
Exterior:
Wheels: 1z Colortec Wheel Cleaner with various brushes
Tires: Zep Formula 505 Cleaner & Degreaser
Wheel Wells: Zep Citrus Cleaner (4:1)
Pre-wash: CG Citrus Wash & Gloss + Zep Citrus via foam cannon
Tar Removal: Auto Finesse Oblitarate
Wash: CG Citrus Wash & Gloss via 2BM & Wool Wash Mitt
Decontamination 1: CarPro IronX
Decontamination 2: Nanoskin Autoscrub Speedy Prep Sponge (Fine)
Dry: Waffle Weave Towels
Tape: Meguiar’s Automotive Tape
Paint Thickness: Taken using Digital Coating Thickness Gauge
Polish: HD Polish mixed with Blackfire Total Polish & Seal w/ White Buff n Shine Pads via Rupes LHR15ES (5.5” pads) and GG6 (4” pads)
Surface Prep: Detailers Pro Coating Prep Polish
Paint Protection: PBL Diamond Surface Coating
Glass Protection: PBL Diamond Surface Coating
Wheel Protection: Blackfire Crystal Seal
Tire Dressing: CarPro PERL
Trim Dressing: Wolfgang Exterior Trim Sealant
Glass: Sonax Clear Glass via Glass Towel
Exhaust Polishing: Chemical Guys Vintage Heavy Metal Polish via 000 Steel Wool
Before Photos:
The overall condition of the paint seemed decent upon arrival. I did notice that the black paint did not leave any sort of good reflection. To the average person this probably looks like a well kept vehicle that is slightly dirty.


During Photos:
As always I start with the wheels, wheel wells and tires. 1z Colortec did an excellent job of eating the brake dust on those beautiful Enkei wheels.

The tires browned instantly once I started to clean them.

Nice foam bath to loosen the dirt and remove as much debris before I do a 2 bucket method on the vehicle.

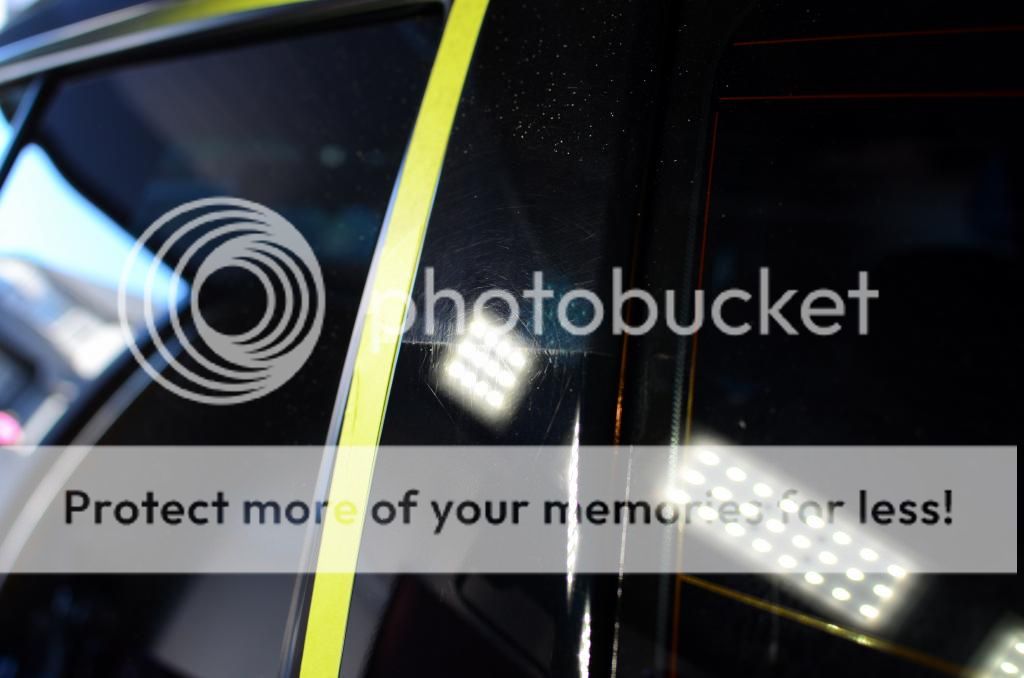
Once the vehicle was washed, decontaminated and dried it was time to bring it into the garage and inspect the true condition of the paint. Here is some HAMMERED paint.


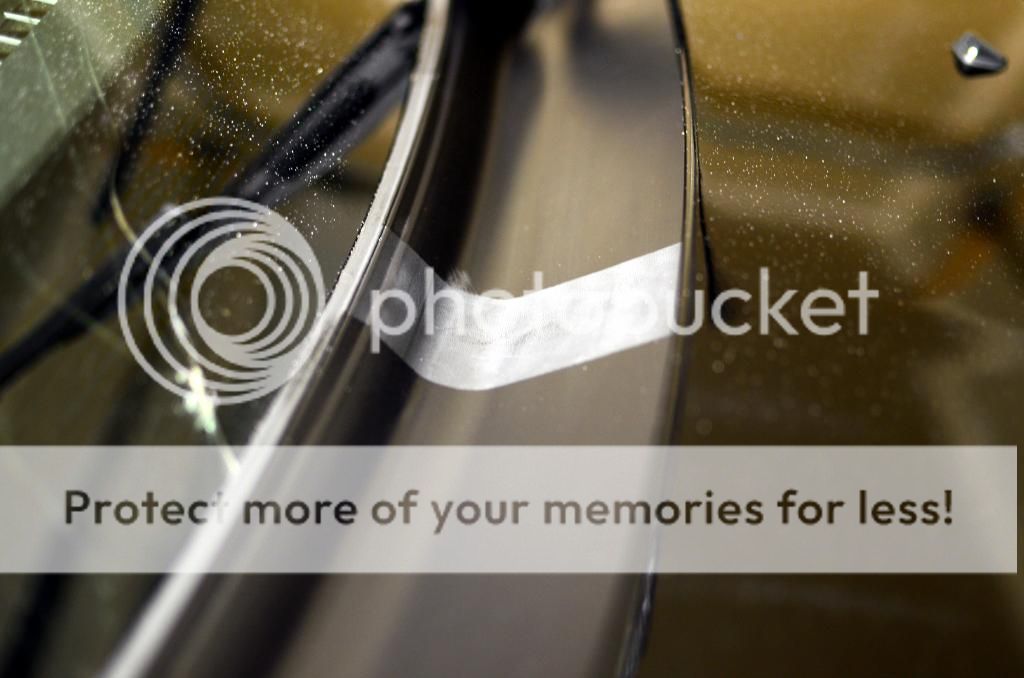
After performing a few test spots I finally settled on HD polish on a White Pad. Notice that there is some polish residue sitting on the paint because it is so sticky.


Here is a 50/50 shot of the front cowl after trim restoration/protection.
After Photos:
Here is a a shot of the hood in the sun after correction and paint coating. I would say I removed about 80% of the defects with a 1 step. Very good results considering what I started with.


Thanks for viewing and enjoy
We decided to do a 1 step correction as it provides a good balance between removing defects and bringing back some gloss to the paint. Once the correction was completed a paint coating was chosen as it provides a 2-3 years or protection and acts as a sacrificial barrier between the elements and the clear-coat.
This detail ended up to be one of the most challenging ones I have done yet. The combination of really soft subaru paint made it very difficult to find a combo that would finish out nicely without leaving behind a haze. On top of this problem the Obsidian Black paint proved to be very sticky. When I was completing my test spots all of my polish and pad combinations would leave the polish sticking to the paint like glue. I eventually tried mixing a little bit of AIO with my polish and this helped make the removal easier.
Process
Exterior:
Wheels: 1z Colortec Wheel Cleaner with various brushes
Tires: Zep Formula 505 Cleaner & Degreaser
Wheel Wells: Zep Citrus Cleaner (4:1)
Pre-wash: CG Citrus Wash & Gloss + Zep Citrus via foam cannon
Tar Removal: Auto Finesse Oblitarate
Wash: CG Citrus Wash & Gloss via 2BM & Wool Wash Mitt
Decontamination 1: CarPro IronX
Decontamination 2: Nanoskin Autoscrub Speedy Prep Sponge (Fine)
Dry: Waffle Weave Towels
Tape: Meguiar’s Automotive Tape
Paint Thickness: Taken using Digital Coating Thickness Gauge
Polish: HD Polish mixed with Blackfire Total Polish & Seal w/ White Buff n Shine Pads via Rupes LHR15ES (5.5” pads) and GG6 (4” pads)
Surface Prep: Detailers Pro Coating Prep Polish
Paint Protection: PBL Diamond Surface Coating
Glass Protection: PBL Diamond Surface Coating
Wheel Protection: Blackfire Crystal Seal
Tire Dressing: CarPro PERL
Trim Dressing: Wolfgang Exterior Trim Sealant
Glass: Sonax Clear Glass via Glass Towel
Exhaust Polishing: Chemical Guys Vintage Heavy Metal Polish via 000 Steel Wool
Before Photos:
The overall condition of the paint seemed decent upon arrival. I did notice that the black paint did not leave any sort of good reflection. To the average person this probably looks like a well kept vehicle that is slightly dirty.


During Photos:
As always I start with the wheels, wheel wells and tires. 1z Colortec did an excellent job of eating the brake dust on those beautiful Enkei wheels.

The tires browned instantly once I started to clean them.

Nice foam bath to loosen the dirt and remove as much debris before I do a 2 bucket method on the vehicle.

Once the vehicle was washed, decontaminated and dried it was time to bring it into the garage and inspect the true condition of the paint. Here is some HAMMERED paint.


After performing a few test spots I finally settled on HD polish on a White Pad. Notice that there is some polish residue sitting on the paint because it is so sticky.


Here is a 50/50 shot of the front cowl after trim restoration/protection.

After Photos:
Here is a a shot of the hood in the sun after correction and paint coating. I would say I removed about 80% of the defects with a 1 step. Very good results considering what I started with.


Thanks for viewing and enjoy
 but you made it look a million times better!:xyxthumbs: