fishbonezken
New member
- Jul 24, 2011
- 31
- 0
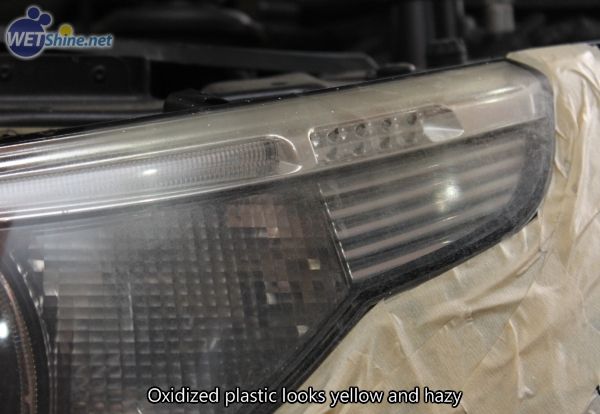
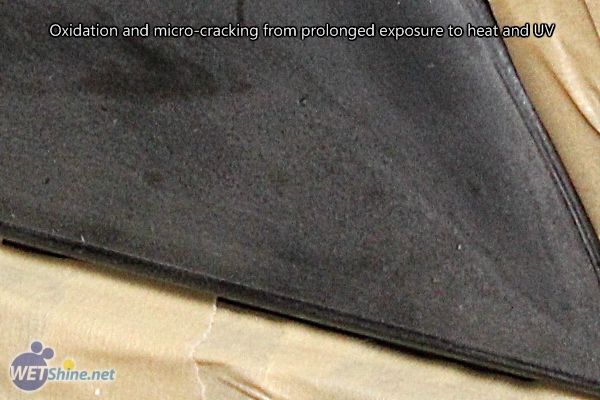
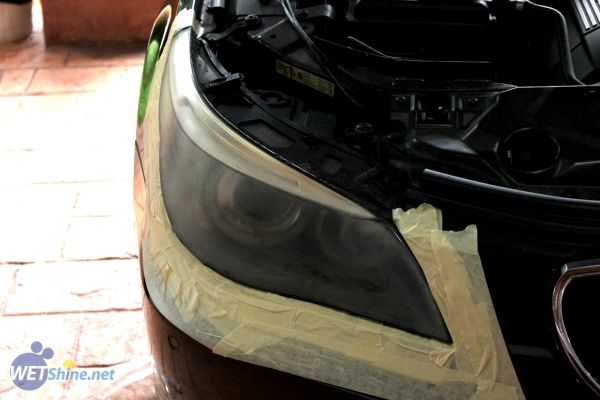
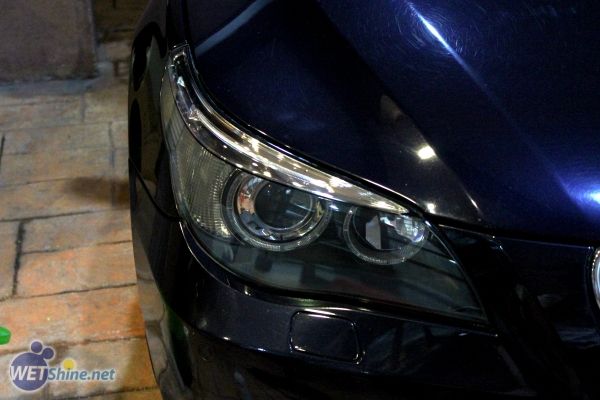
A very common sight on many older cars in Malaysia is the yellowing of headlights. We have an equatorial climate here and the heat is at its maximum all year round, this prolonged exposure to heat and UV rays from the sun accelerates the oxidation of plastic headlights. Causing them to yellow, fade, and when looked closely, the plastic is actually cracking.

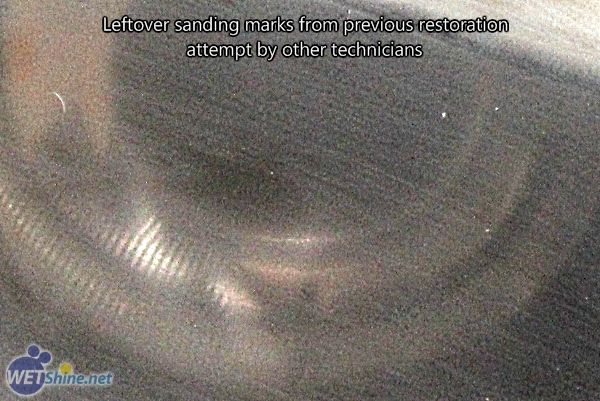
On the headlights of this BMW 520, it appeared that one of the headlights has been sanded, I guess the technician didn't know how to follow up properly to restore them. So the sanding marks were left behind, and actually looked worse than parts that were not sanded.
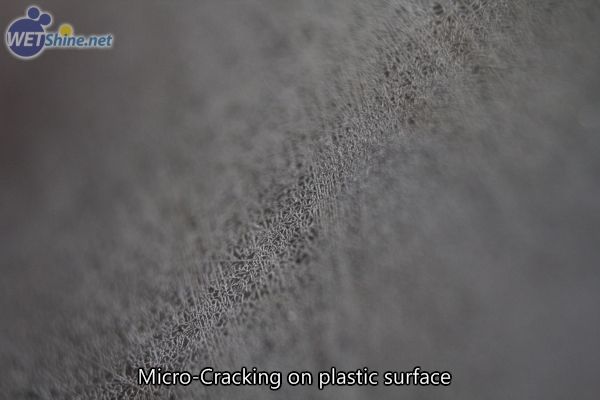
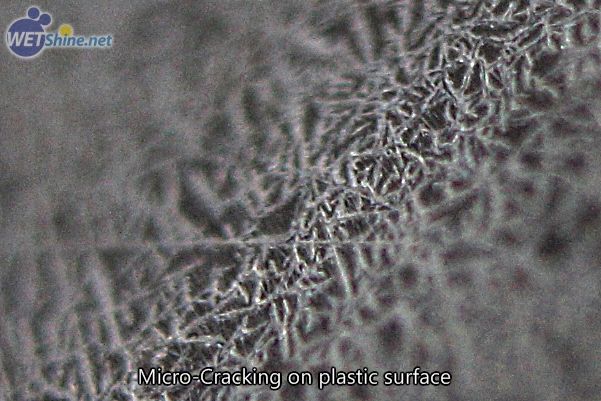
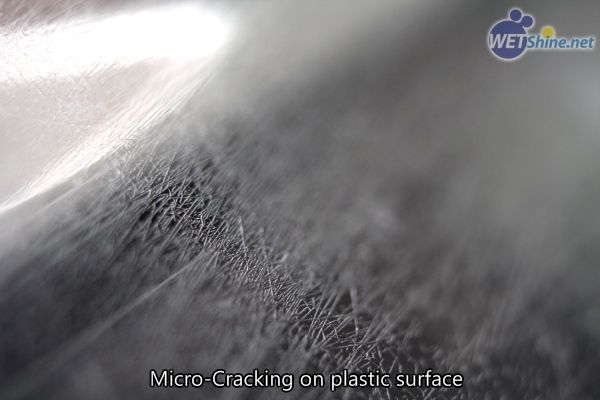
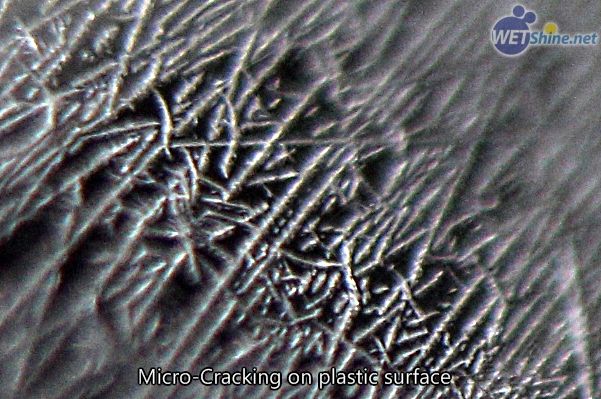
When looked up close, the plastic has what I like to call 'Micro-Cracks', from afar they appear to be a yellow film, up close, the plastic is cracking on the surface. When left for too long, the cracks will spread and eventually become deeper, leaving a permanent line on the plastic that even sanding, cannot fully remove.
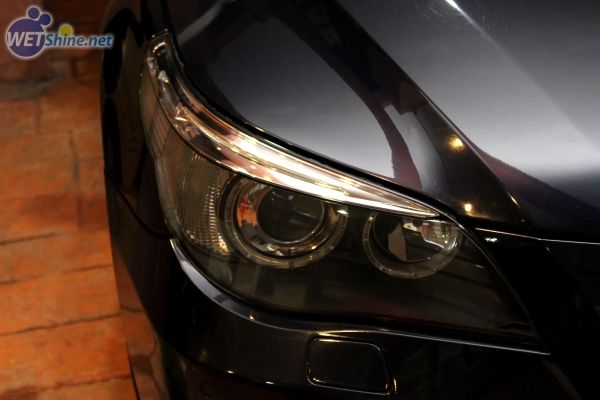
Most of the time, polishing with a wool/foam pad with a rotating polisher(drill/rotary buffer), can make most lenses clear. Unfortunately, that was not to be in this case.
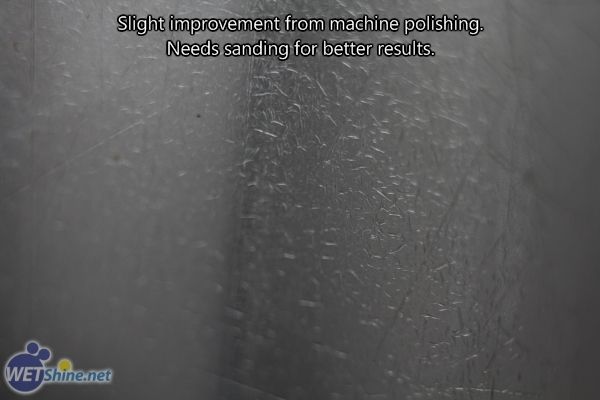
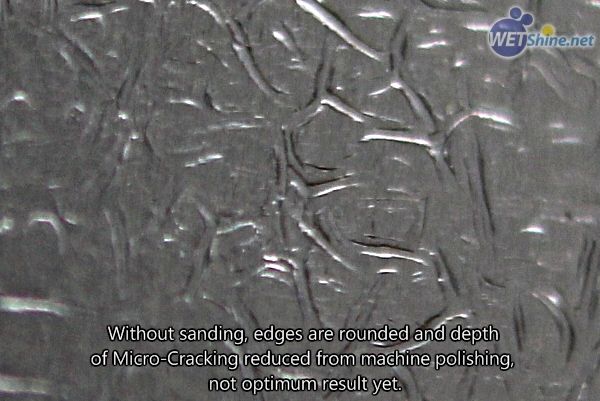
As seen from the photos above, polishing definitely cleared up the lens, but the results are still not optimal as the micro-cracks are still there and the wool pad is not skimming the surface of the plastic deep enough. Hence, it has to be sanded down.
I expected this job to be done in 3 hours but it took me 6 hours in total. I don't have any process shots as I was pressed for time and the owner is waiting for me to get it done. I also had to redo some portions as I noticed there was still some micro-cracks after final polishing with the foam pad.
Process as below:
(1) Two to three layers of tape around the headlights. This is because the out-most layer will start to lose its adhesiveness and peel when soapy water touches it during the wet-sanding process.
(2) Hand sanded with 400 grit > 600 grit > 800 grit > 1000 grit > 1200 grit > 1500 grit > 2000 grit.
(3) Machine polished with 4" Surbuf Pad and Meguiar's #105 Ultra Cut Compound via rotary @ 1200-1500 RPM
(4) Machine polished with 4" Lake Country CCS Orange pad and Meguiar's #105 Ultra Cut Compound via rotary @ 1200-1500 RPM
(5) Machine polished with 4" Lake Country CCS White pad and Meguiar's #205 Ultra Finishing Polish via rotary @ 1200-1500 RPM
(6) Wiped down with Isopropyl Alcohol (diluted 1:1)
(7) Surface dried with hairdryer to remove moisture.
(8) GTechniq C1 Crystal Lacquer is used to coat the surface to prevent re-yellowing.
(9) Dried again with hairdryer to accelerate curing.
Results on the edges is still a little compromised but way better compared to before.
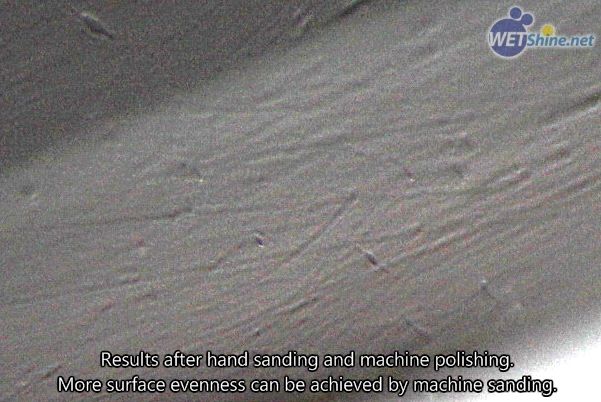
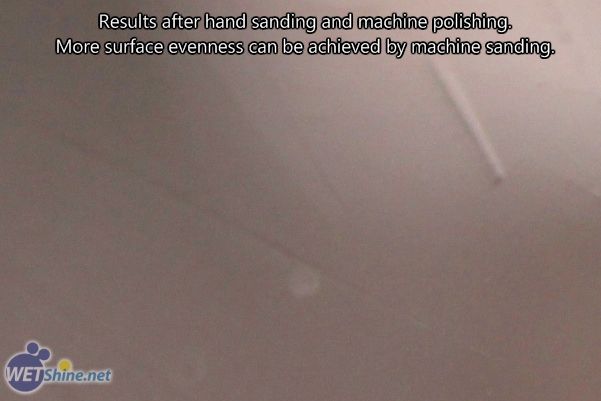
On the larger areas, looks perfect from far and even 10 cm away. When looked closely, some gouges in the plastic is still there. I think a more uniform finish can be achieved with machine sanding compared to hand sanding.

Finally, some before and afters.
Without flash:
With flash:

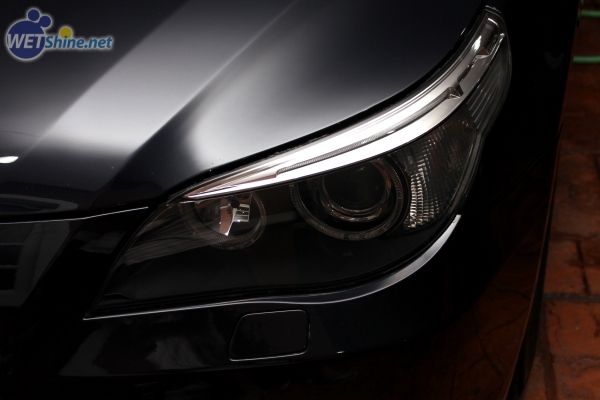
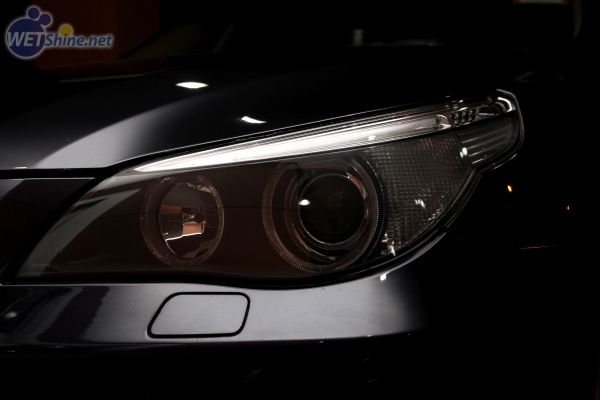
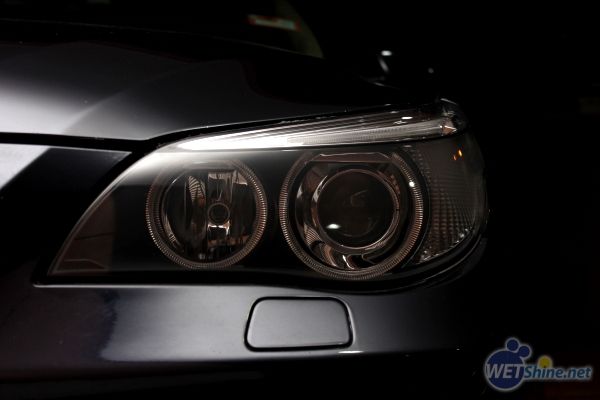
After shots:
Thanks for looking at my humble work.")
On the headlights of this BMW 520, it appeared that one of the headlights has been sanded, I guess the technician didn't know how to follow up properly to restore them. So the sanding marks were left behind, and actually looked worse than parts that were not sanded.
When looked up close, the plastic has what I like to call 'Micro-Cracks', from afar they appear to be a yellow film, up close, the plastic is cracking on the surface. When left for too long, the cracks will spread and eventually become deeper, leaving a permanent line on the plastic that even sanding, cannot fully remove.
Most of the time, polishing with a wool/foam pad with a rotating polisher(drill/rotary buffer), can make most lenses clear. Unfortunately, that was not to be in this case.
As seen from the photos above, polishing definitely cleared up the lens, but the results are still not optimal as the micro-cracks are still there and the wool pad is not skimming the surface of the plastic deep enough. Hence, it has to be sanded down.
I expected this job to be done in 3 hours but it took me 6 hours in total. I don't have any process shots as I was pressed for time and the owner is waiting for me to get it done. I also had to redo some portions as I noticed there was still some micro-cracks after final polishing with the foam pad.
Process as below:
(1) Two to three layers of tape around the headlights. This is because the out-most layer will start to lose its adhesiveness and peel when soapy water touches it during the wet-sanding process.
(2) Hand sanded with 400 grit > 600 grit > 800 grit > 1000 grit > 1200 grit > 1500 grit > 2000 grit.
(3) Machine polished with 4" Surbuf Pad and Meguiar's #105 Ultra Cut Compound via rotary @ 1200-1500 RPM
(4) Machine polished with 4" Lake Country CCS Orange pad and Meguiar's #105 Ultra Cut Compound via rotary @ 1200-1500 RPM
(5) Machine polished with 4" Lake Country CCS White pad and Meguiar's #205 Ultra Finishing Polish via rotary @ 1200-1500 RPM
(6) Wiped down with Isopropyl Alcohol (diluted 1:1)
(7) Surface dried with hairdryer to remove moisture.
(8) GTechniq C1 Crystal Lacquer is used to coat the surface to prevent re-yellowing.
(9) Dried again with hairdryer to accelerate curing.
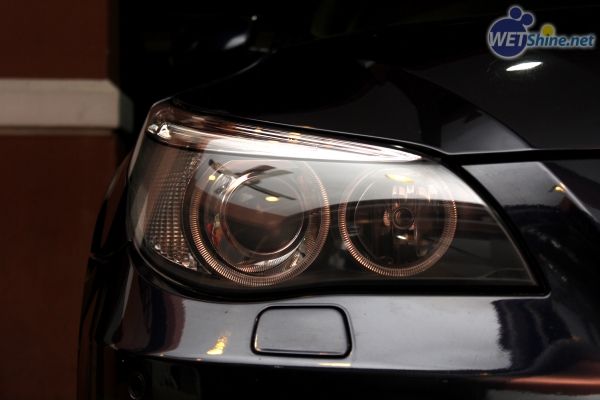
Results on the edges is still a little compromised but way better compared to before.
On the larger areas, looks perfect from far and even 10 cm away. When looked closely, some gouges in the plastic is still there. I think a more uniform finish can be achieved with machine sanding compared to hand sanding.
Finally, some before and afters.
Without flash:
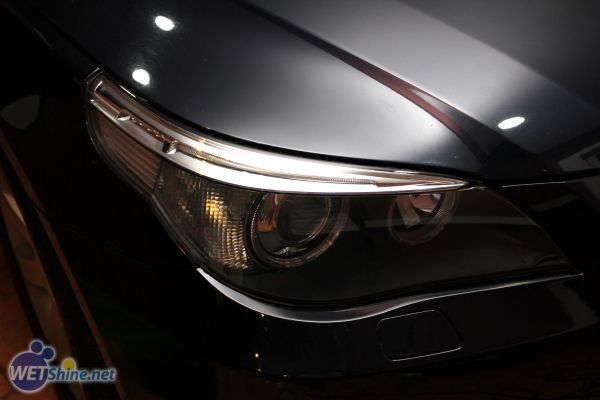
With flash:
After shots:
Thanks for looking at my humble work.