FrankS
Active member
- Jul 7, 2013
- 1,560
- 0
Headlight restoration on a 2009 Mercedes E320.
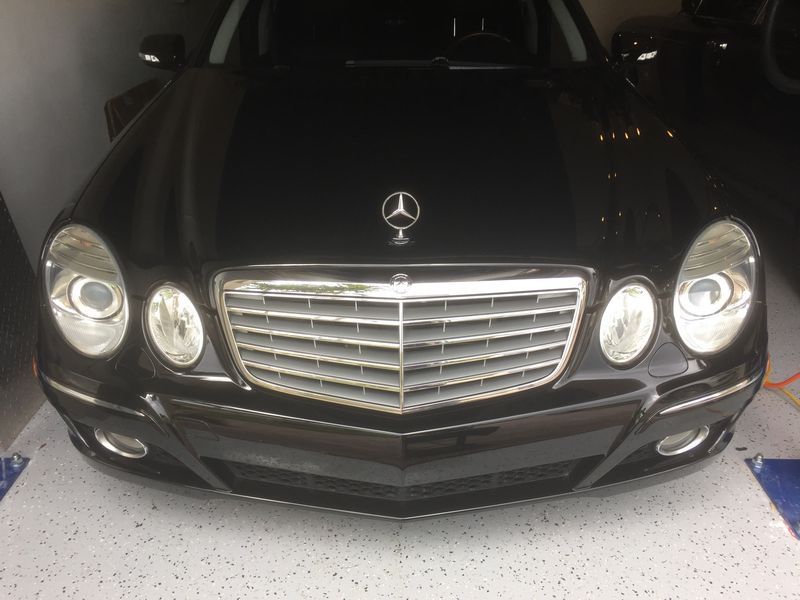
The factory coating has begun to fail. In order to restore, the factory coating will be removed by sanding and then the sanding marks will be refined and removed.
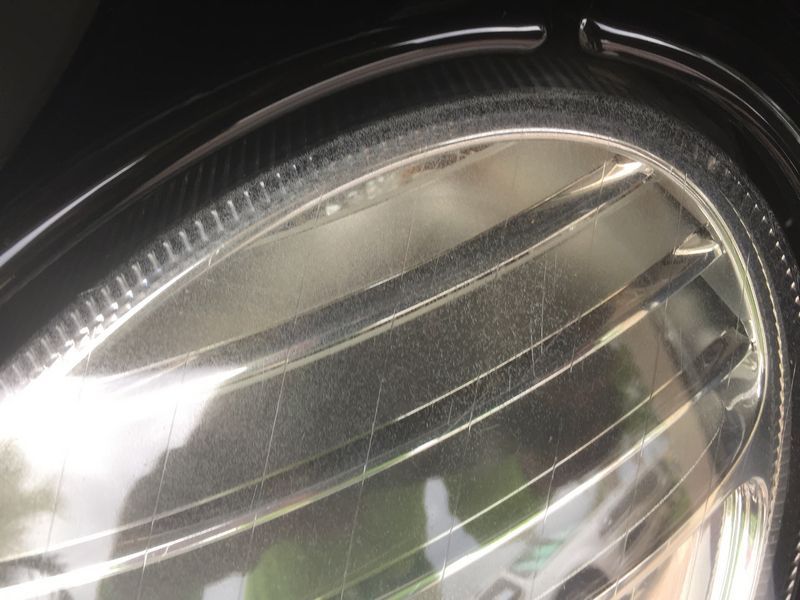
This is after using 320 grit sanding discs (dry). All the factory coating has been removed. Double layer of tape to protect surrounding paint.
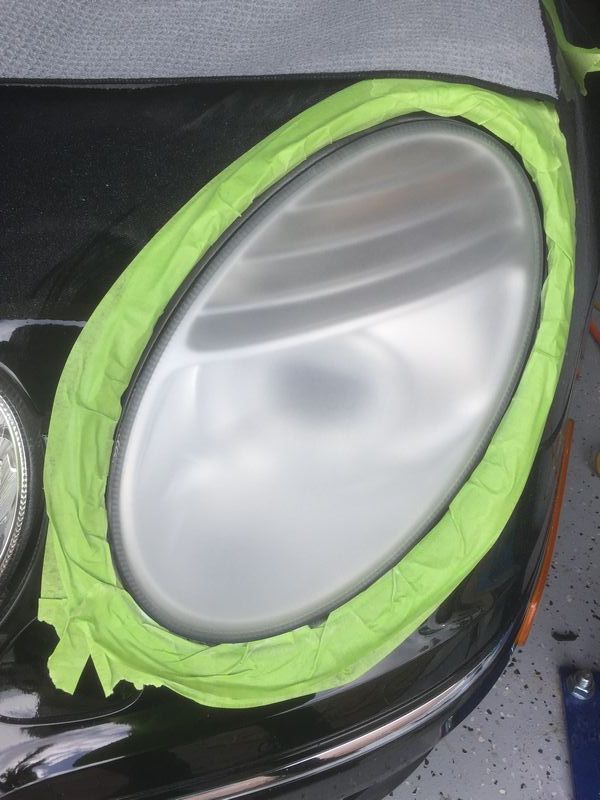
This is after using 500 grit sanding discs (dry) to refine the 320 grit marks.
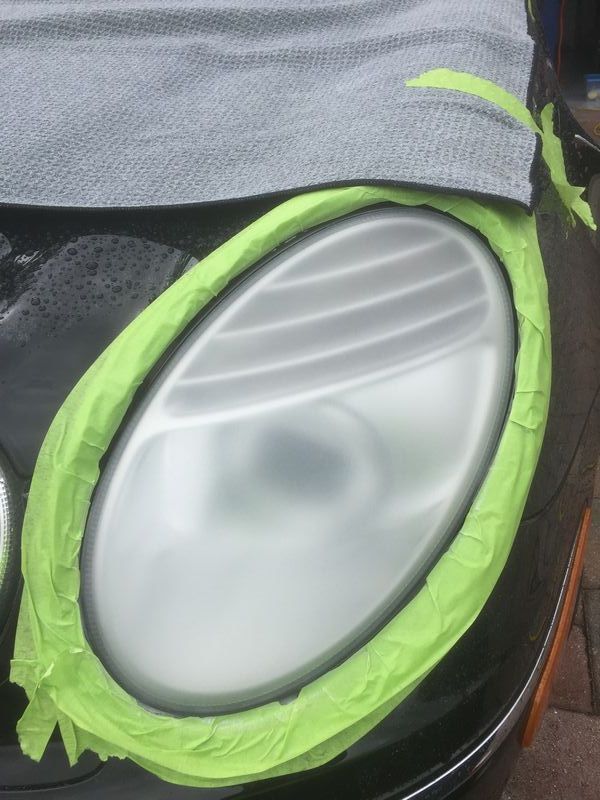
This is after using 800 grit sanding discs (dry) to refine the 500 grit marks.
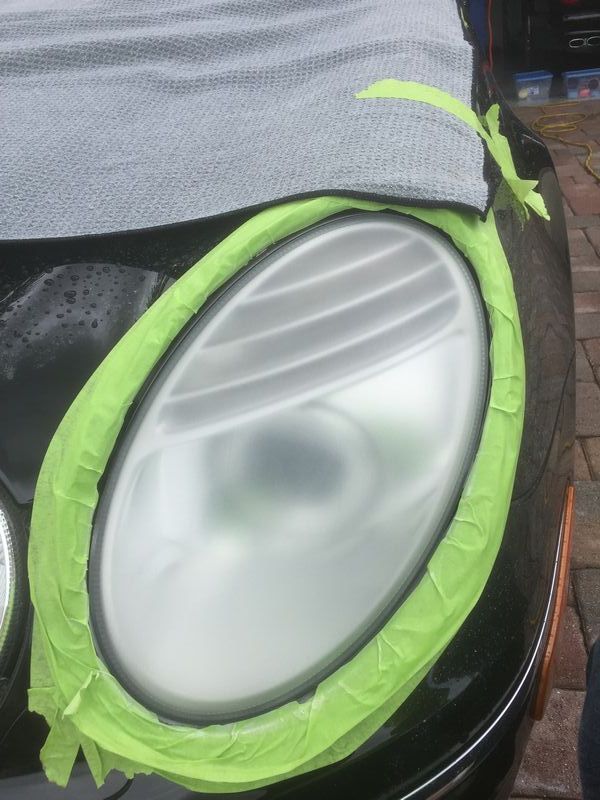
This is after using 1000 grit sanding discs (wet) to refine the 800 grit marks. Clarity being restored.
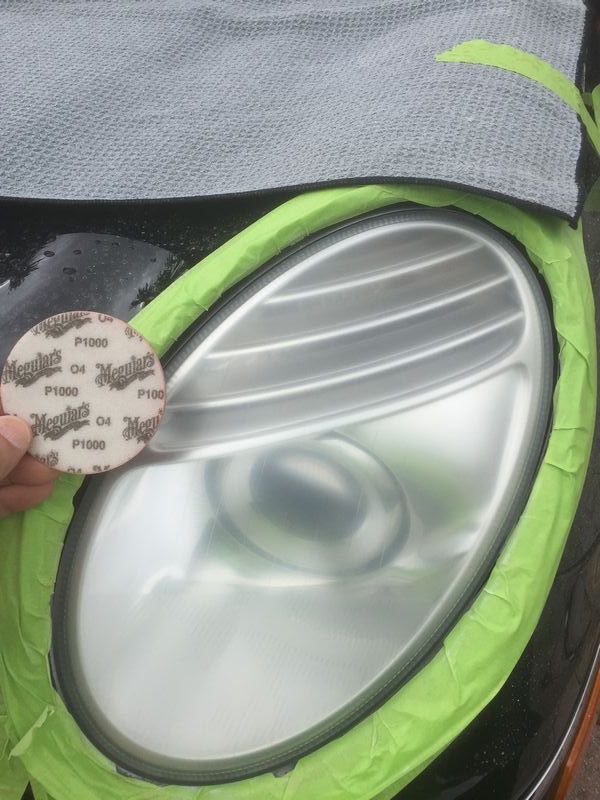
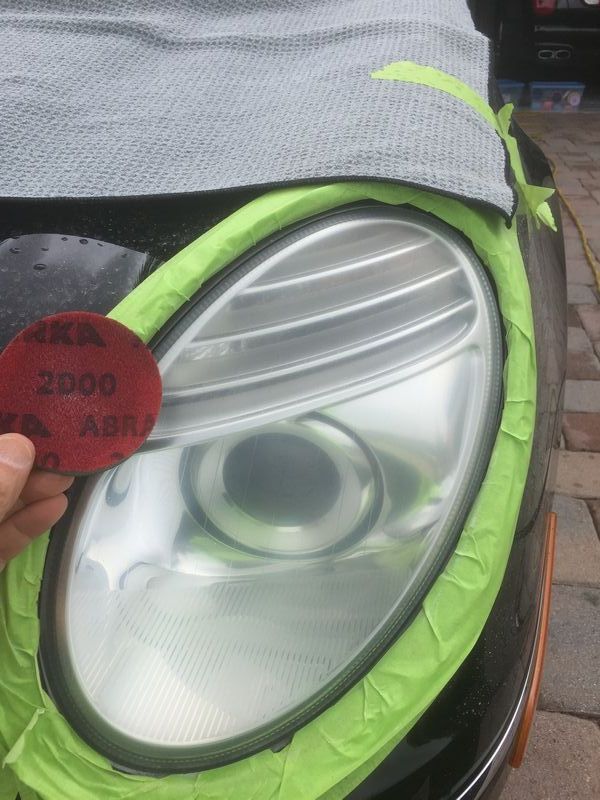
This is after using 2000 grit sanding disc (wet) to refine the 1000 grit marks.
Griots Garage Mini Polisher was used for the entire process.

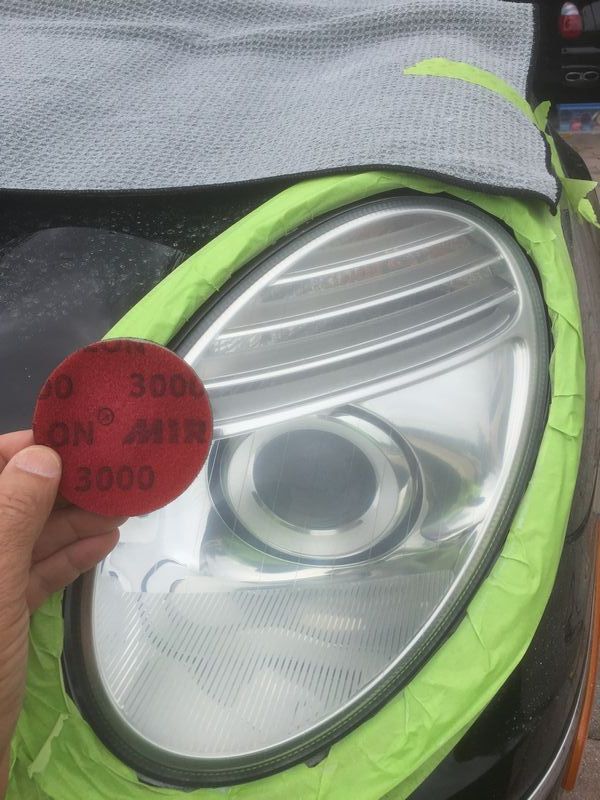
This is after using 3000 grit sanding disc (wet) to refine the 2000 grit marks. Almost there.
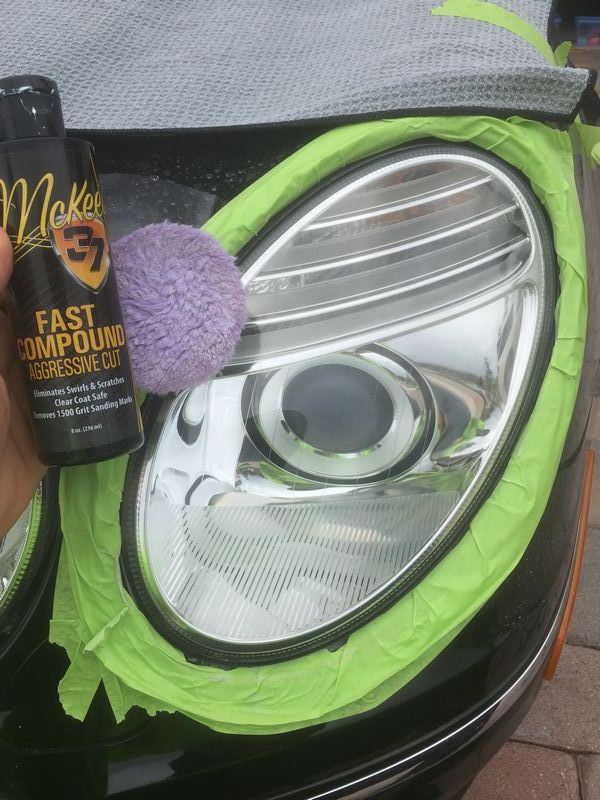
This is after using McKee's compound and purple foamed wool 3" pad.
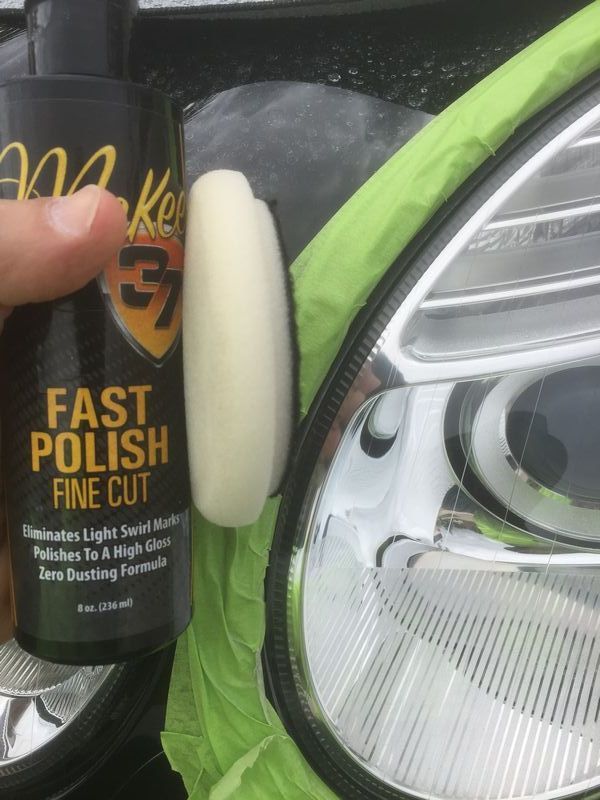
This is after using McKee's polish and 3.5" LC ThinPro white polishing pad.
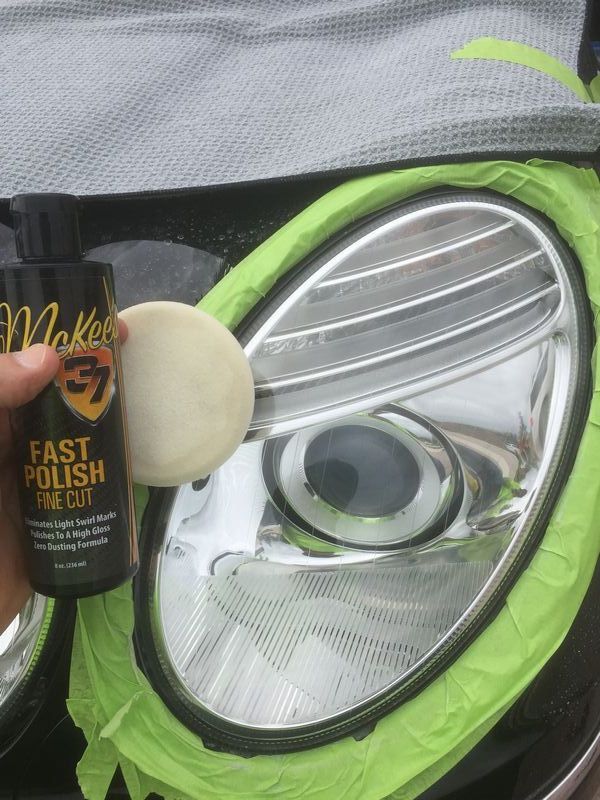
Thin pads help give the GG Mini good rotation.
The headlights were coated with Wolfgang coating.
Forgot to take the final shots but they looked the same as after the polishing step.
The factory coating has begun to fail. In order to restore, the factory coating will be removed by sanding and then the sanding marks will be refined and removed.
This is after using 320 grit sanding discs (dry). All the factory coating has been removed. Double layer of tape to protect surrounding paint.
This is after using 500 grit sanding discs (dry) to refine the 320 grit marks.
This is after using 800 grit sanding discs (dry) to refine the 500 grit marks.
This is after using 1000 grit sanding discs (wet) to refine the 800 grit marks. Clarity being restored.
This is after using 2000 grit sanding disc (wet) to refine the 1000 grit marks.
Griots Garage Mini Polisher was used for the entire process.
This is after using 3000 grit sanding disc (wet) to refine the 2000 grit marks. Almost there.
This is after using McKee's compound and purple foamed wool 3" pad.
This is after using McKee's polish and 3.5" LC ThinPro white polishing pad.
Thin pads help give the GG Mini good rotation.
The headlights were coated with Wolfgang coating.
Forgot to take the final shots but they looked the same as after the polishing step.


